Samsung Electronics Co SCHA592 Single-Mode Cellular Phone (CDMA) User Manual SCH A592 FCC
Samsung Electronics Co Ltd Single-Mode Cellular Phone (CDMA) SCH A592 FCC
UserManual.wiki
>
Samsung Electronics Co
>
SCHA592 User Manual
Users Manual
Navigation menu
Upload a User Manual
Namespaces
Wiki Guide
HTML
PDF
Info
Views
User Manual
Discussion / Help
Navigation
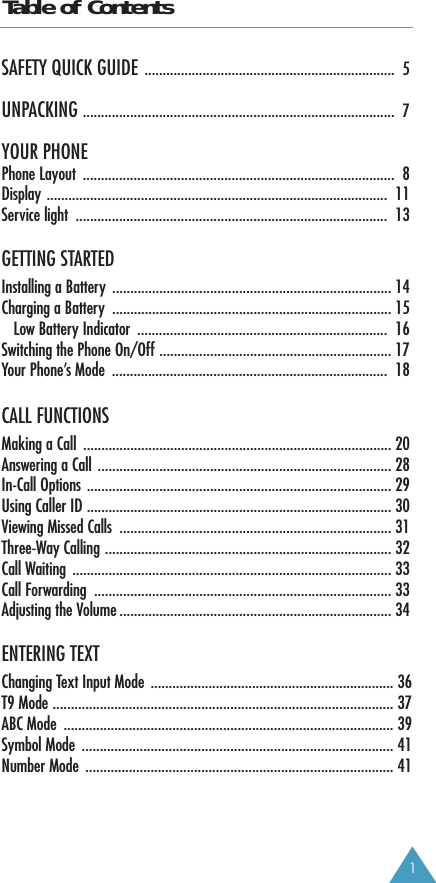


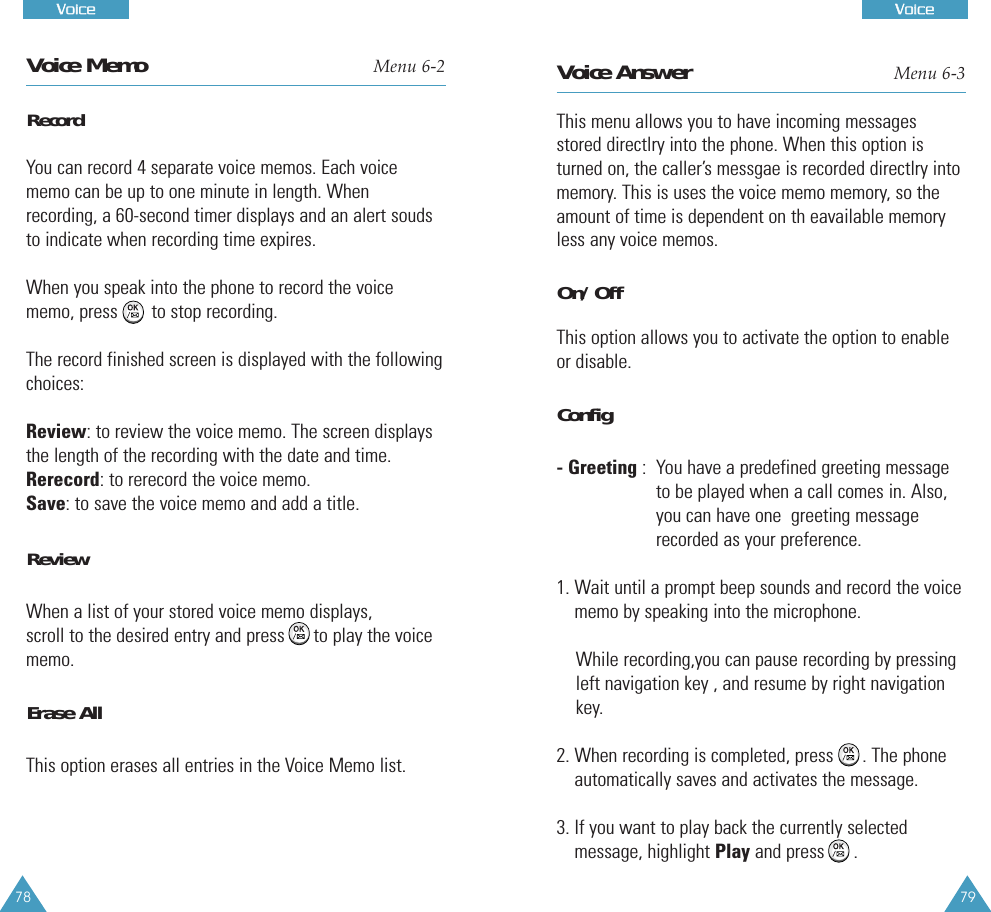
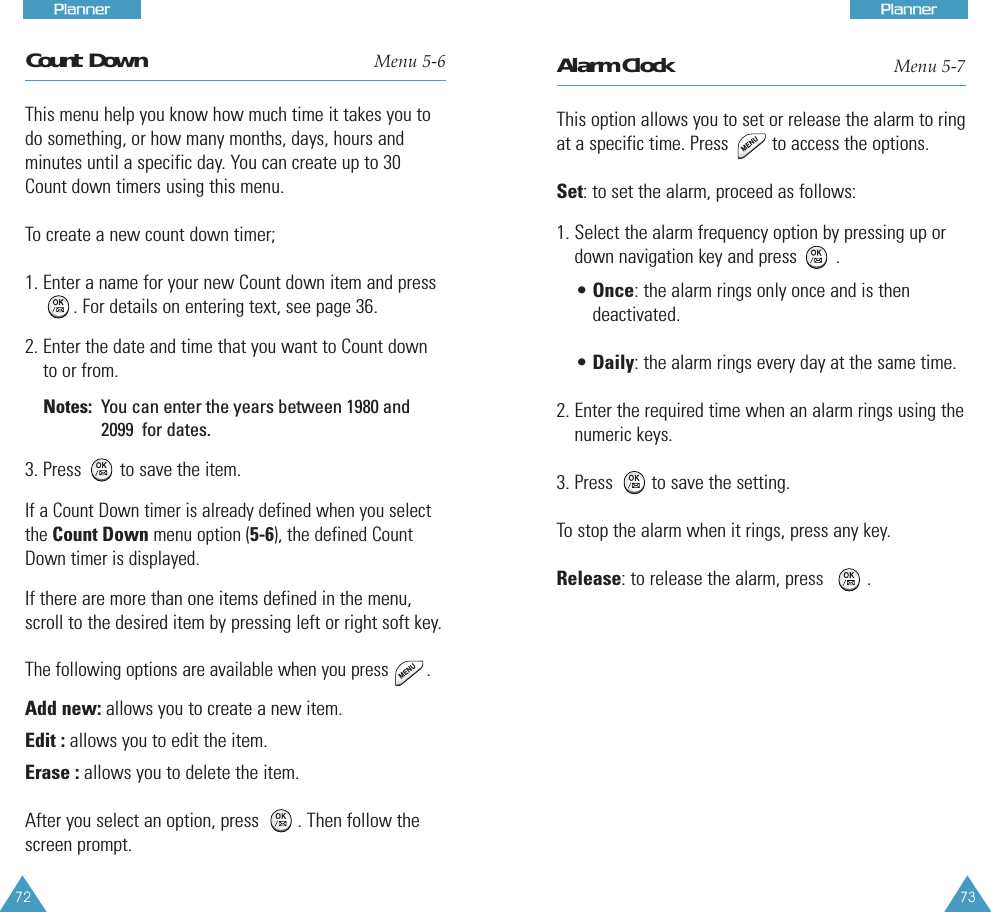
![39EEnntteerriinngg TTeexxtt38EEnntteerriinngg TTeexxttABC ModeWhen typing in ABC mode, you should press keylabeled with the required letter:-Once for the first letter-Twice for the second letter-And so on.For example, you press three times quickly todisplay the letter “C”, two times quickly to displaythe letter “K”. So, this method is called multi-tap typing.Refer to the table on next page for the list of charactersassigned on each key.AB C 2DE F 3GH I 4JK L 5MN O 6PQ RS7TU V8WX Y Z 90(Caps Lock mode)List of characters available:1.@ , : ? - ; ‘ / ( ) ! # % &*< > _ + = “ \ { } $ [ ] Key Characters in the Order DisplayedIncluding a NumberYou can include a number between letters withoutexiting the T9 input mode. Press and hold the desirednumber key.Changing CaseYour phone offers three shift states; • T9 Word : initial letter is capitalized• T9 WORD : all letters are capitalized• T9 word : all letters are lower casePress one or more times to display theappropriate shift indicator, and begin typing normally.Another UsagesTo move the cursor left or right through your textmessage, press navigation key.Press one or more times to clear letters to the left.Press and hold to erase all.](https://usermanual.wiki/Samsung-Electronics-Co/SCHA592/User-Guide-252552-Page-24.png)
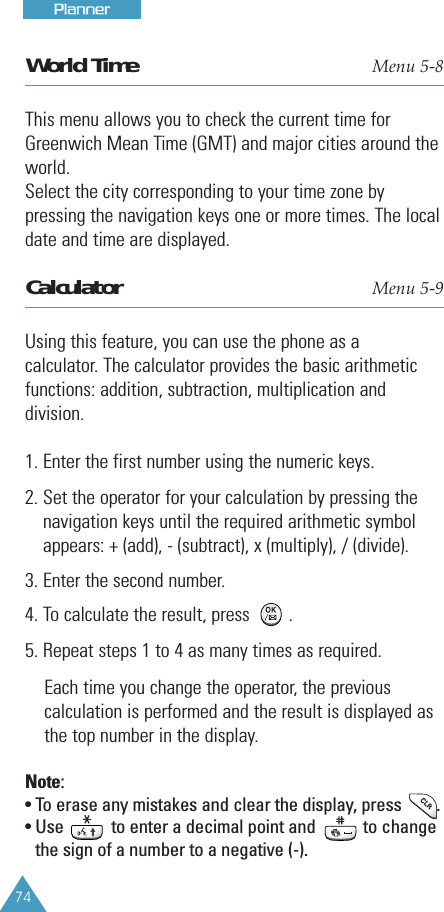
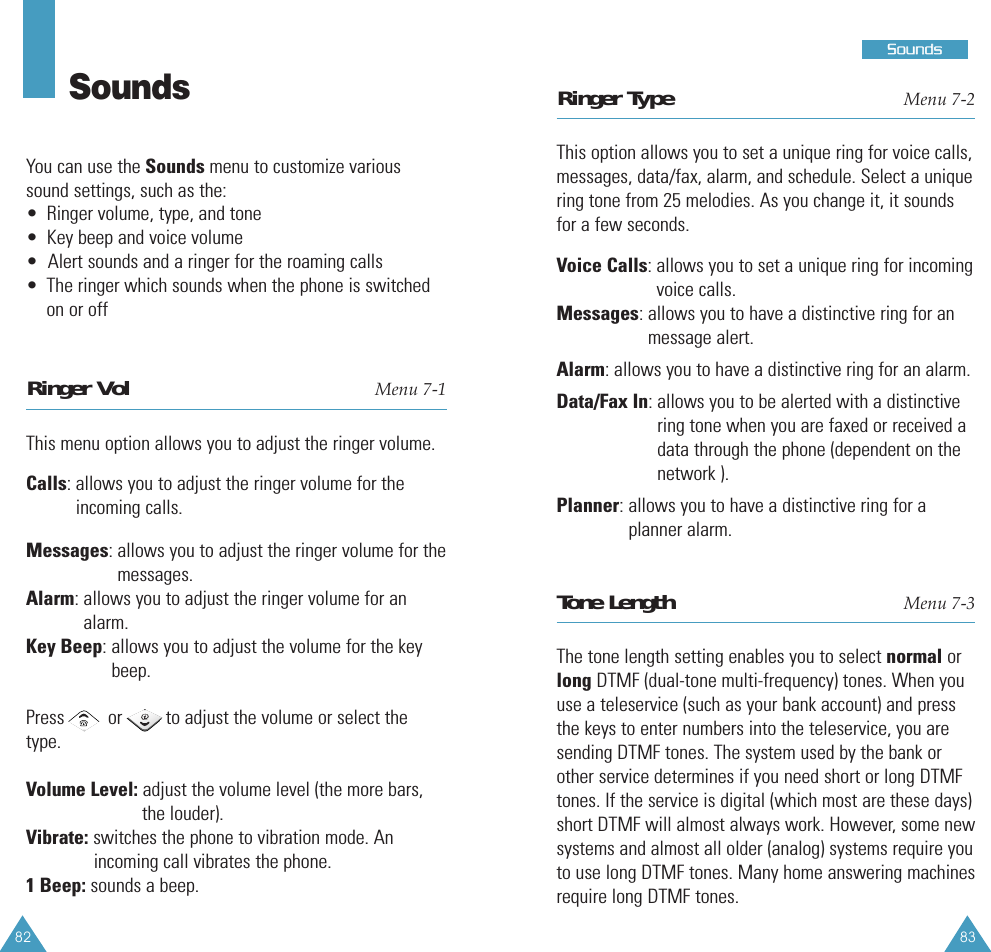
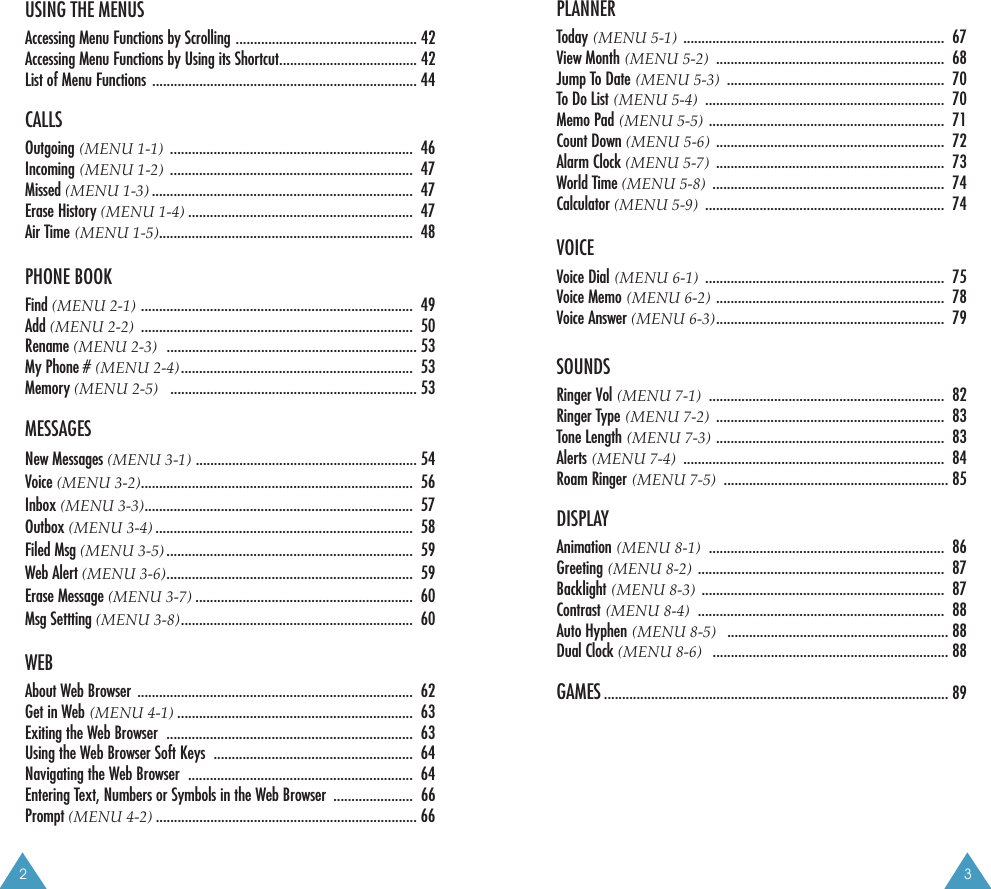
![77VVooiiccee 76VVooiiccee ReviewWhen a list of your stored voice dial numbers displays,scroll to the desired entry and press .The recorded name plays audibly. Erase AllThis option erases all entries in the Voice Dial list.Set ActiveVoice Dialing is always active once you haveprogrammed the phone to accept voice dialing entriesand the associated phone number. To place a call using Voice Dialing, simply press andhold in Standby mode and then say the name intothe phone after you hear the prompt.You can also initiate a Voice Dialing call by followingoptions.[*] Only: enables Voice Dialing only by pressing andholding .[*] /Folder: enables Voice Dialing by pressing andholding or by opening the phone.[*] /EarMic: enables Voice Dialing by pressing andholding or by pressing and holdingthe button of your ear microphone.3. Enter the phone number by pressing the numeric keysand press .4. Complete storing the number into Phonebook referringpage 65.Note: You can also program the phone for voice dialingby accessing the Phonebook menu. Use Add Entrymenu under Phonebook to store a phone number, thenselect Voice Dial from the label category.* Tips on Recording Name• Avoid recording similar names phonetically. If yourecord a similar name to the one already in memory,the phone requests another name.• Speak clearly and naturally.• The person who will use the phone should record thename. The phone does not recognize the name if thevoice sounds differently.• Avoid too long or too short name. Names with two tofive syllables are recommended.• If this feature does not work properly, erase thename, and record with another name.• It is recommended to practice several times to obtainbest result.• You can record up to 20 names. If you try to recordmore than 20, the phone announces ’Memory is full’.](https://usermanual.wiki/Samsung-Electronics-Co/SCHA592/User-Guide-252552-Page-44.png)