Samsung Electronics Co SCHI839 Cellular/PCS CDMA Phone with Bluetooth User Manual C s and Settings Admi
Samsung Electronics Co Ltd Cellular/PCS CDMA Phone with Bluetooth C s and Settings Admi
UserManual.wiki
>
Samsung Electronics Co
>
SCHI839 User Manual
Users Manual
Navigation menu
Upload a User Manual
Namespaces
Wiki Guide
HTML
PDF
Info
Views
User Manual
Discussion / Help
Navigation


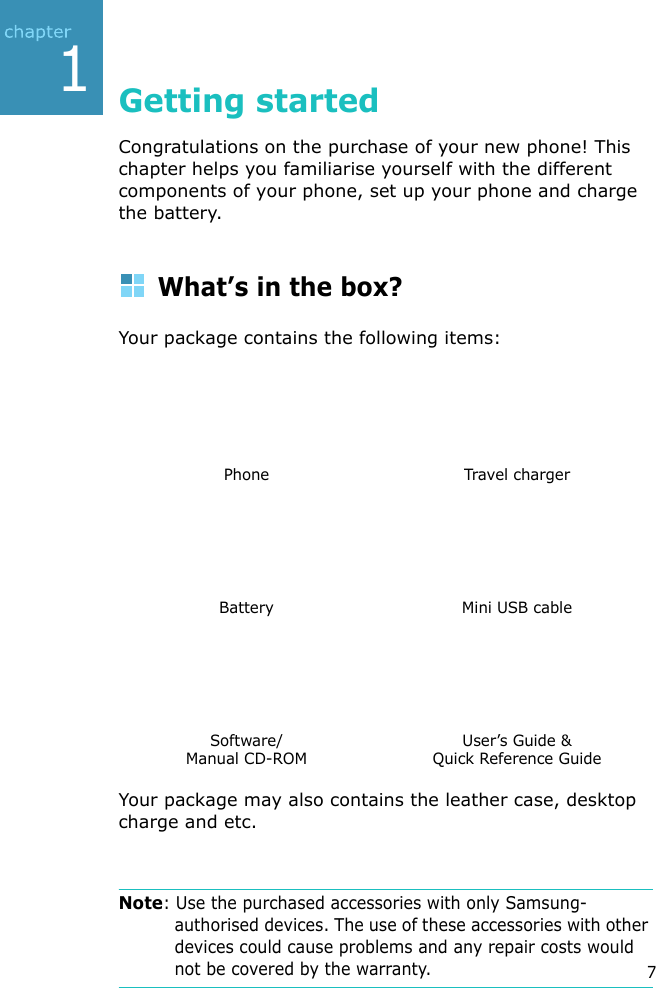

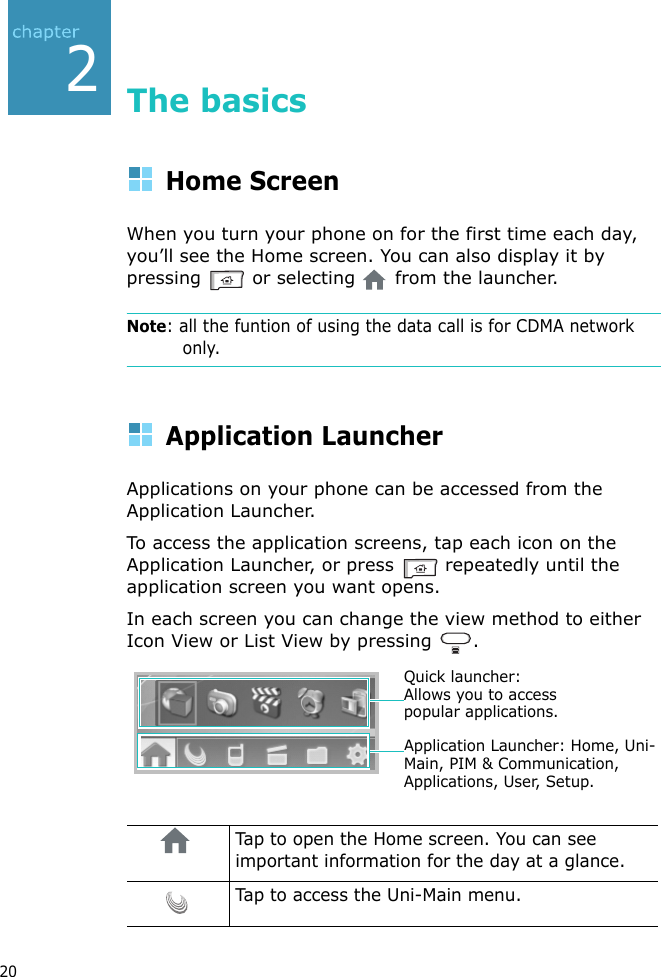
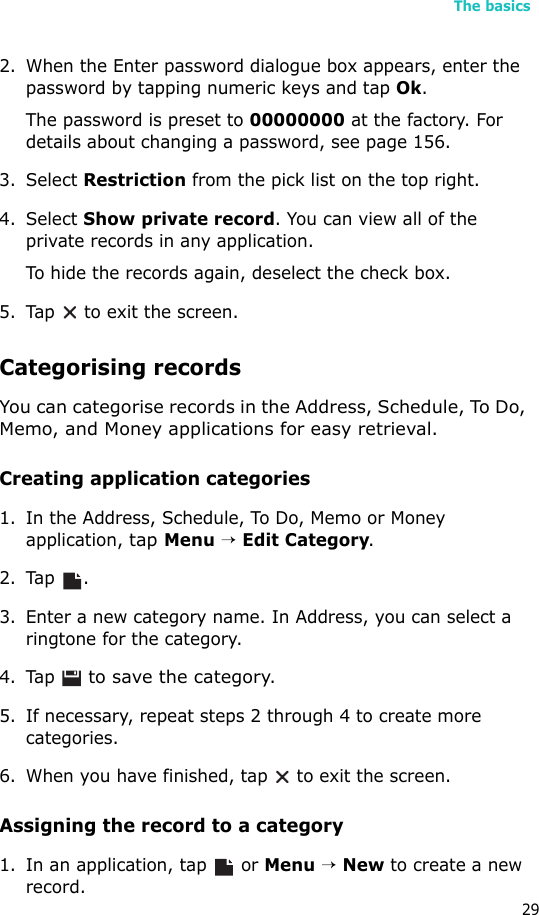
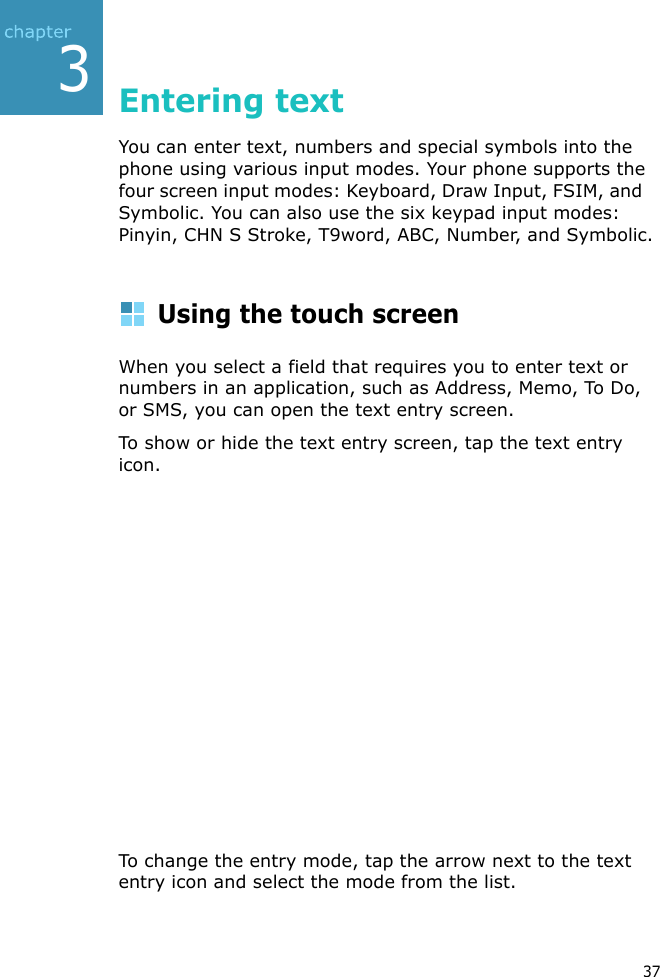
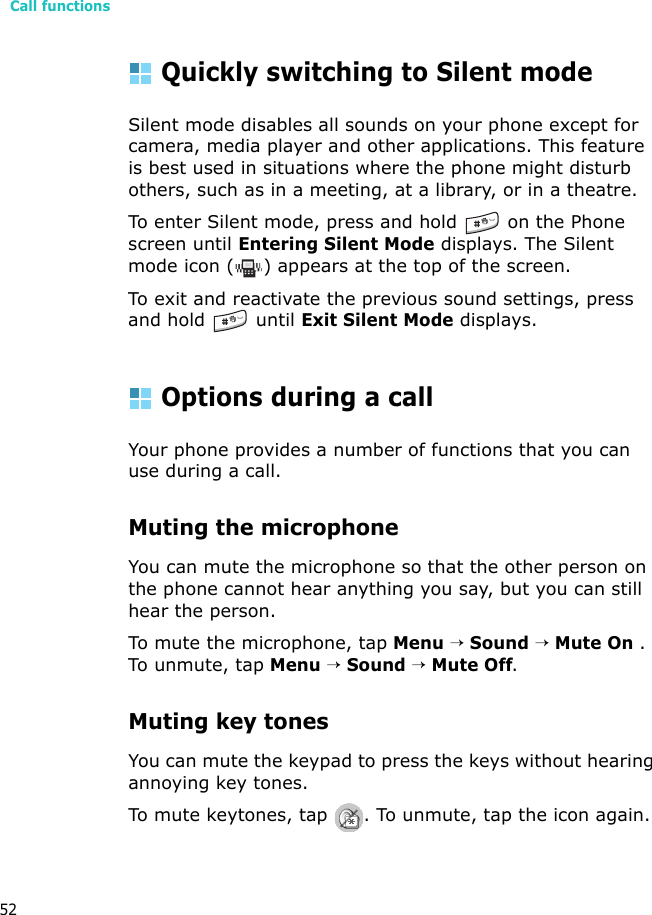
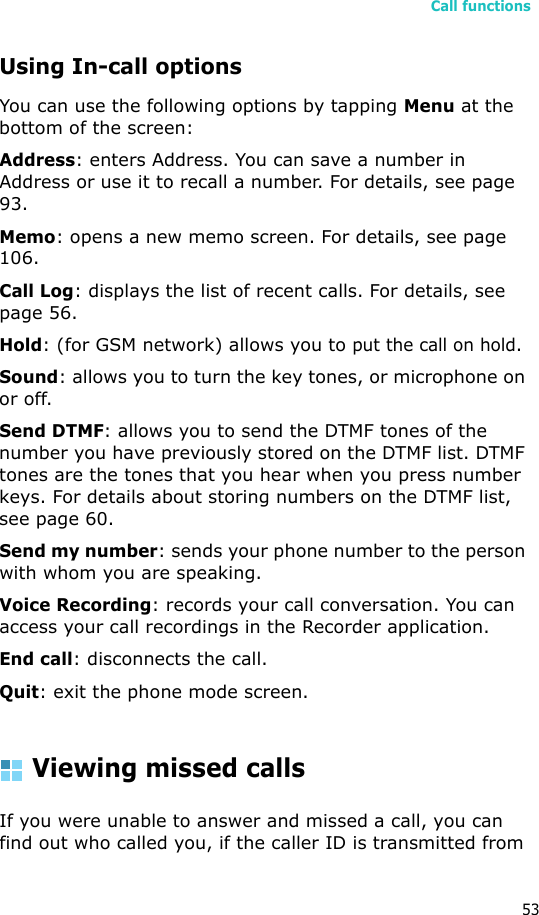
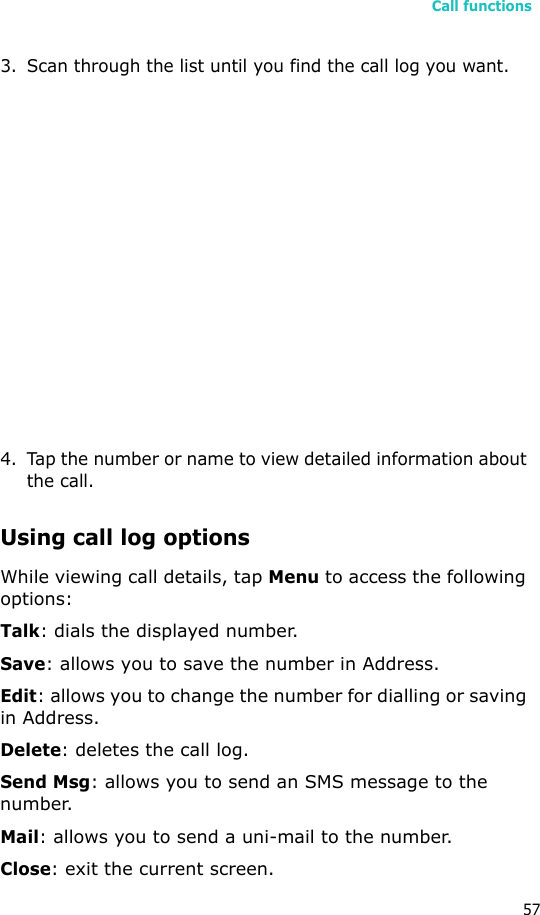

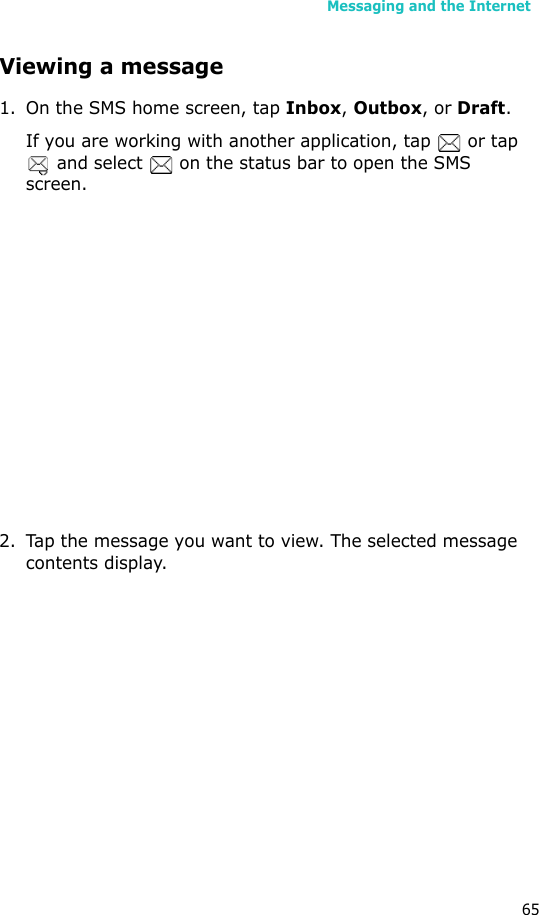

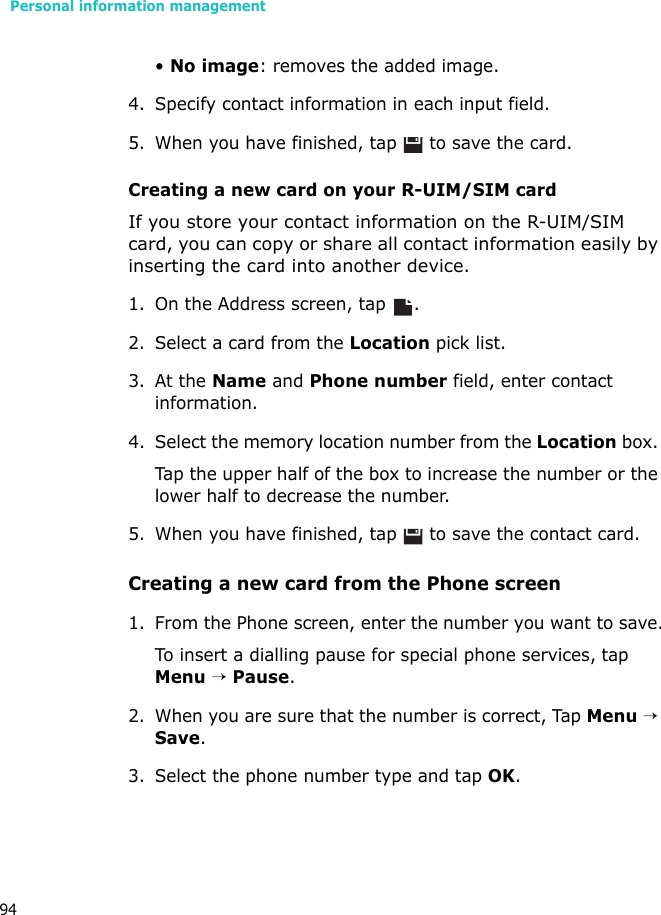

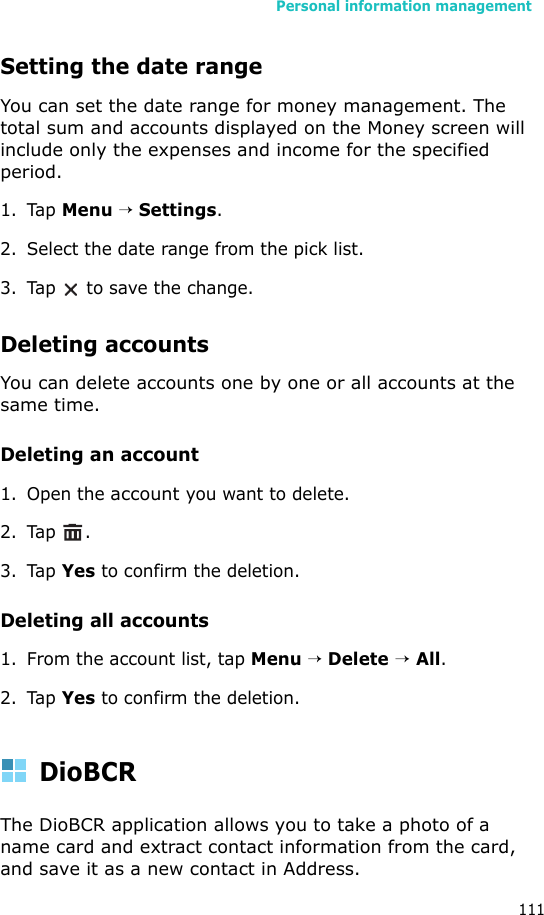
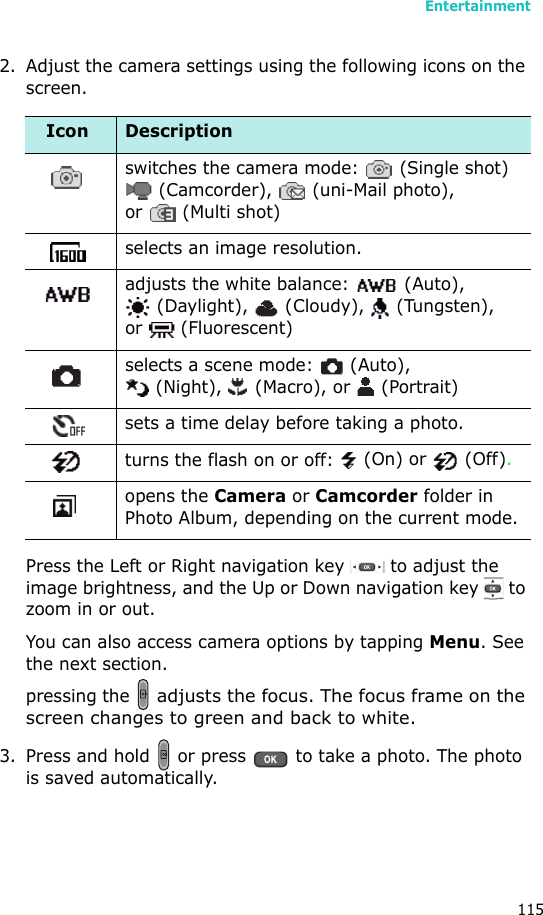

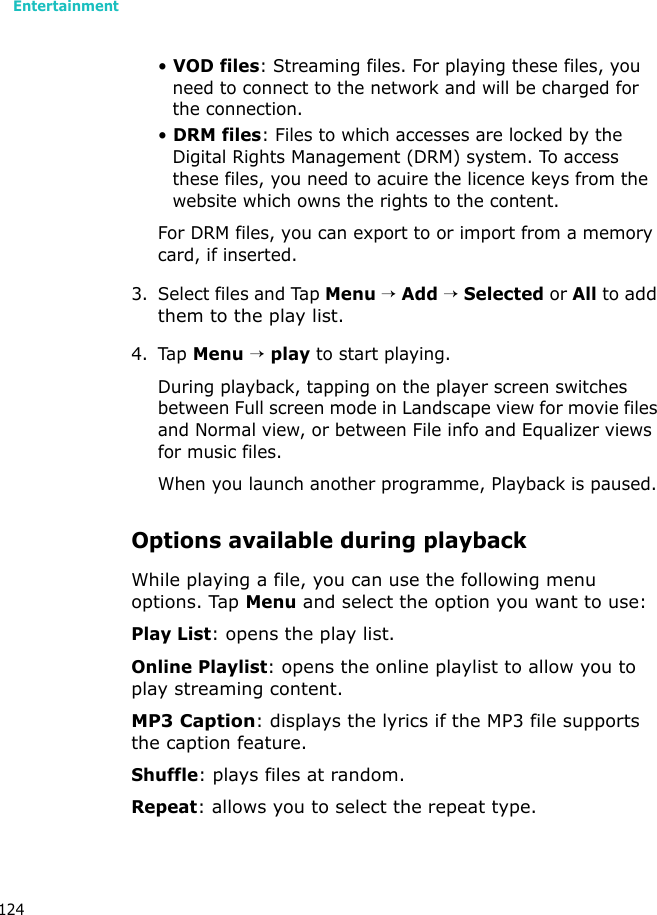
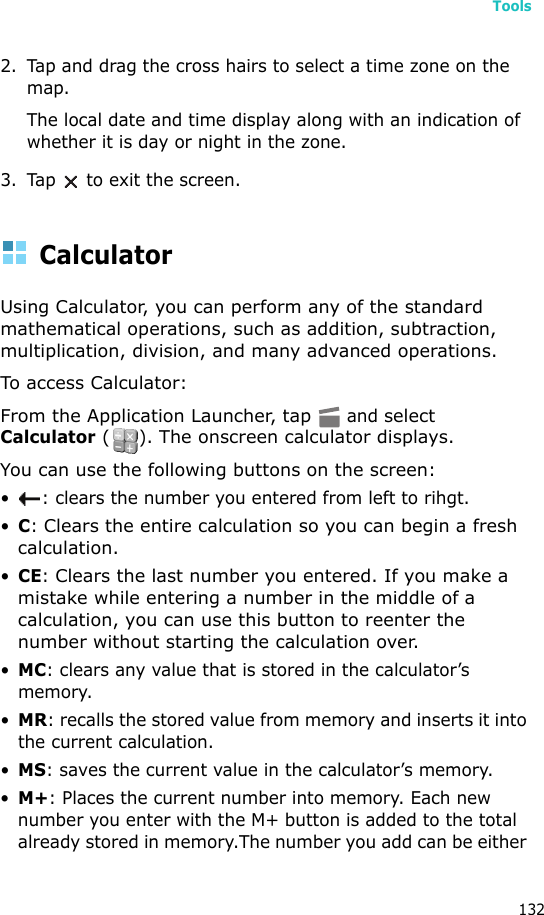
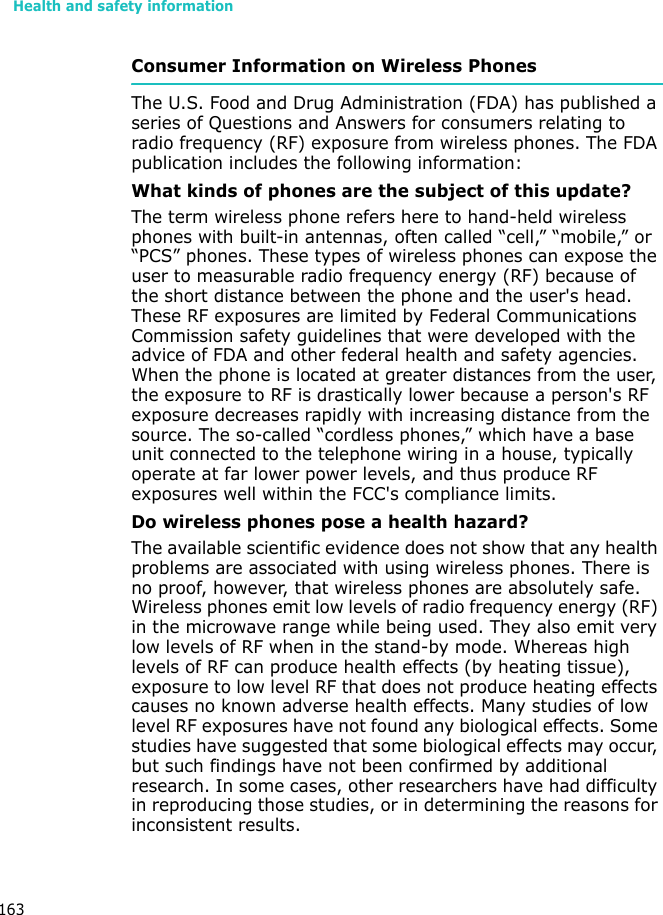
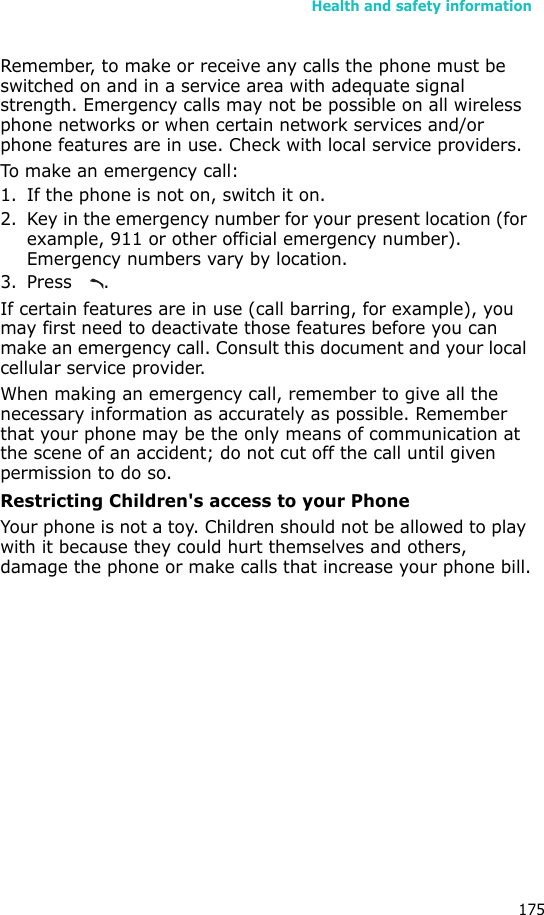
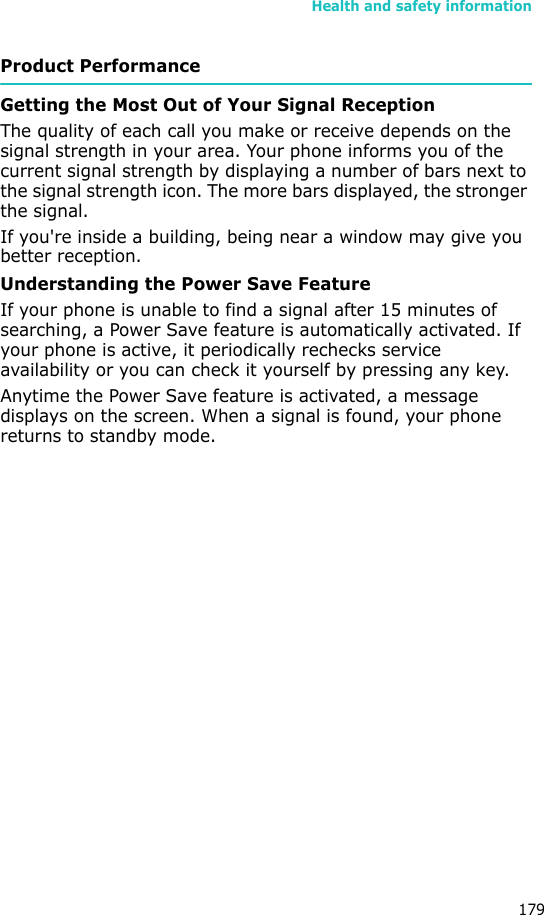
![Tools134DictionaryYour phone is equipped with an English-Chinese and Chinese-English dictionary. Use the dictionary to look up English or Chinese words anytime anywhere.To access Dictionary:From the Application Launcher, tap and select Dictionary ().Looking up a word1. Tap Menu → Mode → a dictionary type.2. Enter the English or Chinese word in the input field at the top of the Dictionary screen. The corresponding word appears in the right pane of the screen. • Tap a related word in the right pane to view the corresponding Chinese or English word.• If you are using the English-Chinese dictionary, tap to listen to the Chinese pronunciation.• To switch the dictionary language between Simplified Chinese and Traditional Chinese, tap Menu → Simplified or Traditional.• To change the view mode of the dictionary, tap or .• To add the word to your word book, tap .Viewing your word bookTo access words you have added to the word book, tap Menu → Mode → Wordbook[E] or Wordbook[C]. To delete a word from your word book, select the word and tap .](https://usermanual.wiki/Samsung-Electronics-Co/SCHI839/User-Guide-756803-Page-137.png)