Samsung Electronics Co SCHR960 Portable Handset with Multi-band CDMA/LTE, WLAN, Bluetooth and RFID User Manual r960
Samsung Electronics Co Ltd Portable Handset with Multi-band CDMA/LTE, WLAN, Bluetooth and RFID r960
Contents
- 1. Users Manual 1
- 2. Users Manual 2
Users Manual 2

![Connections 127Section 7: ConnectionsWi-FiWi-Fi is a wireless networking technology that provides access to local area networks.Wi-Fi communication requires access to an existing Wi-Fi network. Wi-Fi networks can be Open (unsecured), or Secured (requiring you to provide login credentials). Your phone supports the 802.11 a/b/g/n Wi-Fi protocols.Configuring Wi-Fi SettingsConfigure your phone’s Wi-Fi settings. For more information, see “Wi-Fi Settings” on page 141.Turning Wi-Fi On or OffWhen you turn Wi-Fi service on, your phone automatically searches for available, in-range “hotspots” [also termed WAPs (Wireless Access Points)]. Turning Wi-Fi On1. From the top of the Home screen, sweep your finger downward to display the Notifications screen. 2. At the top of the Notifications screen, touch Wi-Fi to turn Wi-Fi On. Turning Wi-Fi Off1. From the top of the Home screen, sweep your finger downward to display Notifications. 2. At the top of the Notifications screen, touch Wi-Fi to turn Wi-Fi Off. DRAFT FOR INTERNAL USE ONLY](https://usermanual.wiki/Samsung-Electronics-Co/SCHR960.Users-Manual-2/User-Guide-2015331-Page-8.png)

![Settings 139Section 8: SettingsAccessing SettingsFrom the Home screen, touch Menu ➔ Settings.– or –From the Home screen, touch Apps ➔ Settings. – or –Pull down the Notifications screen, then touch Settings. (For more information, refer to “Notifications panel” on page 33.) The Settings menu appears. Note:This section does not include information about Call settings. (For Call settings information, see “Call Settings” on page 73.) Settings TabsYour phone’s Settings are divided into 4 main groups. When the Settings screen appears, the following 4 tabs are located at the top of the screen: Connections: Wi-Fi, Bluetooth, Data usage, More networks, NFC, S Beam, Nearby devices, Screen Mirroring, and Kies via Wi-Fi. My device: Lock screen, Display, Sound, Home screen mode, Call, Blocking mode, Sound, Display, Power saving mode, Accessory, Accessibility Date and time, Accessibility, Language and input, Motions and gestures, Smart screen, Air view, and Voice control. Accounts: My accounts [Add account (Samsung account, ChatON, Dropbox, Email, Google, LDAP, Microsoft Exchange, and Sync apps with Facebook)] and Backup options (Cloud and Backup and reset). More: Location services, Security, Application manager, Battery, Storage, Date and time, and About device. DRAFT FOR INTERNAL USE ONLY](https://usermanual.wiki/Samsung-Electronics-Co/SCHR960.Users-Manual-2/User-Guide-2015331-Page-20.png)


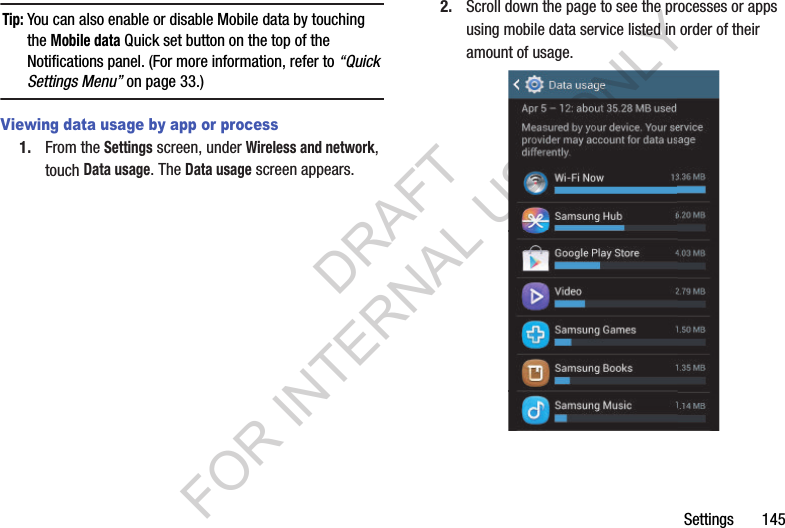
![1463. Touch a process or app to see data usage for the process or app, and to configure specific settings (touch View app settings, when active). 4. To access mobile data usage settings, touch Menu: • Data roaming: When enabled, includes data roaming usage in the graph. • Restrict background data: When enabled, stops some apps and services unless your device is connected to a Wi-Fi network. • Auto sync data: When enabled, reduces mobile data usage and conservers battery power, but you must manually sync your accounts and you will not receive app update notices. •Show Wi-Fi usage: When enabled, two buttons appear at the top of the Data usage screen: –Mobile: Shows Mobile data usage. –Wi-Fi: Shows Wi-Fi data usage. • Mobile hotspots: Lets you mark a detected Wi-Fi hotspot as a mobile hotspot (a check mark appears in the check box), restricting background apps from using this hotspot and warning you when you attempt to use it for large downloads. More Wireless and Network SettingsAirplane modeWhen airplane mode is enabled, all your phone’s wireless connections are disabled, and you cannot make or receive calls [except for Emergency (E911) calls] or messages. You can, however, make Wi-Fi and Bluetooth connections. While in airplane mode, you can use other features of your phone, such as playing music, watching videos, or using other applications. 1. From the Connections screen and under Network connections, touch More networks. The Wireless and networks screen appears. 2. Touch Airplane mode to enable or disable airplane mode. A check mark in the check box indicates this option is enabled. DRAFT FOR INTERNAL USE ONLY](https://usermanual.wiki/Samsung-Electronics-Co/SCHR960.Users-Manual-2/User-Guide-2015331-Page-27.png)
![Settings 155–Shortcuts: When enabled, application shortcuts appear on the lock screen. Swipe an icon to launch the associated application. Touch Shortcuts to enable lock screen shortcuts. Touch Shortcuts to disable lock screen shortcuts. Touch Shortcuts to add/remove lock screen shortcuts. –Unlock effect: Touch this option to enable/disable showing a Ripple or Light effect on the lock screen, provided the lock screen wallpaper is not “live”. –Help text: Touch this option to enable/disable showing text explanations of lock screen features. When enabled, a check mark appears in the check box. –Wake up in lock screen: Touch this option to enable/disable unlocking your phone by saying the S Voice wake-up command. When enabled, a check mark appears in the check box. (For more information about S Voice, see “S Voice” on page 119.) –Set wake-up command: Touch this option to configure the S Voice wake-up command functions. (For more information about S Voice, see “S Voice” on page 119.) DisplayFrom the My device screen and under Personalization, touch Display. The Display menu appears. GeneralWallpaperSelect wallpaper(s) for the Home and Lock screens. 1. From the Display menu, under General, touch Wallpaper. 2. Touch the screen for which you want to select wallpaper. (Options are: Home screen, Lock screen, and Home and lock screens.) 3. Touch the source of the wallpaper(s) you want to use. [Options are: Gallery, Live wallpapers (not for the Lock screen), Travel wallpaper (not for the Home screen), and Wallpapers.] (For more information, refer to “Wallpaper” on page 41.) 4. Touch the desired image or wallpaper. DRAFT FOR INTERNAL USE ONLY](https://usermanual.wiki/Samsung-Electronics-Co/SCHR960.Users-Manual-2/User-Guide-2015331-Page-36.png)

![Settings 163Blocking modeWhen enabled, Blocking mode lets you select which notifications you receive. 1. From the My device screen and under Personalization, touch Blocking mode to turn this feature ON. 2. Touch the Blocking mode option to access the following additional options: •Features: –Turn off incoming calls: When enabled, blocks incoming calls from everyone except Allowed contacts. –Turn off notifications: When enabled, blocks notifications from playing an alert tone. –Turn off alarm and timer: When enabled, blocks notifications from Clock and Calendar alarms, and from timers. •Set time: –Always: When enabled, blocking mode stays active until you turn it off. –From: With Always disabled, select the time when Blocking mode will come on. –To: With Always disabled, select the time when Blocking mode will go off. • Allowed contacts: –Allowed contacts: Select contacts from whom your phone is to accept incoming calls when Blocking mode is ON. [Options are: None, All contacts, Favorites, Custom (selecting this option enables Allowed contact list).] –Allowed contact list: Add and remove contacts from whom your phone accepts calls when Blocking mode is on. 3. Select the desired option to enable/disable it. DRAFT FOR INTERNAL USE ONLY](https://usermanual.wiki/Samsung-Electronics-Co/SCHR960.Users-Manual-2/User-Guide-2015331-Page-44.png)


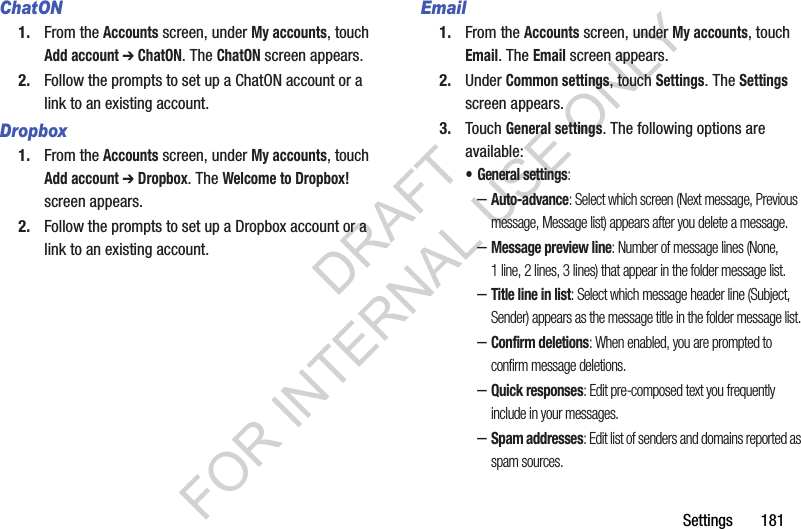
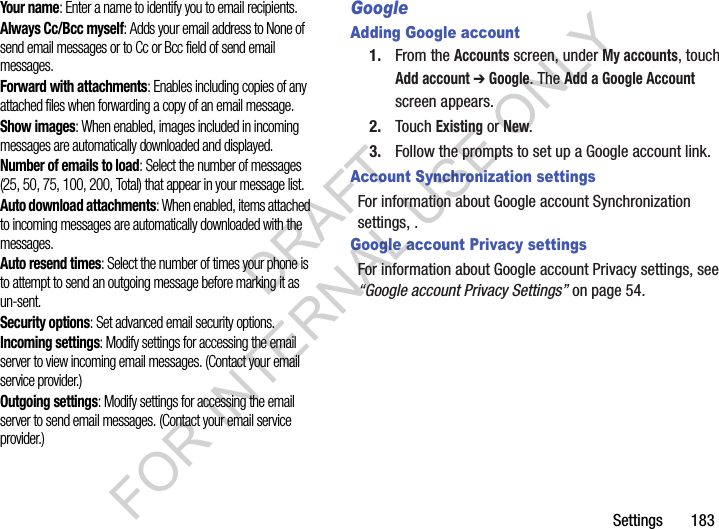
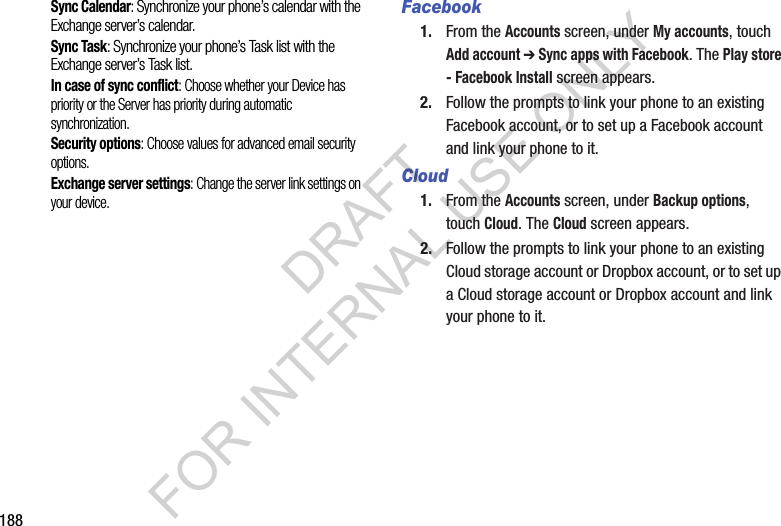
![180AccountsSet up and manage accounts, including your Samsung, Email, Google, and social networking accounts. From the Settings screen, touch Accounts. The Accounts screen appears. Samsung account1. From the Accounts screen, under My accounts, touch Add account ➔ Samsung account. The Samsung account screen appears. 2. Under General settings, touch Account settings. The following options are available: • Account information: –Profile (password protected): Change password and view Email address, Date of birth, First name, Last name, Name prefix, Zip code, and Receive newsletter status for your account. –Terms and conditions: Terms and conditions, Special terms, and Privacy policy information. –Help: Find your email address or password, Contact us with a text message, or review Customer support information [My questions, FAQ (Frequently Asked Questions), or Contact us], or Samsung account software and services Information (About, About Samsung services, and Terms and conditions). • Storage usage: Review Total storage used and touch Personal data management options to free up used storage. •Backup: –Auto backup: When set to On for at least an hour and connected to a Wi-Fi network and with the screen off and the device charging, your data is backed up automatically. –Backup options: Select the data to be backed up [Logs, Messages (SMS), Messages (MMS), and/or Wallpaper]. These options also show when your data was Last backed up. –Back up now: Immediately backup your selected data. •Restore: Immediately restore your backed up data to your device. DRAFT FOR INTERNAL USE ONLY](https://usermanual.wiki/Samsung-Electronics-Co/SCHR960.Users-Manual-2/User-Guide-2015331-Page-61.png)
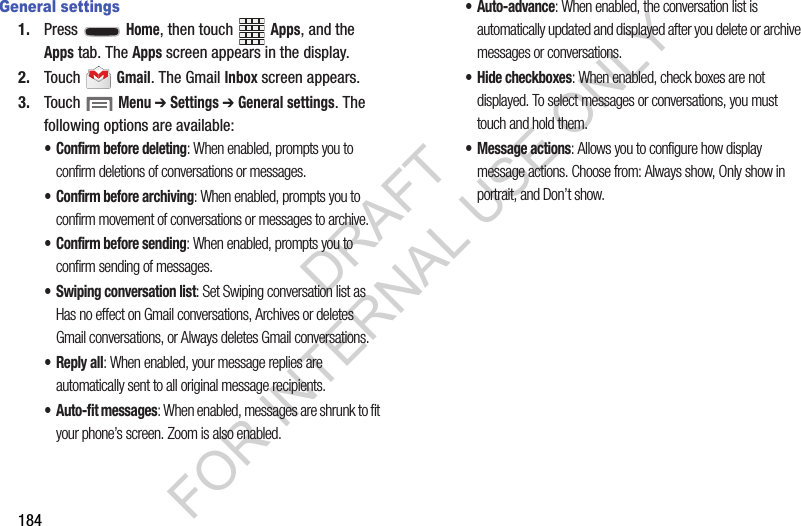
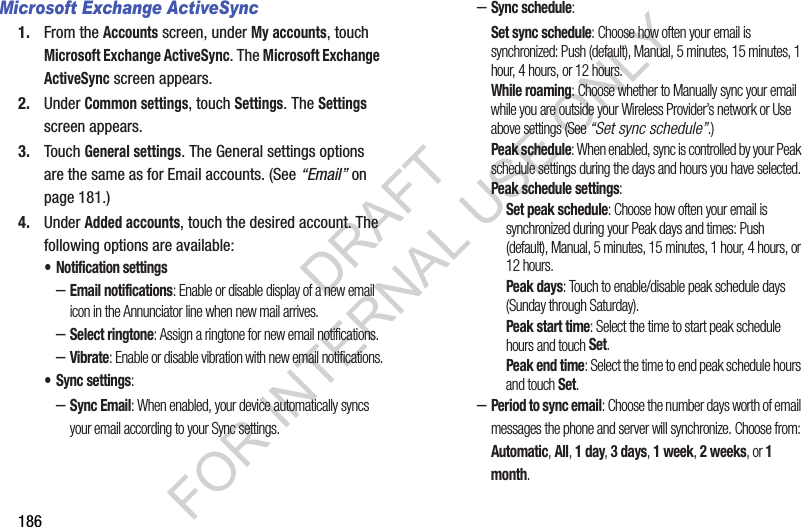
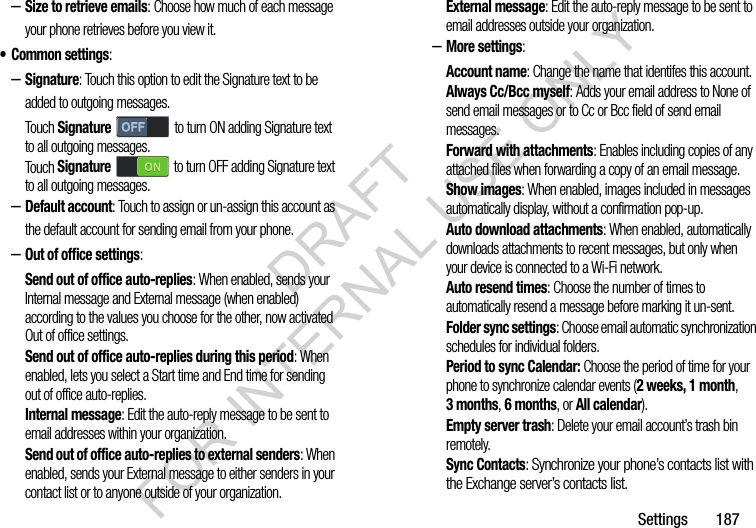
![182–Priority sender settings: Priority senders: List those senders whose messages receive priority in your message list. Set as the default folder: When enabled, the priority sender inbox appears when you touch Email. Email notifications: When enabled, an icon and the Email title appear in the status bar for new messages. Select ringtone: Choose the ringtone that plays when you receive new messages. Vibrate: When enabled, your phone vibrates when you receive new messages. –Rules for filtering: Set email filters and manage filtered email in the Combined view. –Delay email sending: Delay email sending: When enabled, delays sending your emails for your selected delay interval so that you can cancel them. Set length of delay: Choose 3 seconds (default), 5 seconds, 10 seconds, 20 seconds, or 30 seconds. –Default image size: Choose the default size for images attached to email messages [Original, Large (70%), Medium (30%), Small (10%), or Always ask (default)]. 4. Under Added accounts, touch the desired account. The following options are available: • Notification settings –Email notifications: Enable or disable display of a new email icon in the Annunciator line when new mail arrives.–Select ringtone: Assign a ringtone for new email notifications.–Vibrate: Enable or disable vibration with new email notifications.• Sync settings: –Sync Email: When enabled, the contents of your phone’s email folder is synchronized with your account. –Sync schedule: Peak/Off-peak schedule control. –Size to retrieve emails: Select the amount of new incoming message contents to include in your message list. • Common settings: –Signature: When On, adds pre-composed signature text to send messages. Touch to edit the signature text that appears at the end of email messages you send. –Default account: When active, sends email from this account by default. –More settings: Account name: Enter a name to identify the account. DRAFT FOR INTERNAL USE ONLY](https://usermanual.wiki/Samsung-Electronics-Co/SCHR960.Users-Manual-2/User-Guide-2015331-Page-63.png)


![204The FCC SAR limit incorporates a substantial margin of safety to give additional protection to the public and to account for any variations in measurements.SAR tests are conducted using standard operating positions accepted by the FCC with the phone transmitting at its highest certified power level in all tested frequency bands. Although the SAR is determined at the highest certified power level, the actual SAR level of the phone while operating can be well below the maximum reported value. This is because the phone is designed to operate at multiple power levels so as to use only the power required to reach the network. In general, the closer you are to a wireless base station antenna, the lower the power output of the phone.Before a new model phone is available for sale to the public, it must be tested and certified to the FCC that it does not exceed the SAR limit established by the FCC. Tests for each model phone are performed in positions and locations (e.g. at the ear and worn on the body) as required by the FCC. For body-worn operation, this phone has been tested and meets FCC RF exposure guidelines when used with an accessory that contains no metal and that positions the mobile device a minimum of 1.0 cm from the body.Use of other accessories may not ensure compliance with FCC RF exposure guidelines. The FCC has granted an Equipment Authorization for this mobile device with all reported SAR levels evaluated as in compliance with the FCC RF exposure guidelines. This mobile phone has a FCC ID number: A3LSCHR960 [Model Number: SCH-R960] and the specific SAR levels for this mobile phone can be found at the following FCC website:http://www.fcc.gov/oet/ea/.The SAR information for this device can also be found on Samsung’s website: http://www.samsung.com/sar. SAR information on this and other model phones can be accessed online on the FCC's website through http://transition.fcc.gov/oet/rfsafety/sar.html. To find information that pertains to a particular model phone, this site uses the phone FCC ID number which is usually printed somewhere on the case of the phone. Sometimes it may be necessary to remove the battery pack to find the number. Once you have the FCC ID number for a particular phone, follow the instructions on the website and it should provide values for typical or maximum SAR for a particular phone. Additional DRAFT FOR INTERNAL USE ONLY](https://usermanual.wiki/Samsung-Electronics-Co/SCHR960.Users-Manual-2/User-Guide-2015331-Page-85.png)


![Health and Safety Information 221• Reduce risk of repetitive motion injuries. When you repetitively perform actions, such as pressing keys, drawing characters on a touch screen with your fingers, or playing games, you may experience occasional discomfort in your hands, neck, shoulders, or other parts of your body. When using your device for extended periods, hold the device with a relaxed grip, press the keys lightly, and take frequent breaks. If you continue to have discomfort during or after such use, stop use and see a physician.• If your device has a camera flash or light, do not use the flash or light close to the eyes of people or pets. [122011]DRAFT FOR INTERNAL USE ONLY](https://usermanual.wiki/Samsung-Electronics-Co/SCHR960.Users-Manual-2/User-Guide-2015331-Page-102.png)
![Warranty Information 227Samsung Telecommunications America, LLC1301 E. Lookout DriveRichardson, Texas 75082Phone: 1-800-SAMSUNGPhone: 1-888-987-HELP (4357)No reproduction in whole or in part allowed without prior written approval. Specifications and availability subject to change without notice. [111611]End User License Agreement for SoftwareIMPORTANT. READ CAREFULLY: This End User License Agreement ("EULA") is a legal agreement between you (either an individual or a single entity) and Samsung Electronics Co., Ltd. ("Samsung") for software, owned by Samsung and its affiliated companies and its third party suppliers and licensors, that accompanies this EULA, which includes computer software and may include associated media, printed materials, "online" or electronic documentation in connection with your use of this device ("Software"). This device requires the use of preloaded software in its normal operation. BY USING THE DEVICE OR ITS PRELOADED SOFTWARE, YOU ACCEPT THE TERMS OF THIS EULA. IF YOU DO NOT ACCEPT THESE TERMS, DO NOT USE THE DEVICE OR THE SOFTWARE. 1. GRANT OF LICENSE. Samsung grants you the following rights provided that you comply with all terms and conditions of this EULA: You may install, use, access, display and run one copy of the Software on the local hard disk(s) or other permanent storage media of one computer and use the Software on a single computer or a mobile device at a time, and you may not make the Software available over a network where it could be used by multiple computers at the same time. You may make one copy of the Software in machine readable form for backup purposes only; provided that the backup copy must include all copyright or other proprietary notices contained on the original.Certain items of the Software may be subject to open source licenses. The open source license provisions may override some of the terms of this EULA. We make the applicable open source licenses available to you on the Legal Notices section of the Settings menu of your device.DRAFT FOR INTERNAL USE ONLY](https://usermanual.wiki/Samsung-Electronics-Co/SCHR960.Users-Manual-2/User-Guide-2015331-Page-108.png)
![234removable). Alternatively, you may opt out by calling 1-888-987-4357 no later than 30 calendar days from the date of the first consumer purchaser's purchase of the device and providing the same information. These are the only two forms of notice that will be effective to opt out of this dispute resolution procedure. Opting out of this dispute resolution procedure will not affect your use of the device or its preloaded Software, and you will continue to enjoy the benefits of this license.17. ENTIRE AGREEMENT; SEVERABILITY. This EULA is the entire agreement between you and Samsung relating to the Software and supersedes all prior or contemporaneous oral or written communications, proposals and representations with respect to the Software or any other subject matter covered by this EULA. If any provision of this EULA is held to be void, invalid, unenforceable or illegal, the other provisions shall continue in full force and effect. [050113]DRAFT FOR INTERNAL USE ONLY](https://usermanual.wiki/Samsung-Electronics-Co/SCHR960.Users-Manual-2/User-Guide-2015331-Page-115.png)