Samsung Electronics Co SCHX799 Single-Mode Cellular Phone (CDMA) User Manual
Samsung Electronics Co Ltd Single-Mode Cellular Phone (CDMA)
UserManual.wiki
>
Samsung Electronics Co
>
SCHX799 User Manual
Users Manual
Navigation menu
Upload a User Manual
Namespaces
Wiki Guide
HTML
PDF
Info
Views
User Manual
Discussion / Help
Navigation
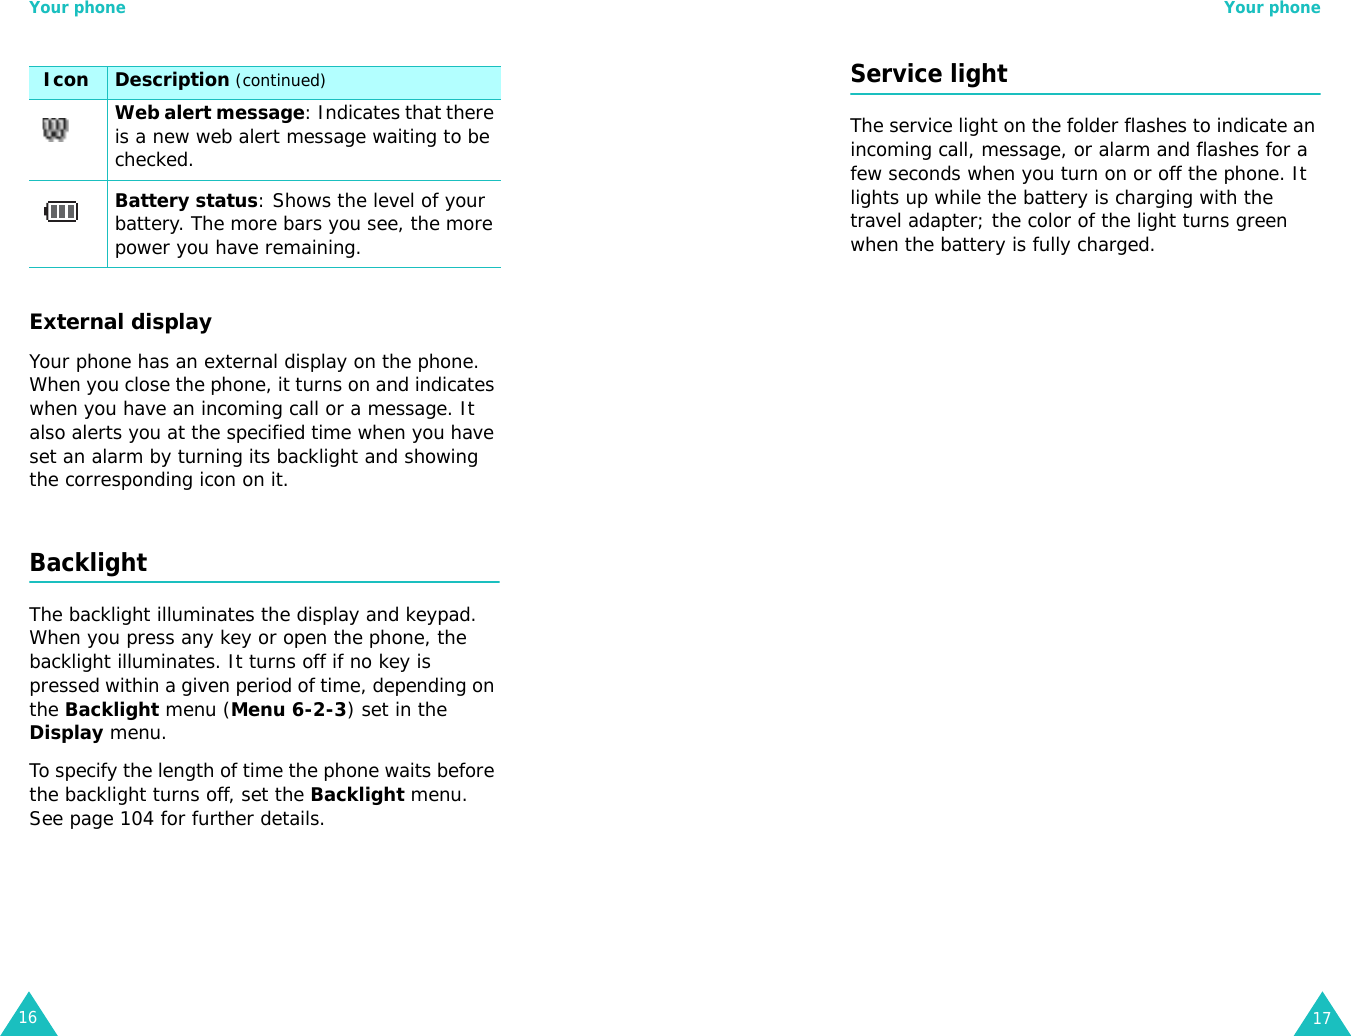

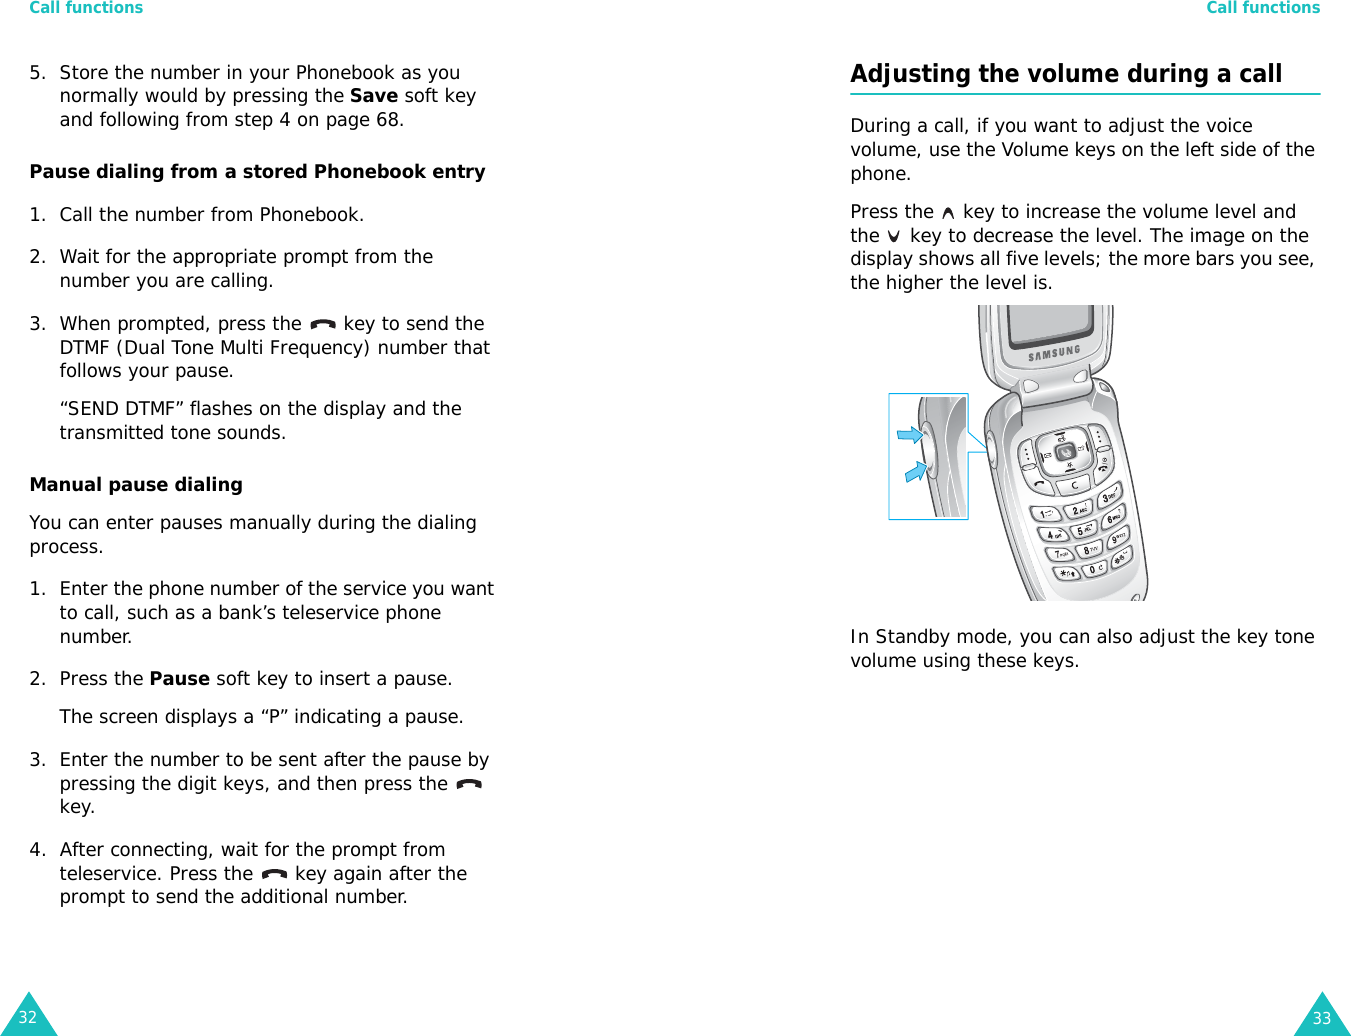
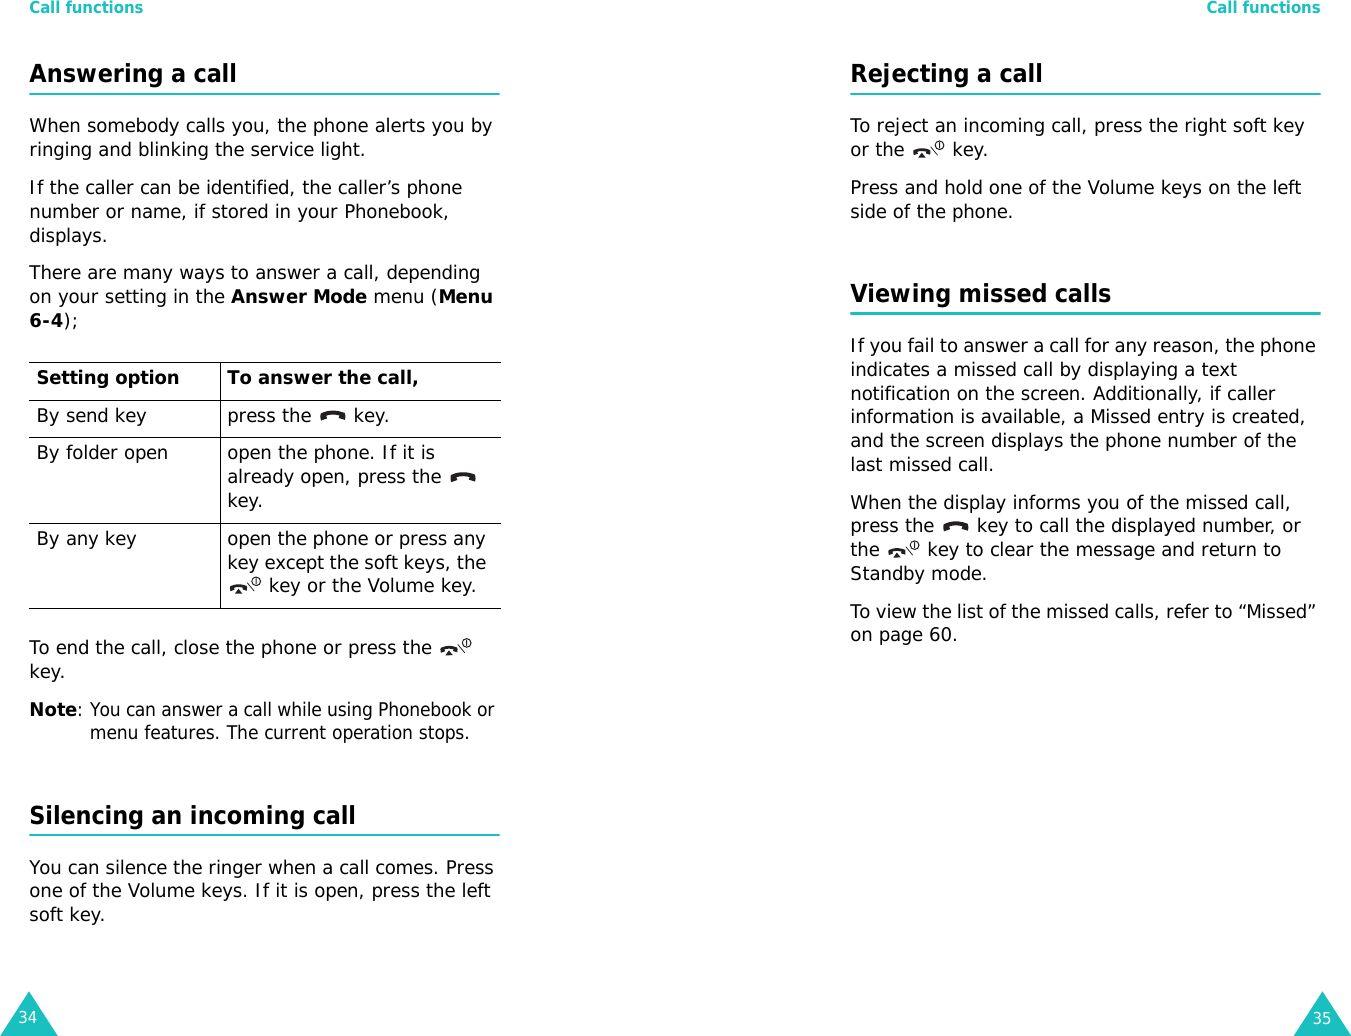
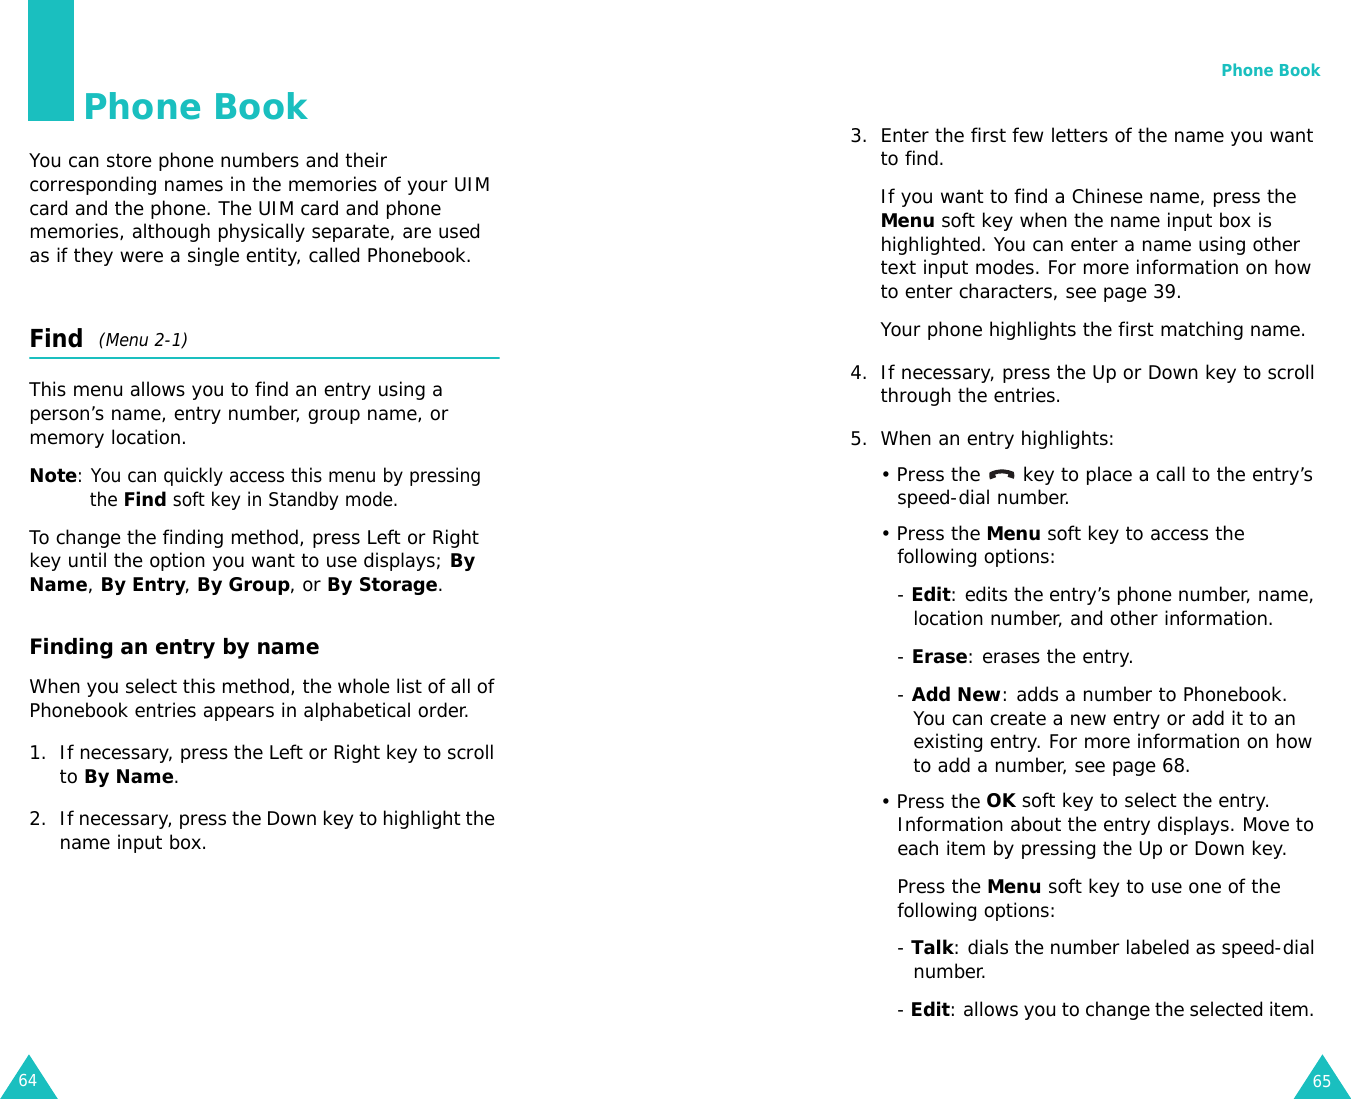
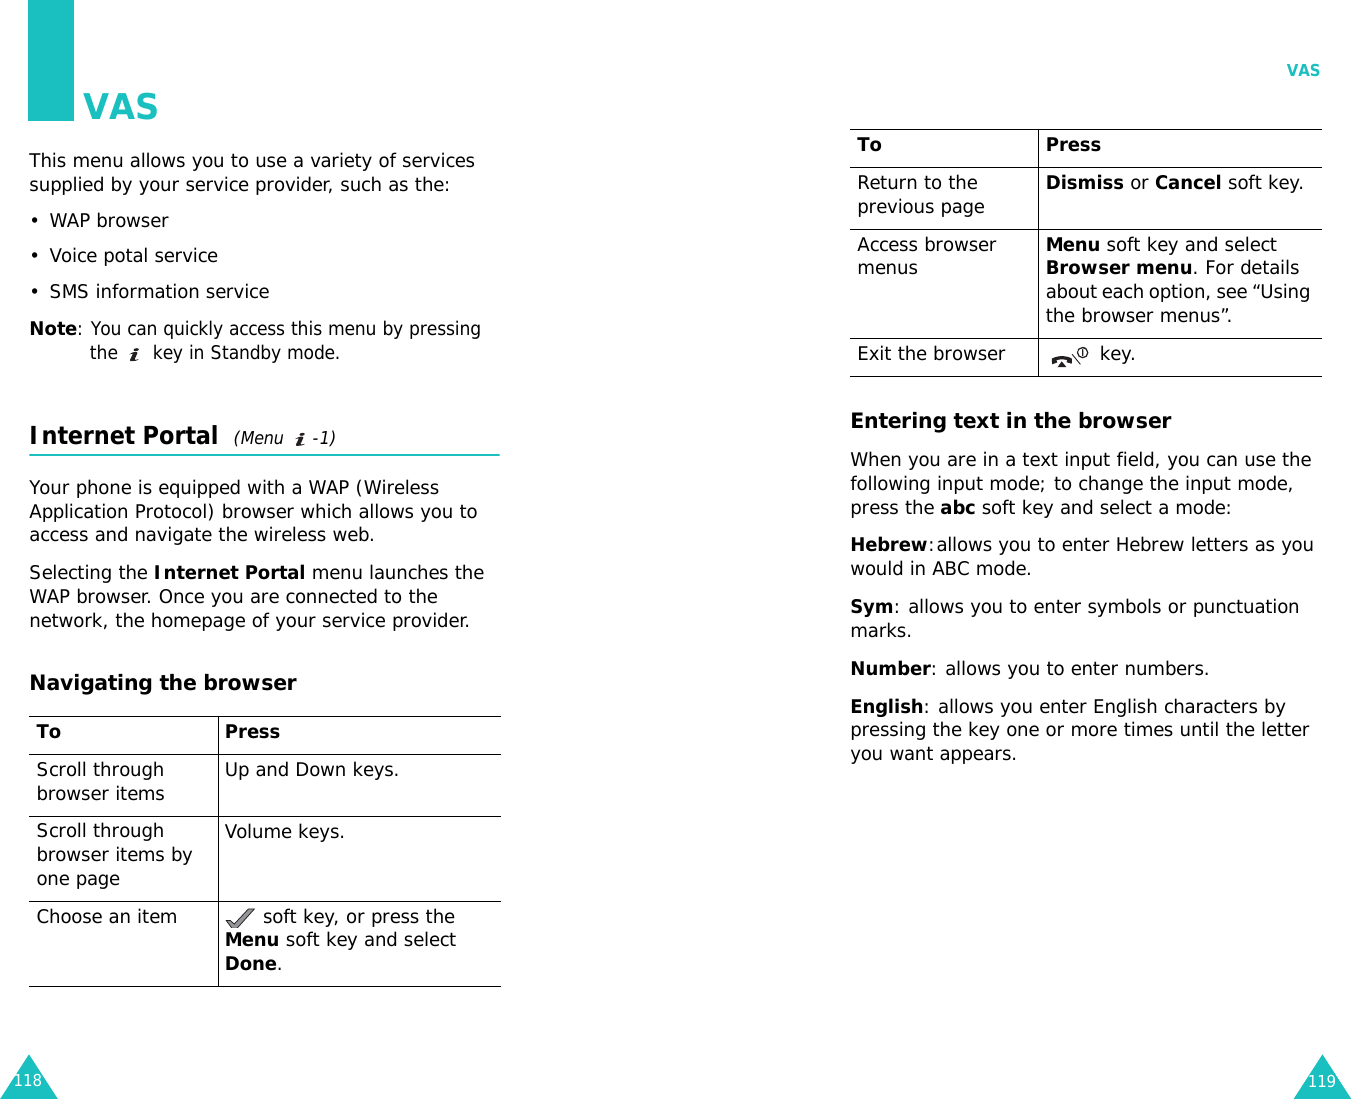
![Entering text48Using 123 mode123 mode enables you to enter numbers into your text. Press the keys corresponding to the digits you want, and manually switch back to the text entry mode of your choice. See page 40 for changing the text input mode.Using Symbol modeSymbol mode enables you to enter symbols into your text. Press the Left or Right key to display more symbol sets.Press the keys corresponding to the mark you want, and manually switch back to the text entry mode of your choice. See page 40 for changing the text input mode.Using ABC modeWhen typing in ABC mode, you should press the key labeled with the letter you want:- once for the first letter- twice for the second letter- and so on.This method is called Multi-tap typing.For example, you need to press the 2 key three times quickly to display the letter “C” and the 5 key two times quickly to display the letter “K.” Entering text49Refer to the table below for the list of characters assigned to each key.List of characters available:(Capital Lock)The cursor moves to the right when you press a different key. When entering the same letter twice or a different letter on the same key, just wait for about four seconds, and enter the next letter.Changing the letter-caseTo shift case of the next letter(s) that you type, press the key. There are three cases: • Initial Capital (Abc)•Lower Case (abc)• Capitals Lock (ABC)key Characters in the Order Displayed . @ , : ? - ; ’ / ( ) ! % & < > _ + = ” \ { } $ [ ] 1ABC2DEF3GHI4JKL5MNO6PQRS7TUV8WXYZ90](https://usermanual.wiki/Samsung-Electronics-Co/SCHX799/User-Guide-518750-Page-25.png)