Samsung Electronics Co SGHD720 PCS GSM Phone with Bluetooth Transmitter User Manual D 05 RTTE PTCRB 06 SGH D72
Samsung Electronics Co Ltd PCS GSM Phone with Bluetooth Transmitter D 05 RTTE PTCRB 06 SGH D72
UserManual.wiki
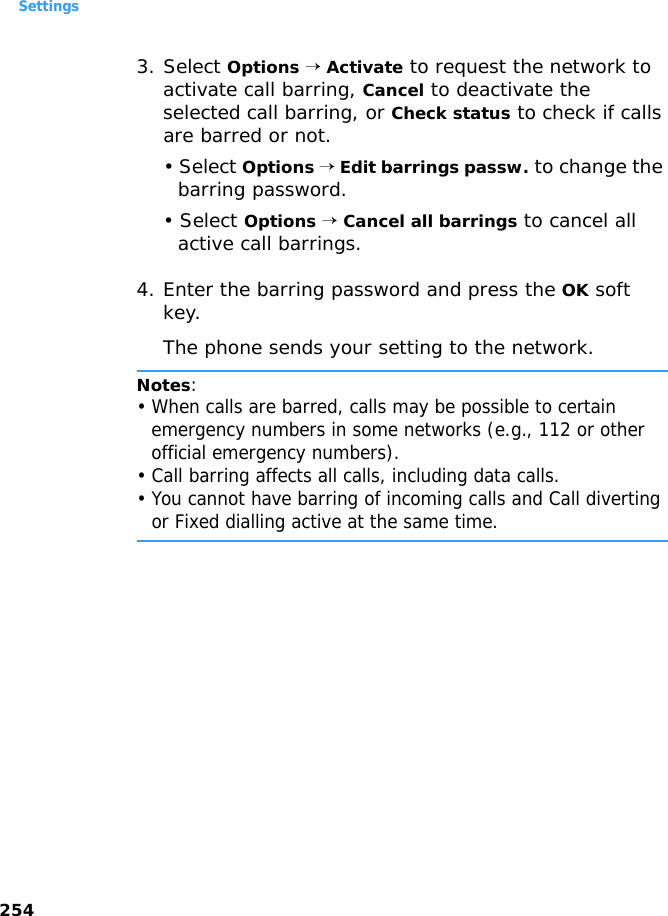
>
Samsung Electronics Co
>
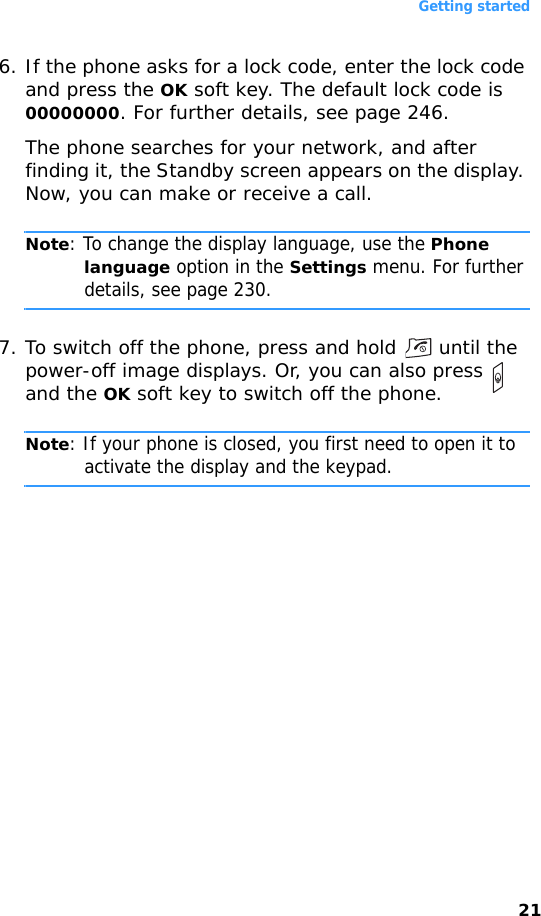
SGHD720 User Manual
Users Manual
Navigation menu
Upload a User Manual
Namespaces
Wiki Guide
HTML
PDF
Info
Views
User Manual
Discussion / Help
Navigation
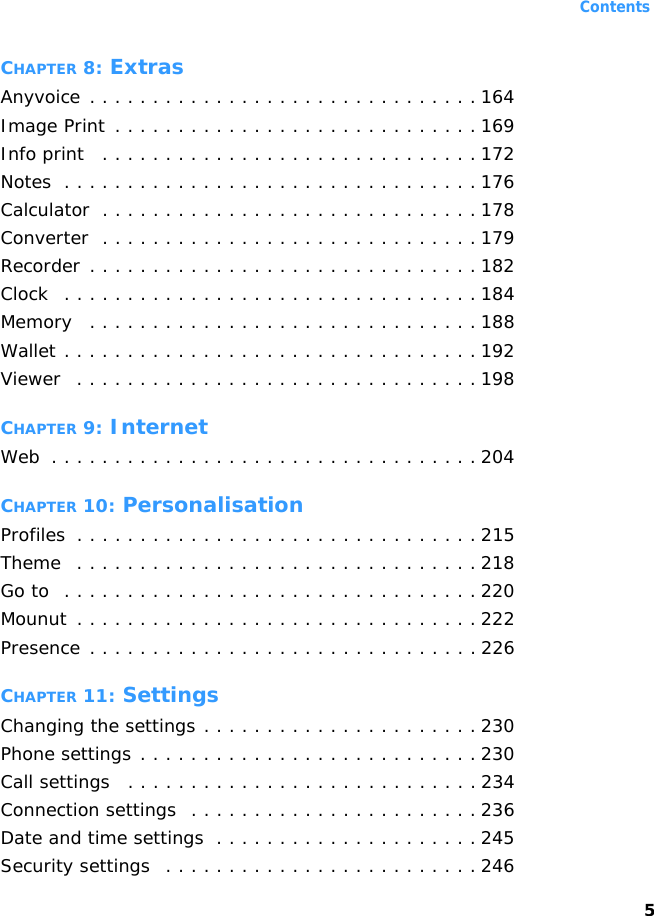


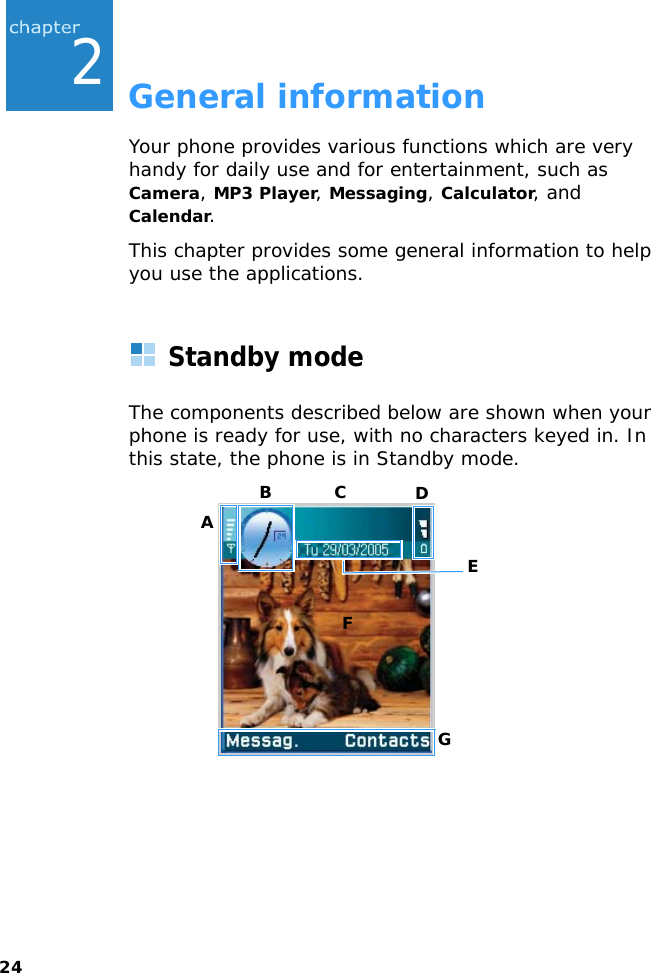
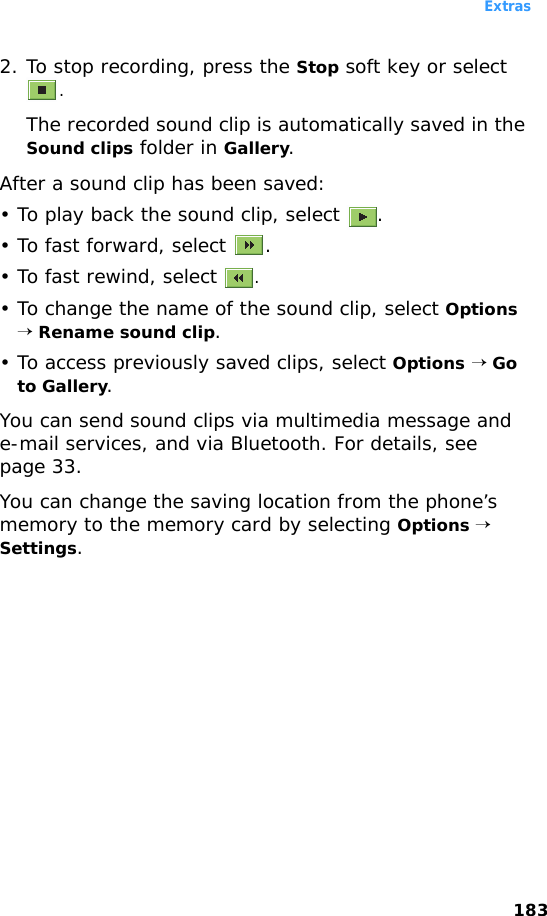
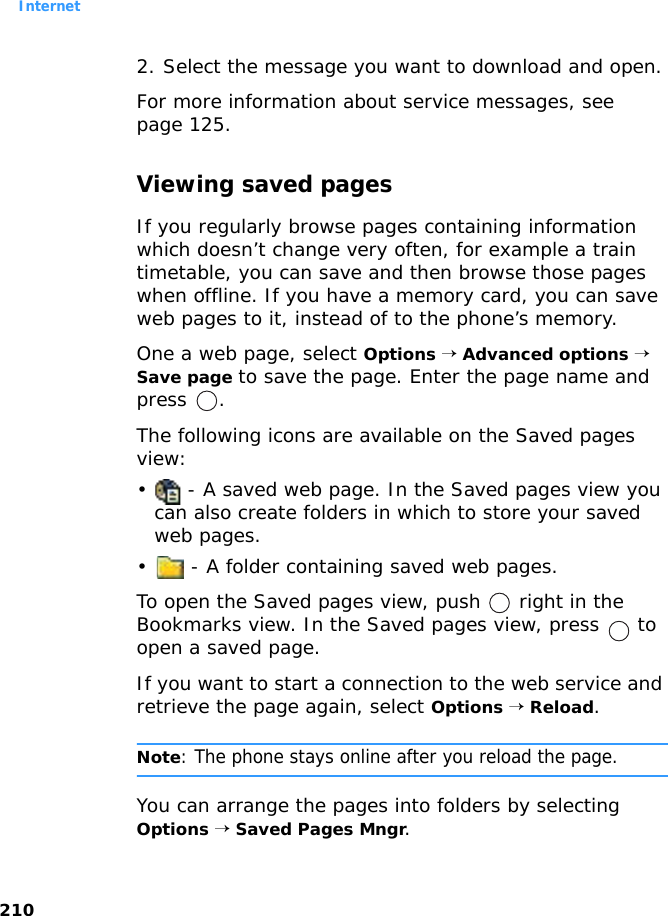
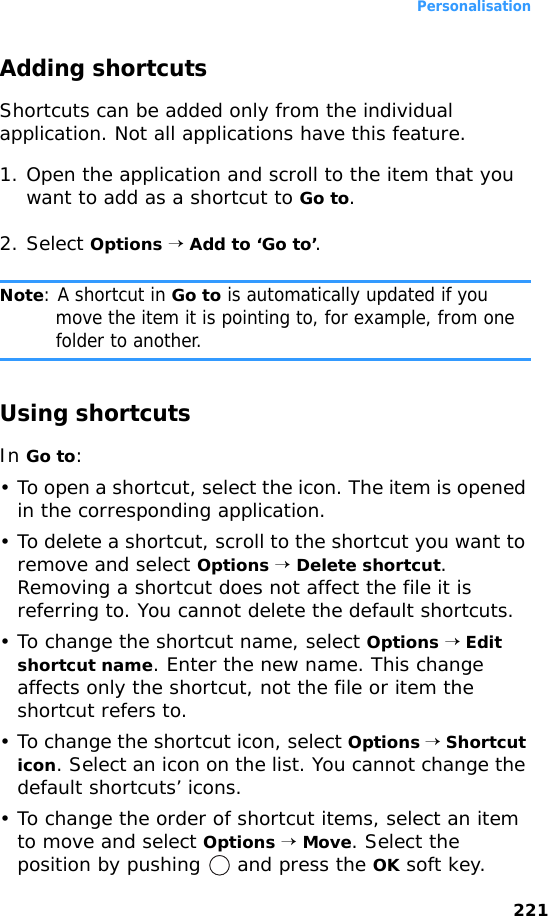
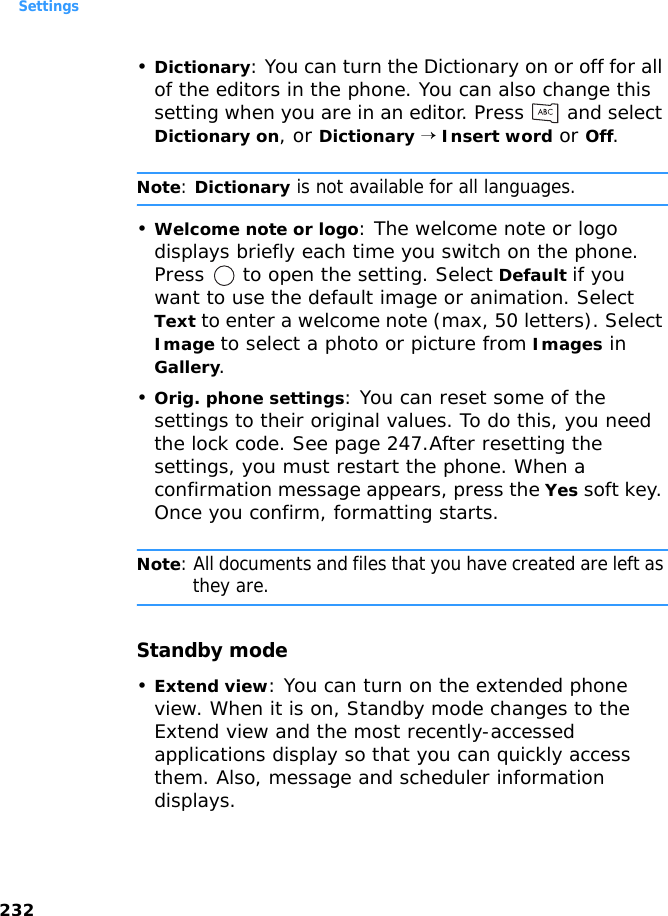
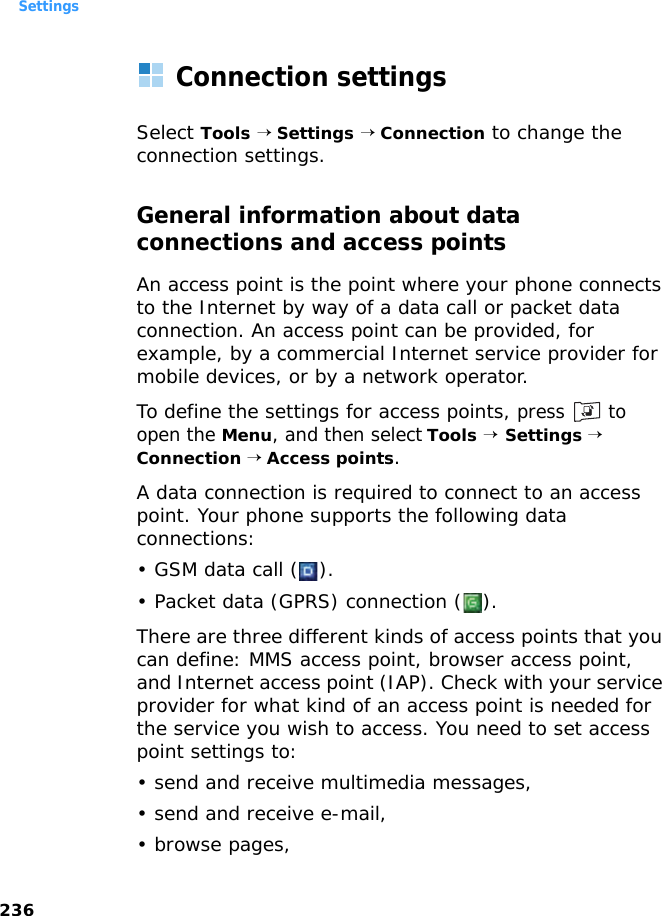
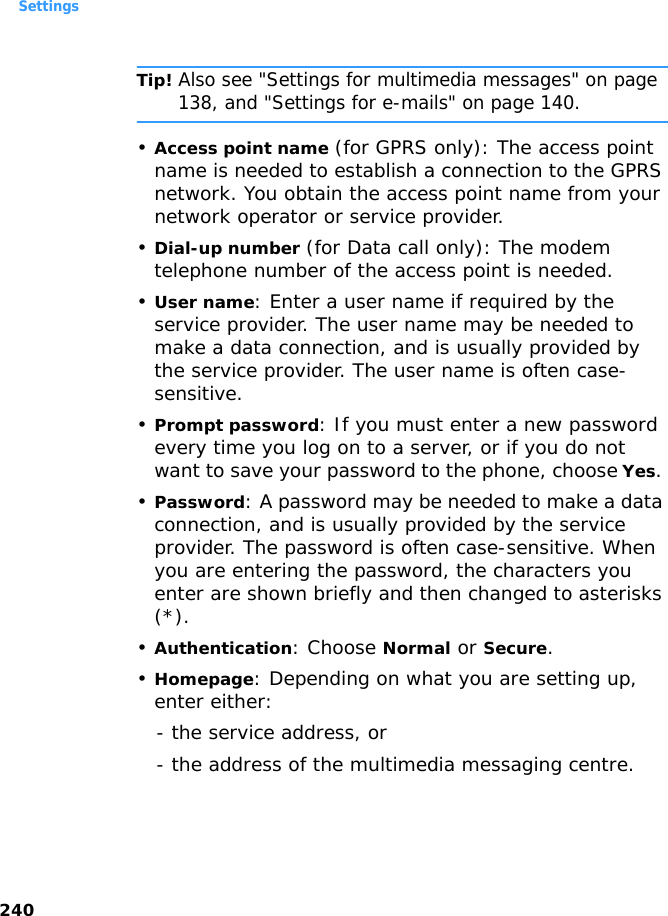
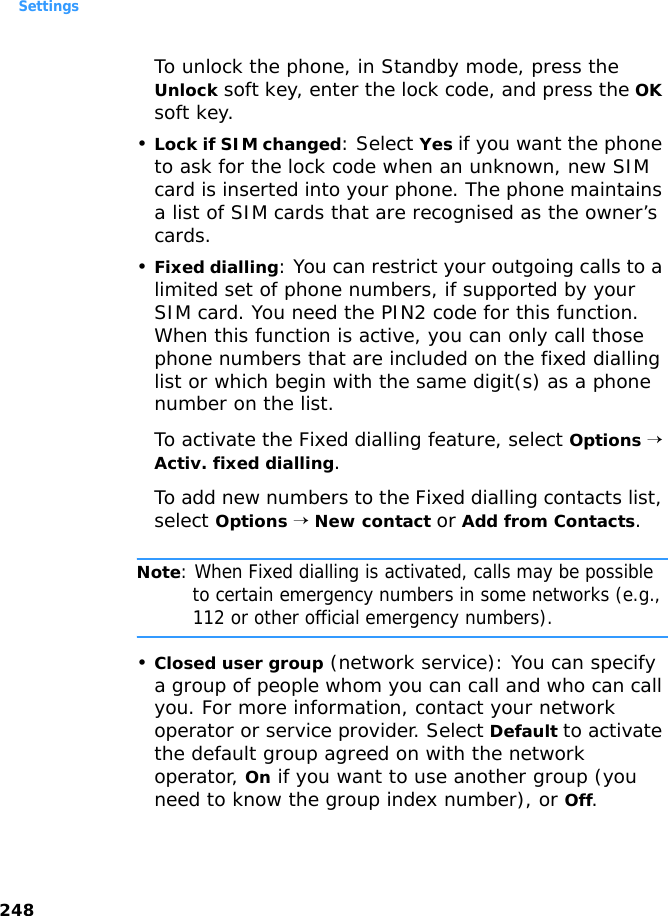
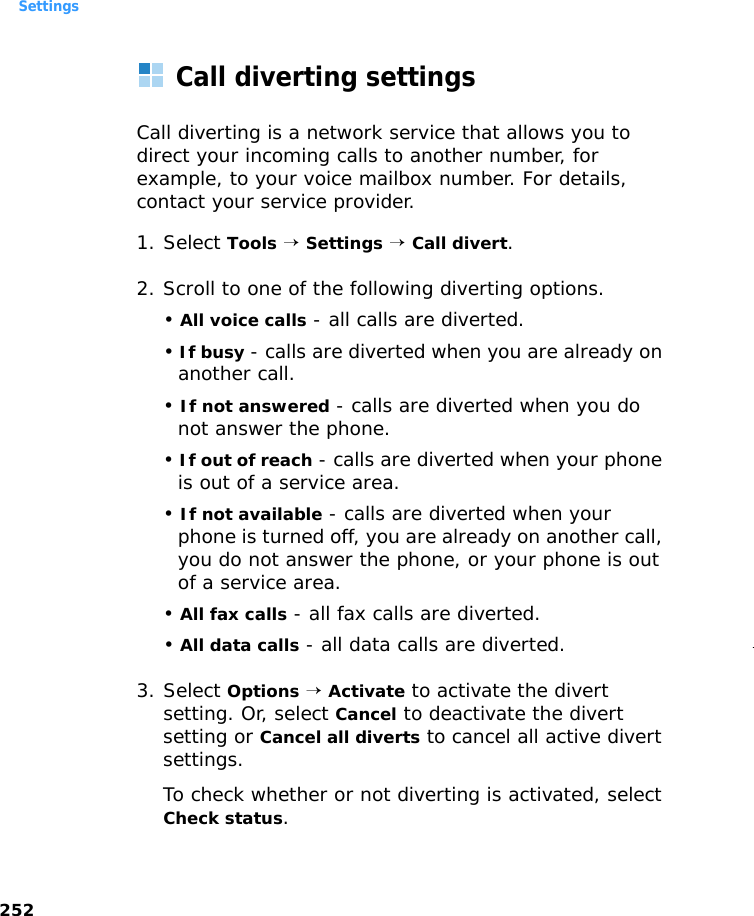
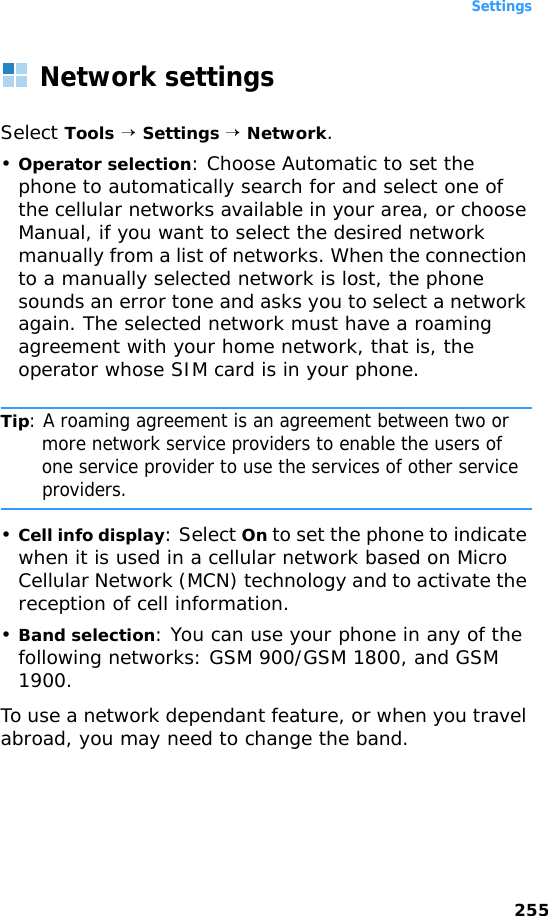
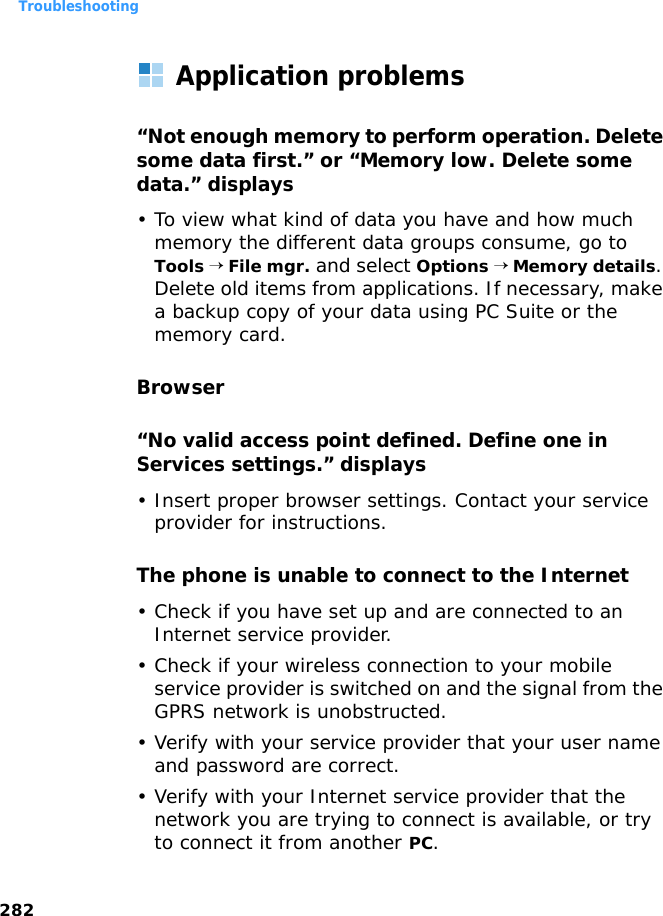
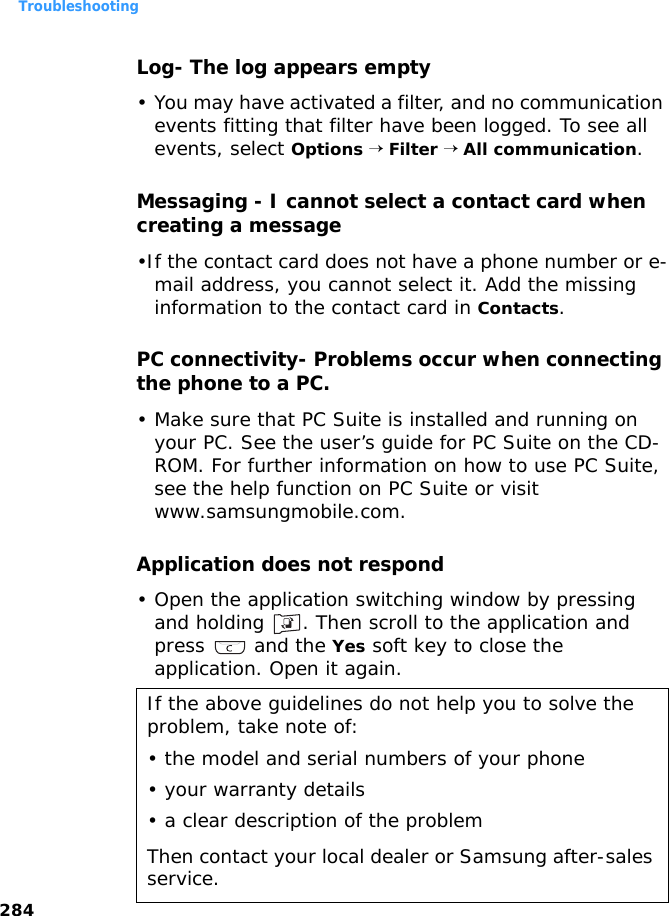
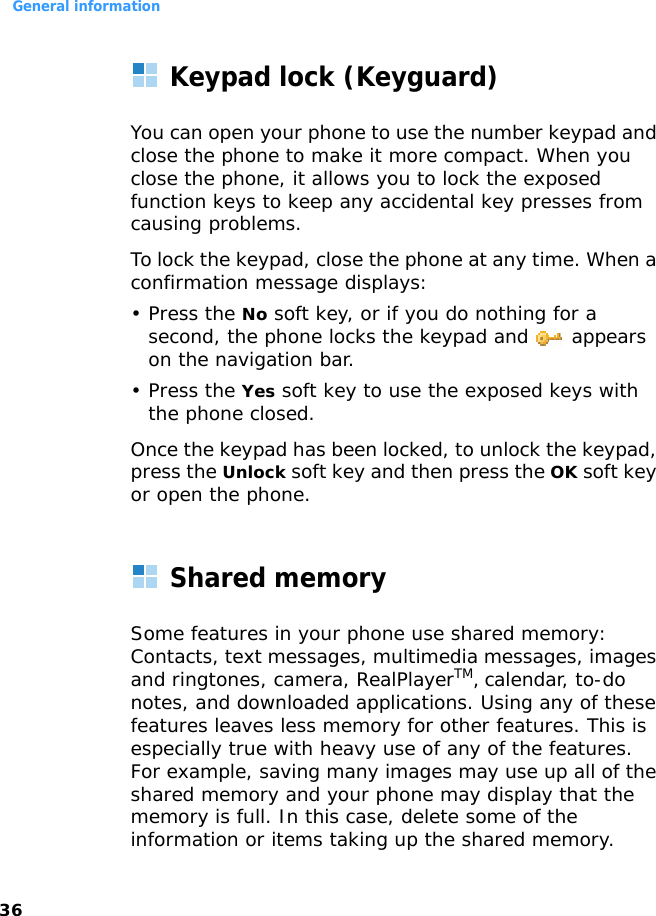
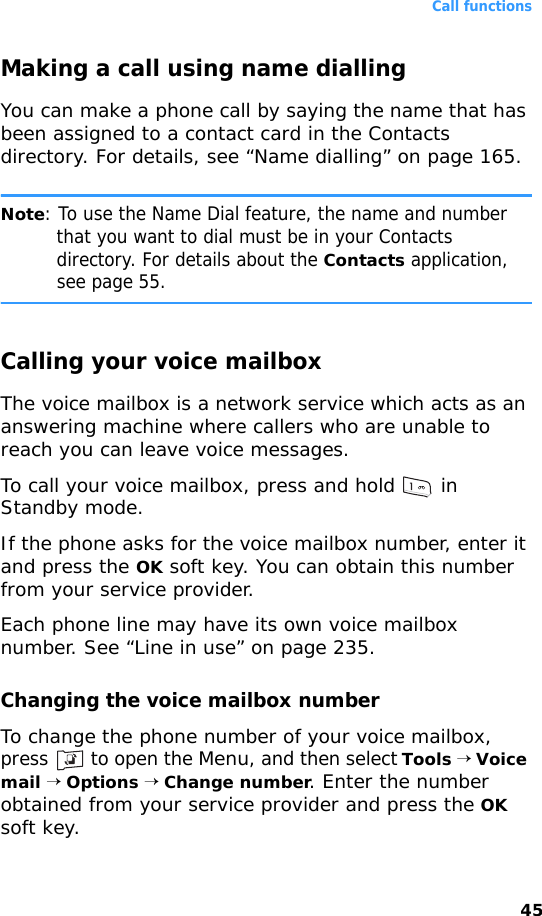
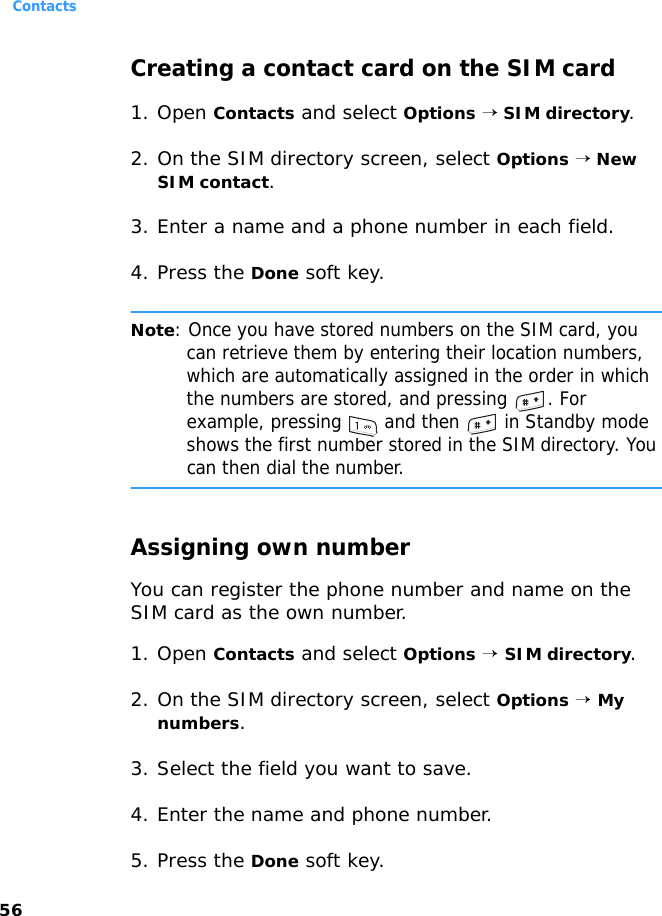
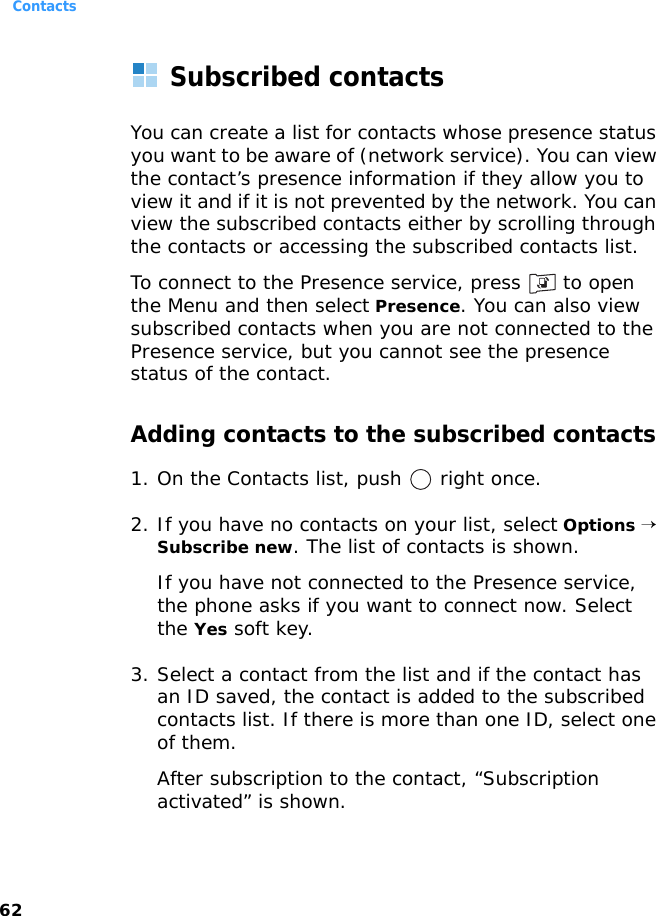
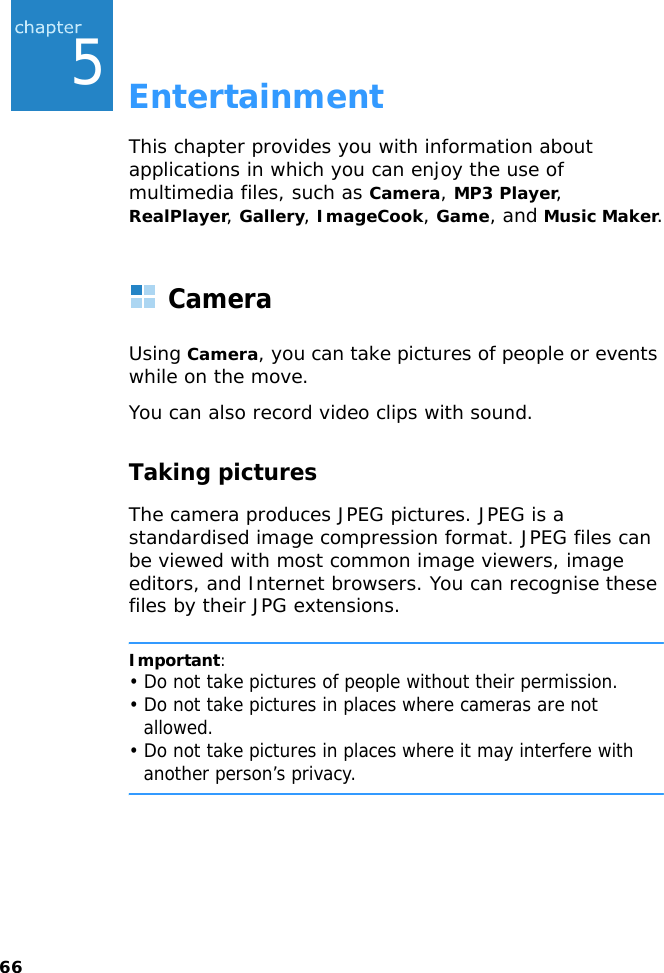
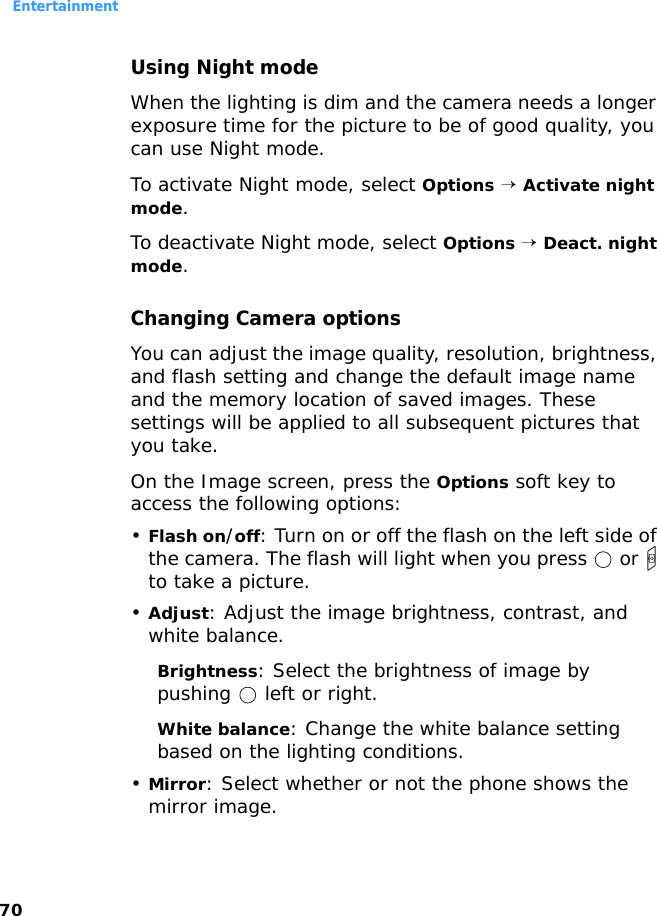
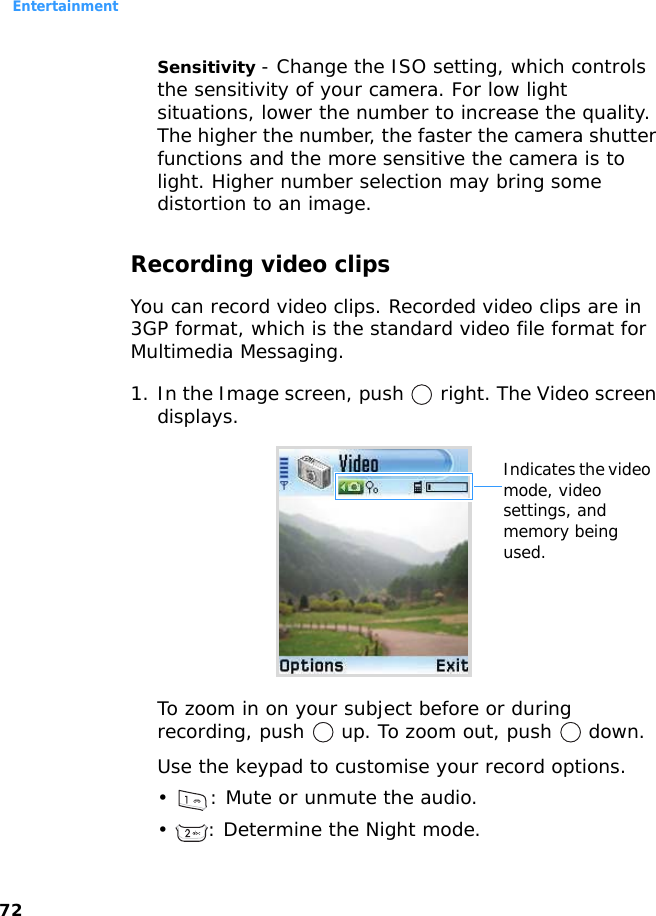
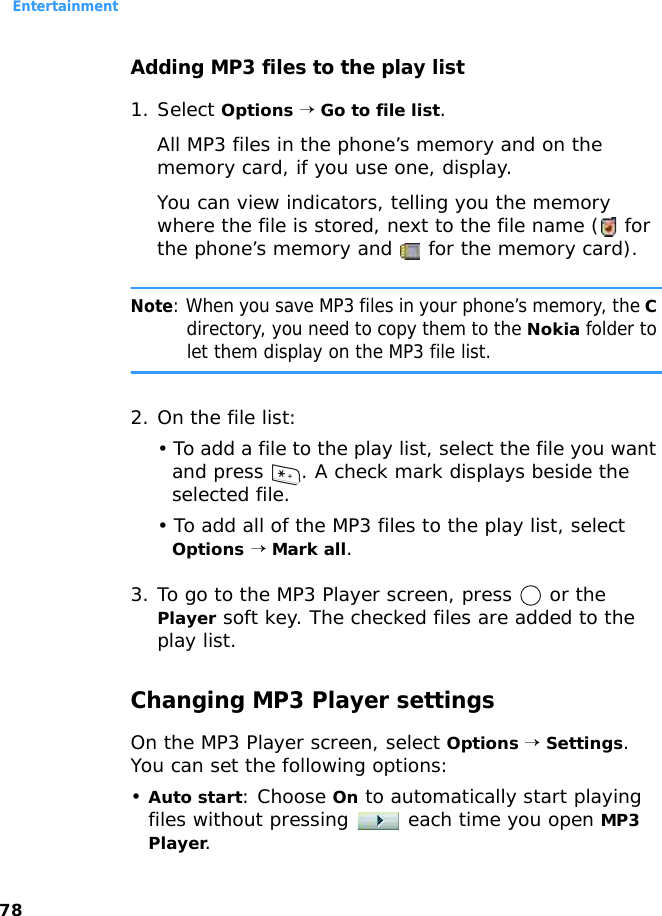
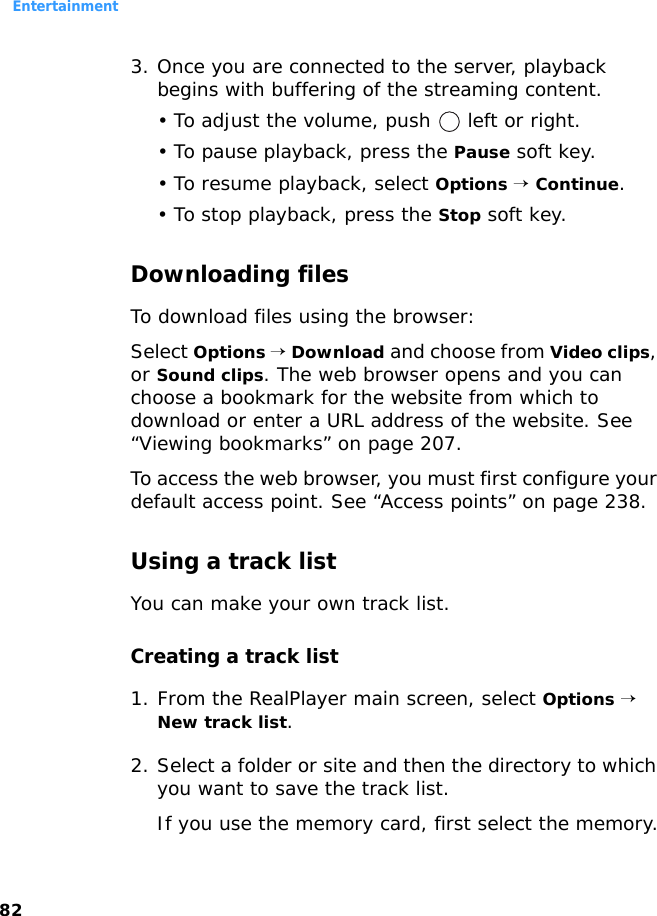
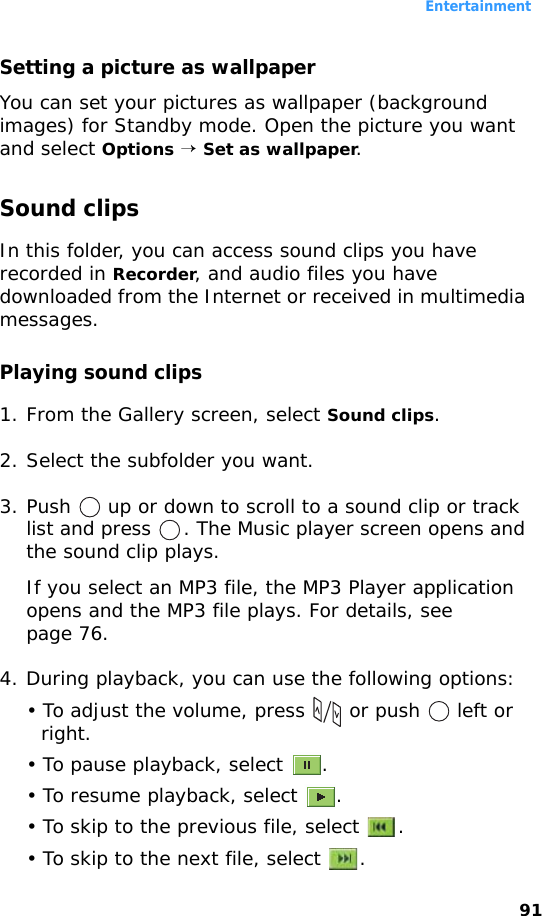
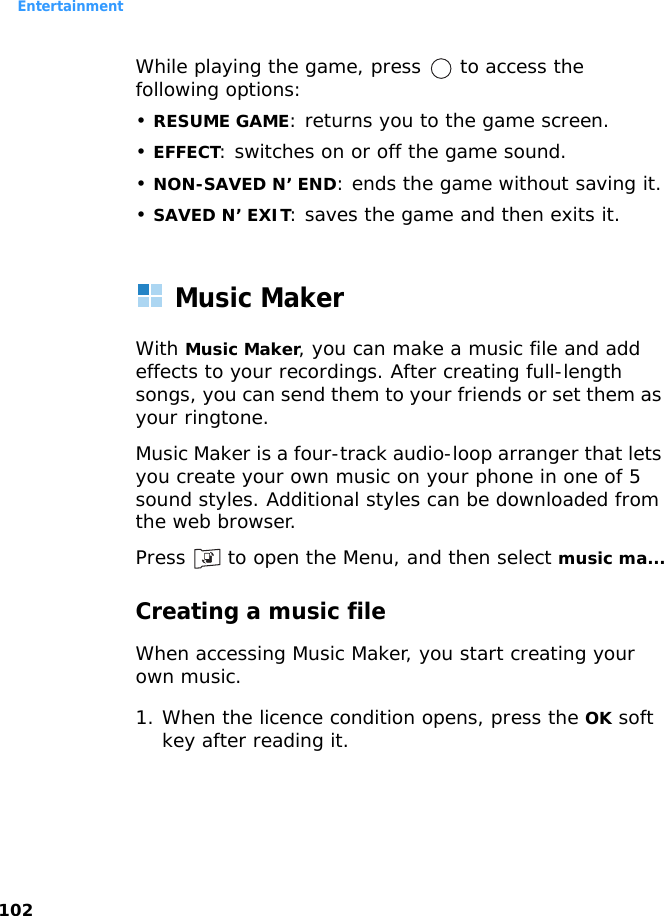
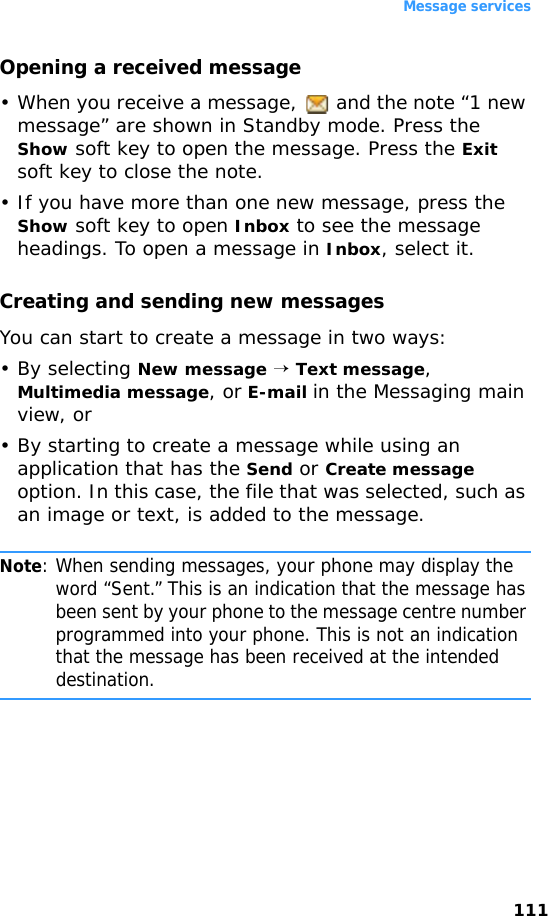
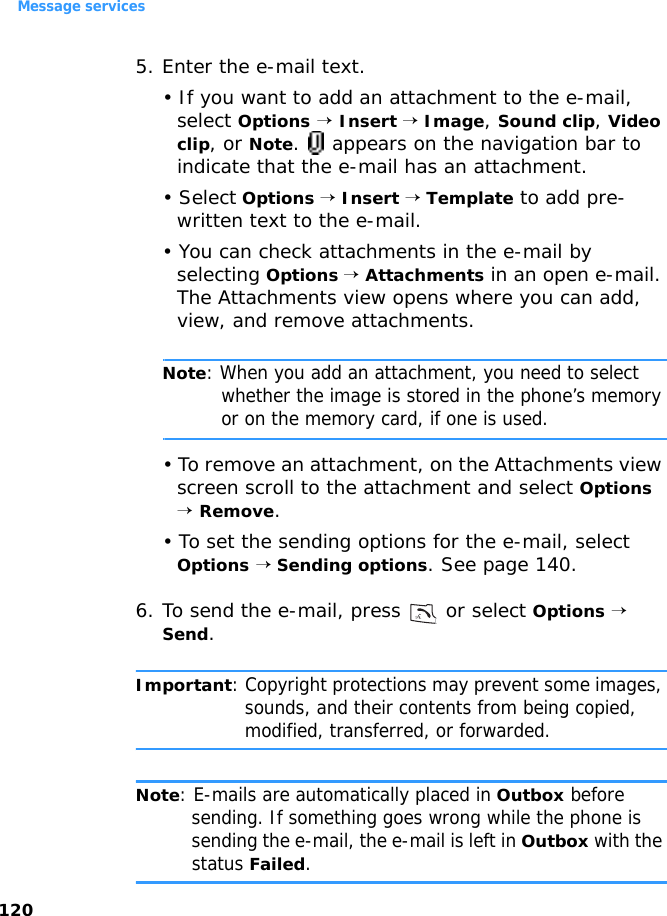
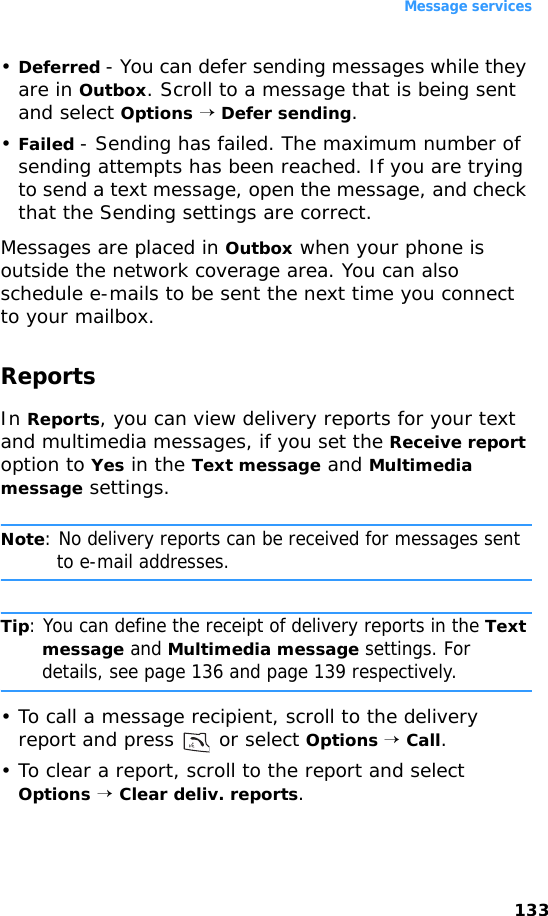
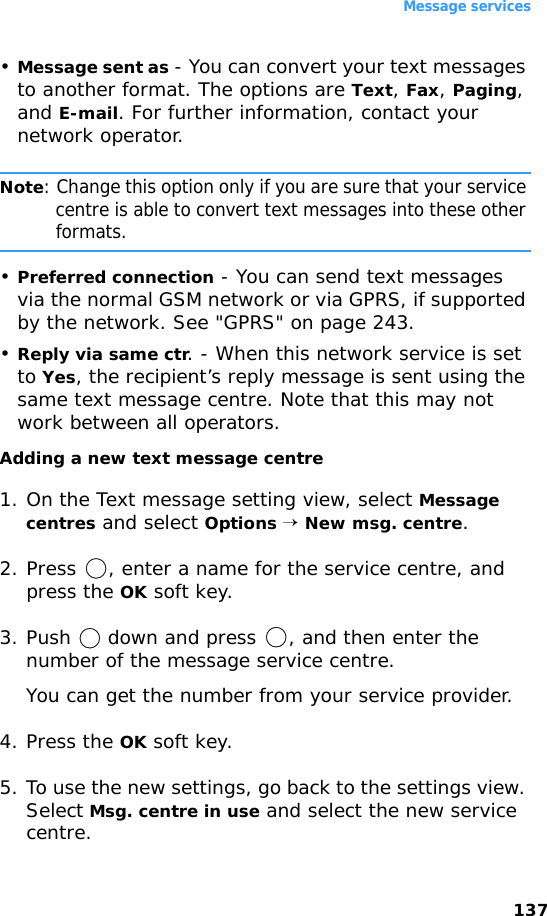
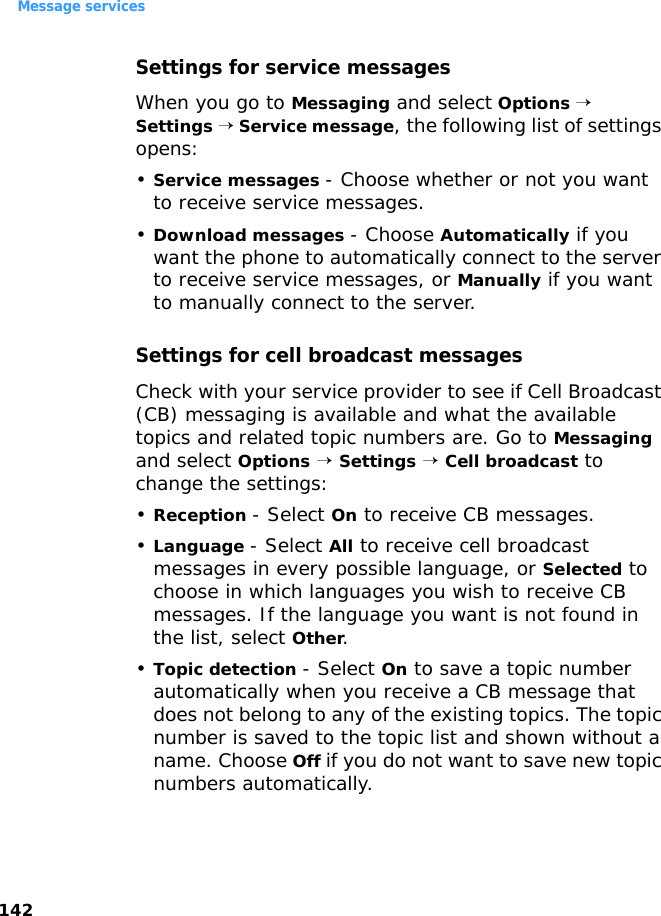
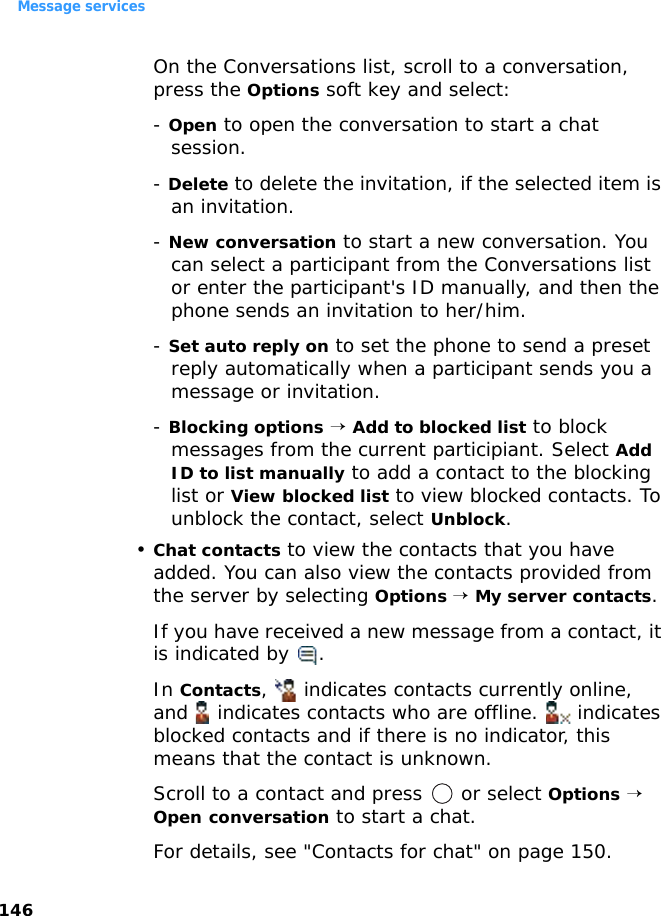
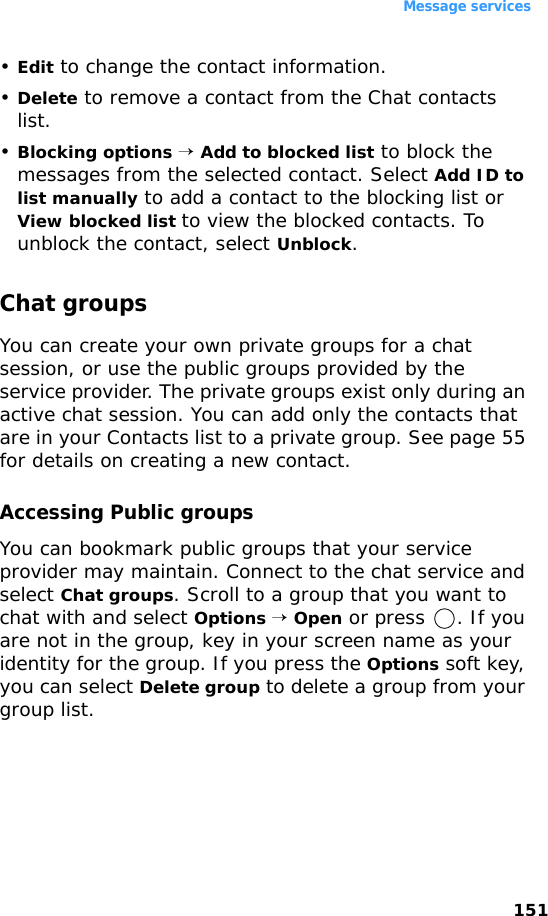
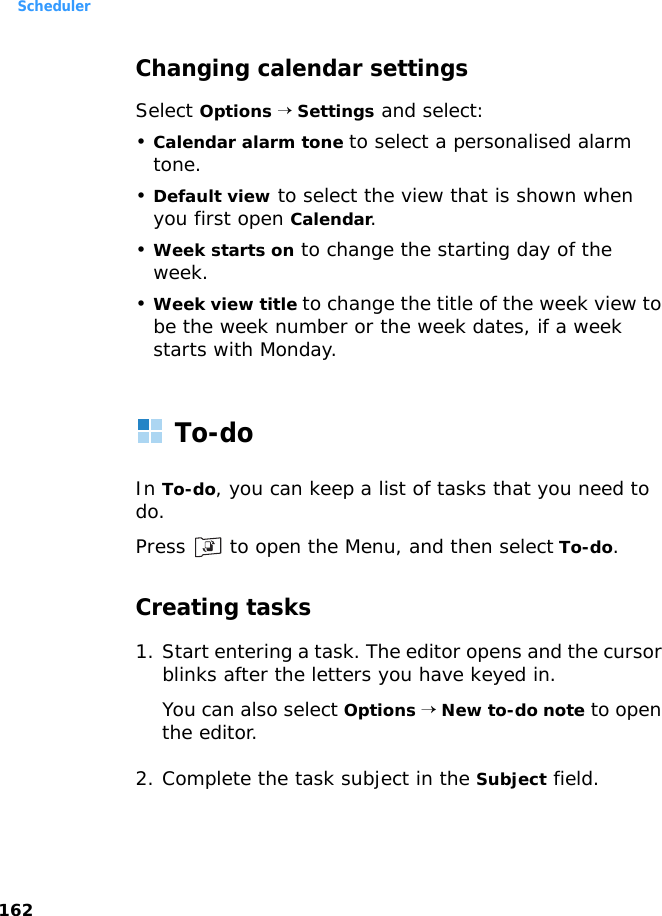
![General information25AShows the signal strength of the cellular network at your current location. The more bars, the stronger the signal. The symbol is replaced with the GPRS symbol [ ] when the GPRS connection has been set to When available and a connection is available on the network or on the current cell. See "Packet data (general packet radio service, GPRS)" on page 237 and "GPRS" on page 243.BShows an analogue clock or a digital clock. See "Date and time settings" on page 245.CIndicates in which cellular network the phone is currently being used.DShows the battery charge level. The more bars, the more power left in the battery.ENavigation bar. If the selected profile is General, the current date displays instead of the profile name. For further information, see "Navigation bar - moving horizontally" on page 31 and "Profiles" on page 215.FBackground image: You can select any image to be used as a background image in Standby mode. See page 218.GShows the current shortcuts assigned to the soft keys. You can change soft key shortcuts. See "Standby mode" on page 232.](https://usermanual.wiki/Samsung-Electronics-Co/SGHD720/User-Guide-566057-Page-25.png)
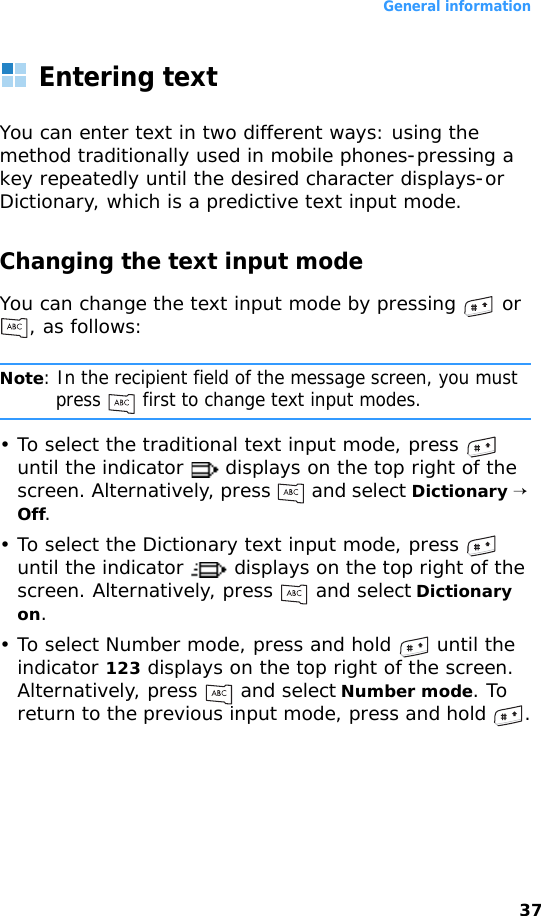


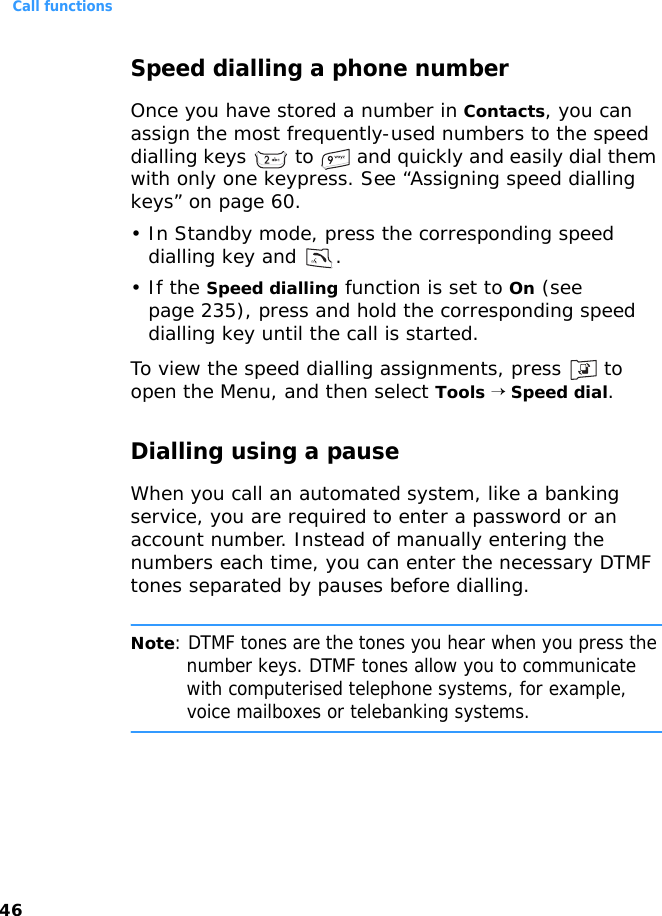
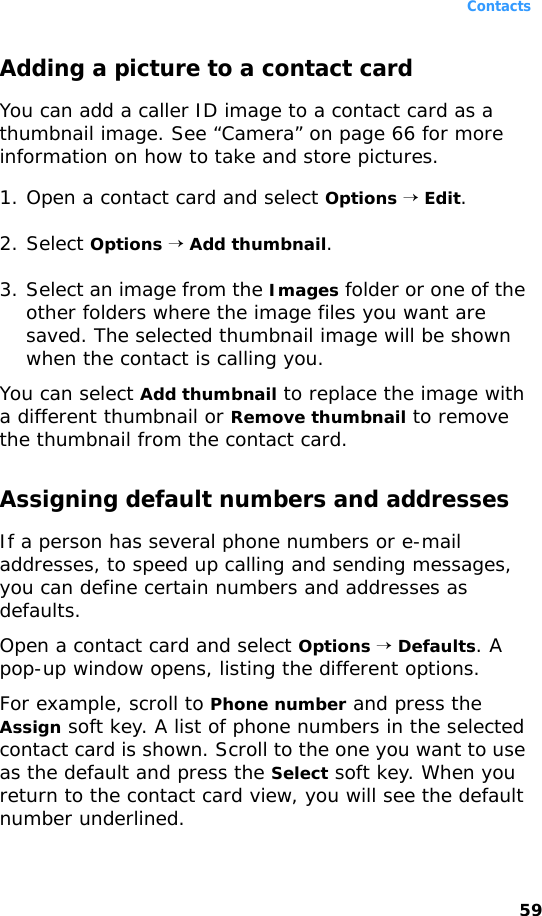
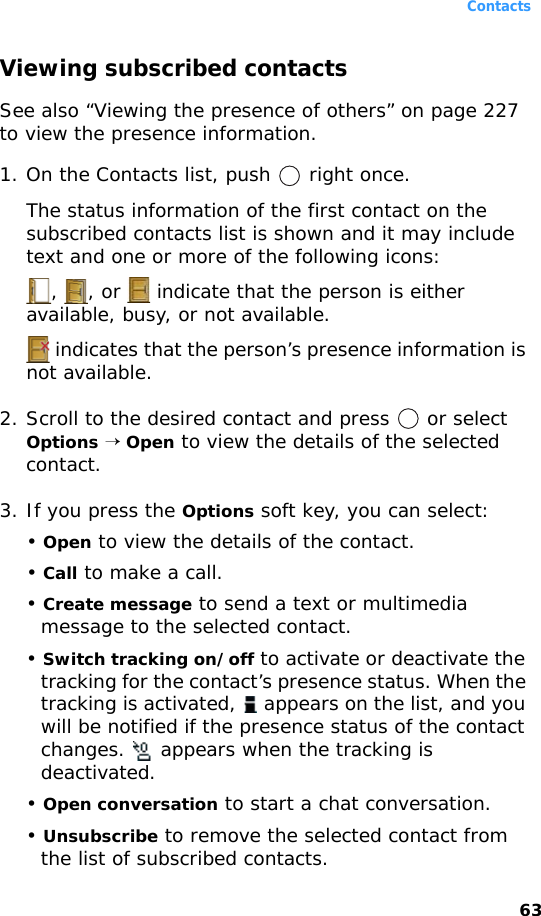
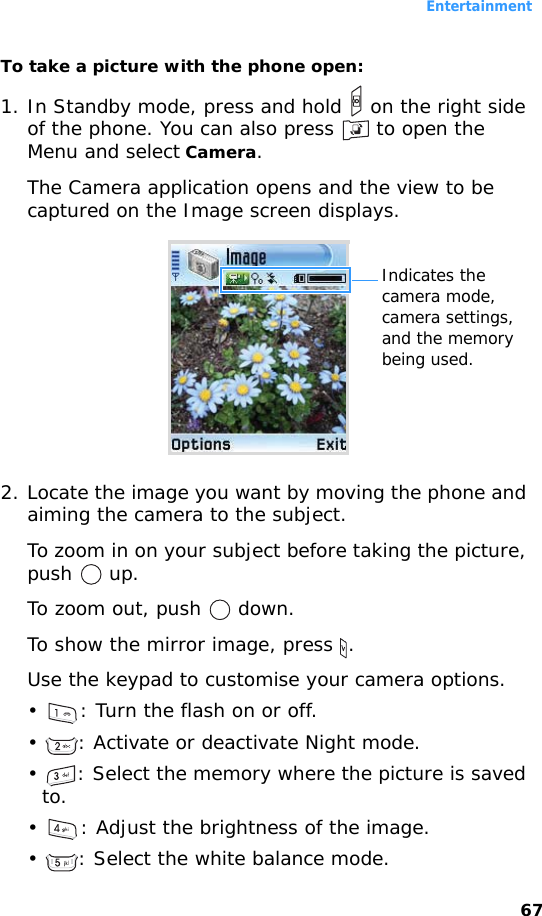
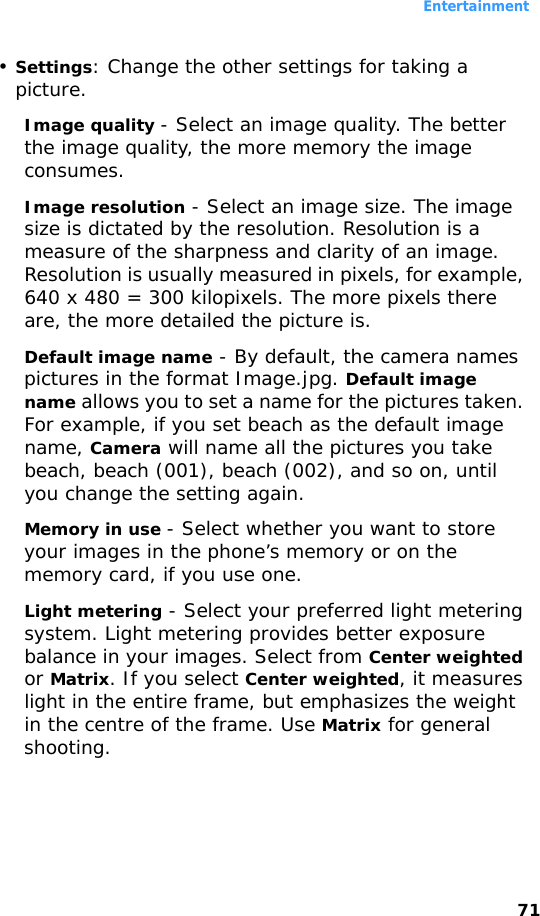
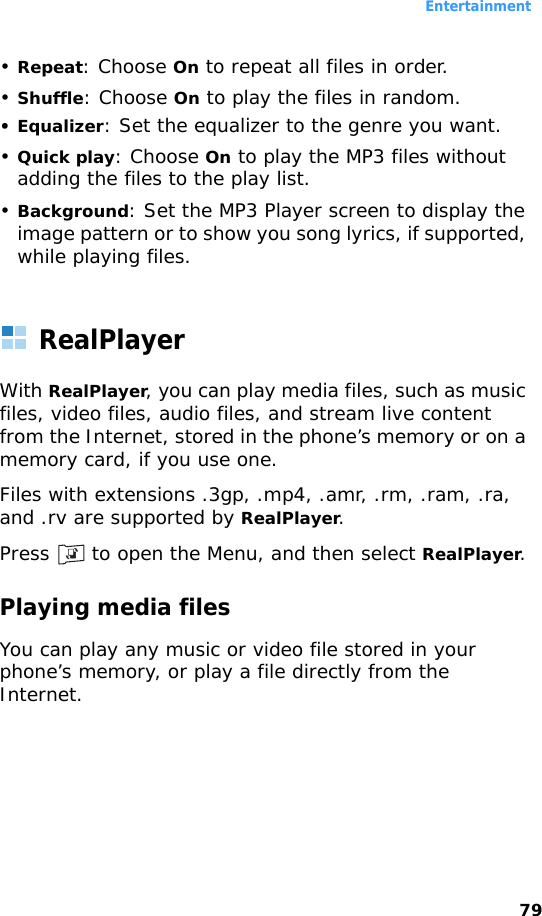
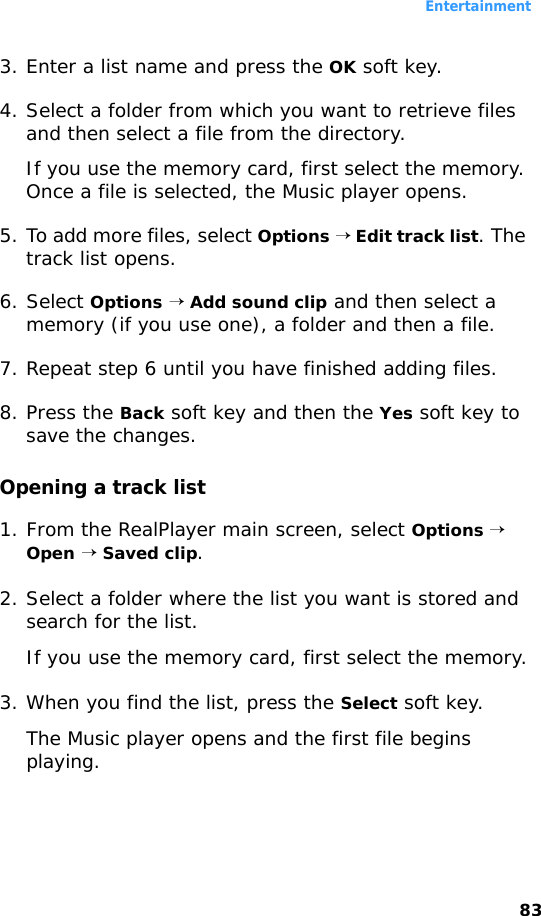

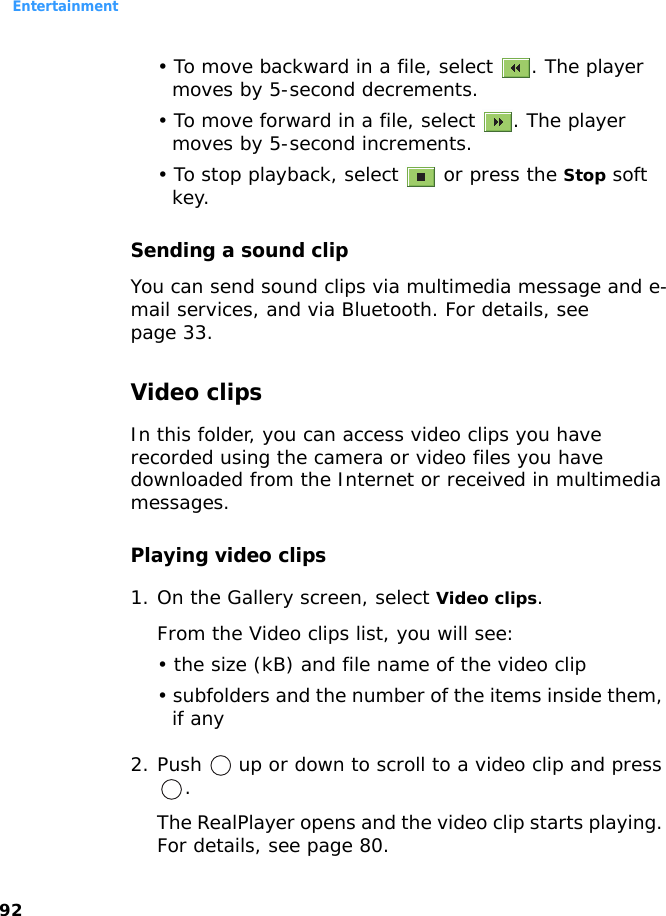


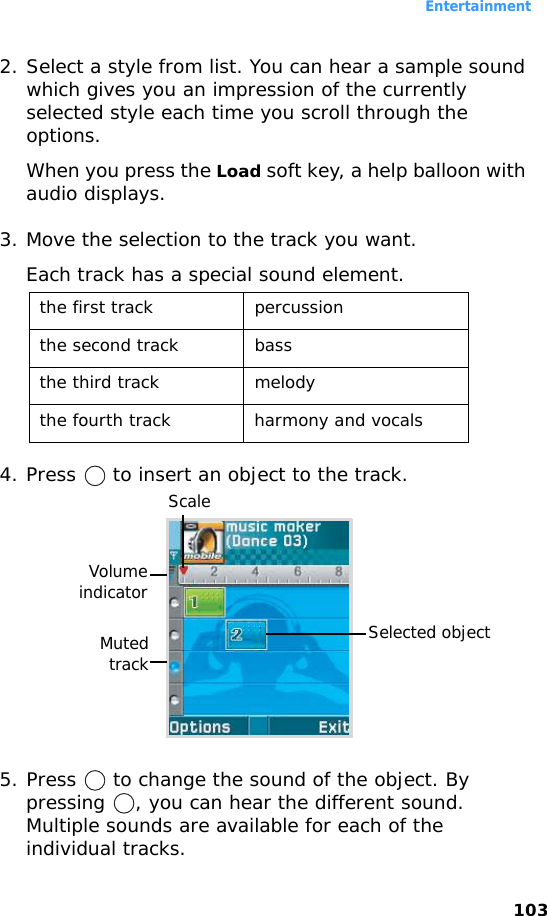

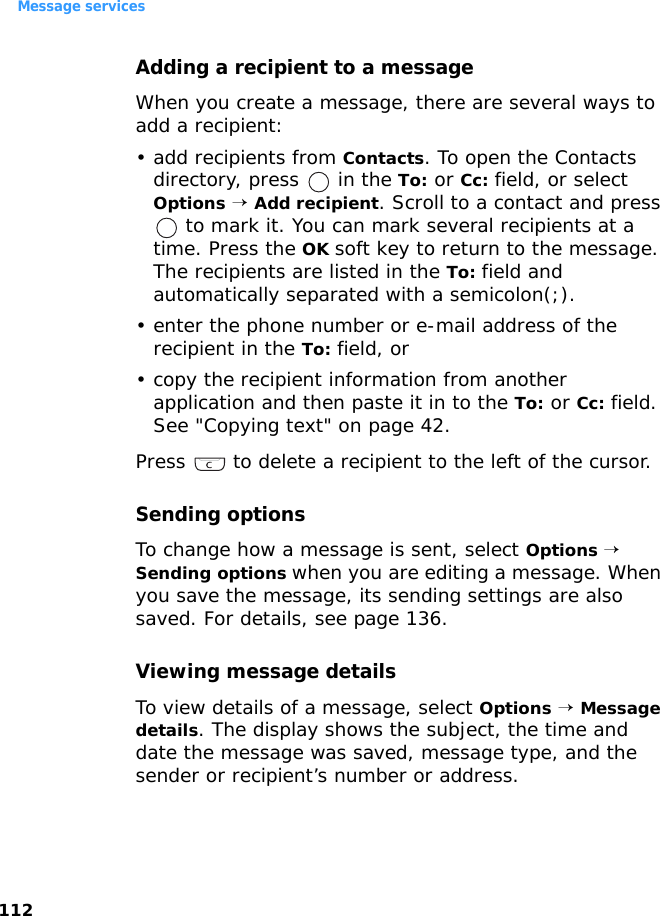


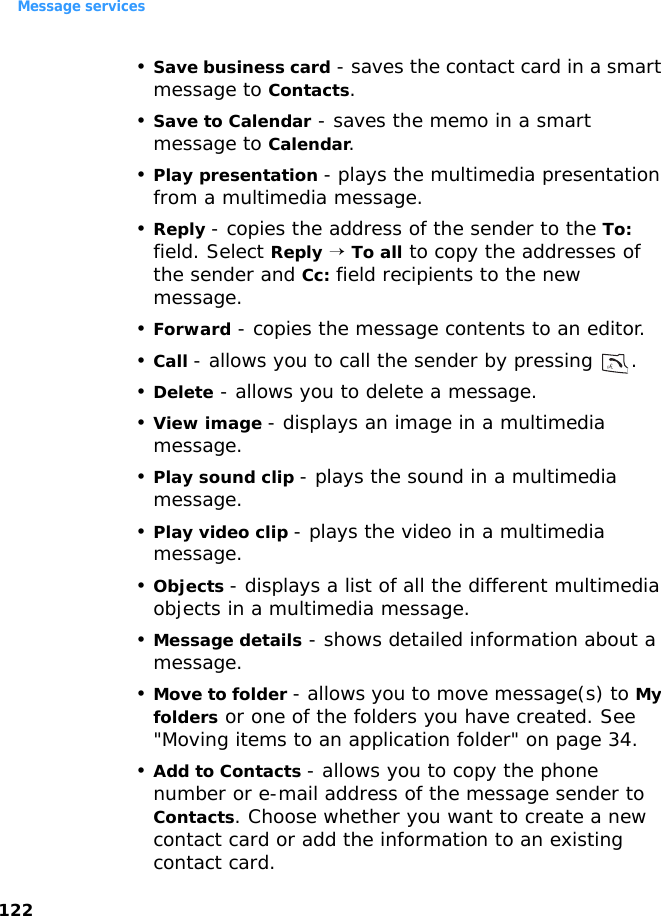

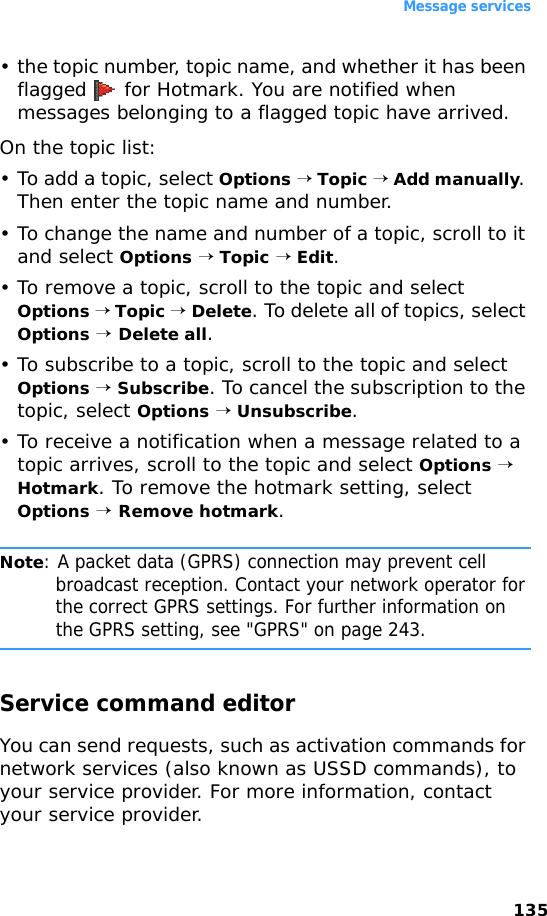
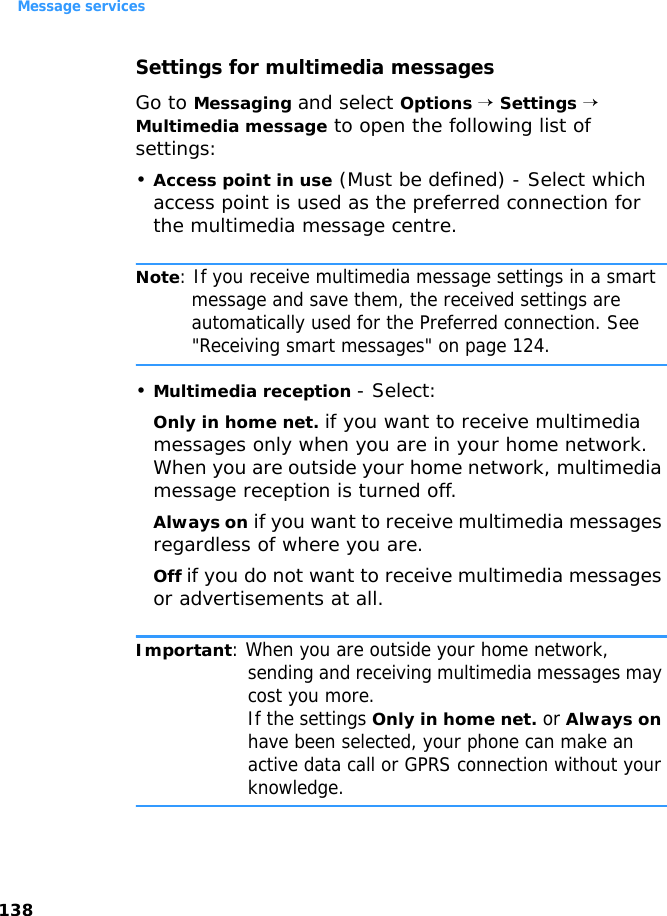
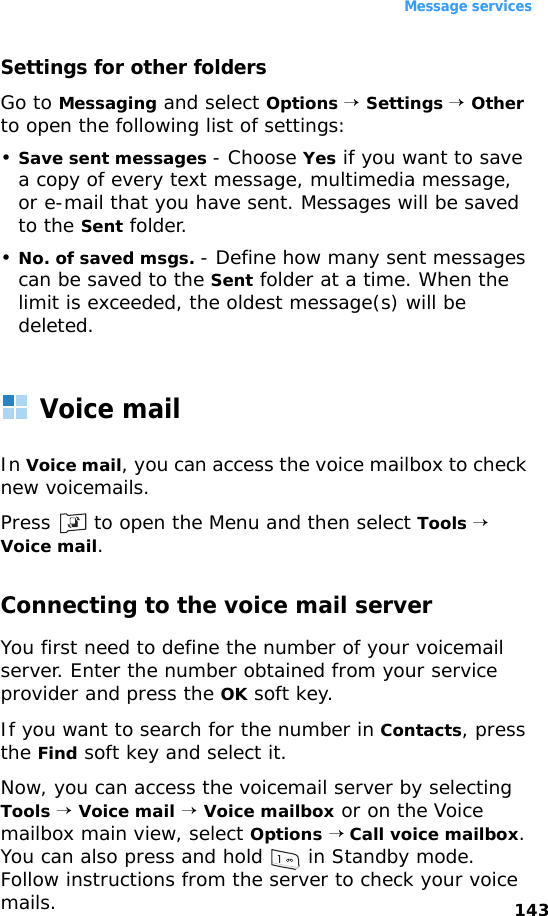

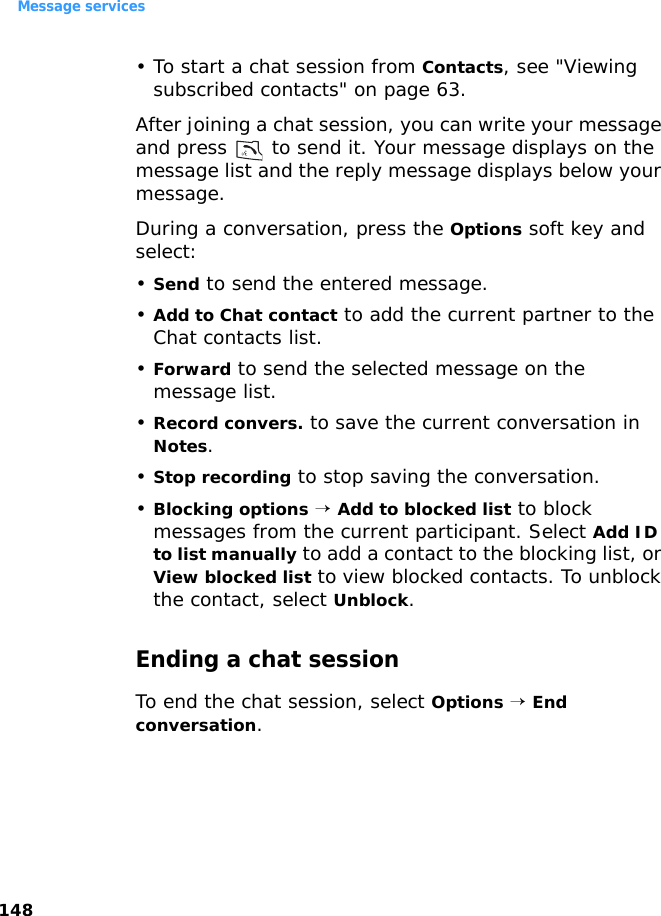
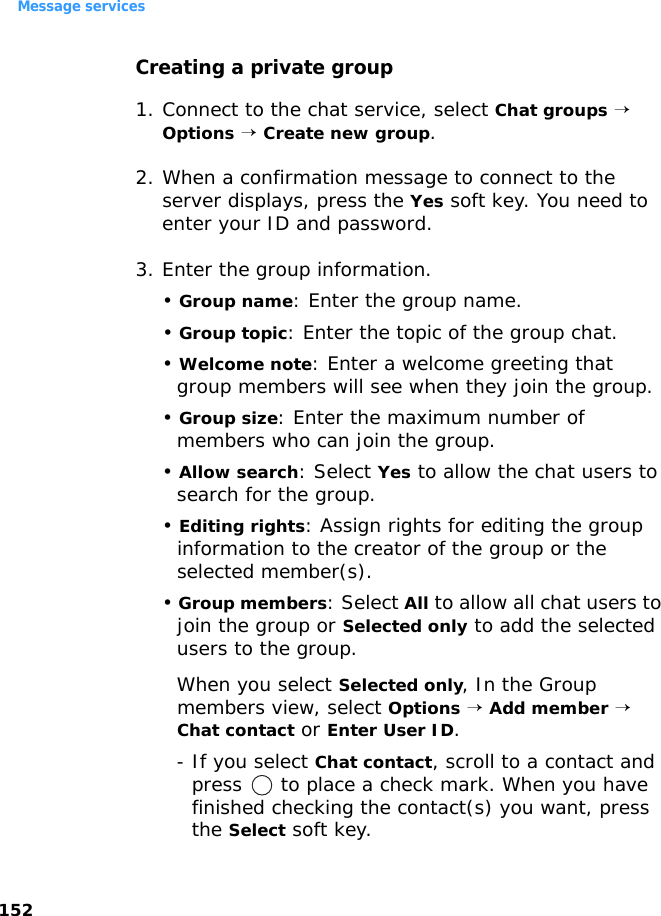
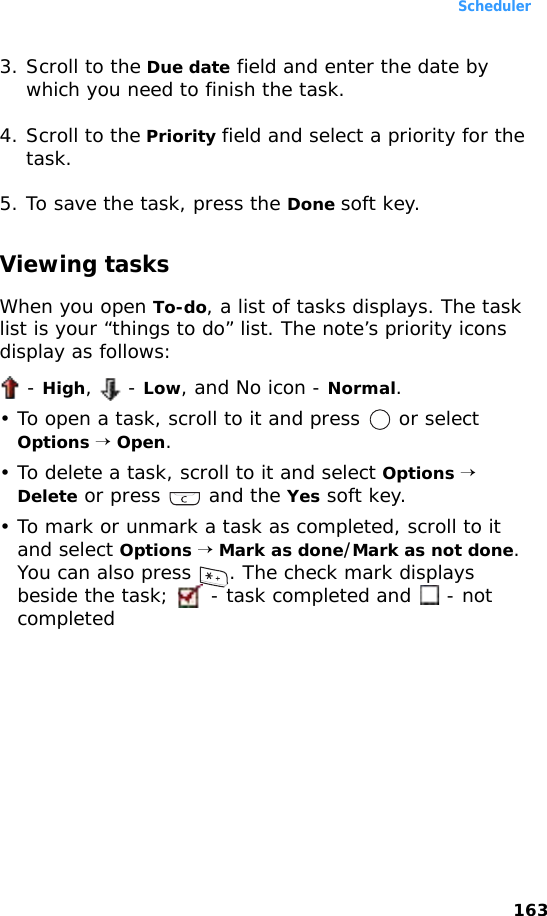
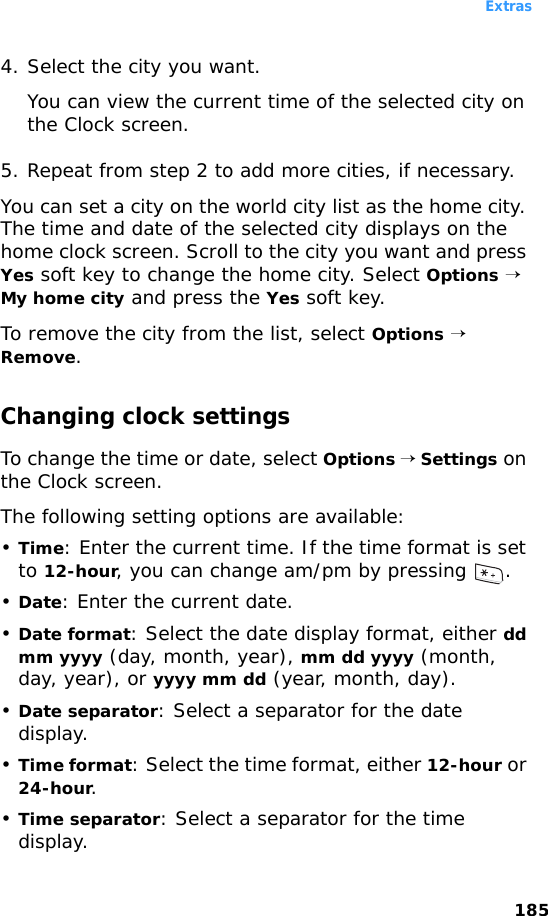
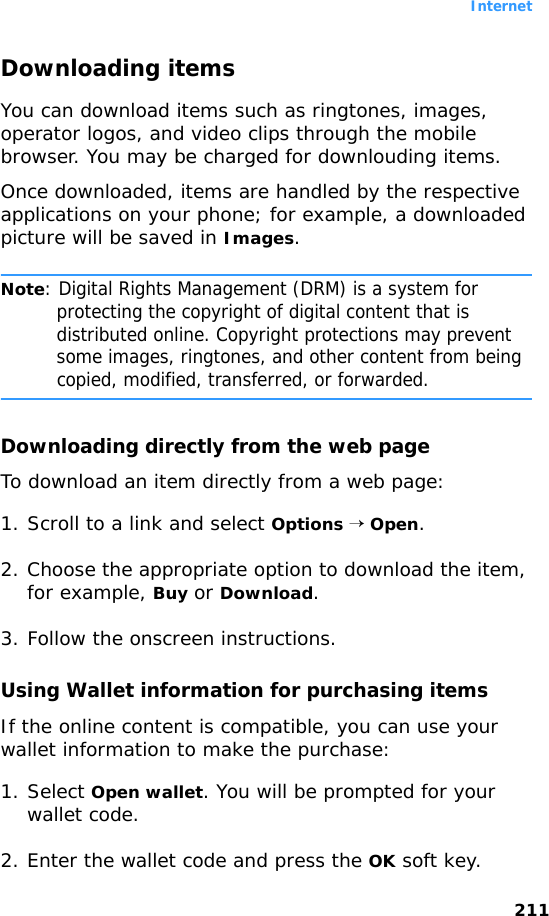
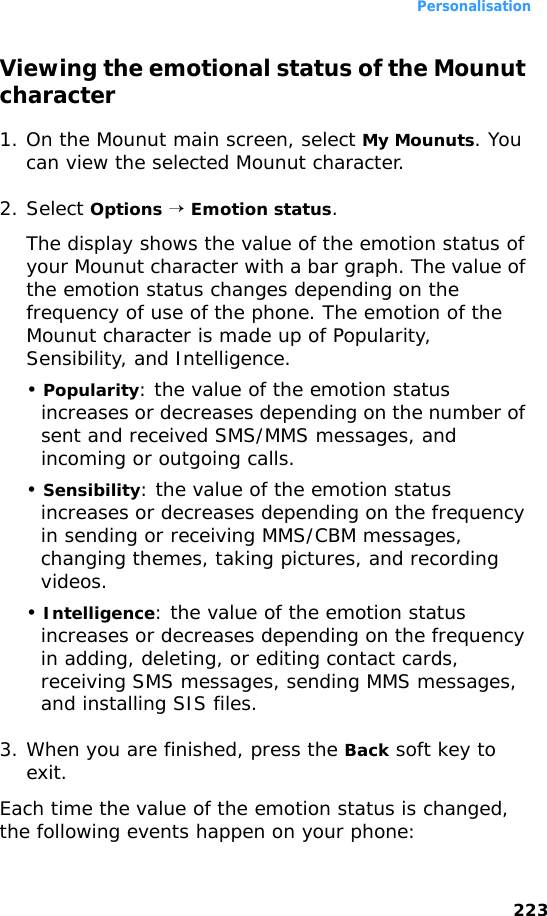
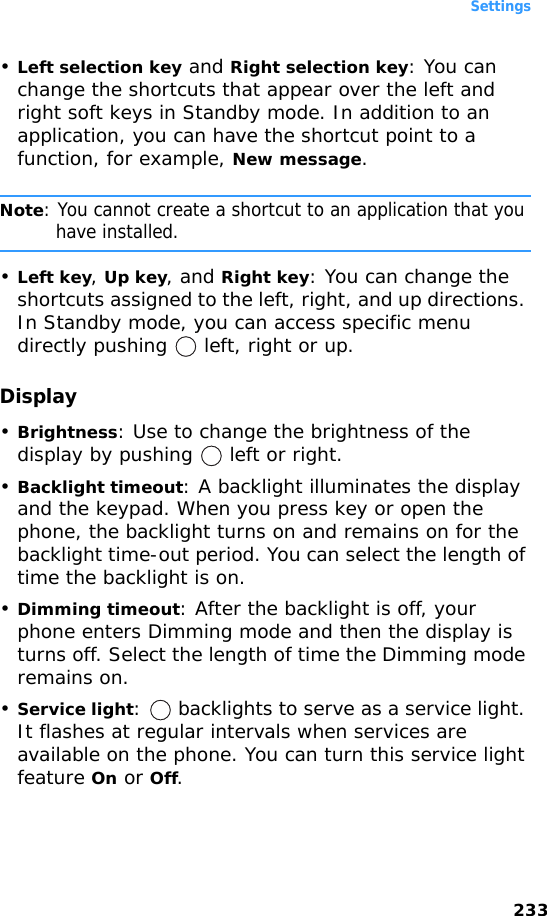
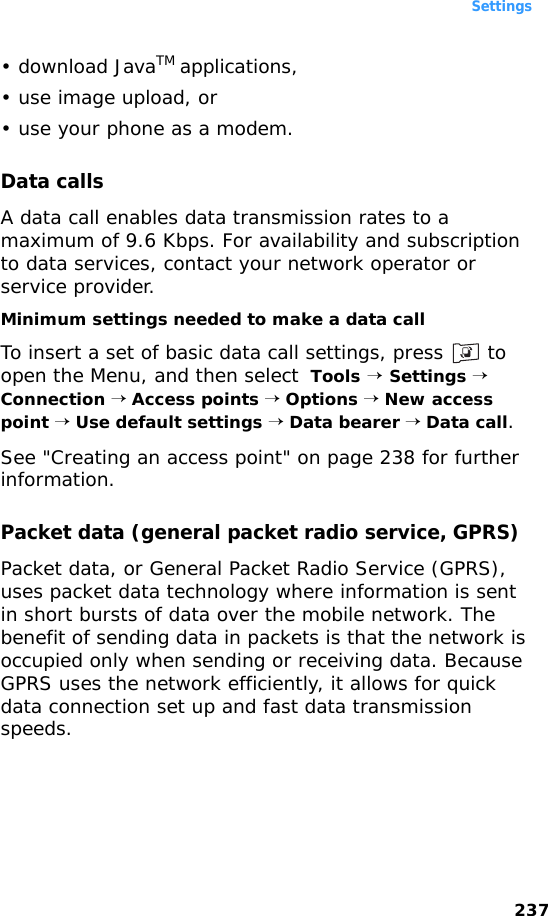
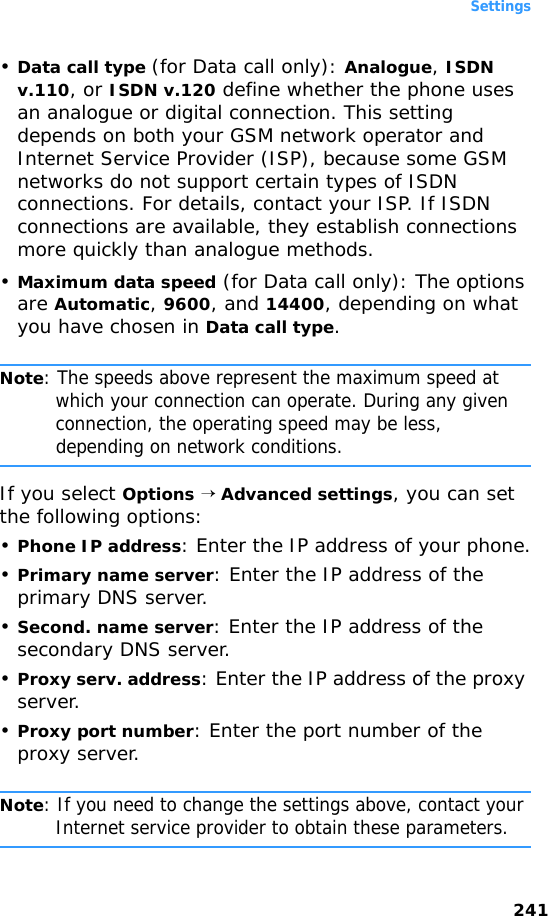
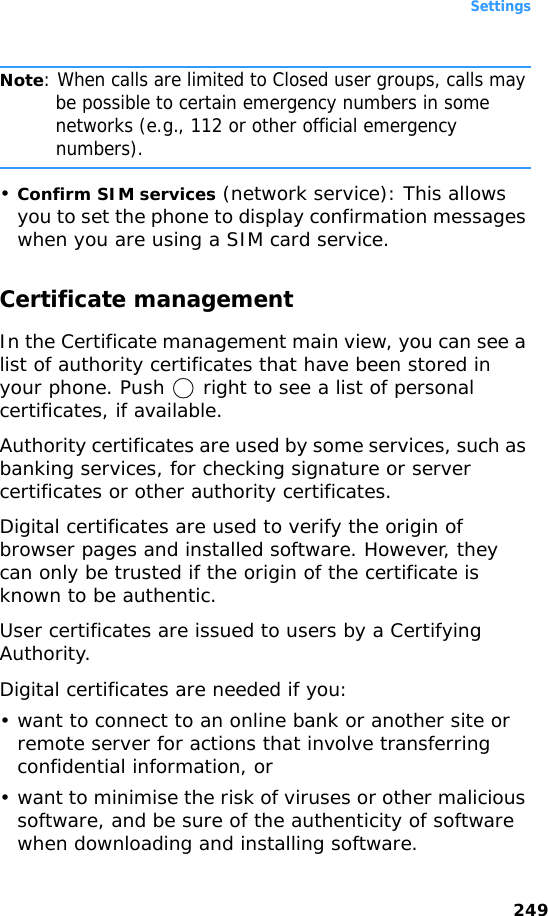
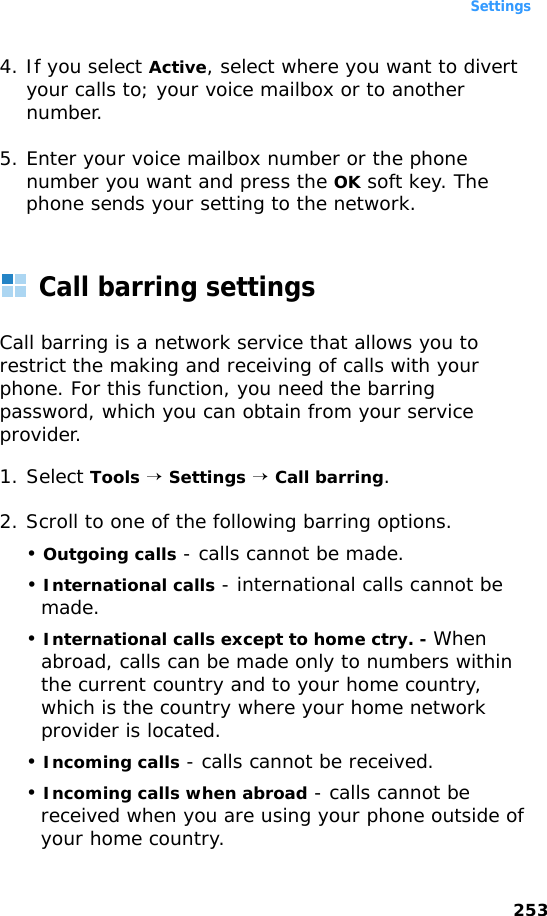
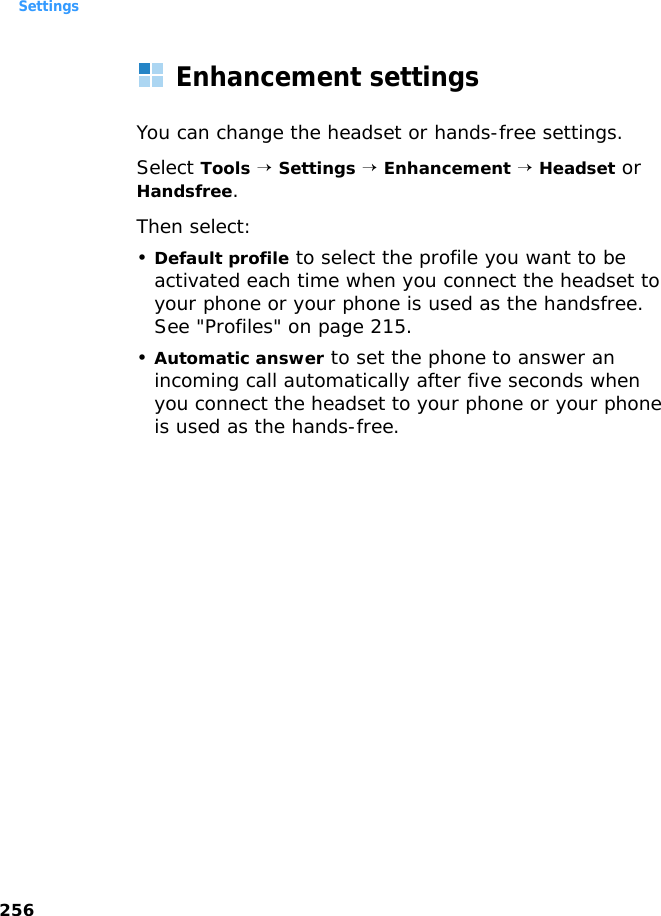
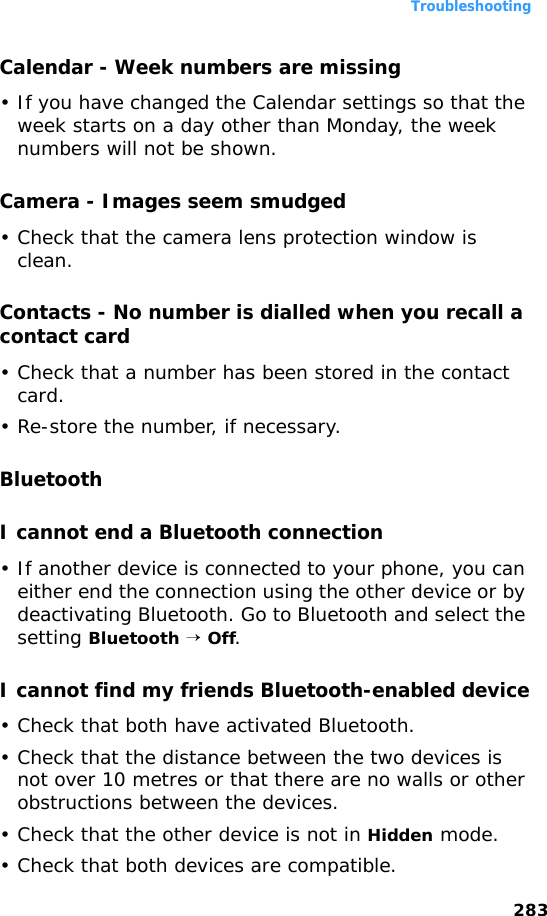
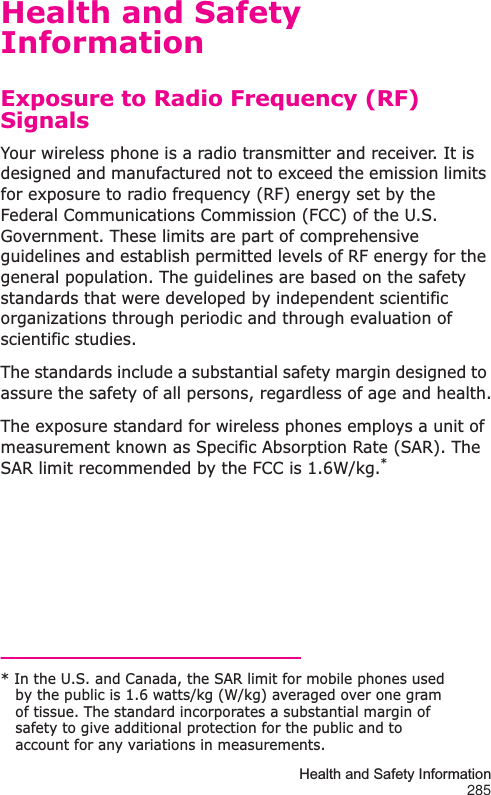
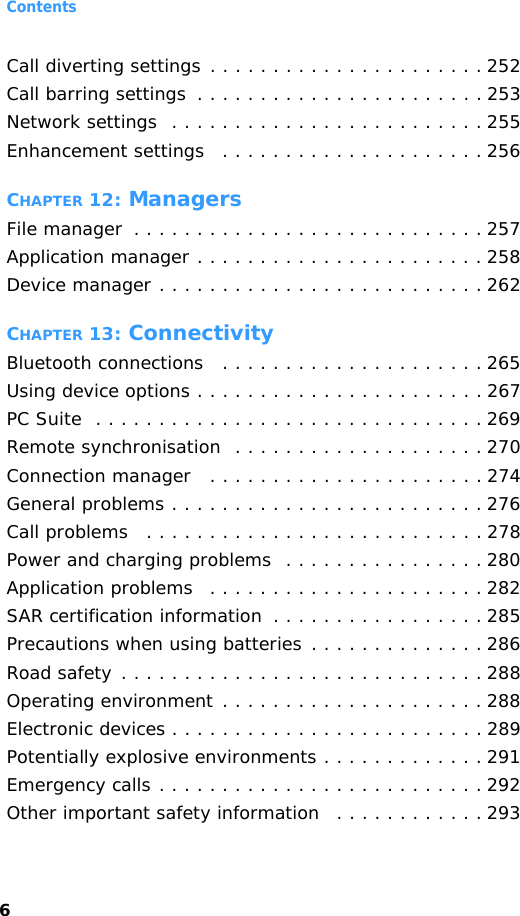
![1648ExtrasAnyvoiceYour phone provides a set of powerful voice-enabled features that enhance the hands-free capabilities of your phone. Using Anyvoice, you can:• make a call by saying any name from Contacts, without having to train the system to recognise names.• retrieve contact information for a person on the Contacts list by saying the person’s name.• launch applications by voice.• change settings that affect the way Anyvoice works on your phone.To start Anyvoice and access the voice features of your phone:Press and hold in Standby mode, or press to open the Menu, and then select Usefulness → Anyvoice.If contact cards have been changed automatically synchronise the contact list with them in Contacts.When the phone prompts you with displaying “Please say a command,” say one of the commands:• Call [person’s name]• Open [application]• Name dial• Name search](https://usermanual.wiki/Samsung-Electronics-Co/SGHD720/User-Guide-566057-Page-164.png)