Samsung Electronics Co SGHI200 PCS GSM/EDGE Phone with Bluetooth User Manual SGH i200
Samsung Electronics Co Ltd PCS GSM/EDGE Phone with Bluetooth SGH i200
UserManual.wiki
>
Samsung Electronics Co
>
SGHI200 User Manual
Users Manual
Navigation menu
Upload a User Manual
Namespaces
Wiki Guide
HTML
PDF
Info
Views
User Manual
Discussion / Help
Navigation
![Using this manualThis user manual has been specially designed to guide you through the functions and features of your device. To get started quickly, refer to the Quick Start Guide.Instructional iconsBefore you start, familiarise yourself with the icons you will see in this manual:You can also learn how to set up your device by using Getting Started in the start menu. If you set the Home screen theme to Sliding Panel, the Getting Started menu will appear on the Home screen.Warning—situations that could cause injury to yourself or othersCaution—situations that could cause damage to your device or other equipmentNote—notes, usage tips, or additional informationXRefer to—pages with related information; for example: X p. 12 (represents "see page 12")→Followed by—the order of options or menus you must select to perform a step; for example: Press <Start> → <All Programs> → Camera (represents Start, followed by All Programs, followed by Camera)[]Square brackets—device keys; for example: [ ] (represents the Power key)](https://usermanual.wiki/Samsung-Electronics-Co/SGHI200/User-Guide-916900-Page-3.png)
![151CommunicationYour device allows you to send and receive many types of calls and messages over cellular networks and the internet.CallsLearn to use your device's call functions. For basic call functions, see the Quick Start Guide.Call an international number1. On the Home screen, press and hold [0] to insert the + character (this replaces the international access code).2. Press the number keys to enter the complete number you want to dial (country code, area code, and phone number), and then press [ ].3. To end the call, press [ ].Make a call from the contact list1. On the Home screen, press <Start> <All Programs> → Contacts to open your contact list.2. Select a contact or search by entering the first few letters of the contact's name.3. Select the number you want to dial.4. To end the call, press [ ].](https://usermanual.wiki/Samsung-Electronics-Co/SGHI200/User-Guide-916900-Page-18.png)
![Communication16View and return missed callsYour device will show missed calls on the display.To return a missed call,1. Press the Centre key.2. Scroll to a missed call.3. Press [ ] to dial.Make a call from Call History1. On the Home screen, press <Start> <All Programs> → Call History.2. Press <Menu> → Filter → a call type to show only one type of calls (optional).3. Scroll to the contact’s name or the number you want to call and press [].4. To end the call, press [ ].Forward callsYour service provider or network may or may not support this feature.To divert your incoming calls to another number,1. On the Home screen, press <Start> <All Programs> → Settings → Phone.2. Select Voice Calls or Video Calls → Call Forwarding.3. Select a forwarding option and enter a phone number.4. Press <Done>.](https://usermanual.wiki/Samsung-Electronics-Co/SGHI200/User-Guide-916900-Page-19.png)


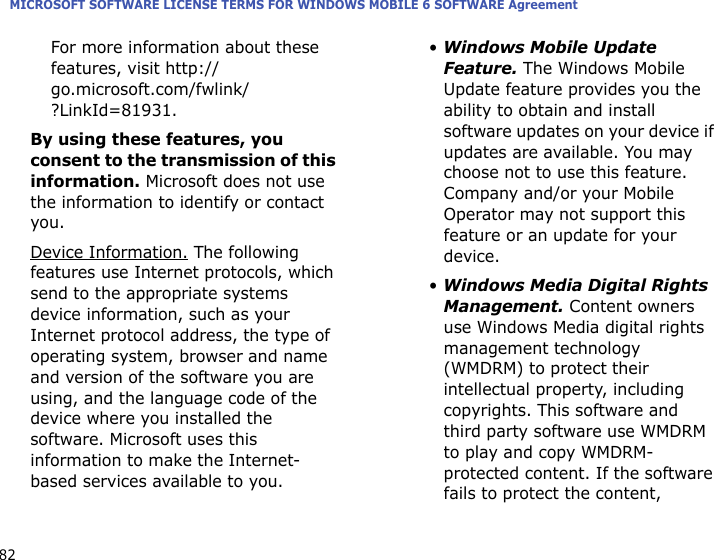
![Media282. Aim the lens at the subject and make adjustments (see "Use the keypad in Camera mode").3. Press the Centre key to capture the image.4. Press <Save> to save the image.Use the keypad in Camera modeView a photo1. From the camera viewfinder, press <Album>.2. Scroll a photo and press the Centre key to open it.Record a video1. On the Home screen, press <Start> → <All Programs> → Camera.2. Press [1] to launch the camcorder.Key Function1Switch to Camcorder mode2Change the shooting mode3Change the image size4Change the image quality5Change the white balance mode6Set the time delay before taking a photo7Change the effect8Apply funny masks9Turn on Ni gh t shot mod e0Change the optionsKey Function](https://usermanual.wiki/Samsung-Electronics-Co/SGHI200/User-Guide-916900-Page-31.png)
![Media30Contents ManagerWith Contents Manager, you can view and access all the files and folders on your device. View a photo1. On the Home screen, press <Start> → <All Programs> → Contents Manager → My Pictures.2. Scroll to a photo thumbnail and press the Centre key to open it.While viewing photos, you can perform the following functions:• To scroll through your photos, scroll left or right.• To zoom, press the Centre key and then press the left softkey or right softkey. To exit the zoom screen, press [].• To edit the picture, press <Menu> → Edit Image.• To set a photo as a background or caller ID image, press <Menu> → Set as → an option.• To view your photos as a slideshow, press <Menu> → Play Slide Show.Play a video1. On the Home screen, press <Start> → <All Programs> → Contents Manager → My Videos.2. Scroll to a video thumbnail and press the Centre key to open it.Open documents1. On the Home screen, press <Start> → <All Programs> → Contents Manager.](https://usermanual.wiki/Samsung-Electronics-Co/SGHI200/User-Guide-916900-Page-33.png)
![414WebLearn to use Internet Explorer, Windows Live, Windows Live Messenger, and RSS Reader, and Podcast.Internet ExplorerUse Internet Explorer to browse web pages and bookmark your favourite web pages.Browse a web page1. On the Home screen, press <Start> → <All Programs> → Internet → Internet Explorer.2. Access a web page:• Press <Menu> → Favourites and select a bookmark.• Press <Menu> → Address Bar to enter a web address and press <Go>.• Press <Menu> → History to select a web address from the history list.3. To close the web connection, on the Home screen, press <Start> → <All Programs> → Accessories → Data Call Manager. Scroll to the connection you want to end and press <OK>.Add a bookmarkTo confirm that the connection is ended, press [ ] → Wirelss Manager → Phone → the Centre key to disable wireless functions. Press the Centre key again to enable the wireless functions.](https://usermanual.wiki/Samsung-Electronics-Co/SGHI200/User-Guide-916900-Page-44.png)

![627SettingsLearn about your device settings. To access your device settings, On the Home screen, press <Start> → <All Programs> → Settings.PhoneControl how your device handles calls with caller ID, call waiting, and other call settings.All Calls•Band Selection - set to operate your device on UMTS or GSM networks•Call Cost - view the cost of calls, if supported by your SIM card•Call Options Any key answer - set to answer a call when you press any key (except [ ] and [ ])Show SIM contacts - set to show contact cards stored on the SIM cardPhone number - view your phone numberVoice mail number - set the voice mail number provided by your service providerText messages service centre - set the text message service number provided by your service providerCountry code - set your country codeDialling code - set your area codeTo access more setting options, scroll down or select More...](https://usermanual.wiki/Samsung-Electronics-Co/SGHI200/User-Guide-916900-Page-65.png)
![Troubleshooting74Your device does not show a signal (no bars next to the network icon)• If you just turned on the device, wait about 2 minutes for your device to find the network and receive a signal.• You may not be able to receive a signal in tunnels or elevators. Move to an open area.• You may be between service areas. You should receive a signal when you enter a service area.You forgot a security, PIN, or PUK codeIf you forget or lose this or another code, contact the seller or your service provider.Your display shows white linesThe display may show white lines if you have turned the device on after a long period of disuse or if you removed the battery without first turning off the device. The display should correct itself in a short time.You enter a number, but the call is not dialled• Ensure that you have pressed [ ].• Ensure that you have accessed the right cellular network.• Ensure that you have not set call barring for the phone number.PUK RequiredYour SIM card is blocked, usually as a result of entering your PIN incorrectly several times. You must enter the PUK supplied by your service provider.Message Try this to solve the problem:](https://usermanual.wiki/Samsung-Electronics-Co/SGHI200/User-Guide-916900-Page-77.png)