Samsung Electronics Co SGHI908E Cellular/PCS GSM/EDGE Phone with Bluetooth User Manual SGH i900
Samsung Electronics Co Ltd Cellular/PCS GSM/EDGE Phone with Bluetooth SGH i900
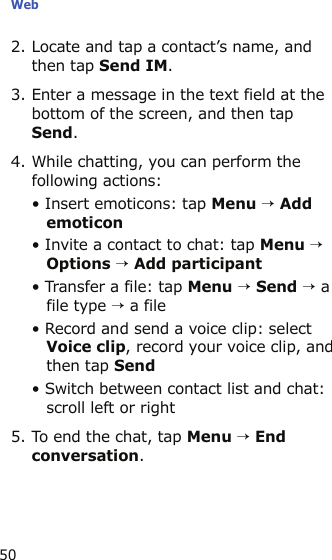
UserManual.wiki
>
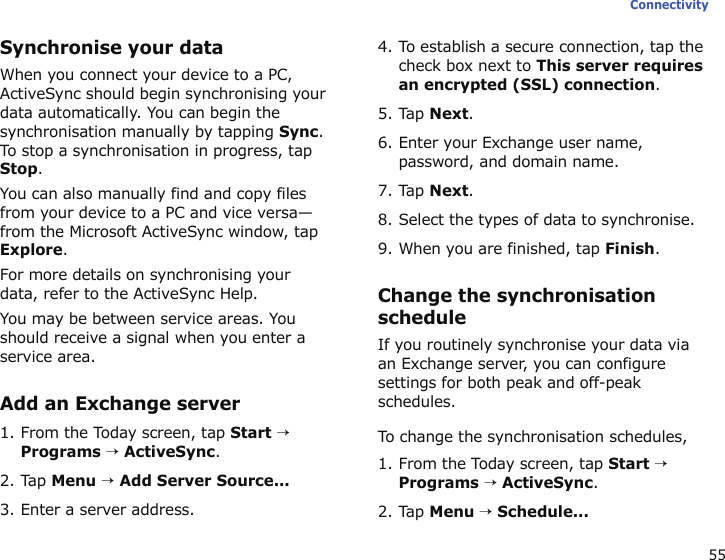
Samsung Electronics Co
>
SGHI908E User Manual
Users Manual
Navigation menu
Upload a User Manual
Namespaces
Wiki Guide
HTML
PDF
Info
Views
User Manual
Discussion / Help
Navigation
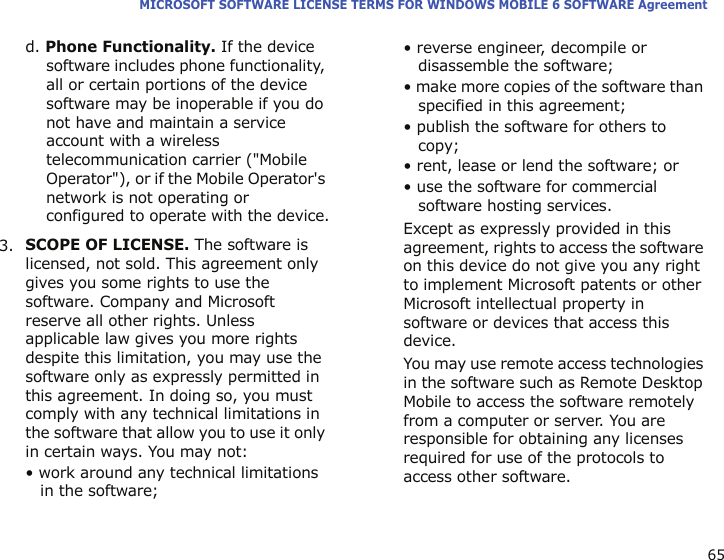
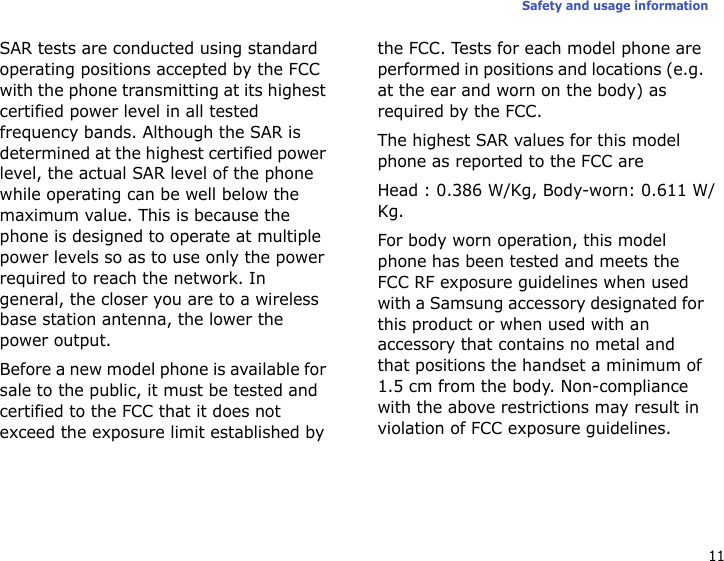
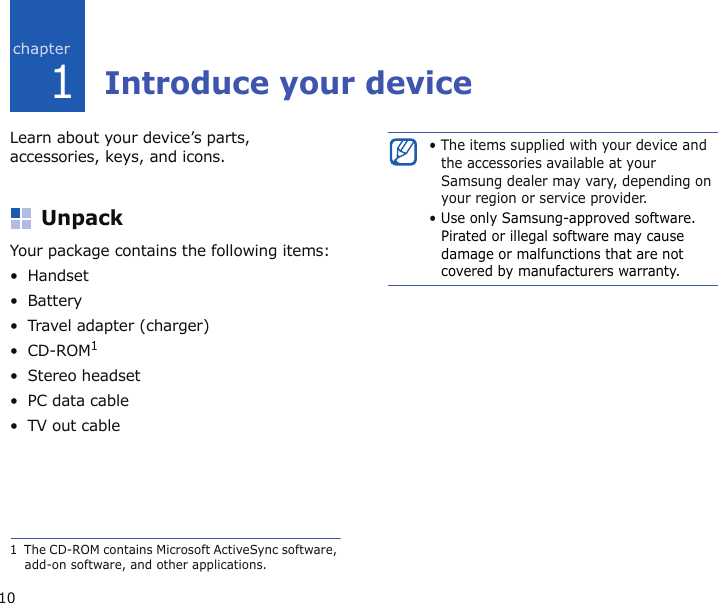
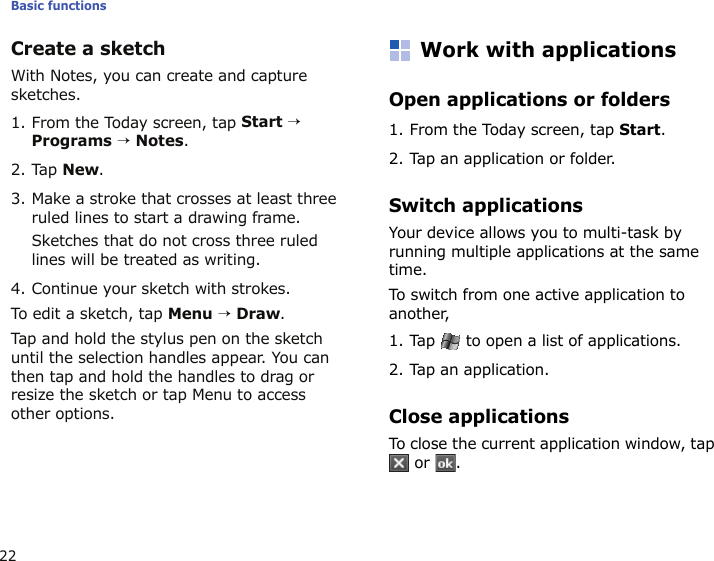
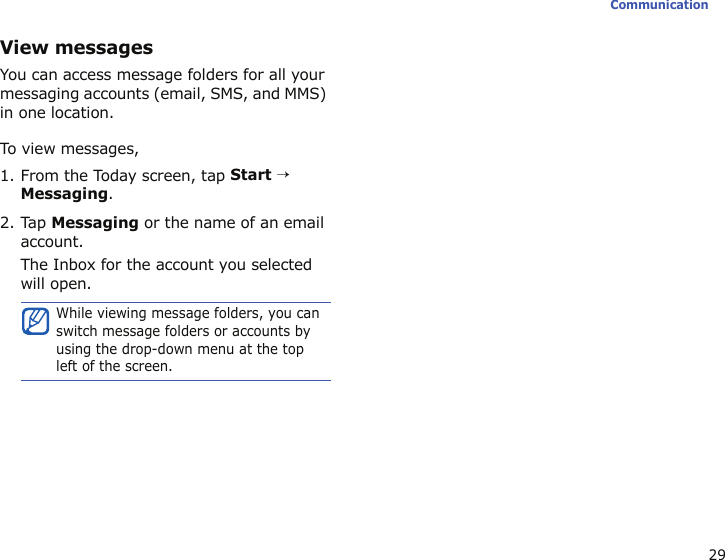
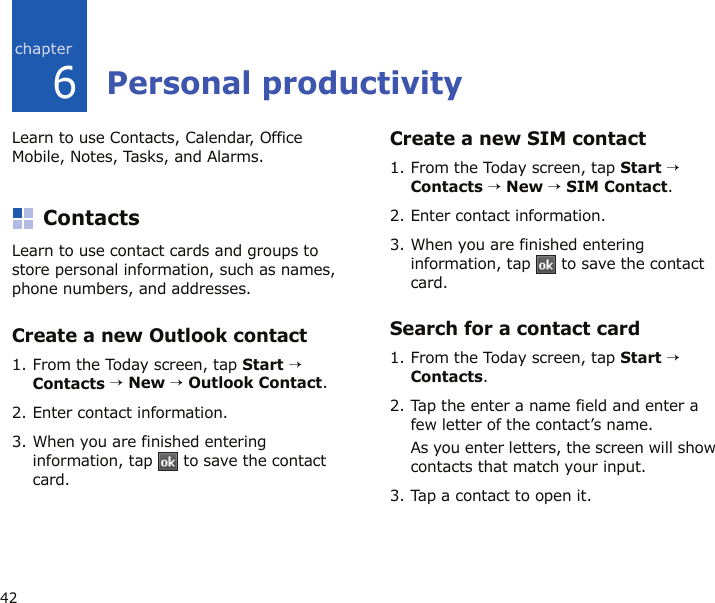
![Using this manualThis user manual has been specially designed to guide you through the functions and features of your device.Instructional iconsBefore you start, familiarise yourself with the icons you will see in this manual:For any topics not covered in this manual, please refer to the Help embedded in the Windows Mobile® 6 Professional operating system.Warning—situations that could cause injury to yourself or othersCaution—situations that could cause damage to your device or other equipmentNote—notes, usage tips, or additional informationXRefer to—pages with related information; for example: X p. 12 (represents "see page 12")→Followed by—the order of options or menus you must select to perform a step; for example: Tap Start → Programs → Camera (represents Start, followed by Programs, followed by Camera)[ ] Square brackets—device keys; for example: [ ] (represents the Power key)](https://usermanual.wiki/Samsung-Electronics-Co/SGHI908E/User-Guide-963753-Page-3.png)

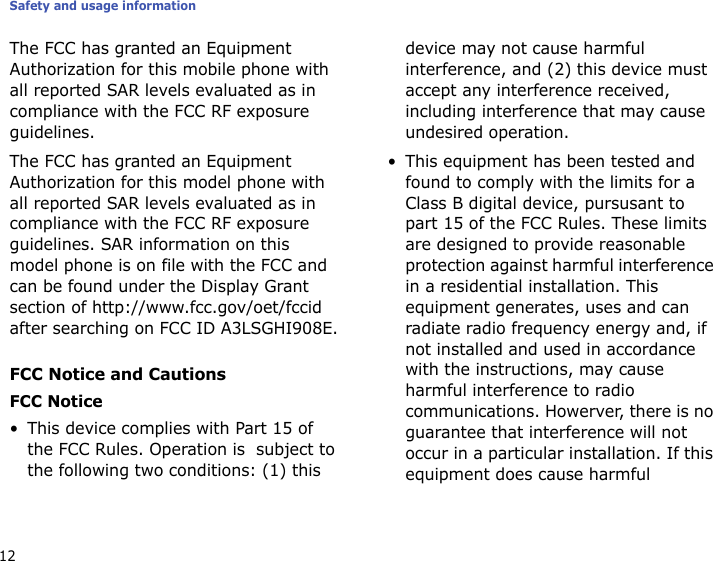
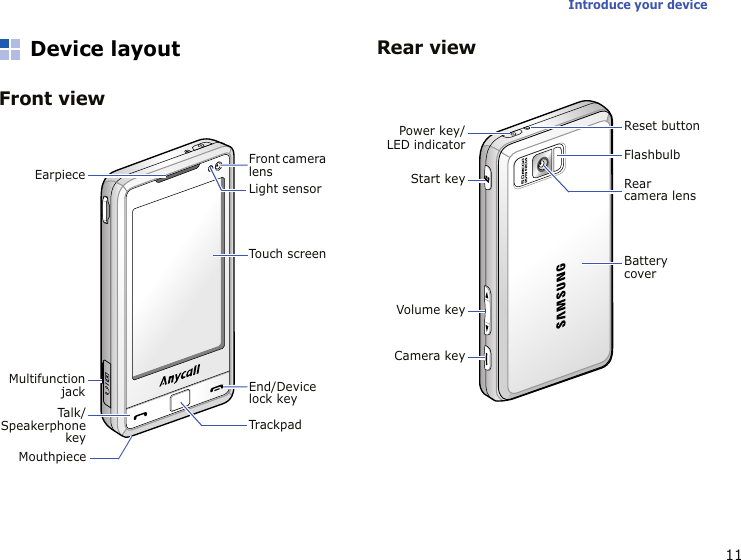

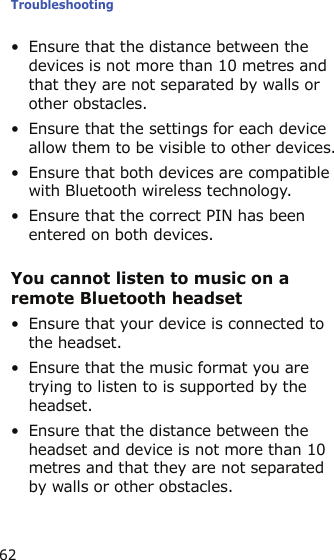
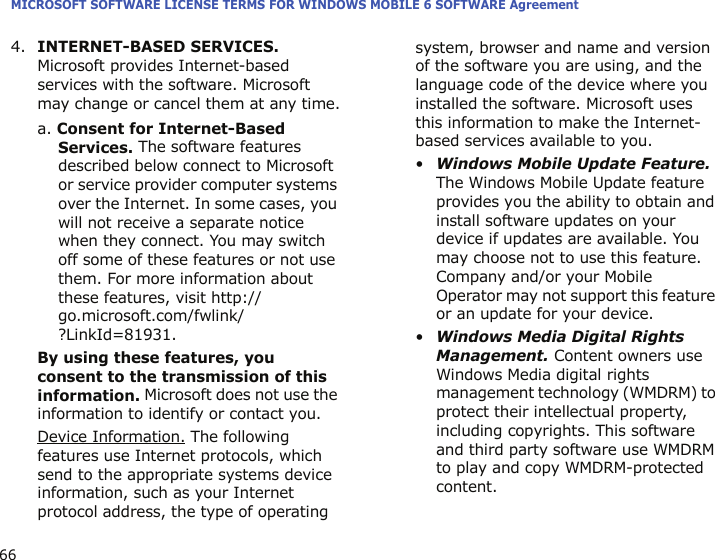
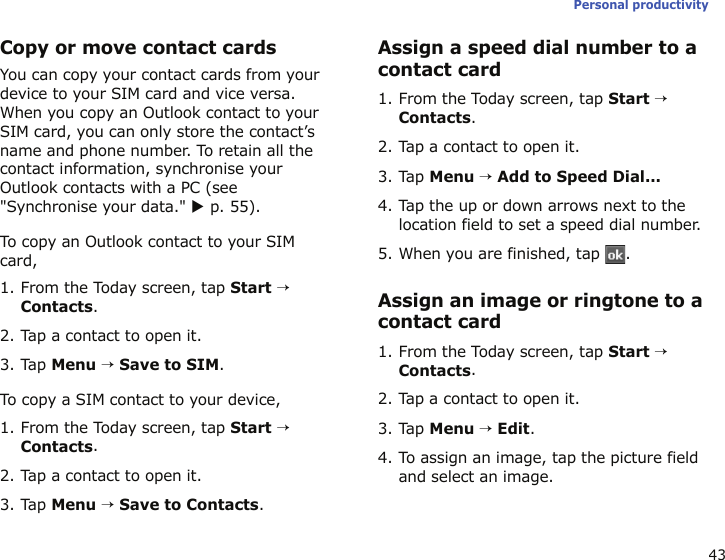
![152Assemble and prepare your deviceGet started by assembling and setting up your device for its first use.Insert the SIM card and battery1. Remove the battery cover.2. Insert the SIM card.3. Insert the battery. If the device is on, press and hold [ ] to turn it off.Place the SIM card in the device with the gold-coloured contacts facing down.](https://usermanual.wiki/Samsung-Electronics-Co/SGHI908E/User-Guide-963753-Page-23.png)
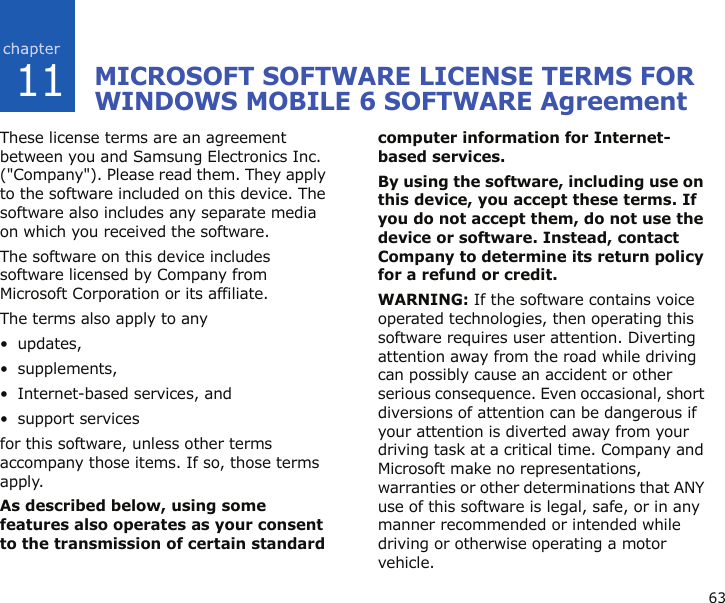
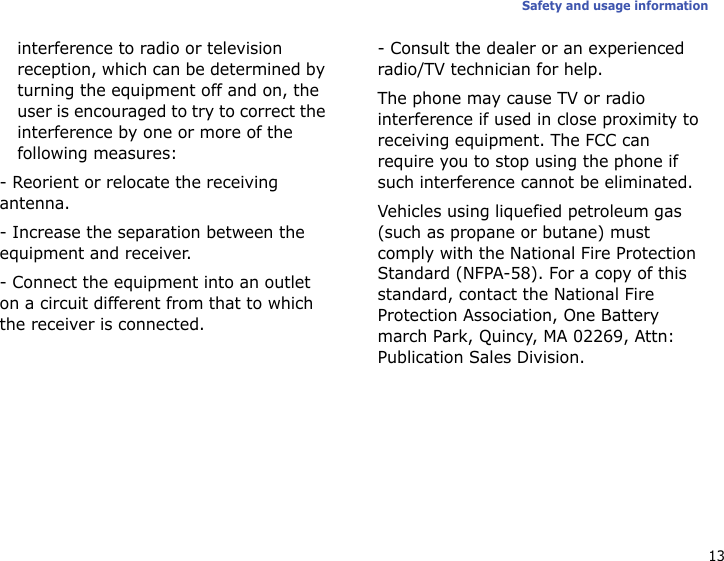
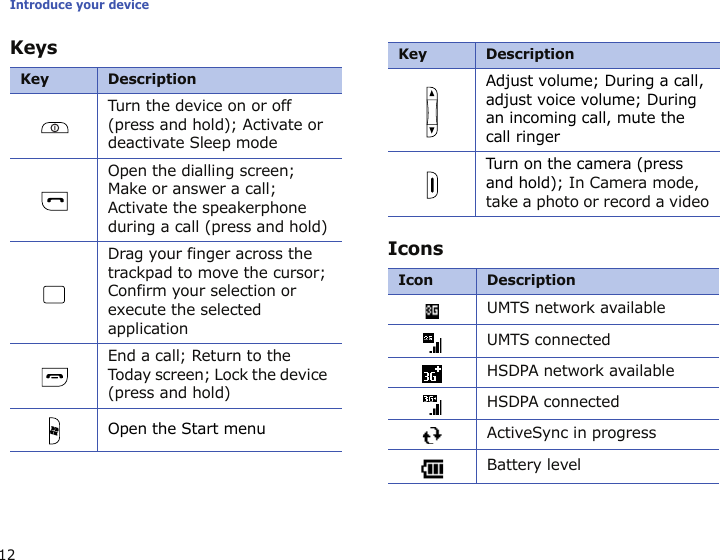
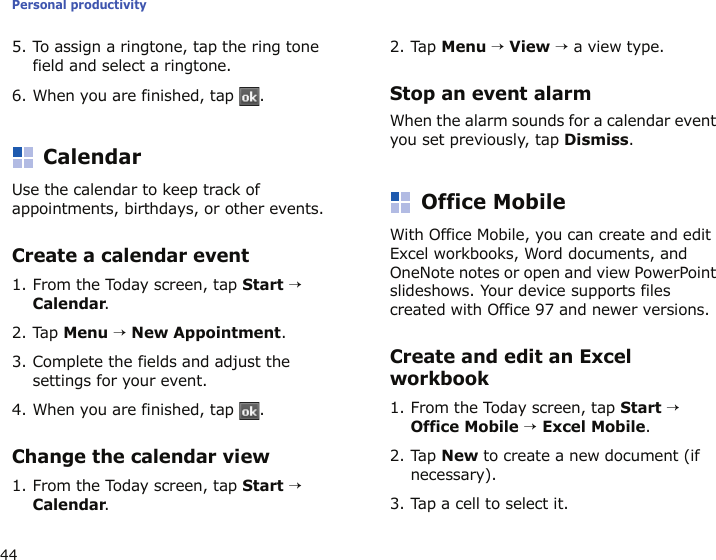
![183Basic functionsLearn how to perform basic operations and use the main features of your device.Turn the device on or offTo turn the devi c e on,1. Press and hold [ ].2. Follow the onscreen instructions. Your device will automatically connect to the cellular network.To turn off the device, repeat step 1 above.Unlock the external keysYou can lock the keypad to prevent any unwanted device operations from accidentally pressing any of the keys. From the Today screen, press and hold [ ]. To unlock the keys, tap Unlock → Unlock.Disable wireless functionsBy disabling your device’s wireless functions, you can use non-network services in areas where wireless devices are prohibited, such as aeroplanes and hospitals.To disable wireless functions, 1. From the Today screen, tap Start → Settings.2. On the Connections tab, tap Wireless Manager → Phone.Your device will show on the Today screen.To enable wireless functions, repeat steps 1-2 above.](https://usermanual.wiki/Samsung-Electronics-Co/SGHI908E/User-Guide-963753-Page-26.png)
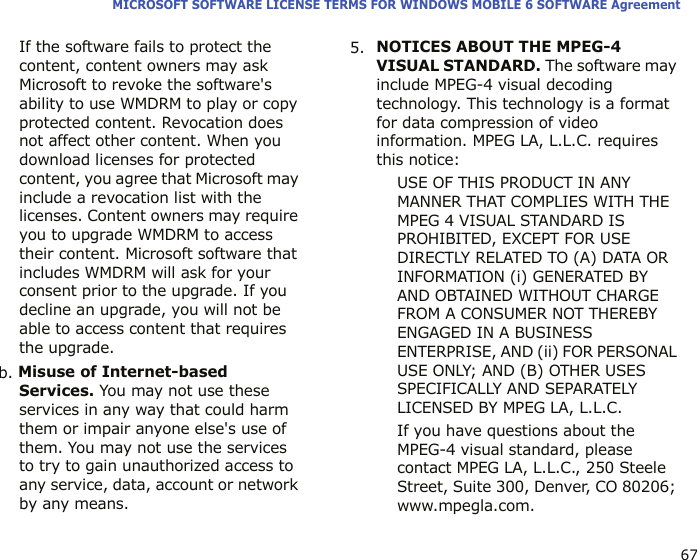
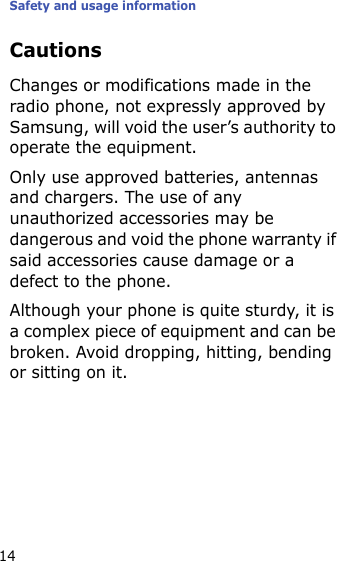
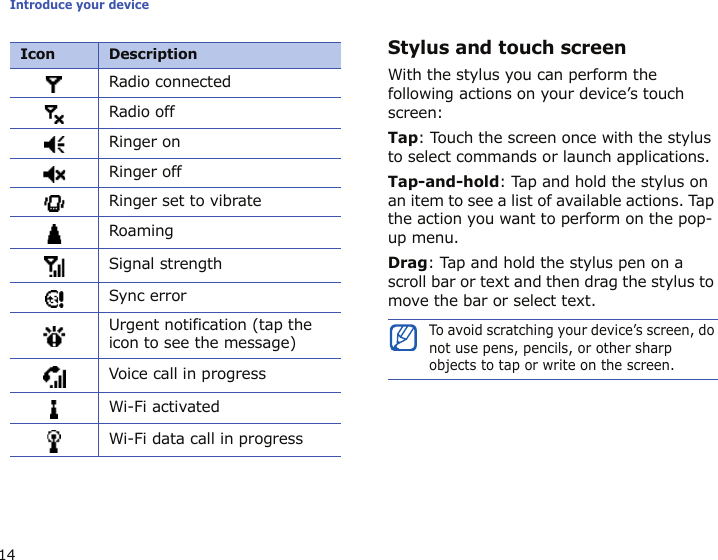
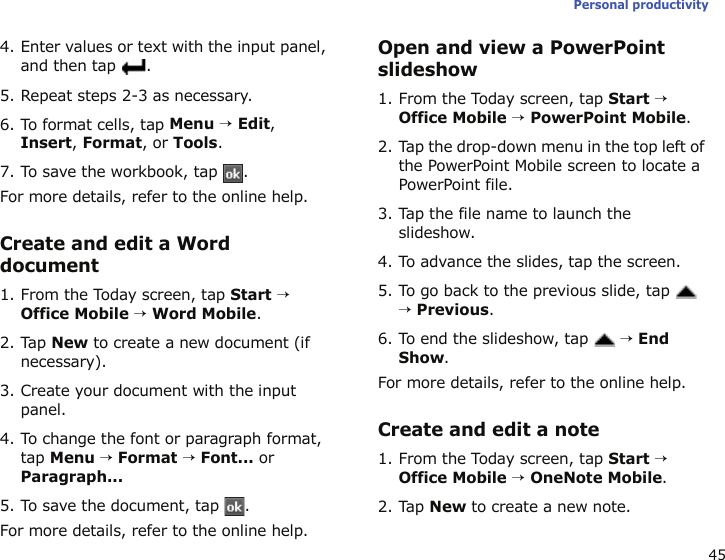
![19Basic functionsUse quick access icons on the Today screenWhen you turn on your device, the Today screen (the standby screen of the device) appears. The Today screen provides you with various quick access icons.Adjust the system and call volumesTo adjust the system volume (for keys and applications), tap and drag the slider for the system volume ( ) or press [ / ] while using an application.To adjust the call volume, tap and drag the slider for the call volume ( ) or press [/] during a call.IconFunctionAccess the Today screenSet up the list of your favourite contacts.Set up shortcuts to your favourite applications.Quickly activate or deactivate the following modes or functions:• : Switch to Flight mode• : Switch to Vibrate mode•: ??• : Activate Bluetooth• : Adjust the brightness of the displayAccess the recent call listAccess the message inboxAccess the email inboxIcon Function](https://usermanual.wiki/Samsung-Electronics-Co/SGHI908E/User-Guide-963753-Page-27.png)
![23Basic functionsTo close an application that is running in the background,1. From the Today screen, tap Start → Programs → Task Manager.2. Scroll to an application and tap End Task.Access LauncherUsing Launcher, you can view applications on your device categorised by type, and quickly access them.1. Press [ ]. You can also tap Start → Programs → Launcher.2. Select an application.Customise your deviceLearn to change themes and background images, add or remove items from the Today screen.Change your theme or background image1. From the Today screen, tap Start → Settings.2. On the Personal tab, tap Today.3. On the Appearance tab, tap a theme or tap Use this picture as the background → Browse to locate a background image.4. When you are finished, tap .Change your background image according to your region1. From the Today screen, tap Start → Settings.2. On the System tab, tap WallPaper.3. On the Basic tab, tap On.4. On the WallPaper tab, select your region from the Province drop-down list.](https://usermanual.wiki/Samsung-Electronics-Co/SGHI908E/User-Guide-963753-Page-31.png)
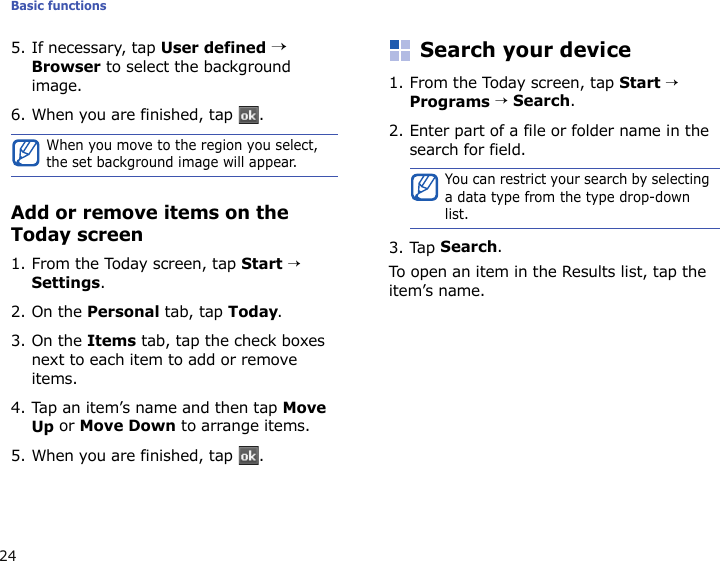
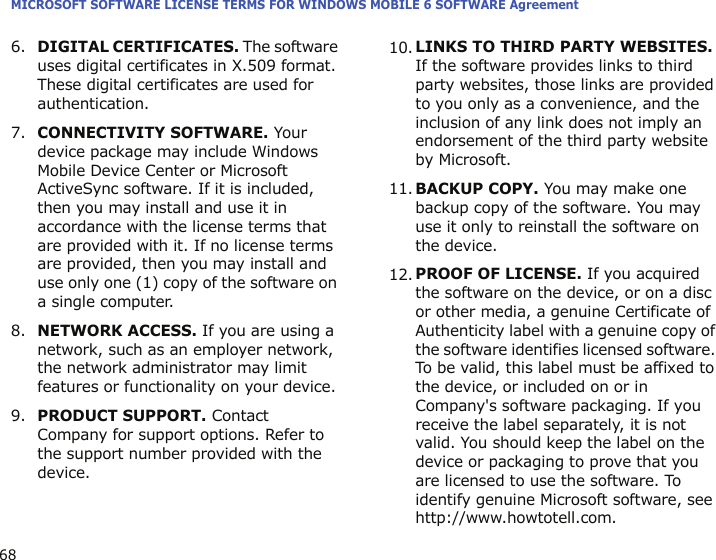
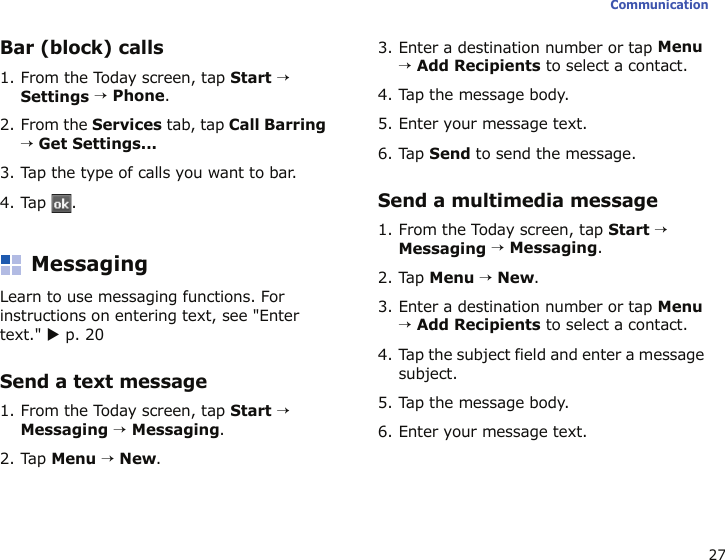
![254CommunicationYour device allows you to send and receive many types of calls and messages over cellular networks and the wireless web.CallsLearn to use your device’s call functions.Make a voice call1. From the Today screen, tap Phone or [].2. Enter an area code and phone number.3. Tap or press [ ].4. To end the call, tap End or press [ ].Make a video call1. From the Today screen, tap Phone or [].2. Enter an area code and phone number.3. Tap .4. To end the call, tap End or press [ ].Answer a call1. Press [ ].2. To end the call, tap End or press [ ].Reject a callTa p Ignore or press [ ].When you reject a call, the caller will hear a busy tone.](https://usermanual.wiki/Samsung-Electronics-Co/SGHI908E/User-Guide-963753-Page-33.png)
![Communication26Call an international number1. From the Today screen, tap Phone or [].2. Press and hold to insert the + character (this replaces the international access code).3. Press the number keys to enter the complete number you want to dial (country code, area code, and phone number), and then tap or press [] to dial.4. To end the call, tap End or press [ ].Make a call from the contact list1. From the Today screen, tap Contacts to open your contact list.2. Scroll to a contact and tap the contact’s name.3. Tap the number you want to dial.4. To end the call, tap End or press [ ].Make a call from Call History1. From the Today screen, tap Phone or [].2. Tap Hide Keypad.3. Scroll to a contact and tap the contact’s name.4. Tap the number you want to dial.5. To end the call, tap End or press [ ].Forward calls1. From the Today screen, tap Start → Settings → Phone.2. From the Services tab, tap Call Forwarding → Get Settings...3. Tap a forwarding option and enter a phone number.4. Tap .To search for a contact, tap the Enter a name... field and enter a few letters of the contact’s name.](https://usermanual.wiki/Samsung-Electronics-Co/SGHI908E/User-Guide-963753-Page-34.png)
![41Media3. Tap xx or xx, or move the slider to scan through available radio stations.4. To adjust the volume level, press [ / ].To switch sound output to the speaker, tap Menu → Speaker on.To record the radio on the device, tap xx.Set up your favourite radio station listOnce you have set up a radio station list, you can access the saved stations by scrolling left or right from the radio screen.Save radio stations by automatic tuning1. From the radio screen, tap Scan to scan and save available stations automatically.2. When you are finished, tap Done.Add a radio station to the preset station list1. From the radio screen, scroll to the radio station you want.2. Tap Menu → Set as Presets.3. Enter a description of the station and tap Done.](https://usermanual.wiki/Samsung-Electronics-Co/SGHI908E/User-Guide-963753-Page-49.png)

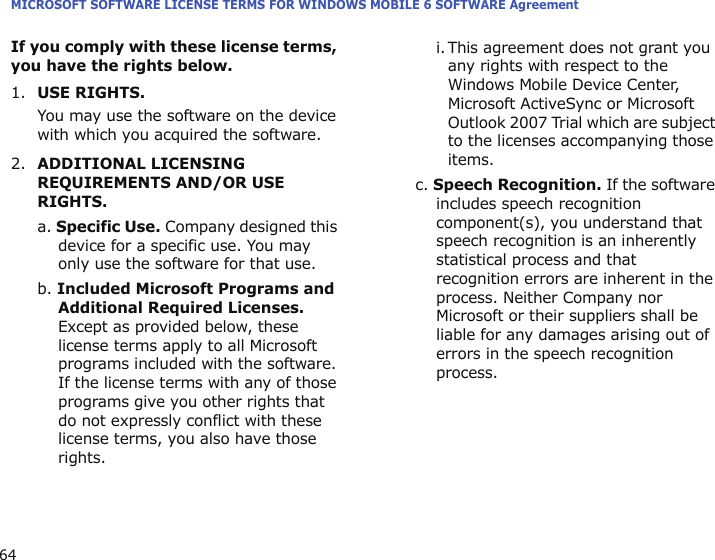
![Troubleshooting60You forgot a security code, PIN, or PUKIf you forget or lose this or another code, contact the seller or your service provider.Your display shows white linesThe display may show white lines if you have turned the device on after a long period of disuse or if you removed the battery without first turning off the device. The display should correct itself in a short time.You enter a number, but the call is not dialled• Ensure that you have pressed the Dial key: [ ].• Ensure that you have accessed the right cellular network.• Ensure that you have not set call barring for the phone number.You select a contact to call, but the call is not dialled• Ensure that the correct number is stored in the contact information.• Re-enter and save the number (if necessary).Another caller cannot hear you speaking• Ensure that you are not blocking the built-in microphone.• Move the built-in microphone closer to your mouth.• If using a headset, ensure that it is properly connected.](https://usermanual.wiki/Samsung-Electronics-Co/SGHI908E/User-Guide-963753-Page-68.png)