Samsung Electronics Co SGHN707 Dual-Band GSM Phone User Manual
Samsung Electronics Co Ltd Dual-Band GSM Phone Users Manual
UserManual.wiki
>
Samsung Electronics Co
>
SGHN707 User Manual
Users Manual
Navigation menu
Upload a User Manual
Namespaces
Wiki Guide
HTML
PDF
Info
Views
User Manual
Discussion / Help
Navigation
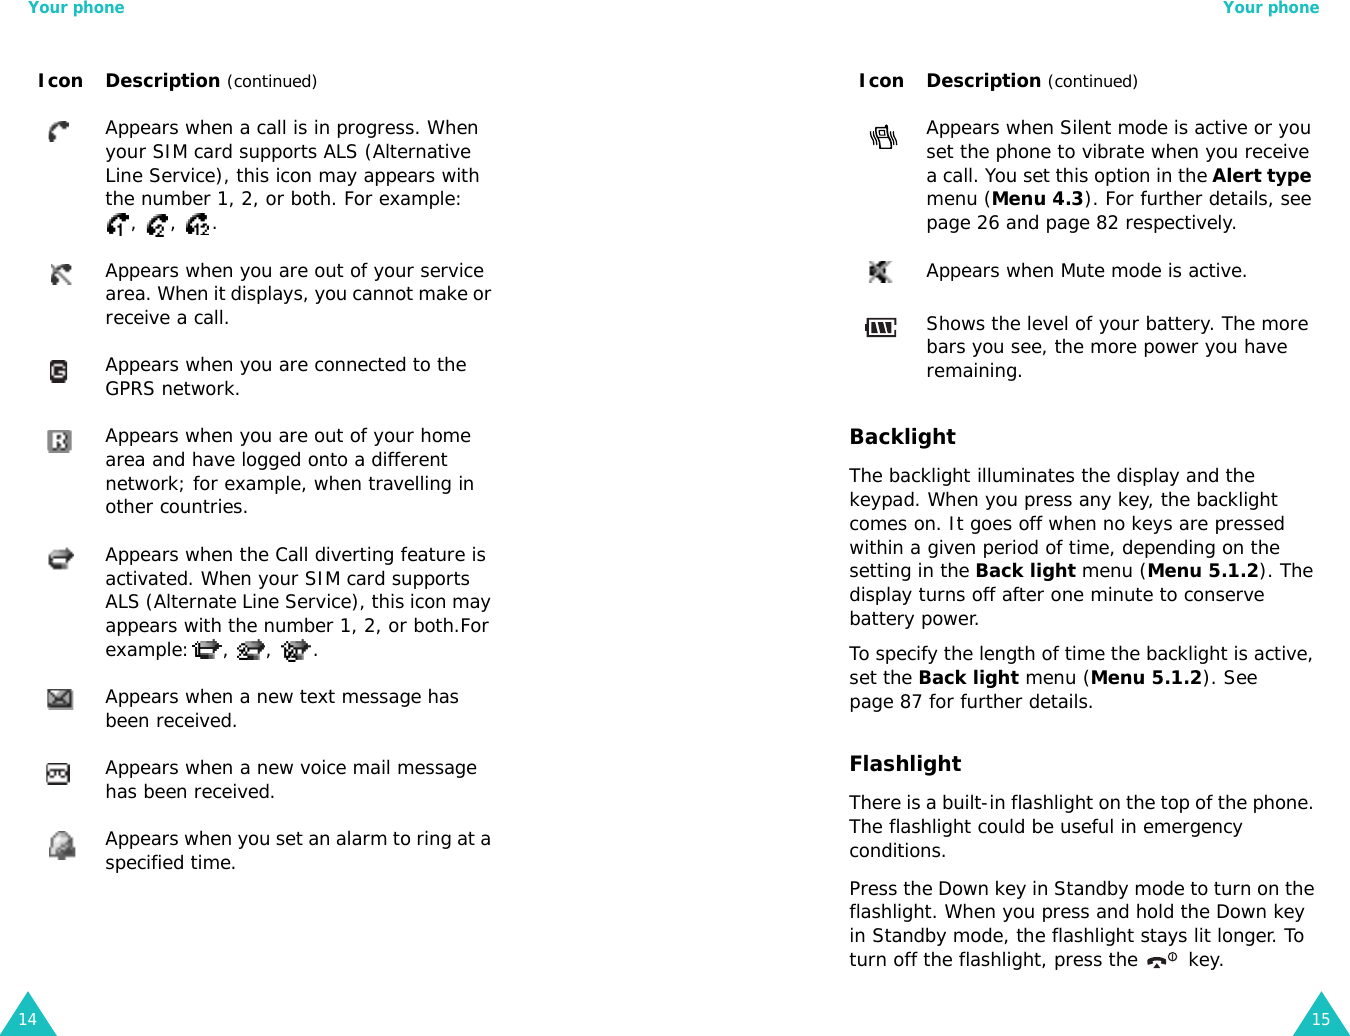

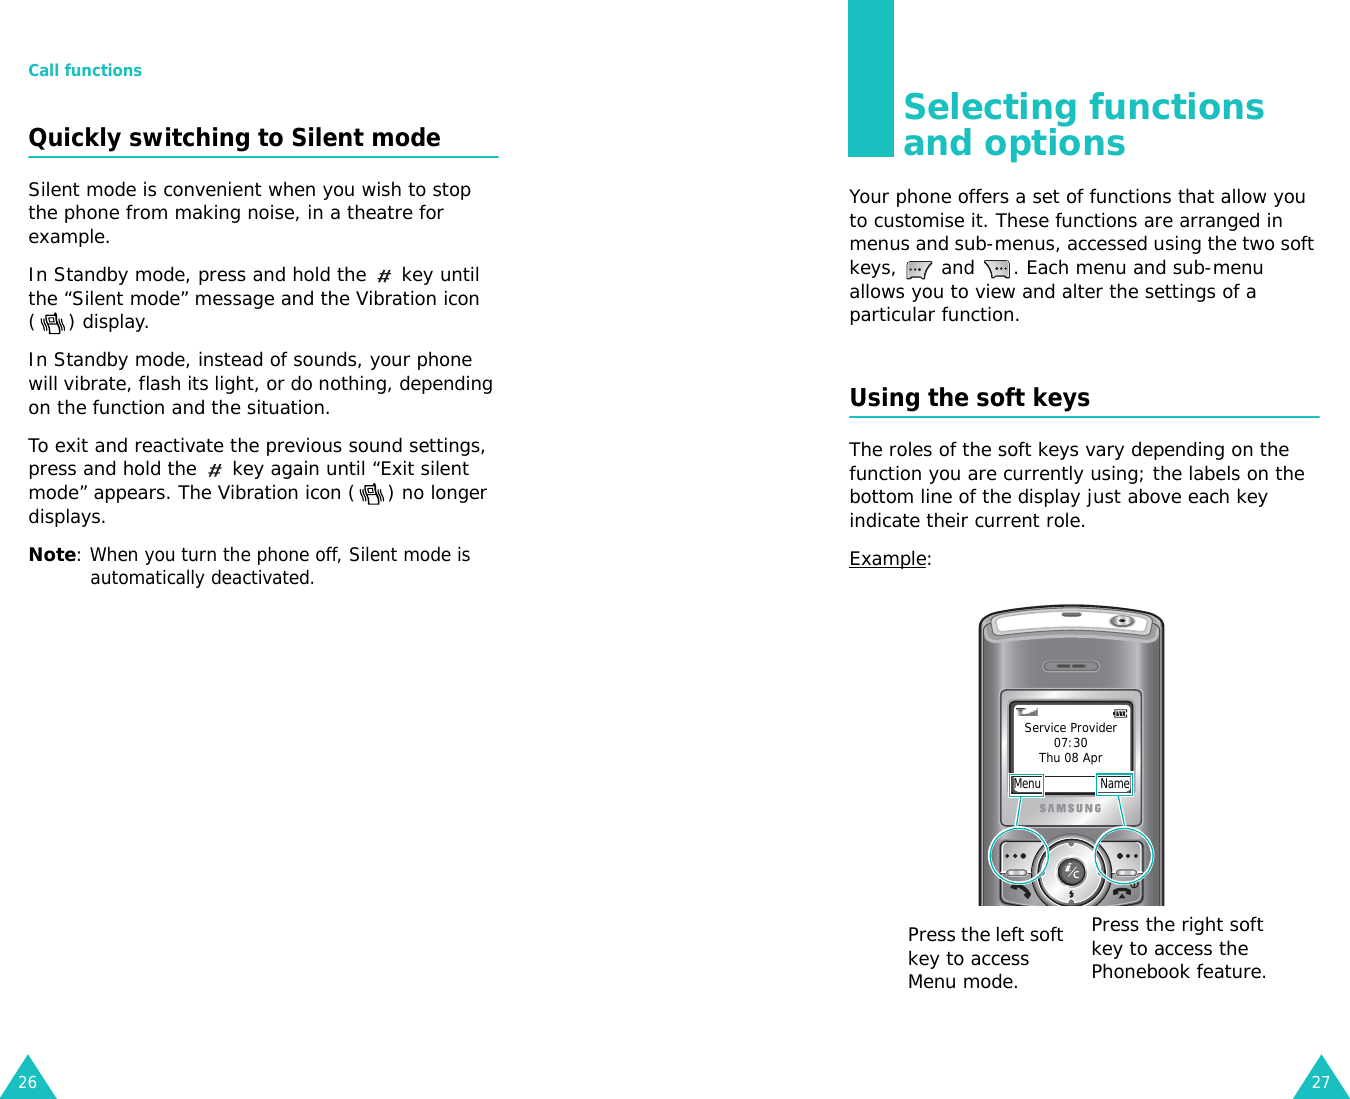

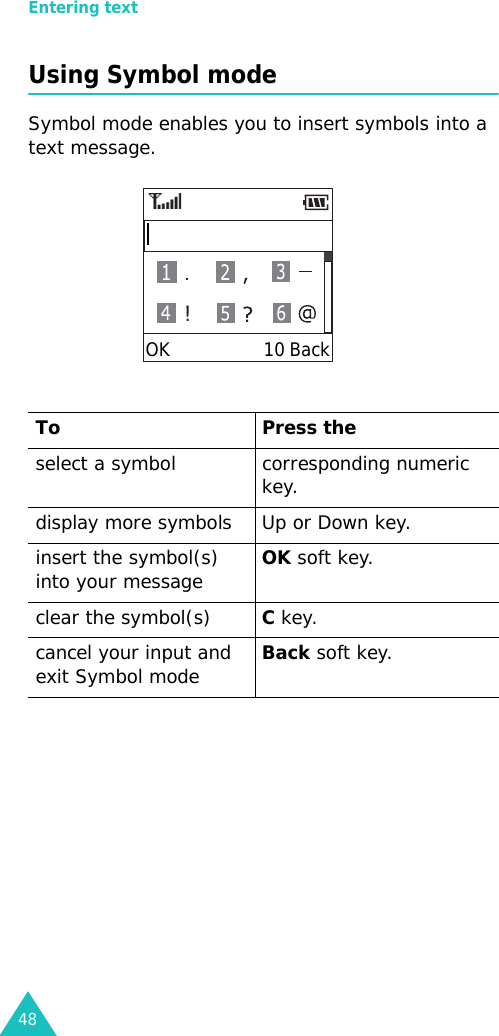


![172Choose the alert type➀Select the Alert type menu (Menu 4.3).➁Select an option:• Melody• Vibration• Vibra+melody➂Press the Select soft key.Store numbers in Phonebook➀Enter the number and press the Save soft key.➁Select an icon.➂Press the Select soft key.➃Select a memory.➄Press the Select soft key.➅Enter the name.➆Press the OK soft key.➇If necessary, change the location number.➈Press the OK soft key.➉Press the key to return to Idle mode.Search for a number in Phonebook➀Press the Name soft key.➁Select the Search option.➂Enter the first few letters of the name.➃To scroll through the names, press the Up or Down key.➄Press the View soft key.➅To scroll through the numbers, press the Up or Down key.➆Press the key to dial.Declaration of Conformity (R&TTE) For the following product:TRI BAND GSM TELEPHONE (Product Name)SGH-N707(Model Number)Manufactured at:Samsung Electronics, 94-1 Imsu-Dong, Gumi City, Kyung Buk, Korea, 730-350(factory name, address*)to which this declaration relates, is in conformity with the following standards and/or other normative documents.Safety : EN 60950:2000EMC : EN 301 489-1:2000 EN 301 489-7:2000SAR : EN 50360:2001 OET Bulletin 65, Supplement C:2001Network : EN 301 511 V7.0.1We hereby declare the [all essential radio test suites have been carried out and that] the above named product is in conformity to all the essential requirements of Directive 1999/5/EC.The conformity assessment procedure referred to in Article 10 and detailed in Annex[IV] of Directive 1999/5/EC has been followed with the involvement of the following Notified Body(ies):BABT, Claremont House, 34 Molesey Road, Walton-on-Thames, KT12 4RQ, UK Identification mark: 168The technical documentation kept at:Samsung Electronics Euro QA Lab.which will be made available upon request.(Representative in the EU)Samsung Electronics Euro QA Lab.Blackbushe Business Park, Saxony Way, Yateley, Hampshire, GU46 6GG, UK2003. 3. 26 In-Seop Lee / S. Manager(place and date of issue) (name and signature of authorised person)* This is not the address of the Samsung Service Centre. For the address or the phone number of the Samsung Service Centre, see the warranty card or contact the retailer where you purchased your phone.](https://usermanual.wiki/Samsung-Electronics-Co/SGHN707/User-Guide-445922-Page-90.png)