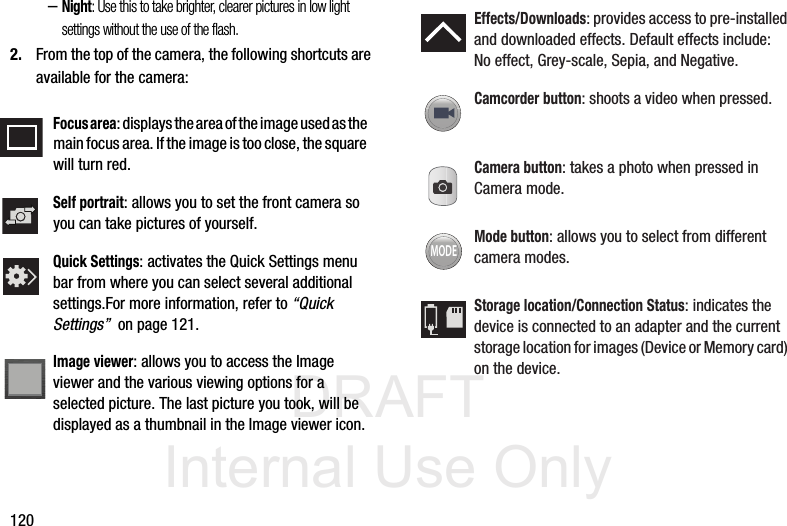
Samsung Electronics Co SGHT399 Multi-Band GSM/ EDGE/ WCDMA/ LTE Phone with WLAN, Bluetooth and RFID User Manual T Mobile SGH T399 Samsung Galaxy Light
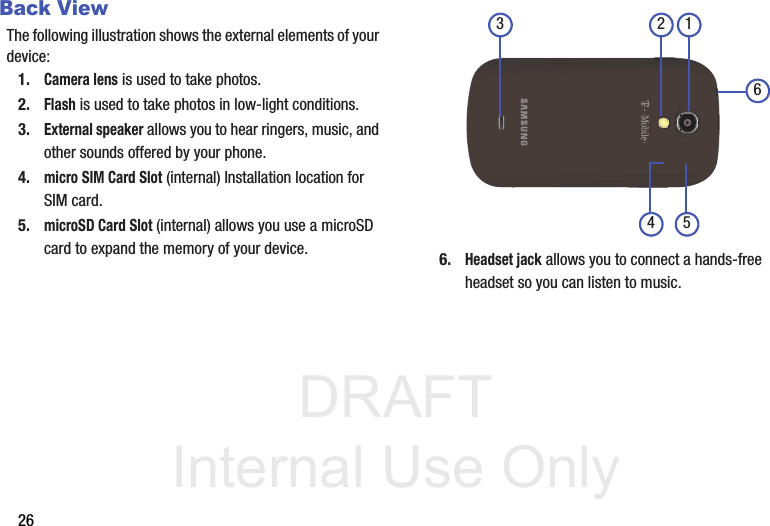
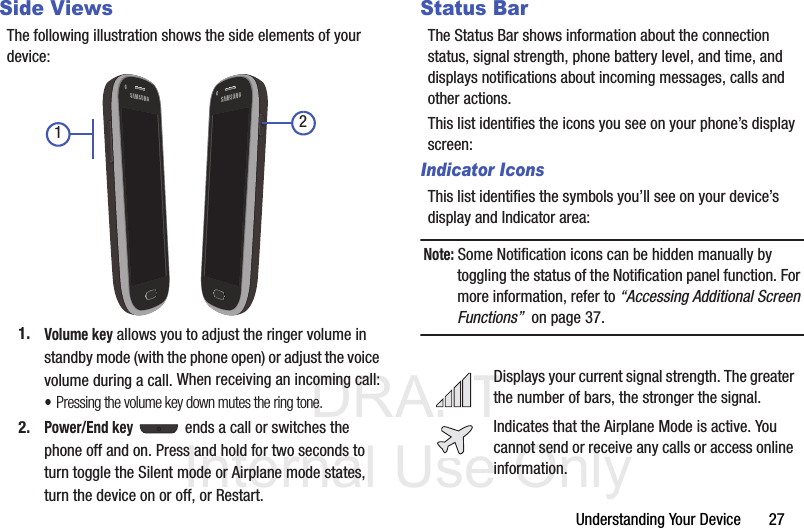
Samsung Electronics Co Ltd Multi-Band GSM/ EDGE/ WCDMA/ LTE Phone with WLAN, Bluetooth and RFID T Mobile SGH T399 Samsung Galaxy Light
Contents
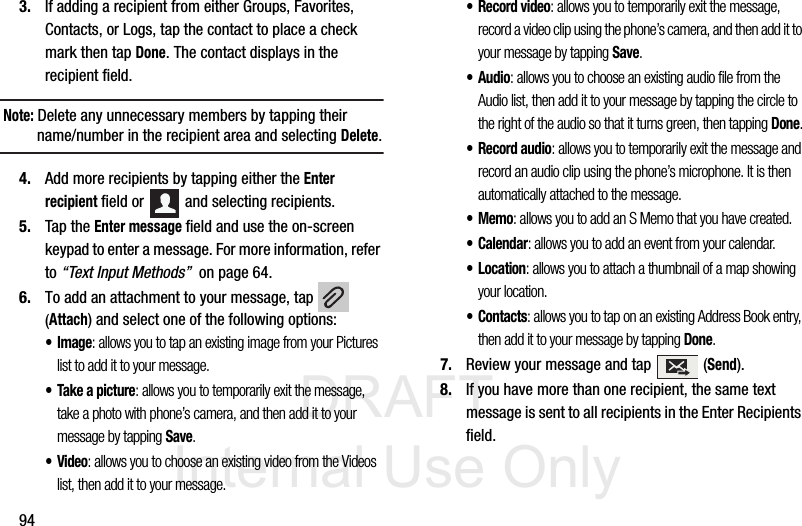
- 1. Users Manual 1
- 2. Users Manual 2
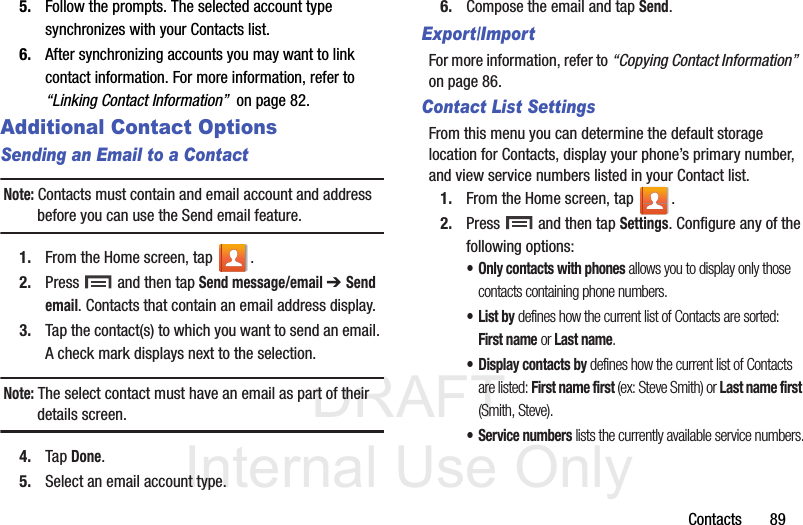
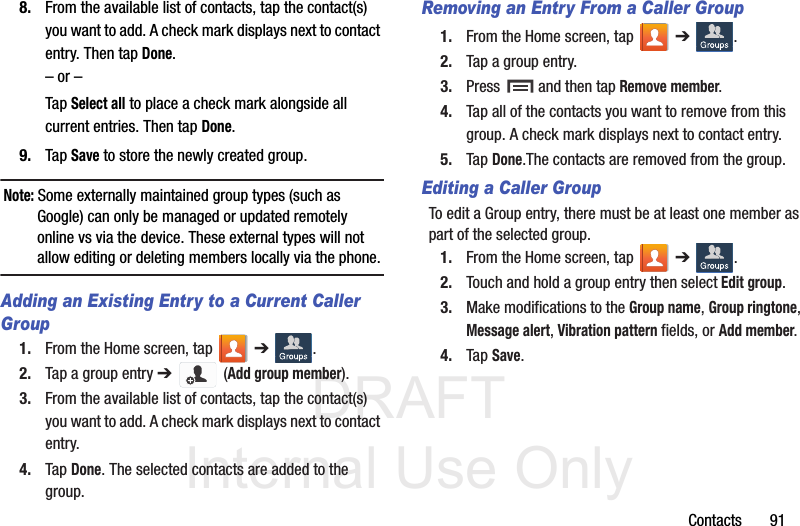
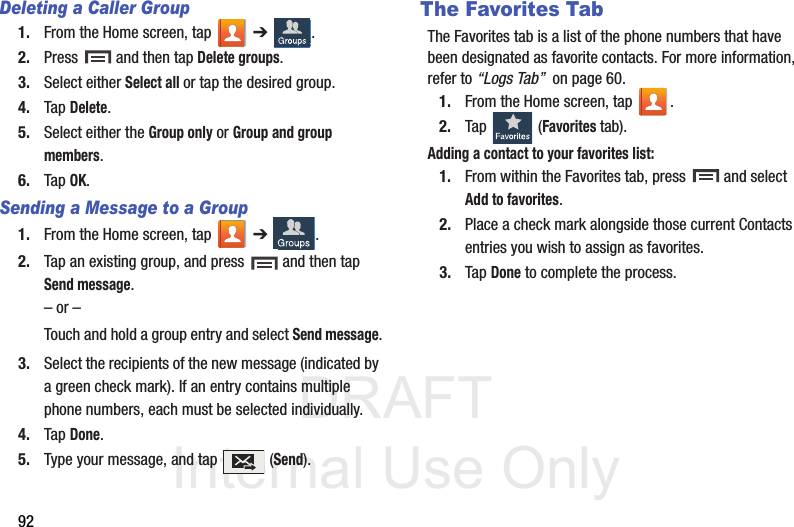
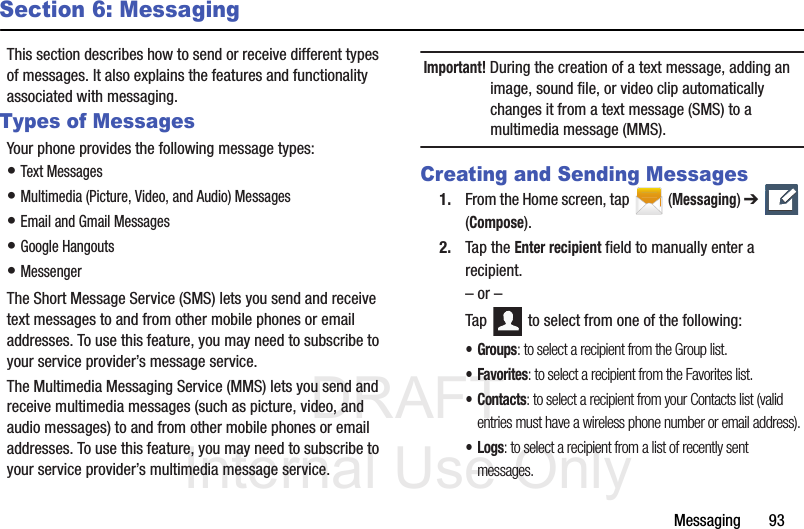
Users Manual 1
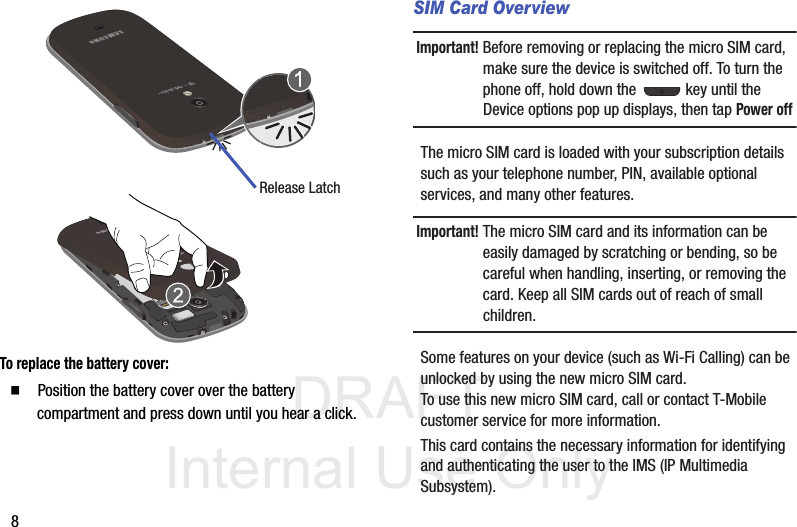
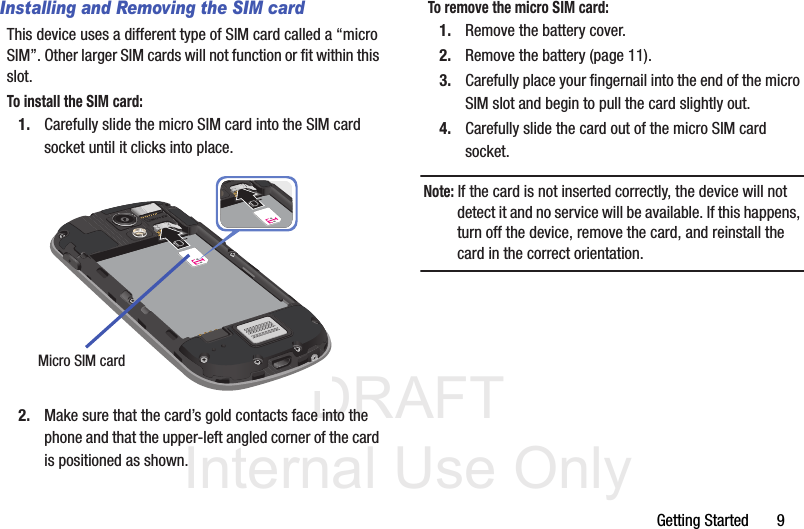
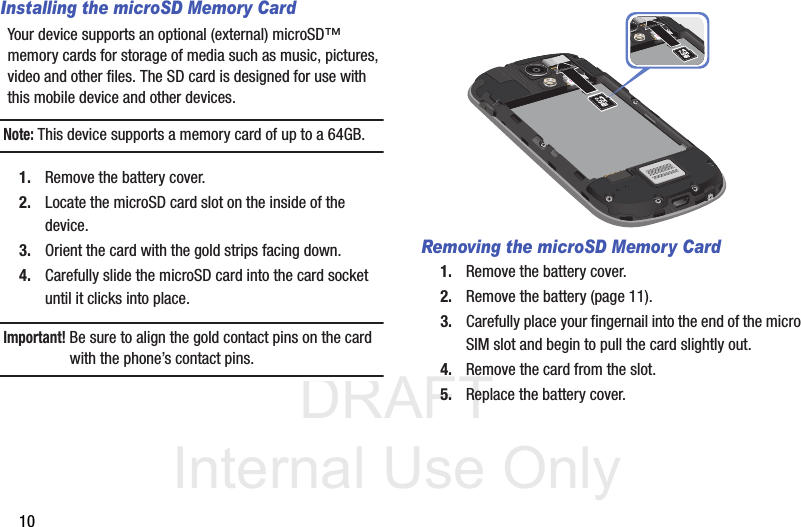
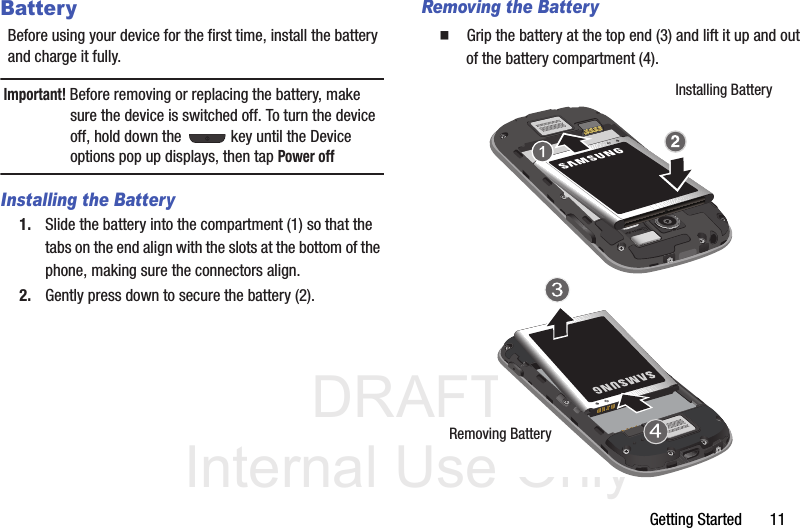
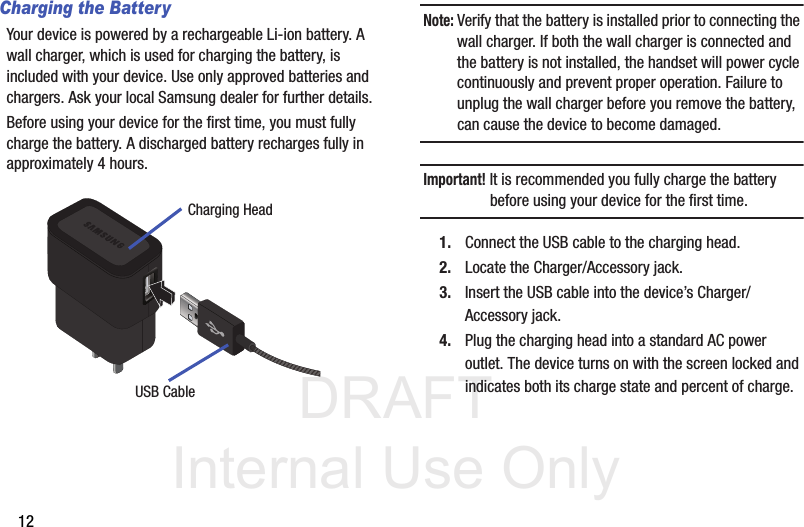
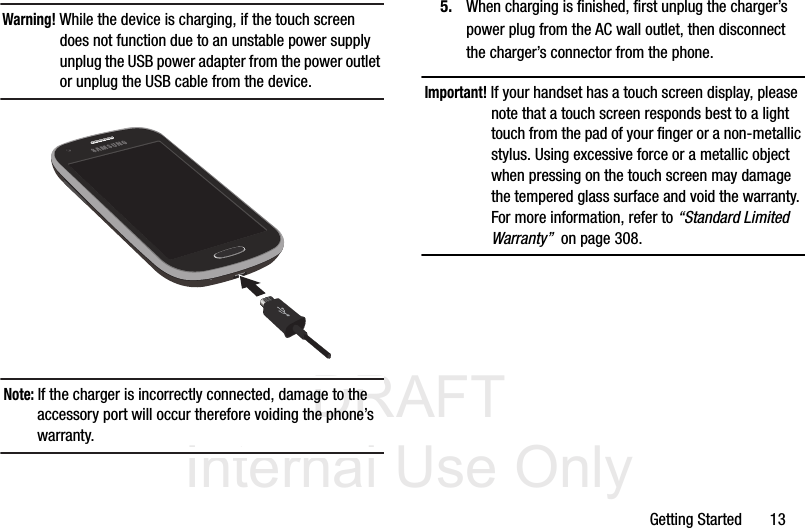
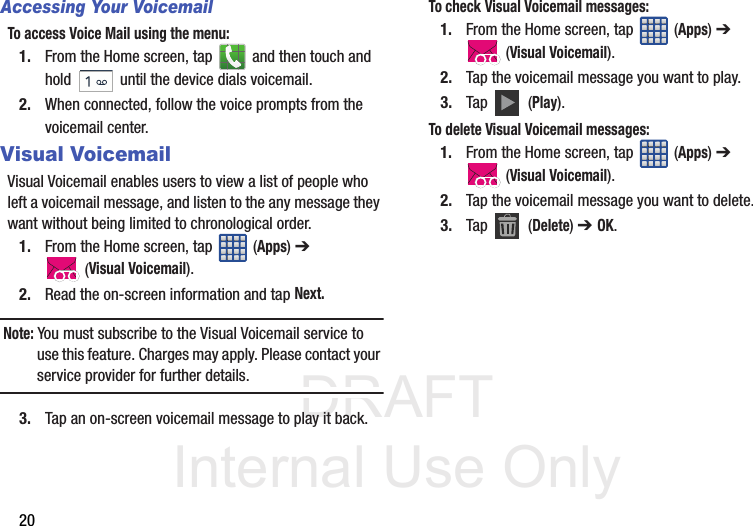
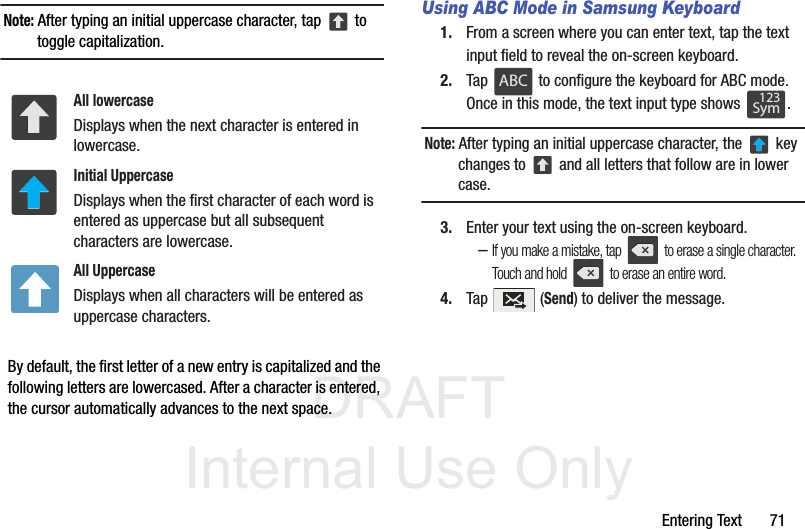
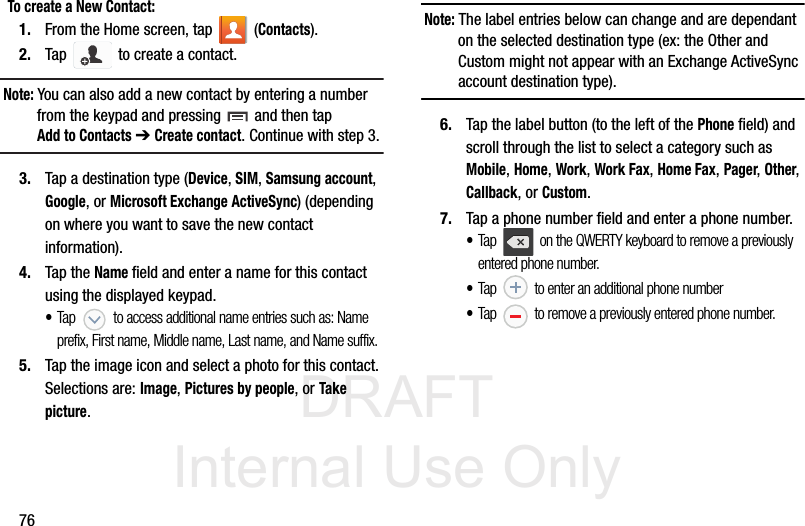
![DRAFT Internal Use OnlyDEVICES AND APPLICATIONS TESTED WITH SAFE™ DEVICES. IN NO EVENT SHALL THE SAMSUNG ENTITIES BE LIABLE FOR ANY DIRECT, INDIRECT, INCIDENTAL, PUNITIVE, OR CONSEQUENTIAL DAMAGES OF ANY KIND WHATSOEVER WITH RESPECT TO INFORMATION TECHNOLOGY SECURITY PROTECTION, SAFE™ DEVICES OR APPLICATIONS TESTED WITH SAFE™ DEVICES. In addition, information technology security protection will be affected by features or functionality associated with, among other things the e-mail platform, master data management, and virtual private network solutions selected by the software provider, solution provider or user. Choice of an e-mail, master data management, and virtual private network solution is at the sole discretion of the software provider, solution provider or user and any associated effect on information technology security protection is solely the responsibility of the software provider, solution provider or user. For complete statement of limited warranty, please refer to www.samsung.com/us/safe, available on the web and where Samsung smartphone and Galaxy Tab™ devices are sold. [101212] Samsung Telecommunications America (STA), LLCHeadquarters:1301 E. Lookout DriveRichardson, TX 75082Customer Care Center:1000 Klein Rd.Plano, TX 75074Toll Free Tel: 1.888.987.HELP (4357)](https://usermanual.wiki/Samsung-Electronics-Co/SGHT399.Users-Manual-1/User-Guide-2070291-Page-4.png)
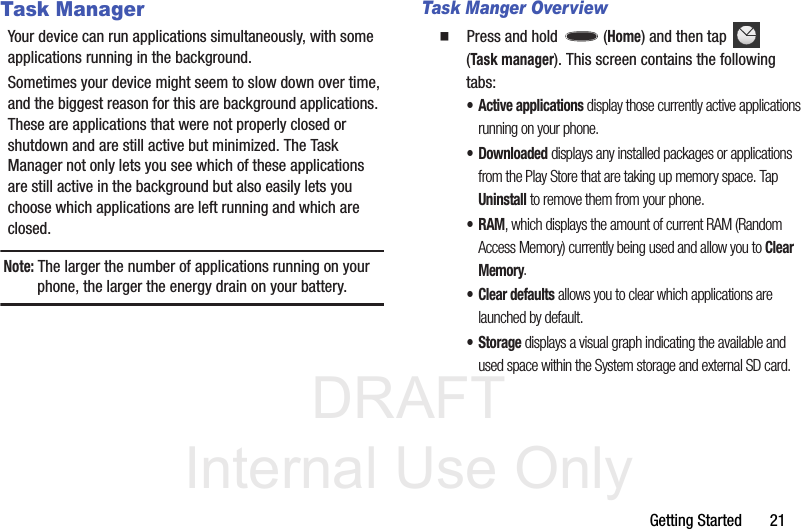

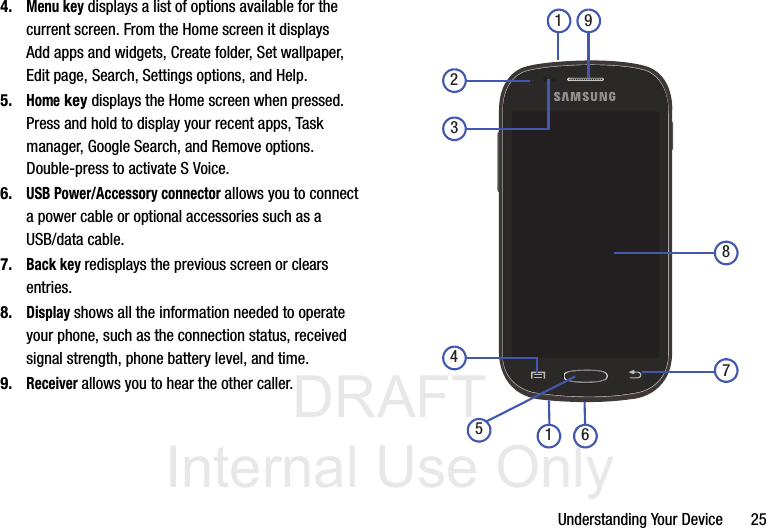

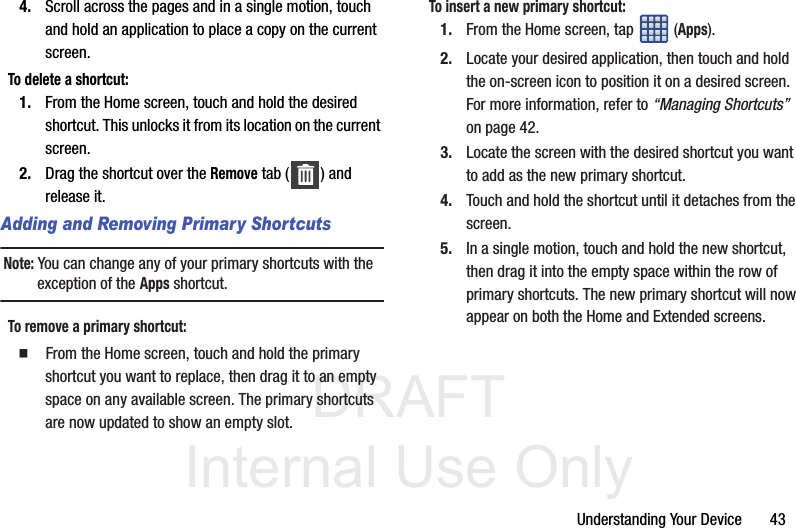
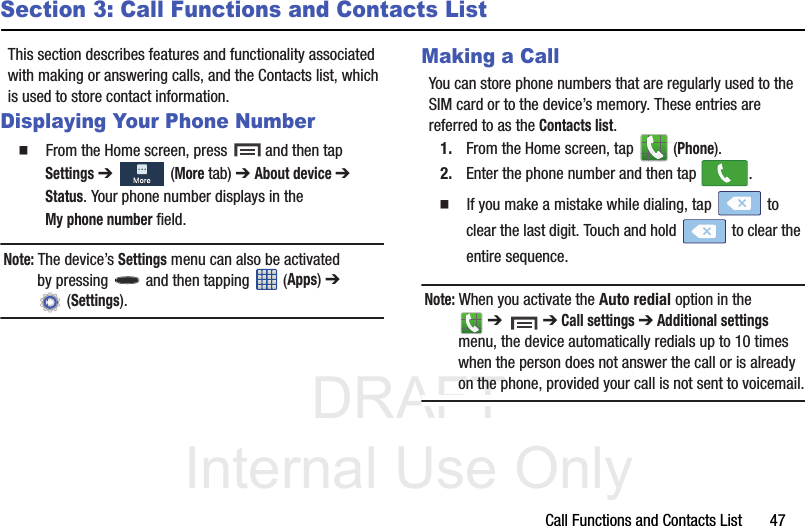

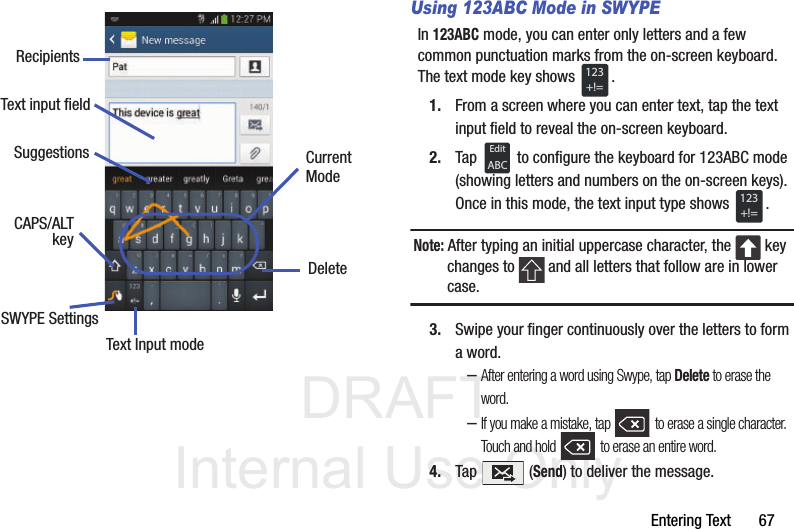
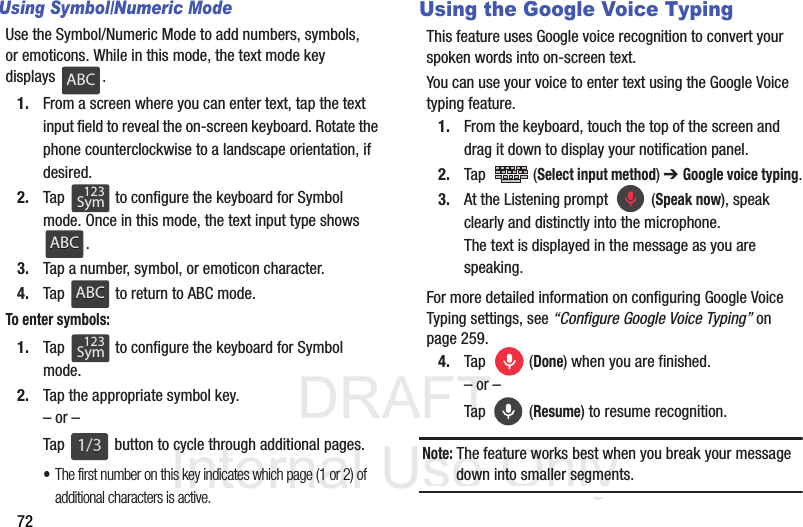

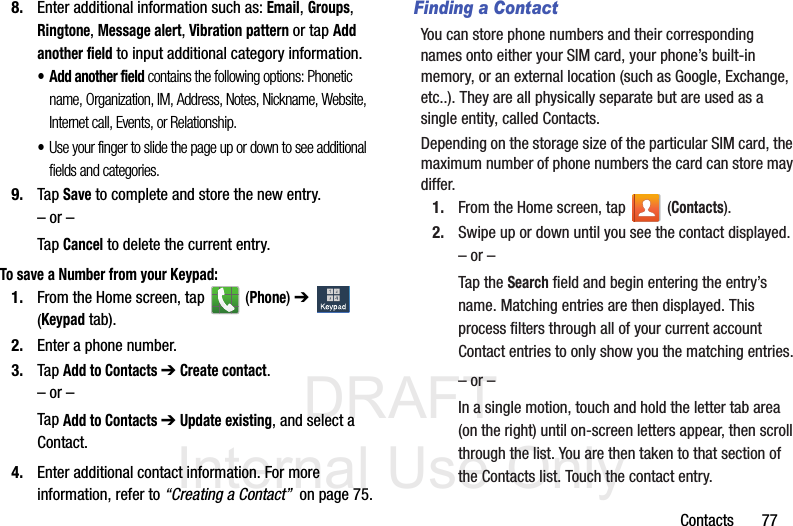

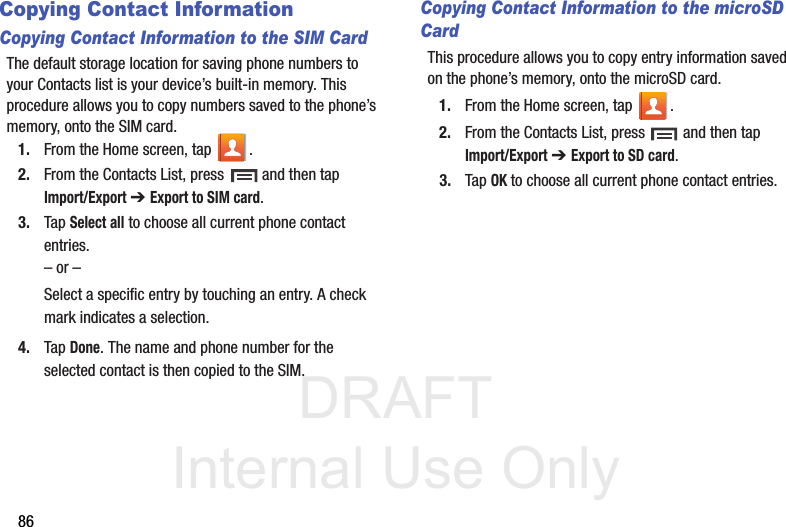

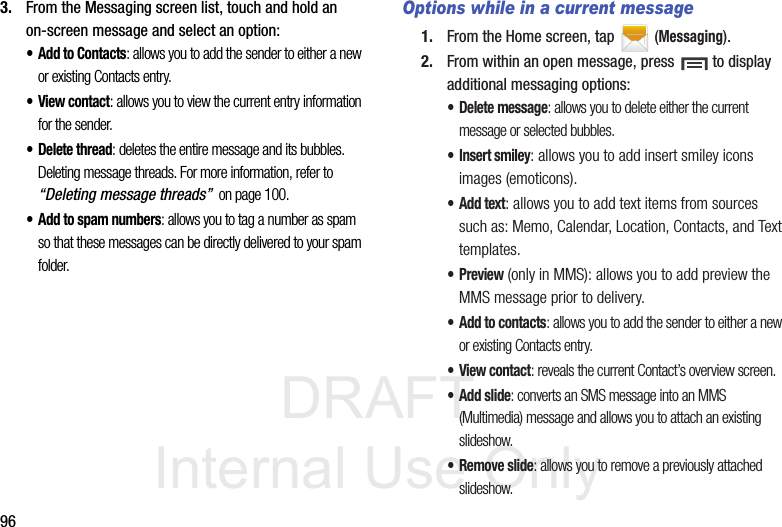
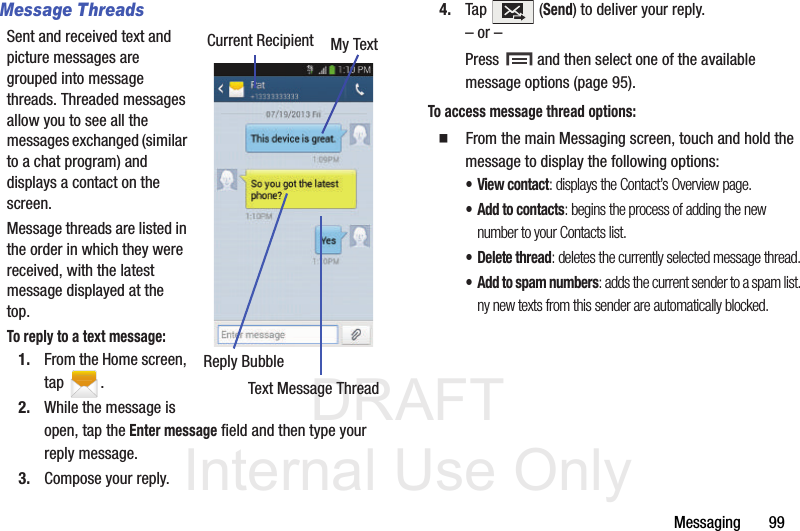
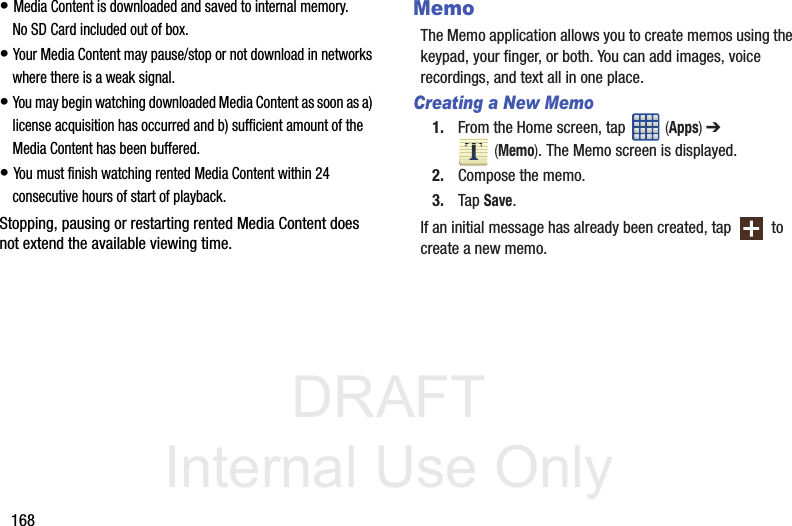
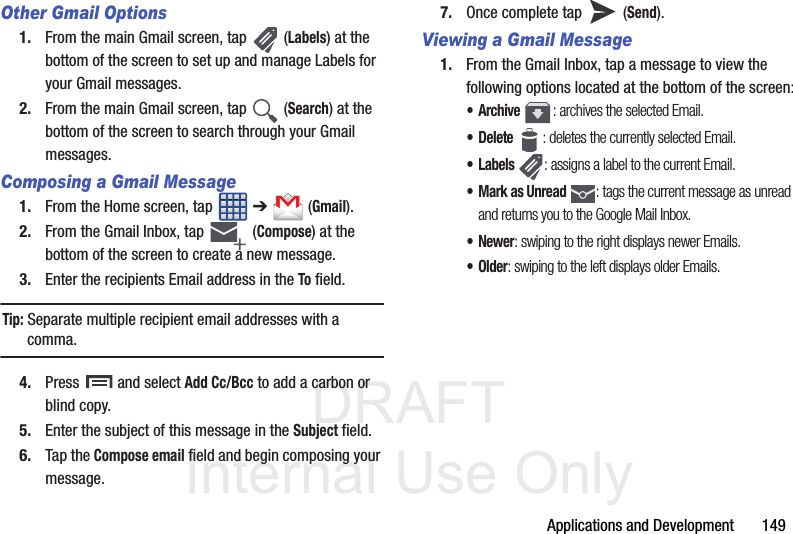
![DRAFT Internal Use Only112Setting Up a Microsoft Exchange Email account1. From the Home screen, tap ➔ (Email).Note: If you have already set up an email account and want to add an additional email account, press and then tap Settings ➔ Add account.2. Enter your Email address and Password information. •Tap Show password to display the password as you enter it in the associated field.•Tap Send email from this account by default to default all new outgoing emails to use this account.3. Follow the on-screen instructions.Note: If prompted with an on-screen notification that the connection that the “Setup could not finish”, tap Edit details to continue with a manual update of necessary information.Important! Remember to manually place the cursor in the correct spot and enter a Domain name before the “[Domain]\[user name]” entry. Most servers only provide a username.4. Consult your IT Administrator if it is necessary to enable the Activate Device Administration option.5. Identify your new work email account with a unique name (Ex: Work), then tap Done.Opening an Exchange Email1. From the Home screen, tap ➔ (Email).2. Tap the account name field (upper-left) to open the complete email account list page. 3. Select an exchange email account and tap an email message.Refreshing Exchange Email1. From the Home screen, tap ➔ (Email).2. Select an email account.•If you are already in an email account, tap the account name field (upper-left) to open the complete email account list page.•Select an available email account.](https://usermanual.wiki/Samsung-Electronics-Co/SGHT399.Users-Manual-1/User-Guide-2070291-Page-118.png)


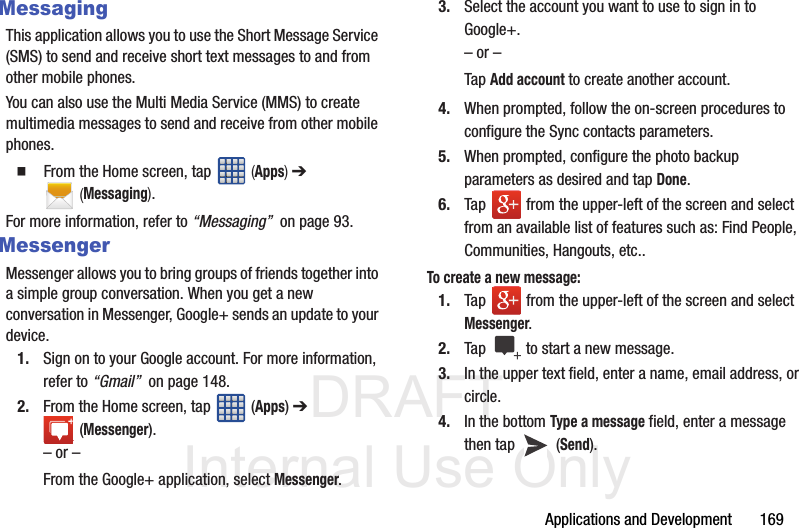
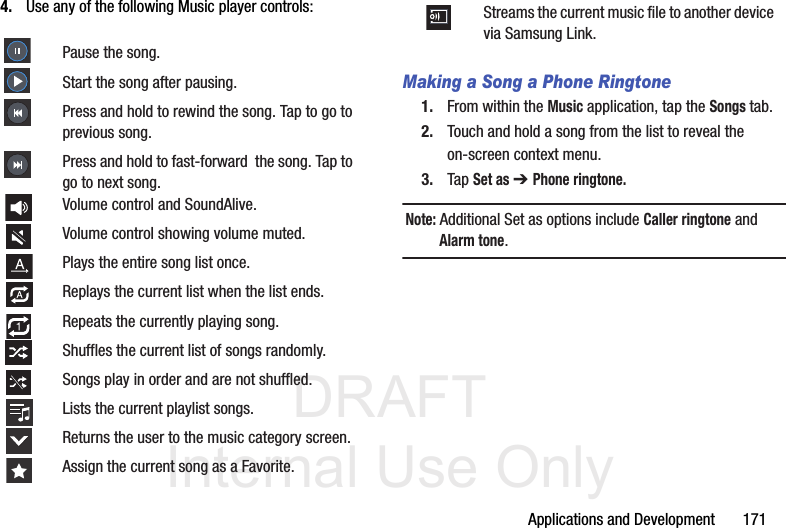
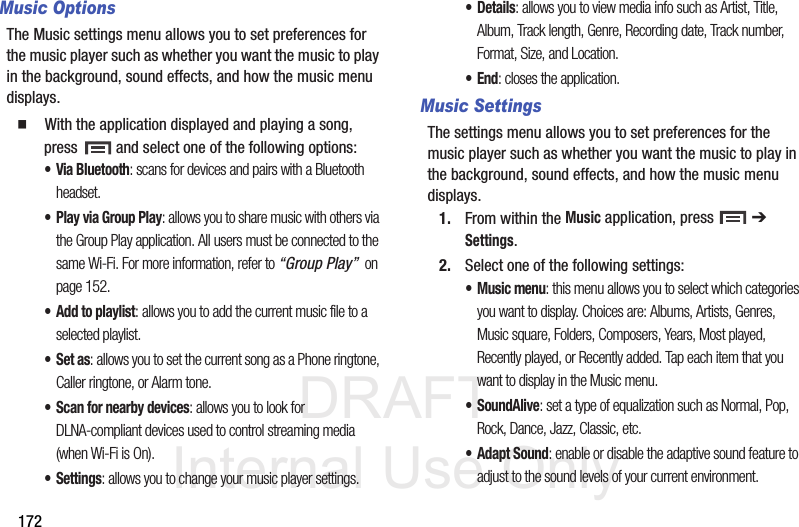
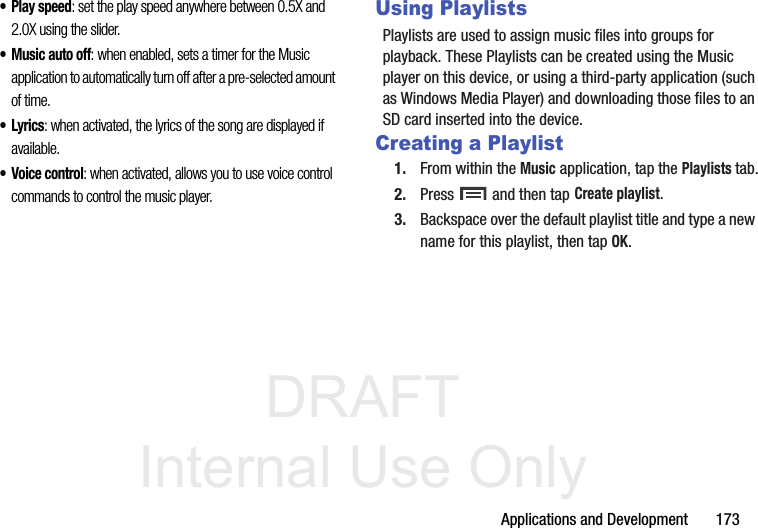
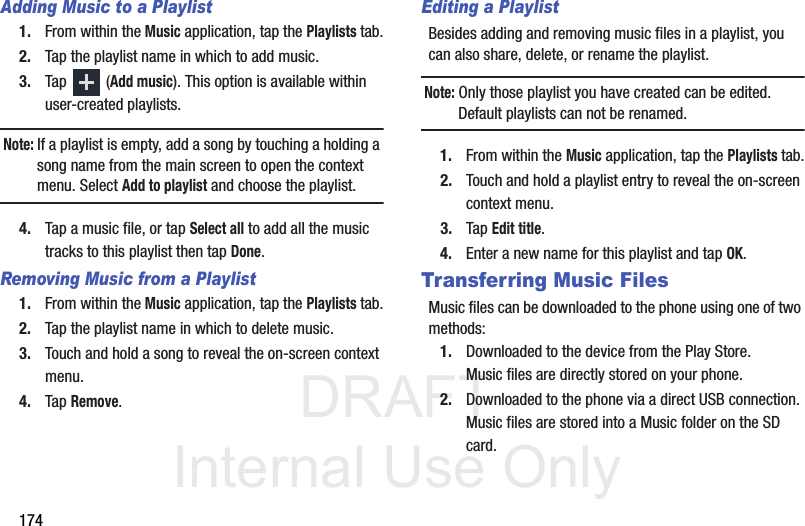
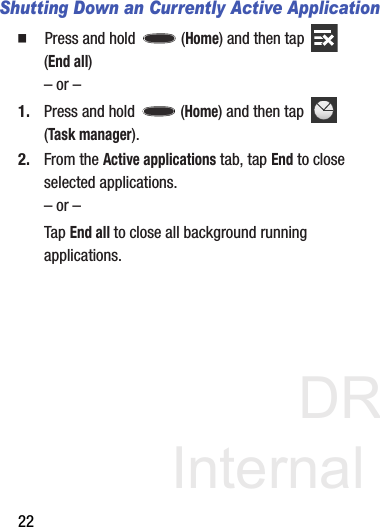
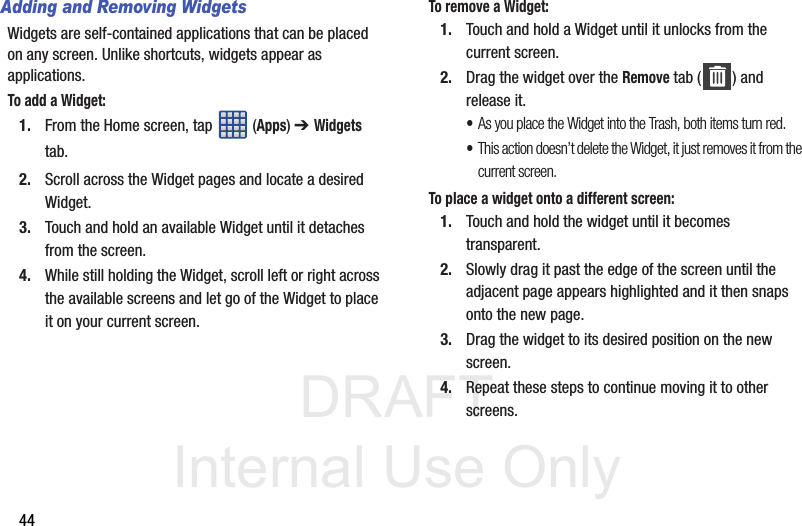
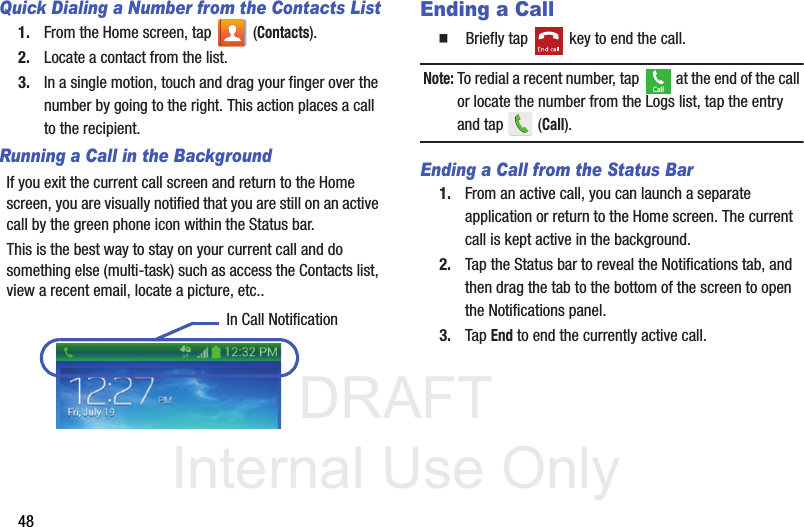
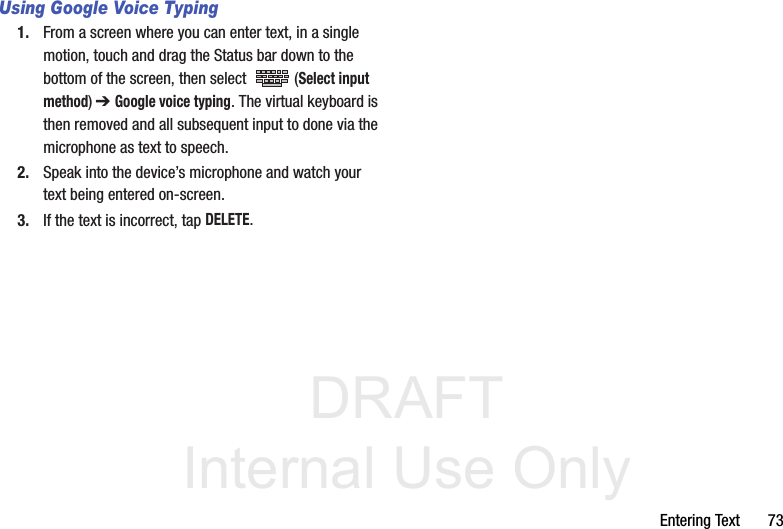
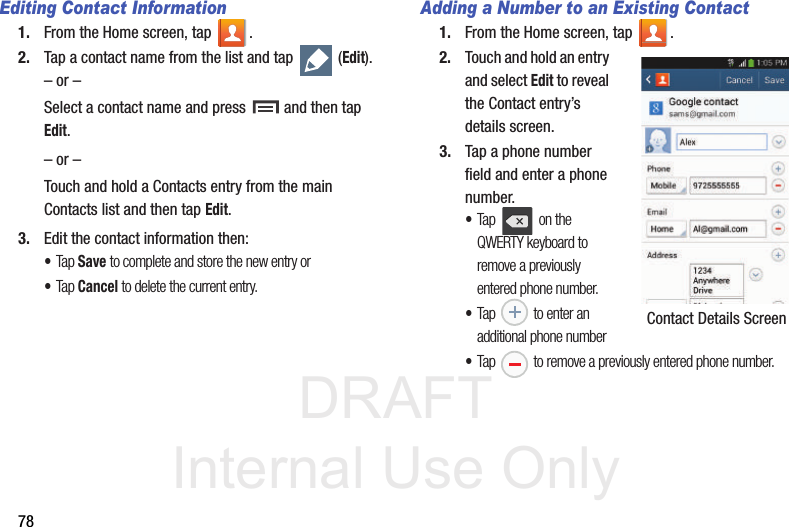
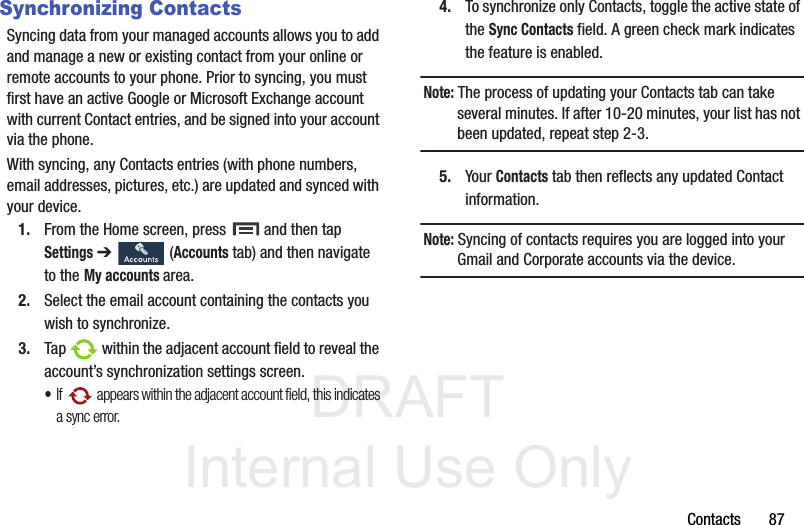
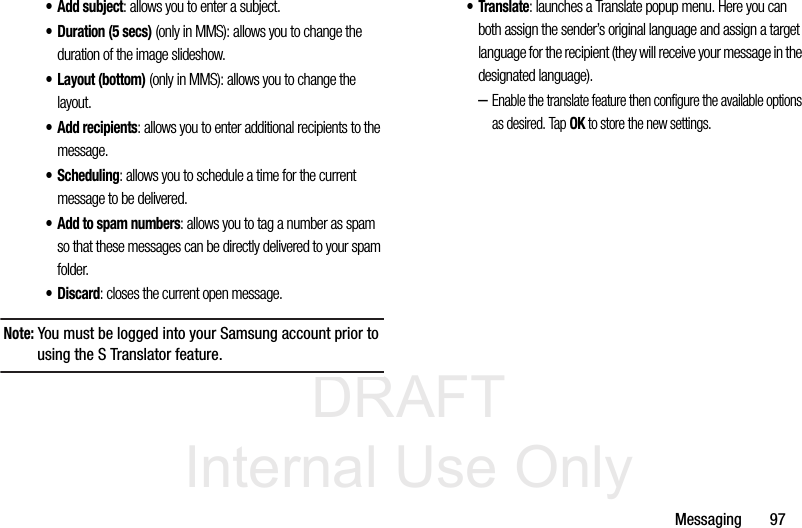
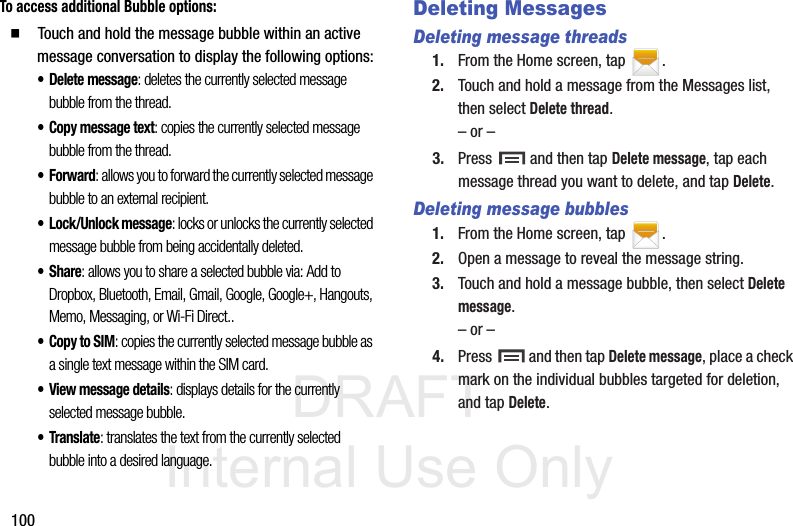
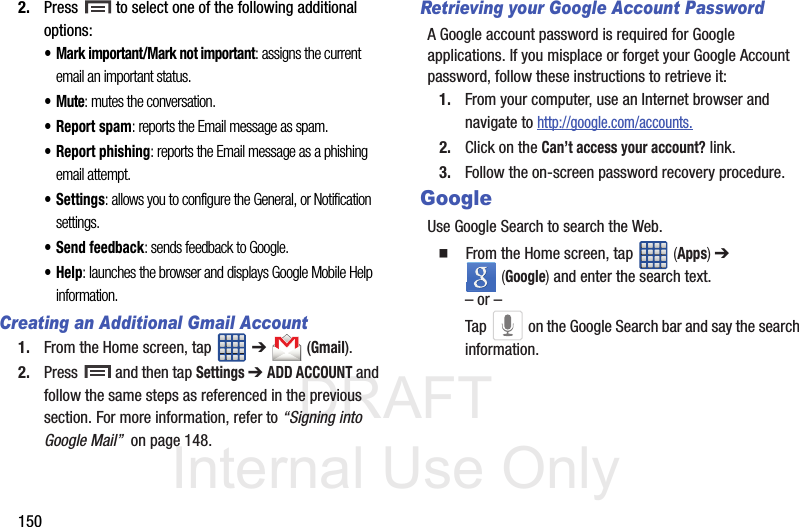
![DRAFT Internal Use Only136Section 8: Applications and DevelopmentThis section contains a description of each application that is available in the Applications Menu, its function, and how to navigate through that particular application. If the application is already described in another section of this user manual, then a cross reference to that particular section is provided.Note: This manual only addresses applications that have been loaded on your [device/computer/tablet] as of the date of purchase. Information concerning third party applications that you may choose to download from the Google Play Store or otherwise should be obtained from the application provider directly.Tip: To open applications quickly, add the icons of frequently-used applications to one of the Home screens. For more information, refer to “Customizing the Screens” on page 40.You can also add an application icon as a Primary Shortcut that will display on all Home screens. If you add an application as a primary shortcut, the application icon will not be displayed in the Applications menu. ApplicationsThe Applications list provides quick access to all the available applications on the device.The Application menu provides quick access to the most frequently used applications. Applications display on each of the three panels on the Applications screens.Important! Once you log into your Google account. All previously downloaded apps should now be populated within the Application screens.Application Screen Menu SettingsWhen on the Apps screen, the following menu options are available:1. Press and then tap (Apps).2. Press and then select from the following options:•Play Store: provides quick access to the Play Store (page 189). •Edit: allows you to organize your current applications by moving them around the screen, edit or delete existing Apps folders.](https://usermanual.wiki/Samsung-Electronics-Co/SGHT399.Users-Manual-1/User-Guide-2070291-Page-142.png)
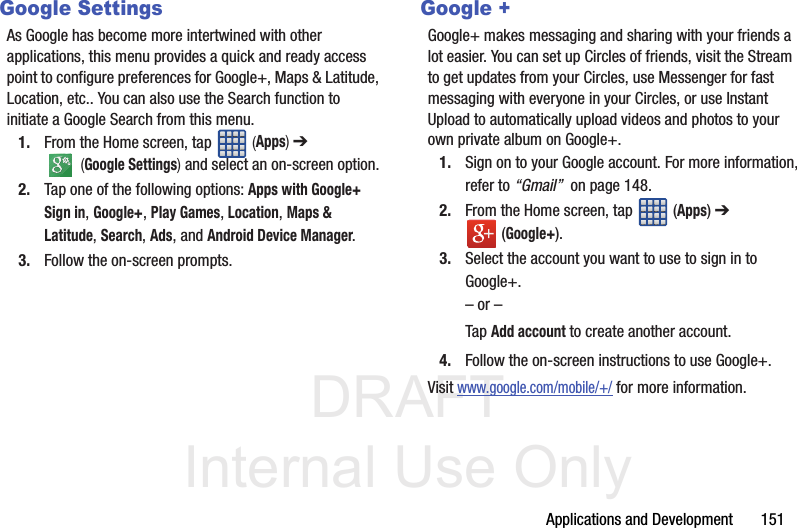

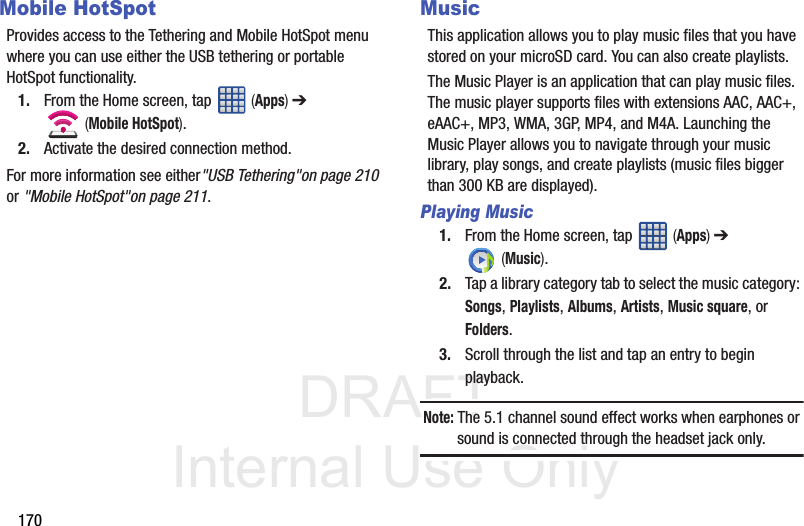
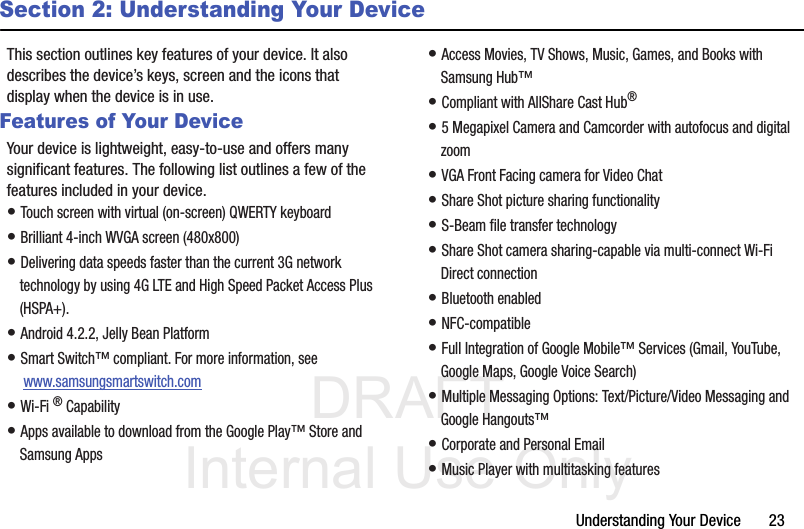
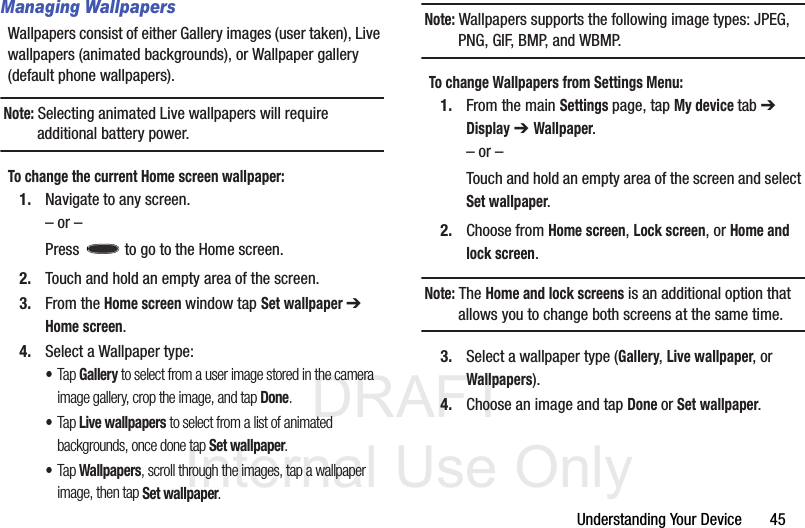
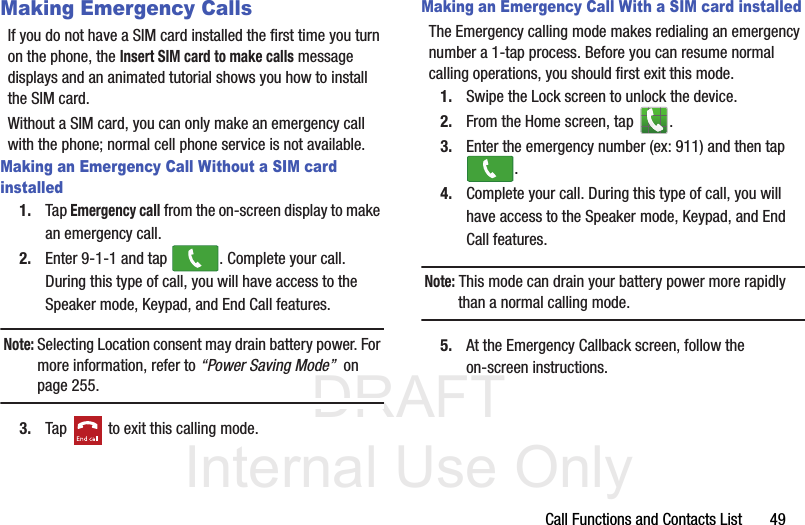
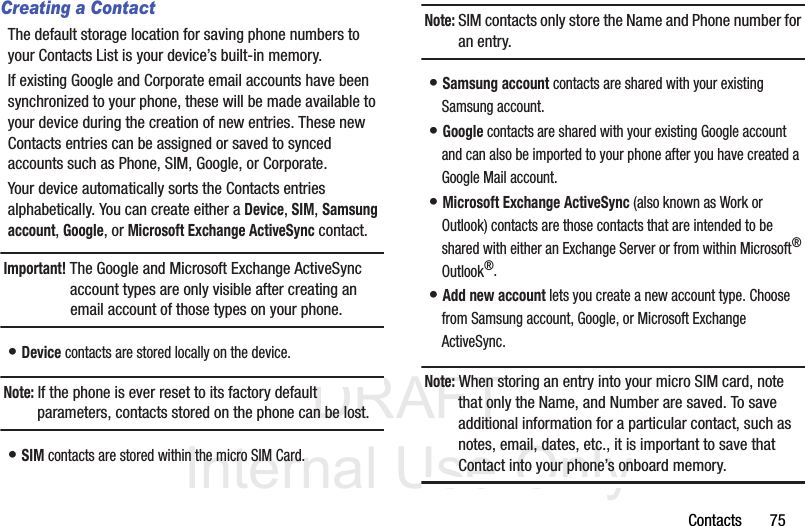
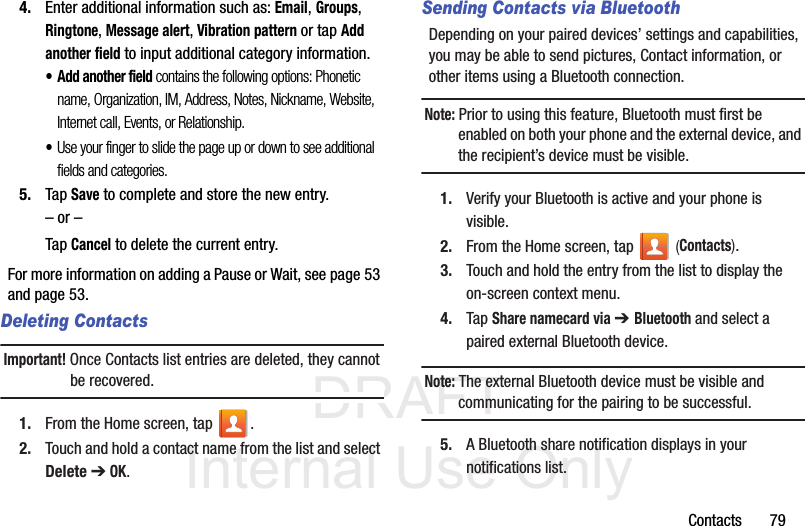
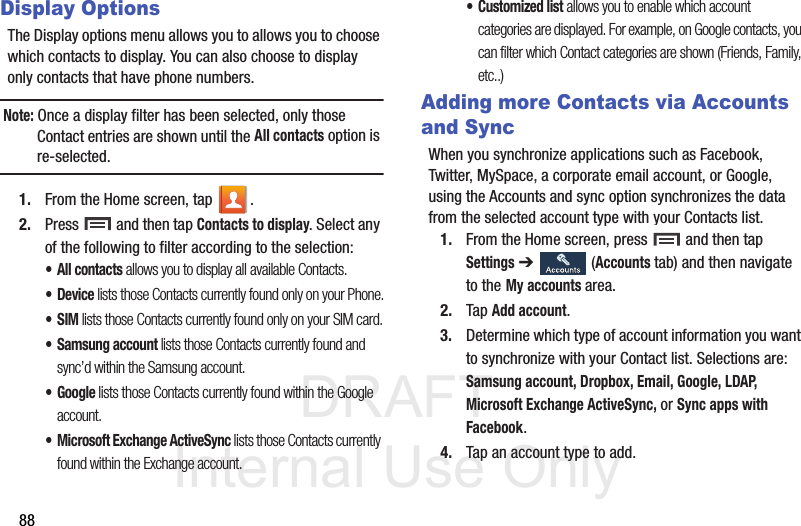
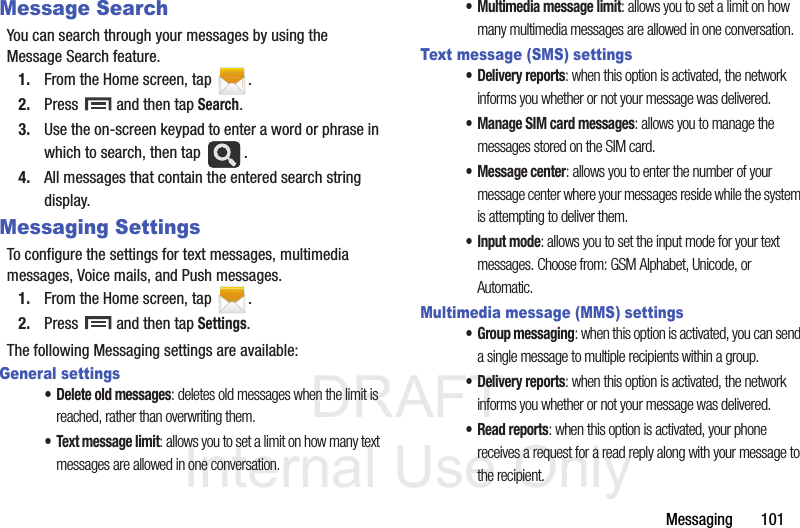
![DRAFT Internal Use Only162Launch the Isis Wallet application:1. From the Home screen, tap (Apps) ➔ (Isis Wallet).2. Follow the on-screen instructions.LocalLocal (formerly known as Google Places) displays company logos on a layer of Google Maps. When viewing an area you can quickly locate a business or person, find out more information about the business, see coupons, public responses, and more.1. From the Home screen, tap (Apps) ➔ (Local).2. Tap (Search) and then use the Search Maps field to manually enter a desired place or choose from among the various categories. Matches are filtered by those closest to your current location.3. Locate and tap one of the listed places (Restaurants, Cafes, Bars, Attractions, [user added searches], RECOMMENDATIONS, or IN THIS AREA a list of places within this category displays.4. Tap the Maps icon to launch the related maps feature.5. Press and then tap Add a search. The functions adds additional search shortcuts to the places screen.Lookout SecurityLookout Security™ provides mobile device-specific security features that are coupled with a minimal performance hit. Lookout Mobile Security provides key security options that are unique to the mobile market. Along with the antivirus and anti-malware tech, there's a lost and stolen phone locator service, an application privacy adviser, and a backup service.1. From the Home screen, tap (Apps) ➔ (Lookout Security).2. Tap Get started.3. Read the on-screen descriptions and activate those desired features. Tap Next to progress to the next screen.4. Sign in as either a New user or Existing user and follow the remaining set up process.](https://usermanual.wiki/Samsung-Electronics-Co/SGHT399.Users-Manual-1/User-Guide-2070291-Page-168.png)