Samsung Electronics Co SMJ727V Multi-band GSM/EDGE/UMTS/CDMA/LTE Phone with Bluetooth, WLAN and ANT+ User Manual J320V
Samsung Electronics Co Ltd Multi-band GSM/EDGE/UMTS/CDMA/LTE Phone with Bluetooth, WLAN and ANT+ J320V
Contents
- 1. Users Manual 1
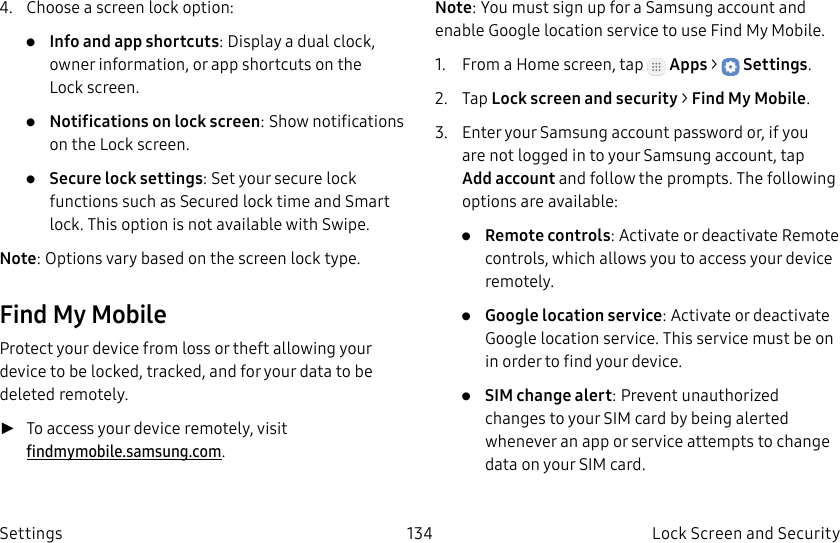
- 2. Users Manual 2
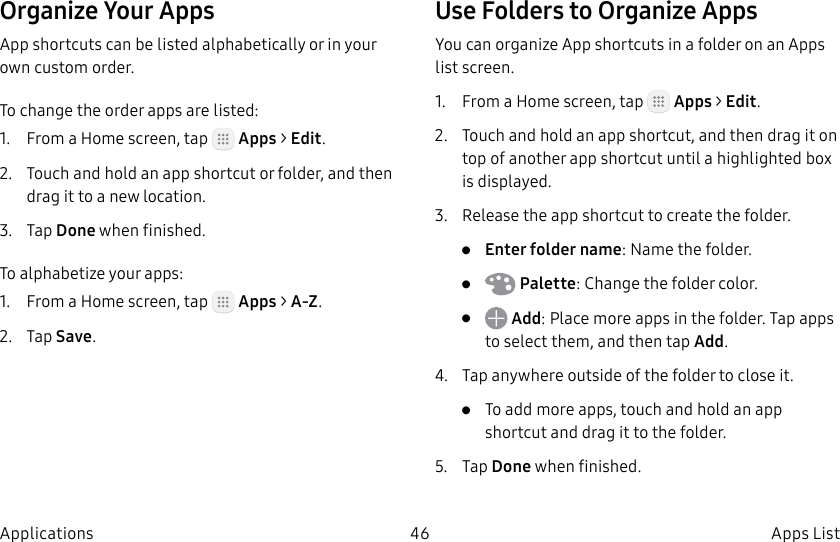
Users Manual 1
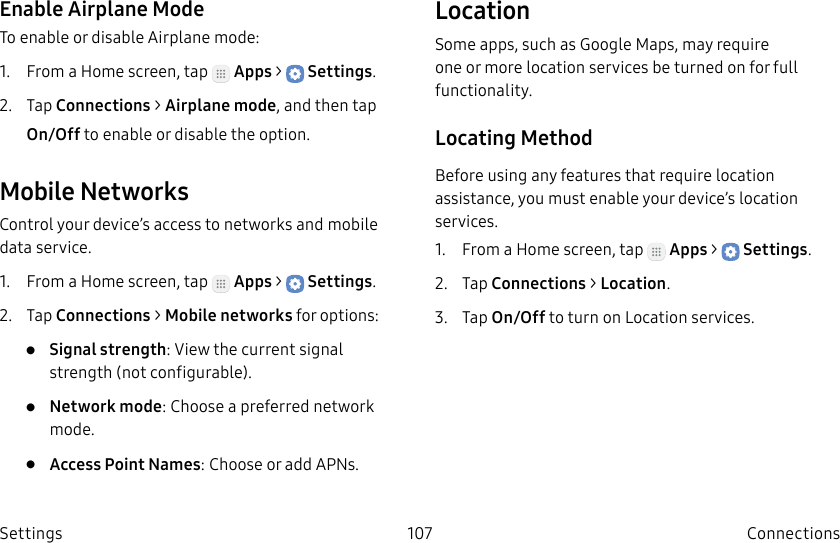
![DRAFT–FOR INTERNAL USE ONLYiii LegalModification of SoftwareSAMSUNG IS NOT LIABLE FOR PERFORMANCE ISSUES OR INCOMPATIBILITIES CAUSED BY YOUR EDITING OF REGISTRY SETTINGS, OR YOUR MODIFICATION OF OPERATING SYSTEM SOFTWARE. USING CUSTOM OPERATING SYSTEM SOFTWARE MAY CAUSE YOUR DEVICE AND APPLICATIONS TO WORK IMPROPERLY. YOUR CARRIER MAY NOT PERMIT USERS TO DOWNLOAD CERTAIN SOFTWARE, SUCH AS CUSTOMOS.IF YOUR CARRIER PROHIBITS THIS, IF YOU ATTEMPT TO DOWNLOAD SOFTWARE ONTO THE DEVICE WITHOUT AUTHORIZATION, YOU WILL BE NOTIFIED ON THE SCREEN THAT THE PHONE WILL NO LONGER OPERATE AND BE INSTRUCTED TO POWER DOWN THE DEVICE. YOU MUST THEN CONTACT YOUR CARRIER TO RESTORE THE DEVICE TO THE CARRIER AUTHORIZED SETTINGS.Samsung KnoxSamsung Knox is Samsung’s security platform and is a mark for a Samsung device tested for security with enterprise use in mind. Additional licensing fee may be required. For more information about Knox, please refer to: samsung.com/us/knox [090116]](https://usermanual.wiki/Samsung-Electronics-Co/SMJ727V.Users-Manual-1/User-Guide-3263612-Page-4.png)
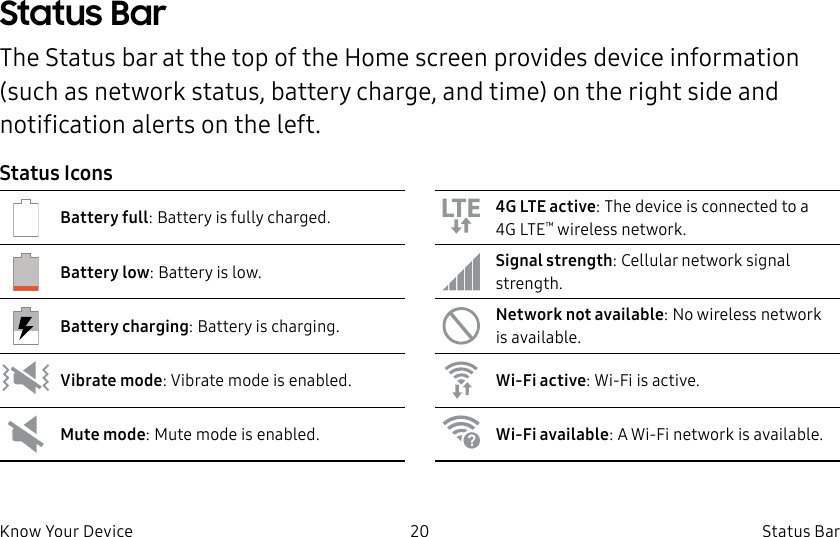


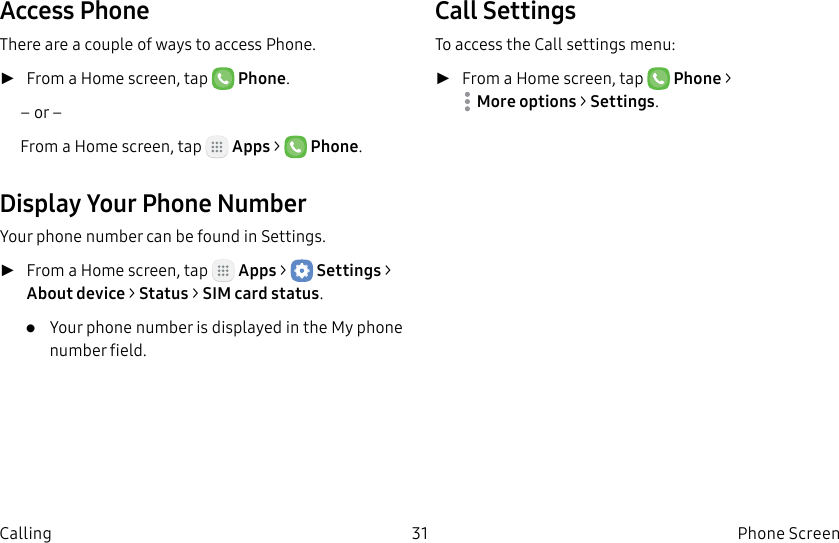
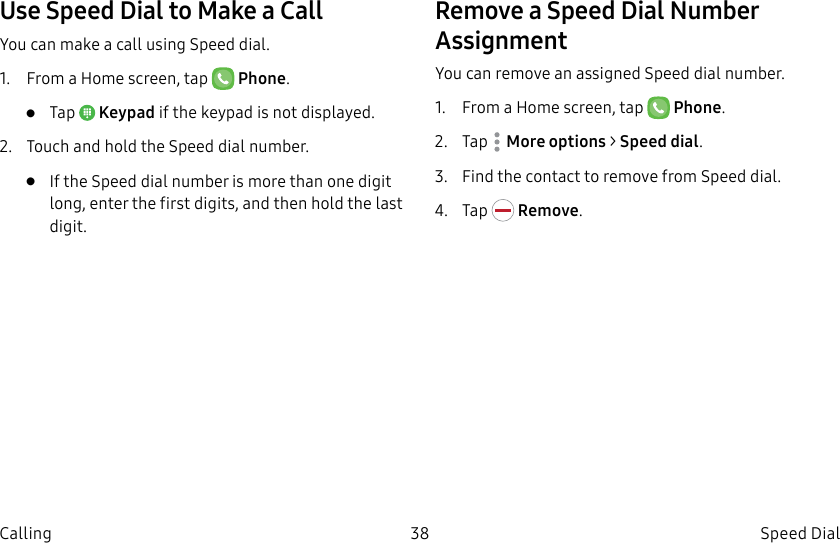
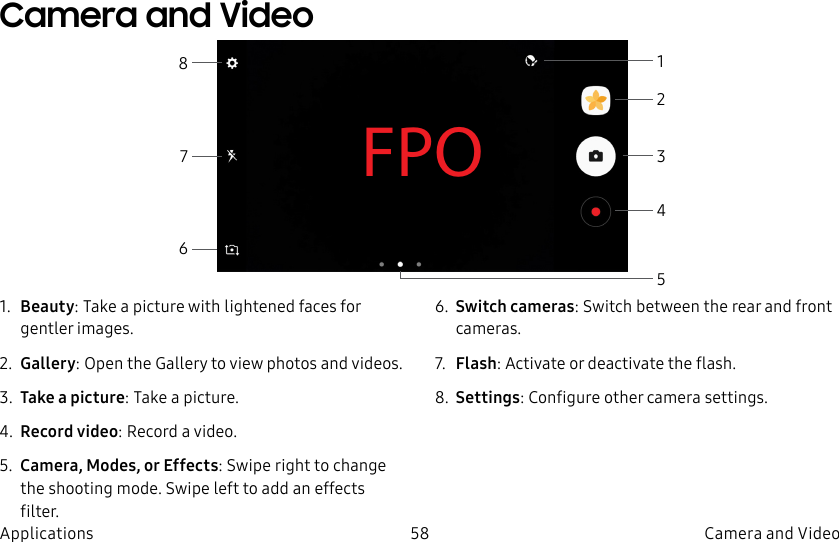
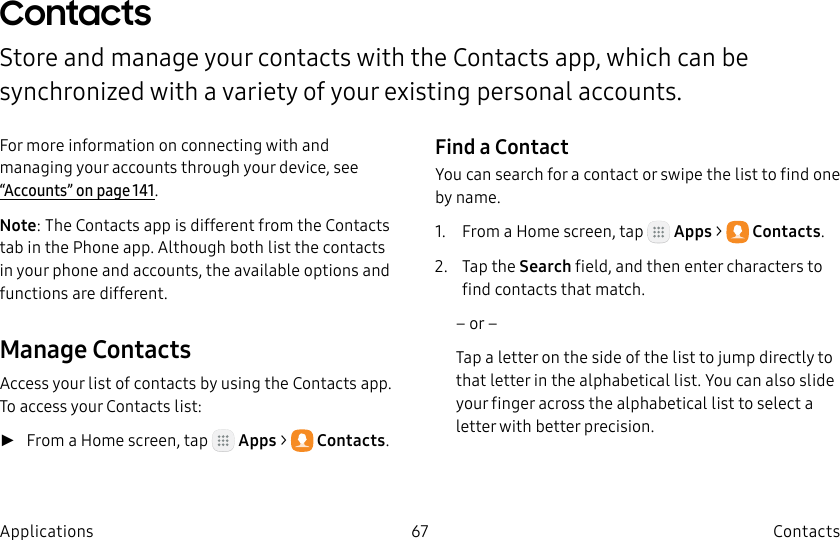
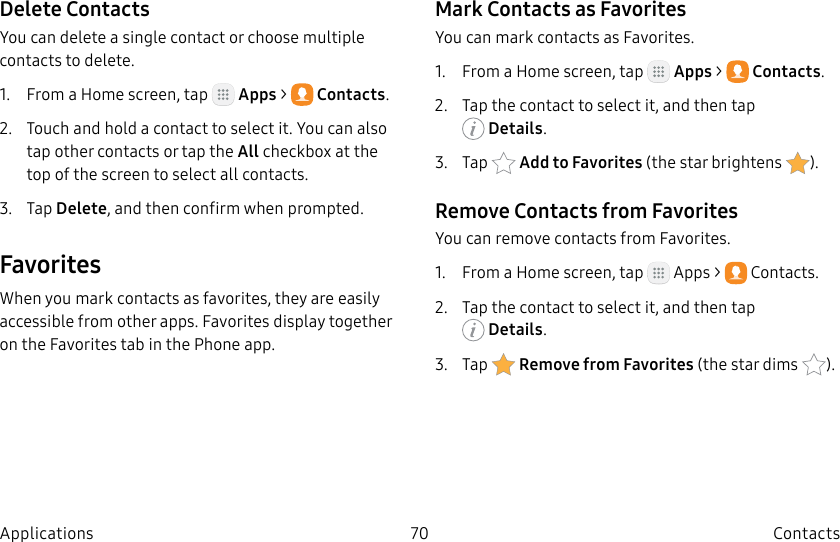
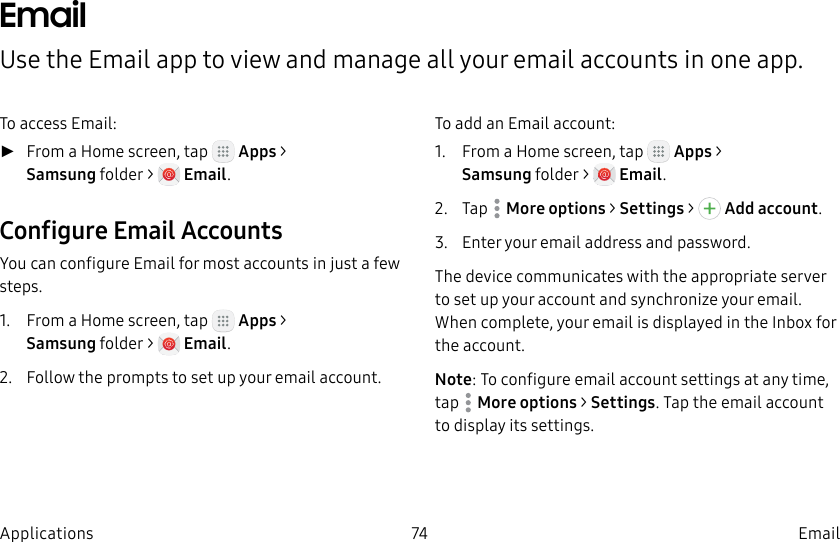
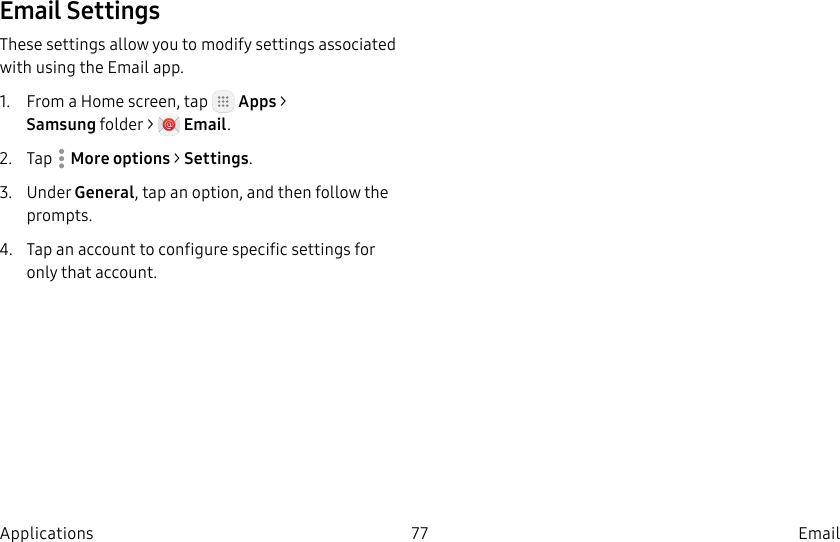
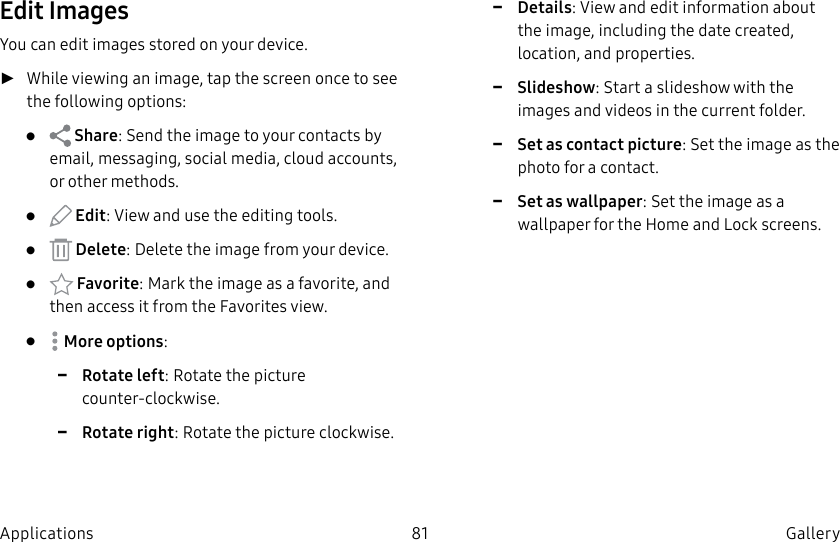
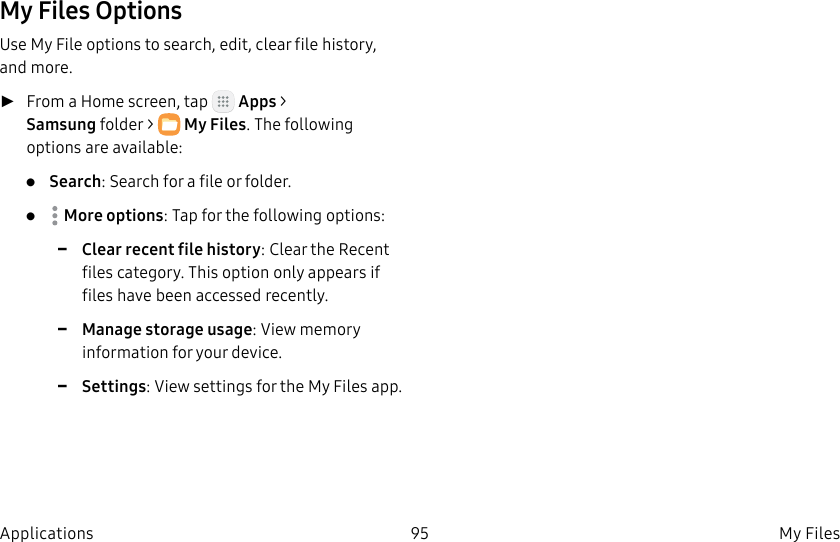
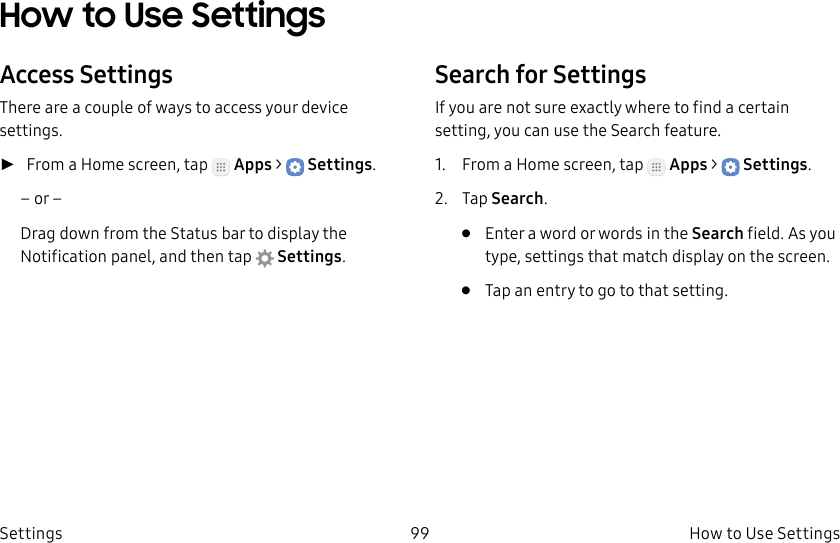
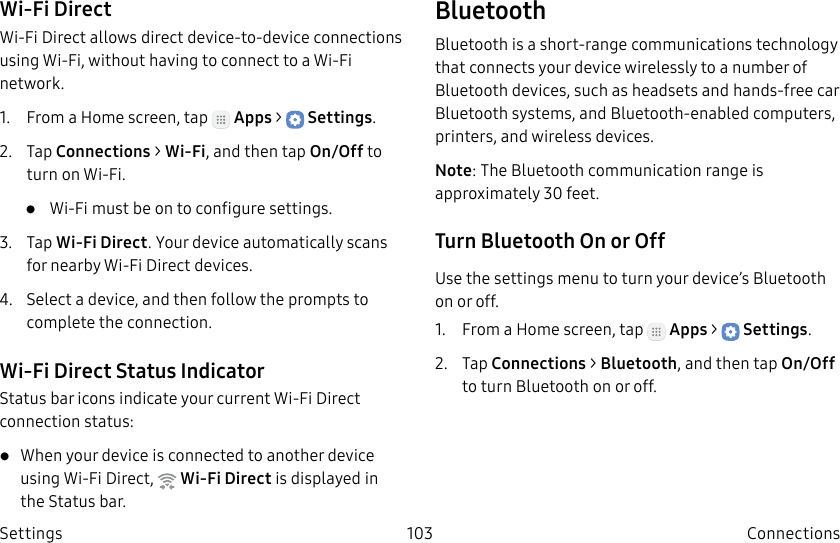
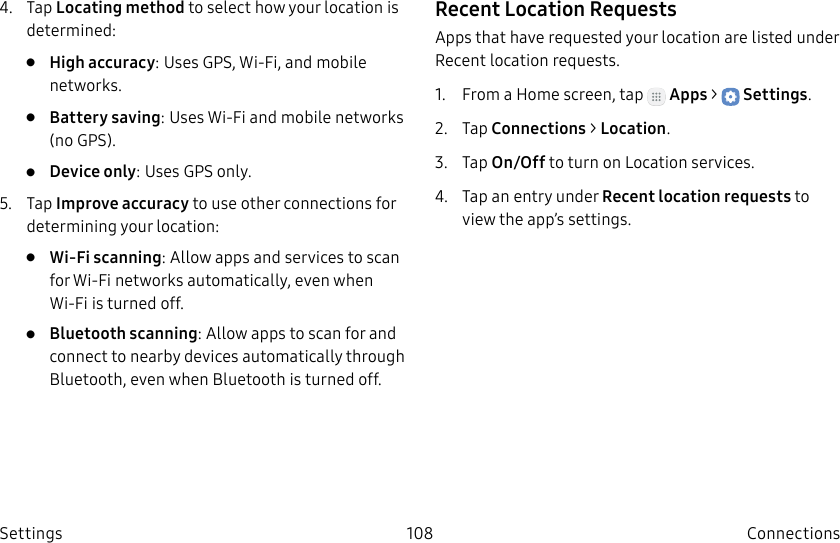
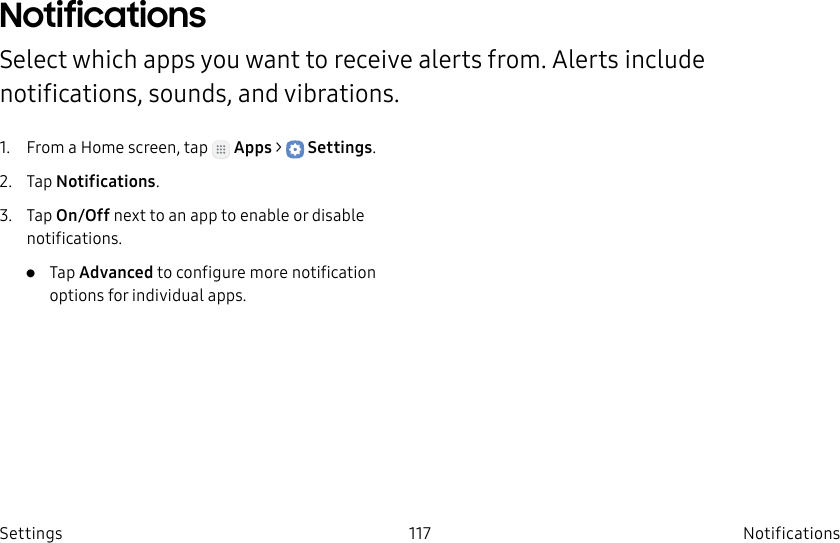
![DRAFT–FOR INTERNAL USE ONLY75 EmailApplicationsView Multiple Email AccountsYou can view email you receive for multiple accounts on the Combined inbox screen or you can view email accounts individually.1. From a Home screen, tap Apps > Samsungfolder > Email.2. Tap Menu at the top left of the screen to view the current account mailbox.3. Tap the account name to view:• Combined inbox: View all email in a combined inbox.• [Account Name]: View email for only one email account.Manage Your InboxThere are several tools available from the Inbox screen. ►From a Home screen, tap Apps > Samsungfolder > Email.• Tap a message to read and reply or forward it.• Tap Search to search for key words in your email inbox.• Tap Moreoptions for additional message options.](https://usermanual.wiki/Samsung-Electronics-Co/SMJ727V.Users-Manual-1/User-Guide-3263612-Page-84.png)


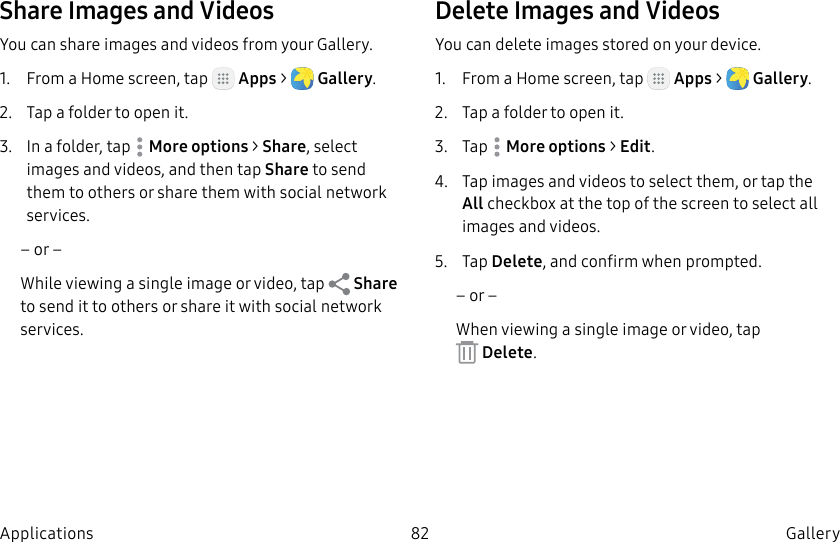

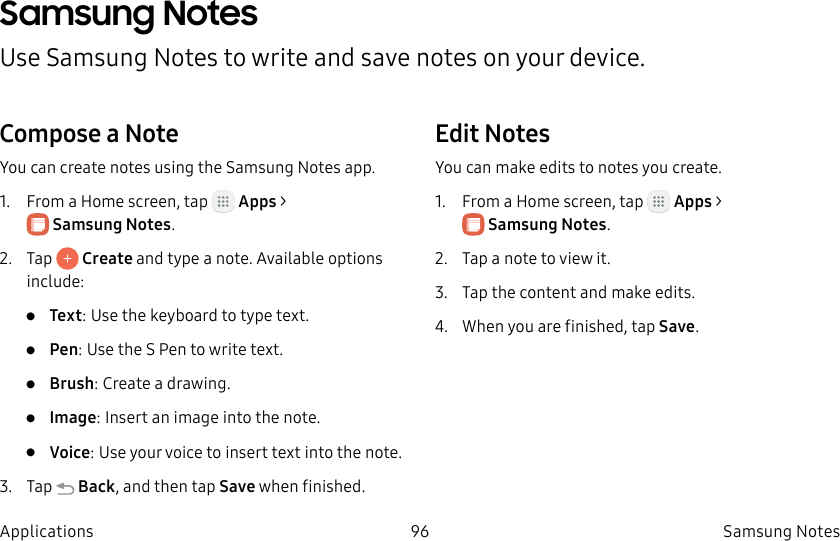

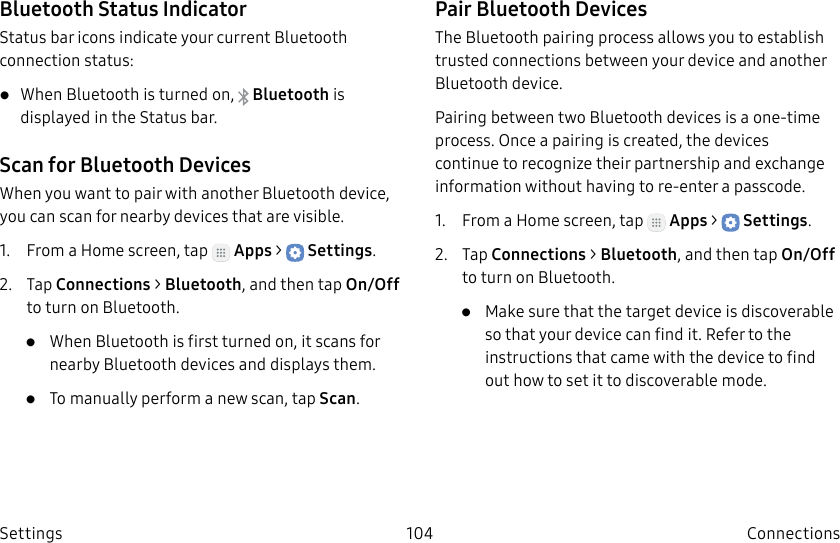
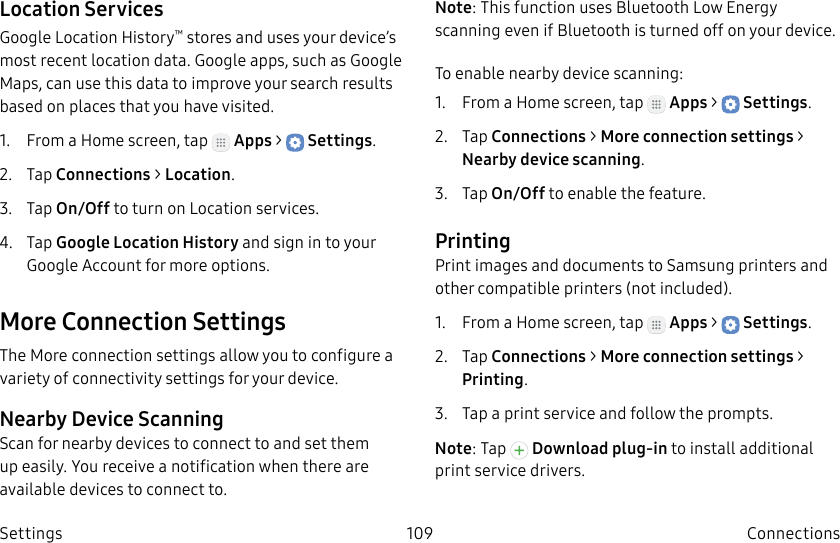


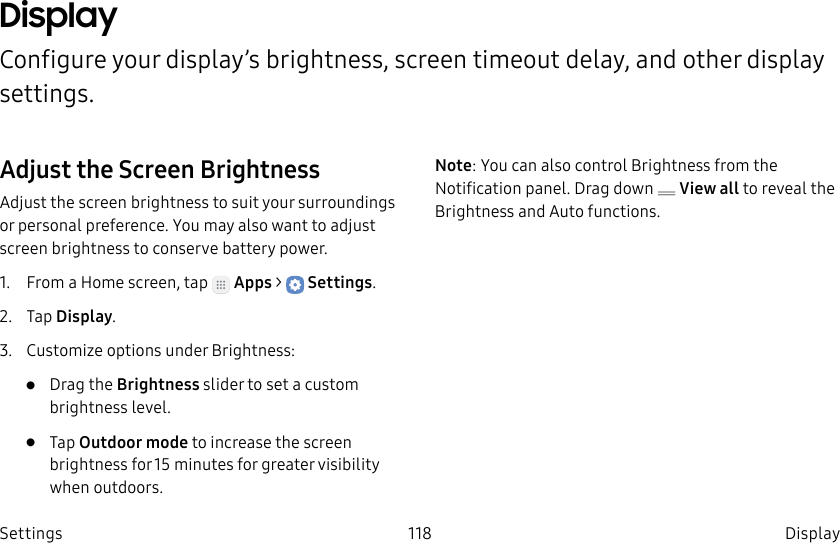

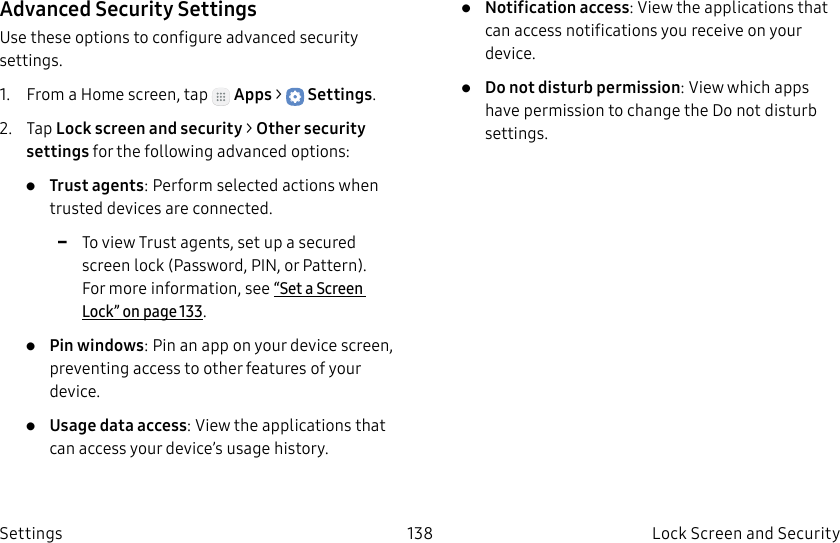
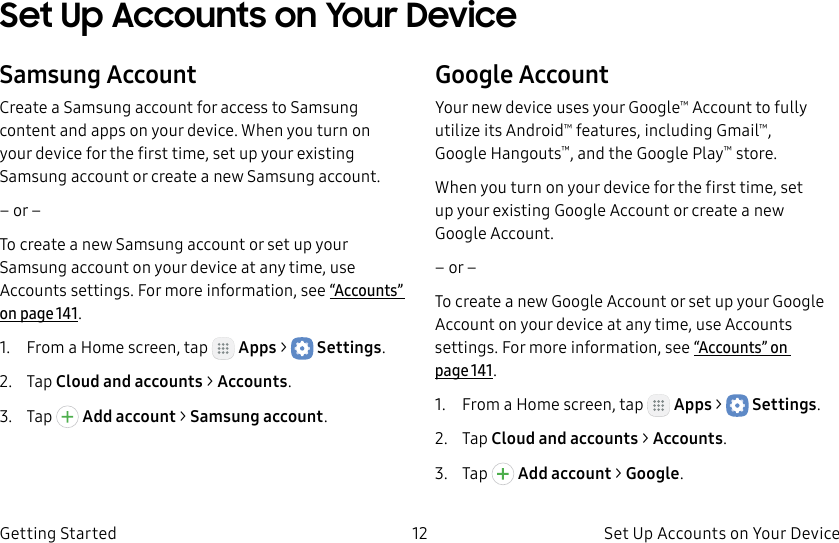
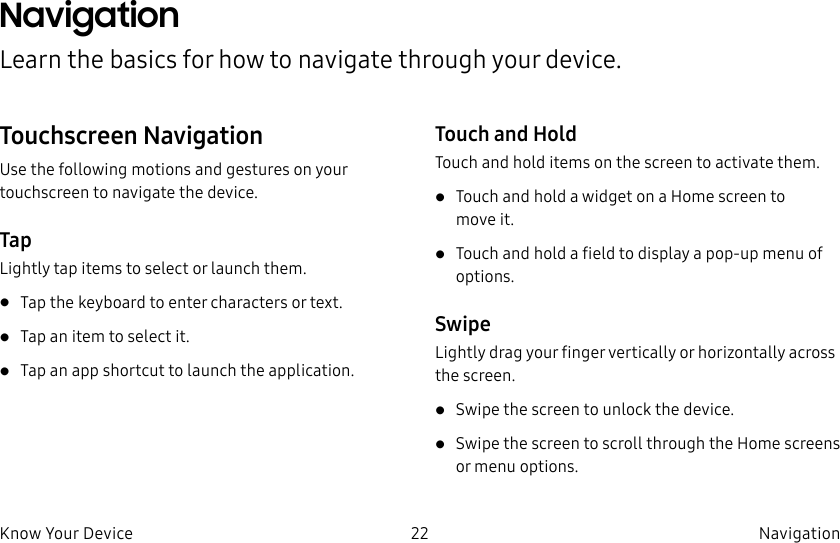
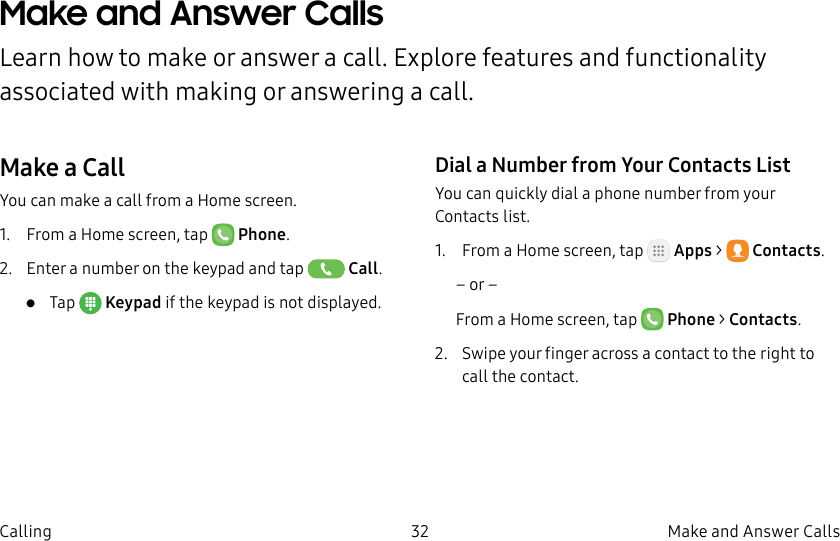
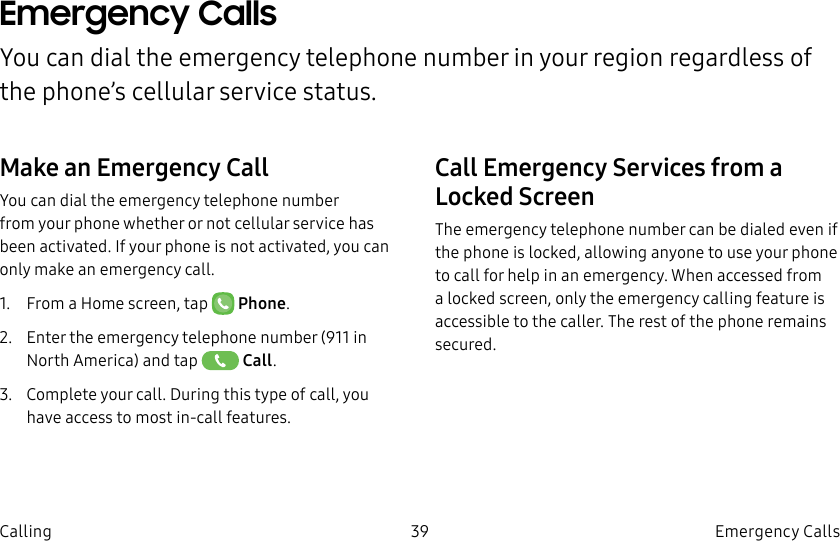
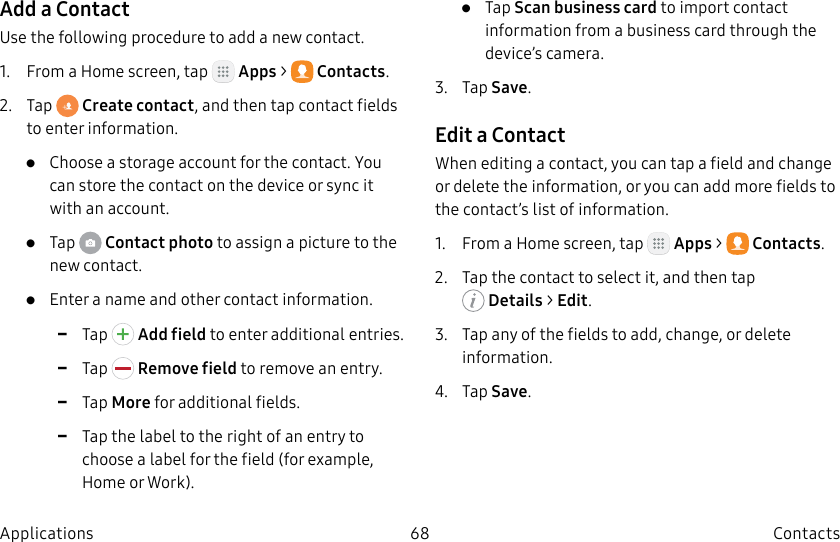
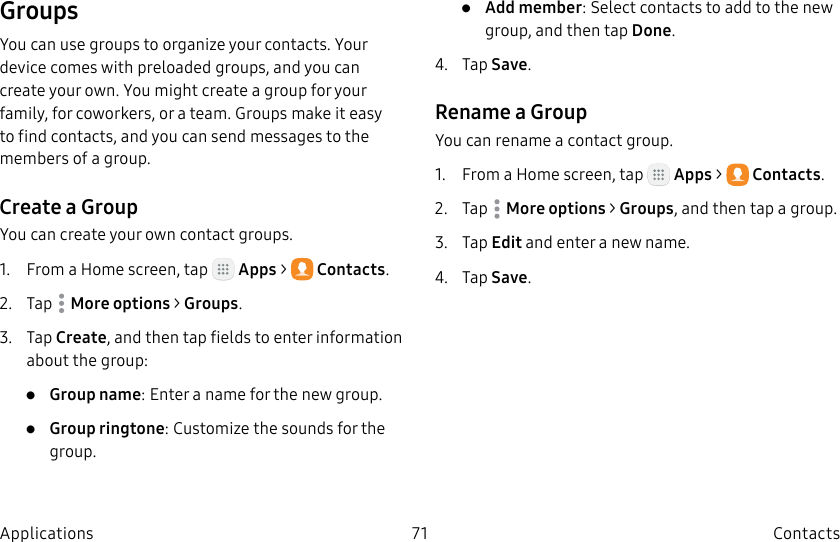
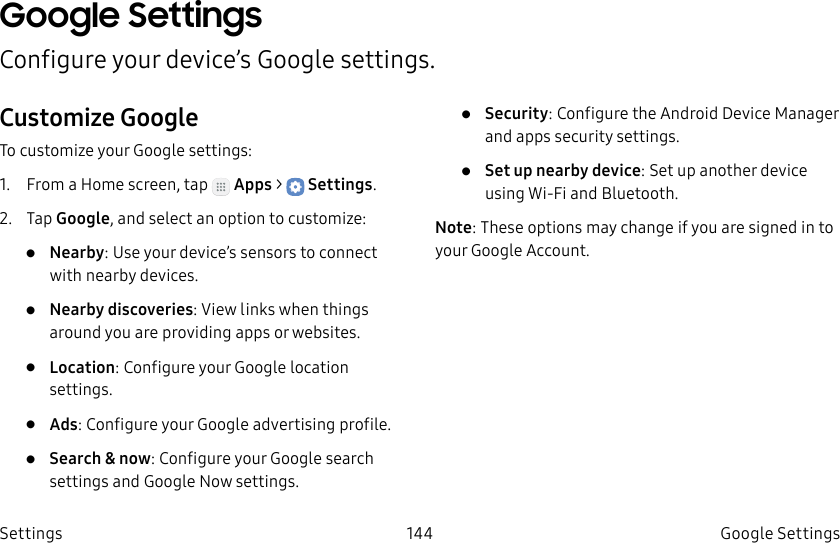
![DRAFT–FOR INTERNAL USE ONLY141 Cloud and Accounts SettingsAccountsConfigure email, social networking, and other supported accounts.Add an AccountYou can add and manage all your email, social networking, and picture and video sharing accounts.1. From a Home screen, tap Apps > Settings.2. Tap Cloud and accounts > Accounts > Addaccount.3. Tap one of the account types.4. Follow the prompts to enter your credentials and set up the account.Synchronize AccountsYou can synchronize your calendar, contacts, and other types of accounts.1. From a Home screen, tap Apps > Settings.2. Tap Cloud and accounts > Accounts > [Accounttype].3. Tap an account to view the sync settings for that account.4. Tap individual data items to sync.5. Tap Moreoptions > Sync now to synchronize the account.Account SettingsEach account has its own set of settings. In addition, you can configure common settings for all accounts of the same type.](https://usermanual.wiki/Samsung-Electronics-Co/SMJ727V.Users-Manual-1/User-Guide-3263612-Page-150.png)
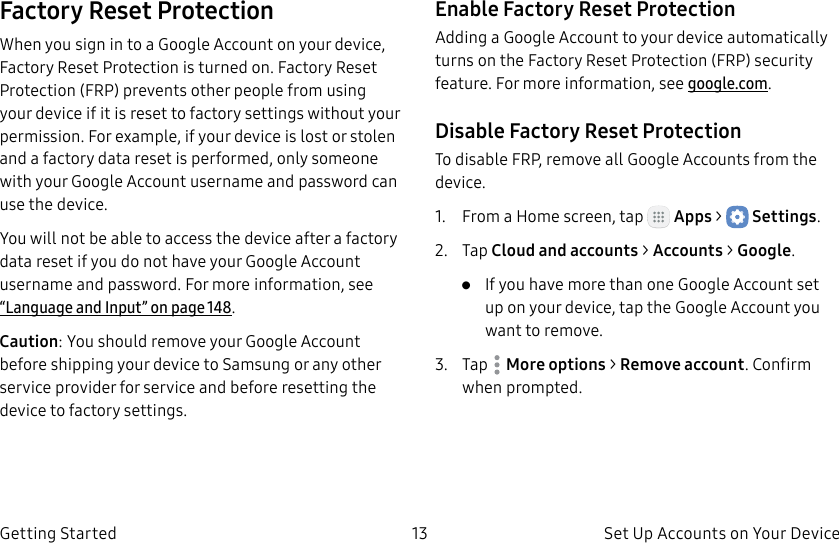
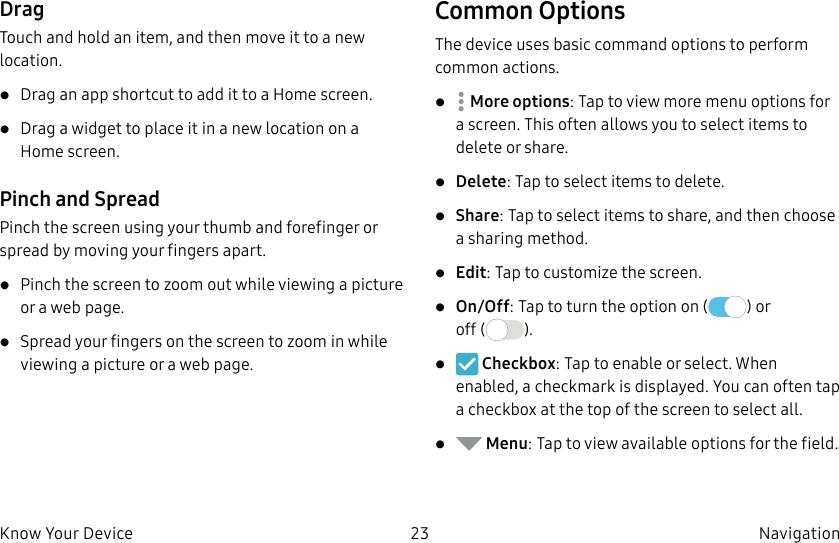
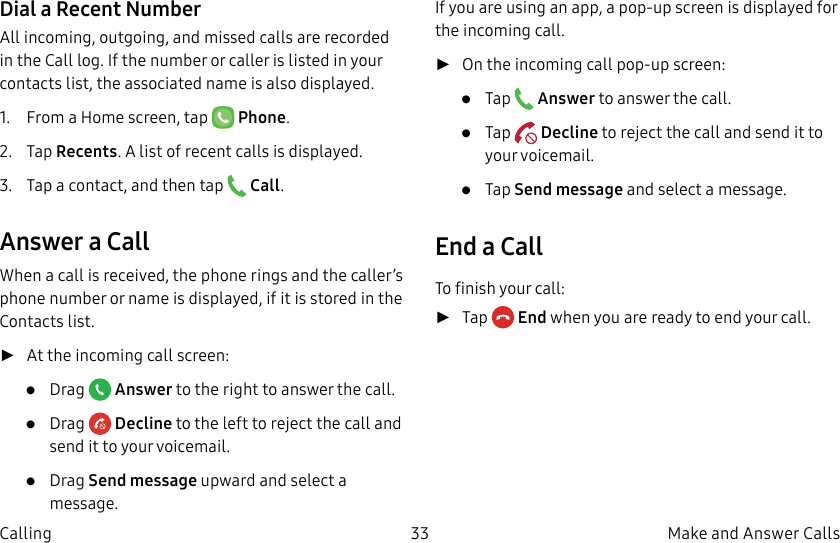
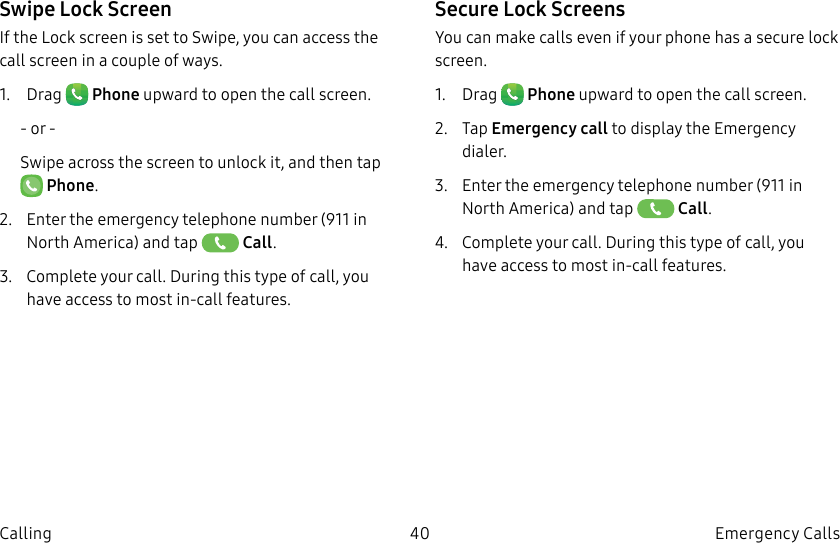
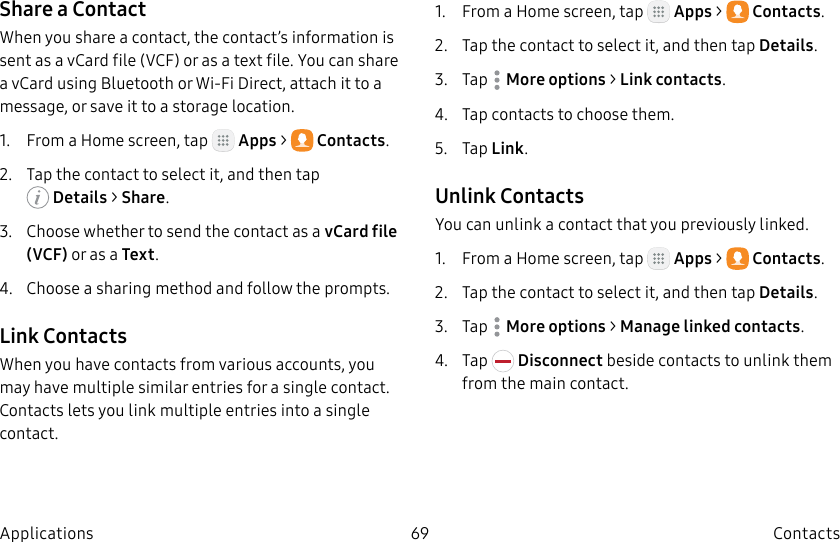
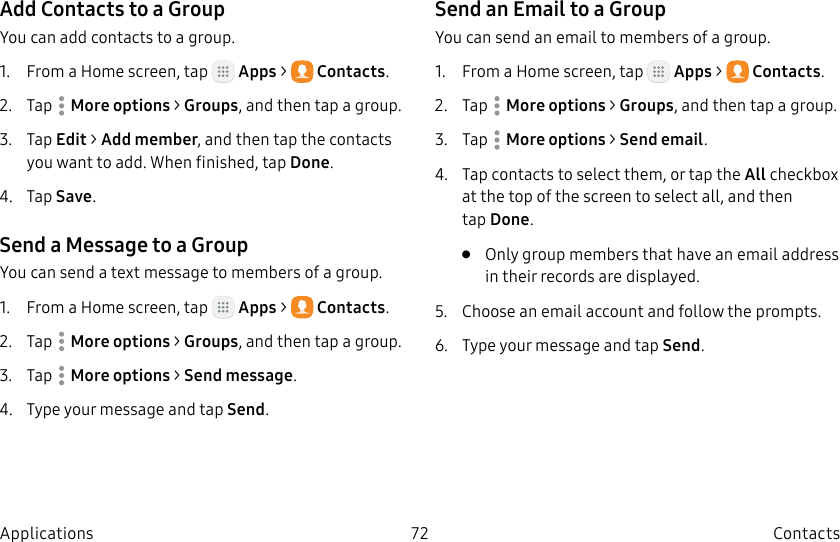
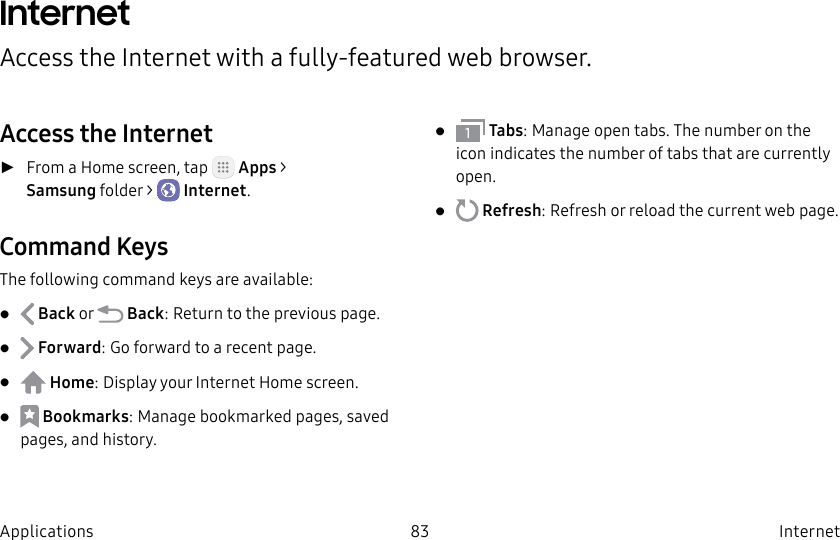
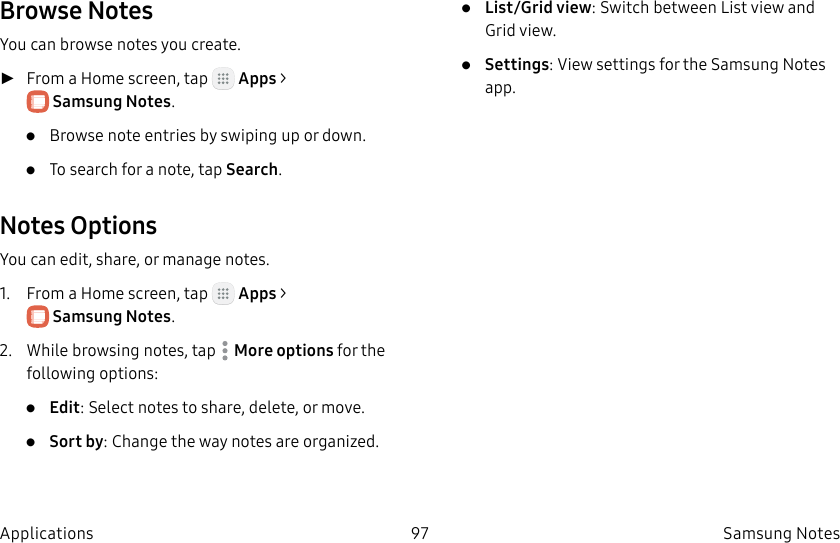
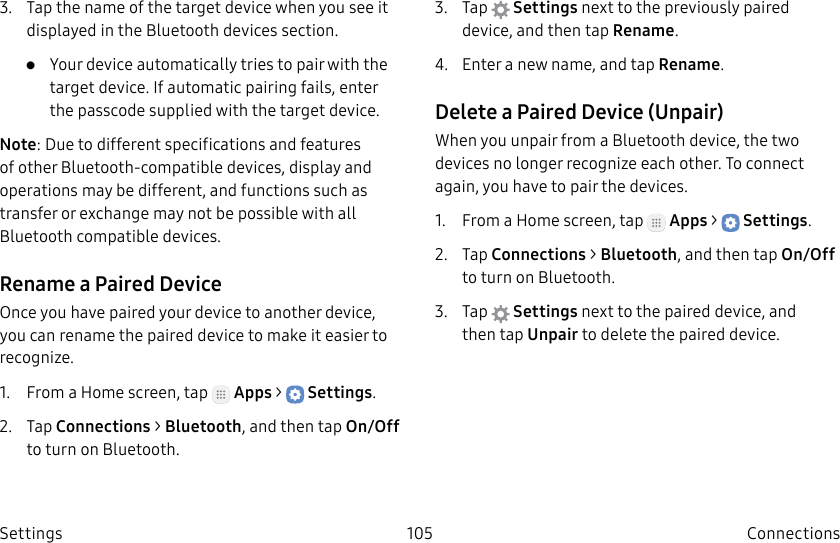
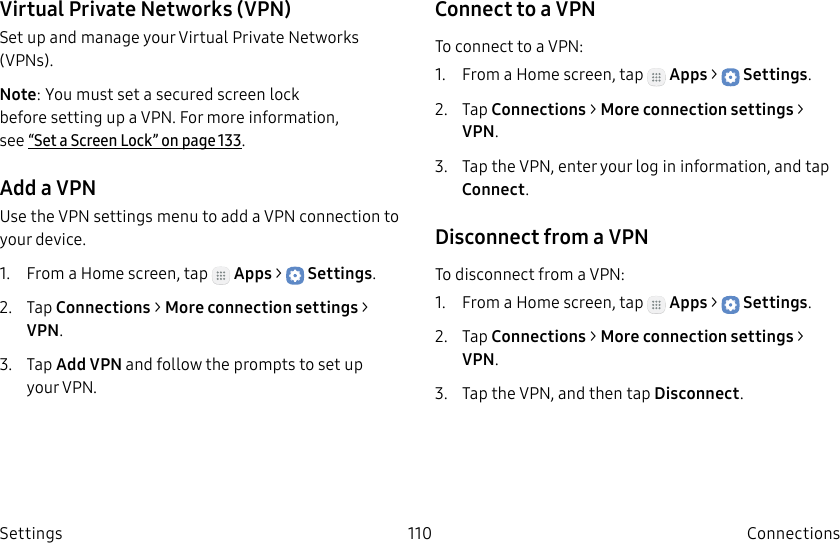
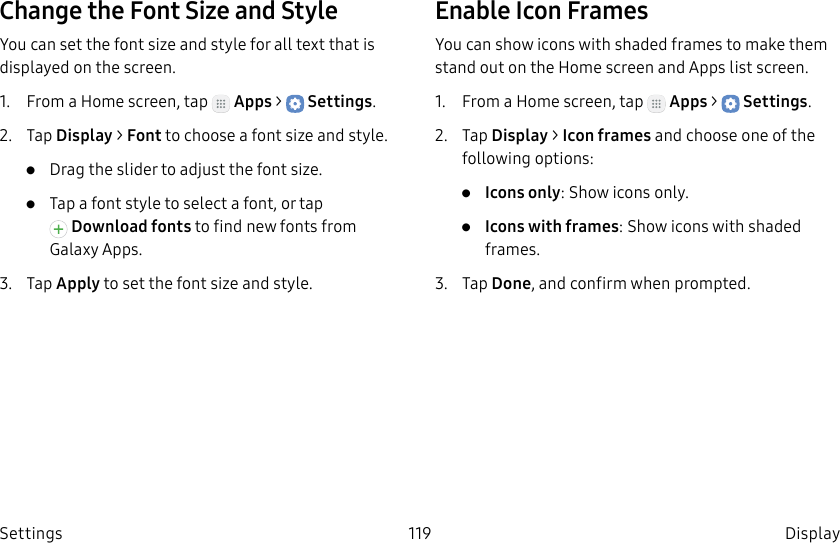
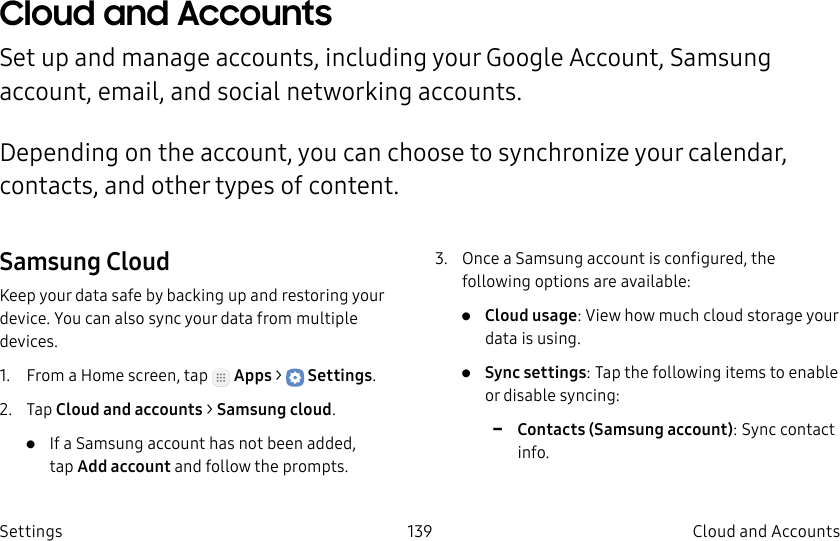
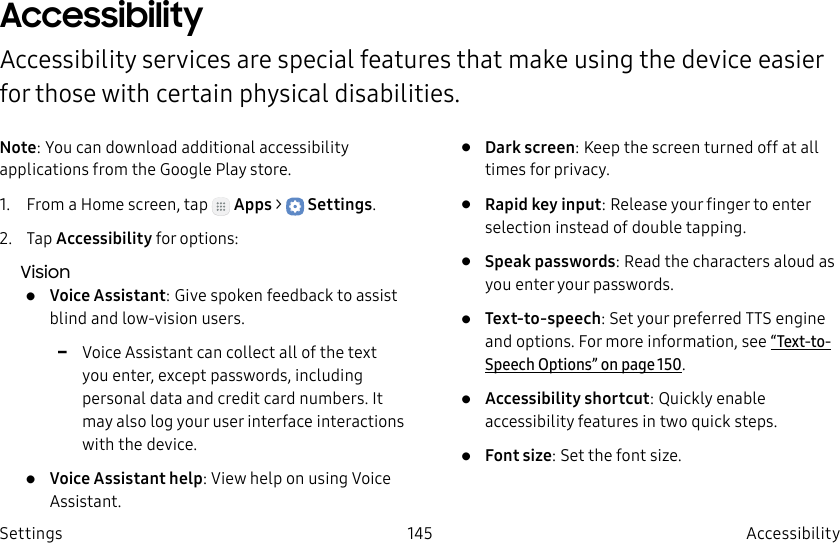
![DRAFT–FOR INTERNAL USE ONLY142 Cloud and Accounts SettingsNote: Account settings and available features vary between account types and service providers. Contact your service provider for more information on your account’s settings.1. From a Home screen, tap Apps > Settings.2. Tap Cloud and accounts > Accounts > [Accounttype].3. Tap an account to configure that account’s sync settings.4. Tap other available options for the account type.Remove an AccountYou can remove accounts from your device.1. From a Home screen, tap Apps > Settings.2. Tap Cloud and accounts > Accounts > [Accounttype].3. Tap the account and then tap Moreoptions > Removeaccount.Backup and RestoreBack up your data to your Samsung or Google accounts.Samsung AccountEnable backup of your information to your Samsung account.1. From a Home screen, tap Apps > Settings.2. Tap Cloud and accounts > Backup for options:• Back up my data: Enable back up of your phone log, messages, and more through your Samsung account.• Restore: Use your Samsung account to restore your backup data.](https://usermanual.wiki/Samsung-Electronics-Co/SMJ727V.Users-Manual-1/User-Guide-3263612-Page-151.png)


![Modification of SoftwareSAMSUNG IS NOT LIABLE FOR PERFORMANCE ISSUES OR INCOMPATIBILITIES CAUSED BY YOUR EDITING OF REGISTRY SETTINGS, OR YOUR MODIFICATION OF OPERATING SYSTEM SOFTWARE. USING CUSTOM OPERATING SYSTEM SOFTWARE MAY CAUSE YOUR DEVICE AND APPLICATIONS TO WORK IMPROPERLY. YOUR CARRIER MAY NOT PERMIT USERS TO DOWNLOAD CERTAIN SOFTWARE, SUCH AS CUSTOM OS.IF YOUR CARRIER PROHIBITS THIS, IF YOU ATTEMPT TO DOWNLOAD SOFTWARE ONTO THE DEVICE WITHOUT AUTHORIZATION, YOU WILL BE NOTIFIED ON THE SCREEN THAT THE DEVICE WILL NO LONGER OPERATE AND BE INSTRUCTED TO POWER DOWN THE DEVICE. YOU MUST THEN CONTACT YOUR CARRIER TO RESTORE THE DEVICE TO THE CARRIER AUTHORIZED SETTINGS.Samsung KNOXSamsung KNOX™ is Samsung’s security platform and is a mark for a Samsung device tested for security with enterprise use in mind. Additional licensing fee may be required. For more information about KNOX, please refer to:www.samsung.com/us/knox[041516] J320V_.book Page 6 Thursday, May 12, 2016 4:45 PM](https://usermanual.wiki/Samsung-Electronics-Co/SMJ727V.Users-Manual-1/User-Guide-3263612-Page-170.png)
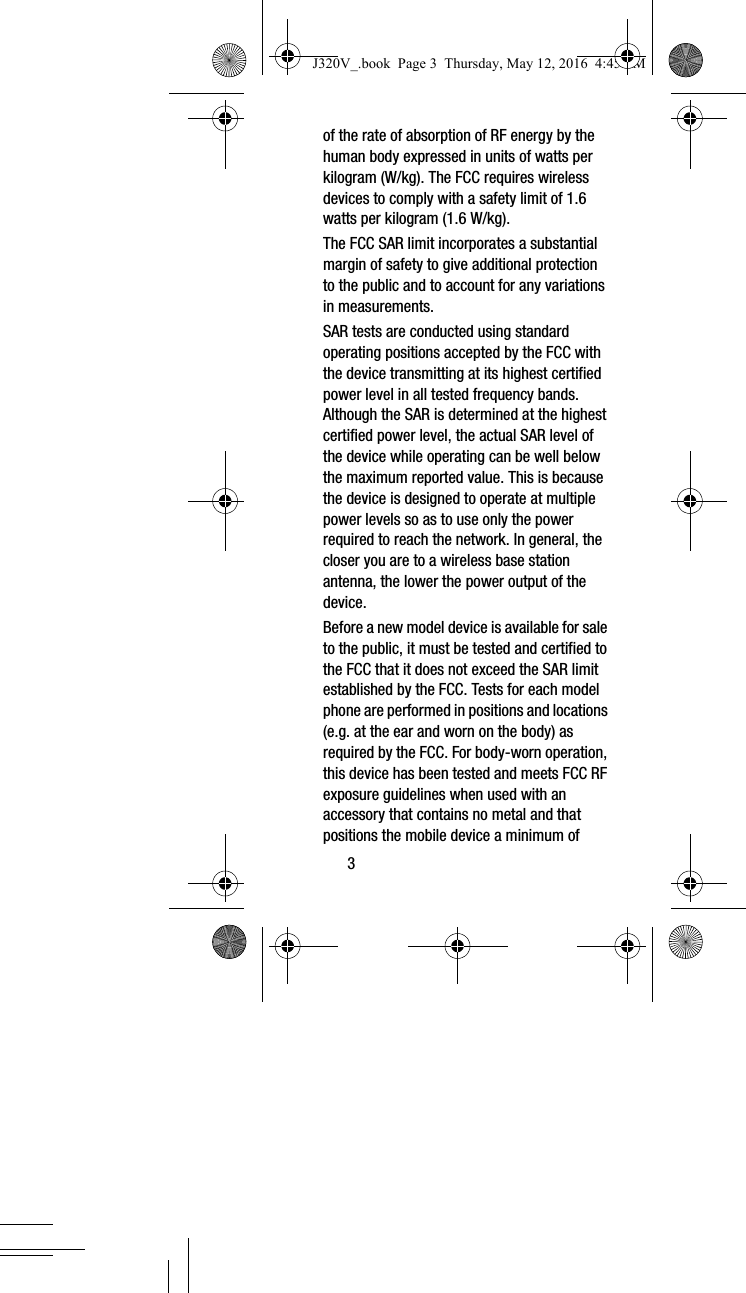
![Health and Safety Information 41.5 cm from the body. Use of other accessories may not ensure compliance with FCC RF exposure guidelines. The FCC has granted an Equipment Authorization for this mobile device with all reported SAR levels evaluated as in compliance with the FCC RF exposure guidelines. This device has a FCC ID number: A3LSMJ727V [Model Number: SM-J727VPP] and the specific SAR levels for this device can be found at the following FCC website: www.fcc.gov/oet/ea/The SAR information for this device can also be found on Samsung’s website: www.samsung.com/sar SAR information on this and other model devices can be accessed online on the FCC's website through http://transition.fcc.gov/oet/rfsafety/sar.html. To find information that pertains to a particular model, this site uses the device FCC ID number which is usually printed somewhere on the case of the device. Sometimes it may be necessary to remove the battery pack to find the number. Once you have the FCC ID number for a particular device, follow the instructions on the website and it should provide values for typical or maximum SAR for a particular device. Additional SAR information can also be obtained at www.fcc.gov/encyclopedia/specific-absorption-rate-sar-cellular-telephones J320V_.book Page 4 Thursday, May 12, 2016 4:45 PM](https://usermanual.wiki/Samsung-Electronics-Co/SMJ727V.Users-Manual-1/User-Guide-3263612-Page-175.png)


![Online Legal Information 20SeverabilityIf any portion of this Limited Warranty is held to be illegal or unenforceable, such partial illegality or unenforceability shall not affect the enforceability of the remainder of the Limited Warranty. [013016]J320V_.book Page 20 Thursday, May 12, 2016 4:45 PM](https://usermanual.wiki/Samsung-Electronics-Co/SMJ727V.Users-Manual-1/User-Guide-3263612-Page-191.png)