Samsung Electronics Co SMN900V Multi-Band GSM/ EDGE/ CDMA/ WCDMA/ LTE Phone with WLAN, Bluetooth, RFID and ANT+ User Manual n900v UM
Samsung Electronics Co Ltd Multi-Band GSM/ EDGE/ CDMA/ WCDMA/ LTE Phone with WLAN, Bluetooth, RFID and ANT+ n900v UM
Contents
- 1. Users Manual 1
- 2. Users Manual 2
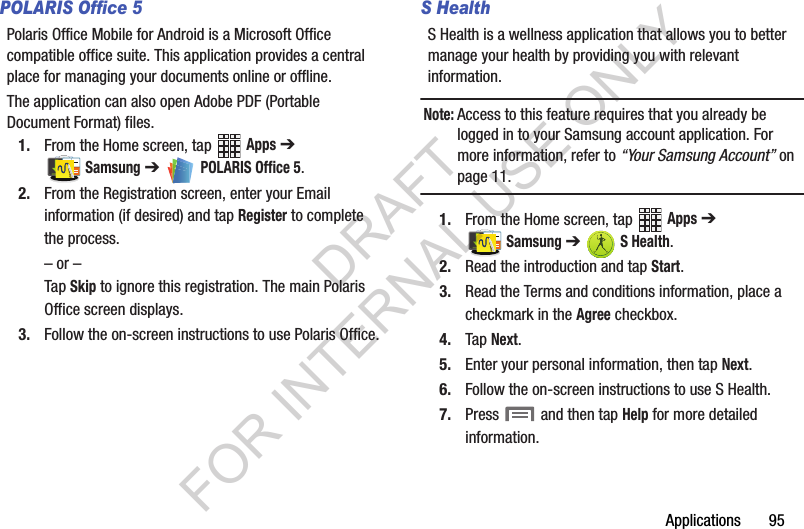
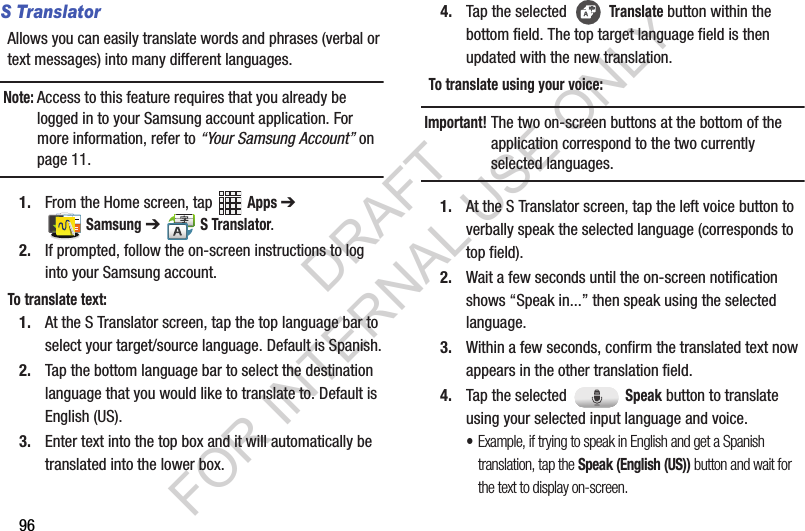
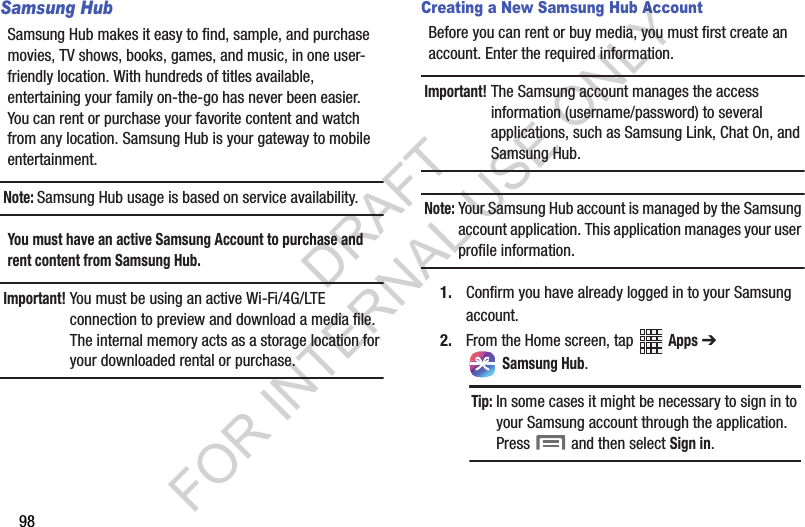
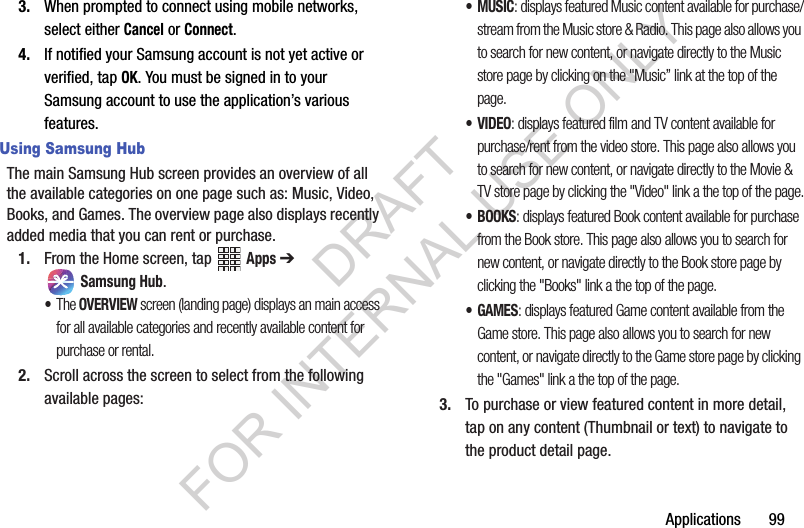
Users Manual 1
![THEIR AFFILIATES (COLLECTIVELY REFERRED TO HEREIN AS THE "SAMSUNG ENTITIES") EXPRESSLY DISCLAIM ANY AND ALL WARRANTIES, EXPRESS OR IMPLIED, INCLUDING ANY WARRANTY OF MERCHANTABILITY, FITNESS FOR A PARTICULAR PURPOSE, INTEROPERABILITY OR NON-INFRINGEMENT, WITH RESPECT TO INFORMATION TECHNOLOGY SECURITY PROTECTION, SAFE™ DEVICES AND APPLICATIONS TESTED WITH SAFE™ DEVICES. IN NO EVENT SHALL THE SAMSUNG ENTITIES BE LIABLE FOR ANY DIRECT, INDIRECT, INCIDENTAL, PUNITIVE, OR CONSEQUENTIAL DAMAGES OF ANY KIND WHATSOEVER WITH RESPECT TO INFORMATION TECHNOLOGY SECURITY PROTECTION, SAFE™ DEVICES OR APPLICATIONS TESTED WITH SAFE™ DEVICES. In addition, information technology security protection will be affected by features or functionality associated with, among other things the e-mail platform, master data management, and virtual private network solutions selected by the software provider, solution provider or user. Choice of an e-mail, master data management, and virtual private network solution is at the sole discretion of the software provider, solution provider or user and any associated effect on information technology security protection is solely the responsibility of the software provider, solution provider or user. For complete statement of limited warranty, please refer to www.samsung.com/us/safe, available on the web and where Samsung smartphone and Galaxy Tab™ devices are sold. [101212] DRAFT FOR INTERNAL USE ONLY](https://usermanual.wiki/Samsung-Electronics-Co/SMN900V.Users-Manual-1/User-Guide-2064495-Page-4.png)


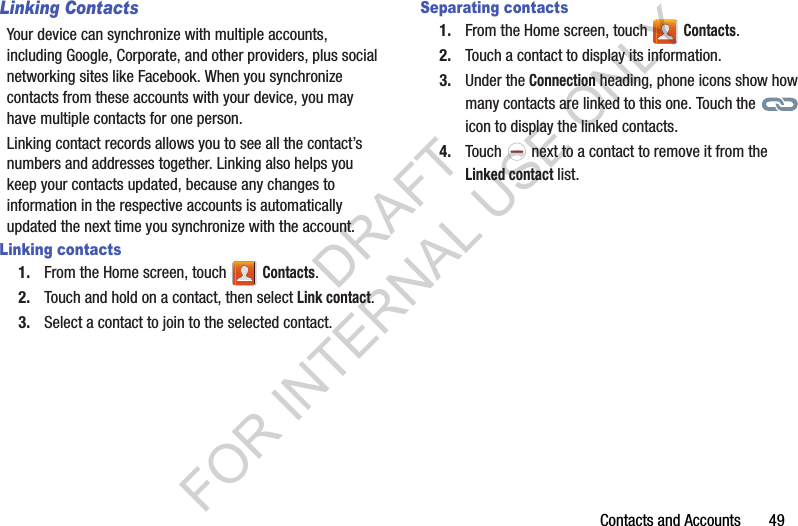
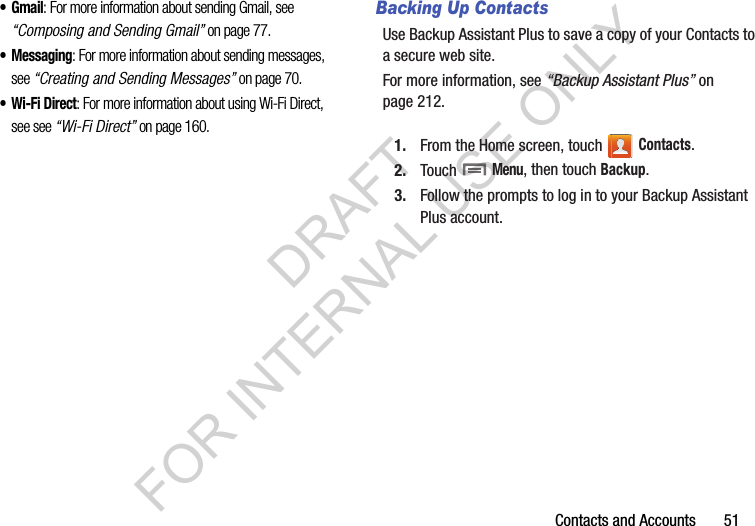


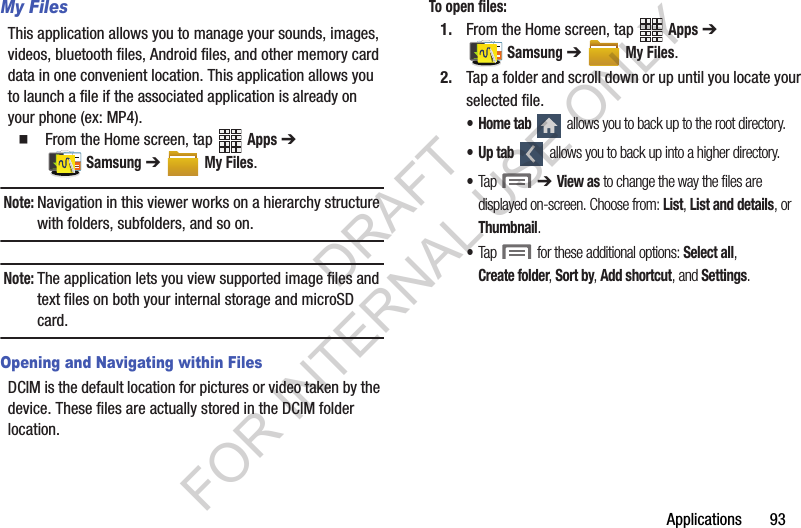

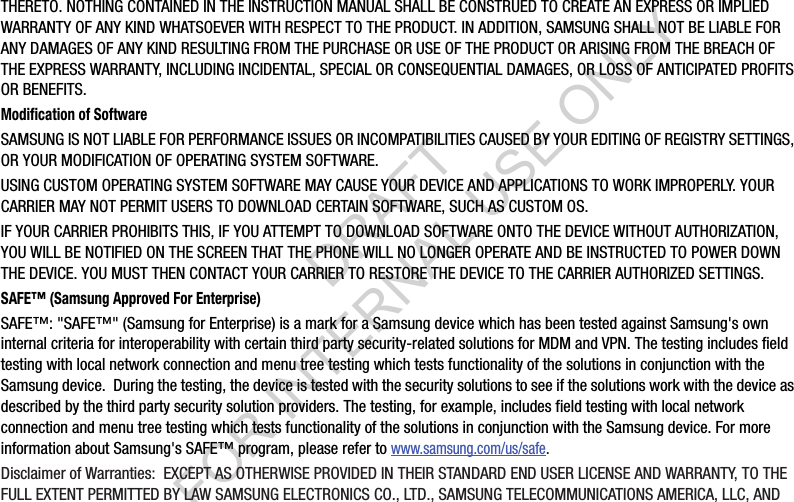
![Applications 111Using WatchONTo change channels:1. Sign into your Samsung account. 2. From the Home screen, tap Apps ➔ Samsung ➔ WatchON.3. From the top of the main screen, tap (Remote Control). This launches an on-screen set of remote control tabs. Choose from one of the following:• Easy remote: provides the most common used control features. Scroll down to view additional functions.4. Tap the bottom of the screen to access additional remote tabs Choose from one of the following:•TV: provides access to control functions specific to your TV.• [Set top box]: displays customized control specific to your configured set top box. Ex: satellite dish remote control functions.5. From the remote screen press and then tap (Change Room) to choose from different receivers/boxes in different rooms. Ex: Living Room box, Bedroom box, and so on.6. Press (Back) to return to the main menu.Locating your favorite programming:1. Sign into your Samsung account. 2. From the main WatchON screen, tap Combined View to reveal available media categories. 3. Select an available category.– or –Tap Channel Guide to display on your TV an on-screen listing of available set top box shows. For additional information on the WatchON application, press and then select Help.DRAFT FOR INTERNAL USE ONLY](https://usermanual.wiki/Samsung-Electronics-Co/SMN900V.Users-Manual-1/User-Guide-2064495-Page-117.png)