Samsung Electronics Co SMS765C Portable Handset with Multi-band CDMA, WLAN and BT User Manual x
Samsung Electronics Co Ltd Portable Handset with Multi-band CDMA, WLAN and BT x
UserManual.wiki
>
Samsung Electronics Co
>
SMS765C User Manual
Users Manual
Navigation menu
Upload a User Manual
Namespaces
Wiki Guide
HTML
PDF
Info
Views
User Manual
Discussion / Help
Navigation
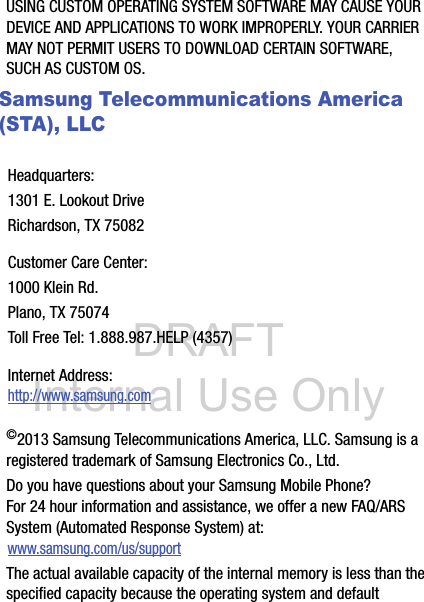

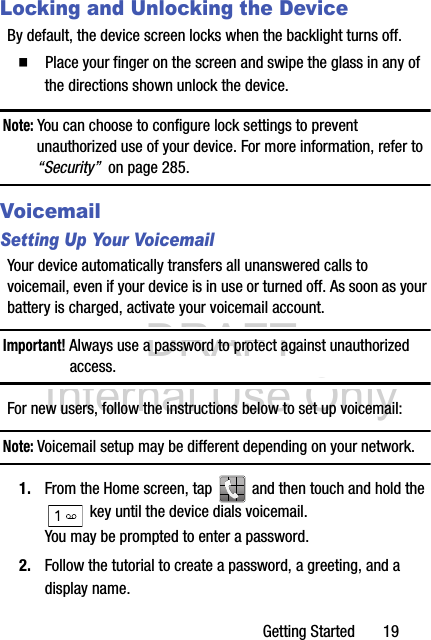
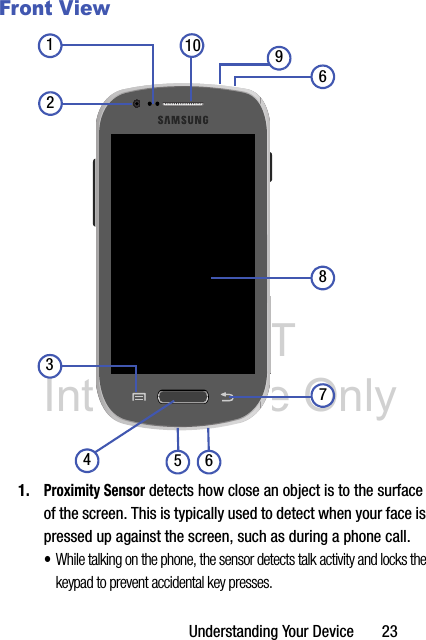


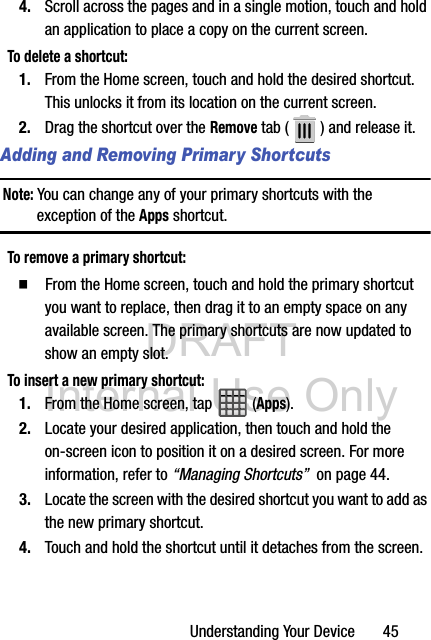

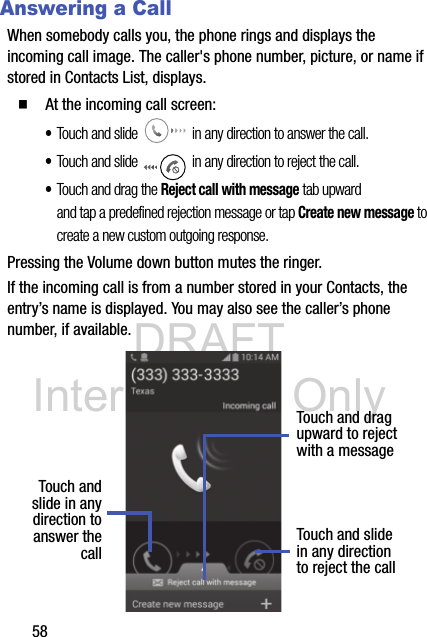


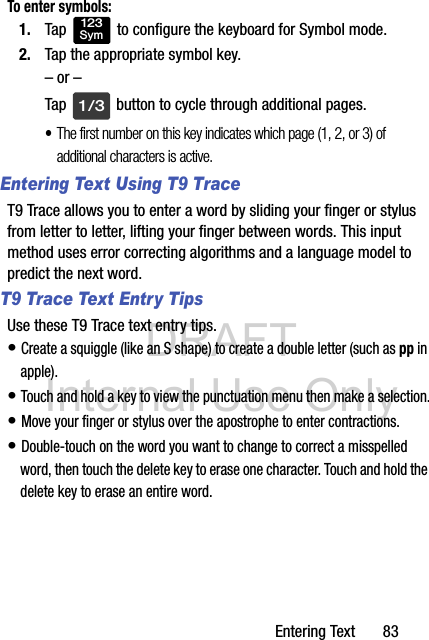
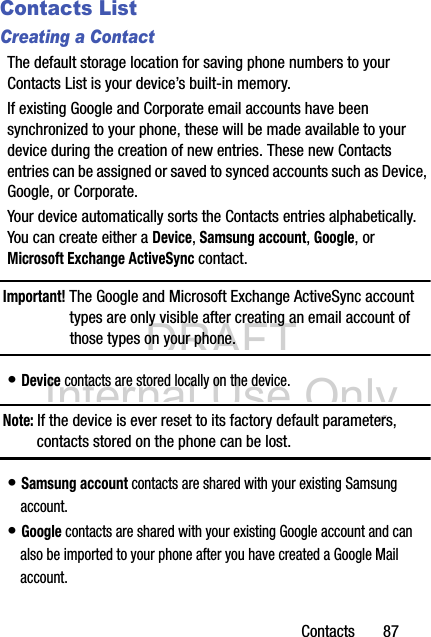
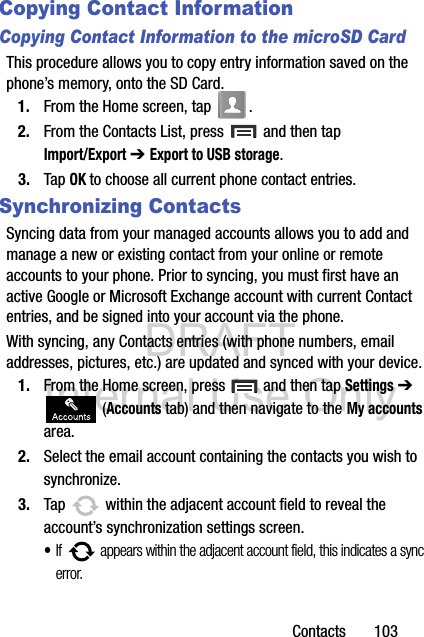
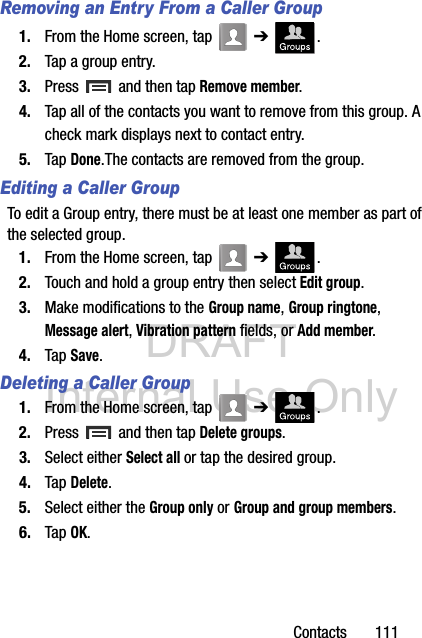
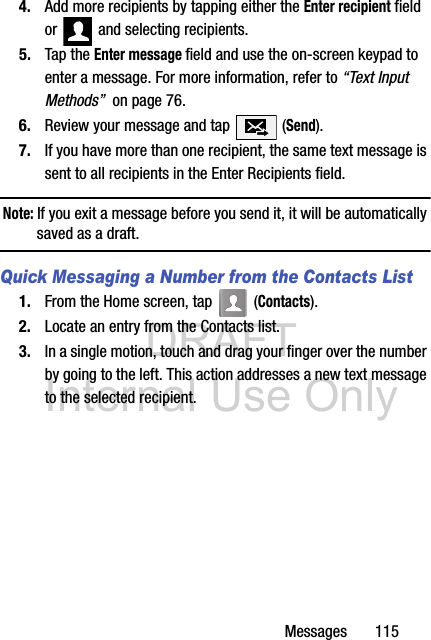
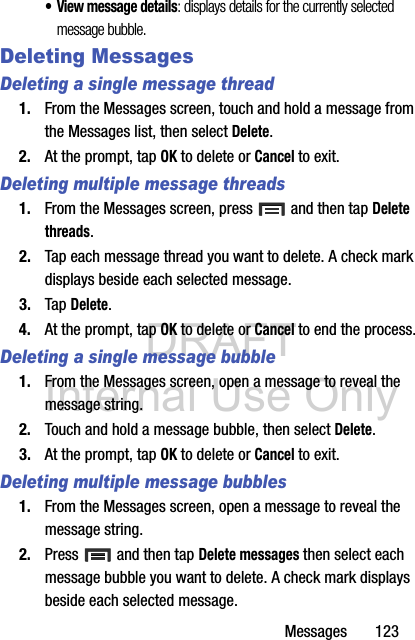

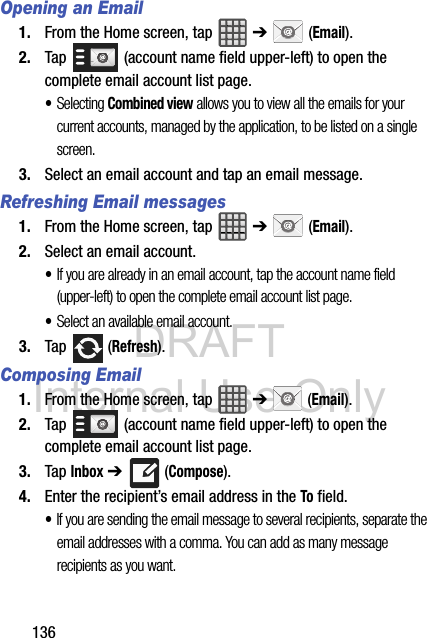
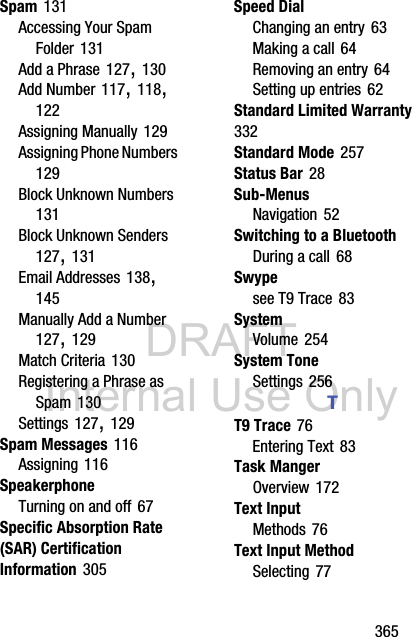
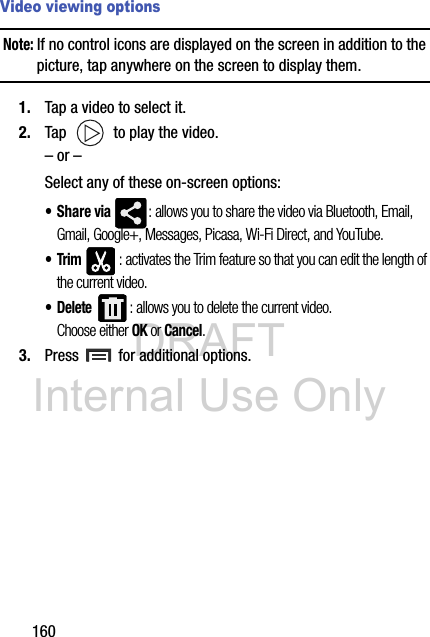
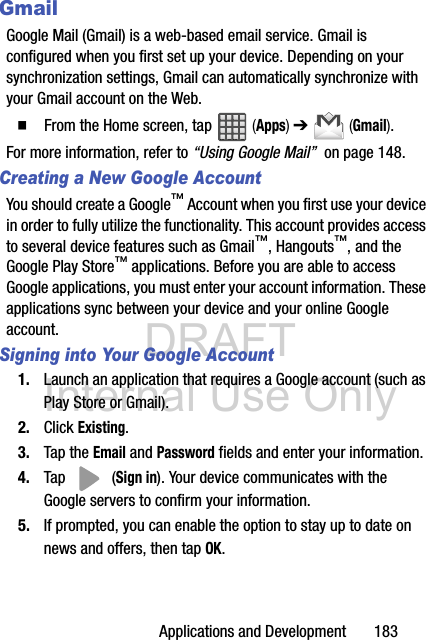
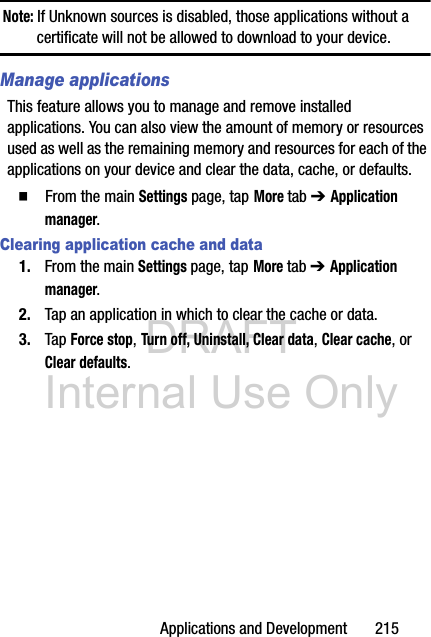
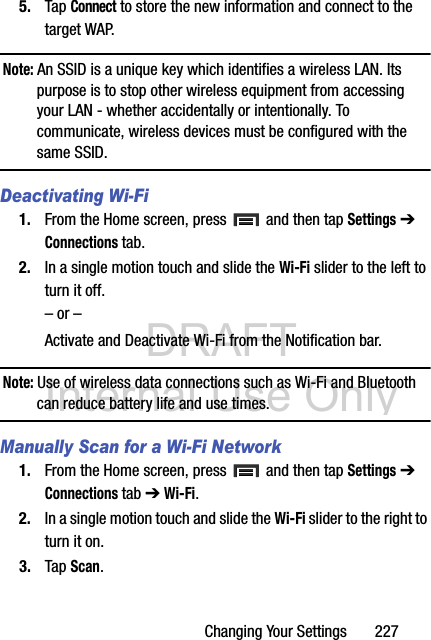
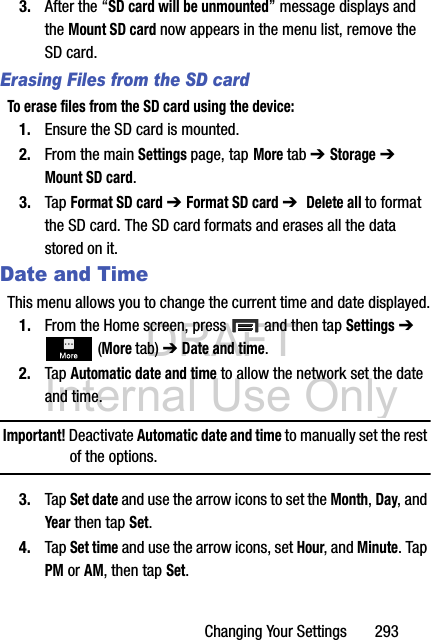
![DRAFT Internal Use Only1426. Tap Microsoft Exchange ActiveSync (from the add new email account screen).Note: If prompted with an on-screen notification that the connection that the “Setup could not finish”, tap Edit details to continue with a manual update of necessary information.7. When prompted to provide additional detailed information within the Exchange server settings screen, enter an updated Domain, and confirm your user name and Password information.Important! Remember to manually place the cursor in the correct spot and enter a Domain name before the “[Domain]\[user name]” entry. Most servers only provide a username.8. Update or re-enter your Exchange server information within the appropriate field. This field can often be populated with incorrect or out of date information provided by your server.• Exchange Server: your exchange server remote email address. Typically starts with mail.XXX.com. Obtain this information from your company network administrator. Important! Do not accept the default entry as this is a guess based on returned information.](https://usermanual.wiki/Samsung-Electronics-Co/SMS765C/User-Guide-2211323-Page-149.png)


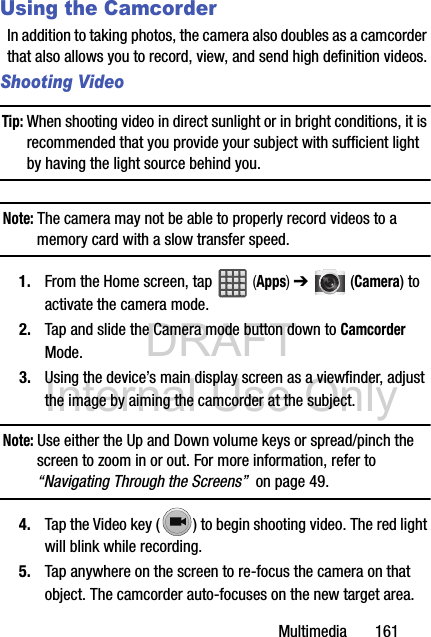
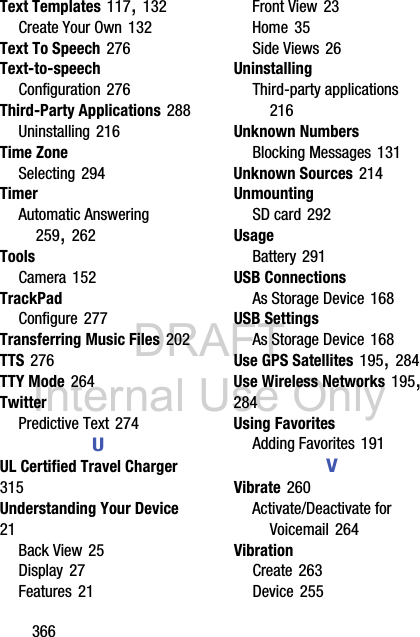
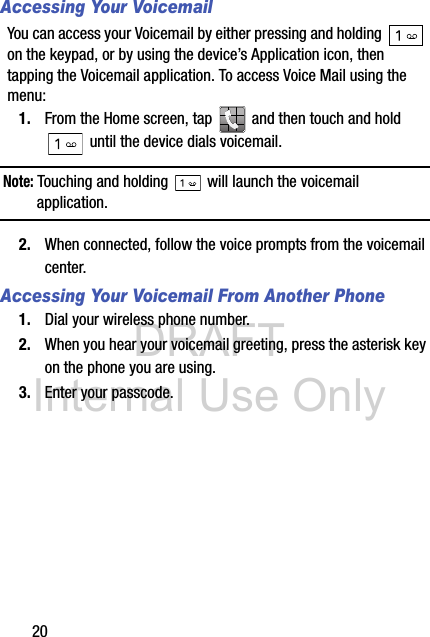
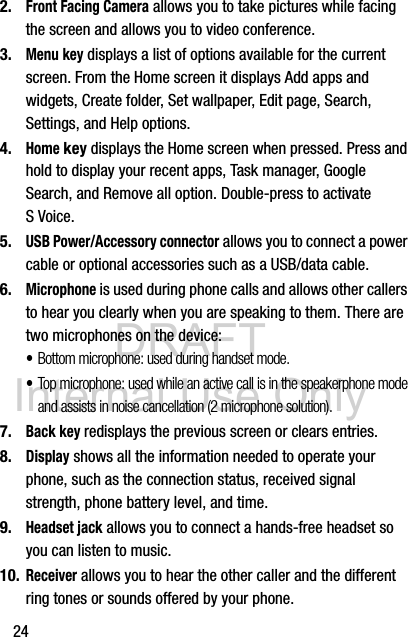
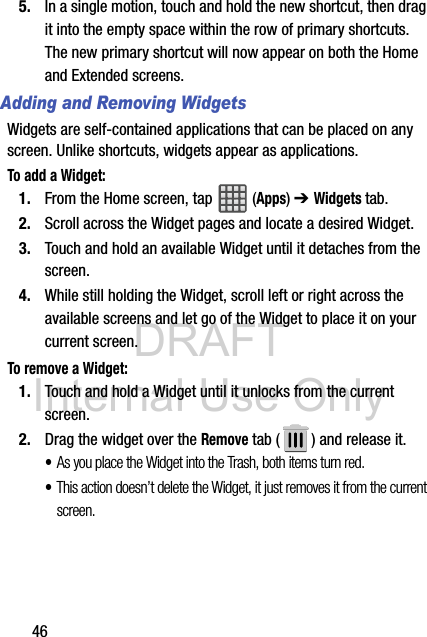
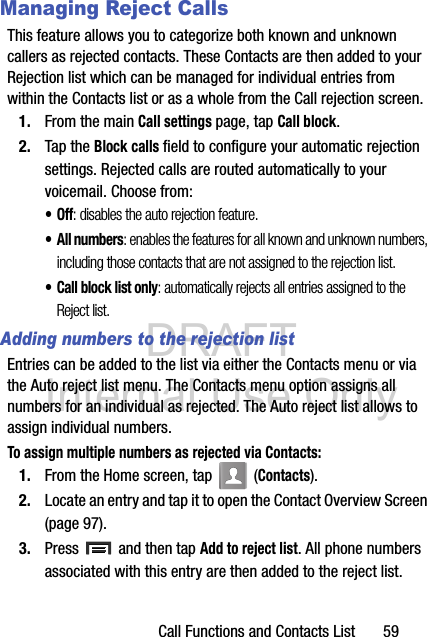
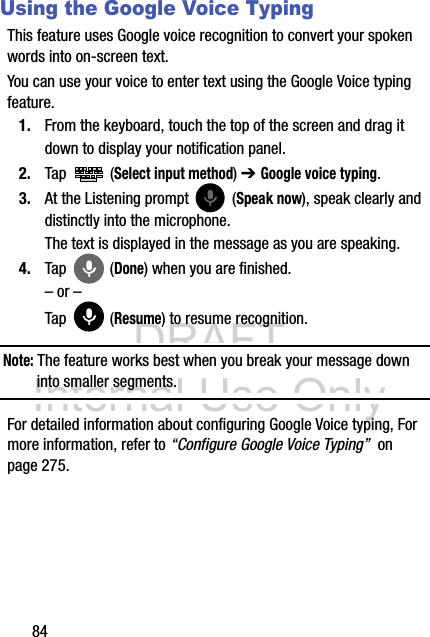
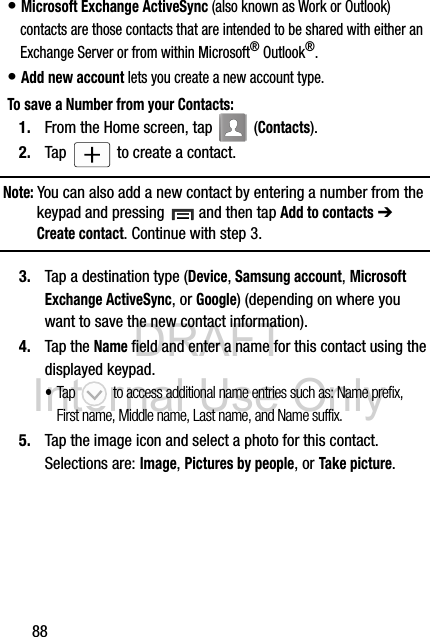
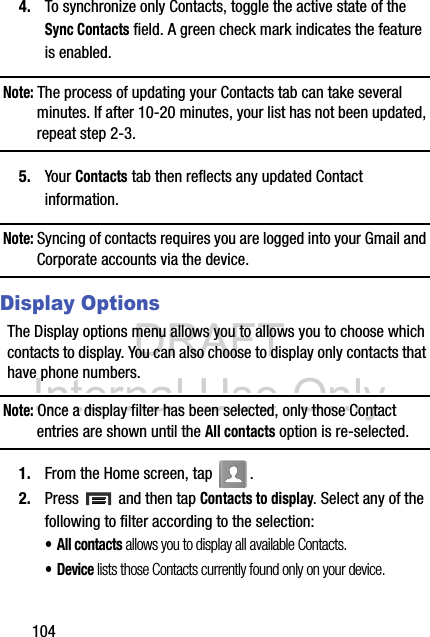
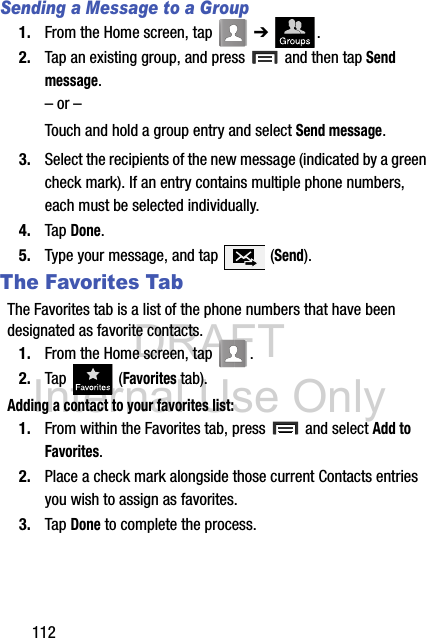
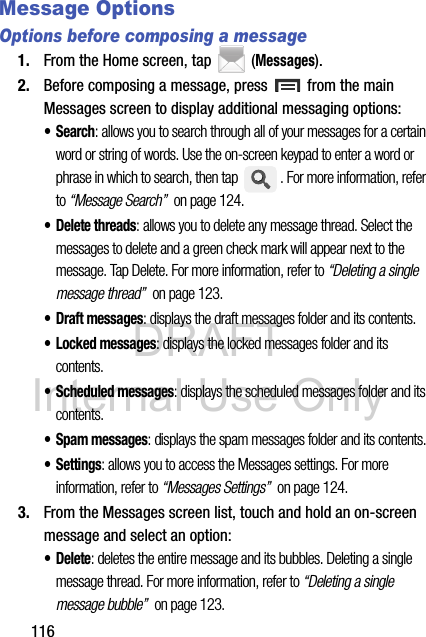
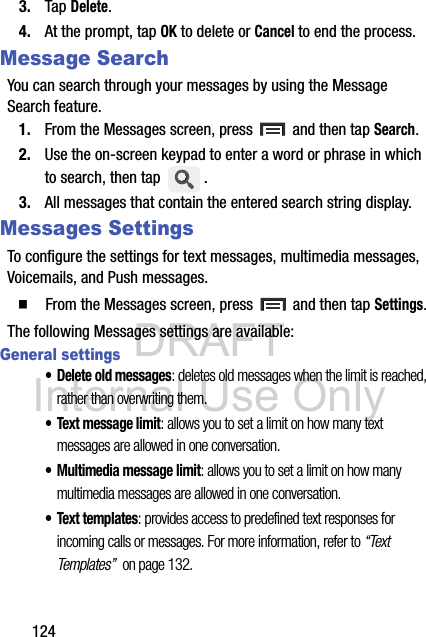
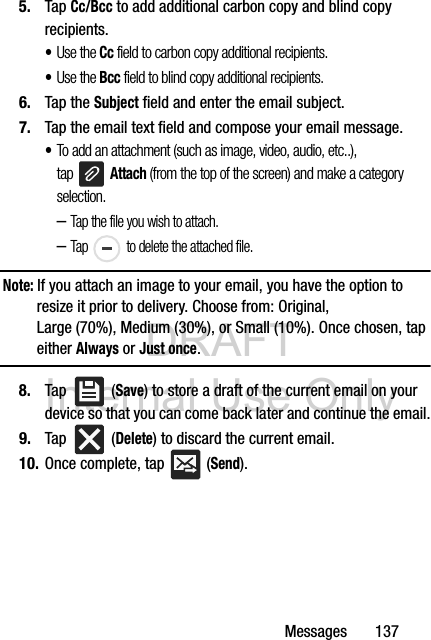
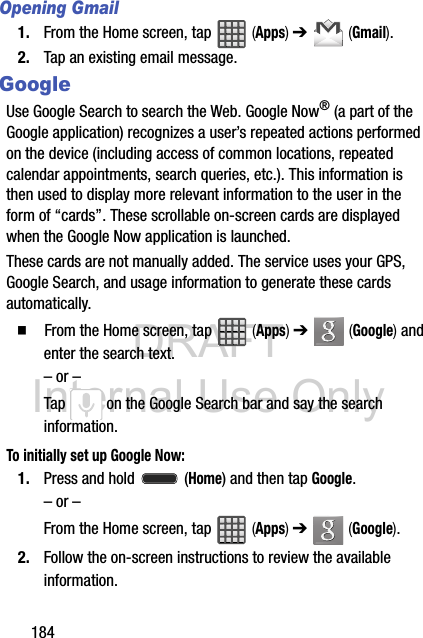
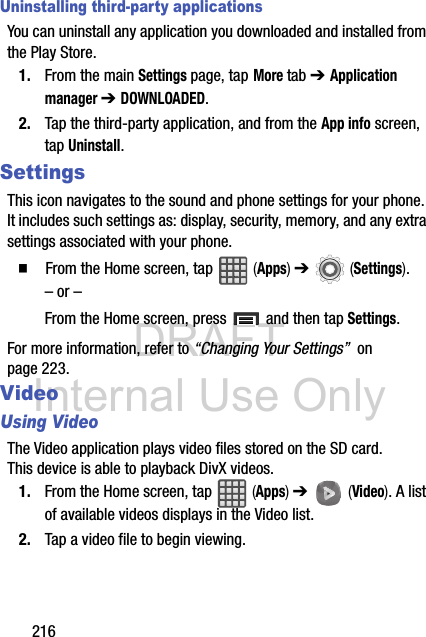
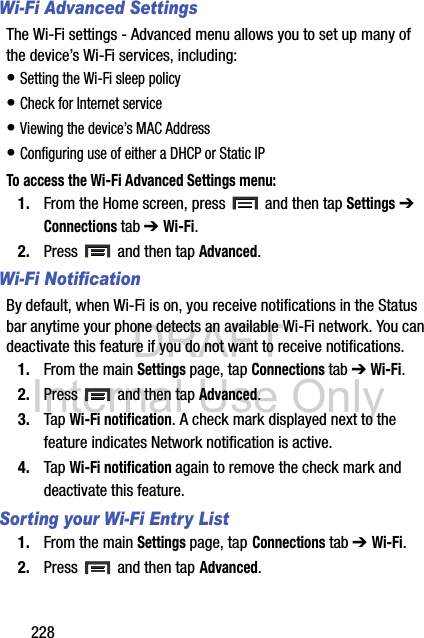
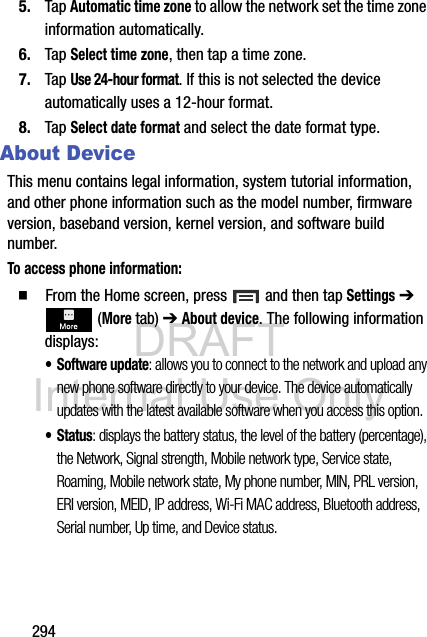
![DRAFT Internal Use OnlyApplications and Development 169Section 9: Applications and DevelopmentThis section contains a description of each application that is available in the Applications Menu, its function, and how to navigate through that particular application. If the application is already described in another section of this user manual, then a cross reference to that particular section is provided.Note: This manual only addresses applications that have been loaded on your [device/computer/tablet] as of the date of purchase. Information concerning third party applications that you may choose to download from the Google Play Store or otherwise should be obtained from the application provider directly.Tip: To open applications quickly, add the icons of frequently used applications to one of the Home screens. For more information, refer to “Customizing the Screens” on page 41.You can also add an application icon as a Primary Shortcut that will display on all Home screens. If you add an application as a primary shortcut, the application icon will not be displayed in the Applications menu.](https://usermanual.wiki/Samsung-Electronics-Co/SMS765C/User-Guide-2211323-Page-176.png)


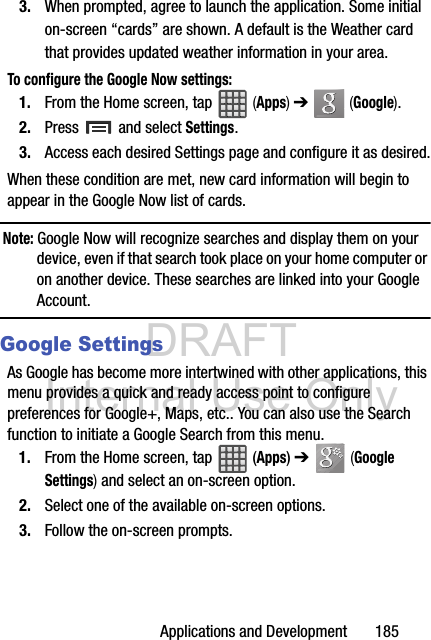


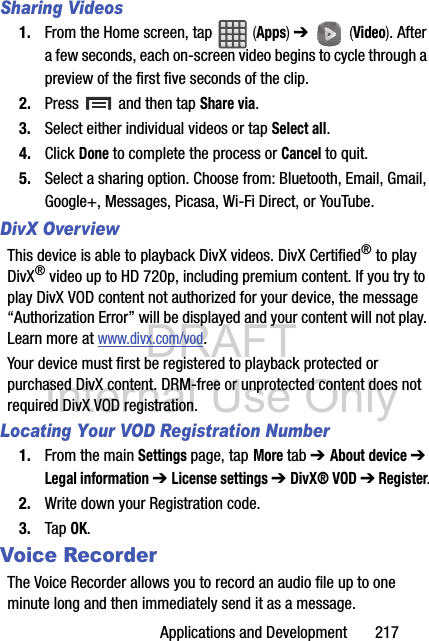
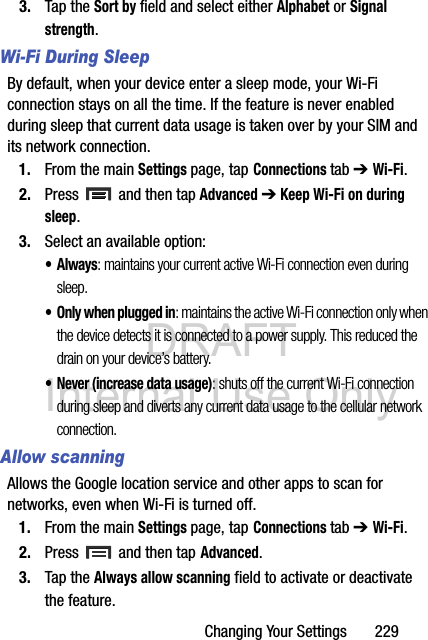


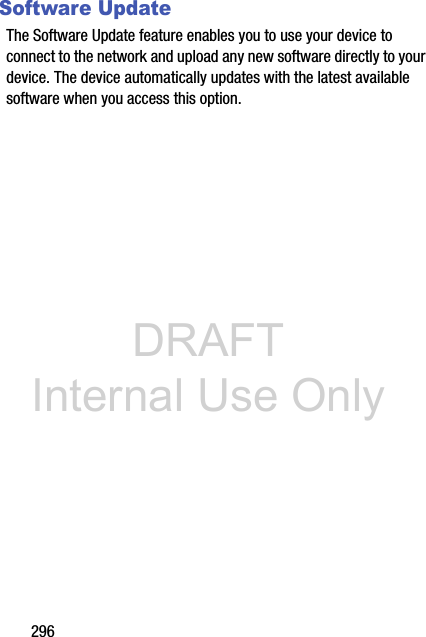


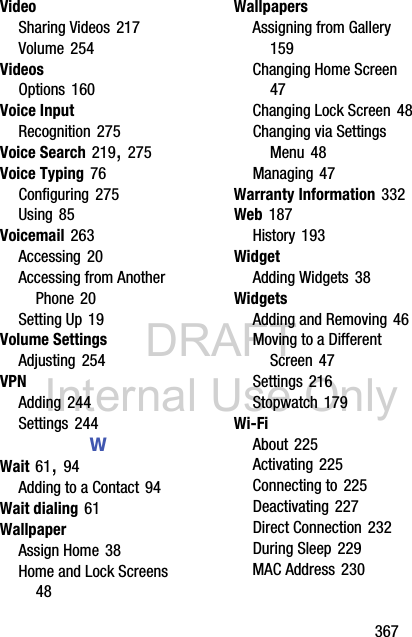
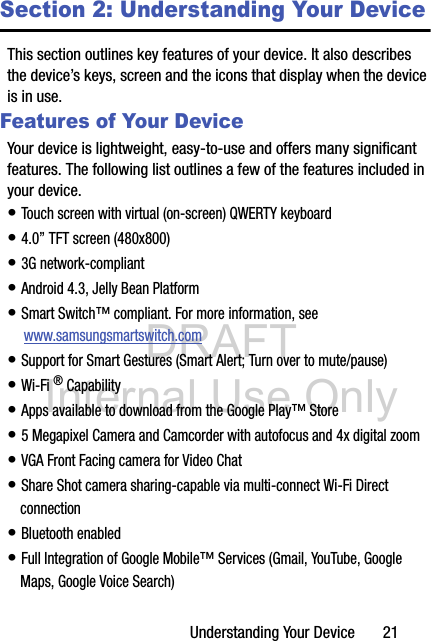
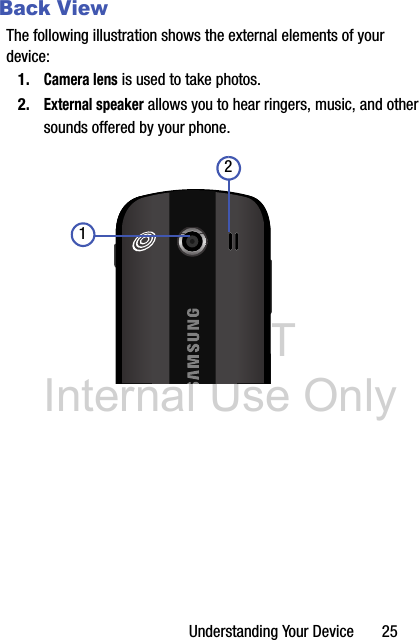
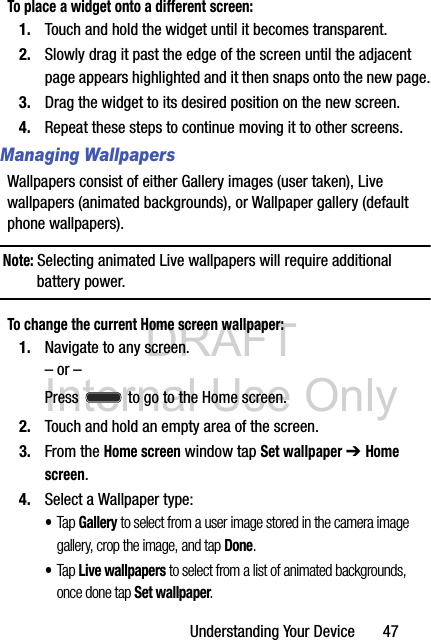
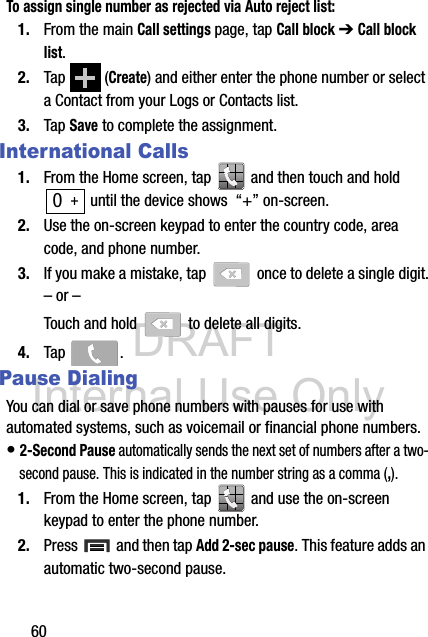
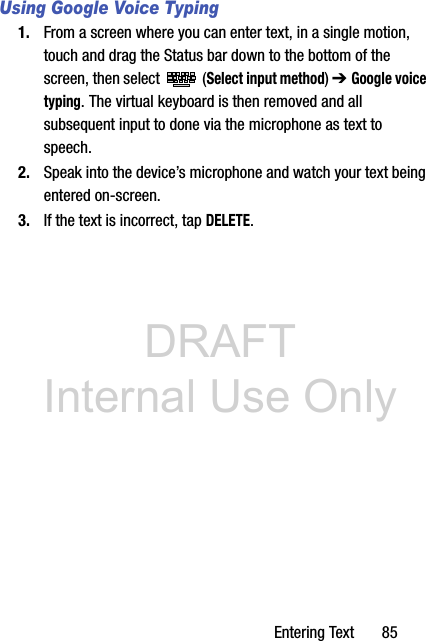
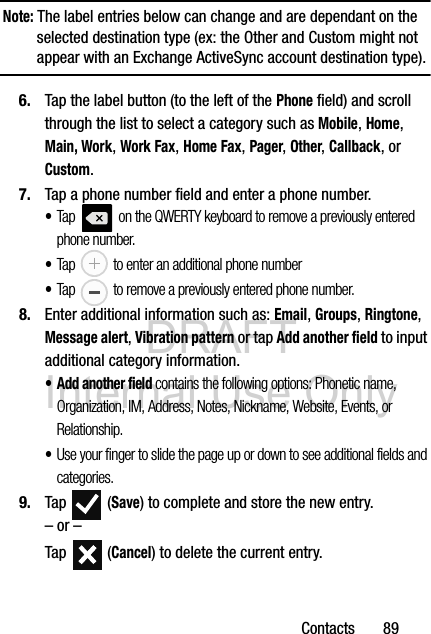
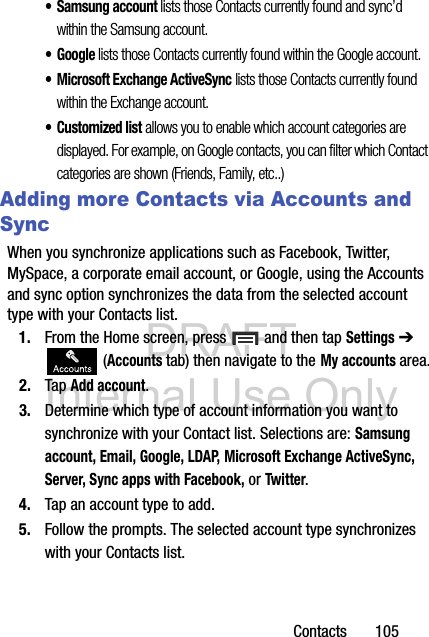
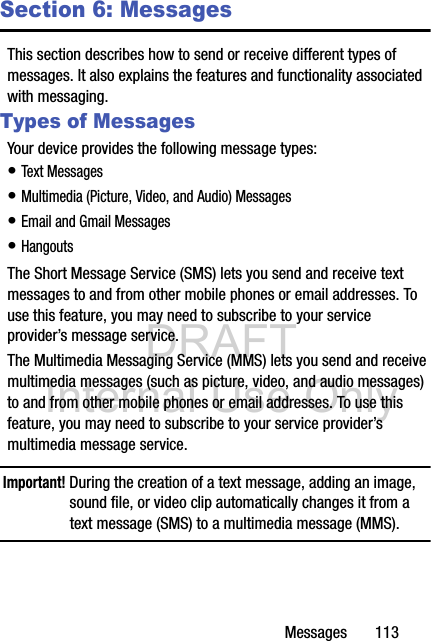
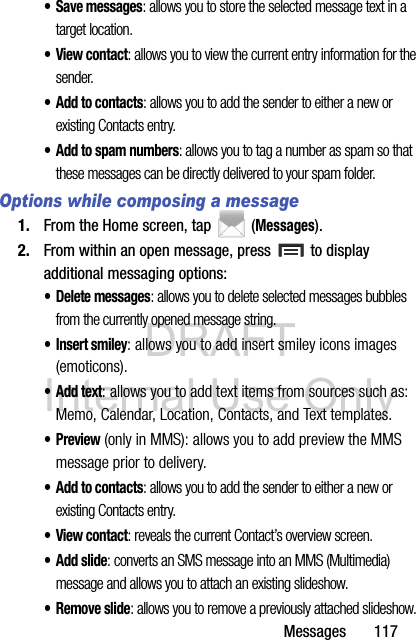
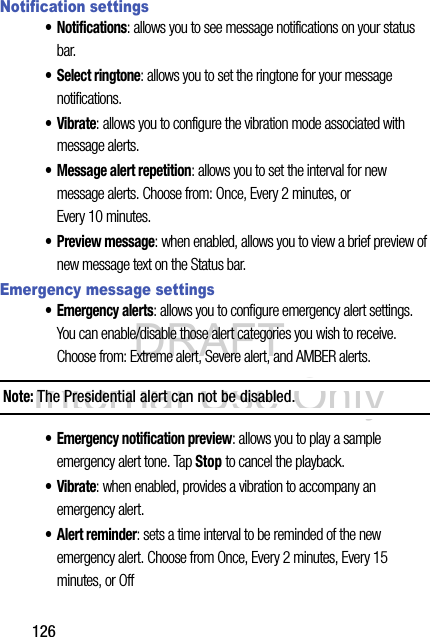
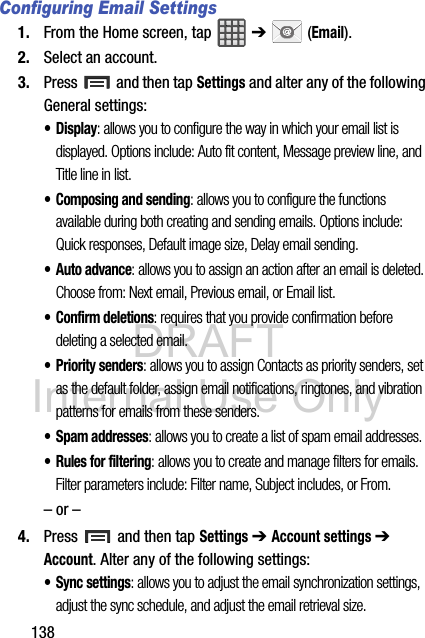
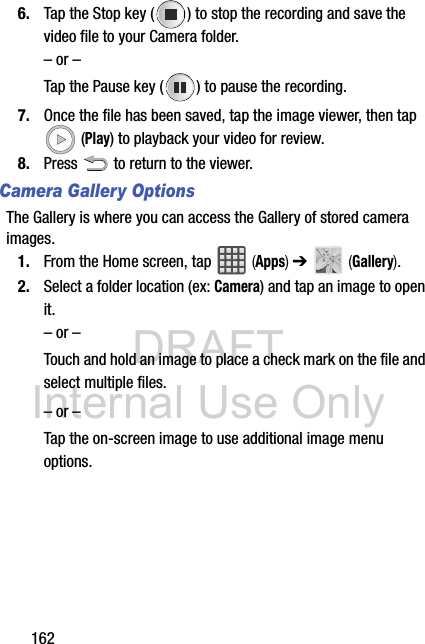
![DRAFT Internal Use OnlyHealth and Safety Information 307has been tested and meets FCC RF exposure guidelines when used with an accessory that contains no metal and that positions the mobile device a minimum of cm from the body.Use of other accessories may not ensure compliance with FCC RF exposure guidelines. The FCC has granted an Equipment Authorization for this mobile device with all reported SAR levels evaluated as in compliance with the FCC RF exposure guidelines. This mobile phone has a FCC ID number: A3LSMS765C [Model Number: SM-S765C] and the specific SAR levels for this mobile phone can be found at the following FCC website:http://www.fcc.gov/oet/ea/.The SAR information for this device can also be found on Samsung’s website: http://www.samsung.com/sar. SAR information on this and other model phones can be accessed online on the FCC's website through http://transition.fcc.gov/oet/rfsafety/sar.html. To find information that pertains to a particular model phone, this site uses the phone FCC ID number which is usually printed somewhere on the case of the phone. Sometimes it may be necessary to remove the battery pack to find the number. Once you have the FCC ID number for a particular phone, follow the instructions on the website and it should provide values for typical or maximum SAR for a particular phone. Additional SAR information can also be obtained at http://www.fcc.gov/encyclopedia/specific-absorption-rate-sar-cellular-telephones.](https://usermanual.wiki/Samsung-Electronics-Co/SMS765C/User-Guide-2211323-Page-314.png)

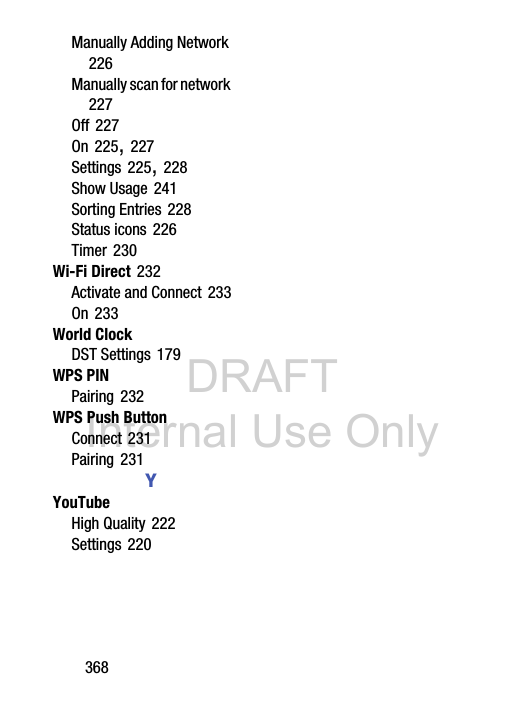
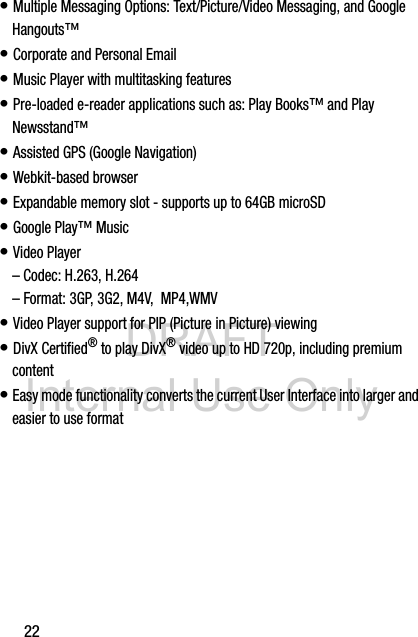
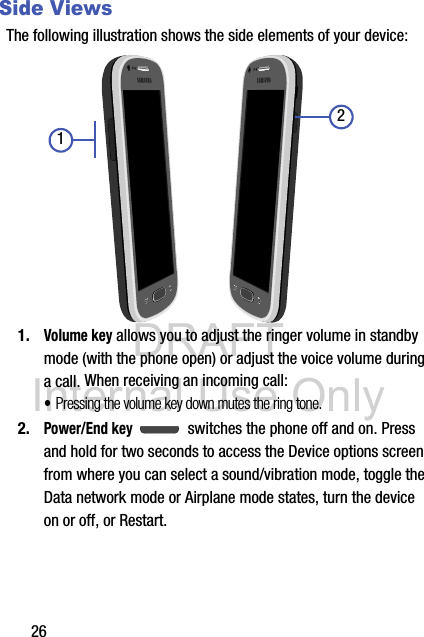
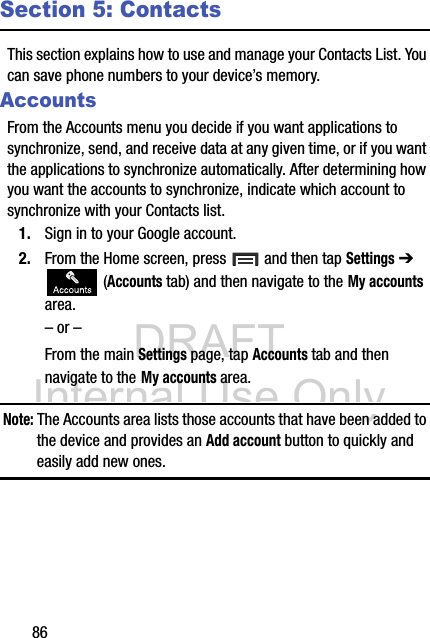
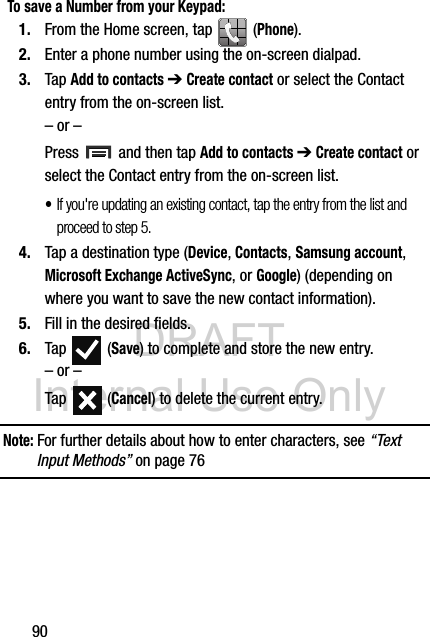
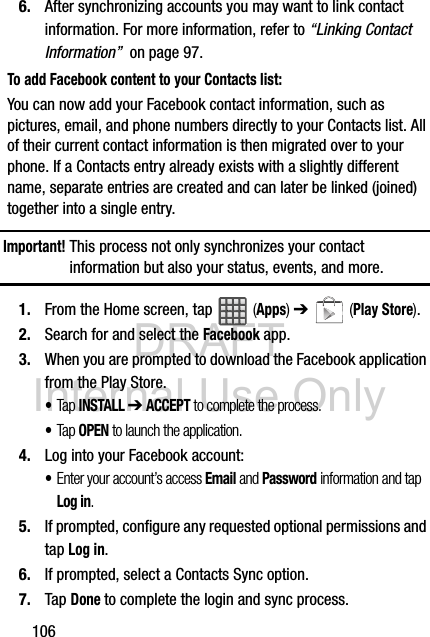
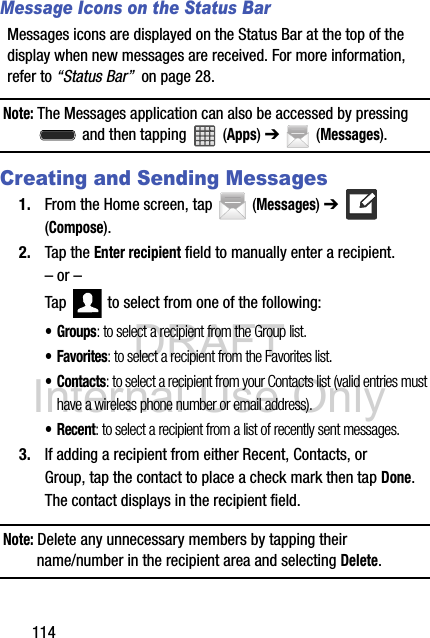
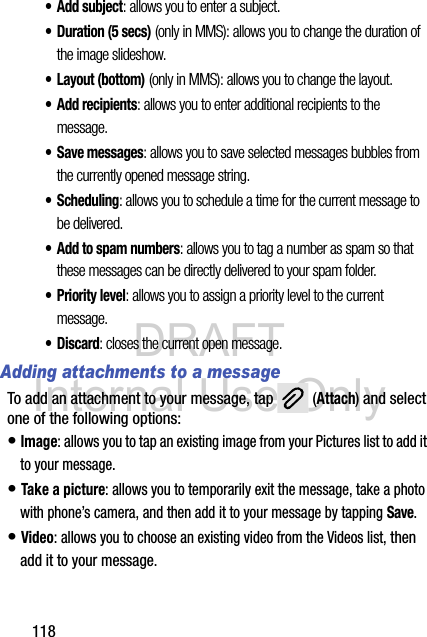
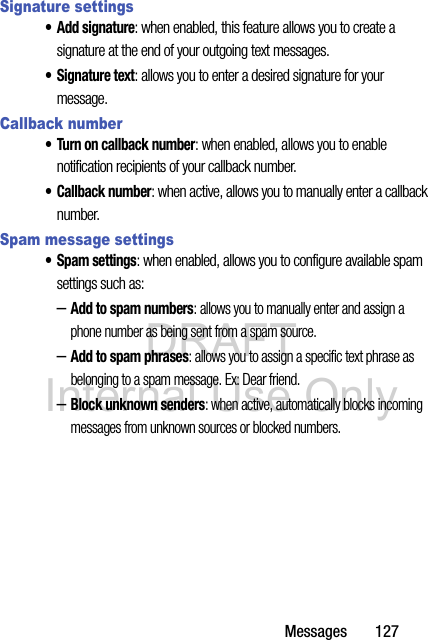
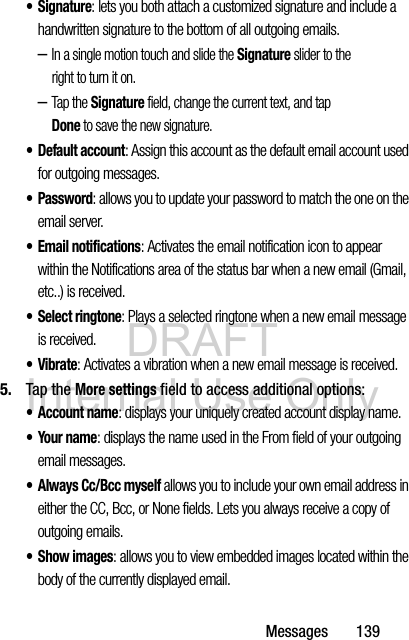
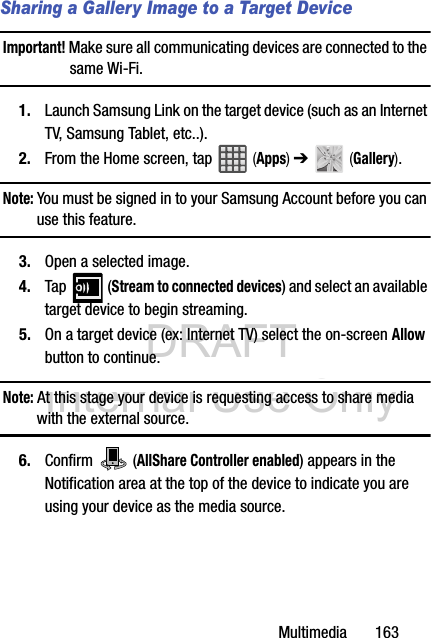
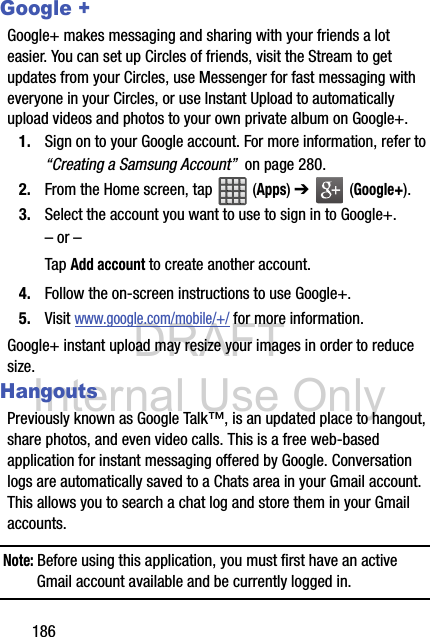
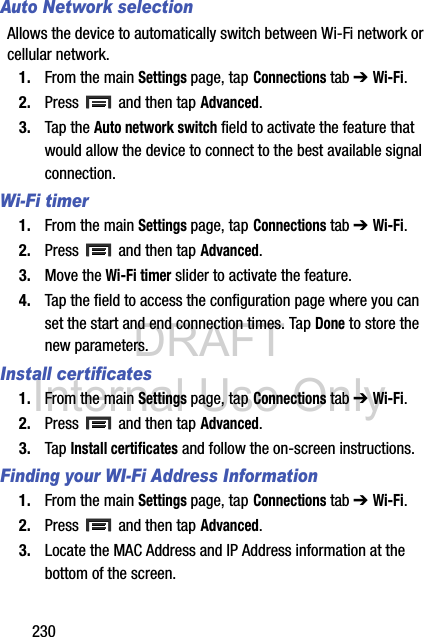
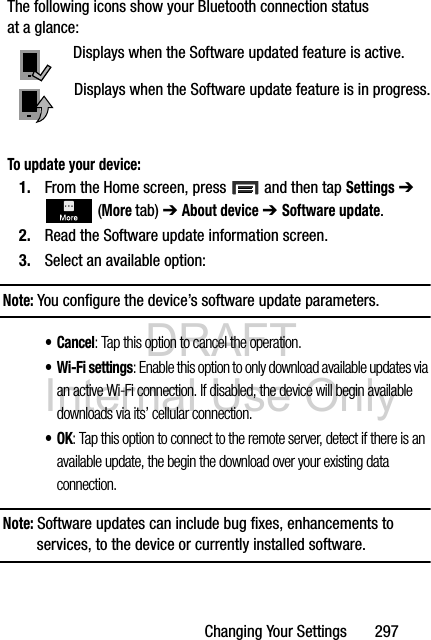
![DRAFT Internal Use OnlyHealth and Safety Information 331• While using your device, leave some lights on in the room and do not hold the screen too close to your eyes.• Seizures or blackouts can occur when you are exposed to flashing lights while watching videos or playing games for extended periods. If you feel any discomfort, stop using the device immediately.• Reduce risk of repetitive motion injuries. When you repetitively perform actions, such as pressing keys, drawing characters on a touch screen with your fingers, or playing games, you may experience occasional discomfort in your hands, neck, shoulders, or other parts of your body. When using your device for extended periods, hold the device with a relaxed grip, press the keys lightly, and take frequent breaks. If you continue to have discomfort during or after such use, stop use and see a physician.• If your device has a camera flash or light, do not use the flash or light close to the eyes of people or pets. [122011]](https://usermanual.wiki/Samsung-Electronics-Co/SMS765C/User-Guide-2211323-Page-338.png)


![DRAFT Internal Use OnlyWarranty Information 339will eliminate all user memory and return all settings to default settings. Please contact the Samsung Customer Care Center for details.Important! Please provide warranty information (proof of purchase) to Samsung’s Customer Care Center in order to provide this service at no charge. If the warranty has expired on the device, charges may apply.Samsung Telecommunications America, LLC1301 E. Lookout DriveRichardson, Texas 75082Phone: 1-800-SAMSUNGPhone: 1-888-987-HELP (4357)No reproduction in whole or in part allowed without prior written approval. Specifications and availability subject to change without notice. [111611]End User License Agreement for SoftwareIMPORTANT. READ CAREFULLY: This End User License Agreement ("EULA") is a legal agreement between you (either an individual or a single entity) and Samsung Electronics Co., Ltd. ("Samsung") for software, owned by Samsung and its affiliated companies and its third party suppliers and licensors, that accompanies this EULA, which includes computer software and may include associated media, printed materials, "online" or electronic documentation in connection with your use of this device ("Software").](https://usermanual.wiki/Samsung-Electronics-Co/SMS765C/User-Guide-2211323-Page-346.png)
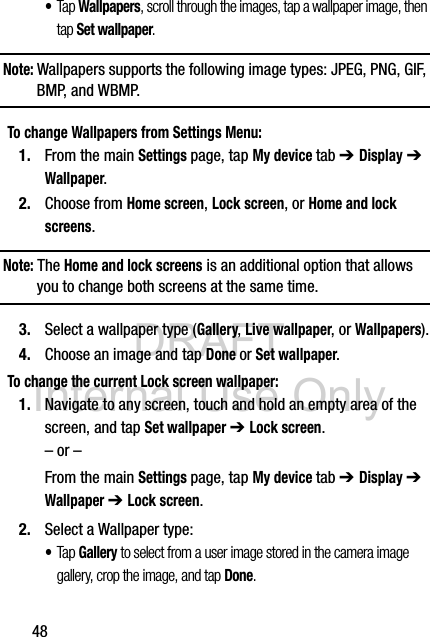
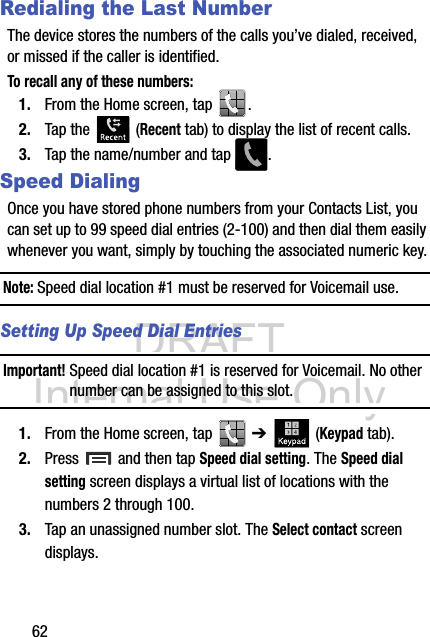
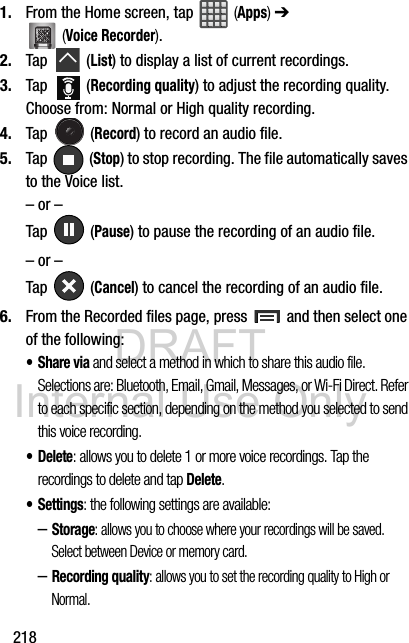
![DRAFT Internal Use OnlyWarranty Information 349than 30 calendar days from the date of the first consumer purchaser's purchase of this device. To opt out, you must send notice by e-mail to optout@sta.samsung.com, with the subject line: "Arbitration Opt Out." You must include in the opt out e-mail (a) your name and address; (b) the date on which the device was purchased; (c) the device model name or model number; and (d) the IMEI or MEID or Serial Number, as applicable, if you have it (the IMEI or MEID or Serial Number can be found (i) on the device box; (ii) on the device information screen, which can be found under "Settings;" (iii) on a label on the back of the device beneath the battery, if the battery is removable; and (iv) on the outside of the device if the battery is not removable). Alternatively, you may opt out by calling 1-888-987-4357 no later than 30 calendar days from the date of the first consumer purchaser's purchase of the device and providing the same information. These are the only two forms of notice that will be effective to opt out of this dispute resolution procedure. Opting out of this dispute resolution procedure will not affect your use of the device or its preloaded Software, and you will continue to enjoy the benefits of this license.17. ENTIRE AGREEMENT; SEVERABILITY. This EULA is the entire agreement between you and Samsung relating to the Software and supersedes all prior or contemporaneous oral or written communications, proposals and representations with respect to the Software or any other subject matter covered by this EULA. If any provision of this EULA is held to be void, invalid, unenforceable or illegal, the other provisions shall continue in full force and effect. [090413]](https://usermanual.wiki/Samsung-Electronics-Co/SMS765C/User-Guide-2211323-Page-356.png)