Samsung Electronics Co SMS920L Multi-band CDMA/LTE Phone with WLAN, Bluetooth, RFID, and ANT+ User Manual
Samsung Electronics Co Ltd Multi-band CDMA/LTE Phone with WLAN, Bluetooth, RFID, and ANT+ Users Manual
Contents
- 1. Users Manual
- 2. Users Manual Health & Safety Guide
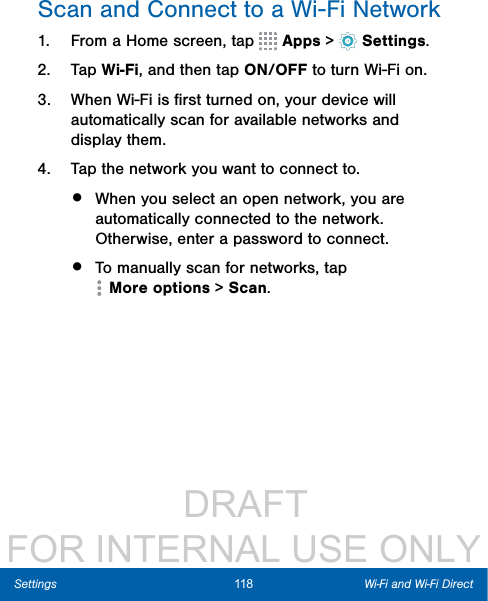
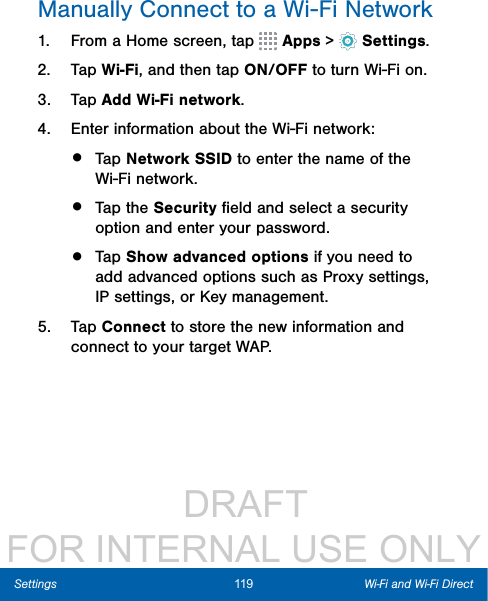
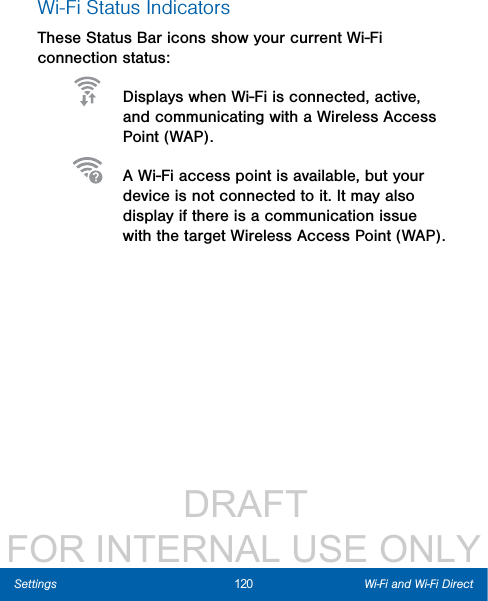
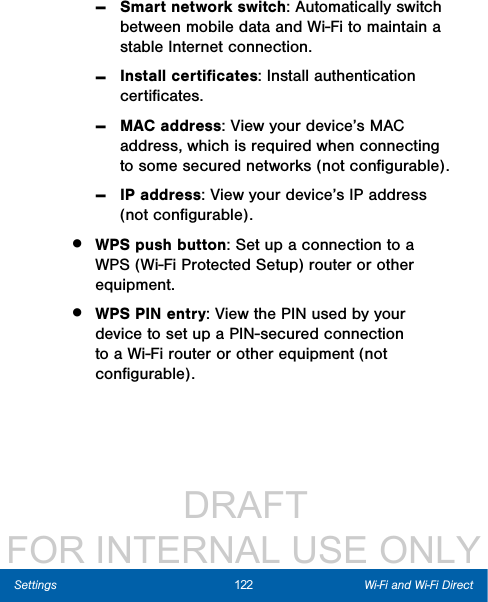
Users Manual

![DRAFT FOR INTERNAL USE ONLYivLegal NoticesUSING CUSTOM OPERATING SYSTEM SOFTWARE MAY CAUSE YOUR DEVICE AND APPLICATIONS TO WORK IMPROPERLY. YOUR CARRIER MAY NOT PERMIT USERS TO DOWNLOAD CERTAIN SOFTWARE, SUCH AS CUSTOM OS.Samsung KNOX™Samsung Knox™ is Samsung’s security platform and is a mark for a Samsung device tested for security with enterprise use in mind. Additional licensing fee may be required. For more information about Knox, please refer to: www.samsung.com/us/knox. [030115]Samsung Electronics America (SEA), IncAddress:85 Challenger Road Ridgefield Park, New Jersey 07660 Phone: 1-800-SAMSUNG (726-7864)Internet Address: www.samsung.com](https://usermanual.wiki/Samsung-Electronics-Co/SMS920L.Users-Manual/User-Guide-2565966-Page-5.png)
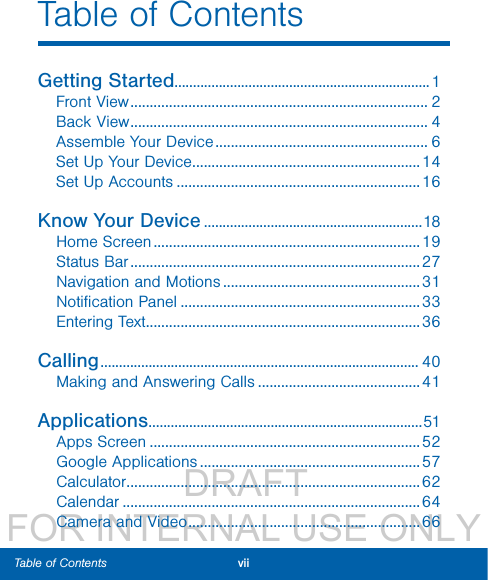


![DRAFT FOR INTERNAL USE ONLY46 Making and Answering CallsCallingTo answer a new call while you have a call in progress:1. Slide Answer in any direction to answer the new call. 2. Tap an option:• Putting [caller] on hold to place the previous caller on hold while you answer the new incoming call.• Ending call with [caller] to end the previous call and answer the new call.3. Tap the previous On hold number entry and select Swap to switch between the two calls. This places the new caller on hold and activates the previous call.Call LogThe numbers of the calls you have dialed, received, or missed are stored in the Call log.1. From a Home screen, tap Phone.2. Tap the Recent tab. A list of recent calls is displayed. If the caller is in your contacts list, the caller’s name is displayed.](https://usermanual.wiki/Samsung-Electronics-Co/SMS920L.Users-Manual/User-Guide-2565966-Page-56.png)