Samsung Electronics Co SMW2018 CDMA/GSM/WCDMA/LTE Phone + BT/BLE, DTS/UNII a/b/g/n/ac, ANT+ and NFC User Manual 1 of 3
Samsung Electronics Co Ltd CDMA/GSM/WCDMA/LTE Phone + BT/BLE, DTS/UNII a/b/g/n/ac, ANT+ and NFC 1 of 3
Contents
- 1. User manual 1 of 3
- 2. User manual 2 of 3
- 3. User manual 3 of 3
- 4. User manual 3of 3
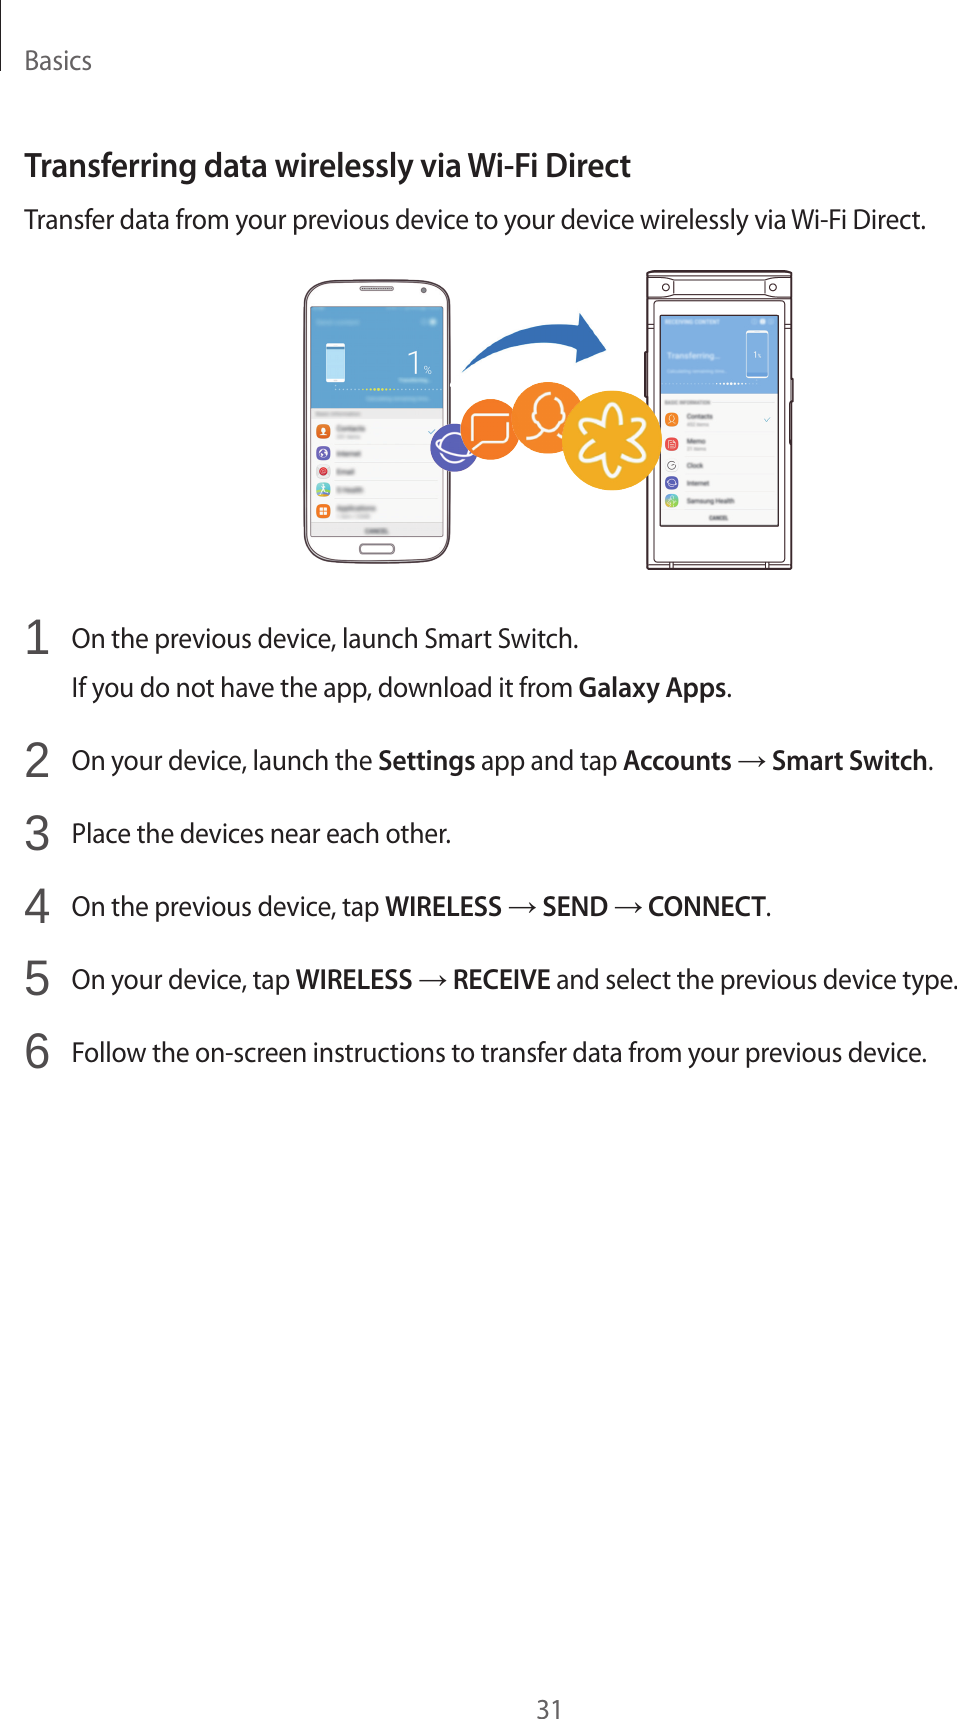
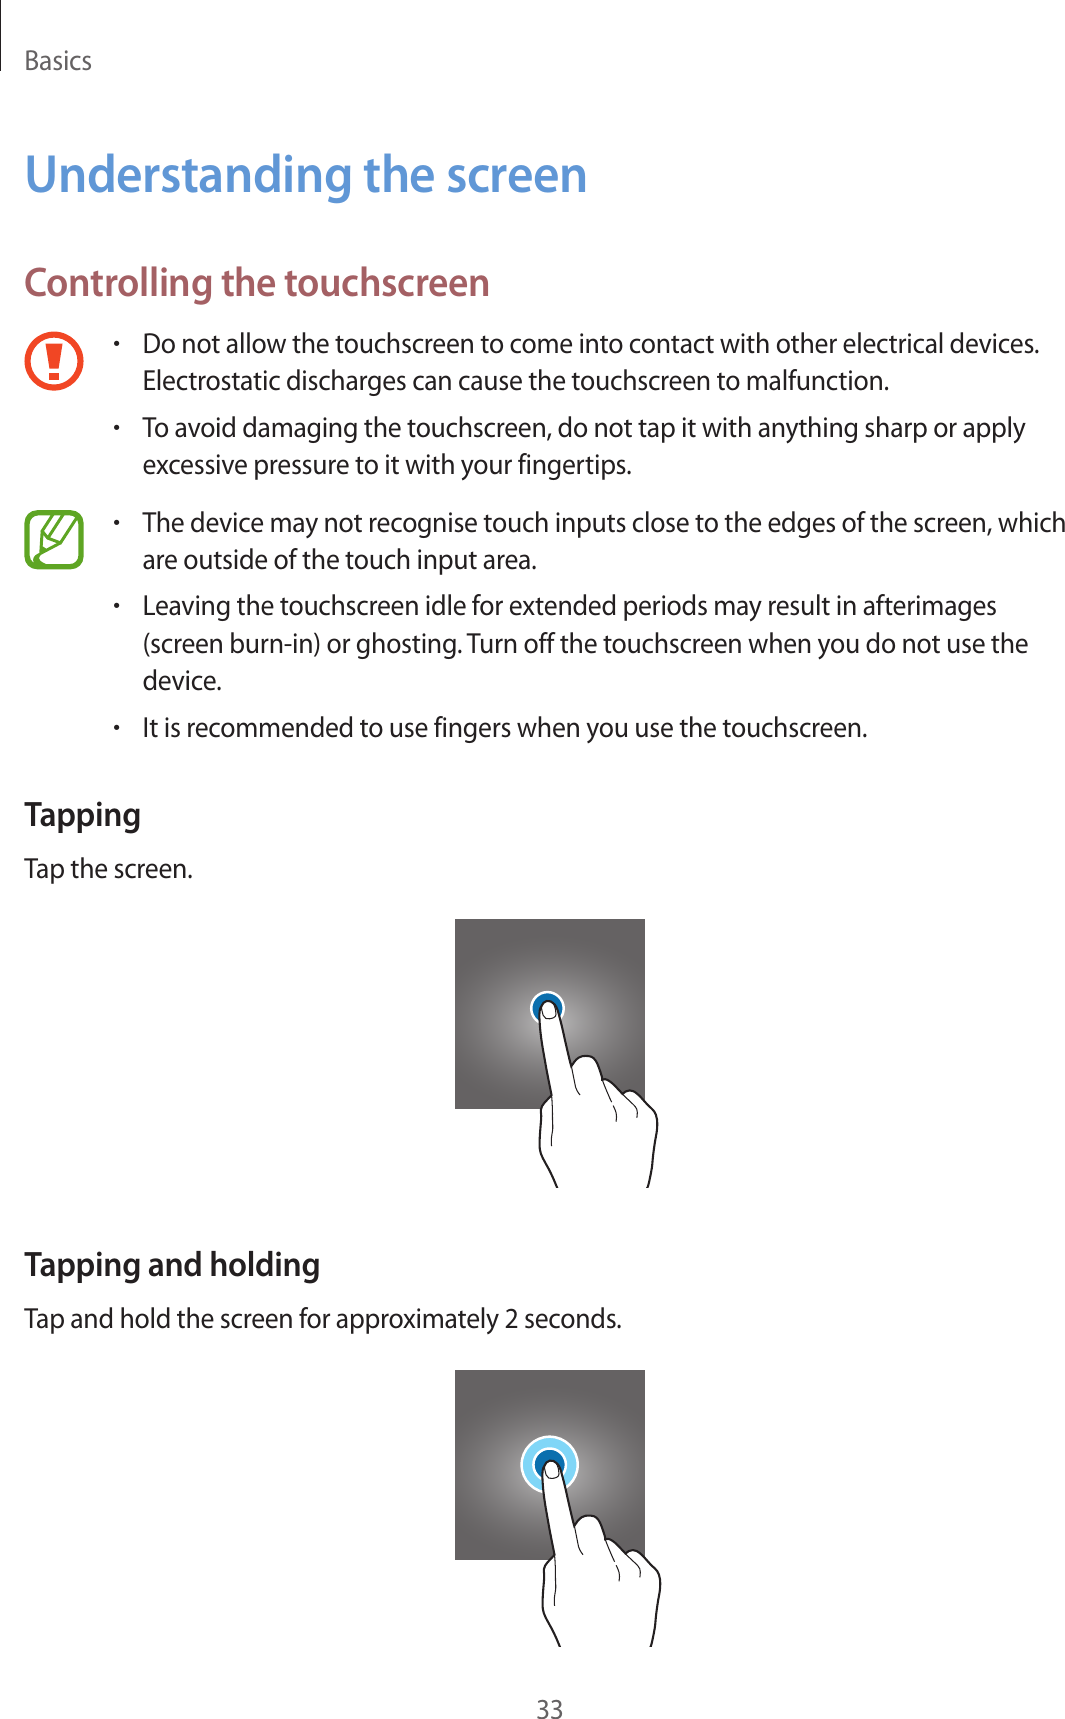
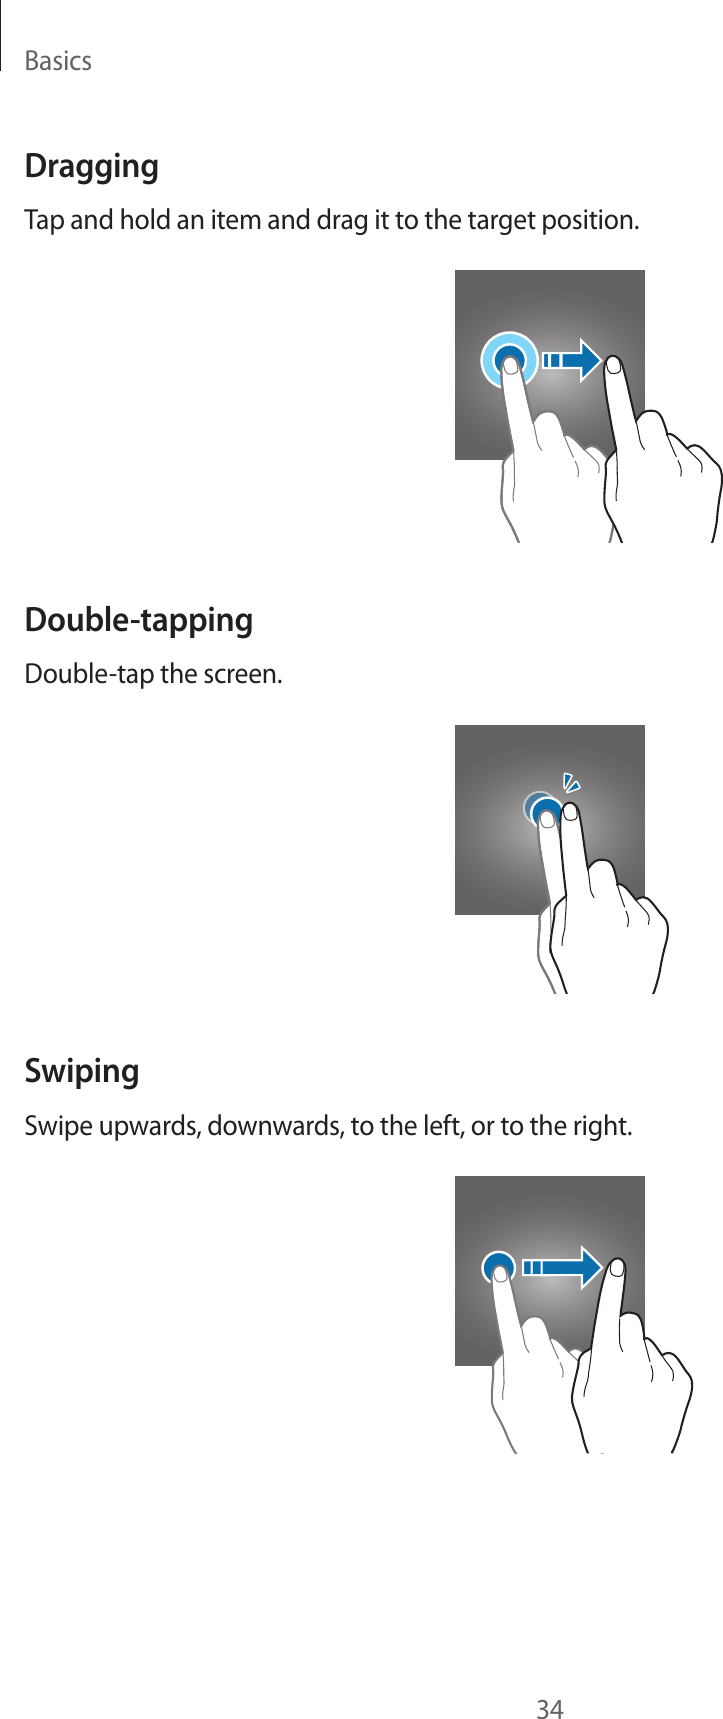
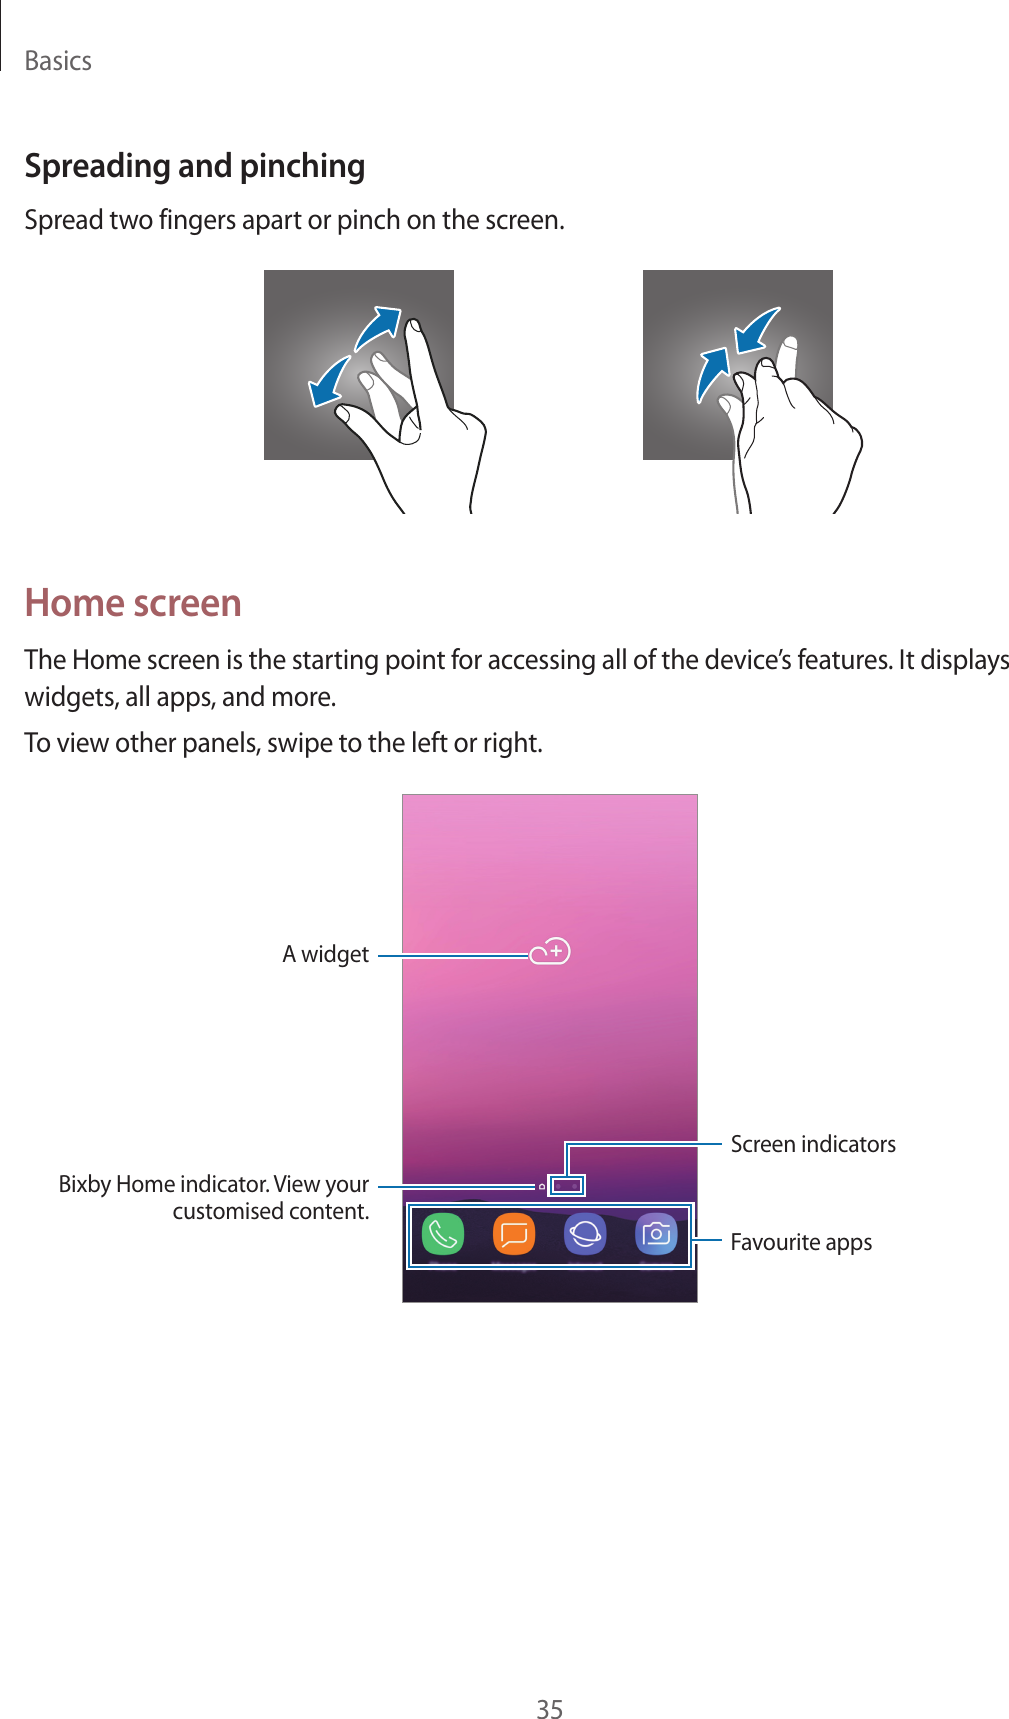
User manual 1 of 3