Samsung Electronics Co SP30 Notebook PC User Manual manual eng
Samsung Electronics Co Ltd Notebook PC manual eng
UserManual.wiki
>
Samsung Electronics Co
>
SP30 User Manual
>
Users Manual 1
Contents
1.
Users Manual 1
2.
Users Manual 2
3.
Users Manual 3
4.
Supp Reponse to CRN 231113AA3L
Users Manual 1
Navigation menu
Upload a User Manual
Namespaces
Wiki Guide
HTML
PDF
Info
Views
User Manual
Discussion / Help
Navigation
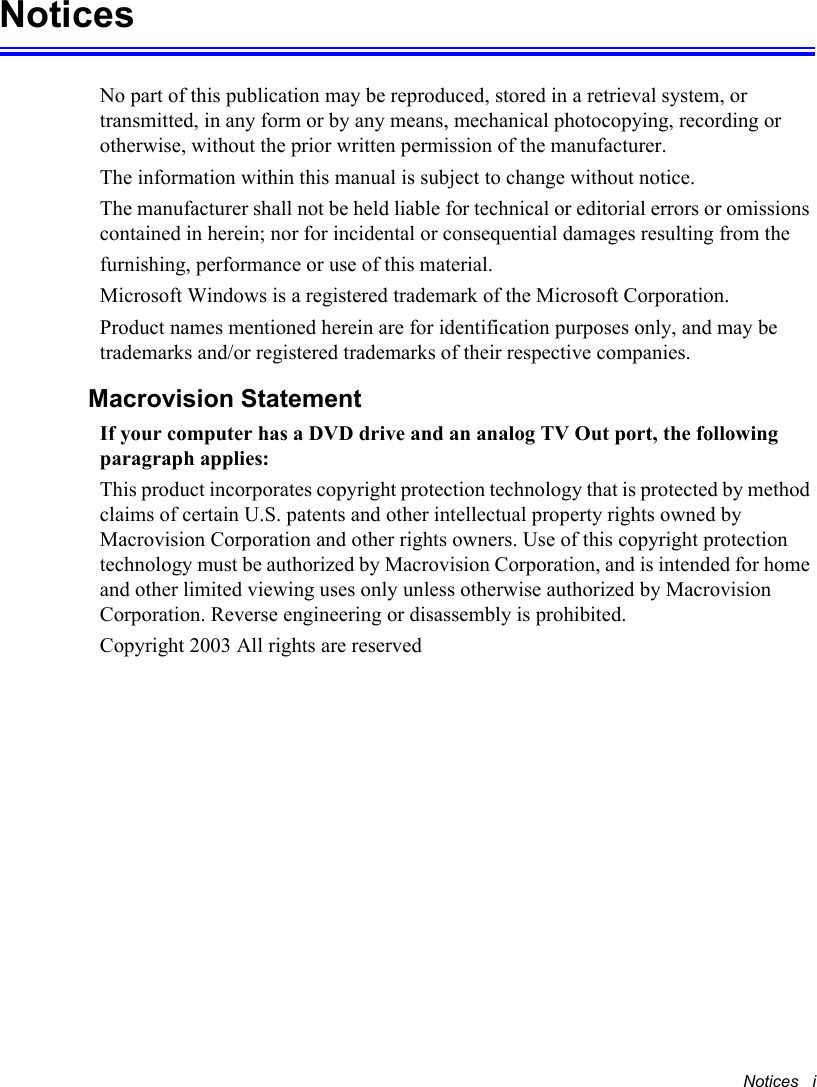

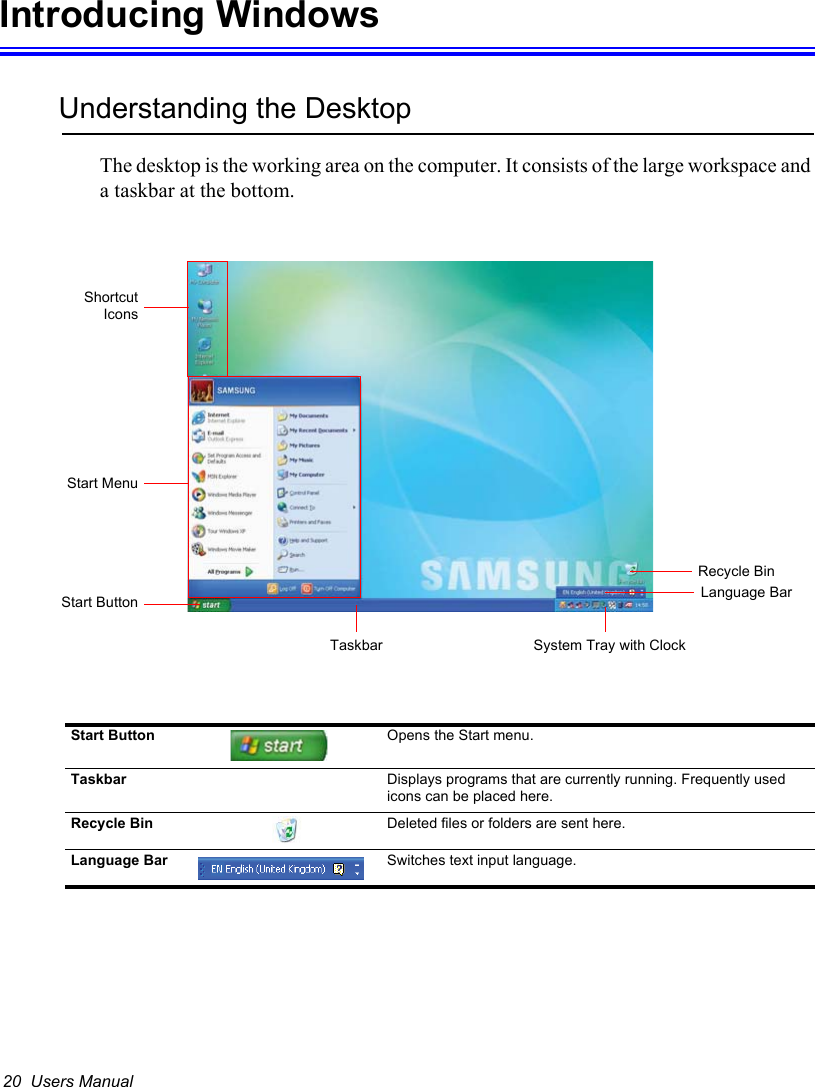
![Getting Started 7If the computer is not turned off properly due to a system error, press <Ctrl>+<Alt>+<Delete>. When [Windows Task Manager] dialog box appears, click Shut Down > Turn Off to turn off the computer. Your unsaved work may be lost/damaged.If <Ctrl>+<Alt>+<Delete> keys do not operate either, press the power button for more than 4 seconds to turn off the computer. Your unsaved work may be lost/damaged. When you turn on the computer next time, it will perform a disk checking process.](https://usermanual.wiki/Samsung-Electronics-Co/SP30.Users-Manual-1/User-Guide-373767-Page-20.png)

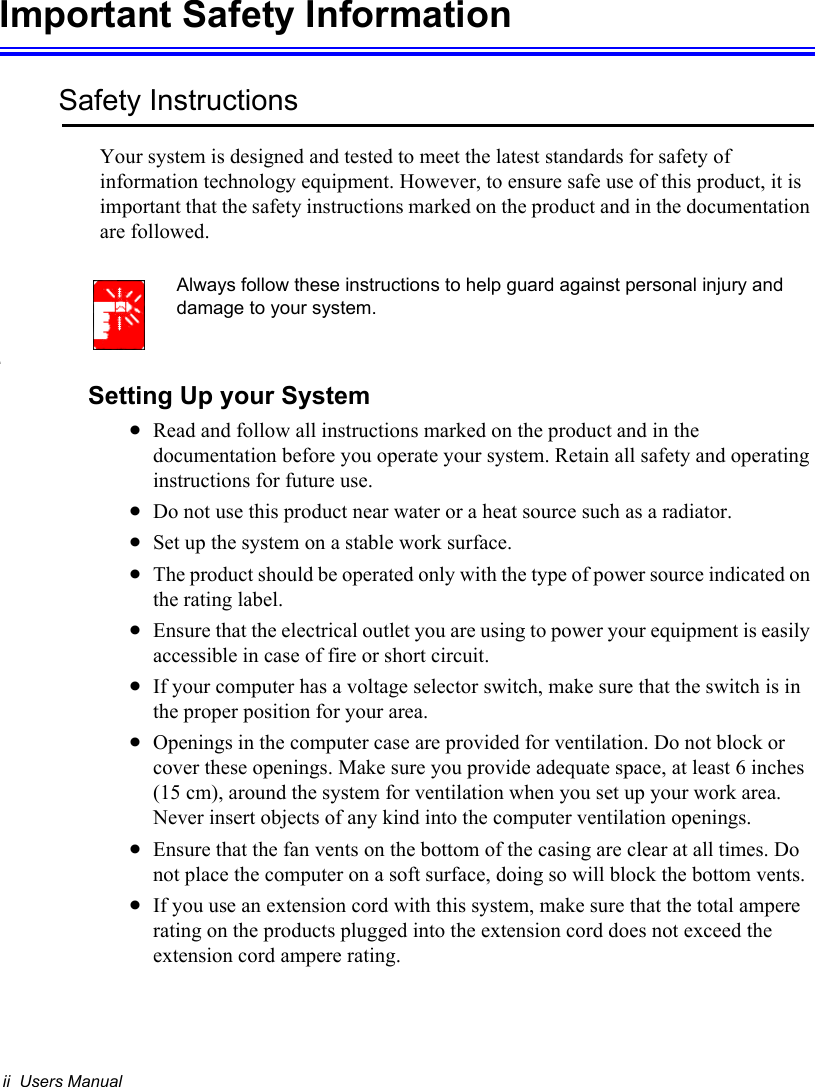
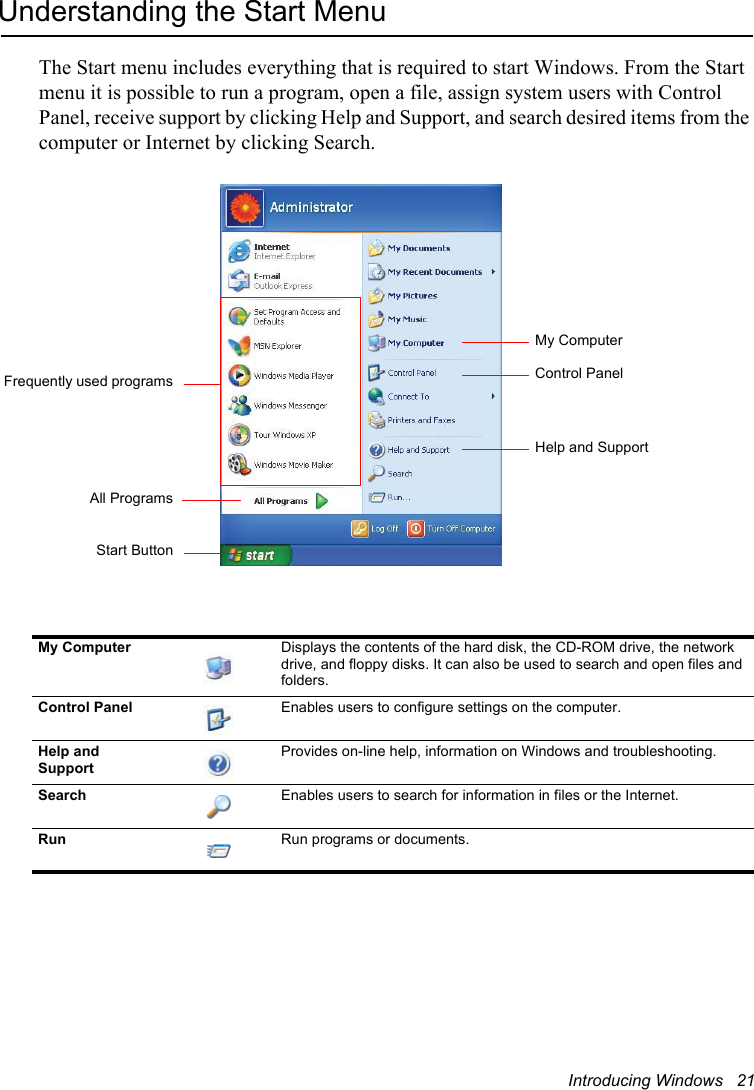
![16 Users ManualChanging the Hot Key SettingFollowing example shows how to change the setting of User 1 button.1. Double-click the Key Define Utility icon ( ) on the taskbar.2. Click Browser in the User 1 item.In the models with wireless LAN/Bluetooth installed, you cannot change the configuration of the User 2 button.3. Select the desired program in [Open] dialog box, and click Open. (Example: Paint)4. Click OK on [Key Settings] dialog box to save the changes.](https://usermanual.wiki/Samsung-Electronics-Co/SP30.Users-Manual-1/User-Guide-373767-Page-29.png)
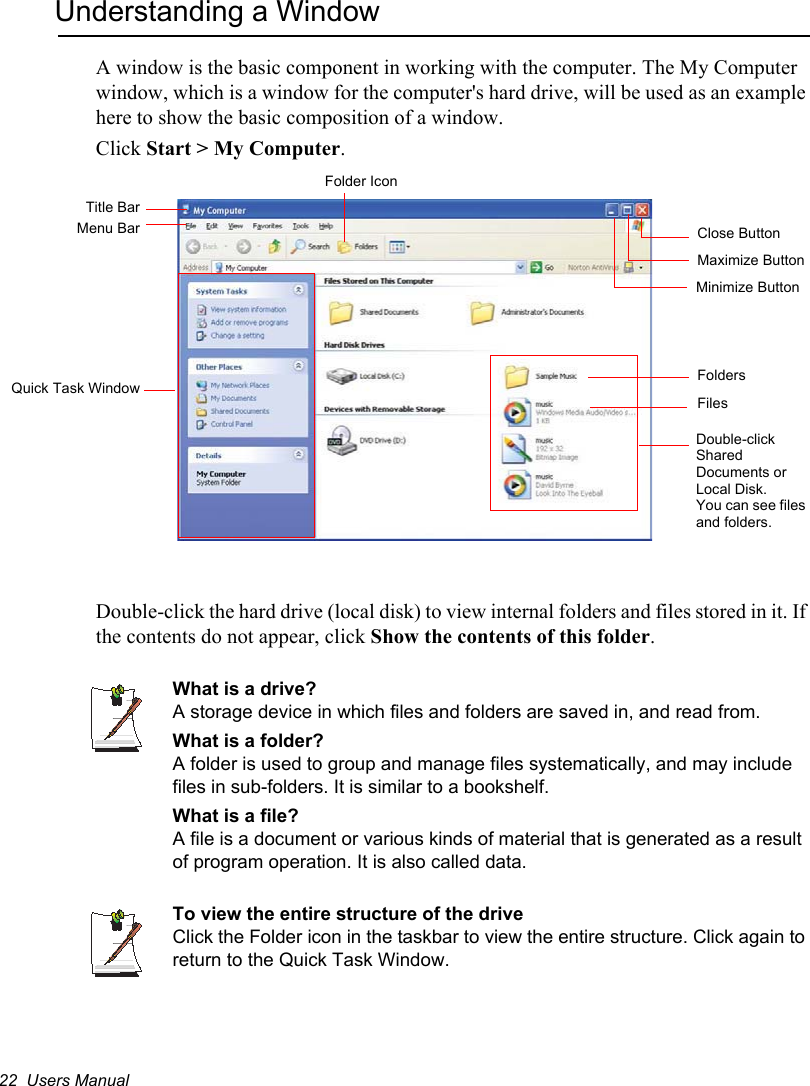
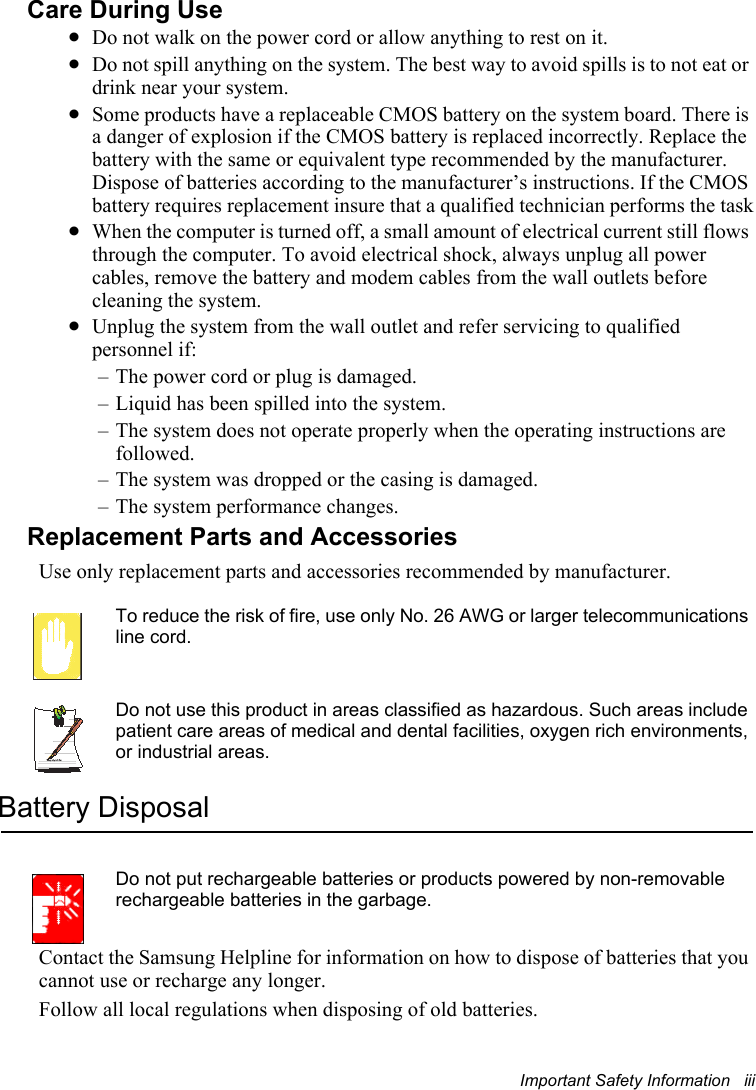
![26 Users ManualTo use the Windows Media PlayerThe Windows Media Player allows you to play audio and video files from the computer or the Internet.To launch the Windows Media Player, click Start > All Programs > Accessories > Entertainment > Windows Media Player.To play a video CDIf a video CD does not run automatically, follow these steps.1. Insert a video CD into the CD drive.2. When the CD drive window appears, double-click the MPEGAV folder.3. Double-click the .dat file.4. When the [Caution] dialog box appears, click Open With.5. Select “Select the program from a list” and click OK.6. Select the Windows Media Player, and click OK. The video starts playing.Above procedure applies only to the video CDs that have a .dat file as the execution file. Playing procedure may be different according to video CDs.FeaturesPlayback Control AreaPlaylist](https://usermanual.wiki/Samsung-Electronics-Co/SP30.Users-Manual-1/User-Guide-373767-Page-39.png)
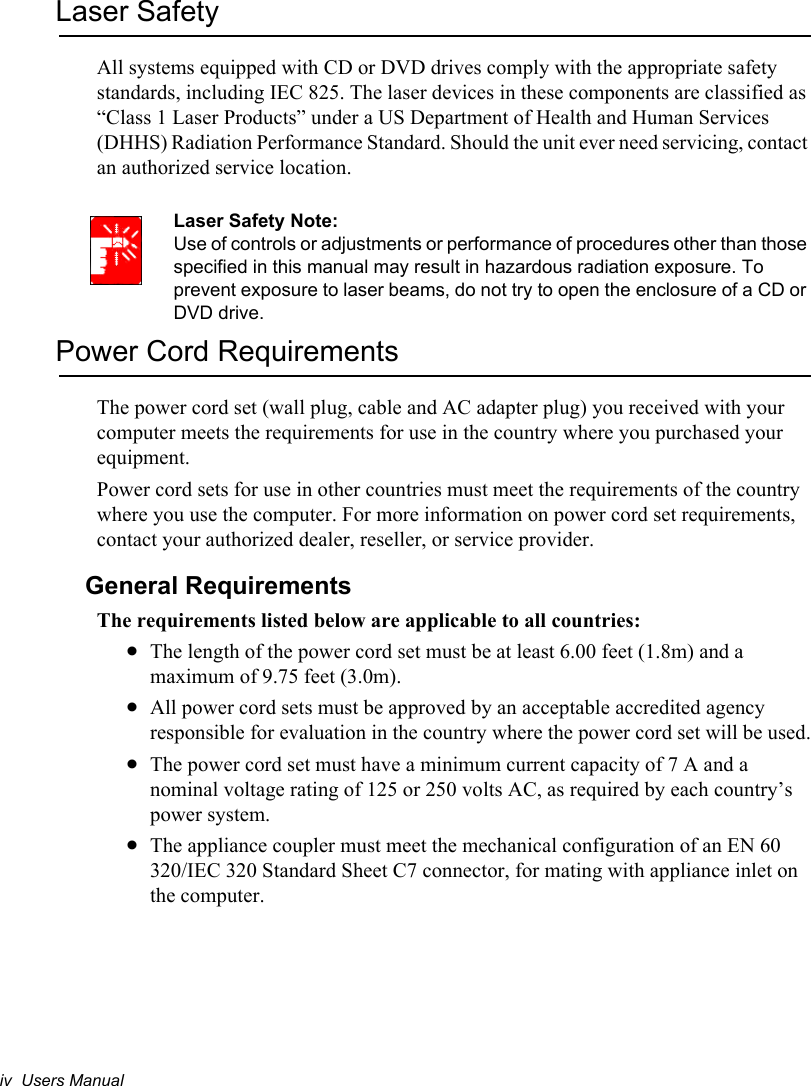
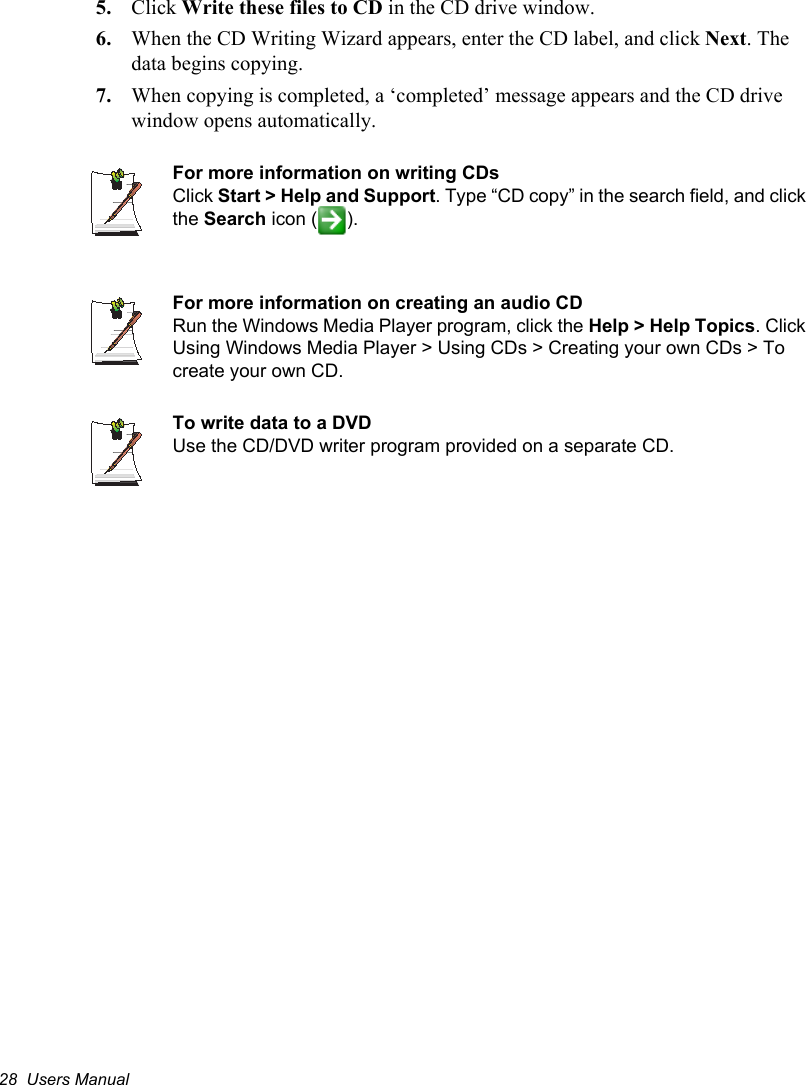
![Using the Computer 27To write data on a CD (Option)If your computer has CD-RW functionality, you can copy data to a blank CD or create an audio CD.An additional CD writing program is supplied in an additional CD. For information about use, refer to the supplied manual.You cannot write to a CD that already has data in it.1. Insert a blank CD into the CD drive.2. On the [CD Drive] dialog box, select Open Writable CD Folder and click OK.The CD drive window appears.3. Click Start > My Computer.4. In My Computer window, select files and folders to copy, then drag and drop them onto the CD drive window. My Computer window5. Click Write these files to CD.CD drive window4. Drag and drop folders or files to copy.](https://usermanual.wiki/Samsung-Electronics-Co/SP30.Users-Manual-1/User-Guide-373767-Page-40.png)
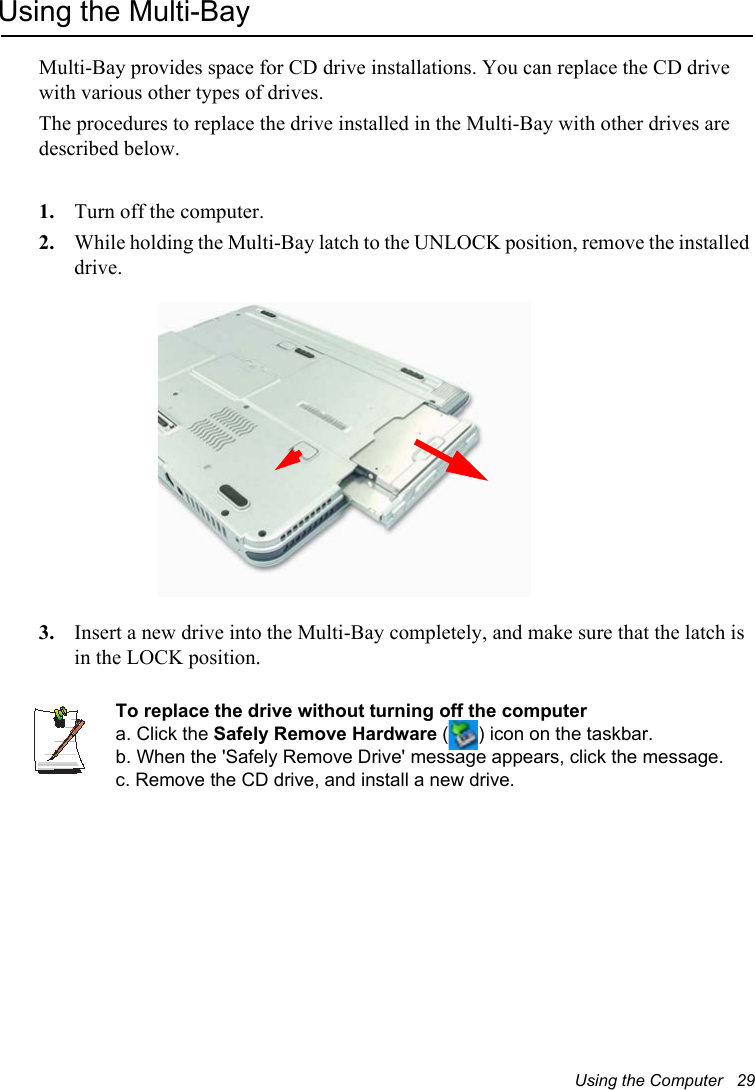
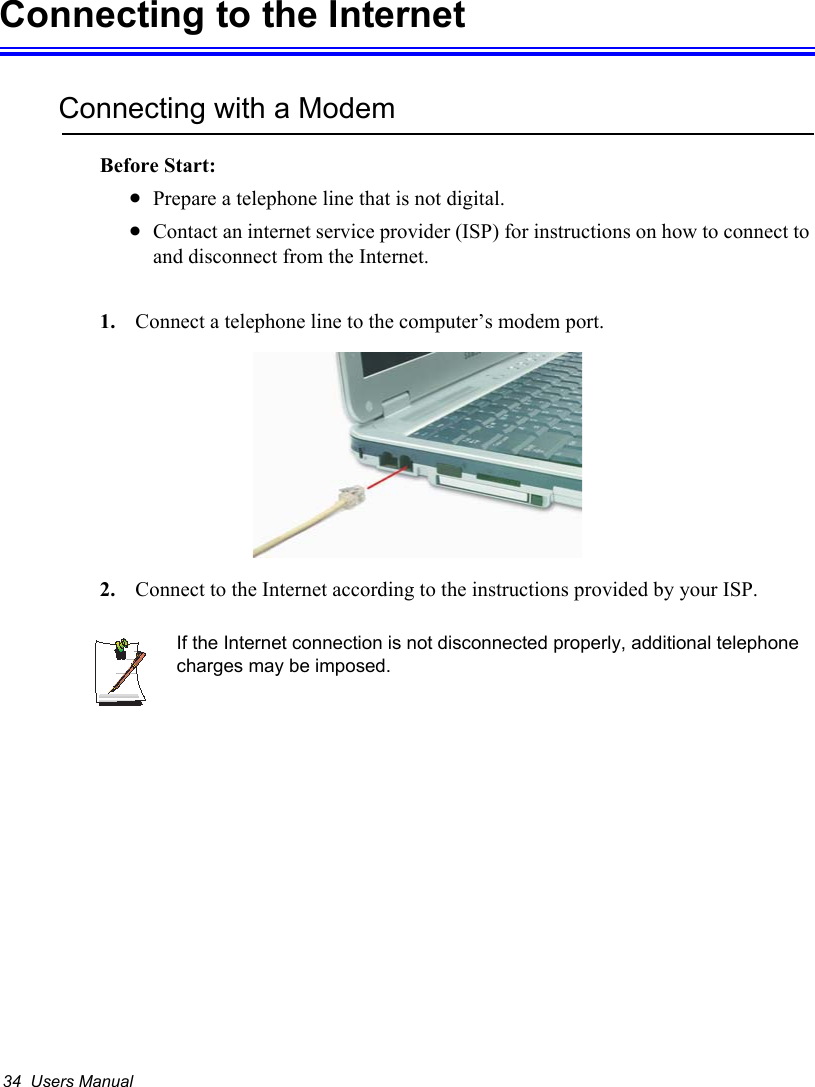
![30 Users ManualUsing the PCMCIA Card SlotVarious different functions can be added by inserting PCMCIA cards into the system. This system supports 16/32 bit, type I or II PCMCIA card types.The PCMCIA card slot does not support a ZV card or a PCMCIA III card.To insert a PCMCIA cardBefore using the PCMCIA slot, remove the slot protector.Push the eject button of the PCMCIA card slot once to pop it out. Push the button again to eject the slot protector.1. Insert a PCMCIA card into the PCMCIA card slot on the side of the computer. 2. Windows automatically installs the necessary driver for the card. If there is no available driver found by Windows, you have to install the driver using a disk supplied with the card. To remove a PCMCIA card1. Double-click Safely Removes Hardware icon ( ) on the taskbar.2. On the [Safely Remove Hardware] dialog box, select the appropriate PCMCIA card and click Stop.3. When [Stop a Hardware Device] dialog box appears, click OK.4. Click Close to close the [Safely Remove Hardware] dialog box.5. Push eject button of the PCMCIA card slot once, then the button pops out.6. Push the button again to eject the PCMCIA card.Eject Button](https://usermanual.wiki/Samsung-Electronics-Co/SP30.Users-Manual-1/User-Guide-373767-Page-43.png)