Sanyo Electric Co SCP-4930 Tri-Mode Dual-Band Analog/ PCS Phone (AMPS/ CDMA) User Manual RL 4930 FCC GB
Sanyo Electric Co Ltd Tri-Mode Dual-Band Analog/ PCS Phone (AMPS/ CDMA) RL 4930 FCC GB
UserManual.wiki
>
Sanyo Electric Co
>
SCP 4930 User Manual
Users Manual
Navigation menu
Upload a User Manual
Namespaces
Wiki Guide
HTML
PDF
Info
Views
User Manual
Discussion / Help
Navigation


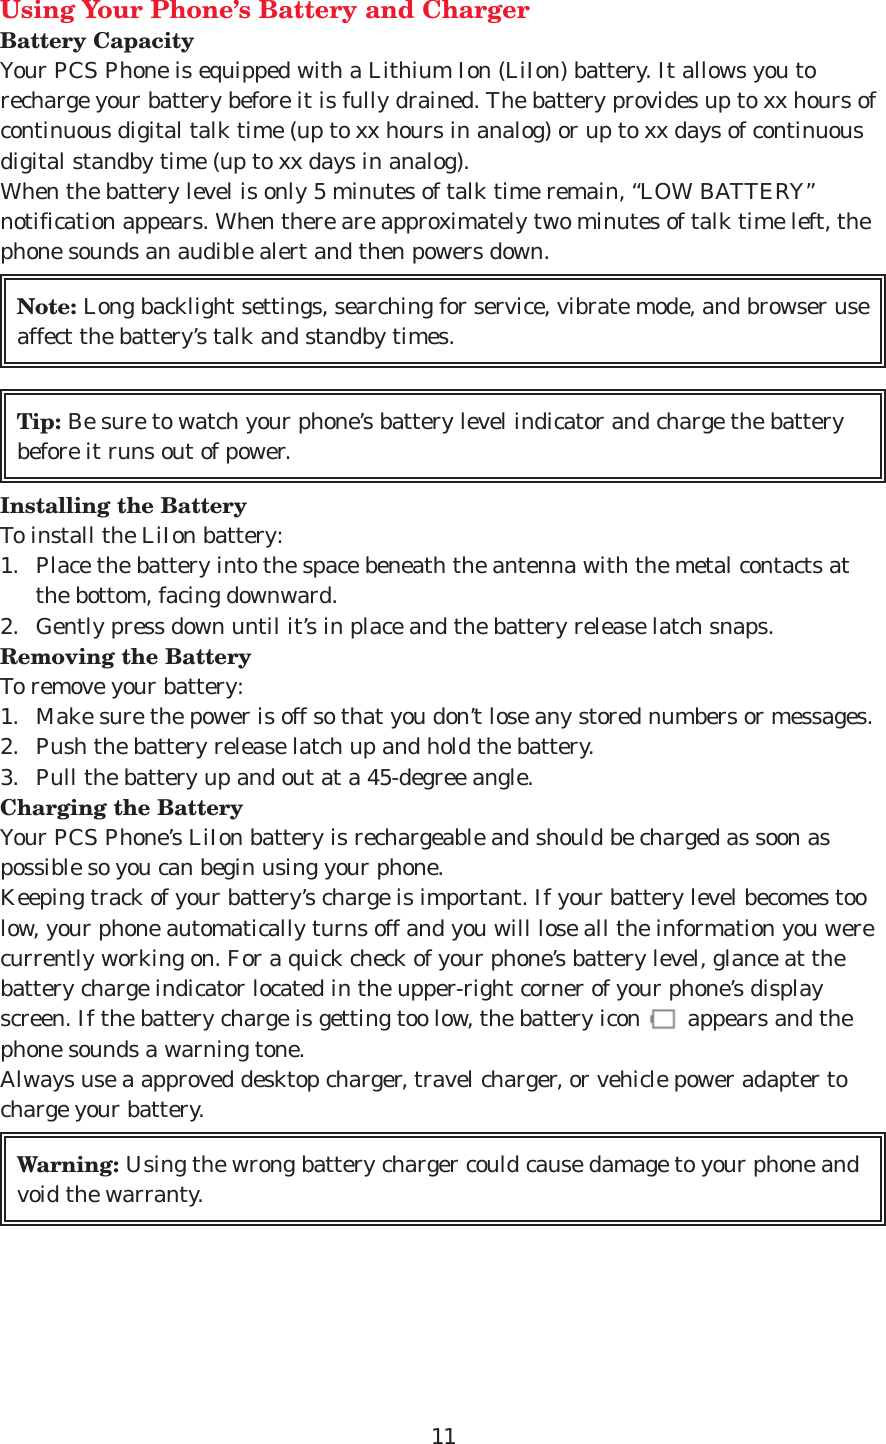
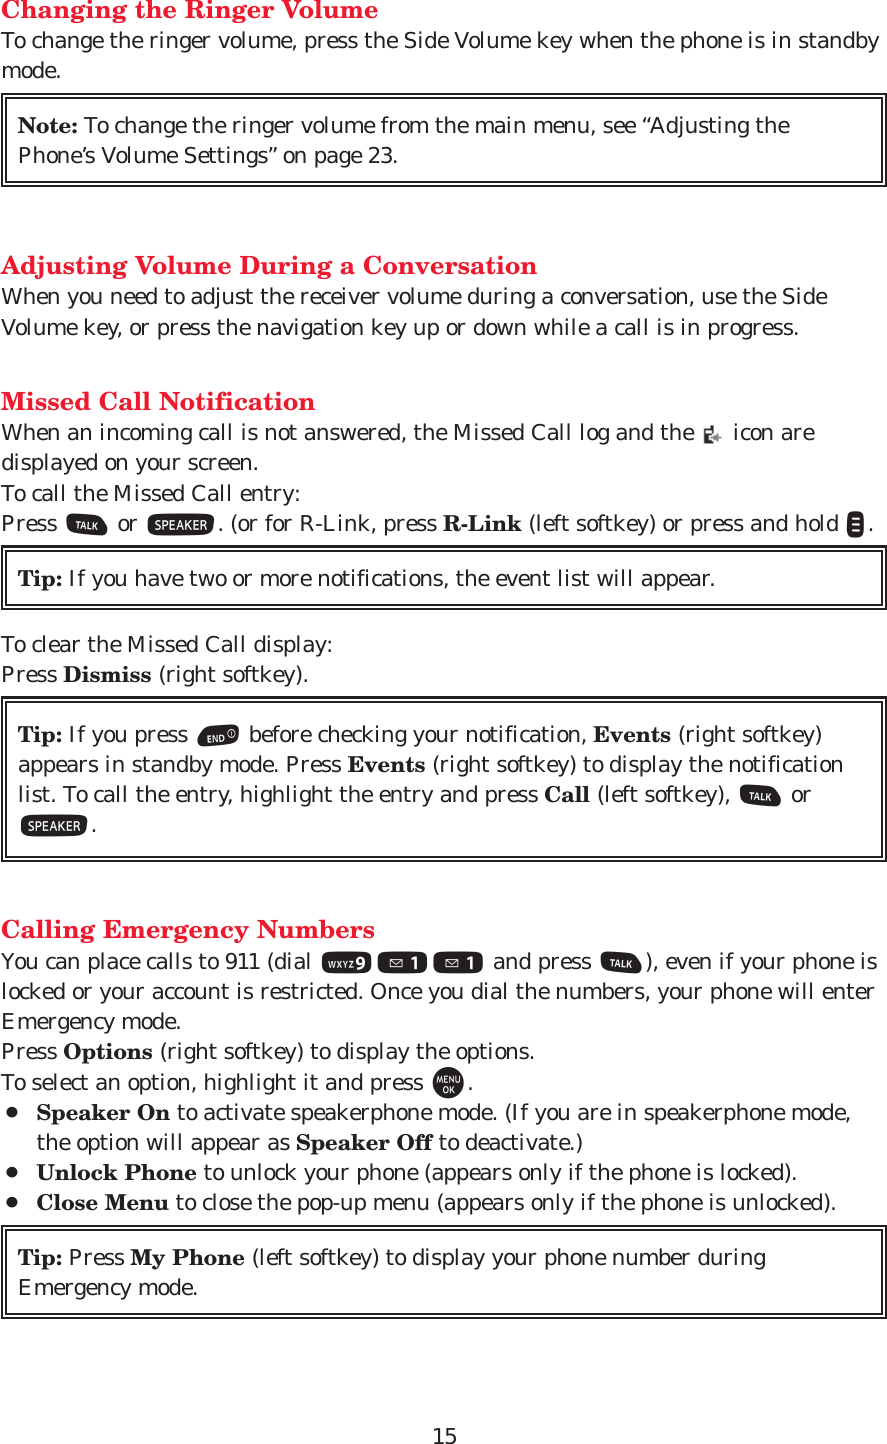


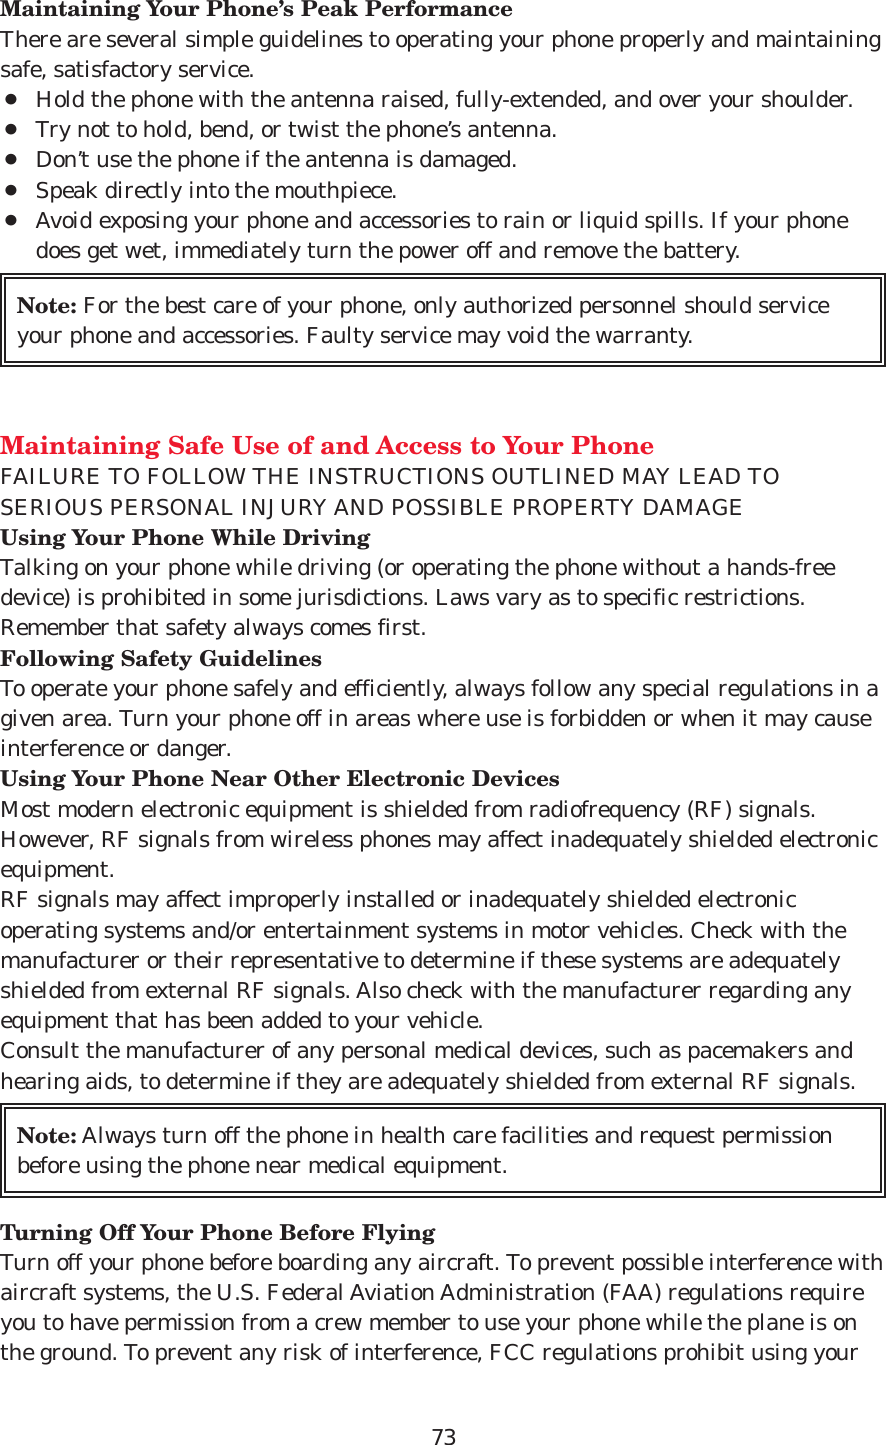
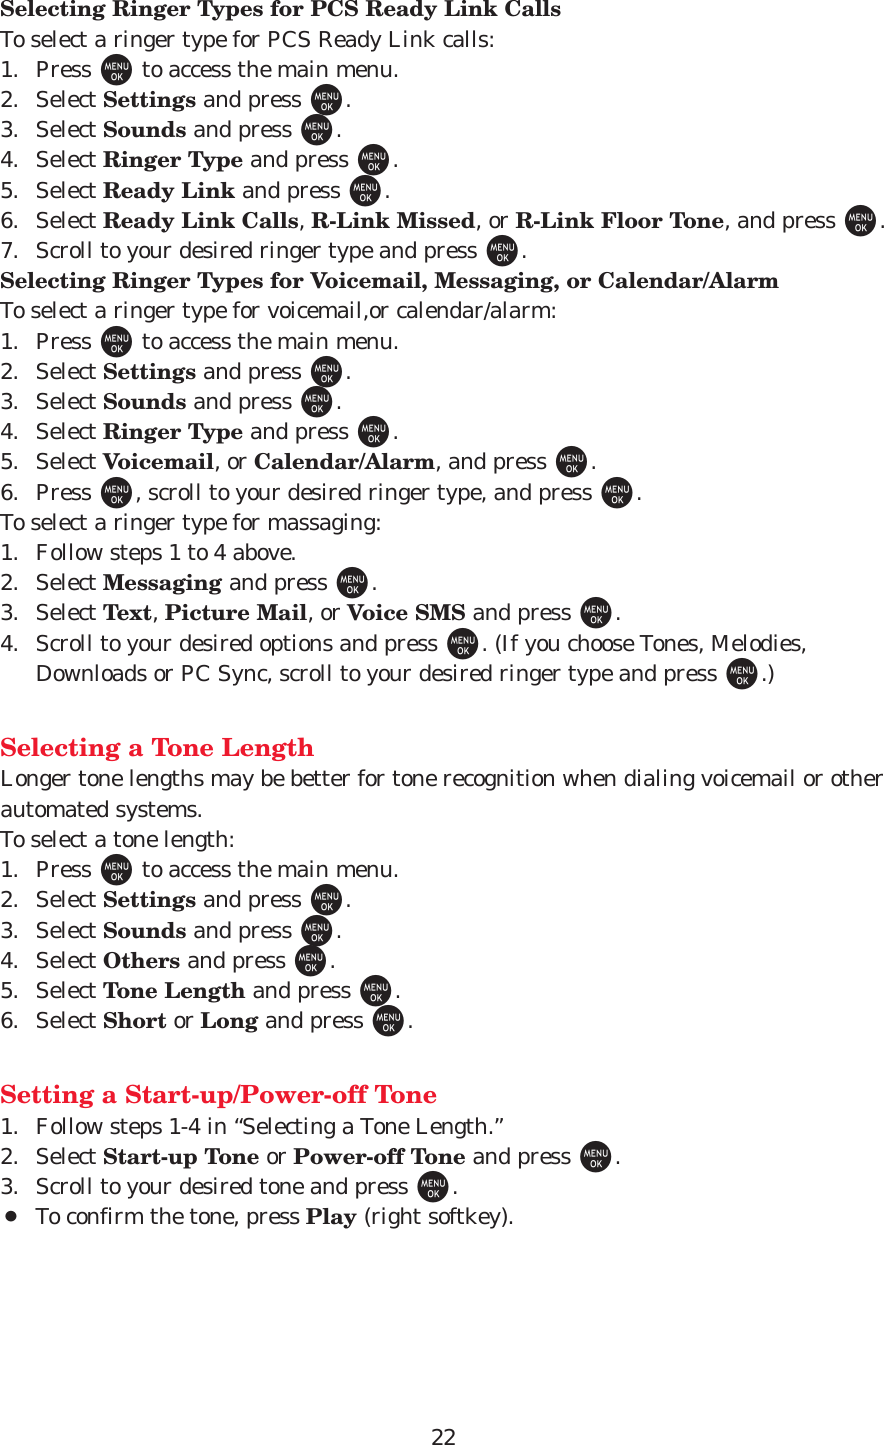
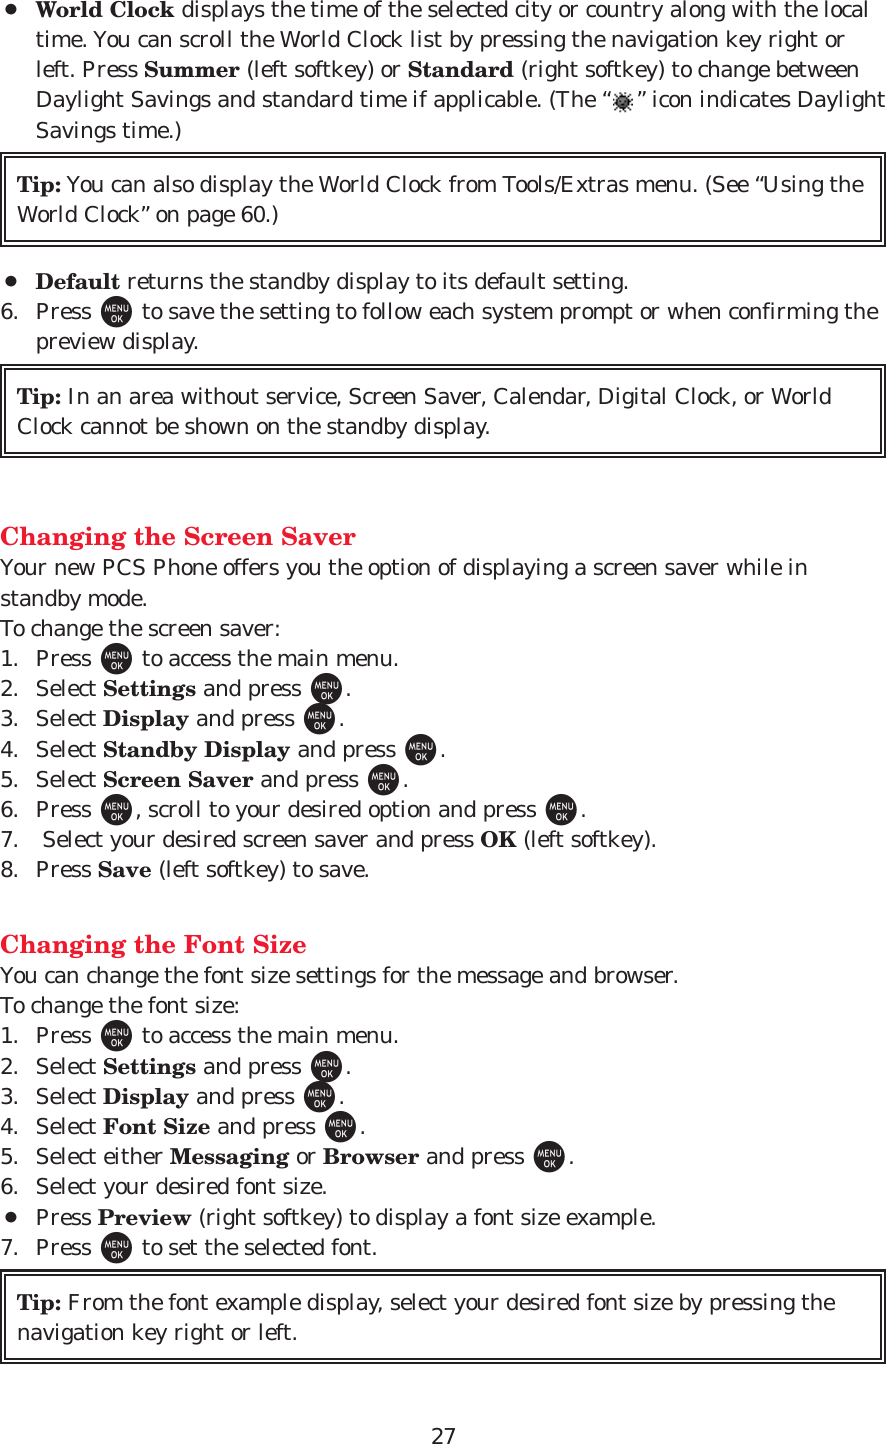
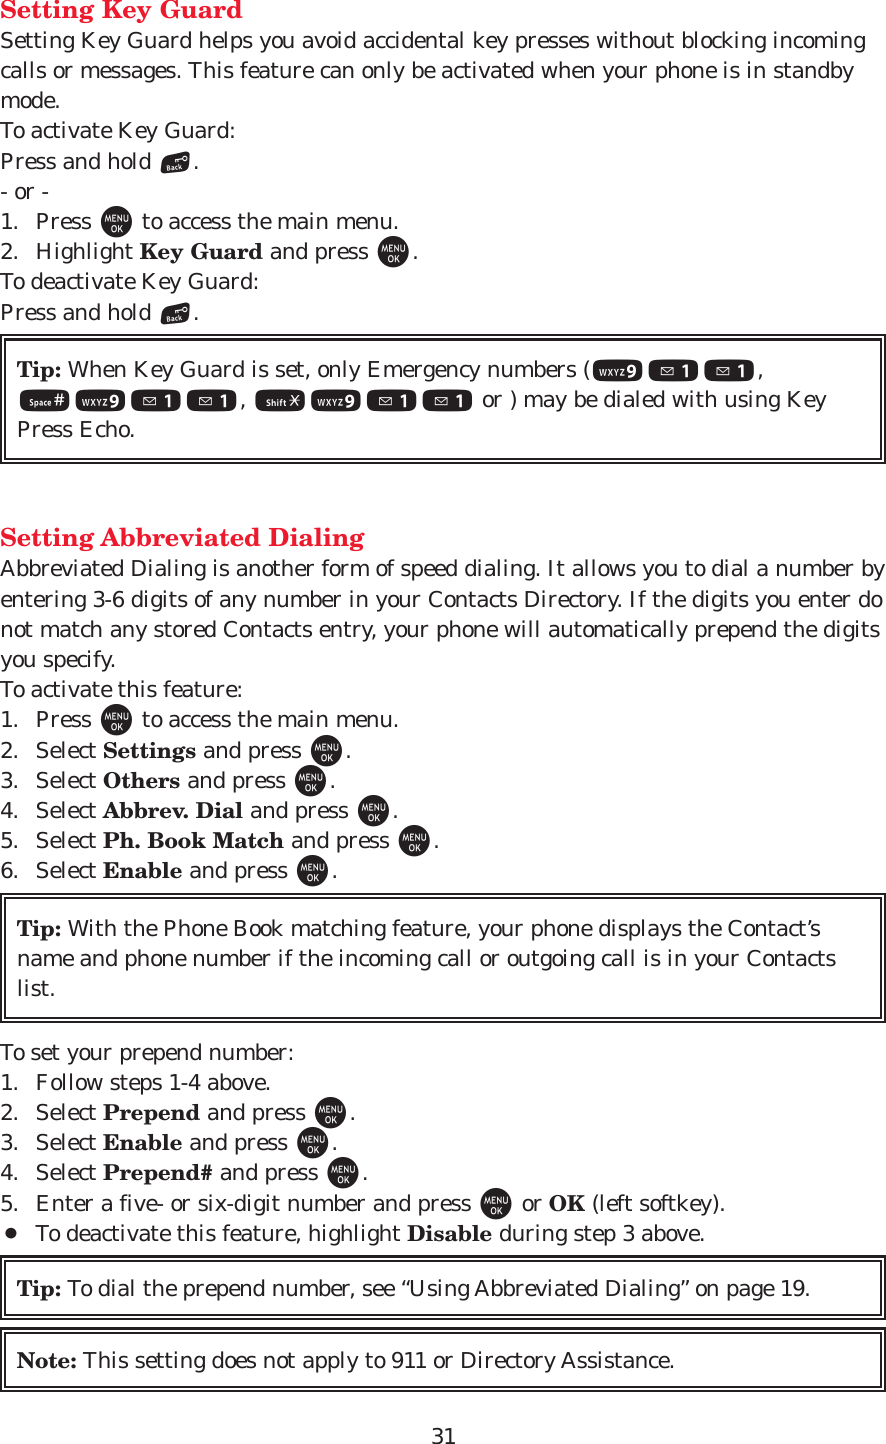
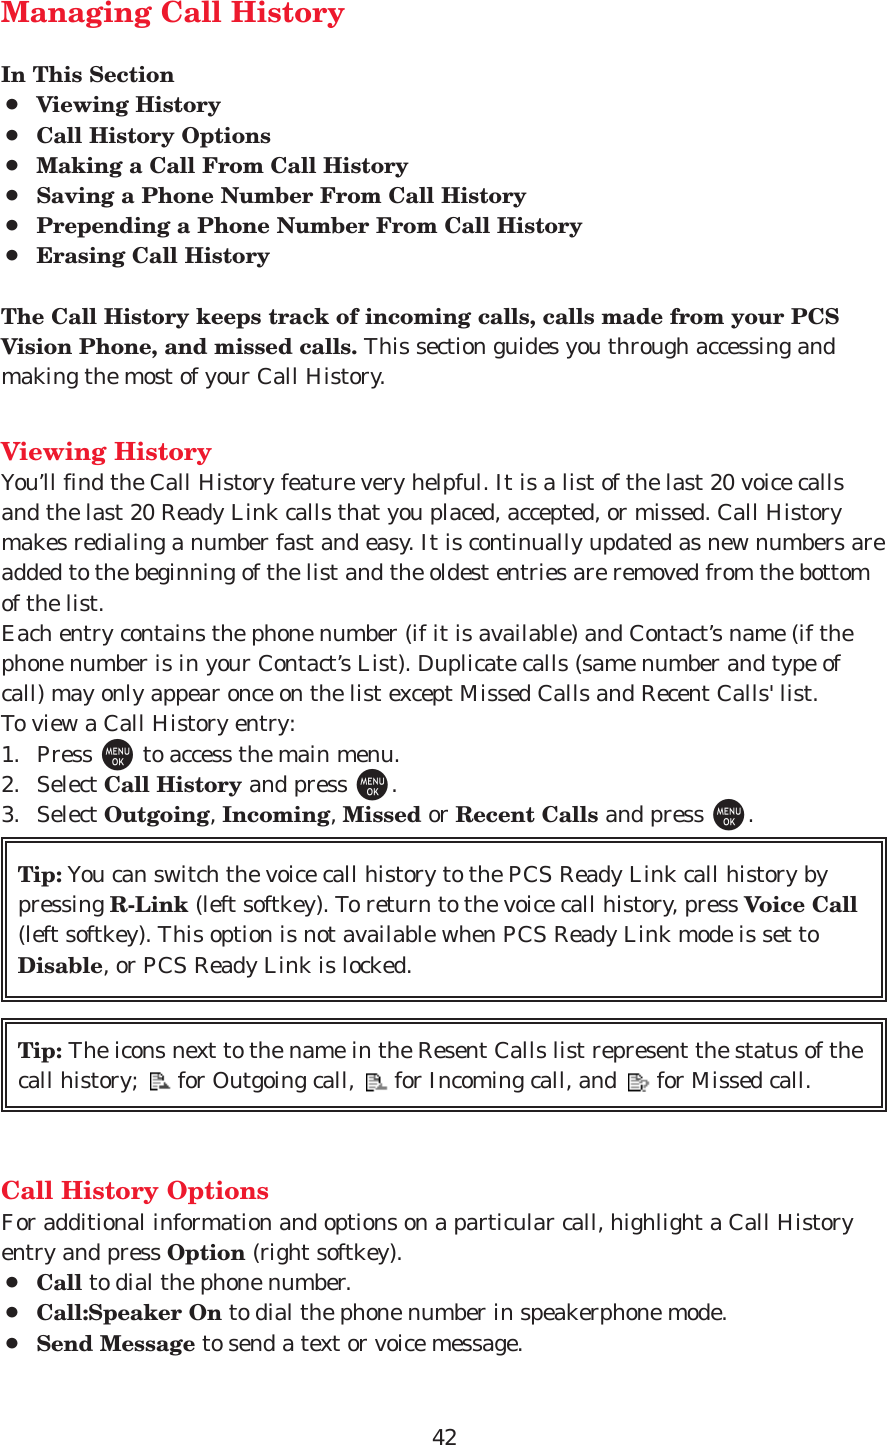
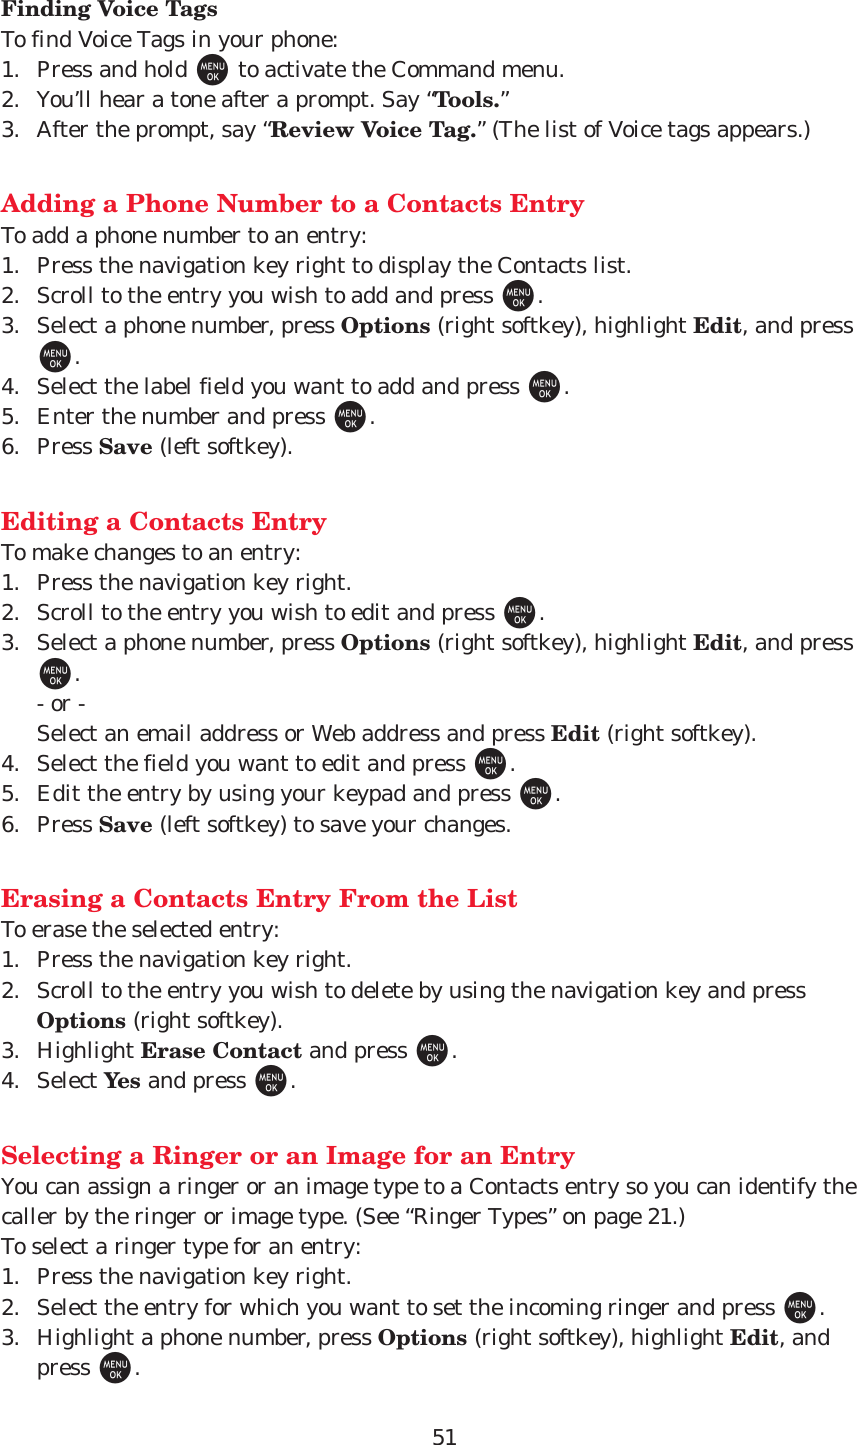
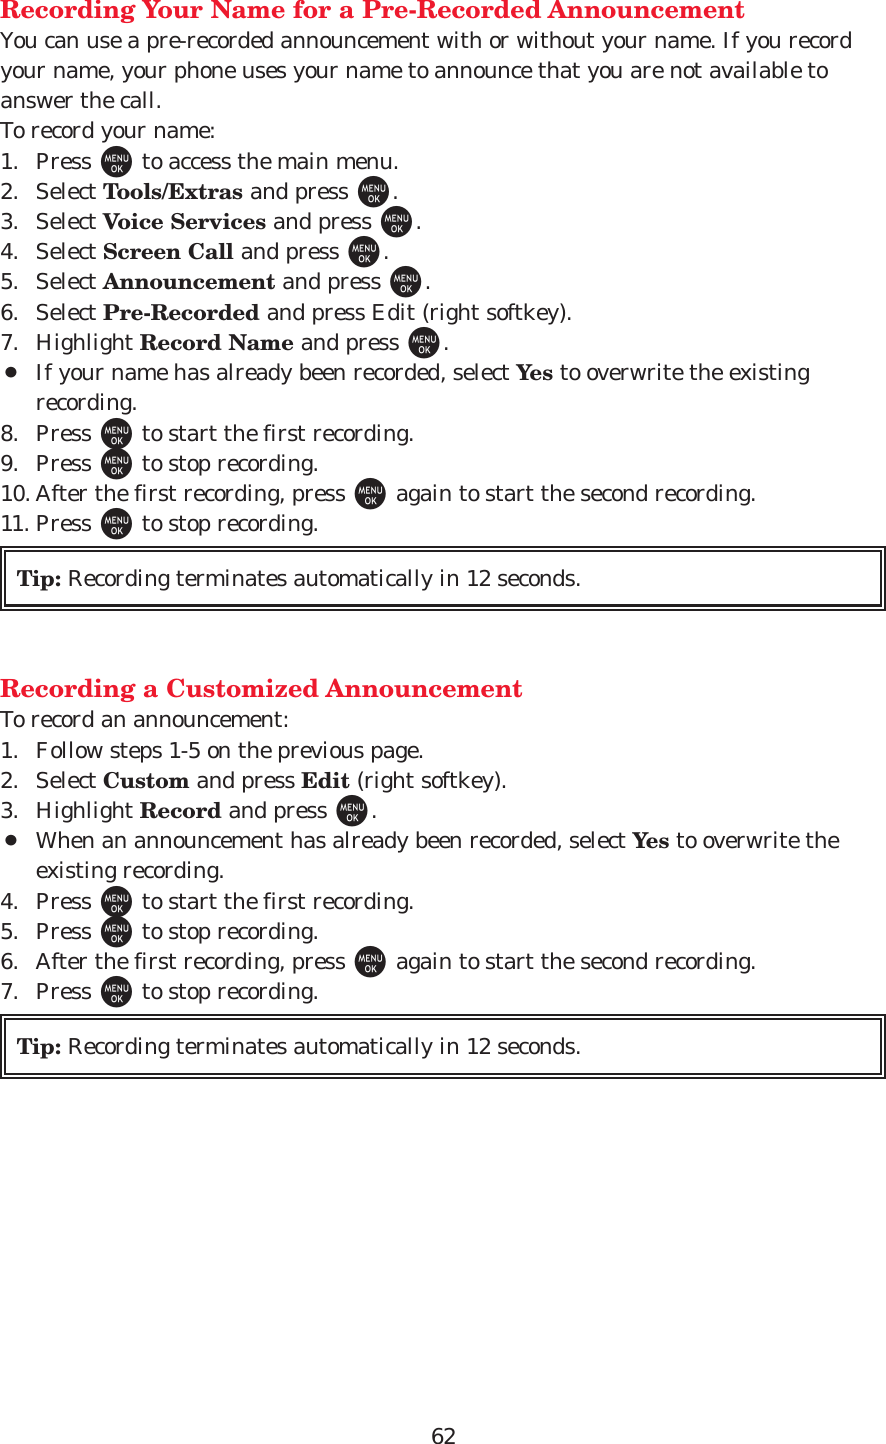
![20Using Speed DialingWith this feature, you can dial your favorite entries using one key press for locations2-9.To use speed dial for voice calls:¡From standby mode, press and hold the appropriate key for approximately twoseconds.- or -¡From standby mode, press the appropriate key and press T, Sor pressOptions [right softkey] and highlight Call or Call:Speaker On) and press M.The display confirms that the number has been dialed when it shows “Connecting...”.To use speed dial for PCS Ready Link calls:¡From standby mode, press the appropriate key and press ".The display confirms that the number has been dialed when it shows “R-Linkcalling...”.Note: Speed dialing is not available when you are roaming off the Nationwide PCSNetwork; when you are roaming, you must always dial using eleven digits (1 + areacode + number).](https://usermanual.wiki/Sanyo-Electric-Co/SCP-4930/User-Guide-585709-Page-21.png)
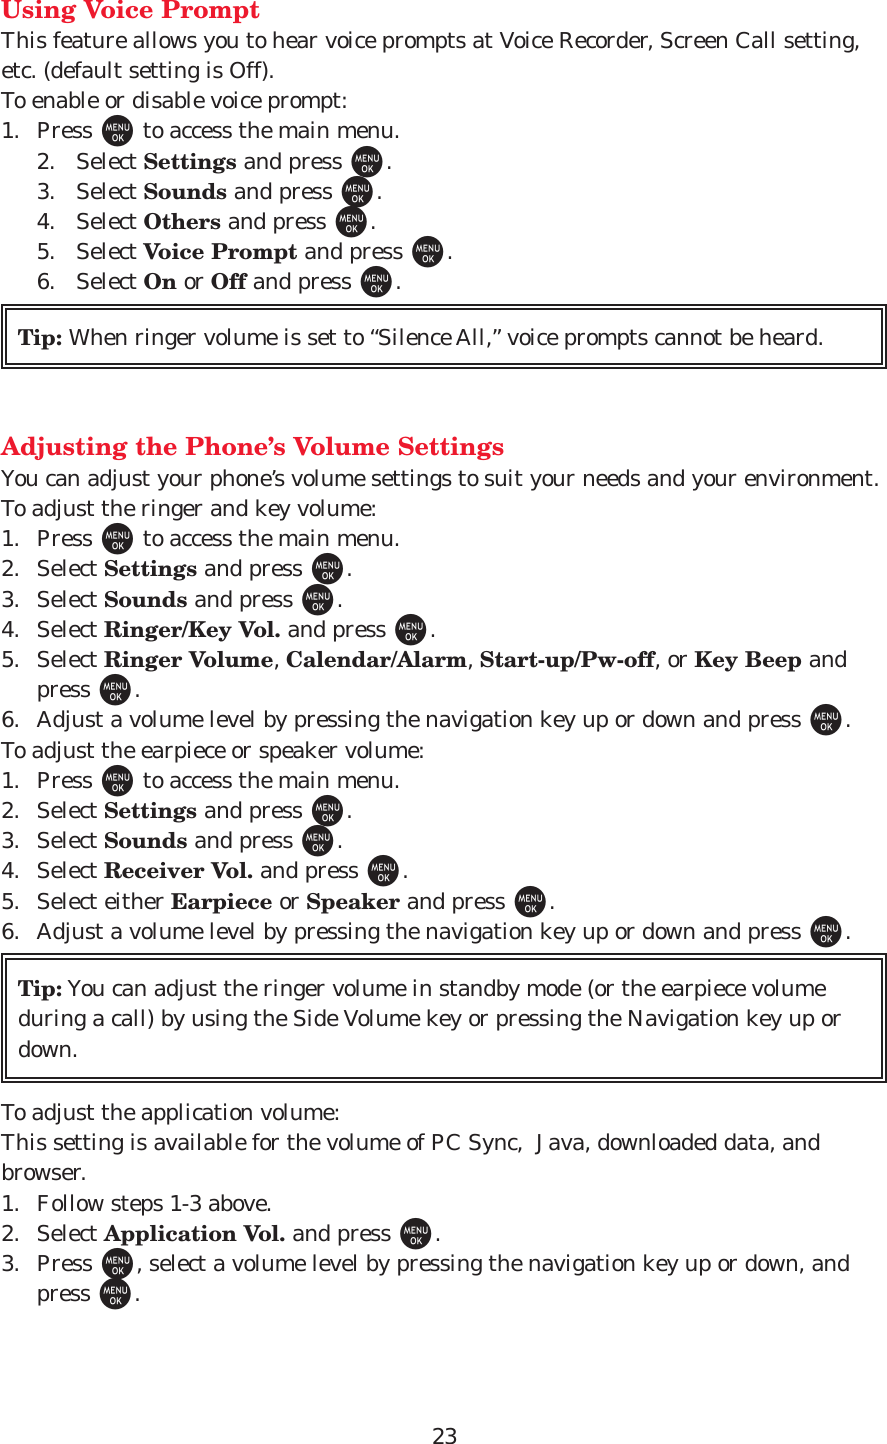


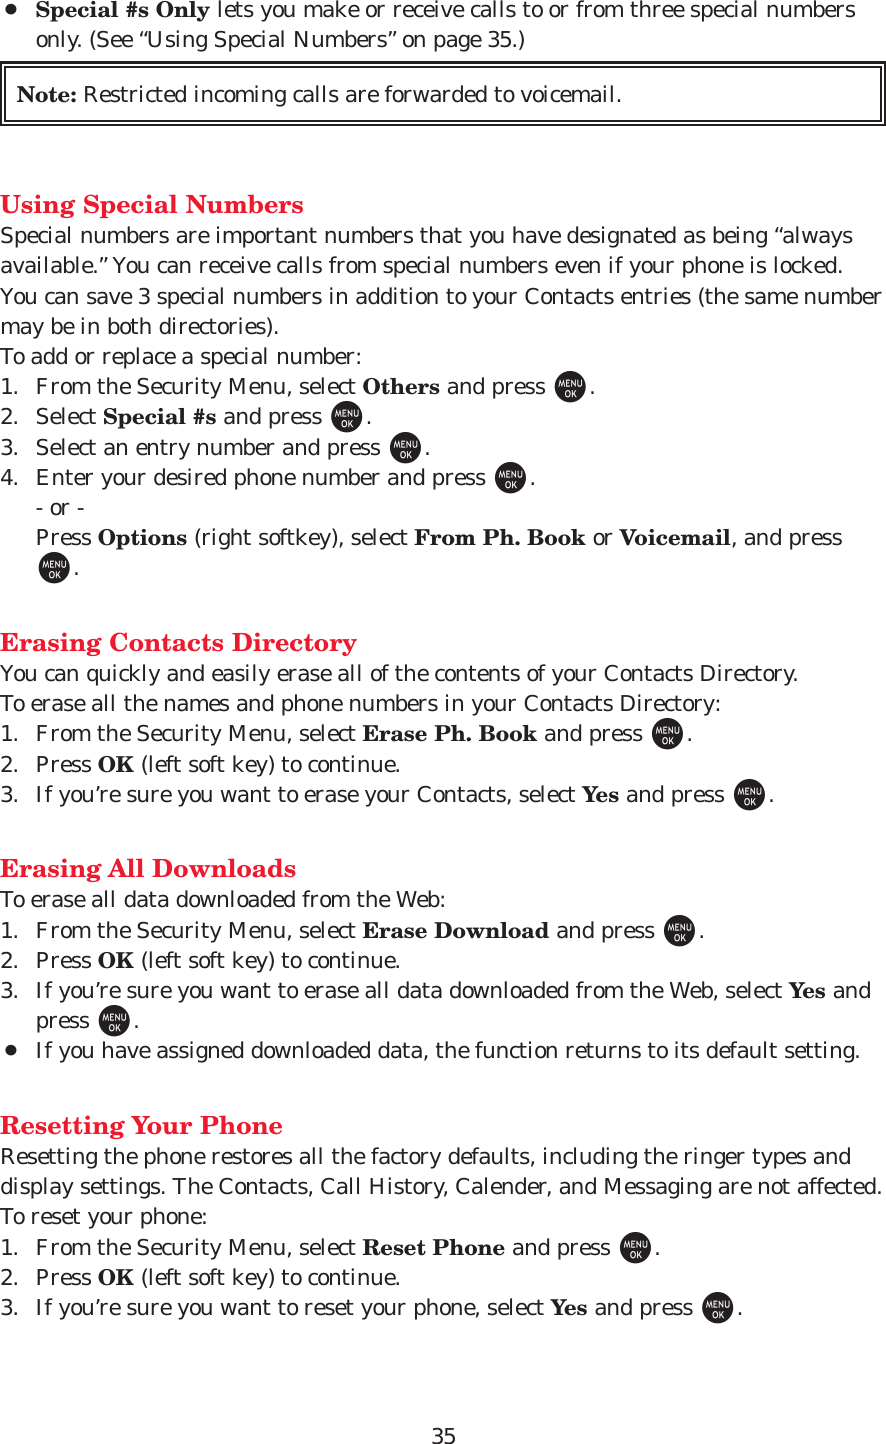

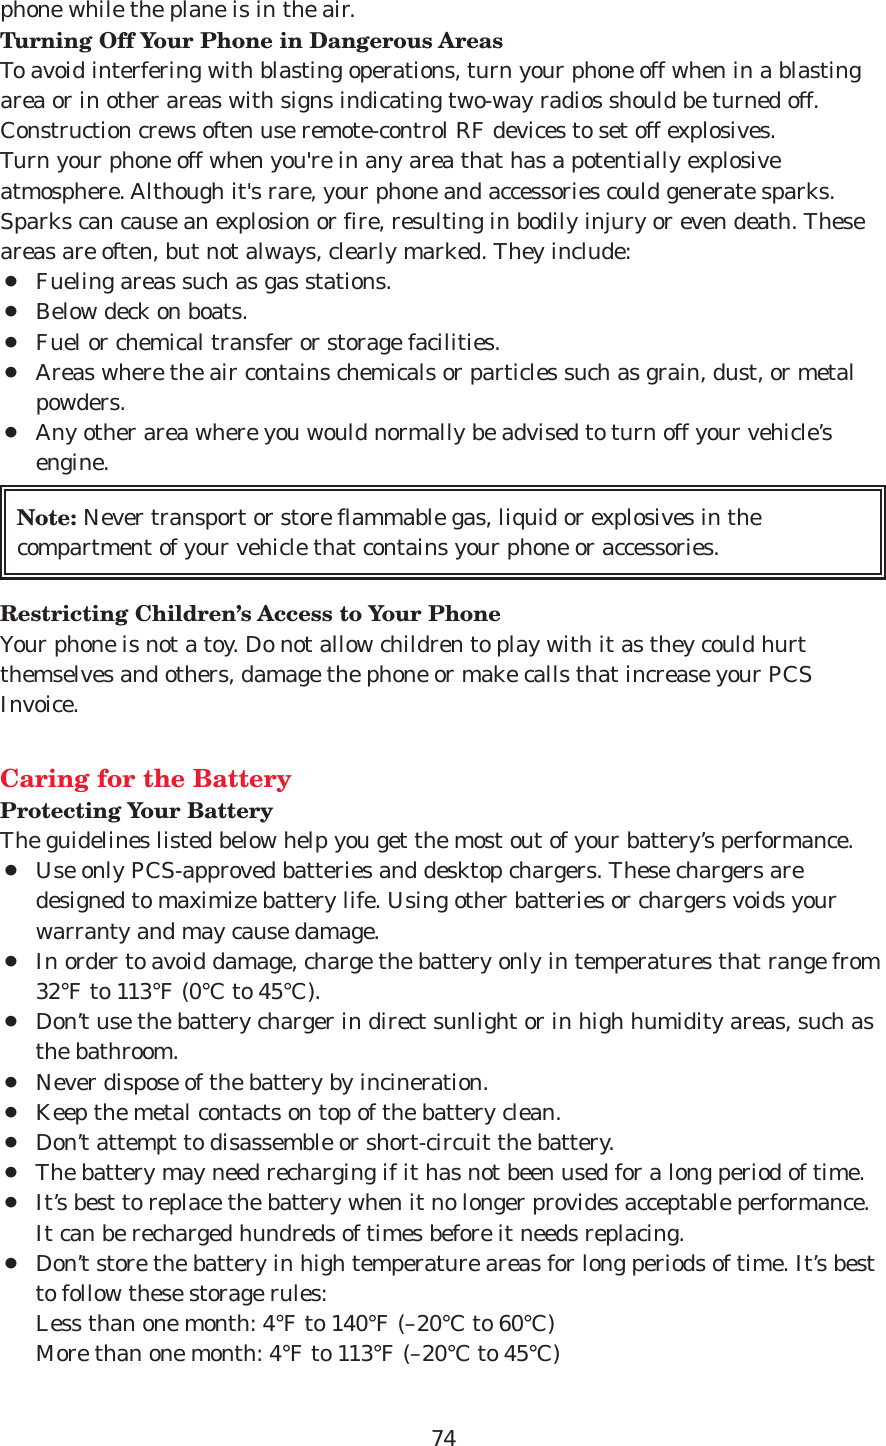
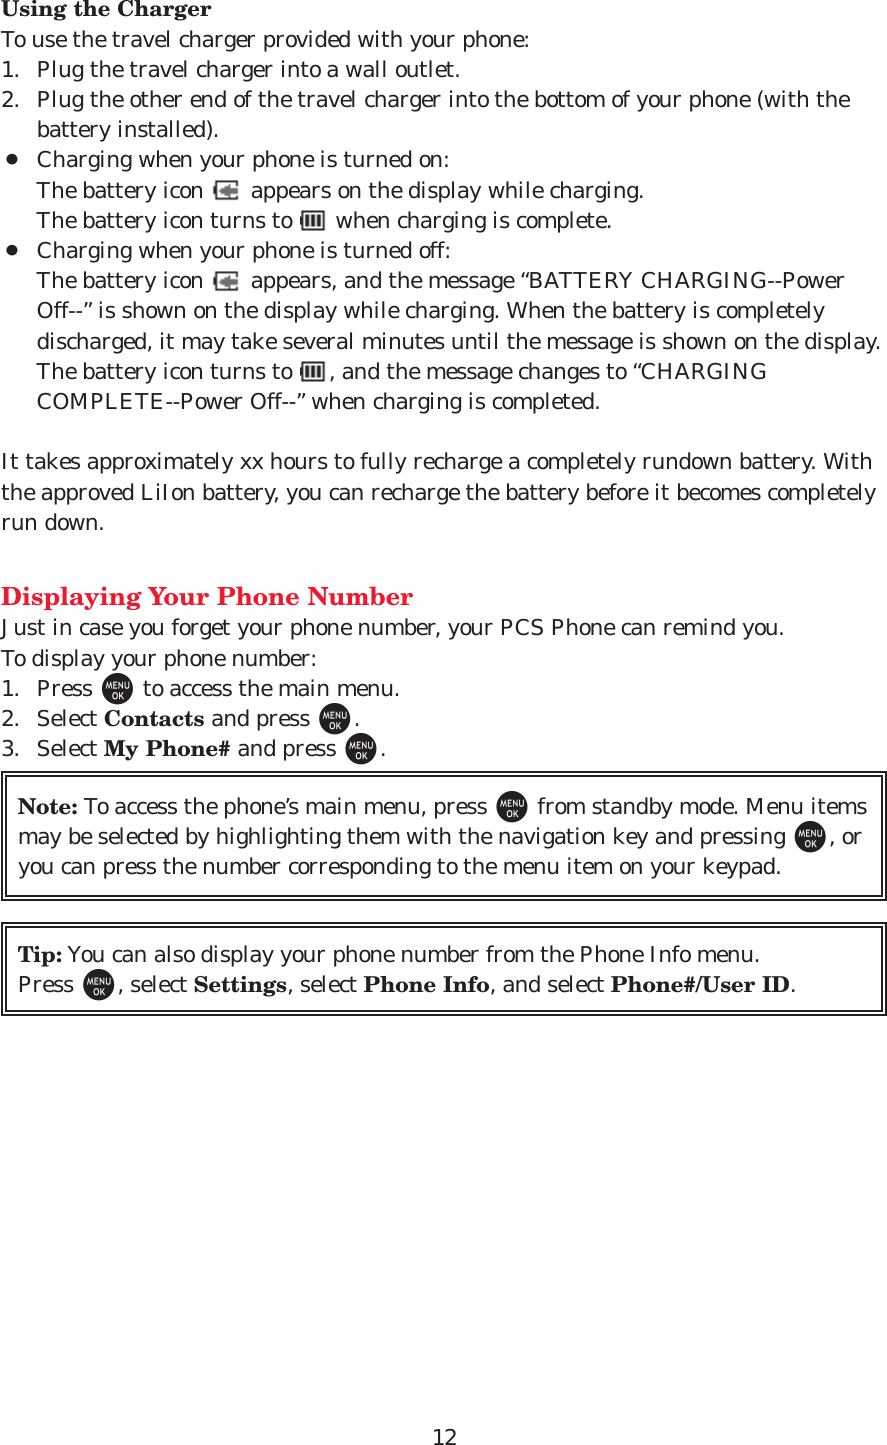
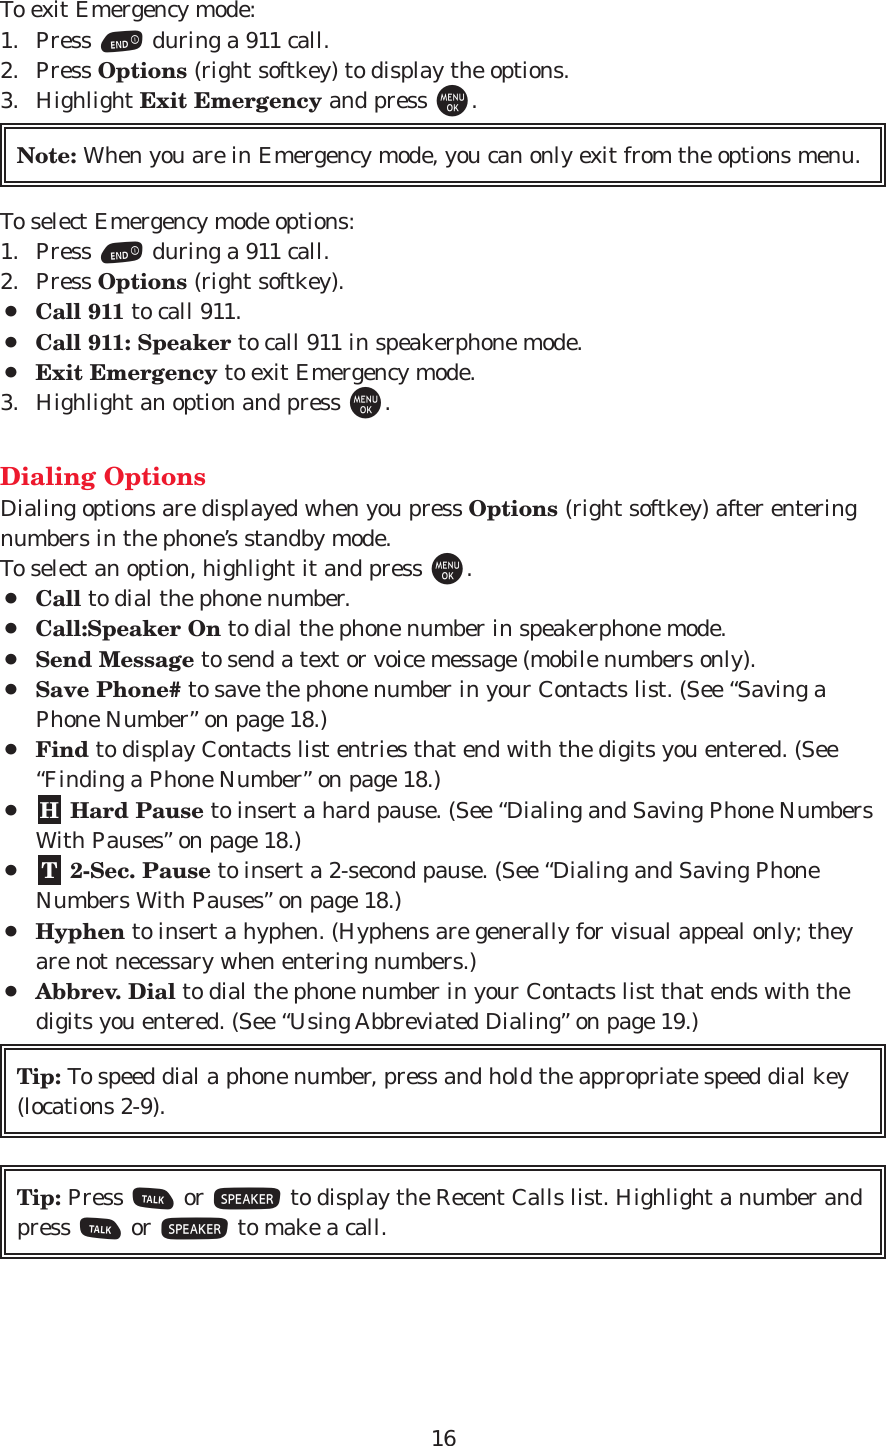
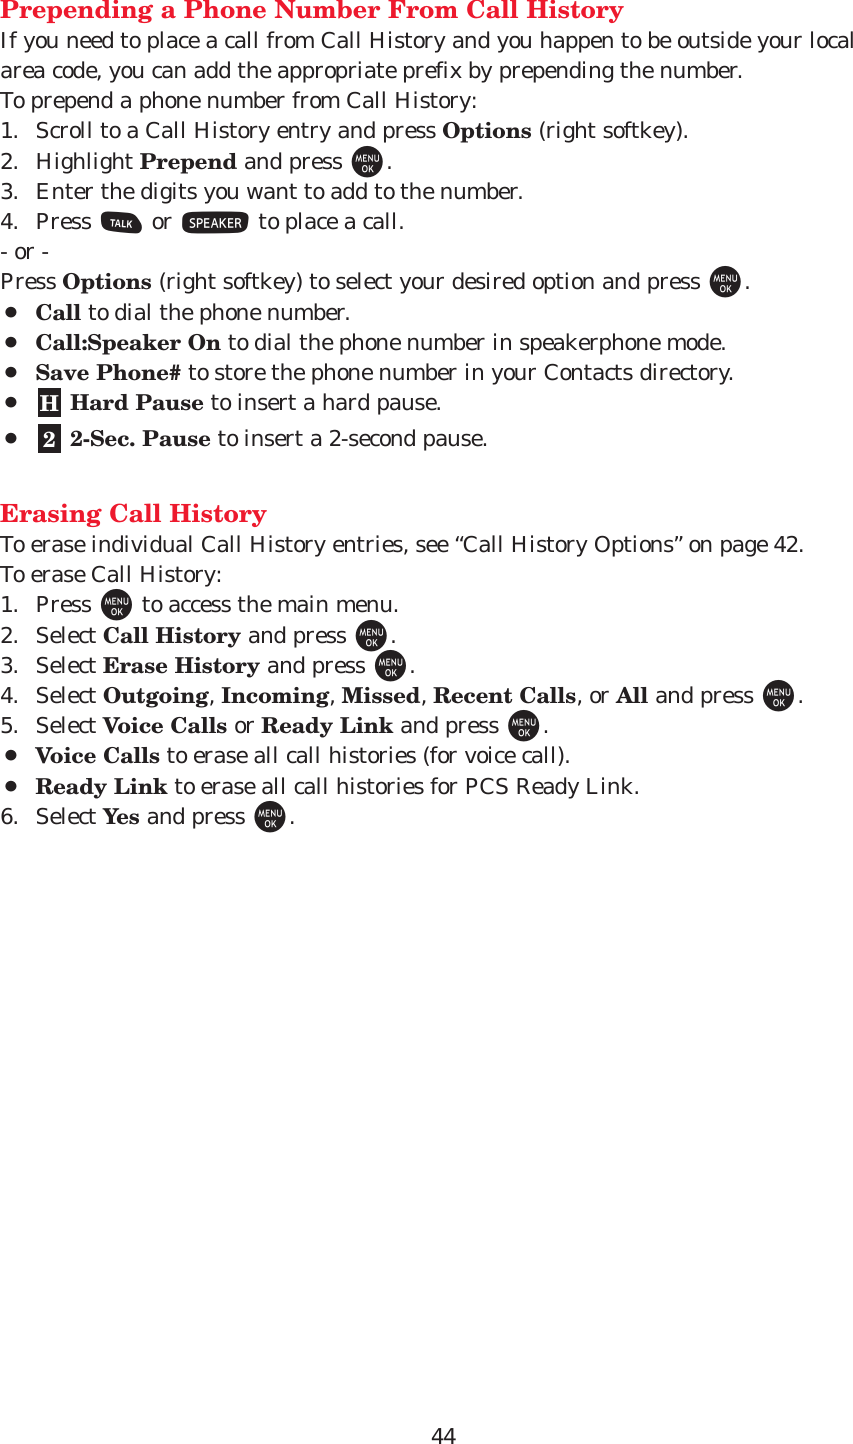
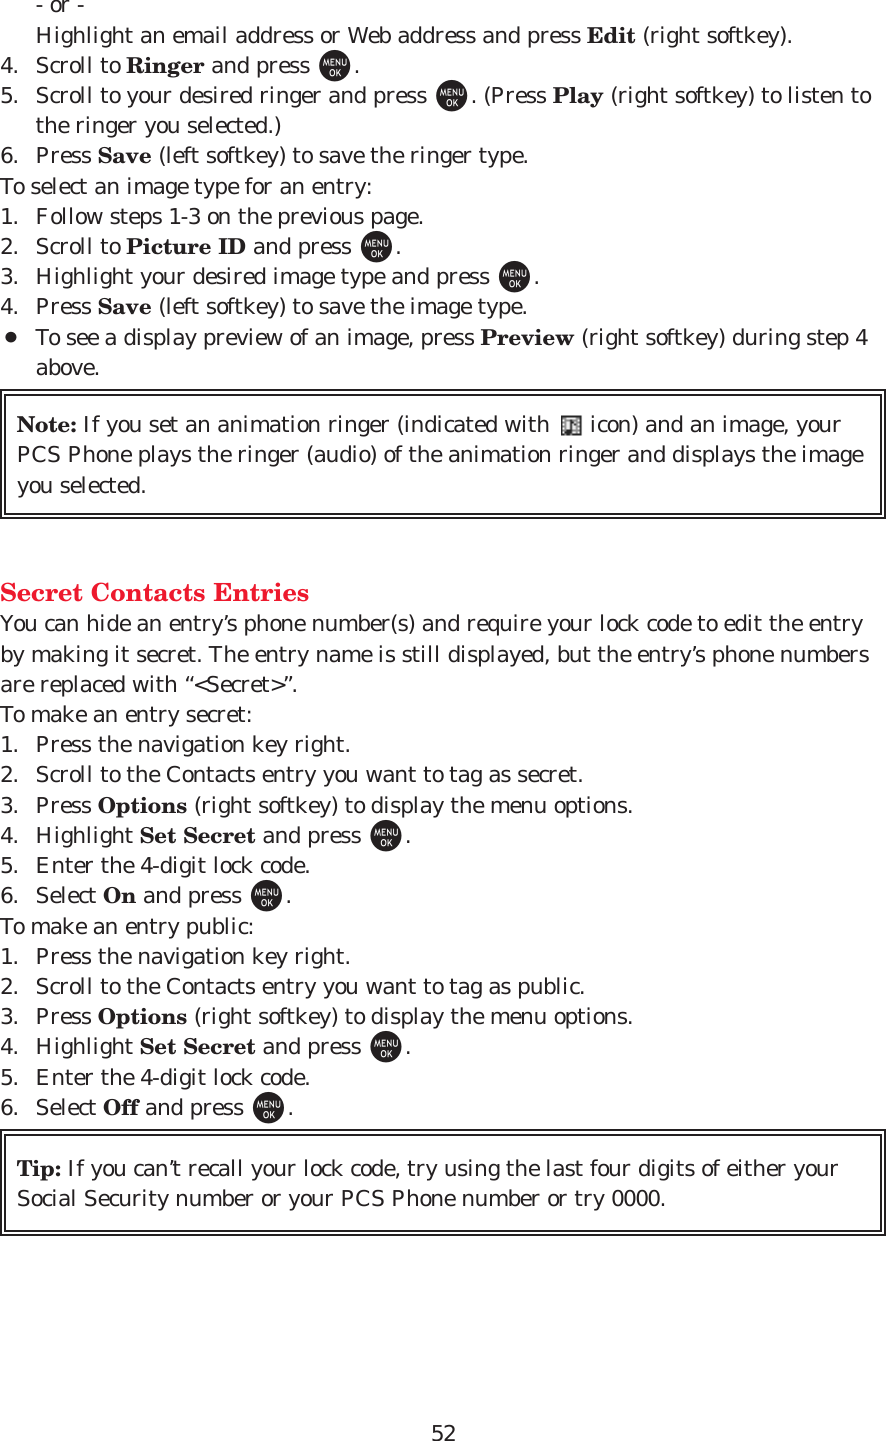
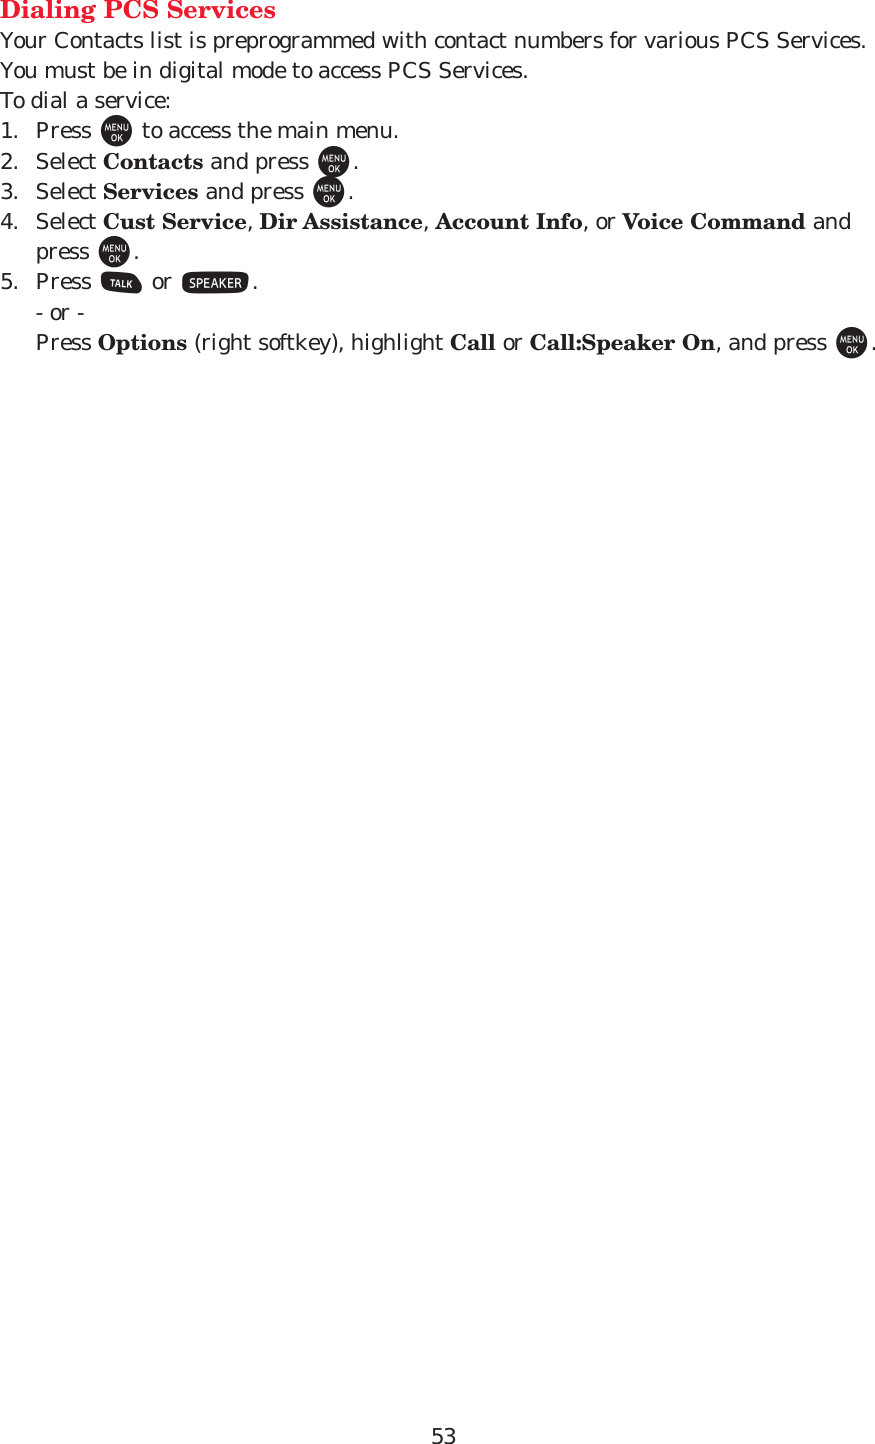
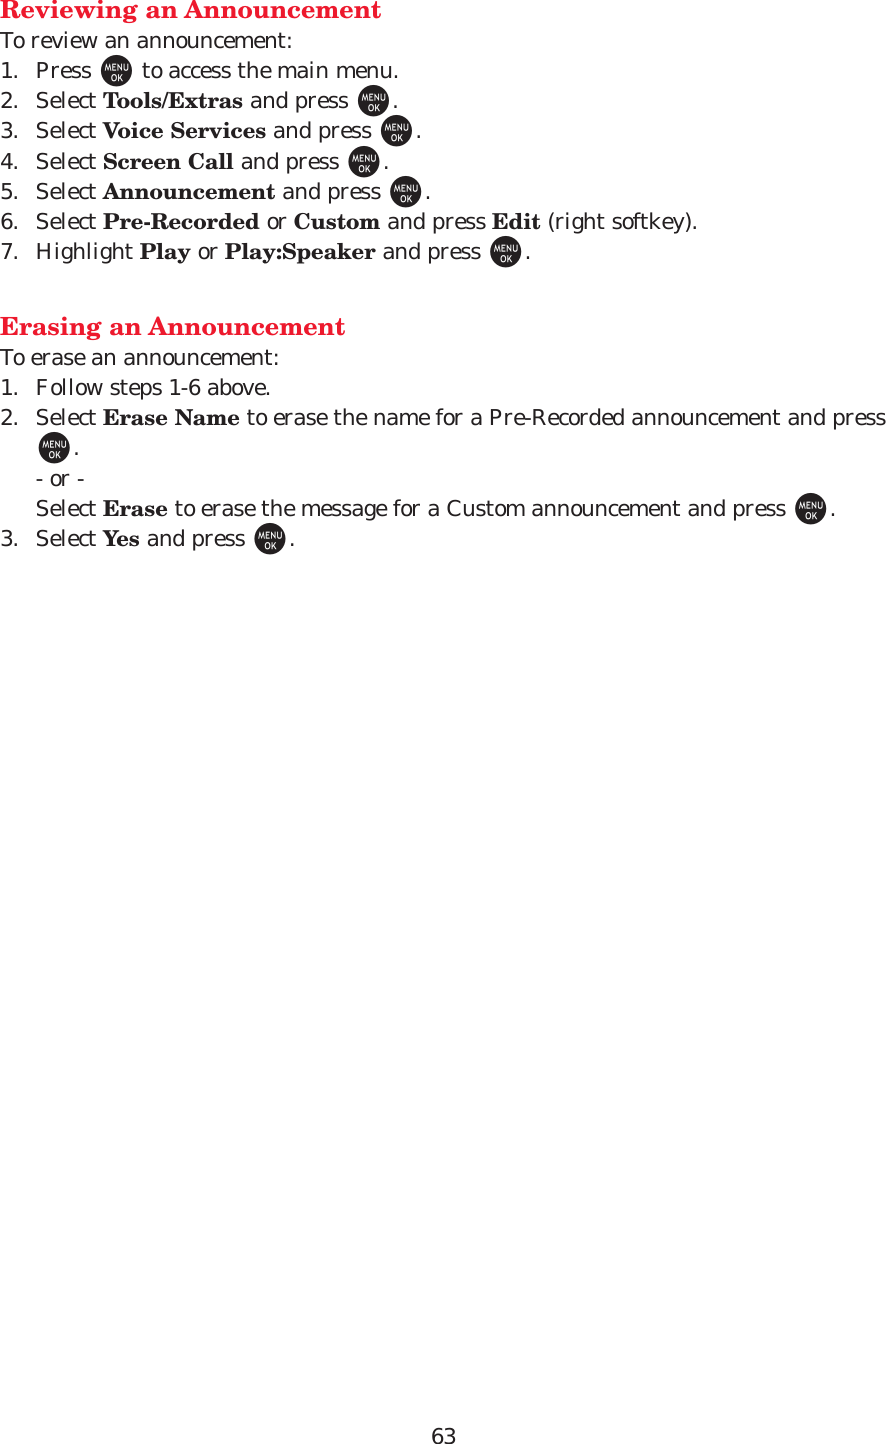
![39Set ModeChoose from three different settings on your dual- band phone to control your roamingexperience.To set your phone’s roam mode:1. Press Mto access the main menu.2. Select Settings and press M.3. Select Roaming and press M.4. Select Set Mode and press M.5. Select an option from the following and press M.¡PCS Only allows you to access the Nationwide PCS Network only and preventsroaming on other networks.¡Automatic seeks PCS Service. When PCS Service is unavailable, the phonesearches for an alternate system.¡Roaming Only seeks both an analog & digital system.The previous setting (PCS Only or Automatic) is restored the next time the phoneis turned on.Controlling Roaming Charges Using Call GuardYour phone has three ways of alerting you when you are roaming off the NationwidePCS Network: the onscreen roaming icon, Call Guard, and Data Roam Guard. CallGuard and Data Roam Guard make it easy to manage your roaming charges byrequiring an extra step before you can place or answer a roaming call and access tothe data service. (This additional step is not required when you make or receive callswhile on the Nationwide PCS Network.)To turn Call Guard on or off:1. Press Mto access the main menu.2. Select Settings and press M.3. Select Roaming and press M.4. Select Call Guard and press M.5. Select On or Off and press M.To place roaming calls with Call Guard on:1. From standby mode, dial 1 + area code + the seven-digit number. (You can alsoinitiate a call from the Contacts directory, Call History, or Messaging.)2. Press Tor S(or press Options [right softkey] and highlight Call orCall:Speaker On and press M).3. Press 1to proceed while the pop-up message is displayed.- or -Press any key to erase the pop-up message, press Options (right softkey), highlightRoam Call, or Roam:Speaker On, and press M.](https://usermanual.wiki/Sanyo-Electric-Co/SCP-4930/User-Guide-585709-Page-40.png)


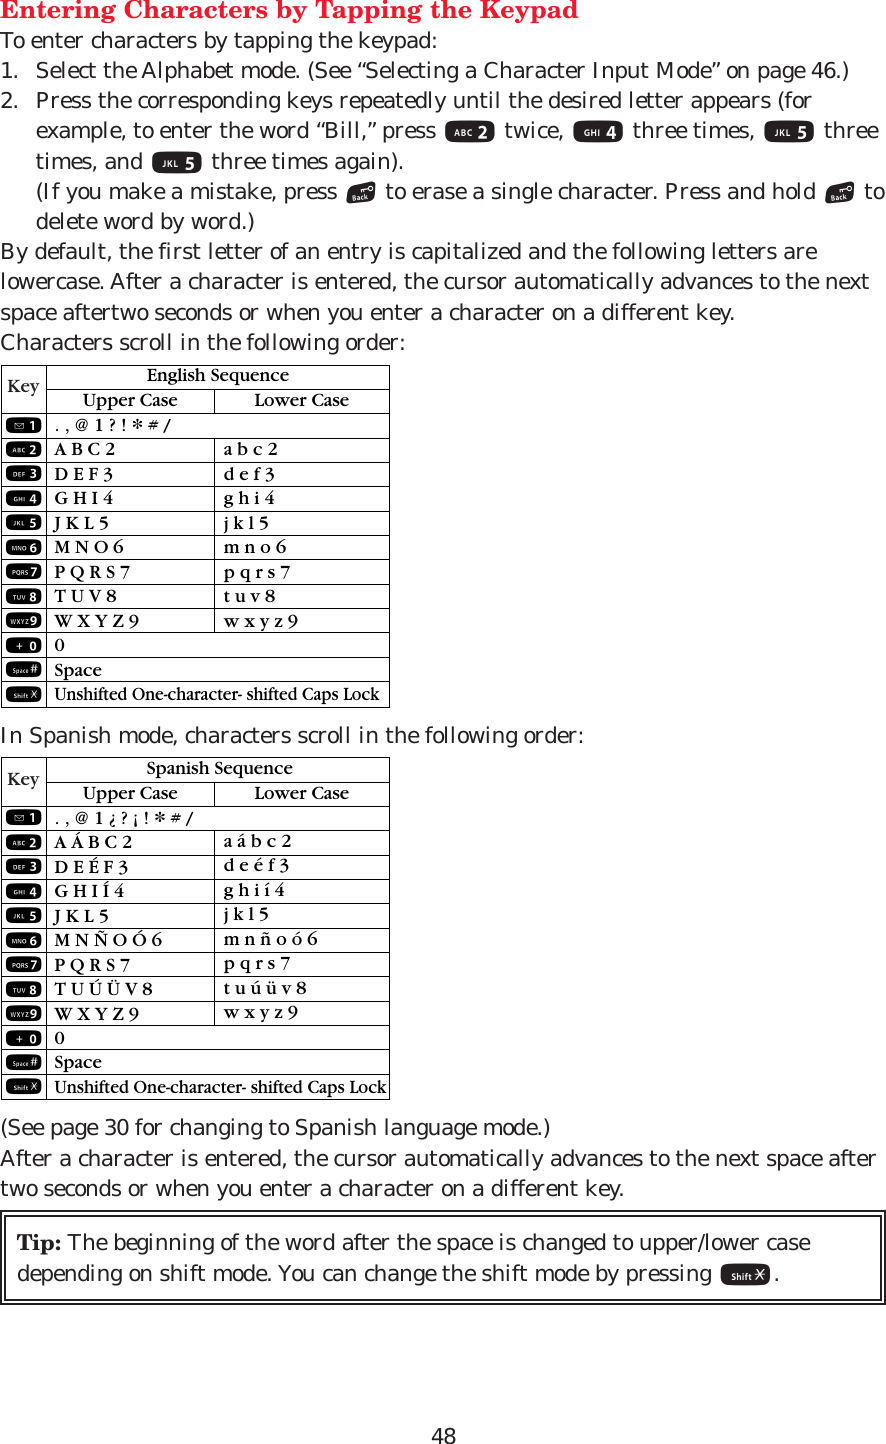

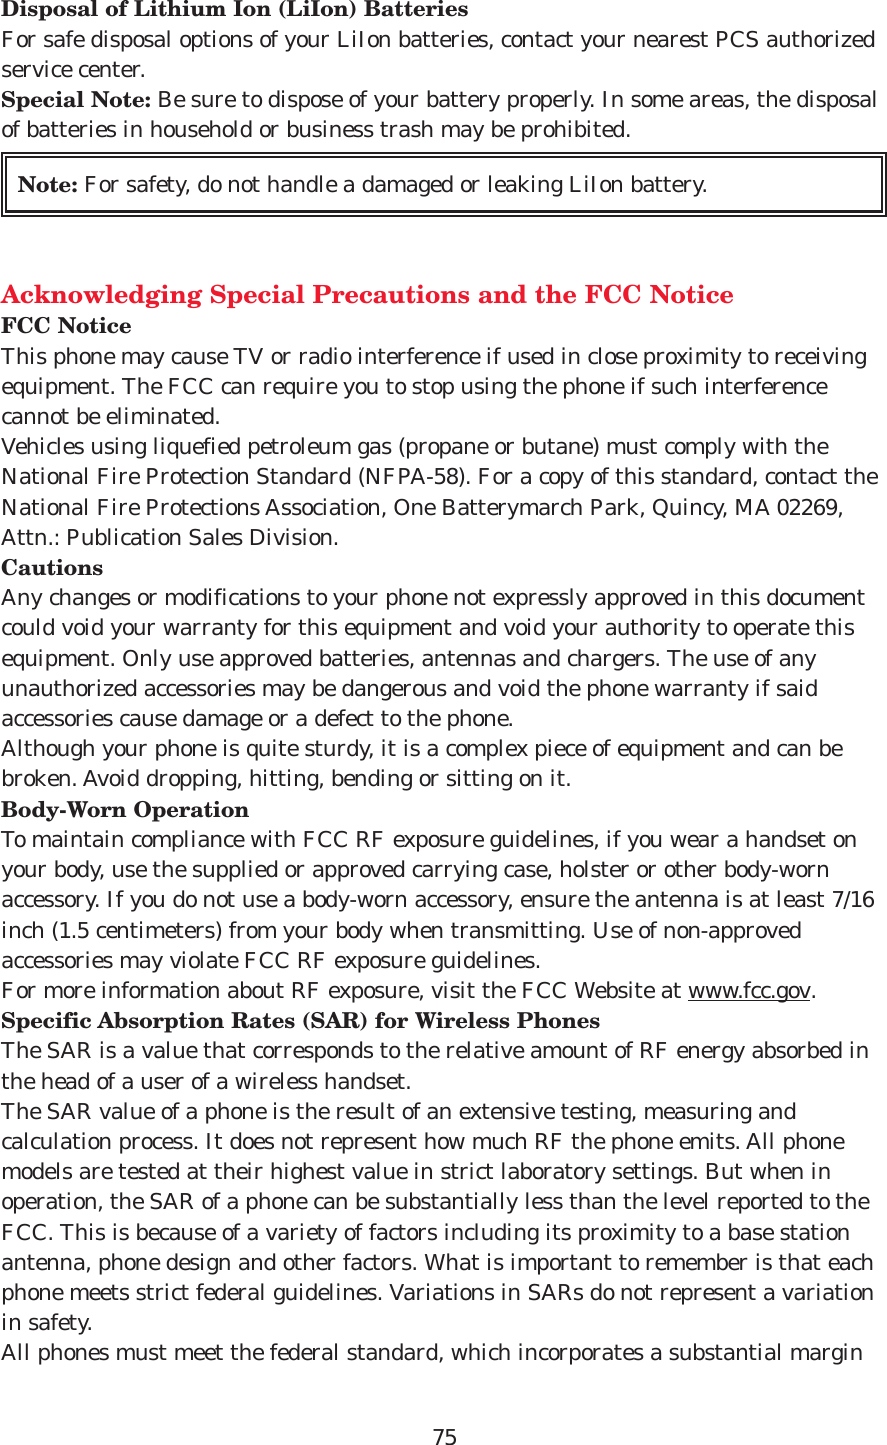
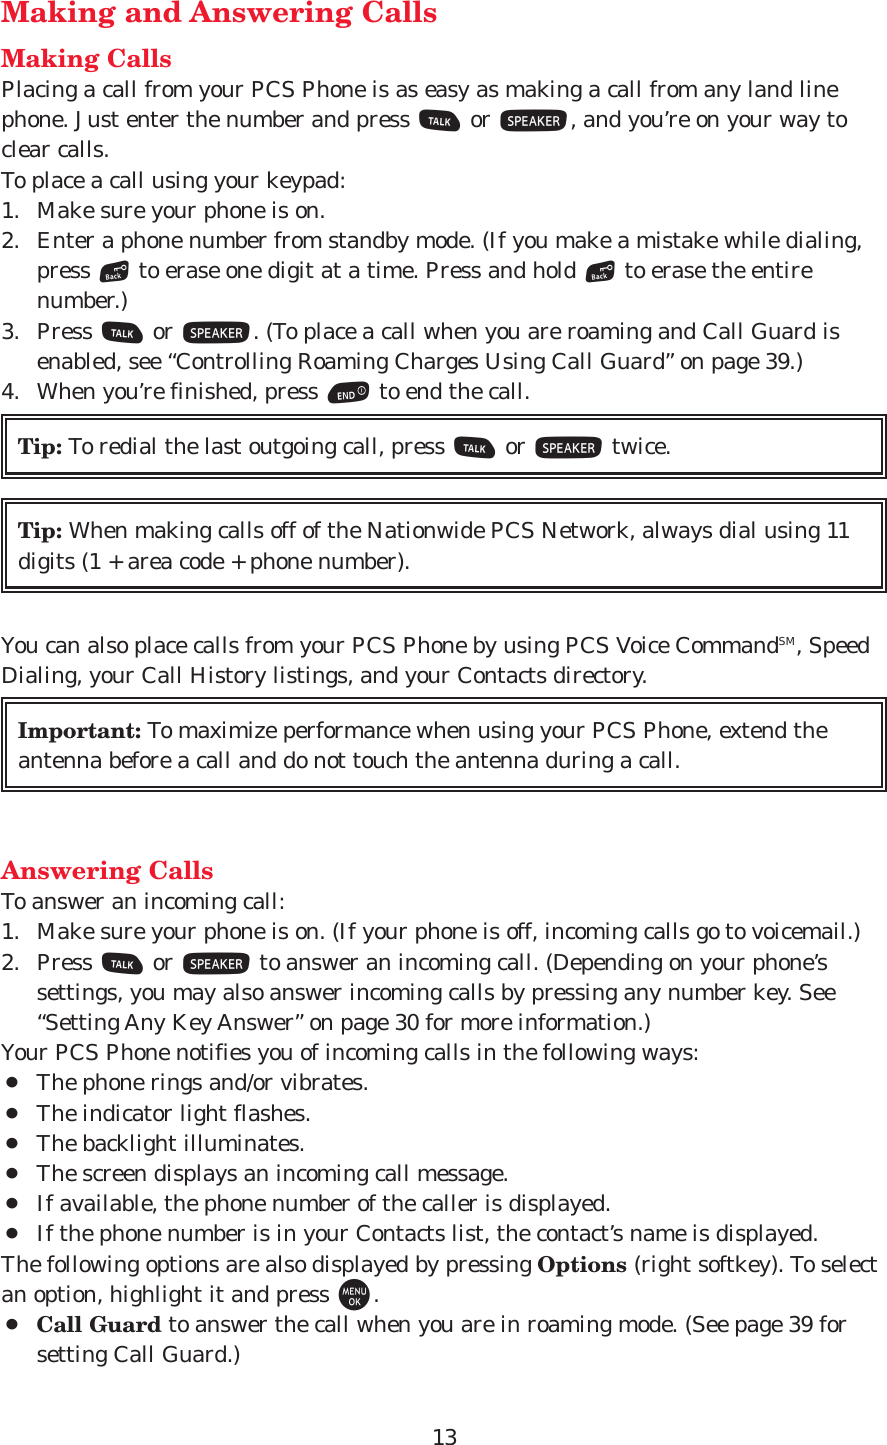
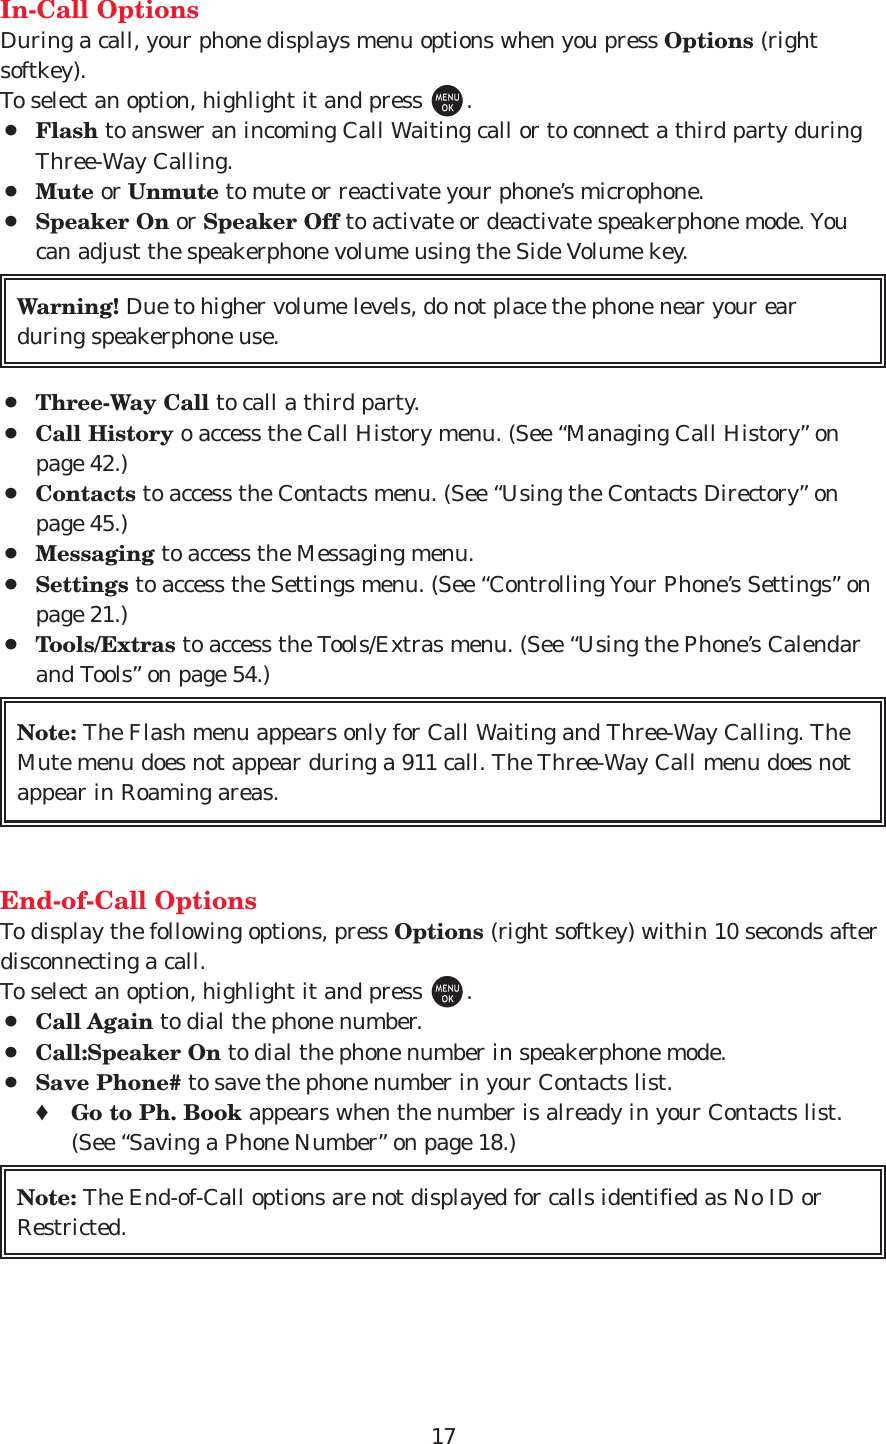
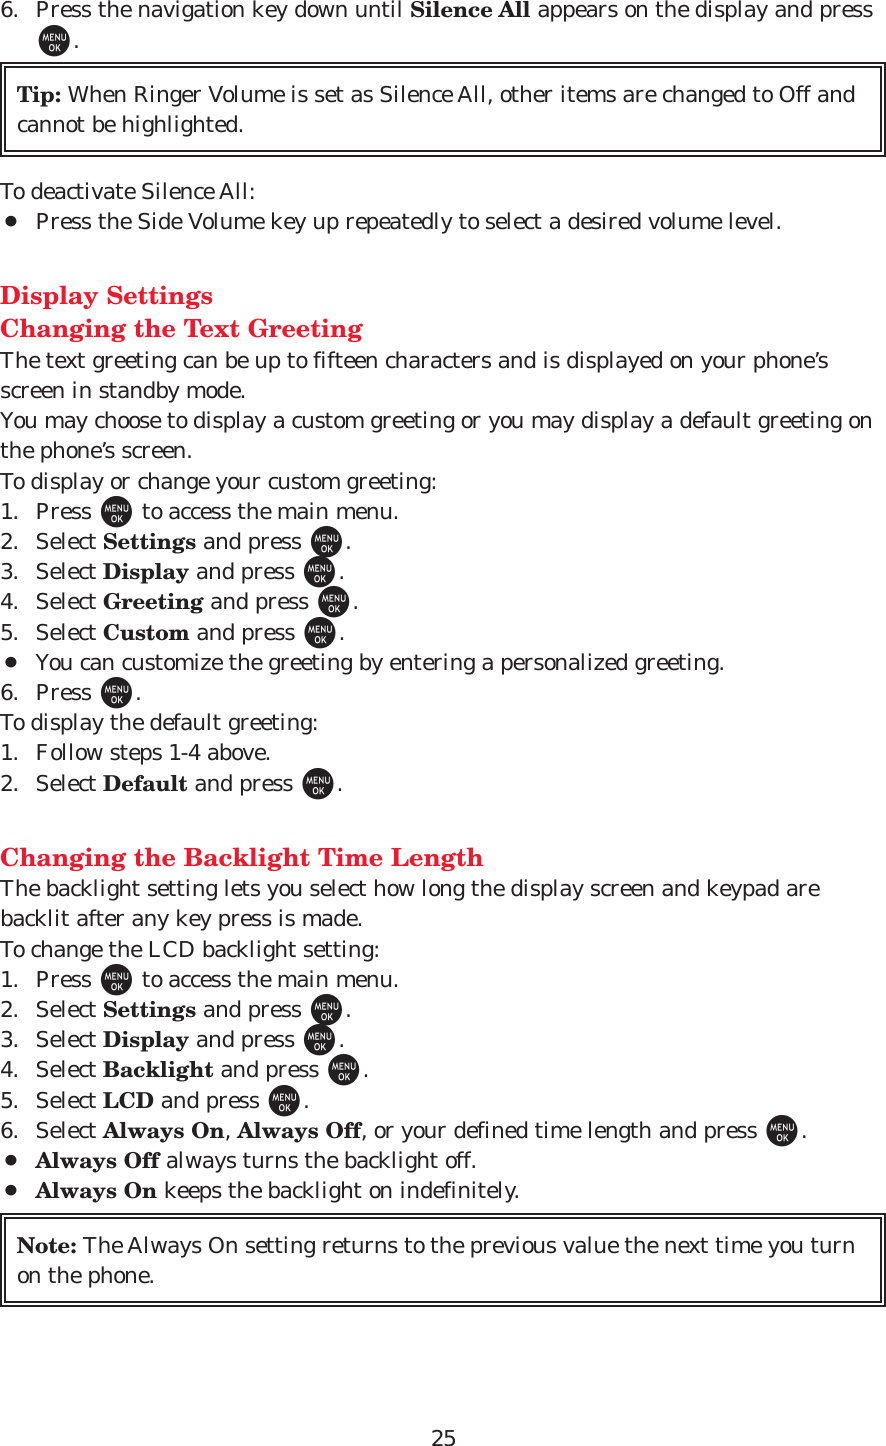
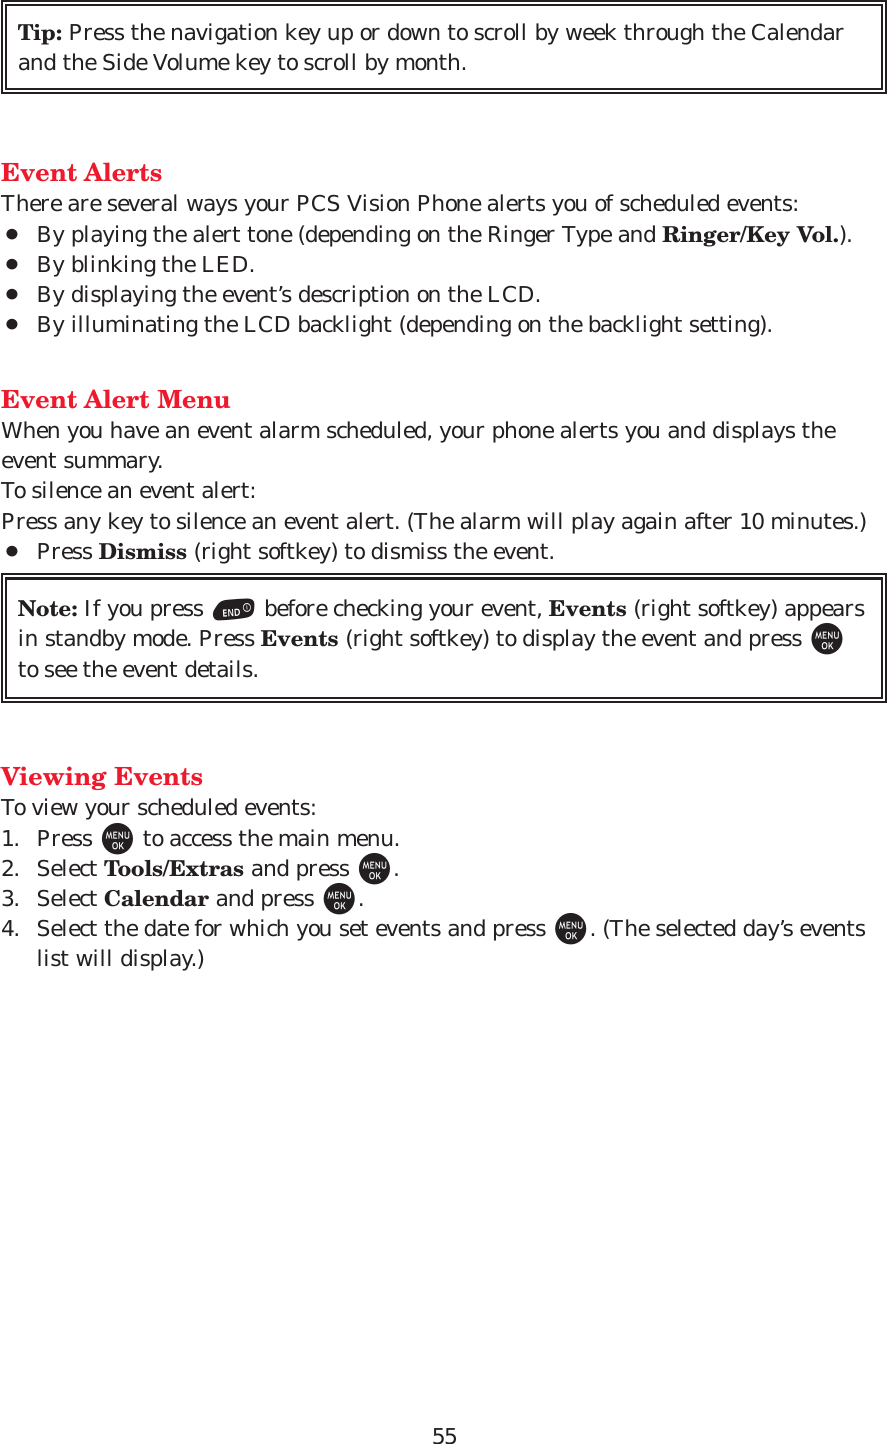
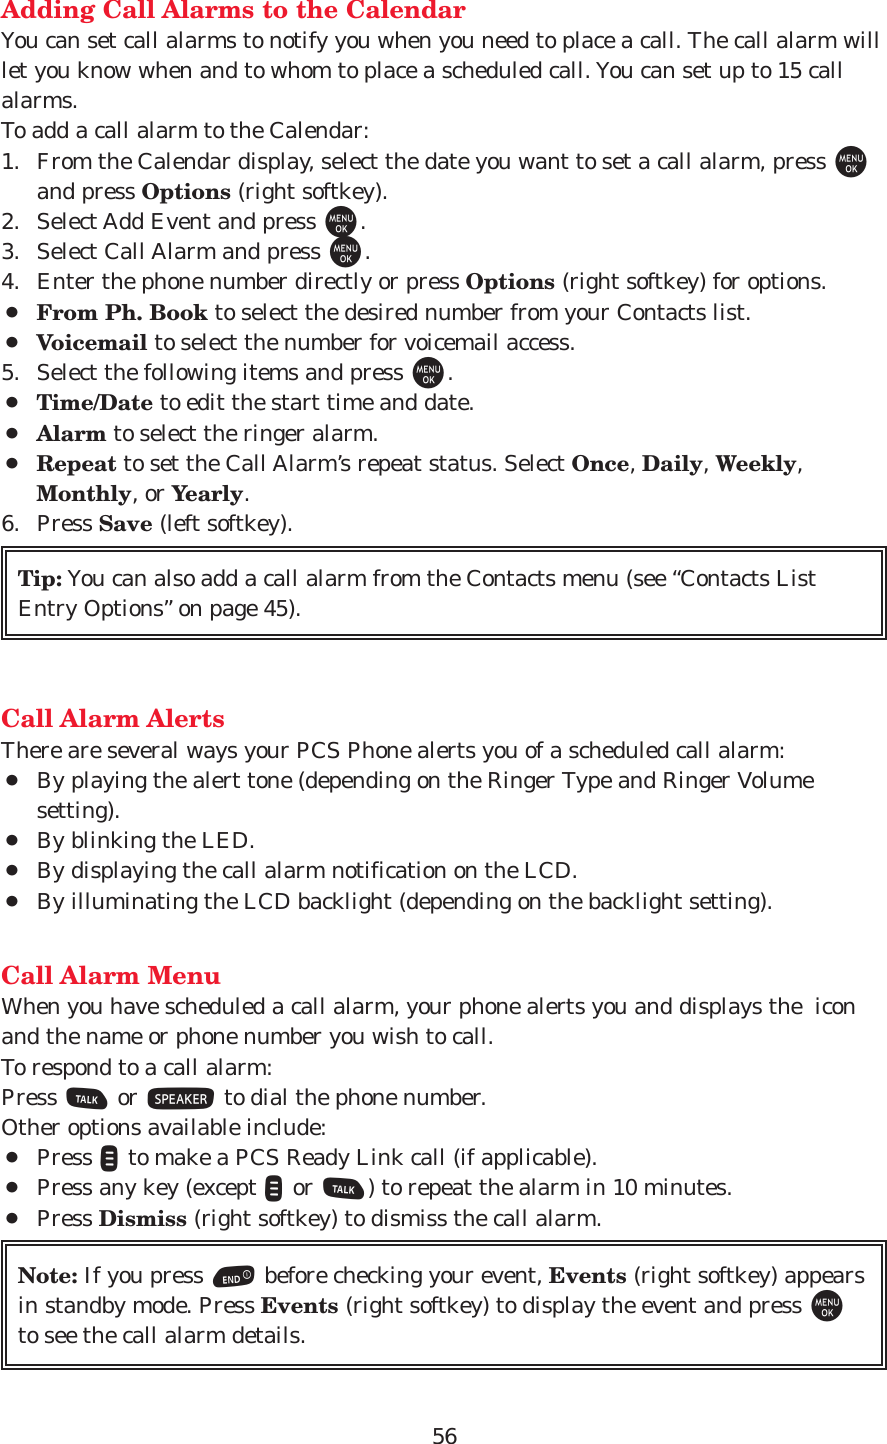
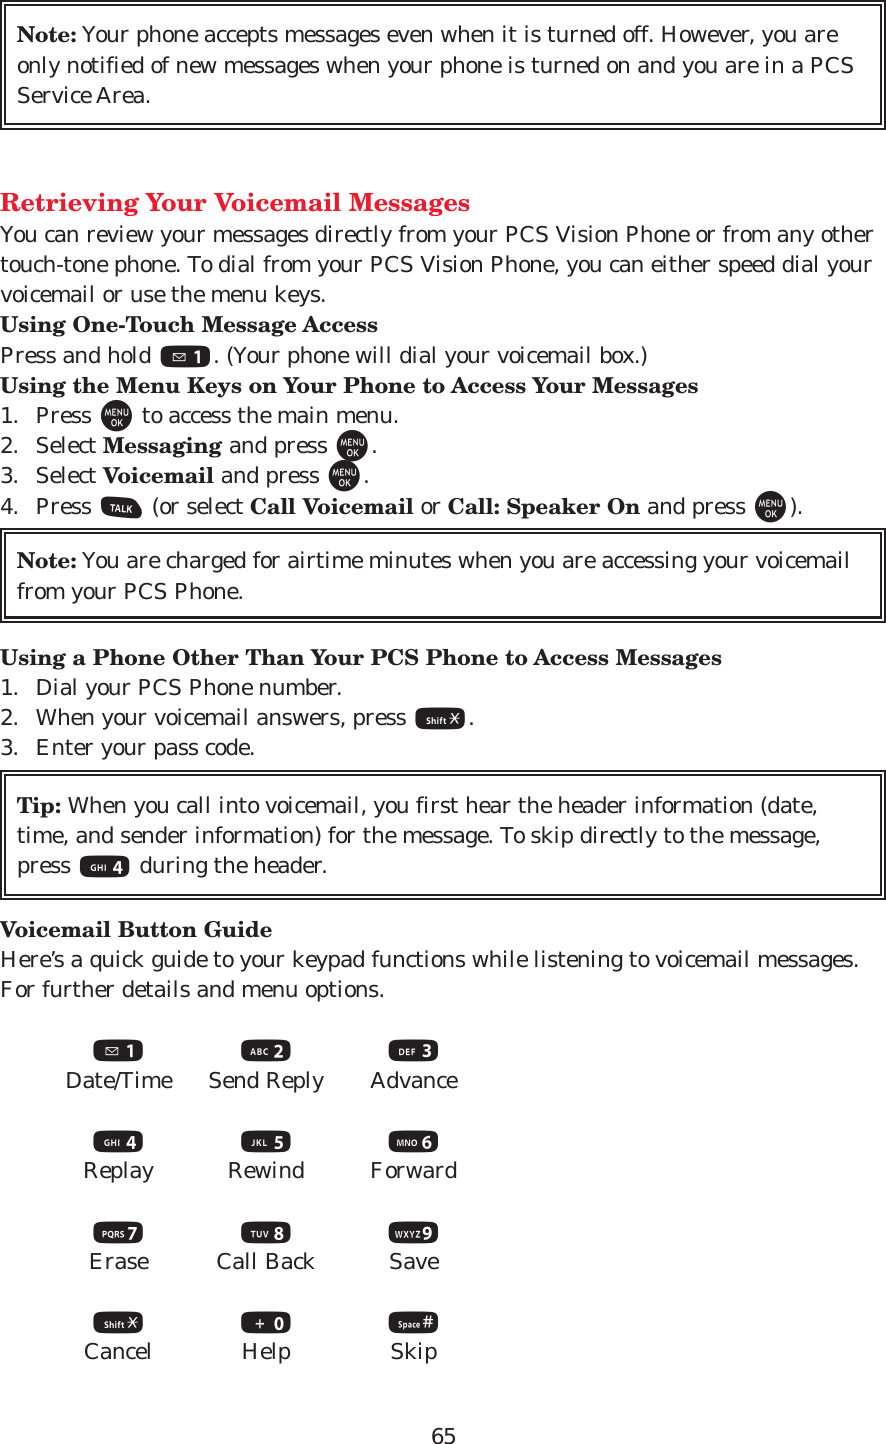
![54Using the Phone’s Calendar and ToolsIn This Section¡Using Your Phone’s Calendar¡Displaying Personal Information¡Using Your Phone’s ToolsYour PCS Vision Phone is equipped with several personal informationmanagement features that help you manage your busy lifestyle. This sectionshows you how to use these features to turn your phone into a time managementplanner that helps you keep up with your contacts, schedules, and commitments. Ittakes productivity to a whole new level.Using Your Phone’s CalendarUse the Calendar to remind you of events or important calls you need to make. Youcan schedule up to 100 events, 15 Call Alarms, and 20 To-Do List items.Adding Events to the CalendarYour Calendar helps organize your time and reminds you of important events (up to100 events).To add an event:1. From the Calendar display, select the day you want to add an event and pressOptions (right softkey).2. Highlight Add Event and press M.3. Select Schedule and press M.4. Enter the description using your keypad and press M(or press Mode [rightsoftkey] to select a description from “From To Do List”).5. Select the following items and press M.¡Description to enter a description of your event (up to 14 characters).¡From to schedule the start time.¡To to schedule the end time.¡Location to edit the location of your event (up to 14 characters).¡Alarm to select your desired ringer. ¡Alarm Time to edit the alarm time (number of hours or minutes before the eventstarts). Default alarm time is 10 minutes before.¡Repeat to set the event’s repeating status. Select Once, Daily, Weekly, Monthly,or Yearly.6. Press Save (left softkey) to schedule the event.Tip: The date you have scheduled events for is indicated by “ ᮣ”.Note: The “From To Do List ”option will not appear if there are no items stored inthe To Do List. See “Adding To Do List Items” on page 58 for details.](https://usermanual.wiki/Sanyo-Electric-Co/SCP-4930/User-Guide-585709-Page-55.png)
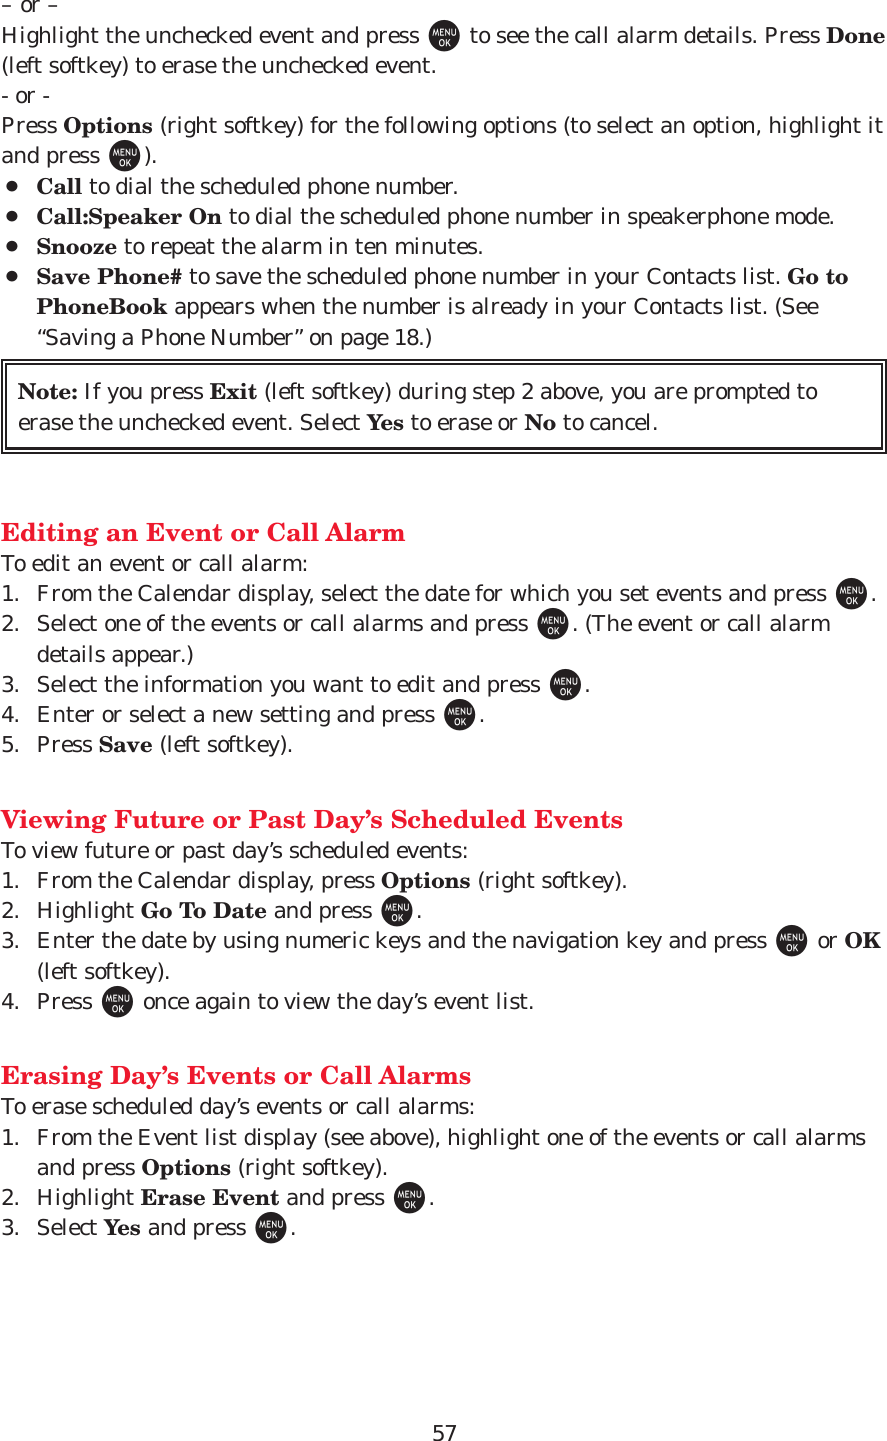


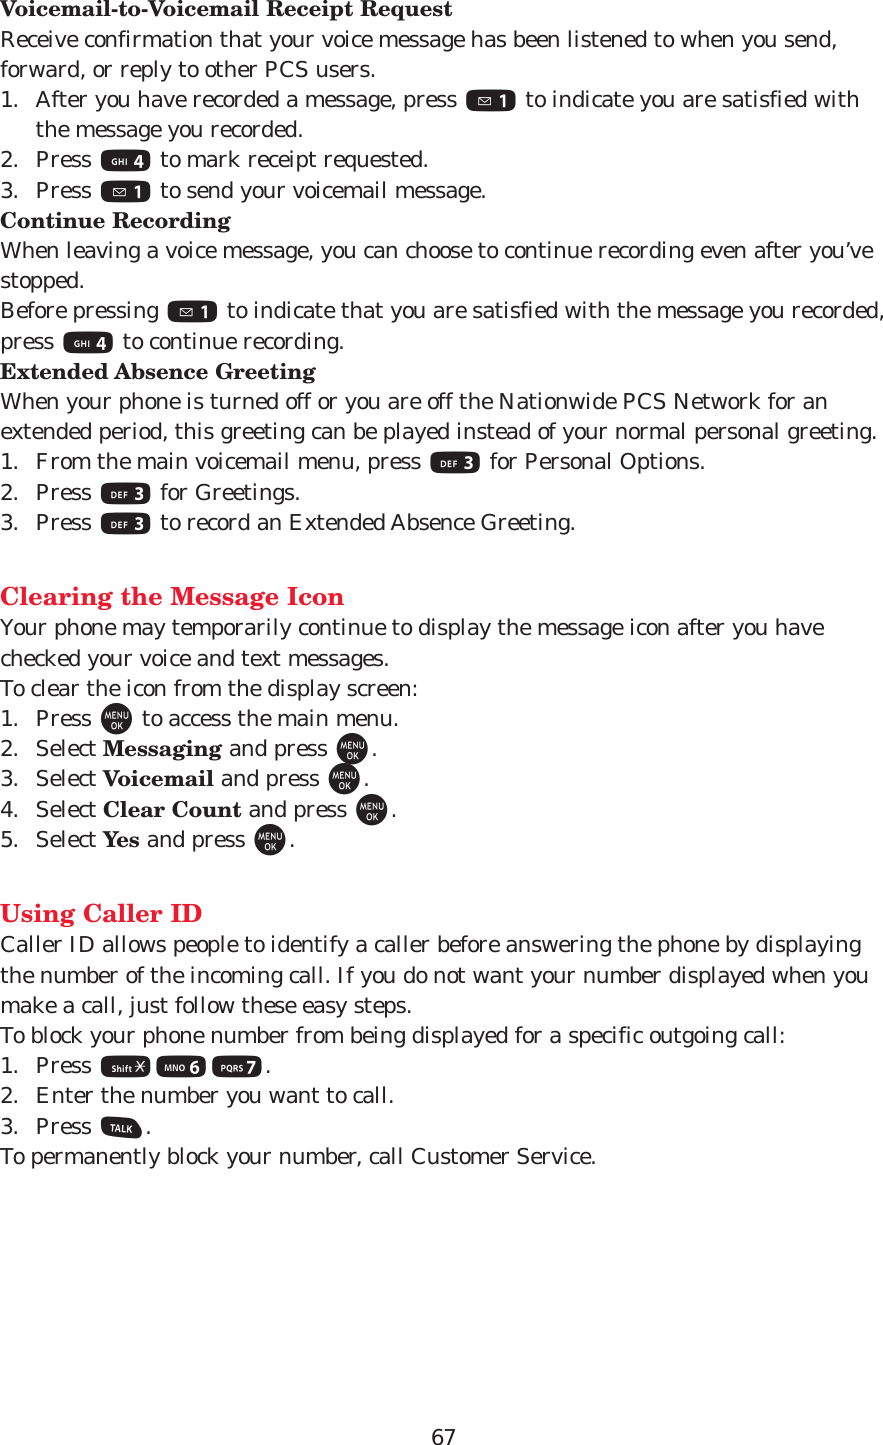
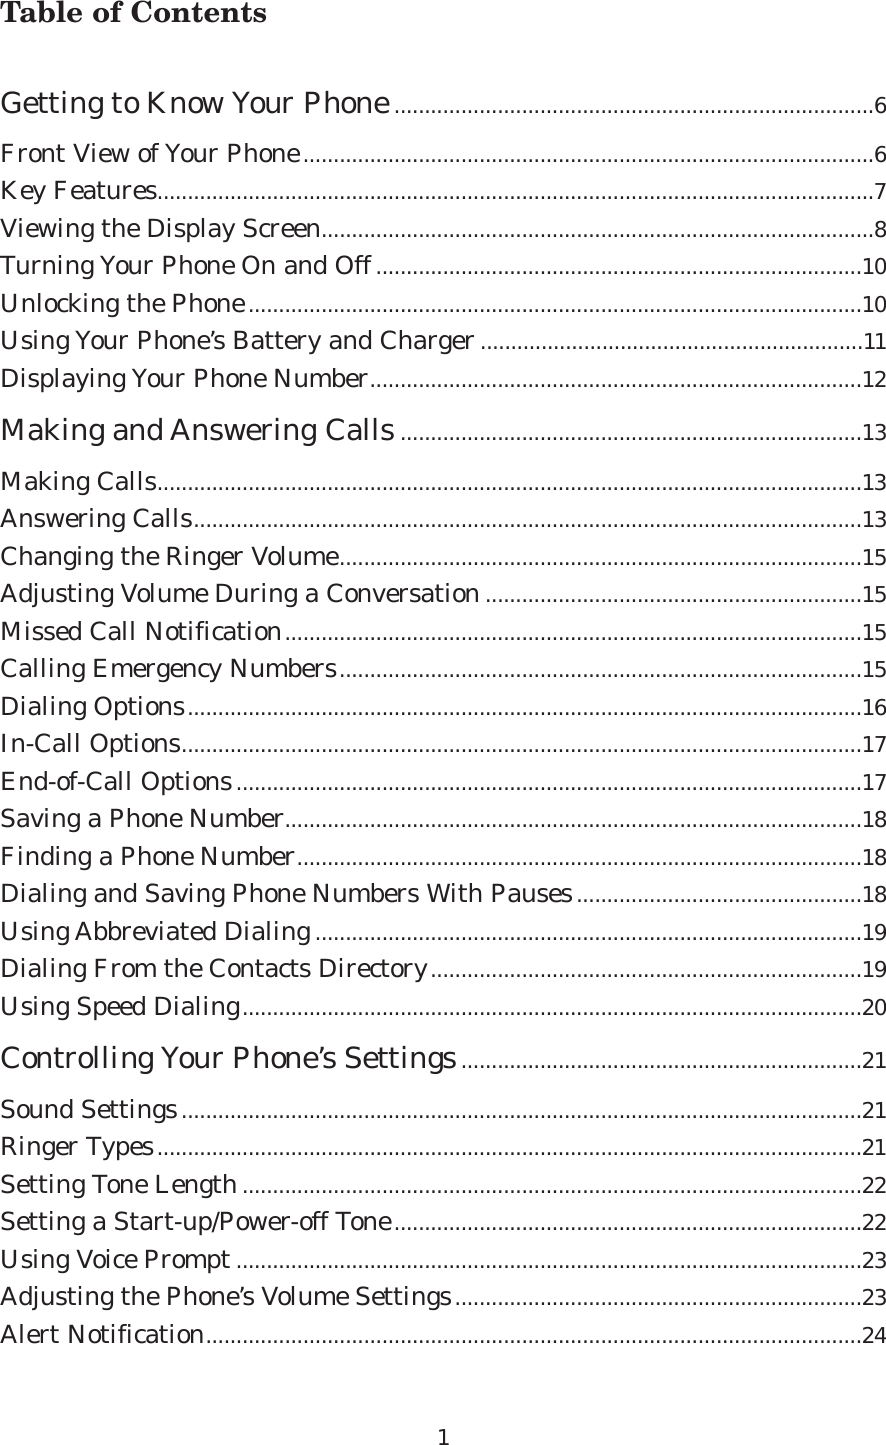
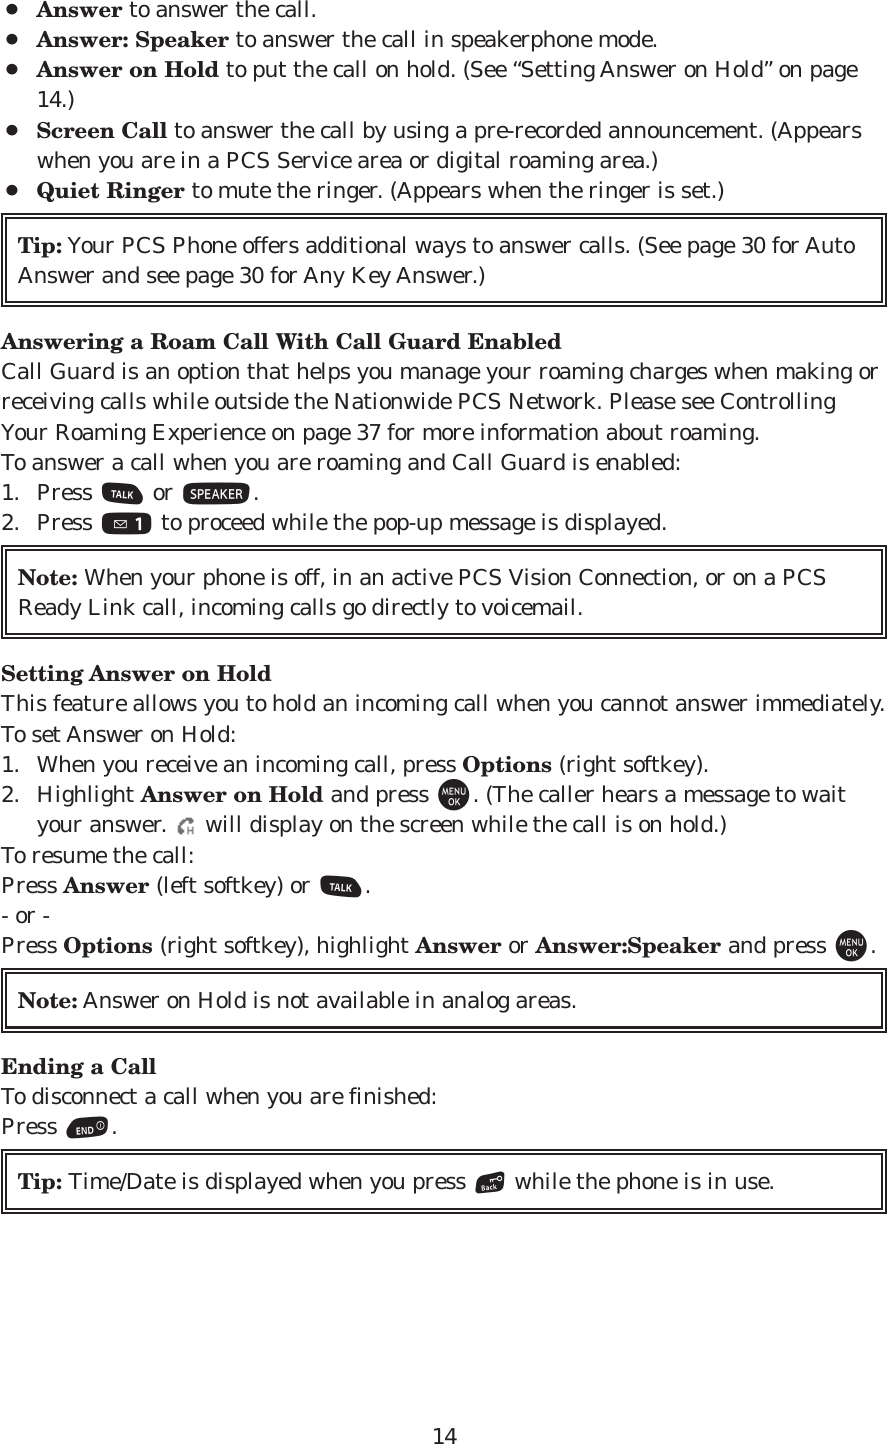
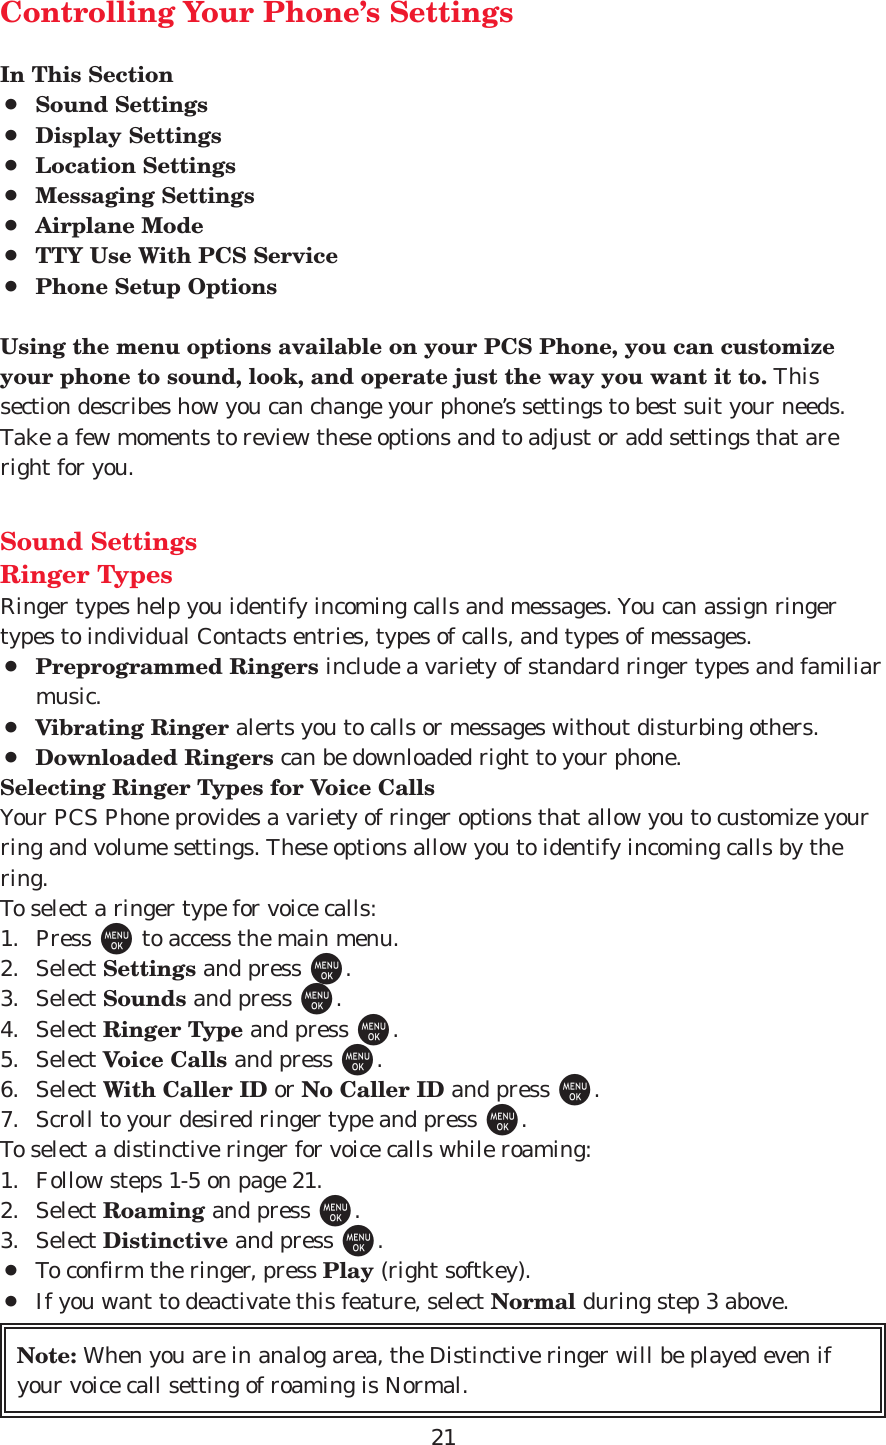
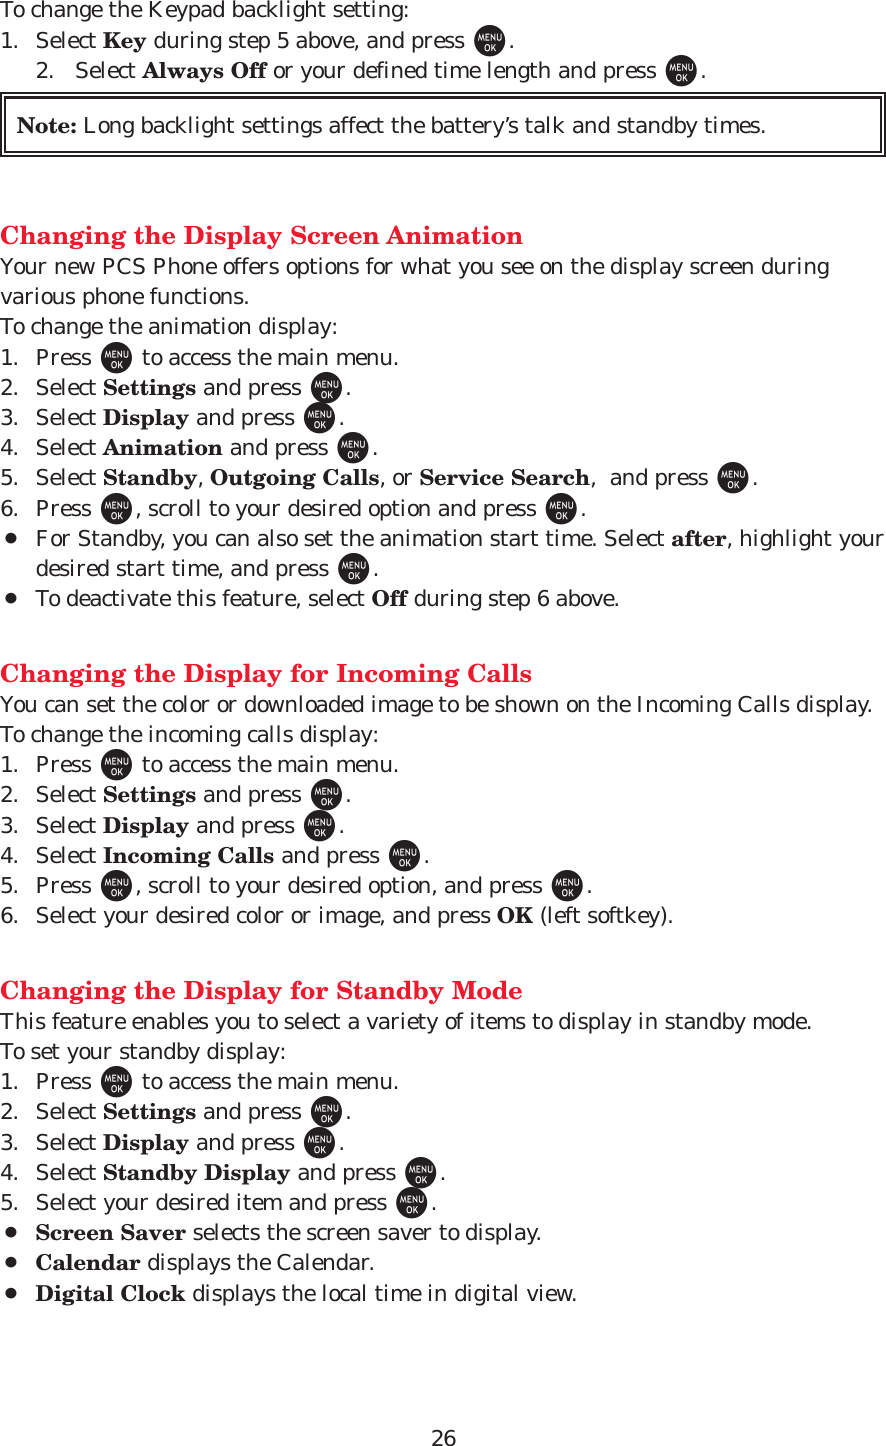
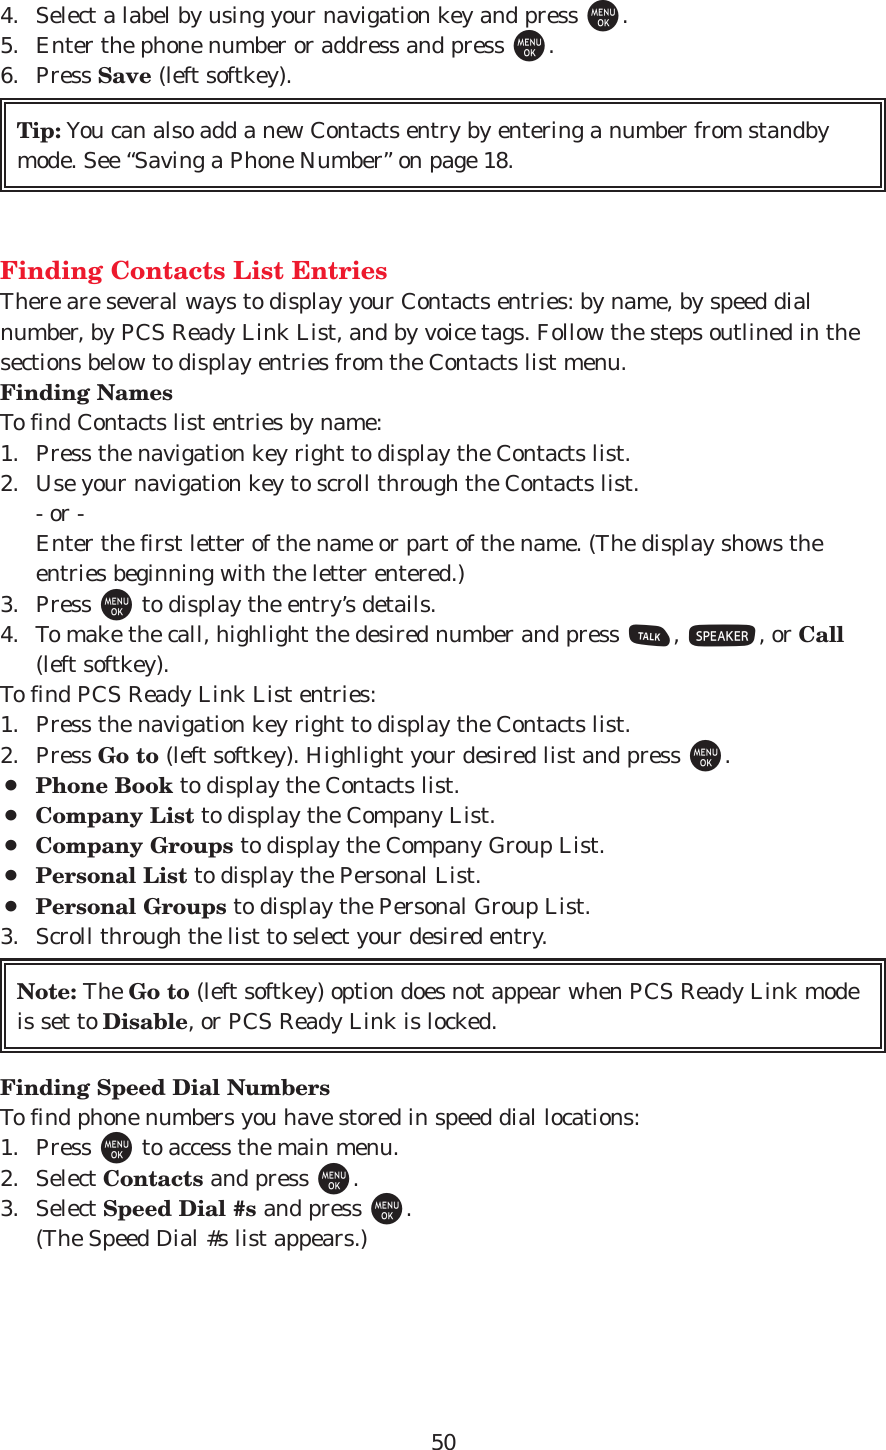
![68Responding to Call WaitingWhen you’re on a call, Call Waiting alerts you of incoming calls by sounding one beep.Your phone’s screen informs you that another call is coming in and displays the caller’sphone number (This feature may not be available while you are in analog area).To respond to an incoming call while you’re on a call:Press T(or press Options [right softkey], highlight Flash, and press M). (Thisputs the first caller on hold and answers the second call.)To switch back to the first caller:Press Tagain (or press Options [right softkey], highlight Flash, and press M).To respond to an incoming call when Answer on Hold is activated:Press T(or press Options [right softkey], highlight Flash, and press M). (TheAnswer on Hold will be automatically deactivated. See page 14 for Answer on Hold.)To switch back to the first caller:Press Tagain (or press Options [right softkey], highlight Flash and press M).Making a Three-Way CallWith Three-Way Calling, you can talk to two people at the same time. When using thisfeature, the normal airtime rates will be charged for each of the two calls.To make a Three-Way Call:1. Enter a number you wish to call and press Tor S.2. Once you have established the connection, press T(or press Options [rightsoftkey], highlight Three-Way Call, and press M). (This puts the first caller onhold.)3. Dial the second number you wish to call and press T(or press Options [rightsoftkey], highlight Call or Call:Speaker On, and press M).4. When you’re connected to the second party, press Tagain (or press Options[right softkey], highlight Flash, and press M) to begin your three-way call.If one of the people you called hangs up during your call, you and the remaining callerstay connected. If you initiated the call and are the first to hang up, all three callersare disconnected.Tip: Call Waiting and Three-Way Calling may not be available while roaming offthe Nationwide PCS Network.Tip: You can also begin a Three-Way Call by displaying a phone number stored inyour Contacts, Call History, or Messaging. To display the options, press Options(right softkey) during step 3 above.Tip: For those calls where you don’t want to be interrupted, you can temporarilydisable Call Waiting by pressing *70 before placing your call. CallWaiting is automatically reactivated once you end the call.](https://usermanual.wiki/Sanyo-Electric-Co/SCP-4930/User-Guide-585709-Page-69.png)
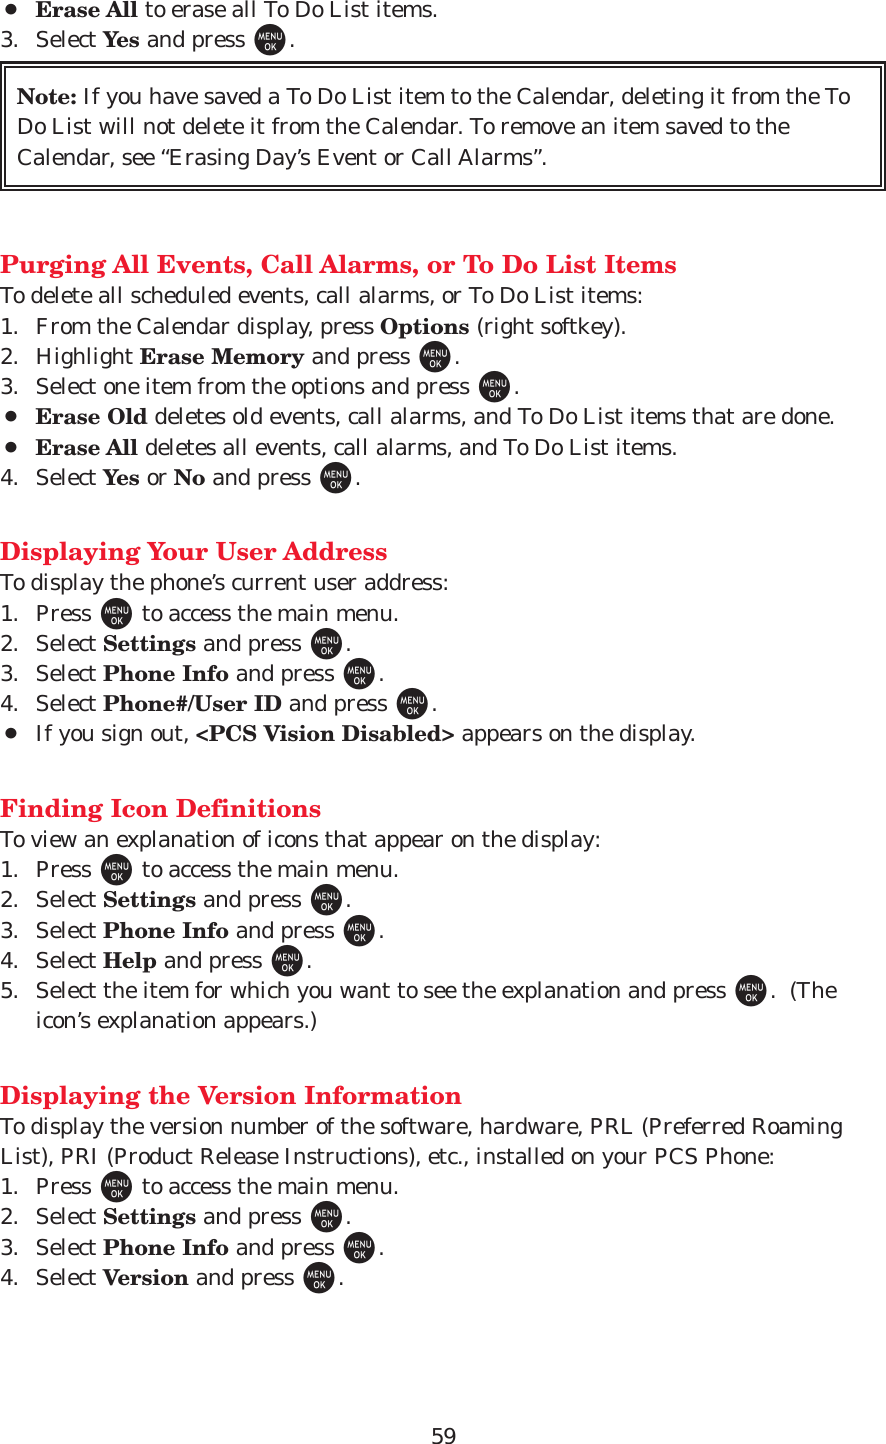
![69Using Call ForwardingCall Forwarding lets you forward all your incoming calls to another phone number –even when your phone is turned off. You can continue to make calls from your phonewhen Call Forwarding is activated.To activate Call Forwarding:1. Press *72.2. Enter the area code and phone number to which your future calls should beforwarded.3. Press T. (You will see a message and hear a tone to confirm the activation ofCall Forwarding.)To deactivate Call Forwarding:1. Press *720.2. Press T. (You will see a message and hear a tone to confirm the deactivation.)Using Text SMS MessagingWith Text SMS Messaging, you can use a person’s wireless phone number to sendinstant text messages from your PCS Phone to their messaging-ready phone – andthey can send messages to you. When you receive a new message, it will automaticallydisplay on your phone’s screen.In addition, Text SMS Messaging includes a variety of preset messages, such as “Can’ttalk right now. Send me a message.” that make composing messages fast and easy. Youcan also customize your own preset messages (up to 50 characters) from your PCSPhone.Displaying a Text MessageTo display a Text SMS message from the main menu:1. Press Mto access the main menu.2. Select Messaging and press M.3. Select Text and press M.4. Select Inbox, Sent Mail, Pending, Drafts, or your defined folder and press M.( indicates an unread message.)5. Highlight the message you want to display and press M. (To display the messageoptions, press Options [right softkey].)Composing Text SMS MessagesTo compose a Text SMS message:1. Press Mto access the main menu.2. Select Messaging and press M.3. Select Send Message and press M.4. Select Text and press M.5. Select Mobile or Email to enter recipient’s wireless phone number or emailaddress directly.Note: You are charged a higher rate for calls you have forwarded.](https://usermanual.wiki/Sanyo-Electric-Co/SCP-4930/User-Guide-585709-Page-70.png)
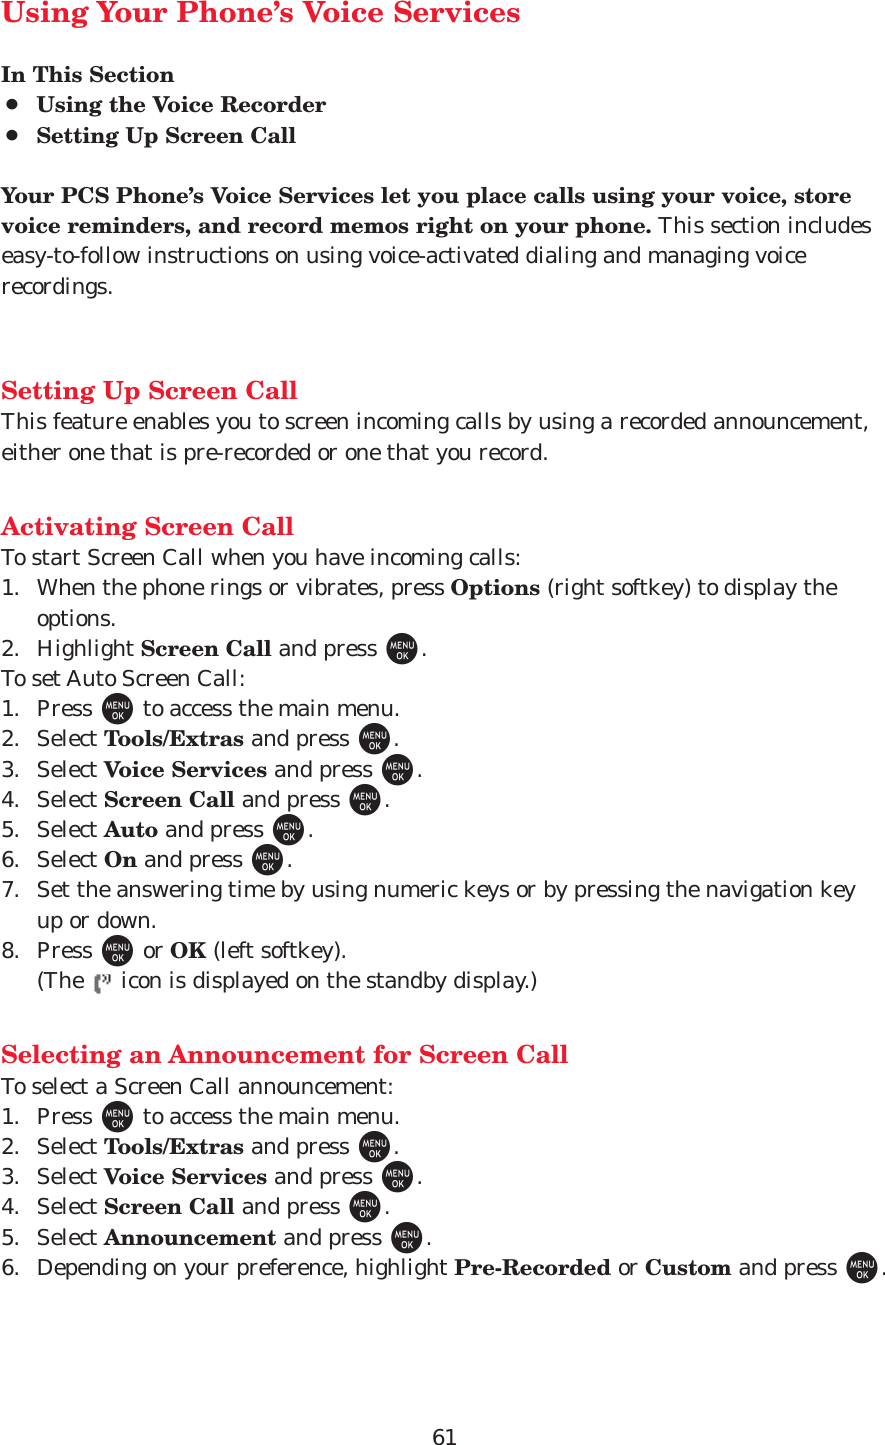
![706. Select Phone Book Entry and select the list from following:¡Phone Book Entry to select a recipient from your Contacts list. (qualifying PhoneBook entries must contain a wireless phone number or an email address).¡Company List Ent. to select a recipient from your company list.¡Personal List Ent. to select a recipient from your personal list.¡Personal Grp. Ent. to select a recipient from your personal group list.¡From Recent List to select recipients from a list of recent message recipients.7. Press Mto select the recipient.8. Press Done (left softkey).9. Press Next (left softkey) when you are finished selecting and entering recipients. 10. Select Message and compose a message or use the preset messages or smileys(icons).¡Press Mode (right softkey) for different character input mode.11. To set the message priority, scroll to Priority and press M.12. Select Ordinary or Urgent and press M.13. Review your message and press Send (left softkey). (You may also select additionalmessaging options by pressing Options [right softkey] to set the callback numberor change the recipients, etc.)Accessing Text SMS MessagesTo read a Text SMS message:¡When you receive a text message, it will automatically appear on your phone’smain display screen. Press View (left softkey) to read the message. Use yournavigation key to scroll down and view the entire message.To reply to a Text SMS message:1. While the message is open, select Reply (left softkey).2. Select Text and press M.3. Compose your reply or press Mode (right softkey) to select a character input mode. 4. Review your reply and press Send (left softkey). Using Preset (Canned) MessagesPreset messages make sending text messages to your friends, family, and co-workerseasier than ever.To add and/or edit Preset messages:1. Press Mto access the main menu.2. Select Settings and press M.3. Select Messaging and press M.4. Select Preset Msgs and press M.5. Highlight a message you wish to edit and press M.6. Enter your new message or changes and press OK (left softkey).Tip: To add additional recipients, follow steps 5-8 above. You may add recipients upto 25 recipients per message.](https://usermanual.wiki/Sanyo-Electric-Co/SCP-4930/User-Guide-585709-Page-71.png)