Sanyo Electric Co SCP-62H Dual-Band Analog/PCS Phone (AMPS/CDMA) User Manual 6200FCC
Sanyo Electric Co Ltd Dual-Band Analog/PCS Phone (AMPS/CDMA) 6200FCC
UserManual.wiki
>
Sanyo Electric Co
>
SCP 62H User Manual
Users Manual
Navigation menu
Upload a User Manual
Namespaces
Wiki Guide
HTML
PDF
Info
Views
User Manual
Discussion / Help
Navigation

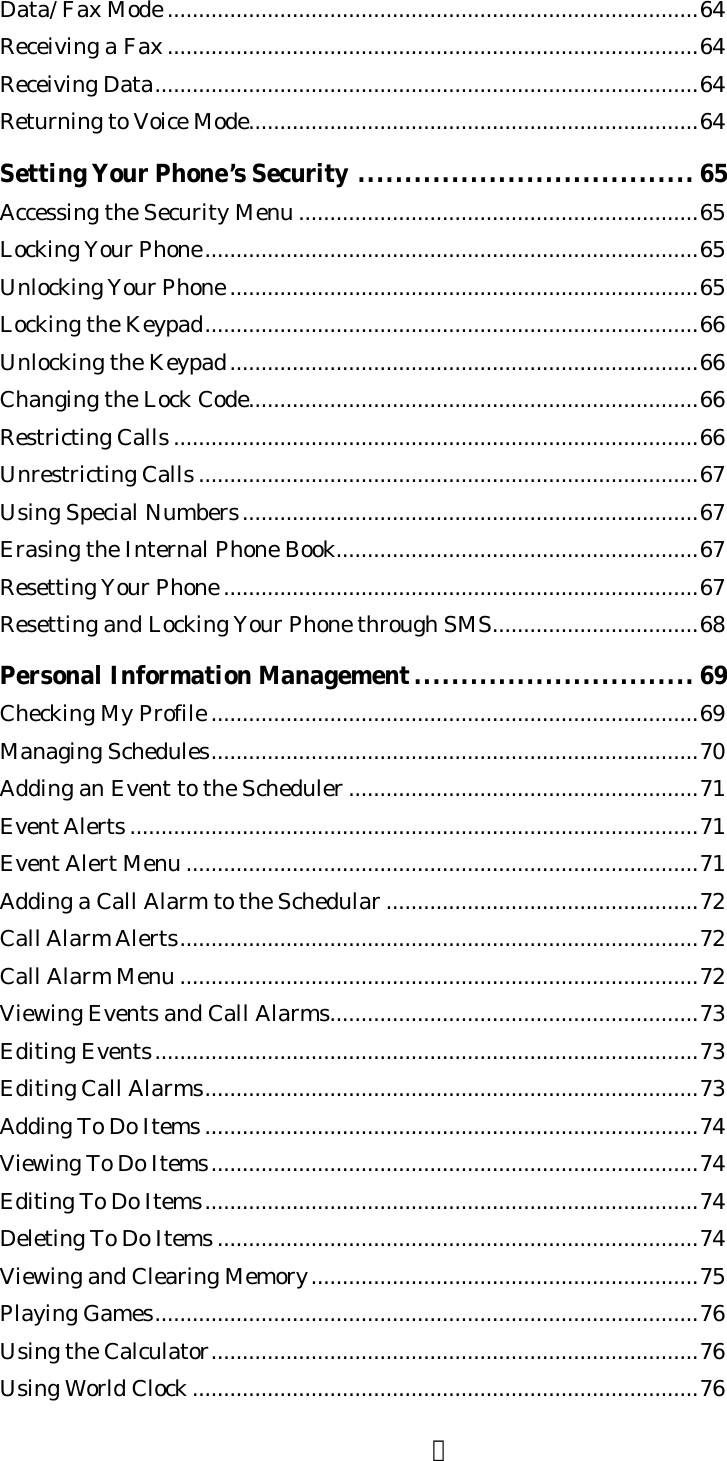


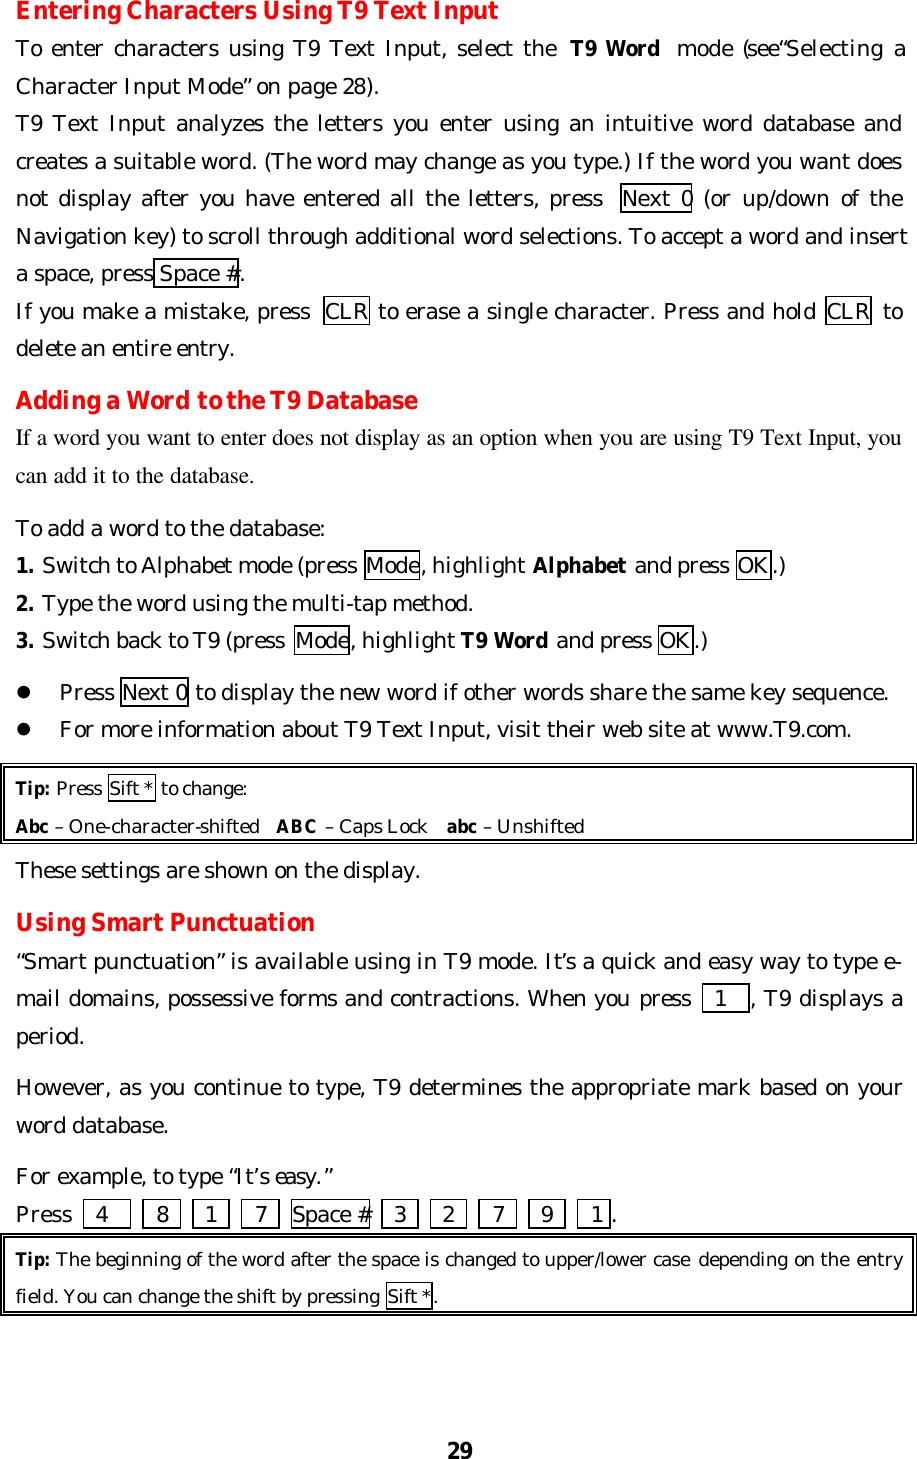
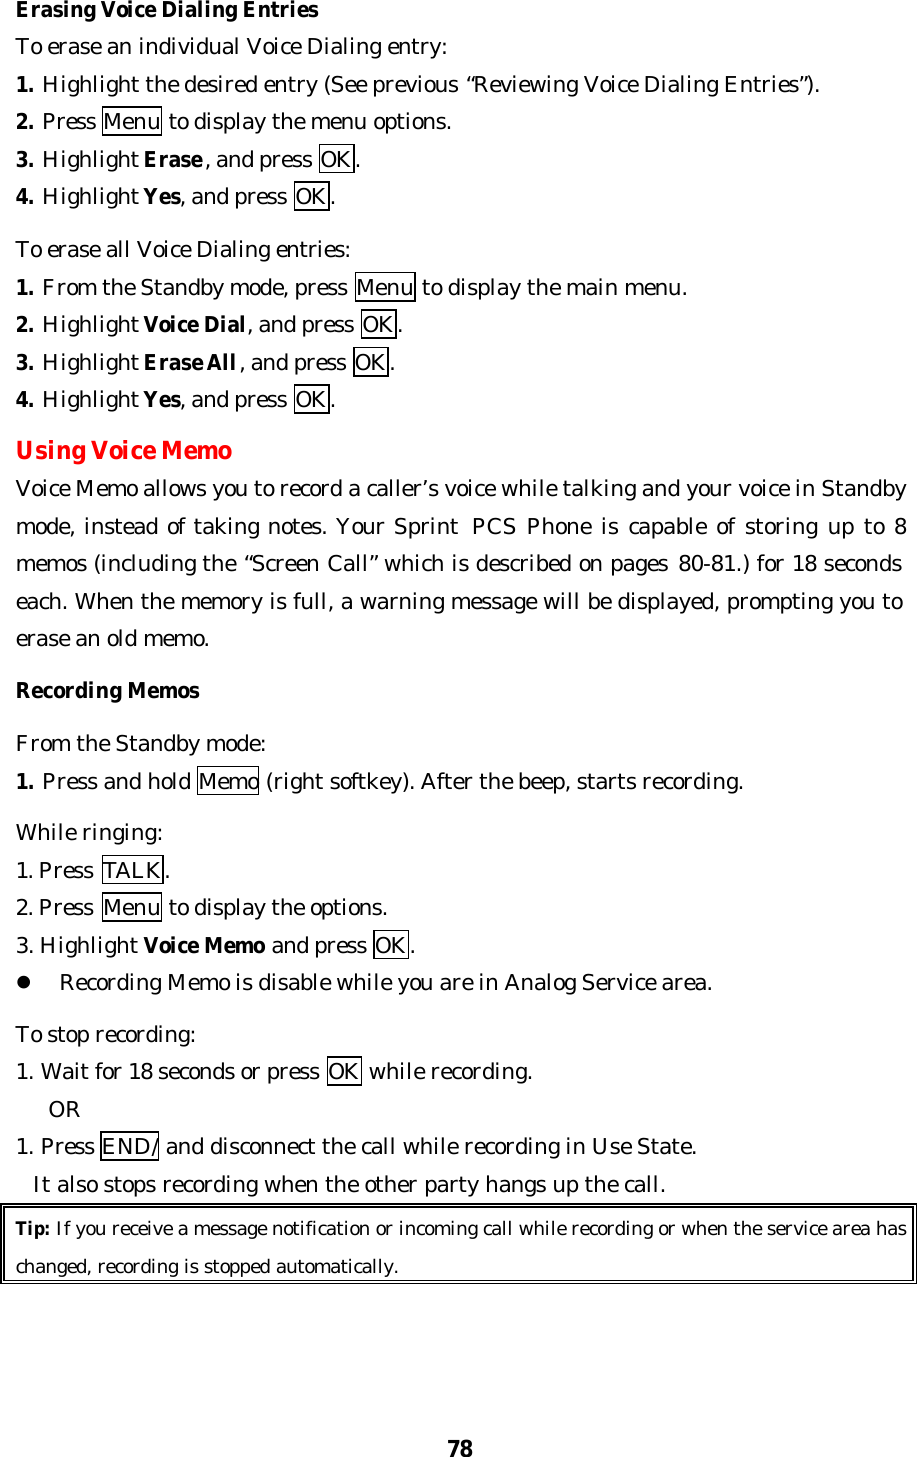
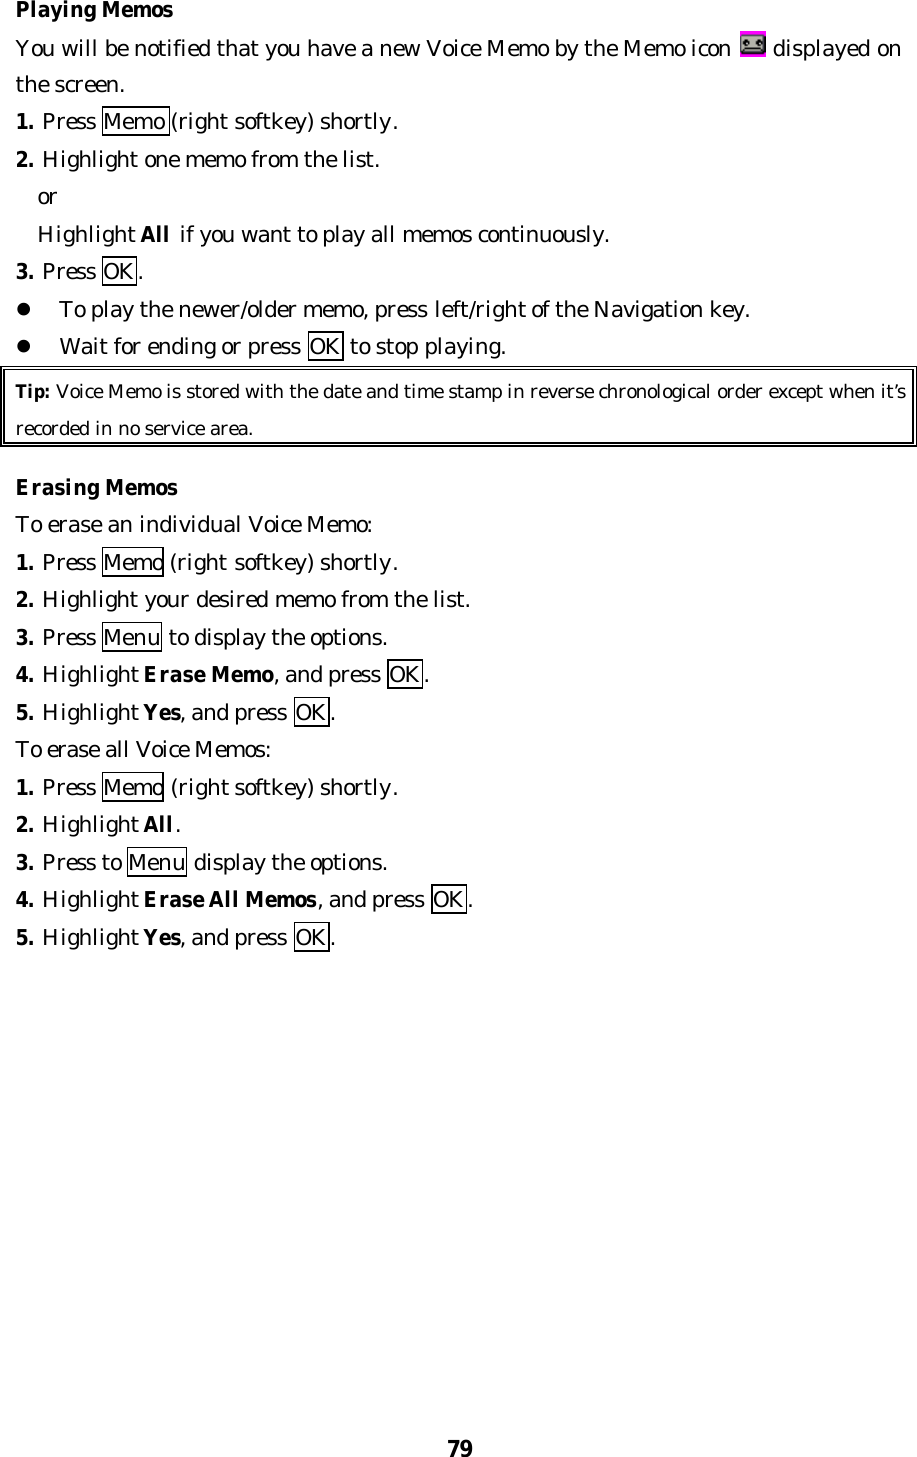
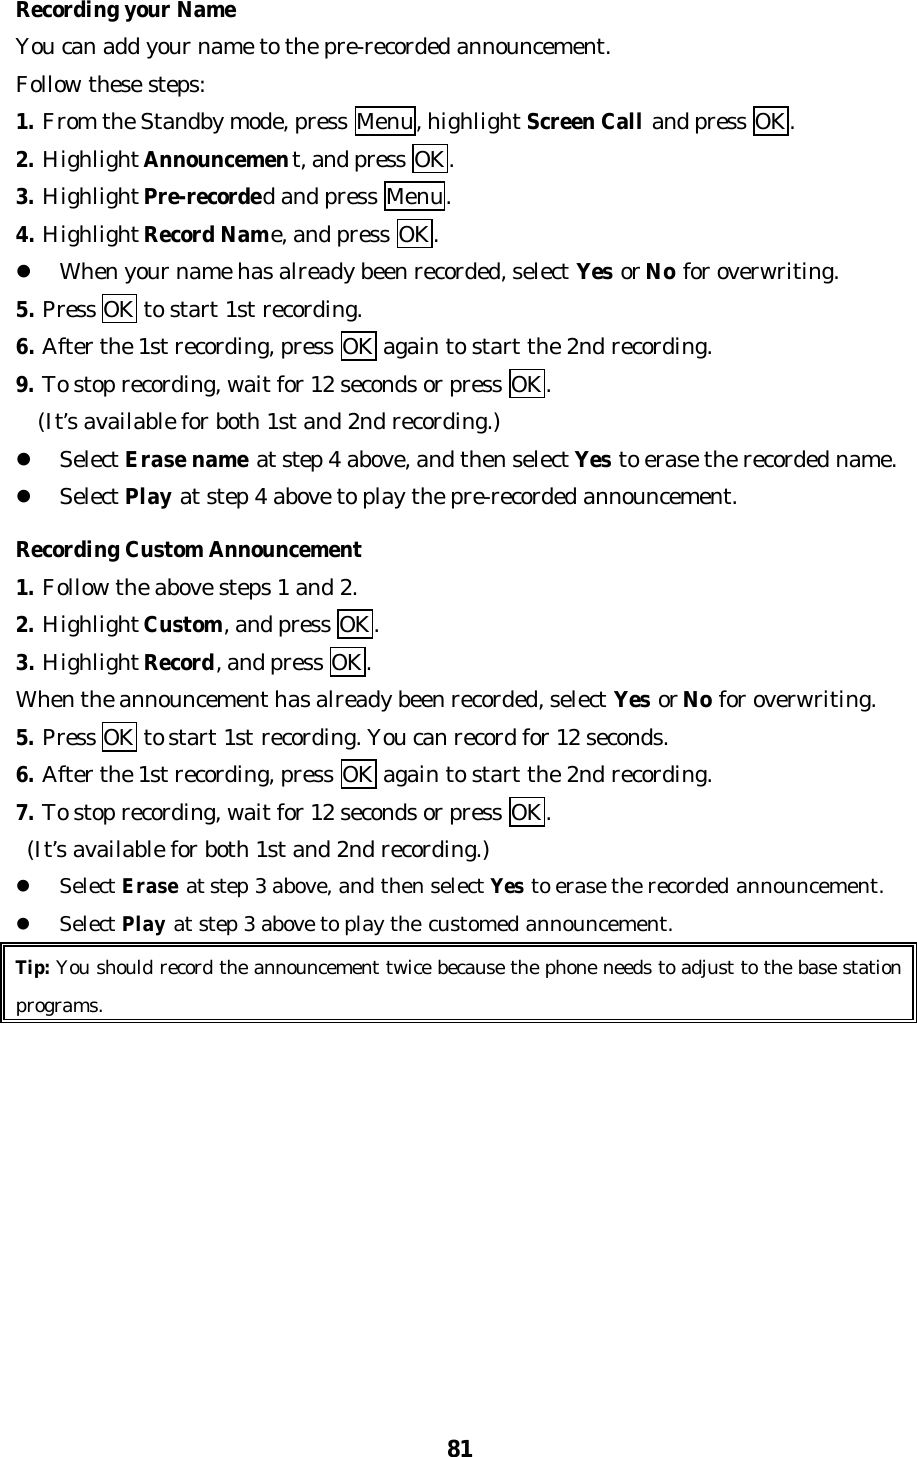
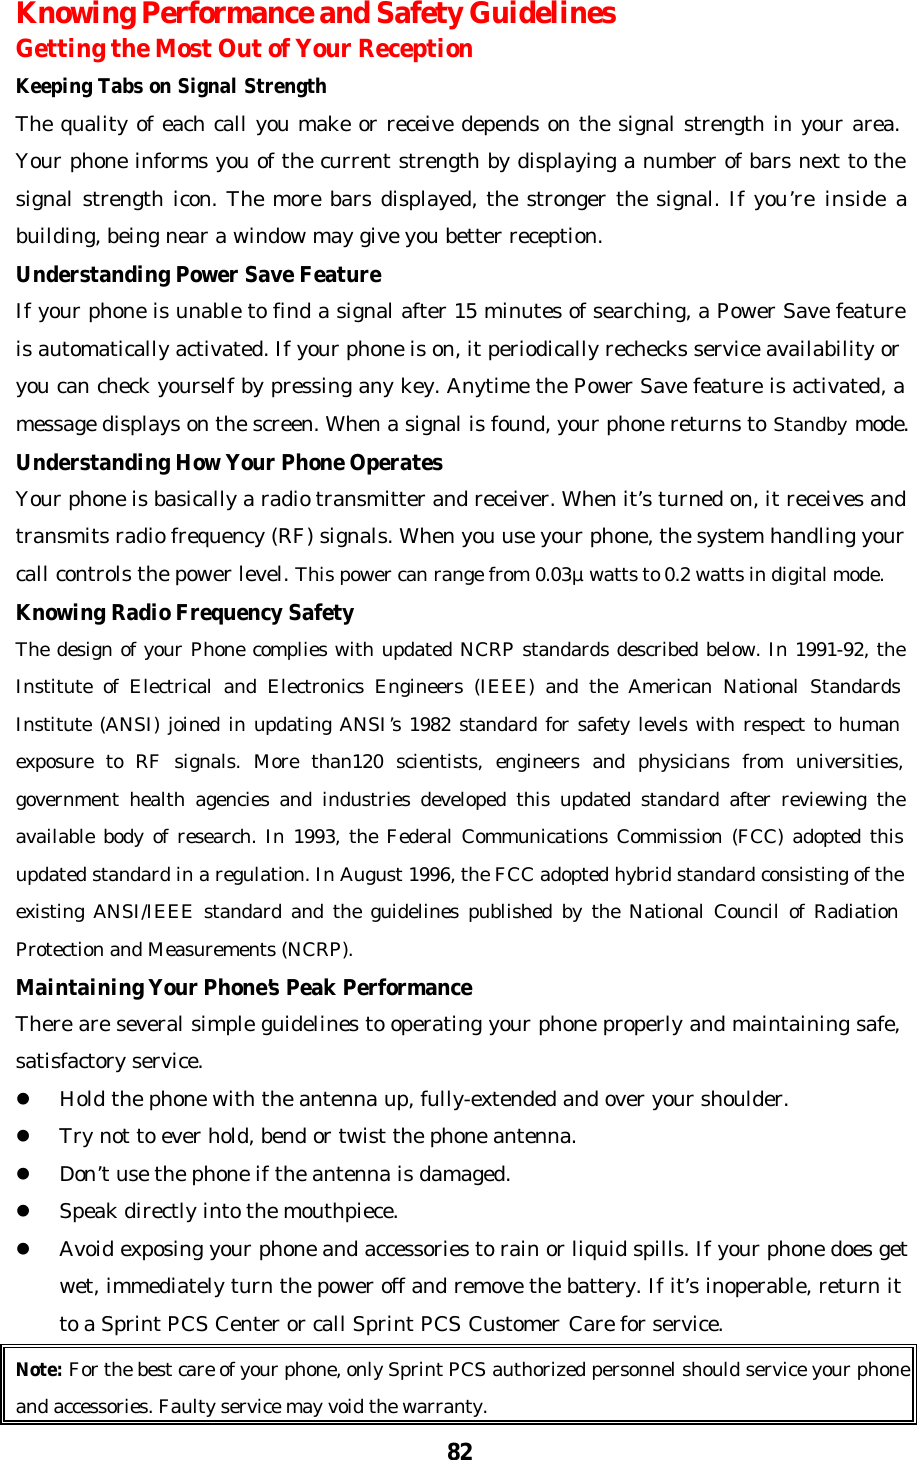
![30Entering Symbols and NumbersEntering SYMBOLTo enter symbols, select the SYMBOL mode. (See “Selecting a Character Input Mode” on page 28.)1. In a text entry field, press Mode (right softkey).2. Highlight SYMBOL.3. Press OK.4. Highlight the line that includes your desired symbol.5. Press the corresponding key (1 ~ 0) with each symbol. or Highlight your desired symbol by using the Navigation key, and press OK.Symbol List1234567890.-’/:@,?! `( ) “;%&* # ¢{ } ~|=^_[ ] £<>+$« »°¿¡§Shortcut: You can also change to the Symbol mode from the other entering mode by pressing andholding Sift *.Entering NUMBERTo enter numbers, select the NUMBER mode and press the appropriate key (see“Selecting a Character Input Mode” on page 28).1. Press Mode.2. Highlight NUMBER.3. Press OK.Shortcut: You can also change to the Number mode from the other entering mode bypressing and holding Space #. Or press and hold the corresponding numeric key to enterthe number directly.](https://usermanual.wiki/Sanyo-Electric-Co/SCP-62H/User-Guide-182139-Page-31.png)