Sanyo Electric Co SCP-81H Tri-Mode Dual-Band Analog/ PCS Phone (AMPS/ CDMA) User Manual 8100 Online E 3b
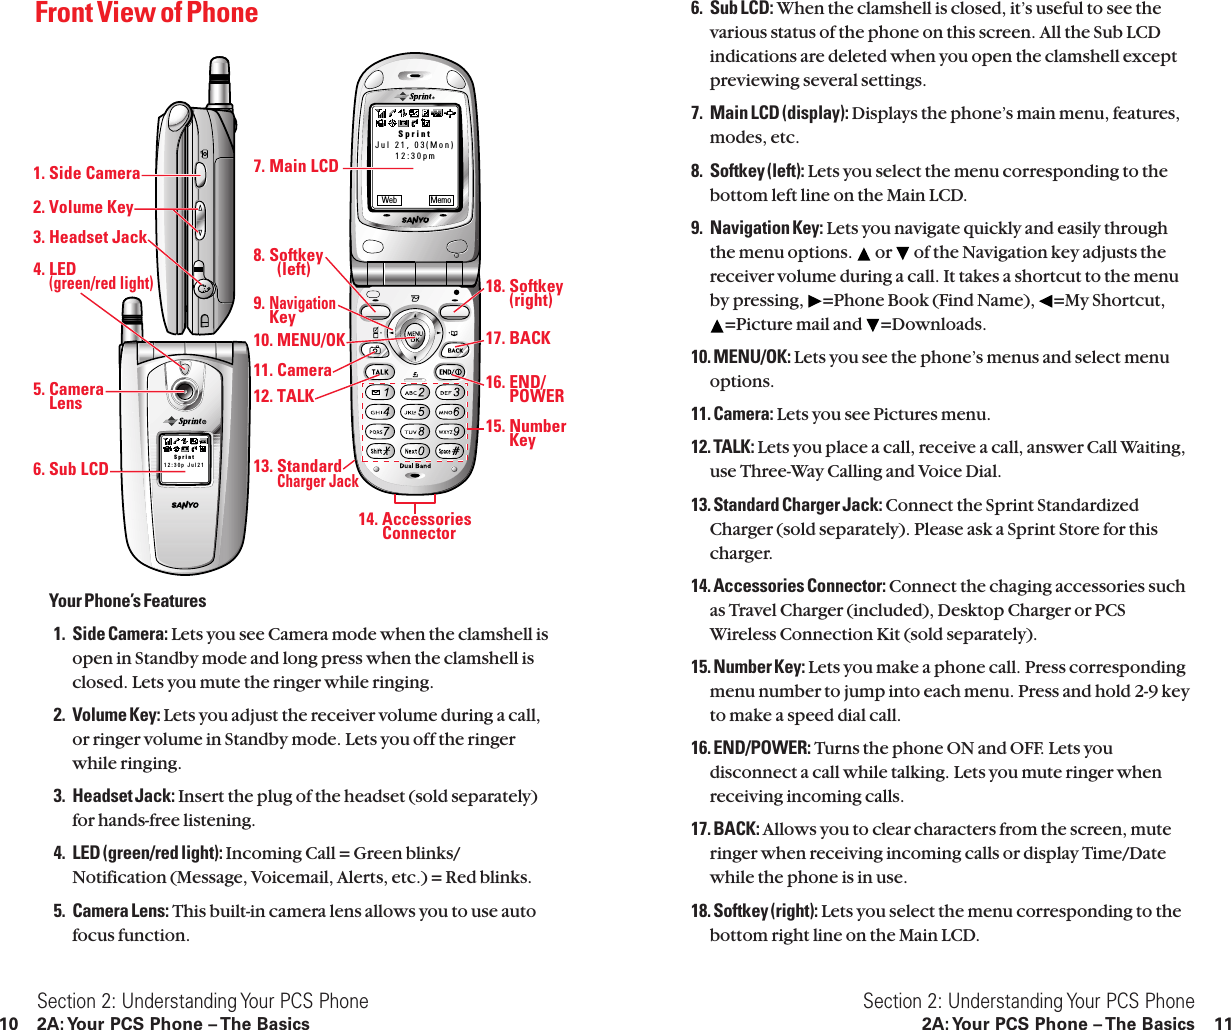
Sanyo Electric Co Ltd Tri-Mode Dual-Band Analog/ PCS Phone (AMPS/ CDMA) 8100 Online E 3b
UserManual.wiki
>
Sanyo Electric Co
>
SCP 81H User Manual
Users Manual
Navigation menu
Upload a User Manual
Namespaces
Wiki Guide
HTML
PDF
Info
Views
User Manual
Discussion / Help
Navigation

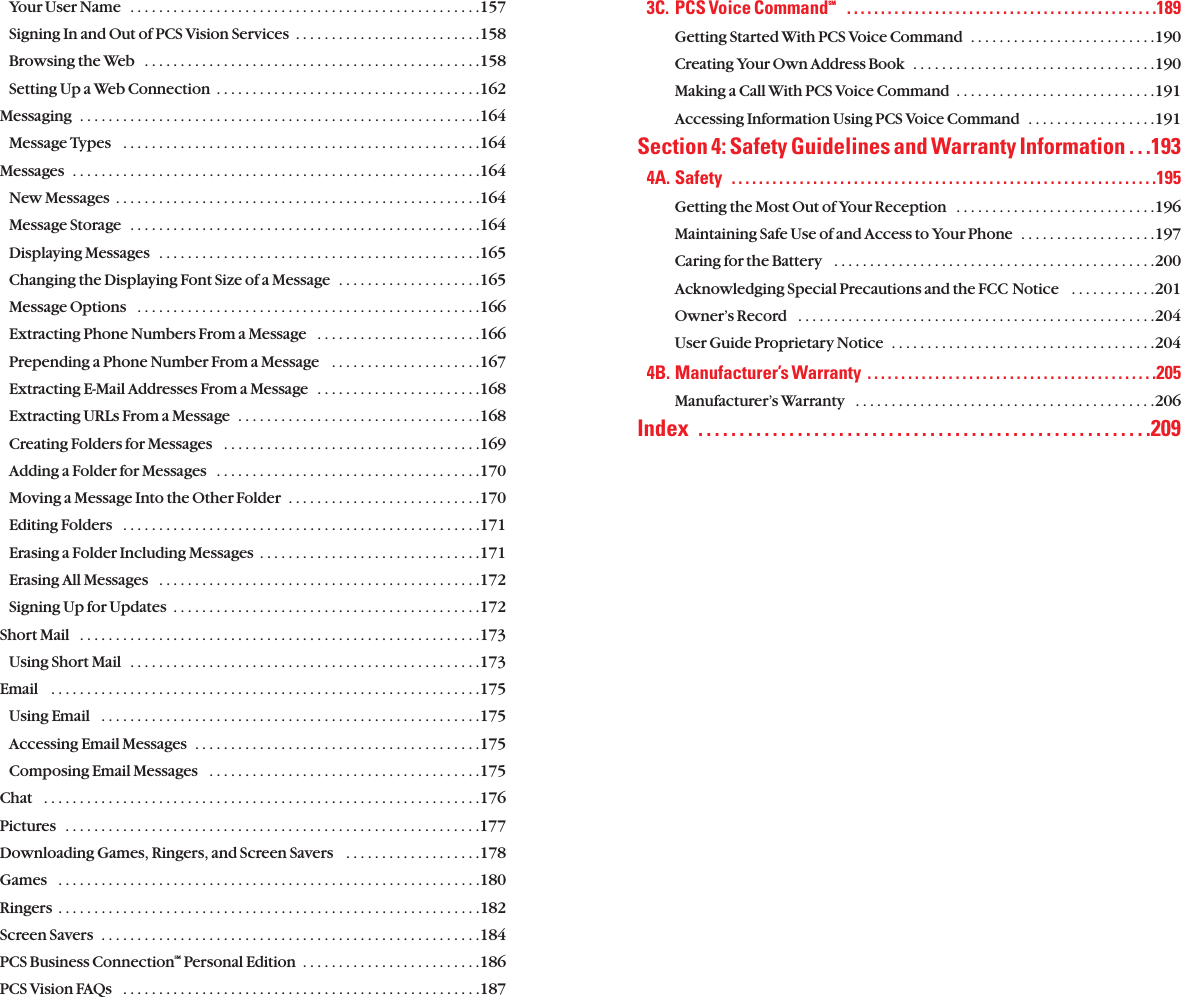


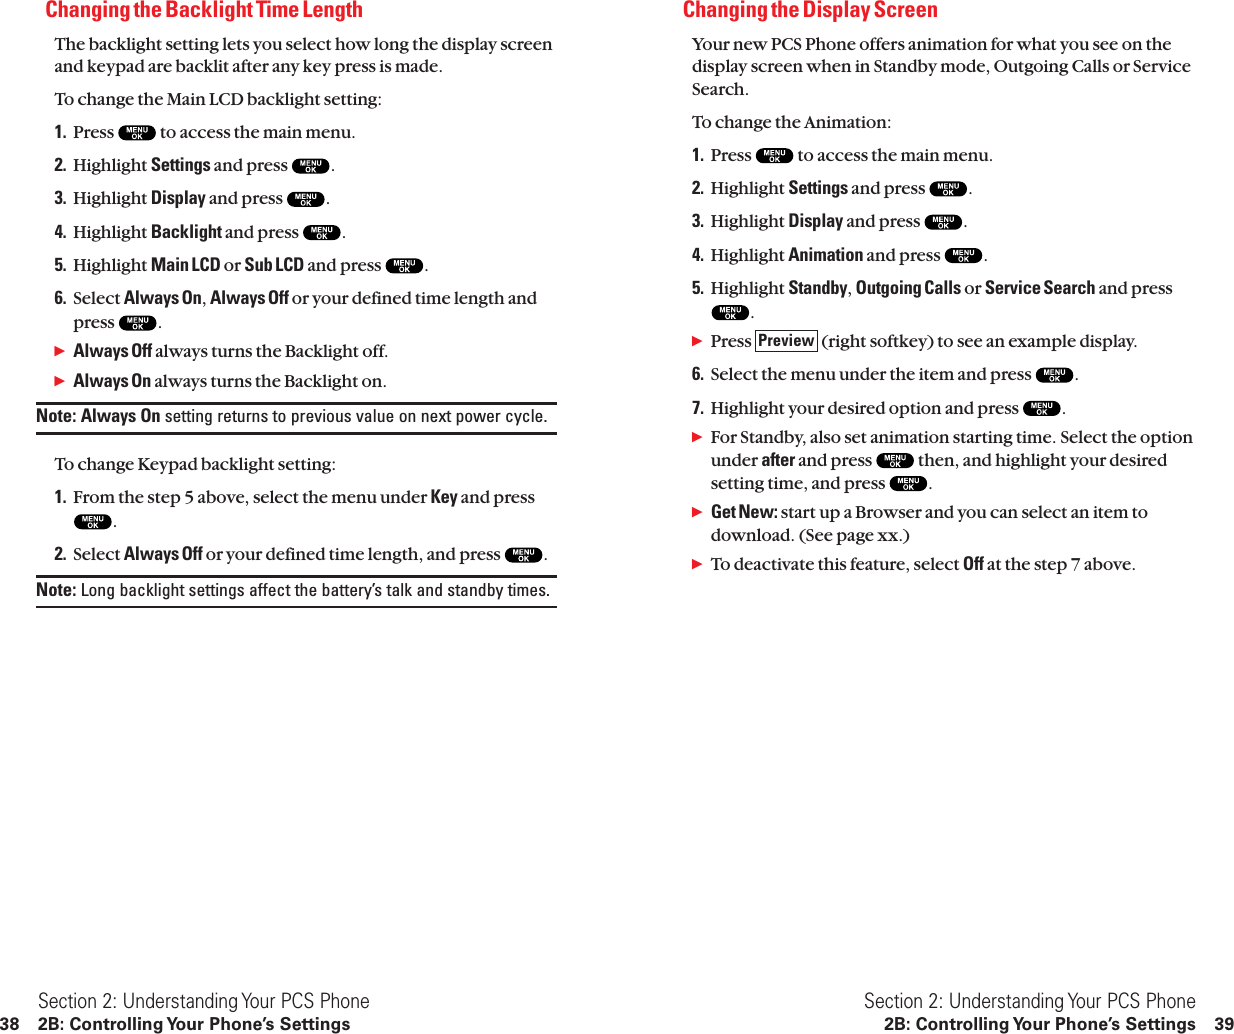
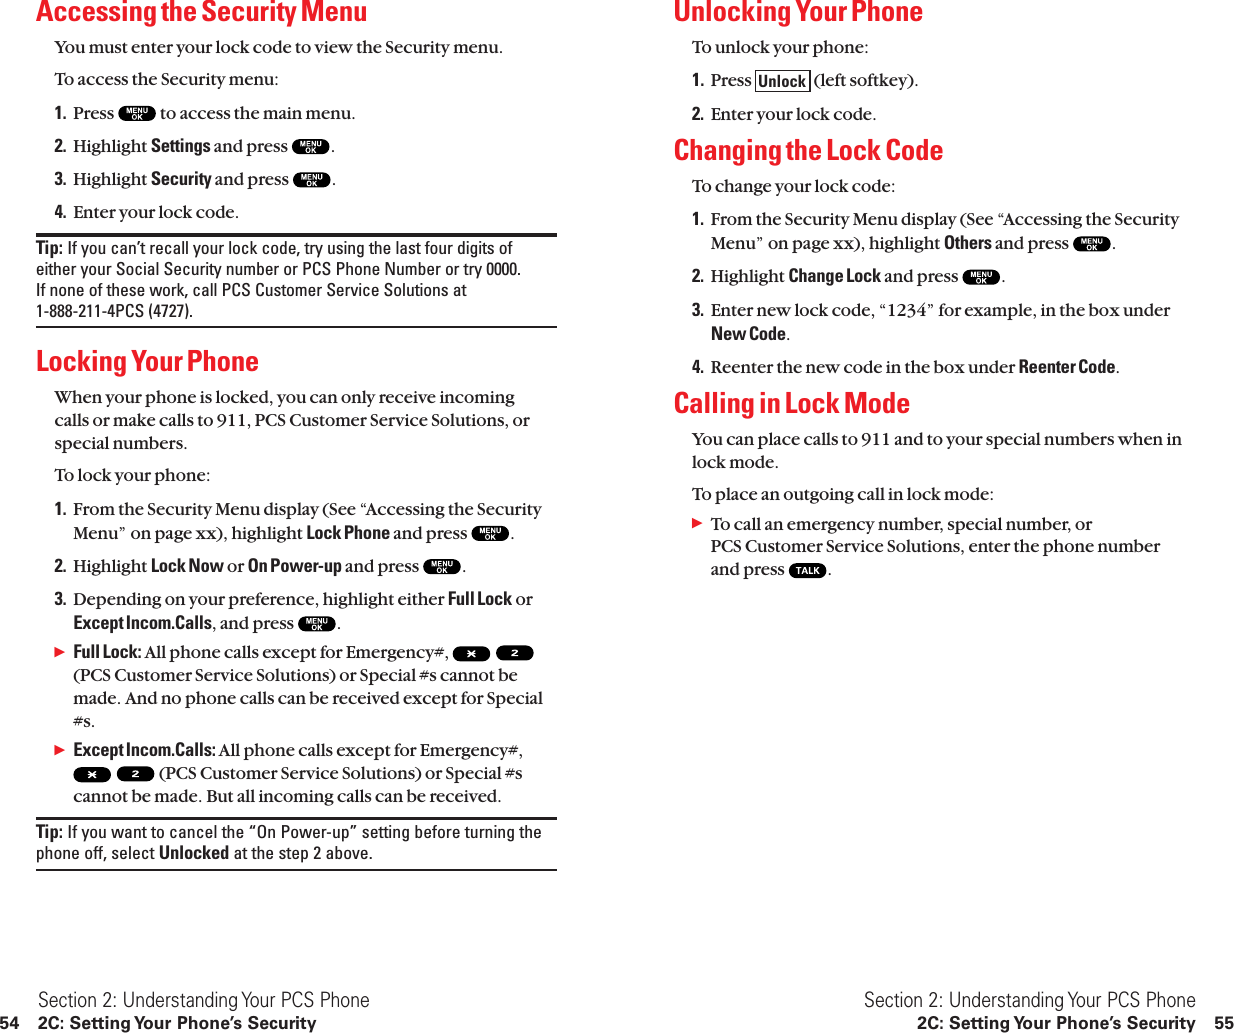
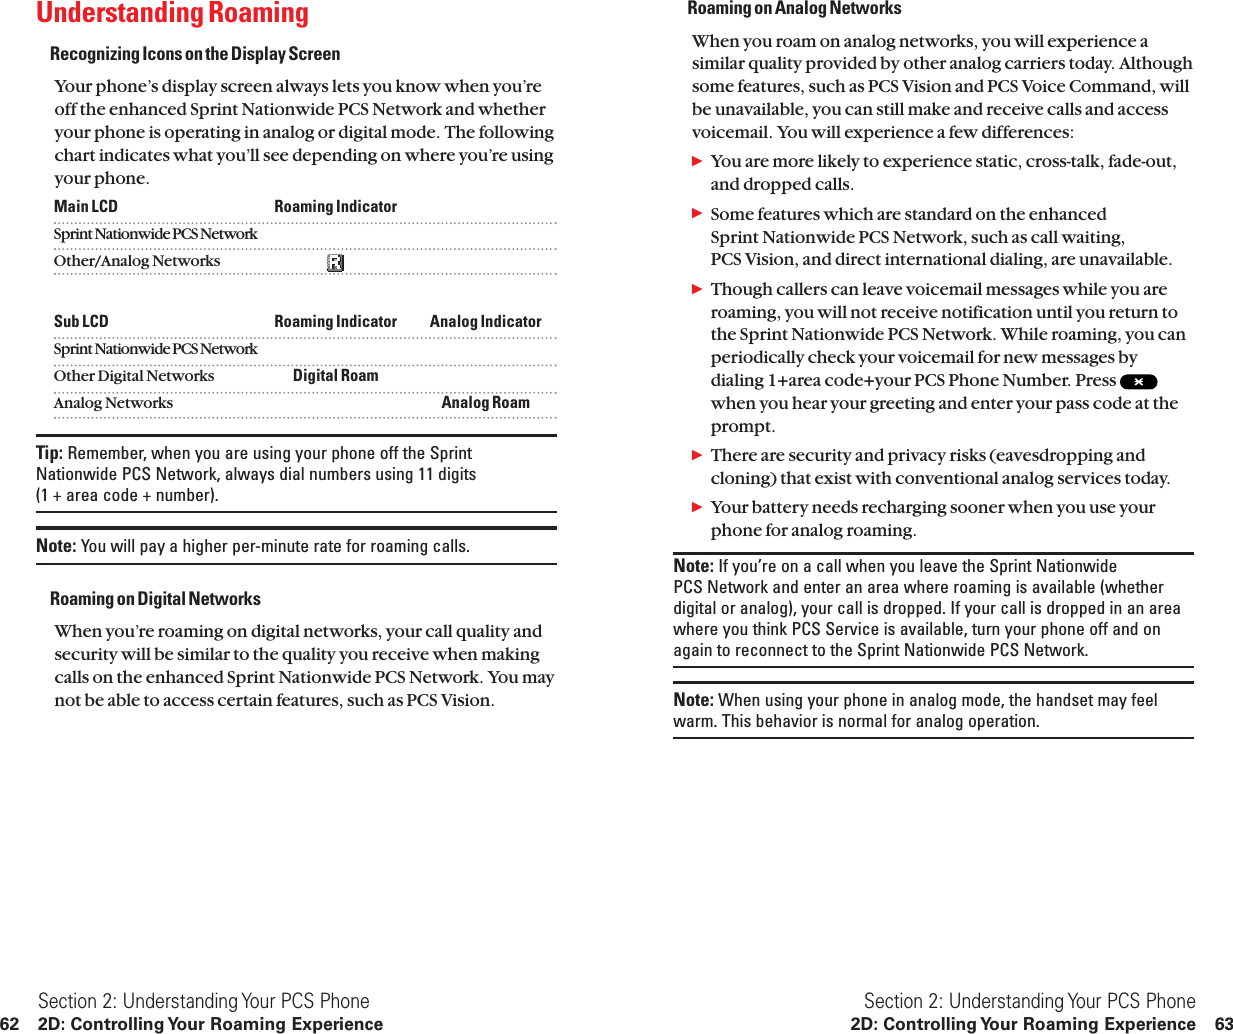


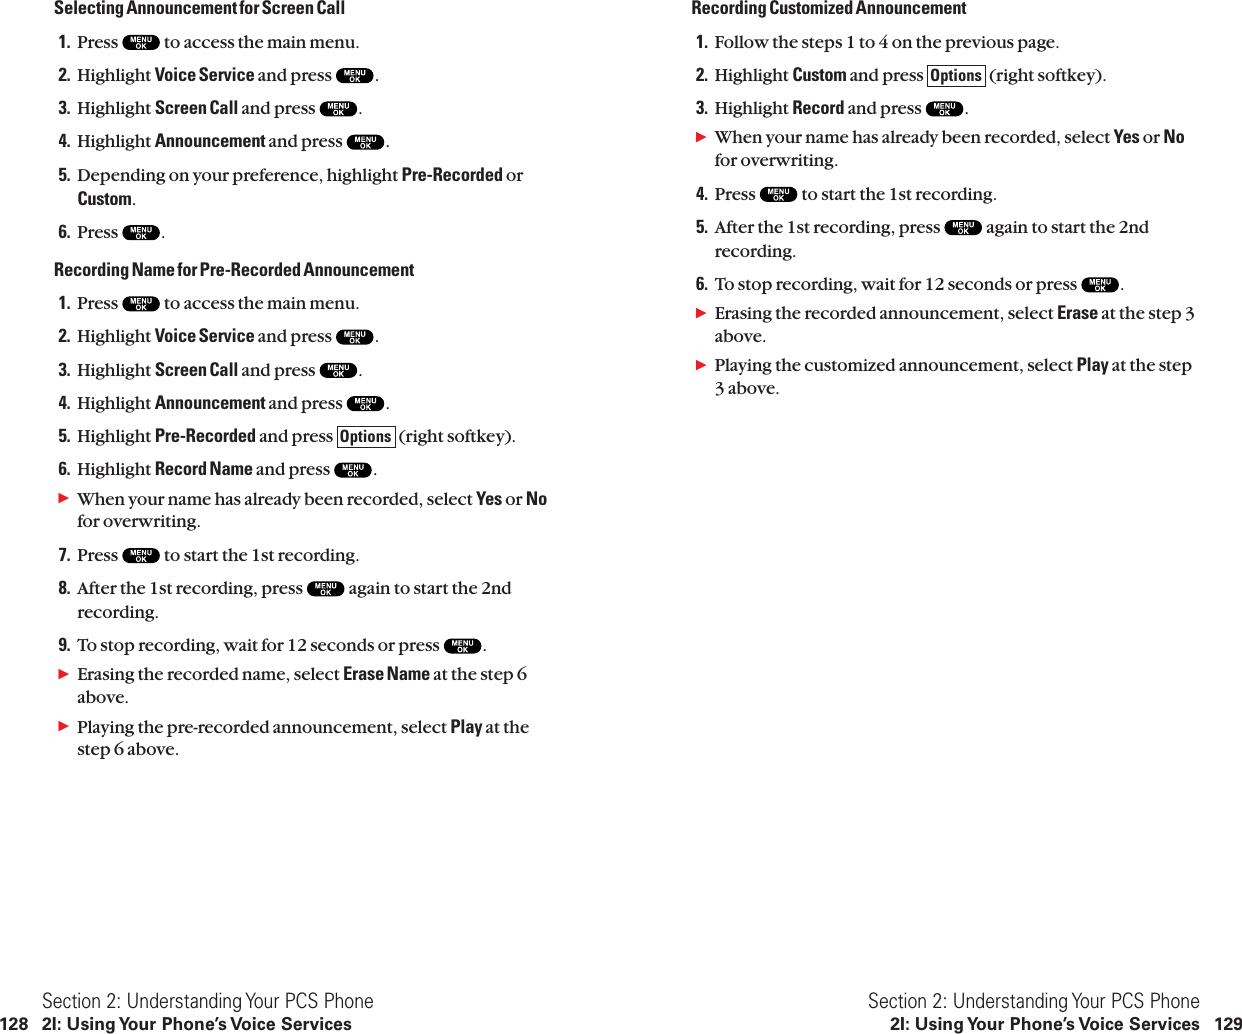
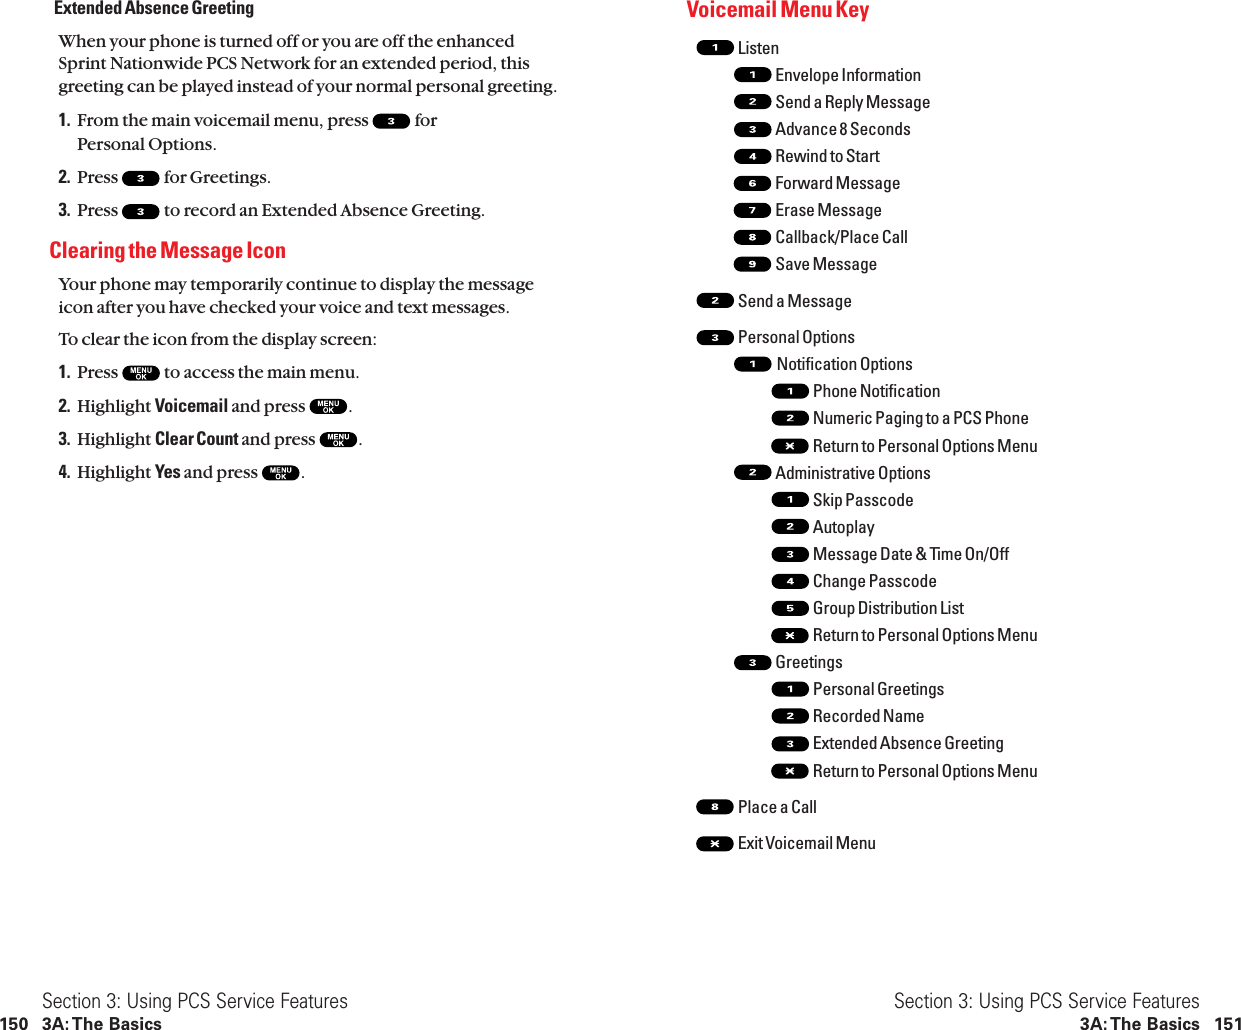
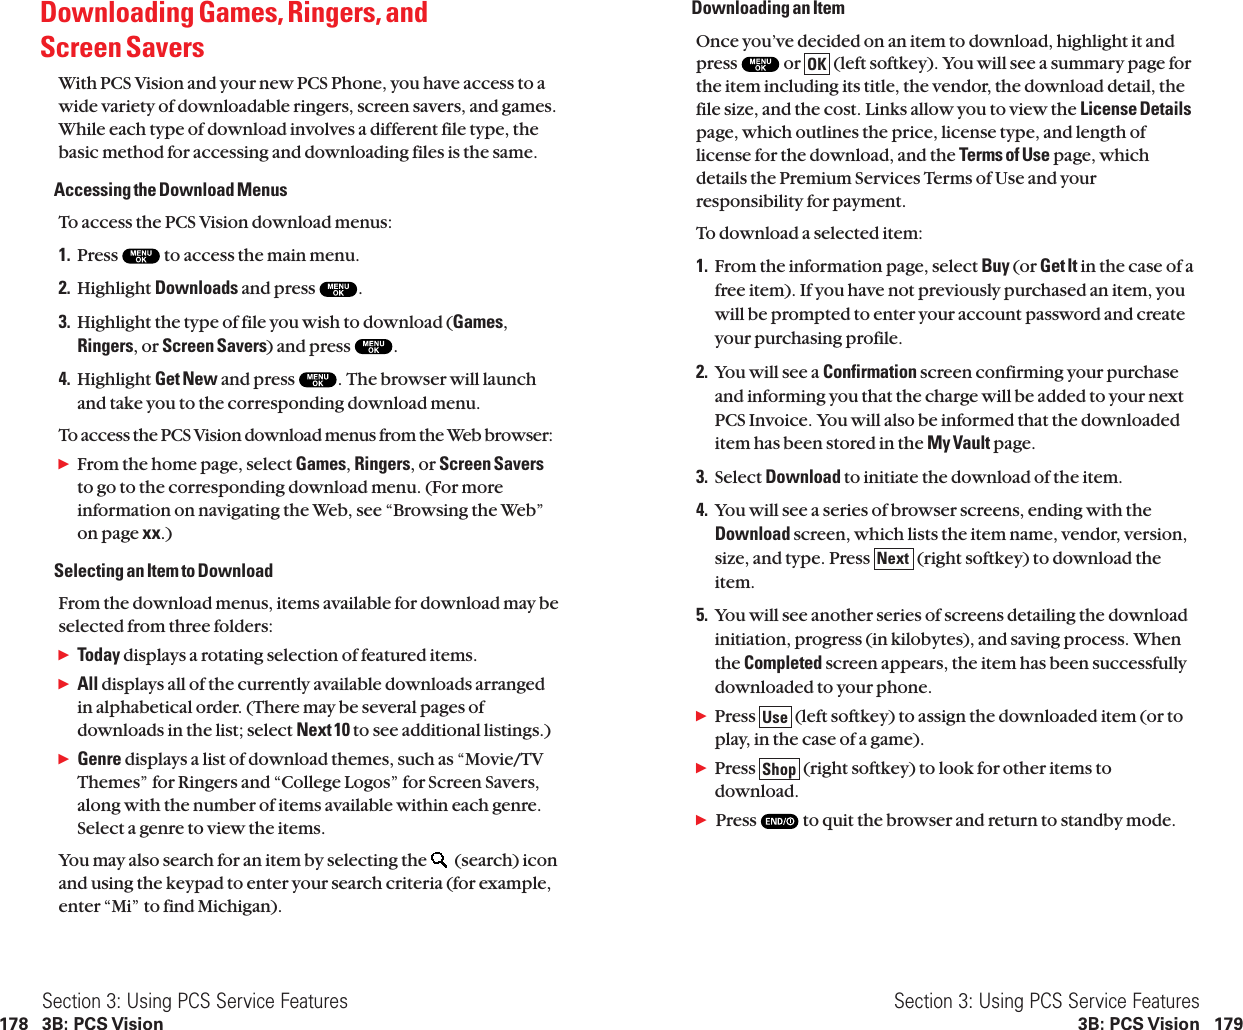
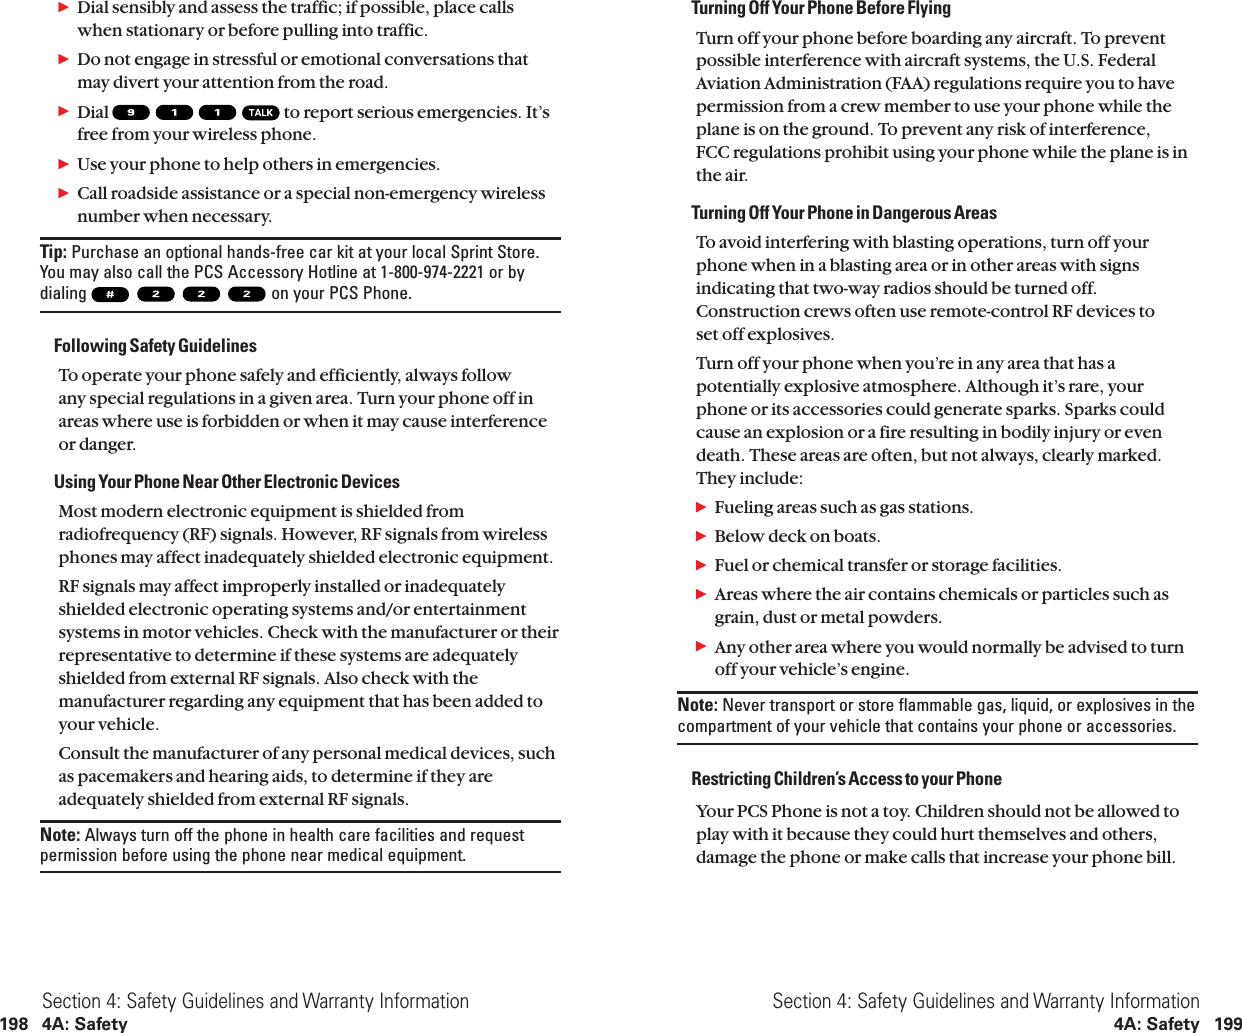
![Reviewing Voice Dialing Tags1. Press to access the main menu.2. Highlight Voice Service and press .3. Highlight Voice Dial and press .4. Highlight Review and press .5. Highlight the desired entry and press .or Highlight the desired entry and press (right softkey).Highlight Play and press .ᮣHighlight Erase at the step 5 above, and then select Yes toerase voice dial tag.Erasing All Voice Dial TagsTo erase all voice dial tags:1. Press to access the main menu.2. Highlight Voice Service and press .3. Highlight Voice Dial and press .4. Highlight Erase All and press .5. Highlight Yes and press .OptionsSection 2: Understanding Your PCS Phone2I: Using Your Phone’s Voice Services 123Using Voice-Activated DialingIn addition to PCS Voice CommandSM (see page xx), you can use a Voice Dial tag to automatically dial a phone number in yourInternal Phone Book. Your phone can store up to [xx] Voice Dialtags. (To create a Voice Dial tag, see “Programming Voice Dial Tagto Your Phone” on page xx.)To use a Voice Dial tag to call a phone number:1. Press shortly.2. Follow the voice prompts and recite the entry’s Voice Dial taginto your phone’s microphone.Note: Record Voice Dial tags in a quiet environment and without the aidof an accessory (for example, a headset or hands-free car kit).Programming Voice Dial Tag to Your PhoneTo program a voice dial tag:1. Press to access the main menu.2. Highlight Voice Service and press .3. Highlight Voice Dial and press .4. Highlight Program and press .5. The phone will prompt you to say the name you want toprogram. Wait for the beep and then say the name.6. Respond to the prompt by repeating the name after the beep.7. Enter or highlight the entry (name) in the phone book entrylist.8. Press .9. Select the labeled category that includes your desired phonenumber. Then display shows “Voice Dial Recorded”.Section 2: Understanding Your PCS Phone122 2I: Using Your Phone’s Voice Services](https://usermanual.wiki/Sanyo-Electric-Co/SCP-81H/User-Guide-311241-Page-69.png)

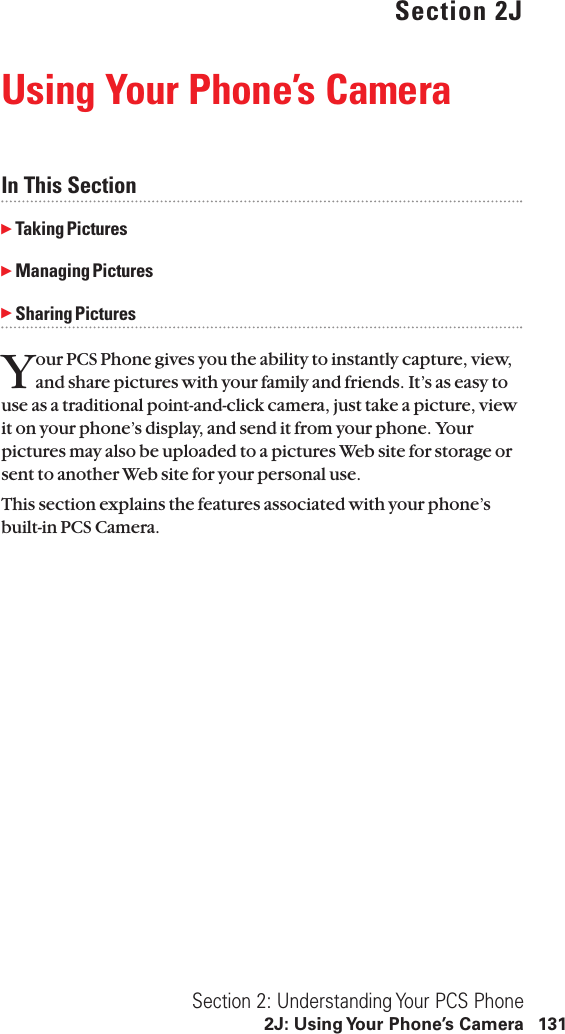


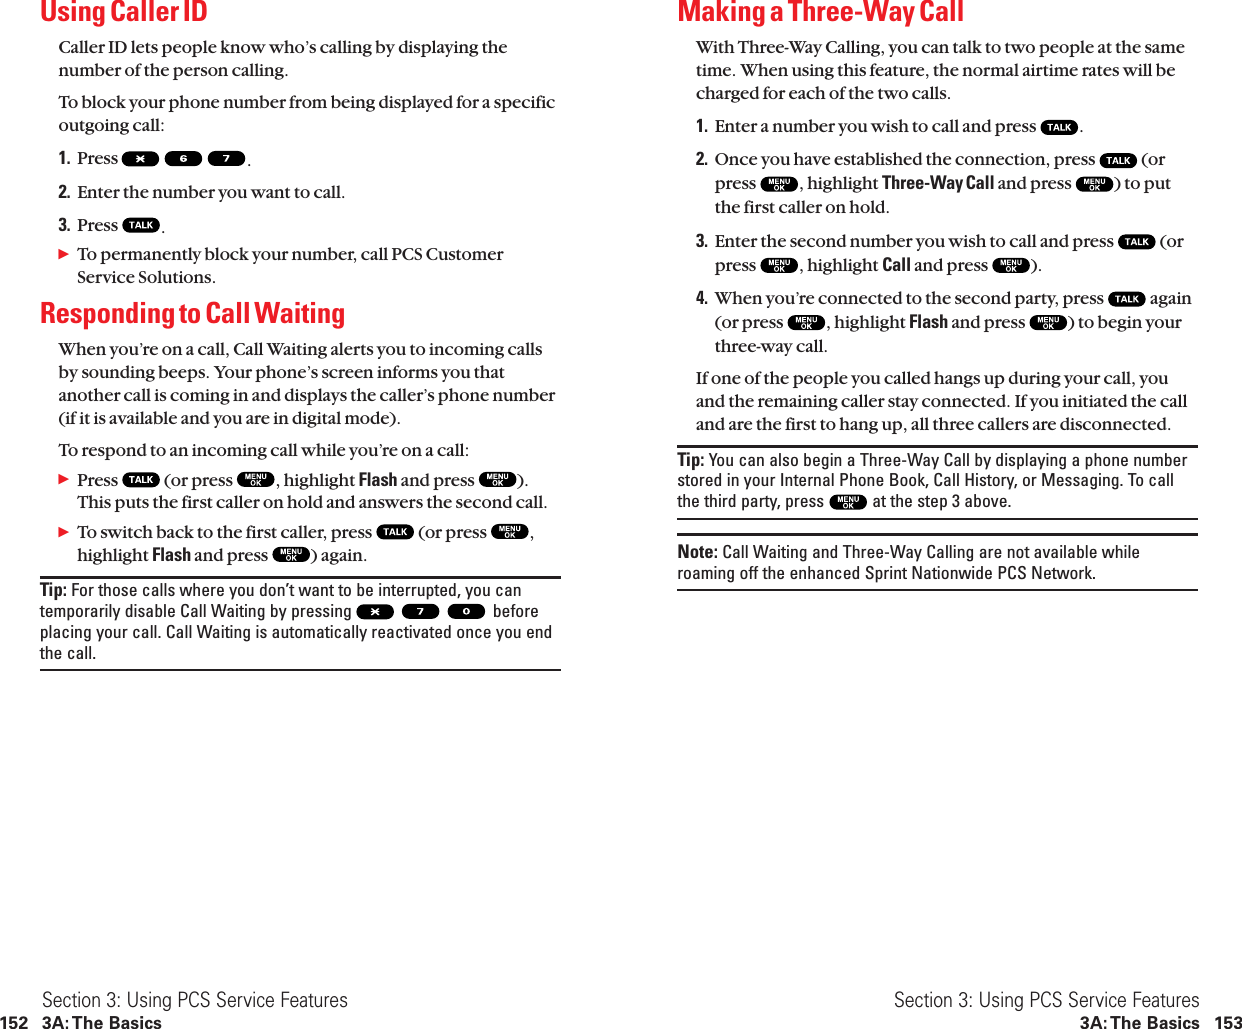


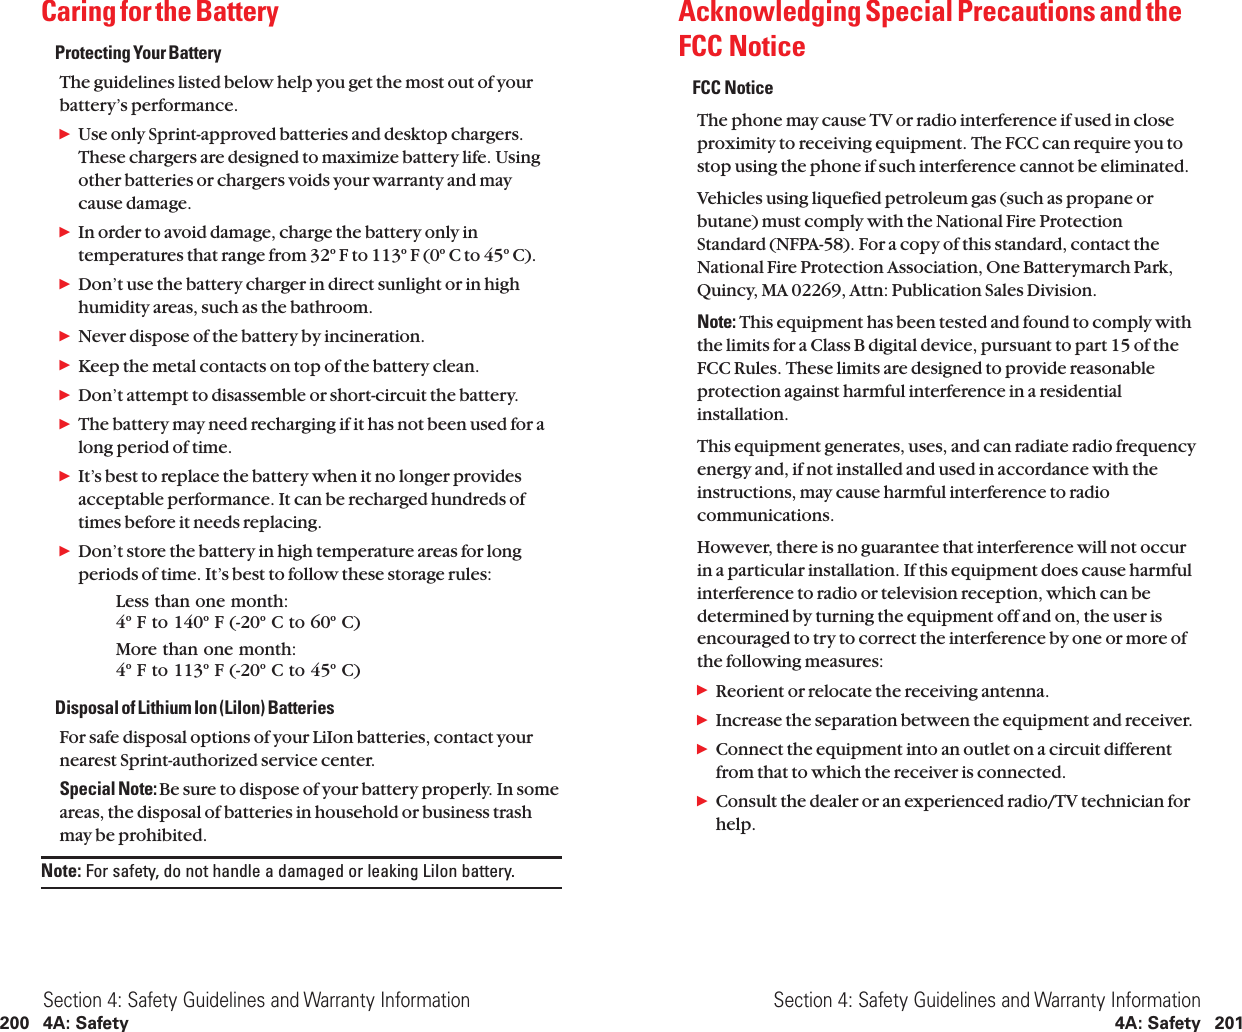
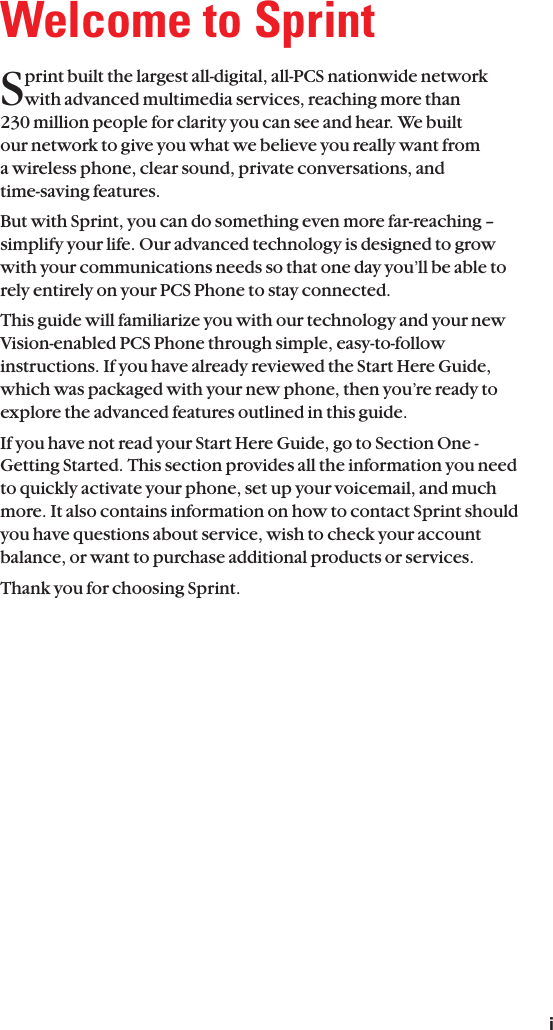
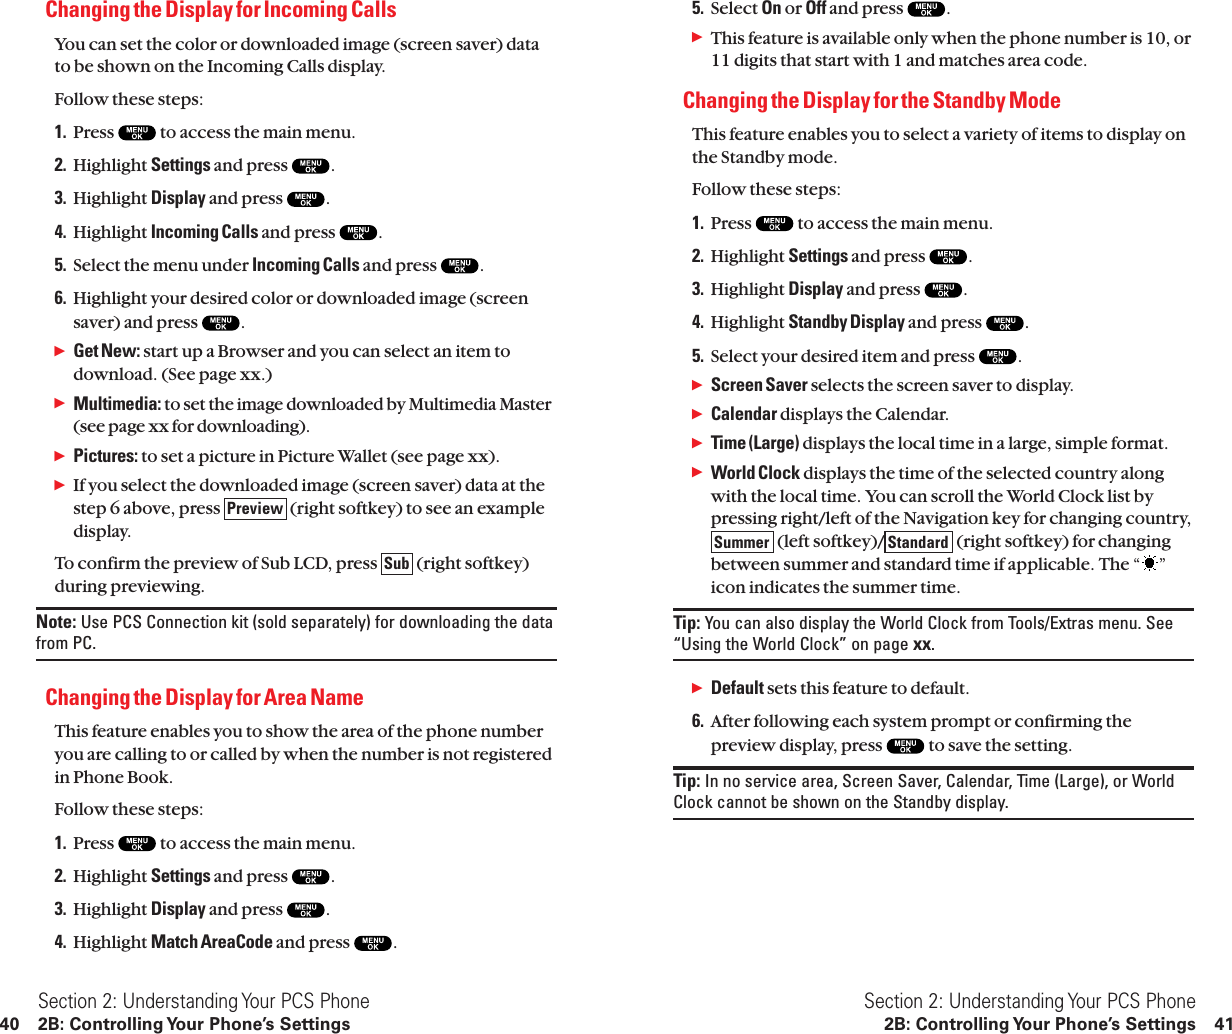
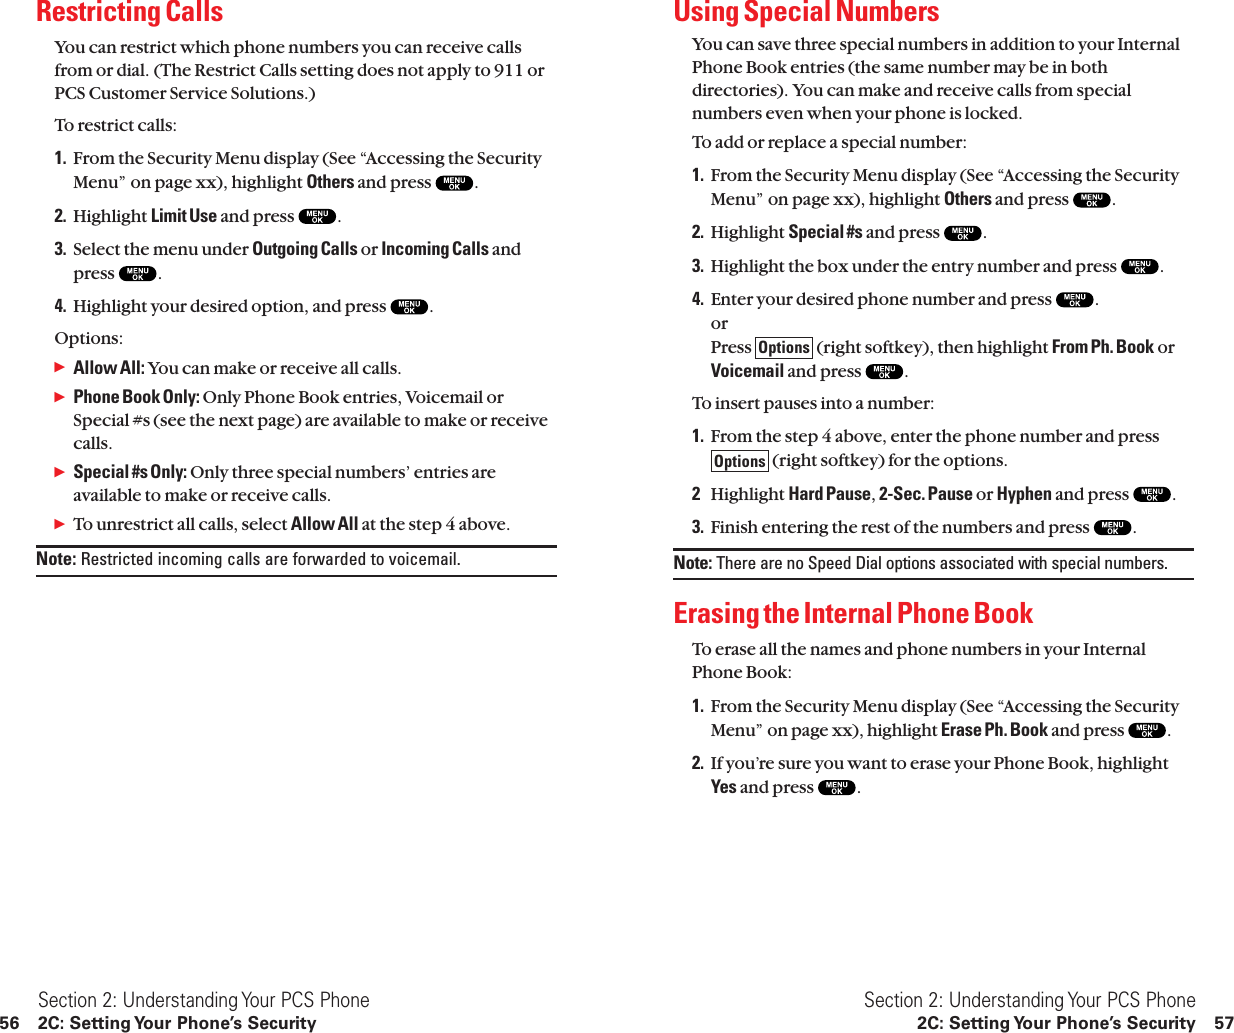
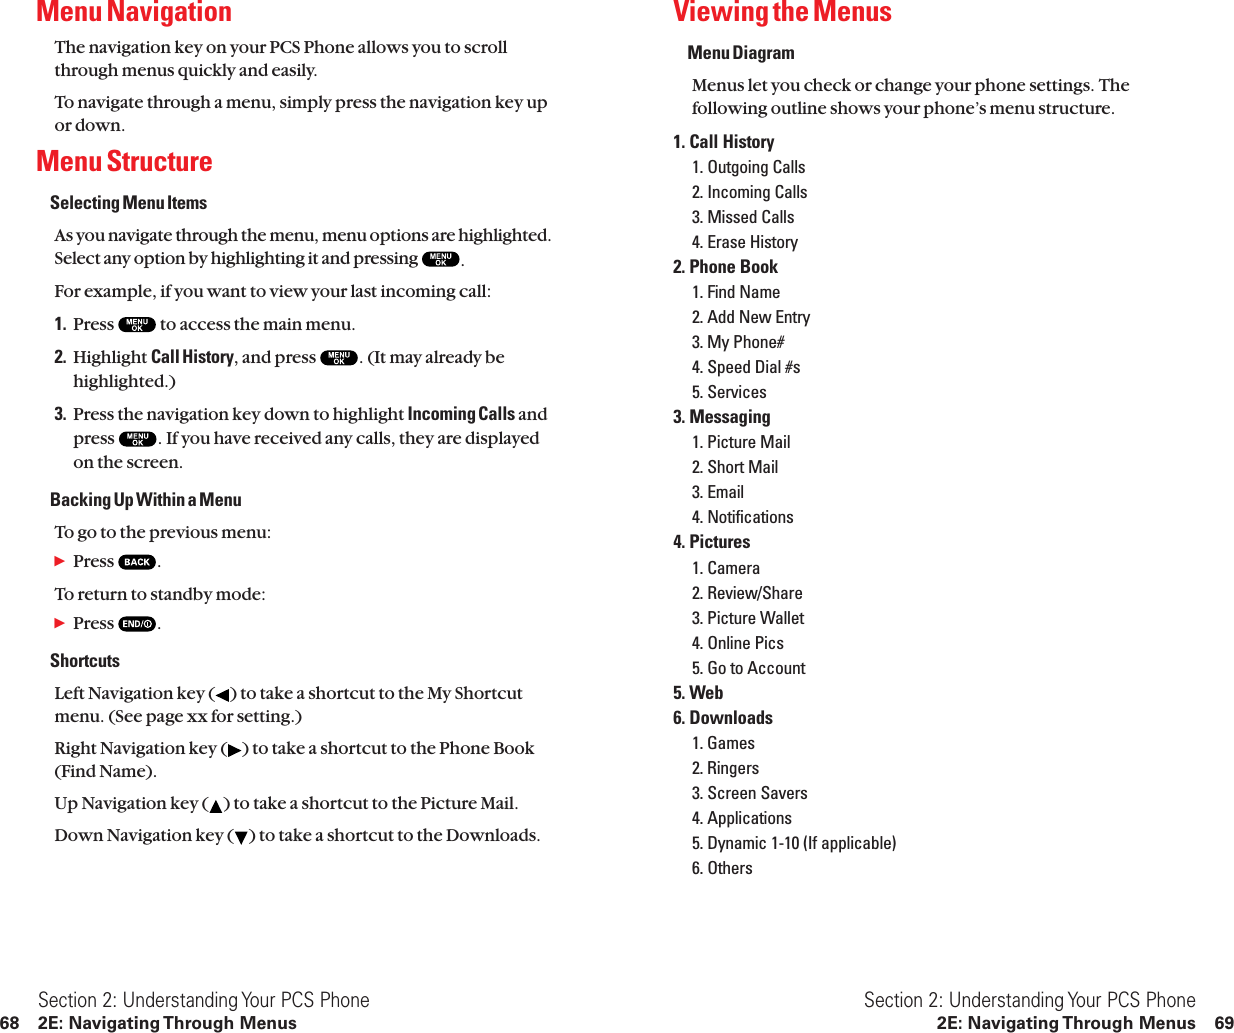
![Specific Absorption Rates (SAR) for Wireless PhonesThe SAR is a value that corresponds to the relative amount of RFenergy absorbed in the head of a user of a wireless handset.The SAR value of a phone is the result of an extensive testing,measuring and calculation process. It does not represent howmuch RF the phone emits. All phone models are tested at theirhighest value in strict laboratory settings. But when inoperation, the SAR of a phone can be substantially less than thelevel reported to the FCC. This is because of a variety of factorsincluding its proximity to a base station antenna, phone designand other factors. What is important to remember is that eachphone meets strict federal guidelines. Variations in SARs do notrepresent a variation in safety.All phones must meet the federal standard, which incorporates asubstantial margin of safety. As stated above, variations in SARvalues between different model phones do not mean variationsin safety. SAR values at or below the federal standard of 1.6 W/kgare considered safe for use by the public.The highest reported SAR values of the SCP-8100 are:AMPS mode (Part 22)- Head:1.42W/kg;Body-worn:0.79W/kg PCS mode (Part 24)- Head:1.34W/kg;Body-worn:1.33W/kgFCC Radiofrequency EmissionThis phone meets the FCC Radiofrequency Emission Guidelines.FCC ID number: [manufacturer needs to provide #]. Moreinformation on the phone’s SAR can be found from the followingFCC Web site: http://www.fcc.gov/oet/fccid.Section 4: Safety Guidelines and Warranty Information4A: Safety 203CautionsAny changes or modifications to your phone not expresslyapproved in this document could void your warranty for thisequipment, and void your authority to operate this equipment.Only use approved batteries, antennas and chargers. The use ofany unauthorized accessories may be dangerous and void thephone warranty if said accessories cause damage or a defect tothe phone.Although your phone is quite sturdy, it is a complex piece ofequipment and can be broken. Avoid dropping, hitting, bendingor sitting on it.Body-Worn OperationSAR complianec for body-worn operating configuration is basedon a separation distance of 1.8 cm between the back of the unitand the body of the user. End-users must be informed of the body-worn operating requirements for satisfying RF exposure compliance.Belt clips or holsters may not contain metallic components.For more information about RF exposure,please visit the FCCwebsite at www.fcc.gov.Section 4: Safety Guidelines and Warranty Information202 4A: Safety](https://usermanual.wiki/Sanyo-Electric-Co/SCP-81H/User-Guide-311241-Page-109.png)