Sato MB400-B2 Bar Code Printer With Bluetooth Transmitter User Manual SATO MB400 H1 4 p65
Sato Corporation Bar Code Printer With Bluetooth Transmitter SATO MB400 H1 4 p65
UserManual.wiki
>
Sato
>
MB400 B2 User Manual
User Manual
Navigation menu
Upload a User Manual
Namespaces
Wiki Guide
HTML
PDF
Info
Views
User Manual
Discussion / Help
Navigation

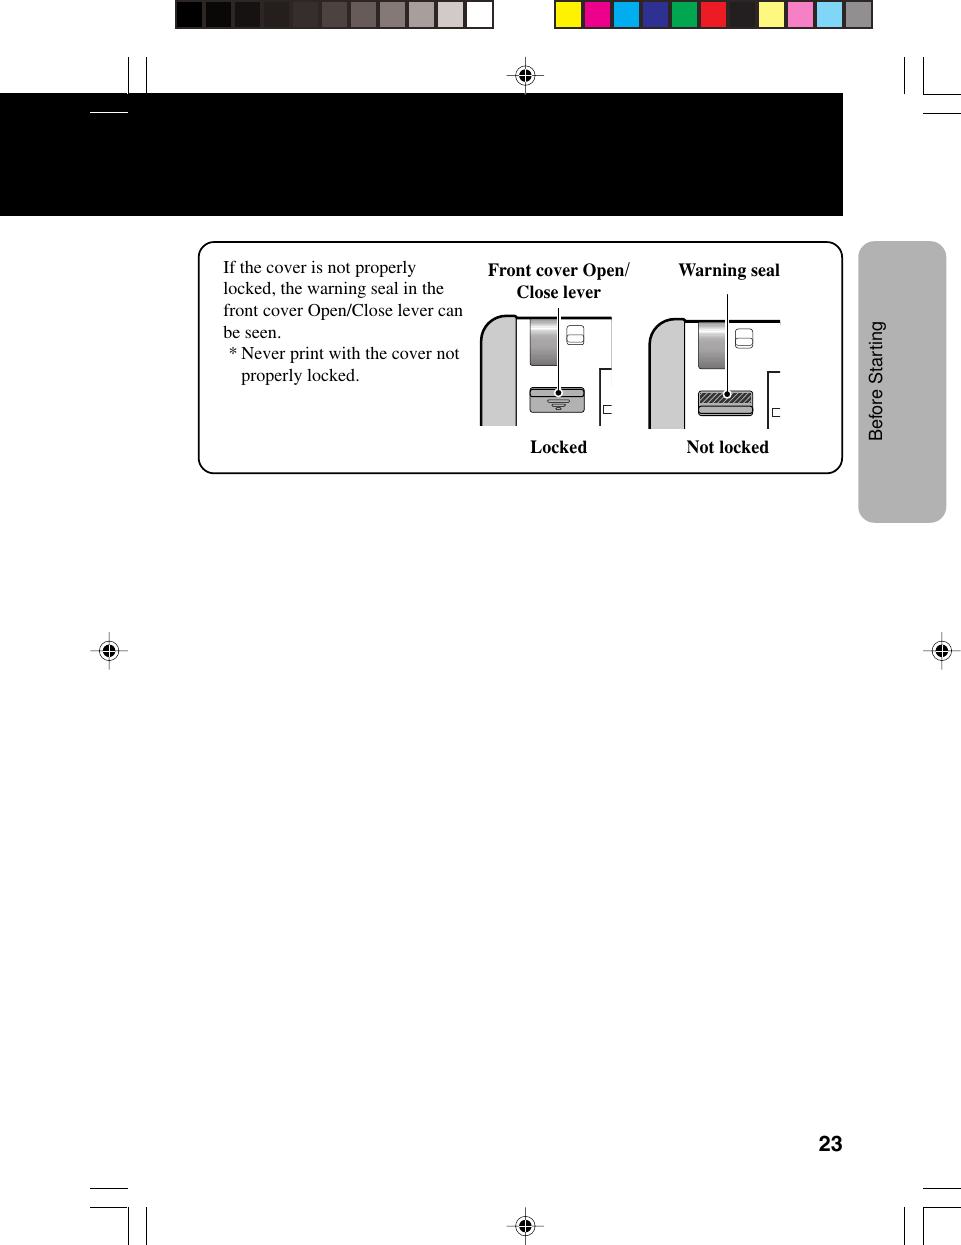
![20Before StartingBefore StartingSetting Labels[Continuous mode]... The method of setting the labels may vary dependingon the print mode.LabelsPress the cover Open/Close lever in thedirection of the arrow to release the frontcover lock.Slide the front cover to open.Hold the front cover and slide it in thedirection of the arrow until it stops.](https://usermanual.wiki/Sato/MB400-B2/User-Guide-339072-Page-20.png)
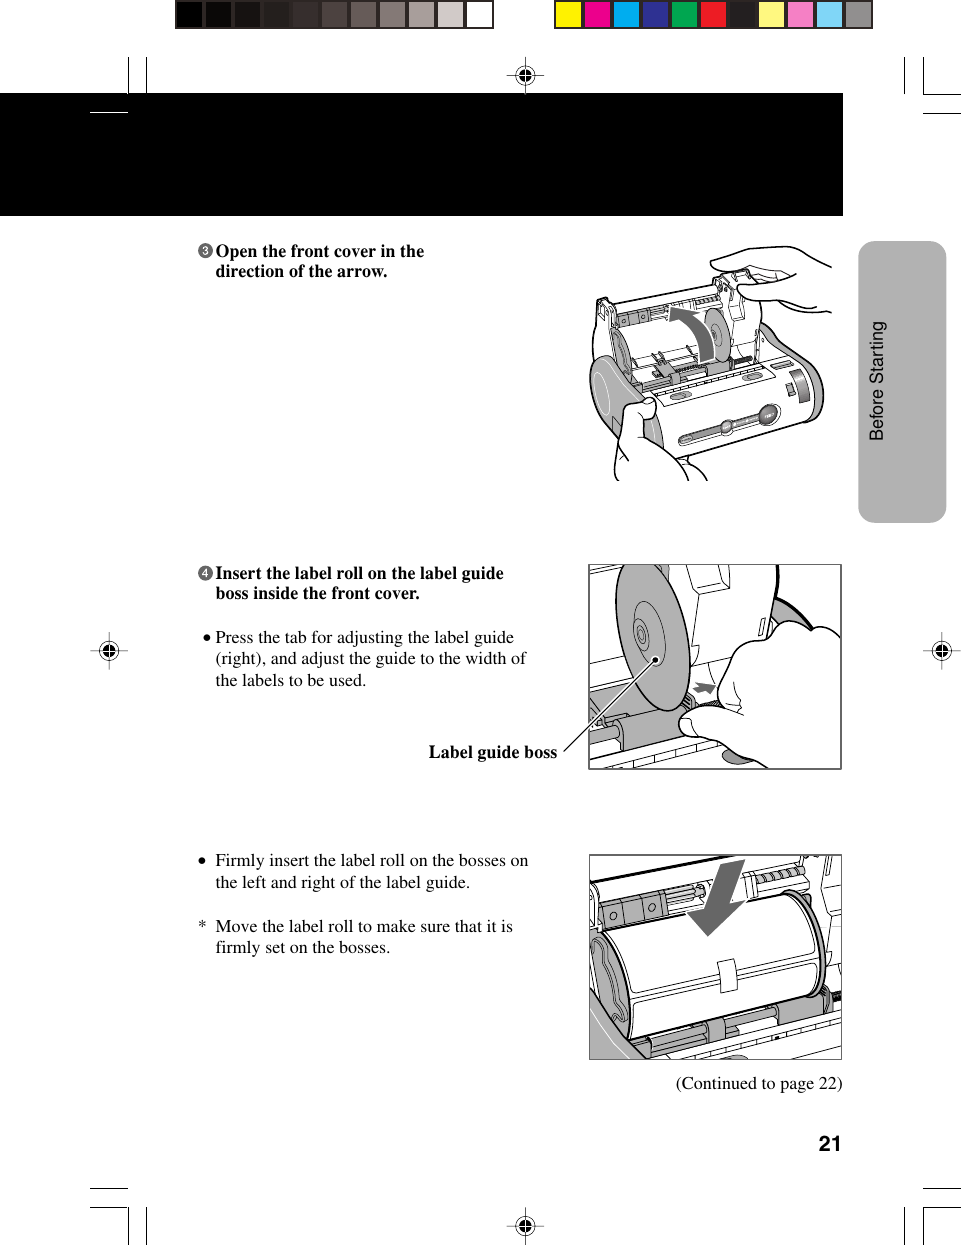
![22Before StartingBefore StartingSetting Labels[Continuous mode] (Continued from page 21)After peeling the lead tape on the roll,take the leading edge of the first label onthe roll and pull it out via the platenroller.Then turn the front cover in the directionof the arrow.... The method of setting the labels may vary dependingon the print mode.Close the front cover in the direction ofthe arrow.* Press the front cover until the cover Open/Close lever clicks.](https://usermanual.wiki/Sato/MB400-B2/User-Guide-339072-Page-22.png)