Savi Technology 654T-V1 EchoPoint Series ST-654 Tag User Manual SaviTag ST 654 Installation Gui
Savi Technology Inc EchoPoint Series ST-654 Tag SaviTag ST 654 Installation Gui
Contents
- 1. Installation Guide
- 2. FCC Statements
- 3. Compliance Notice
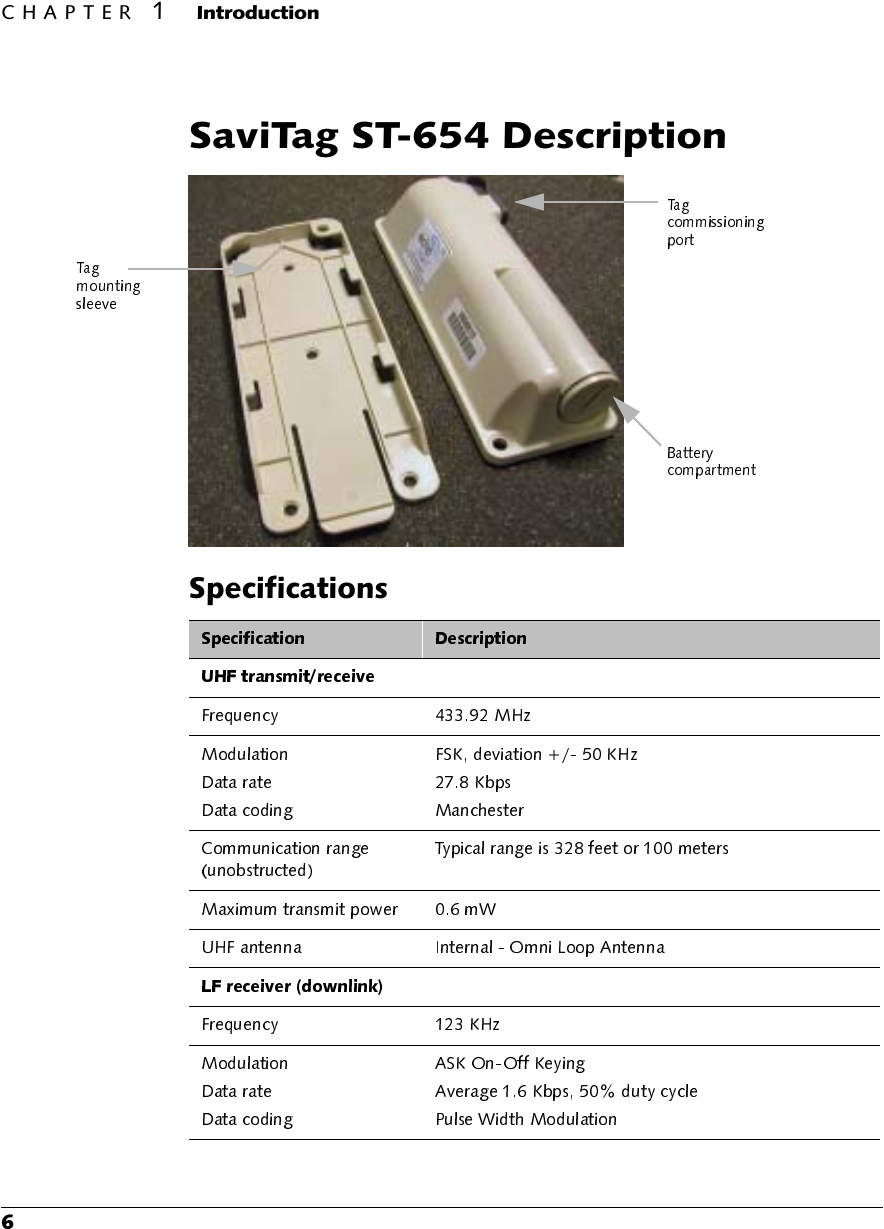
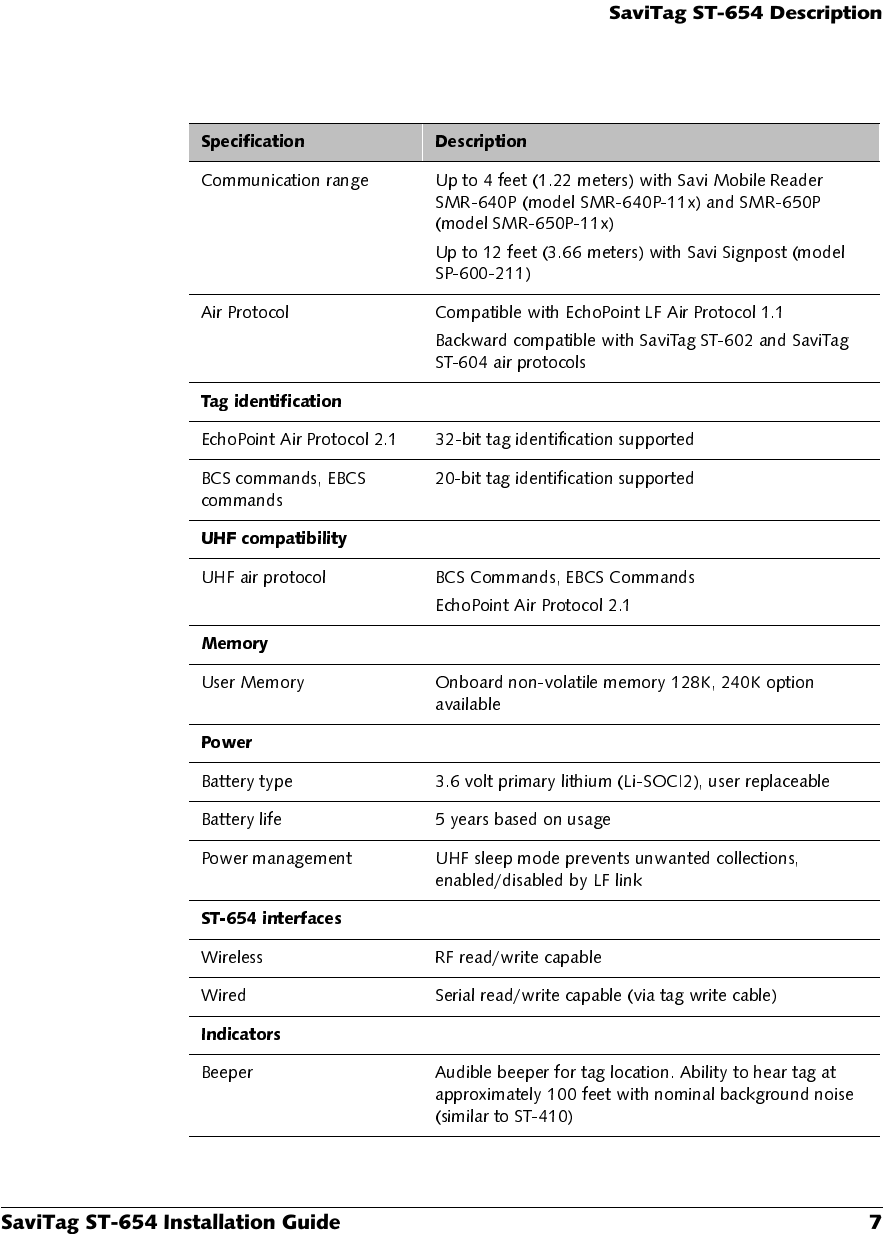
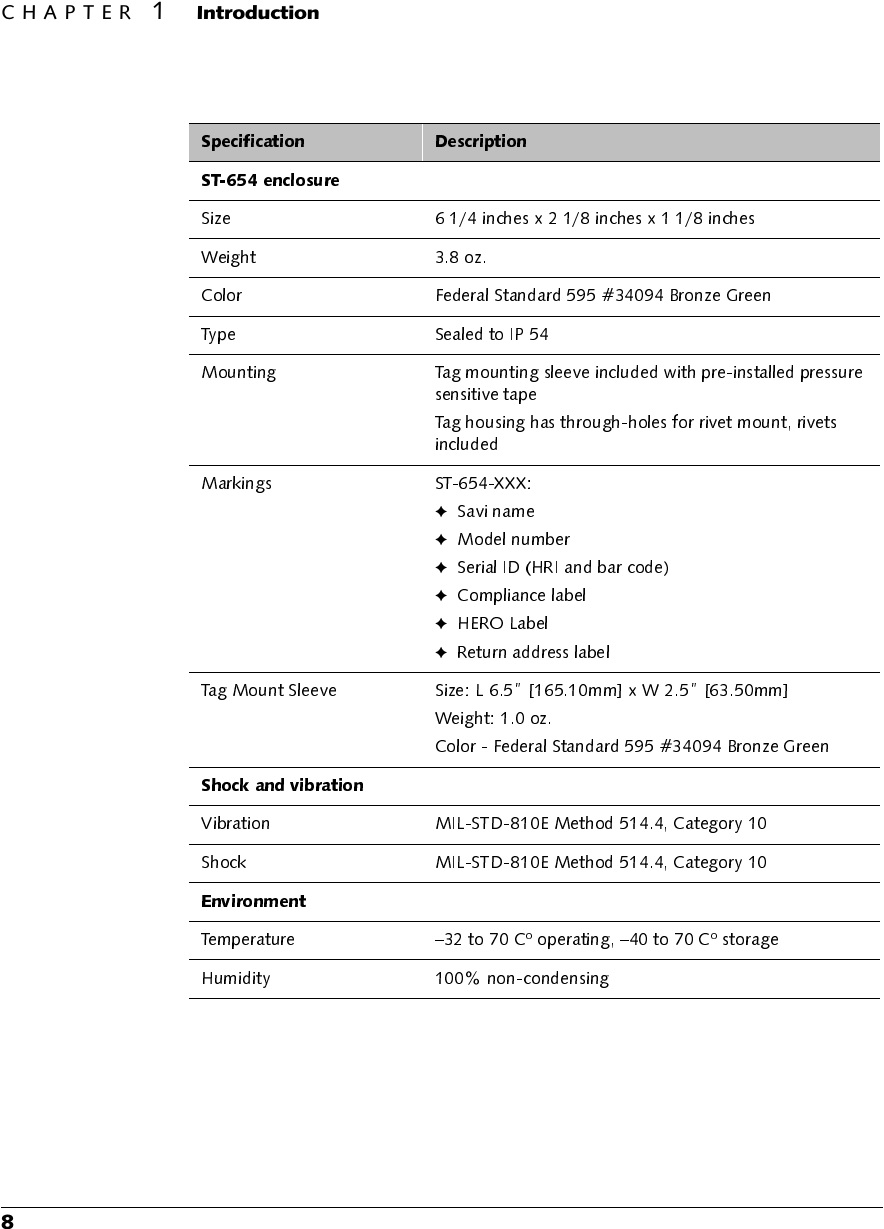
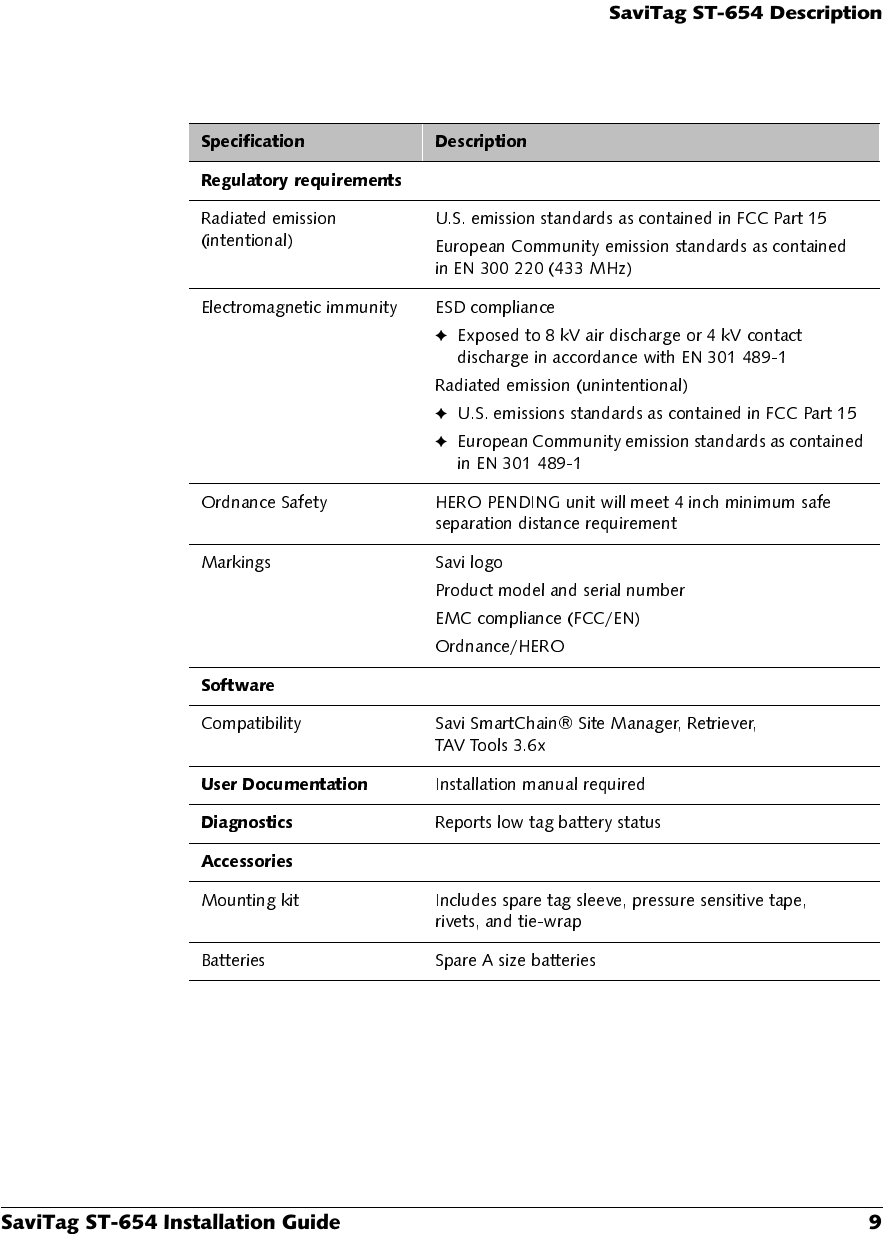
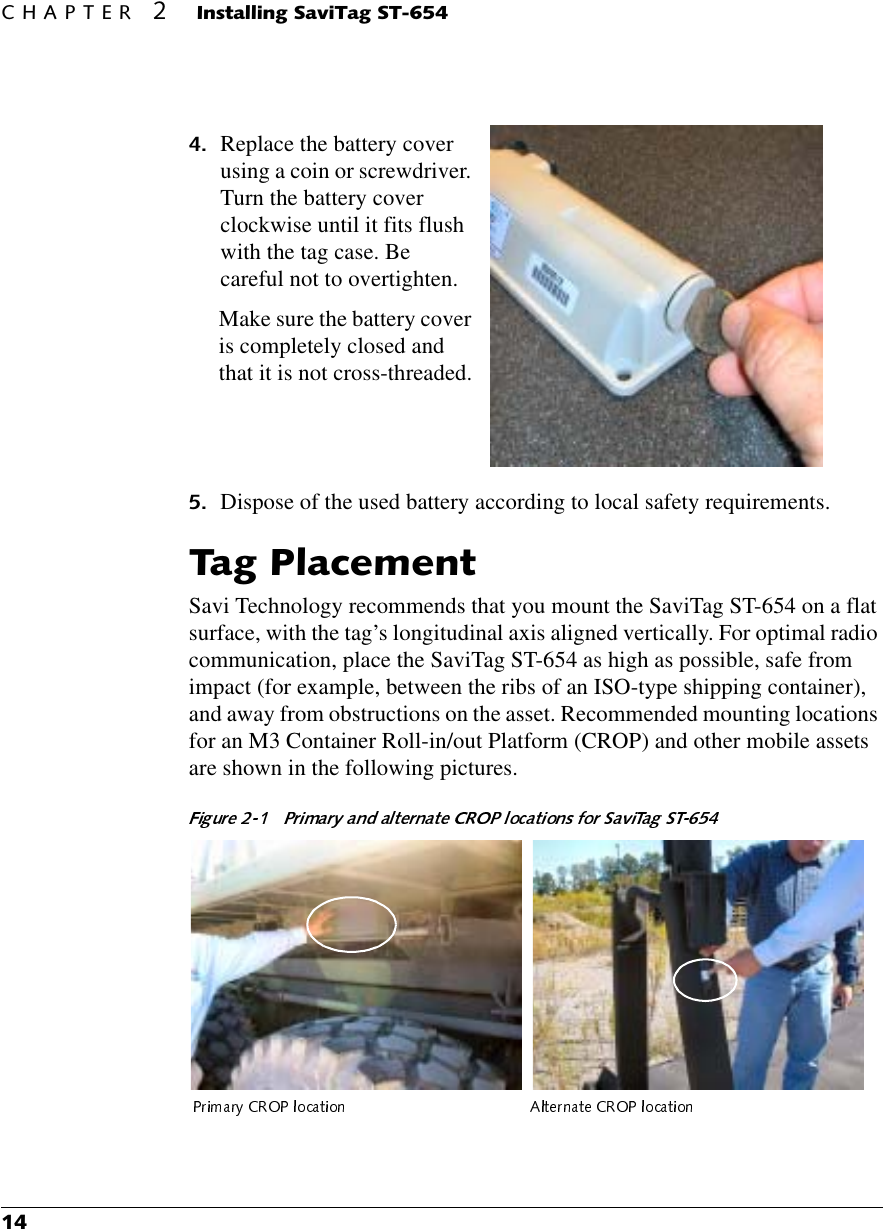
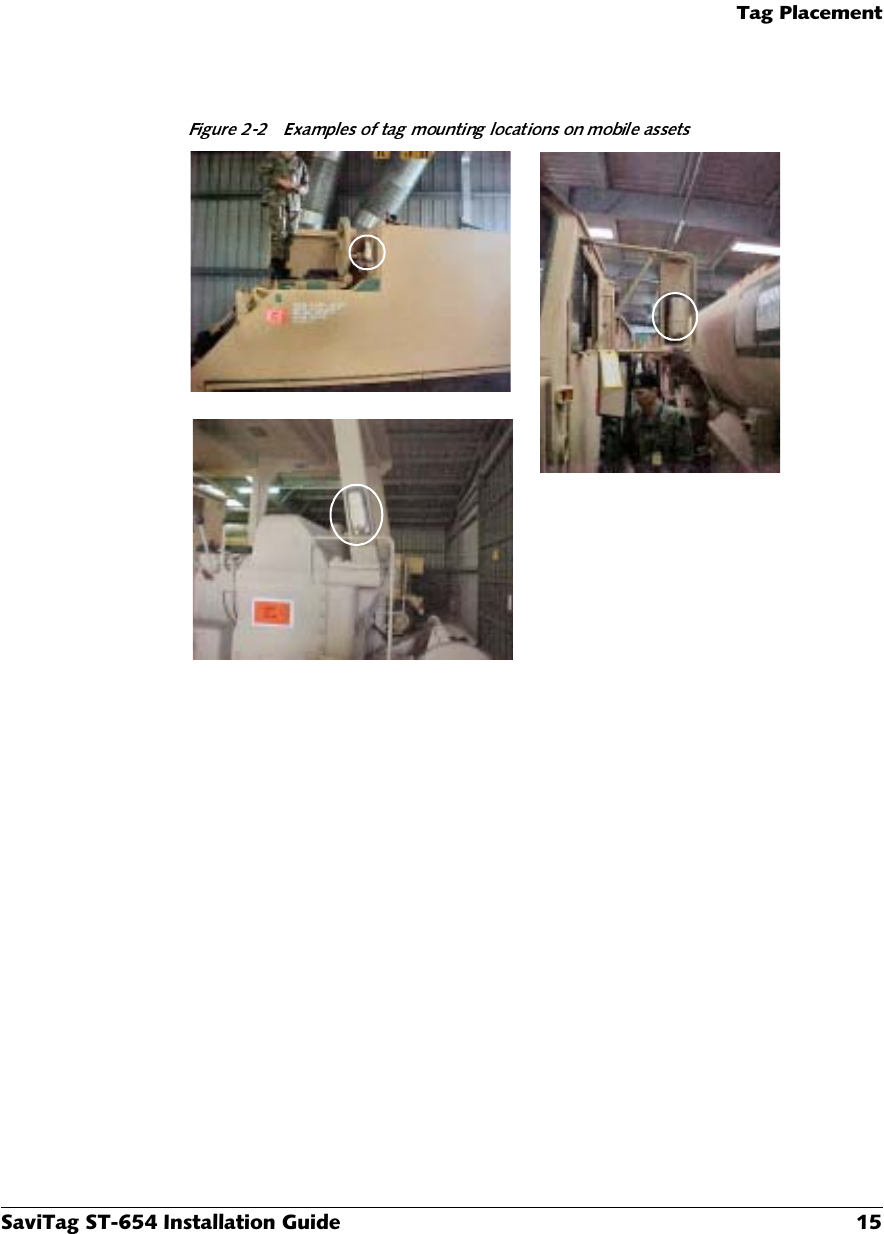
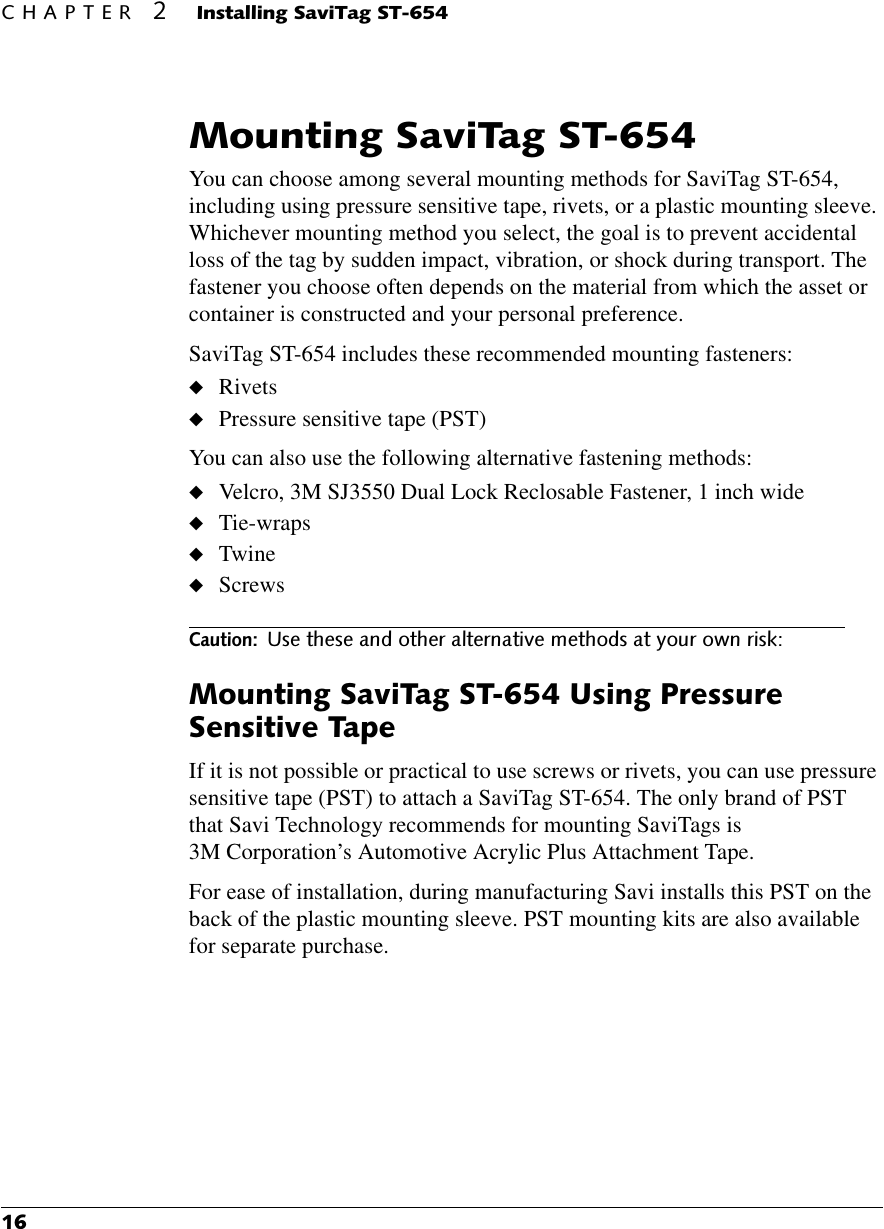
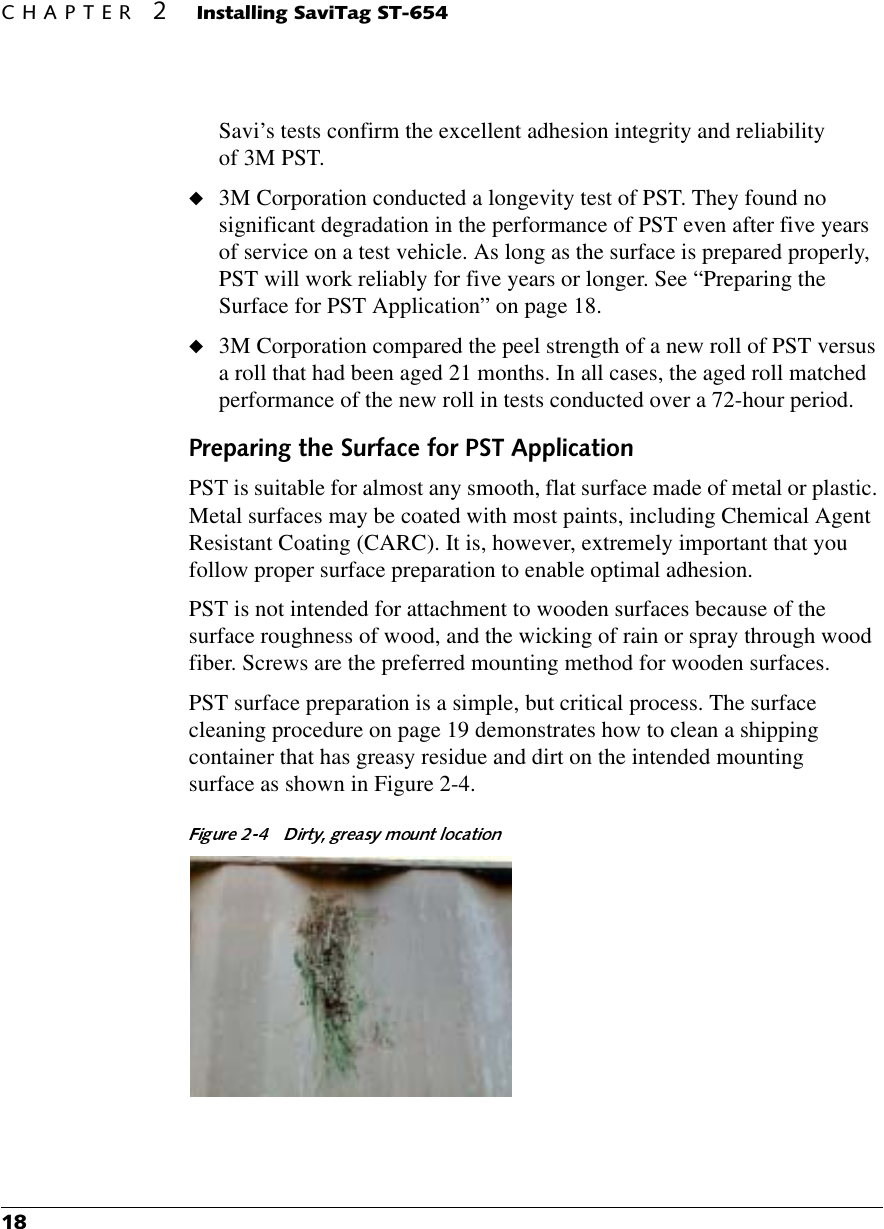
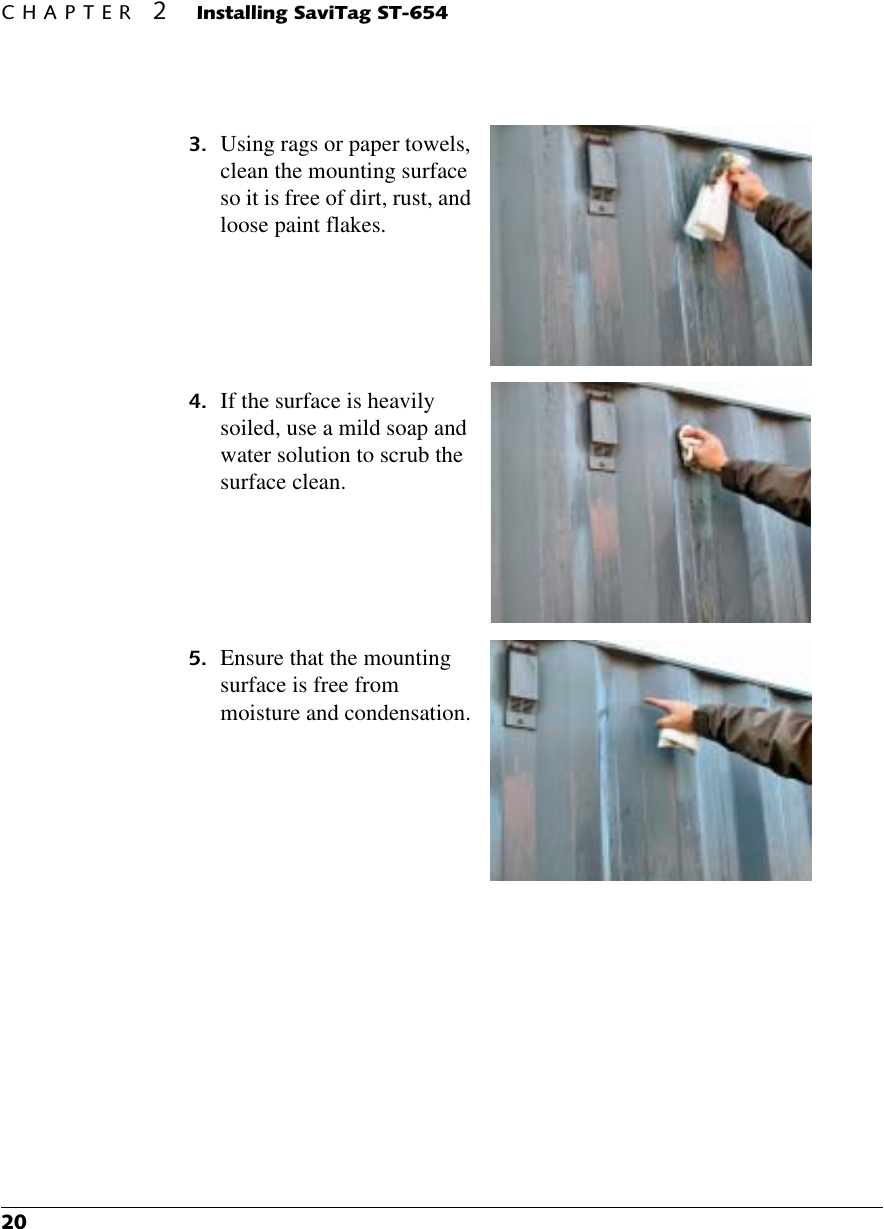
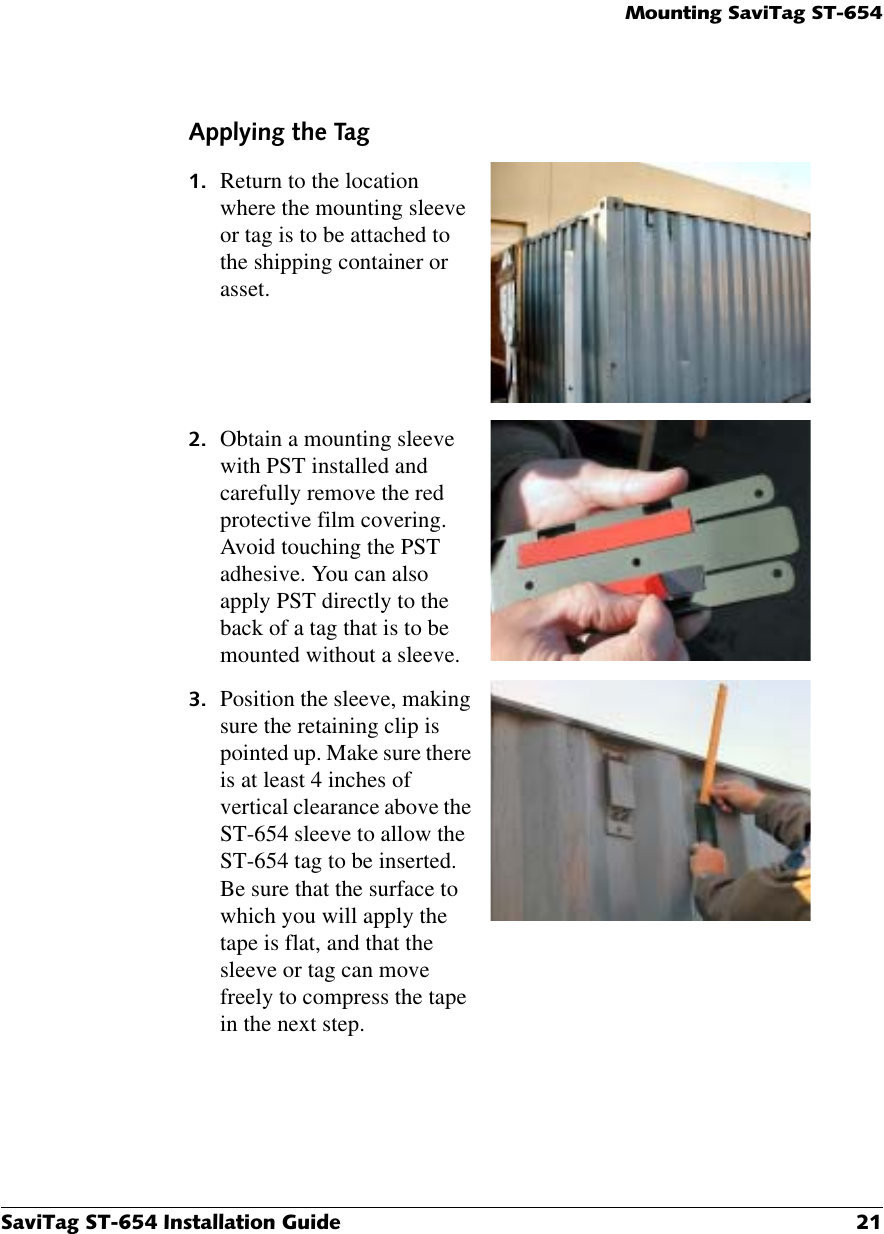
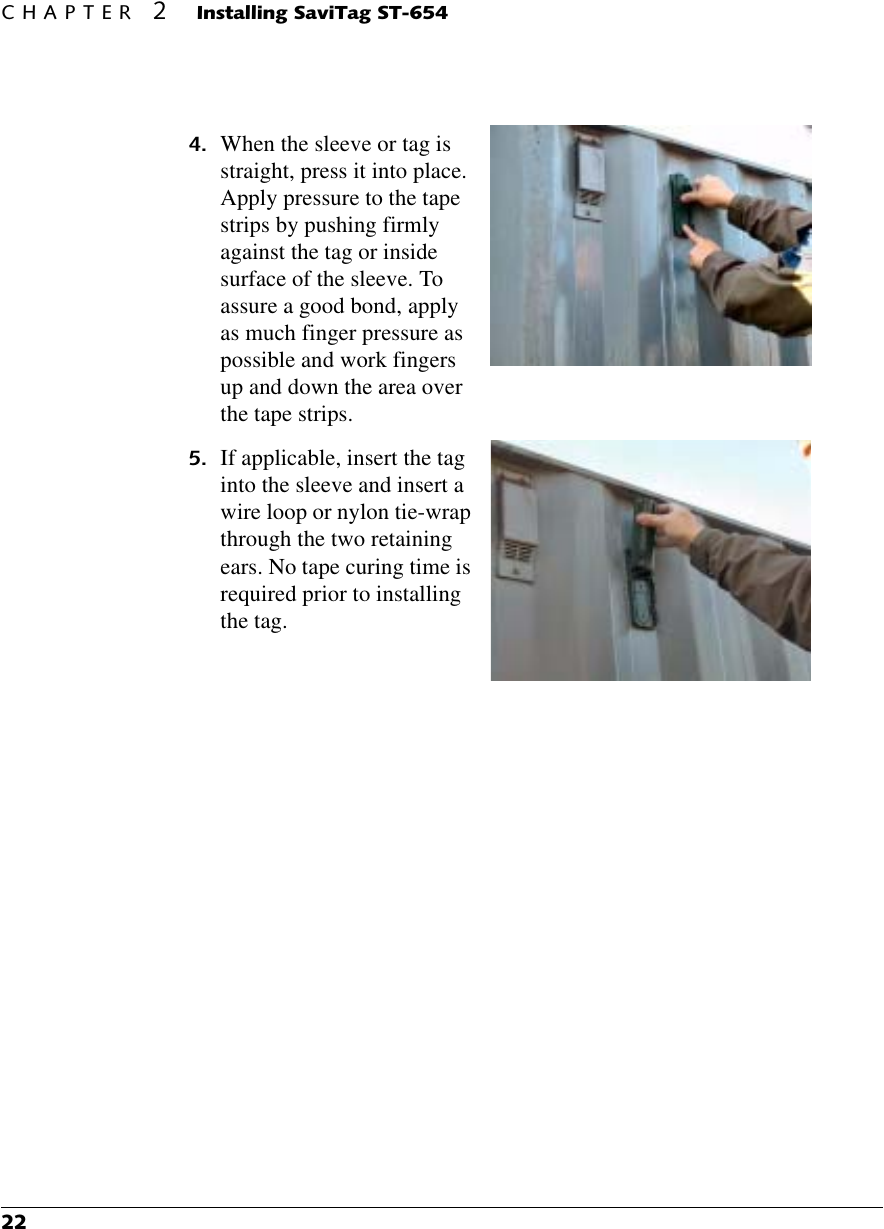
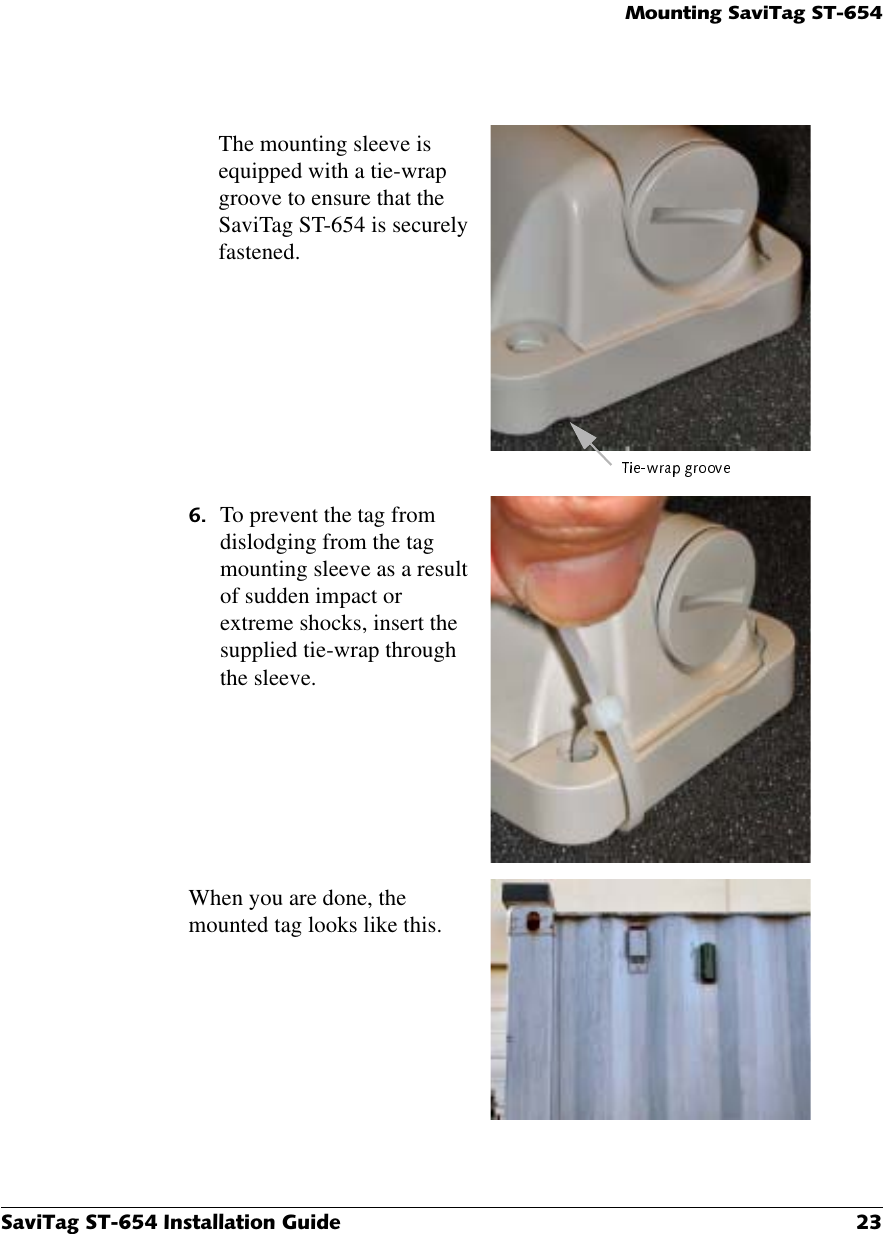
Installation Guide