Savi Technology 662T-V1 RF ID Tag User Manual
Savi Technology Inc RF ID Tag Users Manual
Contents
- 1. Users Manual
- 2. Compliance Statements
Users Manual

Installation Guide For
Savi-EJ Brooks Re-Usable eSeal ST-662
Page 1 of 3 pages ELECTRONIC COPY
NOT CONTROLLED IF PRINTED
Date Prepared Revision Revision Date Revision Approval
Feb 24, 2006
1.0
Feb 24, 2006 K. Merritt
Savi-EJB Installation Guide - ST-662.doc
Savi-EJ Brooks Re-Usable eSeal ST-662
Installation Guide
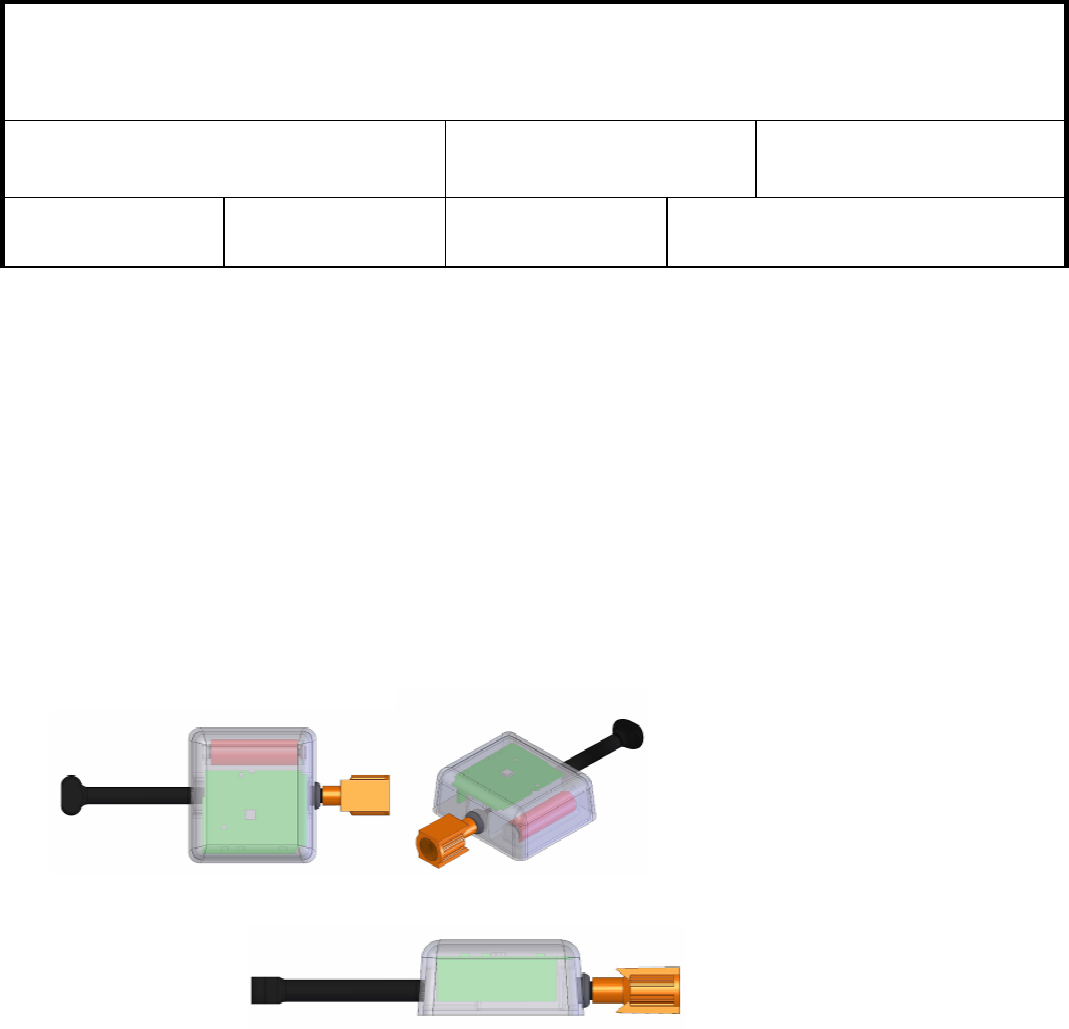
The EJ Brooks Re-Usable Electronic eSeal ST-662 consists of a printed circuit board incorporating a
non-replaceable battery enclosed in a sealed plastic case with a fixed bolt designed for single insertion.
Once the bolt is inserted in the housing, it is locked in place, and cannot be removed without destroying
the unit.
• The Savi-EJ Brooks ST-662 tag contains a label on the front with the tag serial number in
both bar code and numerical format and includes the product model number. The label also
includes FCC compliance markings.
• The Savi-EJ Brooks ST-662 tag can be exposed to environments including rain, snow, and
direct exposure to sunlight.
• The tag battery life is a nominal 4 years under normal operating conditions. The tag contains
an internal lithium battery and should be discarded according to local safety requirements.

Installation Guide For
Savi-EJ Brooks Re-Usable eSeal ST-662
Page 2 of 3 pages ELECTRONIC COPY
NOT CONTROLLED IF PRINTED
Date Prepared Revision Revision Date Revision Approval
Feb 24, 2006
1.0
Feb 24, 2006 K. Merritt
Savi-EJB Installation Guide - ST-662.doc
Tag Attachment
Tag Attachment Tag Attachment
Tag Attachment
Do not insert the bolt
through the body of the tag
housing prior to inserting it
through the security hasp. Once the
external bushing cap (Intermodal
Locking Unit) is joined to the bolt,
it cannot be removed without
destroying the bolt.
The Savi-EJ Brooks ST-662 contains an integrated locking bolt assembly.
1. Place the bolt through the lock holes of the closed security hasp.
• Always orient the tag with the main tag body below the container hasp.
2. Snap the bolt into the seal housing and then into the bolt cap far enough to hear an audible ‘click’,
locking the bolt into place, where the bolt is pushed in all the way. To make sure the bolt is secure,
pull on the seal case housing gently to make sure the bolt is secure. The bolt is now secured via the
cap’s internal bushing.
Tag Operation
Tag OperationTag Operation
Tag Operation
• After installation you may communicate with the device and monitor events using the
appropriate commands from a Savi Mobile Readers SMR-650 or Fixed Readers SR-650 and
SP-652.
• Once the tag is electronically locked (sealed), if the bolt is cut or removed, a tamper event will
occur.

Installation Guide For
Savi-EJ Brooks Re-Usable eSeal ST-662
Page 3 of 3 pages ELECTRONIC COPY
NOT CONTROLLED IF PRINTED
Date Prepared Revision Revision Date Revision Approval
Feb 24, 2006
1.0
Feb 24, 2006 K. Merritt
Savi-EJB Installation Guide - ST-662.doc