Savi Technology 675T-SIAD Active RFID Tag User Manual 80500008R01
Savi Technology Inc Active RFID Tag 80500008R01
Contents
- 1. Manual supp
- 2. Manual
Manual
M
OUNTING
G
UIDELINES
ST-675-SIAD-001
T
AG
REVISION DESCRIPTION OF CHANGE
01 ECO-4581 Initial release
REV.
TITLE:
MOUNTING GUIDELINES,
ST-675-SIAD-001 TAG
DRAWING No:
805-00008-901
01
FILENAME: 80500008R01.doc Drawing By: R. Veiga Date: 08/14/08 SHEET 1 OF 11

ST-675-SIAD-001 Tag
Mounting Guidelines
805-00008-901 Rev 01 sheet 2 of 11
MOUNTING GUIDELINES, ST-675-SIAD-001 TAG
© 2008 - Savi Technology Inc
The Copyright in this document is vested in Savi Technology Inc.
The contents of the document must not be reproduced (wholly or in part) used or disclosed without the
prior written permission of Savi Technology Inc.

ST-675-SIAD-001 Tag
Mounting Guidelines
805-00008-901 Rev 01 sheet 3 of 11
MOUNTING GUIDELINES, ST-675-SIAD-001 TAG
Contacts
The material in this document is confidential and may be distributed only by authorized parties
below (subject to confirmation).
Customer
Name Name
Job Title Job Title
Company Company
Phone: # Phone: #
Email: address Email: address
Name Name
Job Title Job Title
Company Company
Phone: # Phone: #
Email: address Email: address
Site
Name Name
Job Title Job Title
Company Company
Phone: # Phone: #
Email: address Email: address
Name Name
Job Title Job Title
Company Company
Phone: # Phone: #
Email: address Email: address
Installer
Name Name
Job Title Job Title
Company Company
Phone: # Phone: #
Email: address Email: address
Name Name
Job Title Job Title
Company Company
Phone: # Phone: #
Email: address Email: address

ST-675-SIAD-001 Tag
Mounting Guidelines
805-00008-901 Rev 01 sheet 4 of 11
MOUNTING GUIDELINES, ST-675-SIAD-001 TAG
Savi Technology
Name Name
Job Title Job Title
Company Company
Phone: # Phone: #
Email: address Email: address
Name Name
Job Title Job Title
Company Company
Phone: # Phone: #
Email: address Email: address

ST-675-SIAD-001 Tag
Mounting Guidelines
805-00008-901 Rev 01 sheet 5 of 11
MOUNTING GUIDELINES, ST-675-SIAD-001 TAG
Table of Contents
1 INTRODUCTION ...........................................................................................6
1.1 P
ROJECT
B
ACKGROUND
.................................................................................... 6
1.2 P
URPOSE
......................................................................................................... 6
1.3 I
NTENDED
A
UDIENCE
......................................................................................... 6
2 COMPONENTS .............................................................................................7
2.1 M
ODIFIED
675
T
AG
........................................................................................... 7
2.1.1
Description ..................................................................................................................7
2.1.2
Features......................................................................................................................7
2.2 A
DHESIVES
....................................................................................................... 8
2.2.1
3M 5925 VHB Tape ....................................................................................................8
3 INSTALLATION OF TAG .............................................................................9
3.1 D
ETERMINE
B
EST
T
AG
L
OCATION
9
3.2 S
URFACE
P
REPARATION
.................................................................................... 9
3.2.1
Summary.....................................................................................................................9
3.2.2
General Procedure .....................................................................................................9
3.3 T
AG
I
NSTALLATION
.......................................................................................... 10
3.4 S
ETTING
D
OOR
A
LARM
L
EVER
......................................................................... 10
3.5 F
LEX CIRCUIT
.................................................................................................. 10

ST-675-SIAD-001 Tag
Mounting Guidelines
805-00008-901 Rev 01 sheet 6 of 11
MOUNTING GUIDELINES, ST-675-SIAD-001 TAG
1 INTRODUCTION
This document provides general mounting guidelines for the modified 675 tag. The modified
675 tag is designed to fit non-ISO standard containers; specifically refrigeration containers.
1.1 Project Background
The DLA has contracted Savi to develop a tracking and sensor solution for refrigerated
containers.
1.2 Purpose
The purpose for this Installation Document is to give general guidelines for mounting the
modified 675 tag.
1.3 Intended Audience
This document is mainly intended for the end user who will be commissioning tags and placing
them on containers.

ST-675-SIAD-001 Tag
Mounting Guidelines
805-00008-901 Rev 01 sheet 7 of 11
MOUNTING GUIDELINES, ST-675-SIAD-001 TAG
2 Components
The section contains facts about each component that makes up the modified 675 tag.
2.1 Modified ST-675 Tag
This section contains facts pertaining to the modified 675 tag.
2.1.1 Description
The Savi SensorTag
TM
ST-675 is the latest innovation for tracking ISO shipping containers,
providing new levels of door security monitoring, with active RFID intrusion and
environmental sensors. More than a simplistic inspection automation system, the Savi
SensorTag ST-675 enables shippers, carriers and logistics service providers to actively monitor
the security and integrity of shipments as their containers move throughout the global supply
chain. The Savi SensorTag ST-675 provides both security tampering sensors to detect potential
theft and prevent terrorist threats, and detects environmental changes to prevent spoilage or the
damage of goods.
The modified ST-675 tag maintains the same feature set but is modified to fit non-ISO standard
containers, specifically refrigeration containers. This is accomplished by replacing the C-
clamp used for mounting onto ISO containers with a Kevlar protected flex circuit and specially
designed mounting plates. The Kevlar protected flex circuit is designed to form to the differing
shapes and sizes of the various refrigeration container models. The flex circuit connects the
externally mounted antenna with the internally mounted sensor tag.
2.1.2 Features
The Modified Savi SensorTag St-675 design includes:
• Universal mounting capability for non-ISO standard containers.
• Tag compartment resides inside the container.
• Removable battery, hermetically sealed within the tag compartment.
• Externally mounted, low profile antenna encasement.
• Audio beeper for location notification and alarms.
Transportation Security
The Savi SensorTag ST-675 consists of a high performance active RFID tag for real-time ISO
container tracking during transit, including sensors that detect any unauthorized opening of the
container, alerting security personnel immediately of problems. The Savi SensorTag ST-675
provides two different sensor mechanisms to determine container intrusion or tampering via the
container doors. The Savi SensorTag ST-675's sensor arm detects the open status of the
adjacent door, and the intrusion light sensor monitors the amount of light entering the container
near the doors.
Environmental Monitoring

ST-675-SIAD-001 Tag
Mounting Guidelines
805-00008-901 Rev 01 sheet 8 of 11
MOUNTING GUIDELINES, ST-675-SIAD-001 TAG
The Savi SensorTag ST-675 also monitors the environmental conditions inside the container.
Any change in temperature is detected as the container moves through ports, terminals and key
transportation routes worldwide. To monitor the acceptable environmental condition, the user
sets the condition range within the Savi SensorTag.
If the collected data should rise above or fall below this set range, the Savi SensorTag writes
the data, time, and date of this alarm event to an event log in the Savi SensorTag memory. A
real-time alarm is then sent to a fixed or mobile RF reader and the temperature condition
change is escalated via a web application, cell phone or email notification, allowing it to be
addressed immediately before spoilage or damage occurs. In addition, the unit provides a
sensor expansion port (Wireline RS-485 Port Expansion) for adding local or remote sensor
capabilities, as required.
2.2 Adhesives
2.2.1 3M 5952 VHB Tape
The 3M 5952 VHB tape is utilized to fasten the mounting hardware to the container. This tape
provides a semi permanent bond without compromising the integrity of the container. This
particular tape was chosen based on its performance on painted surfaces.
3M™ VHB™ Tapes provide the convenience and simplicity of a tape fastener and are ideal for
use in many interior and exterior bonding applications. In many situations, they can replace
rivets, spot welds, liquid adhesives and other permanent fasteners. These 3M™ VHB™ Tapes
are made with acrylic foam which is viscoelastic in nature. This gives the foam energy
absorbing and stress relaxing properties which provides these tapes with their unique
characteristics. The acrylic chemistry provides outstanding durability performance.
These tapes utilize a variety of specific foam, adhesive, color and release liner types to provide
each product/family with specific features. These features can include adhesion to specific or a
broad range of materials, conformability, high tensile strength, high shear and peel adhesion,
resistance to plasticizer migration, and UL746C recognition. All 3M™ VHB™ Tapes have
excellent durability and excellent solvent and moisture resistance.
The 3M 5952 family matches the modified acrylic adhesive on both sides of very conformable
foam, providing adhesion to the broadest range of substrates, including most powder coated
paints.
Dynamic Adhesion Performance
90° Peel Adhesion Normal Tensile Dynamic Overlap Shear
20 lb/in 350 N/100 mm 90 lb/in
2
620 kPa 80 lb/in
2
550 kPa
Operating Temperature Range
-35˚C to 90˚C
ST-675-SIAD-001 Tag
Mounting Guidelines
805-00008-901 Rev 01 sheet 9 of 11
MOUNTING GUIDELINES, ST-675-SIAD-001 TAG
3 Installation of Tag
The tag's mounting method is designed to be installed once for the duration of the containers
service. The modified ST-675 tag can then be attached and removed rapidly for efficient
tracking. There are several varying models of refrigeration containers, as such; various
component placements will be employed. The following sequence should be followed for each
new container model:
1. Determine best tag location
2. Surface Preparation
3. Tag installation
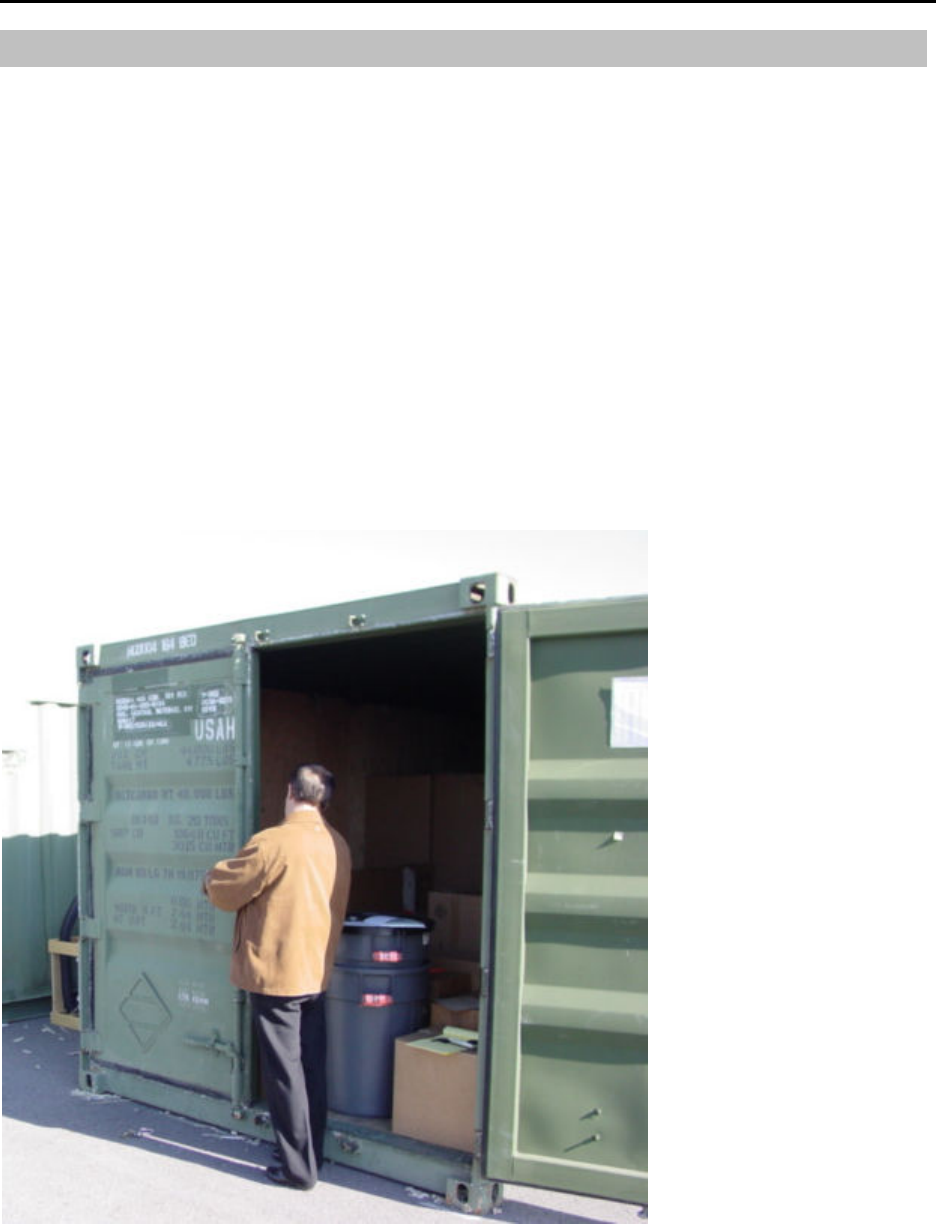
3.1 Determine Best Tag Location
The tag shall always be mounted on the left container door. The tag can be mounted anywhere
along the edge, however mid door is most common. The location should be clear of any
obstruction or damage.

ST-675-SIAD-001 Tag
Mounting Guidelines
805-00008-901 Rev 01 sheet 10 of 11
MOUNTING GUIDELINES, ST-675-SIAD-001 TAG
For the antenna, some container models may not have adequate space between the edge of the
door and the locking bar. In these instances, the antenna may be mounted on the far side of the
locking bar.
3.2 Surface Preparation
The tag shall be fastened to the container utilizing 3M 5952 family VHB tape; as such surface
preparation is key to the success of the bond. Further information can be found at 3M’s
website.
3.2.1 Summary
Most substrates are best prepared by cleaning with a 50:50 mixture of isopropyl alcohol (IPA) and
water* prior to applying 3M™ VHB™ Tapes. Exceptions to this general procedure that may require
additional surface preparation include:
• Heavy Oils: A degreaser or solvent-based cleaner may be required to remove heavy oil or
grease from a surface and should be followed by cleaning with IPA/water.
• Abrasion: Abrading a surface, followed by cleaning with IPA/water, can remove heavy dirt or
oxidation and can increase surface area to improve adhesion.
• Adhesion Promoters: Priming a surface can significantly improve initial and ultimate
adhesion to many materials such as plastics and paints.
• Porous Surfaces: Most porous and fibered materials such as wood, particleboard, concrete
etc. need to be sealed to provide a unified surface.
• Unique Materials: Special surface preparation may be needed for glass and glass-like
materials, copper and copper containing metals and plastics or rubber that contain components
that migrate (e.g. plasticizers).
3.2.2 General Procedure
• To obtain optimum adhesion, the bonding surfaces must be well unified, clean and dry. Typical
surface cleaning solvents are IPA/water mixture (rubbing alcohol) or heptane.*
• Bond strength is dependent upon the amount of adhesive-to-surface contact developed. Firm
application pressure develops better adhesive contact and helps improve bond strength.
Generally, this means that the tape should experience at least 15 psi (100 kPa) in roll down or platen
pressure.
• After application, the bond strength will increase as the adhesive flows onto the surface. At room
temperature, approximately 50% of the ultimate strength will be achieved after 20 minutes, 90% after
24 hours and 100% after 72 hours. In some cases, bond strength can be increased and ultimate bond
strength can be achieved more quickly by exposure of the bond to elevated temperatures (e.g. 150°F
[66°C] for 1 hour).

ST-675-SIAD-001 Tag
Mounting Guidelines
805-00008-901 Rev 01 sheet 11 of 11
MOUNTING GUIDELINES, ST-675-SIAD-001 TAG
3.3 Tag Installation
The Tag should be attached prior to cooling the container. This will allow for the fastest cure
time. To fasten the tag to the container:
1. Remove red liner from 3M VHB tape to back of mounting plate. Make sure tape is
located so it will make good contact with metal surface and NOT any rubber gasket
material.
2. Press Tag half into position.
3.4 Setting Door Alarm Lever
Once the tag is attached into the container the door sensor alarm must be adjusted. Utilizing
the SMM handheld, and the supplied adjustment tool, adjust the extension arm as to set the
door sensor to 75.
3.5 Flex circuit
Ensure that the flex circuit is inserted in the container as the right side door is shut, not
allowing any excess that may exist to extrude to the outside.