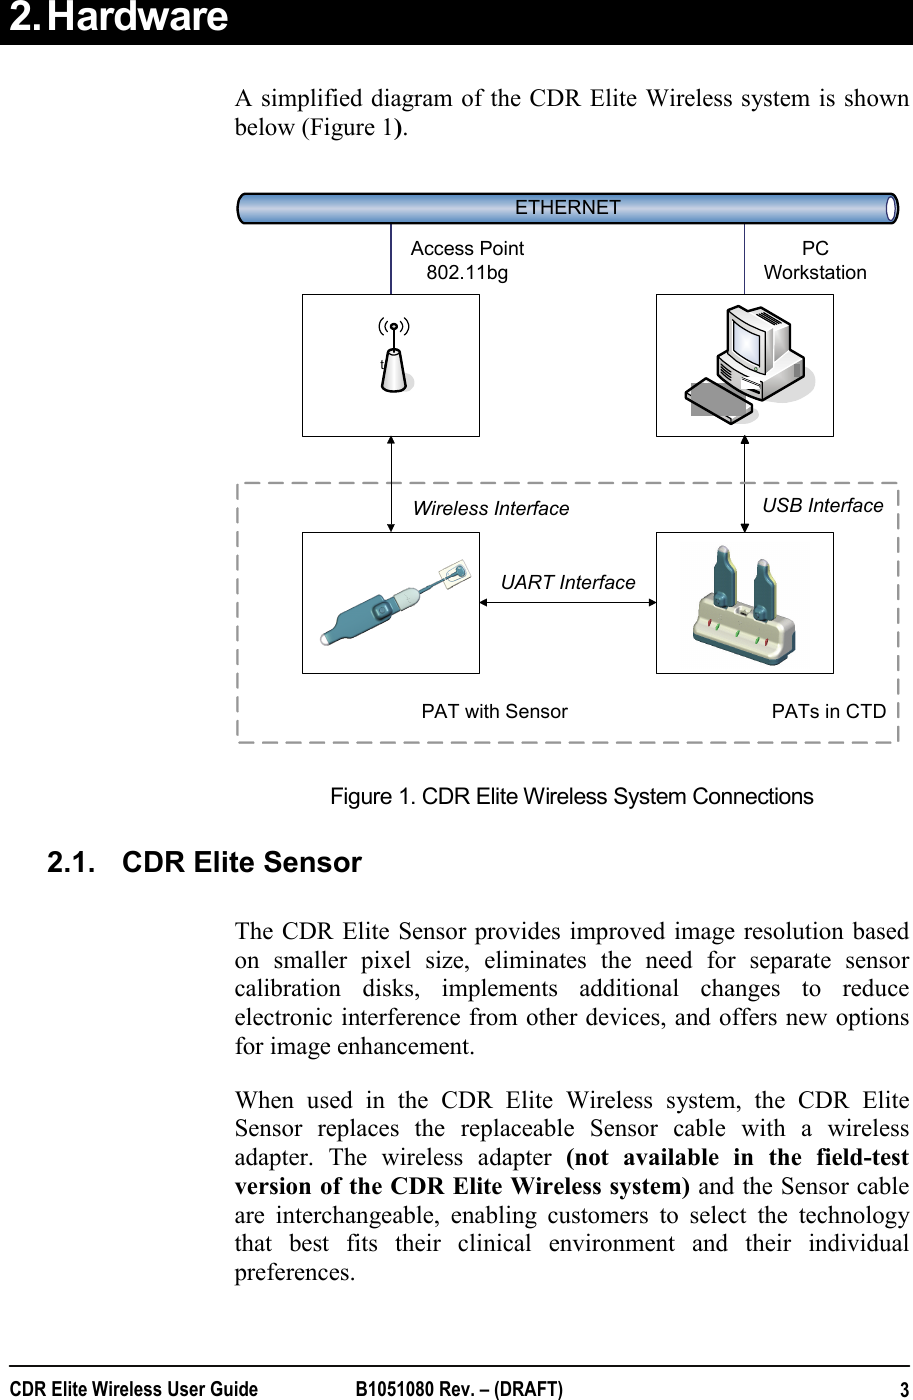
Schick Technologies B2410100 2400 TO 2483.5 MHz WIRELESS TRANSCEIVER User Manual CDR Elite Wireless User Guide
Schick Technologies, Inc. 2400 TO 2483.5 MHz WIRELESS TRANSCEIVER CDR Elite Wireless User Guide
UserManual.wiki
>
Schick Technologies
>
B2410100 User Manual
Users Manual
Navigation menu
Upload a User Manual
Namespaces
Wiki Guide
HTML
PDF
Info
Views
User Manual
Discussion / Help
Navigation

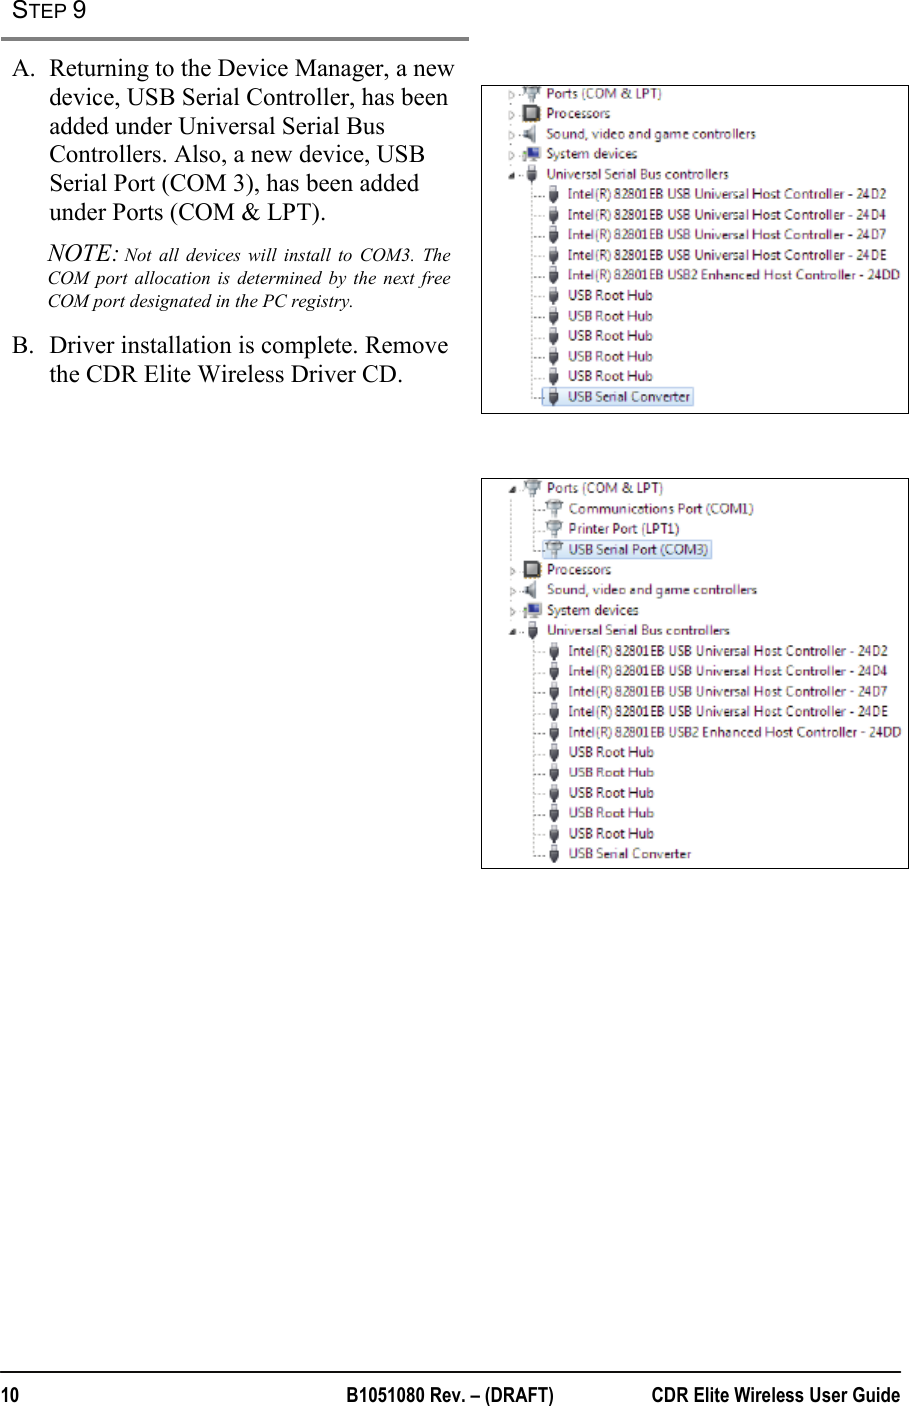
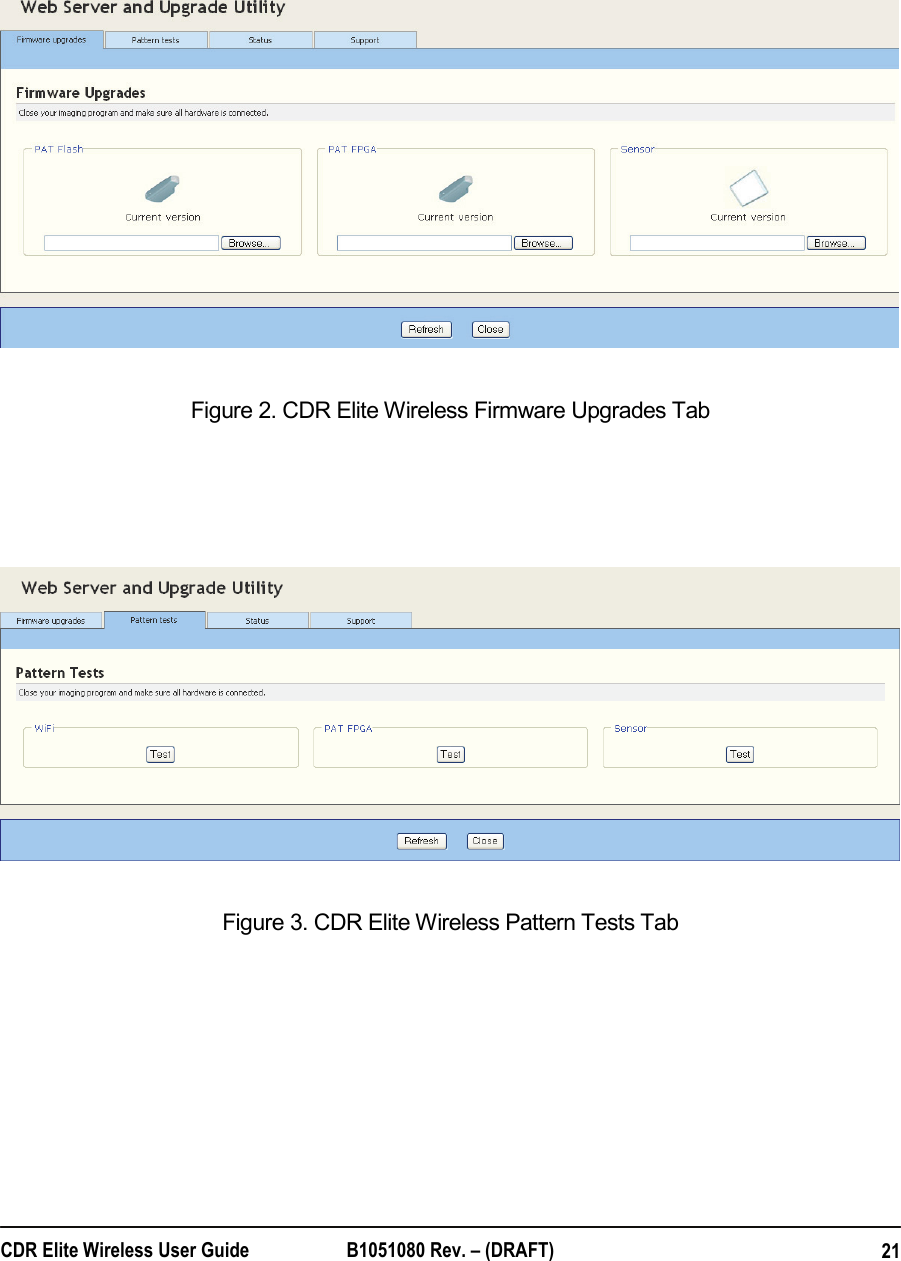
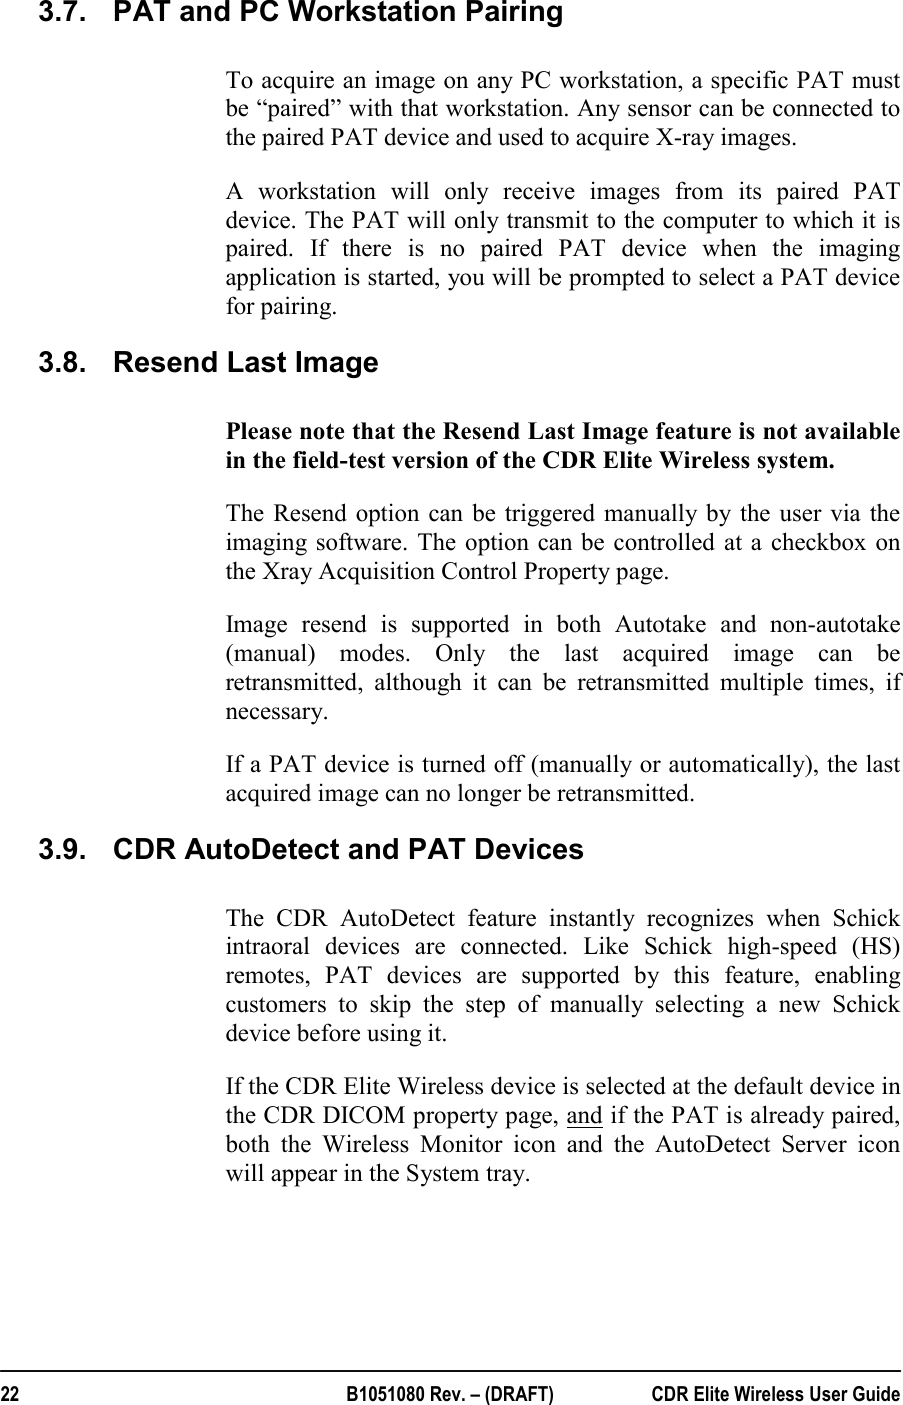
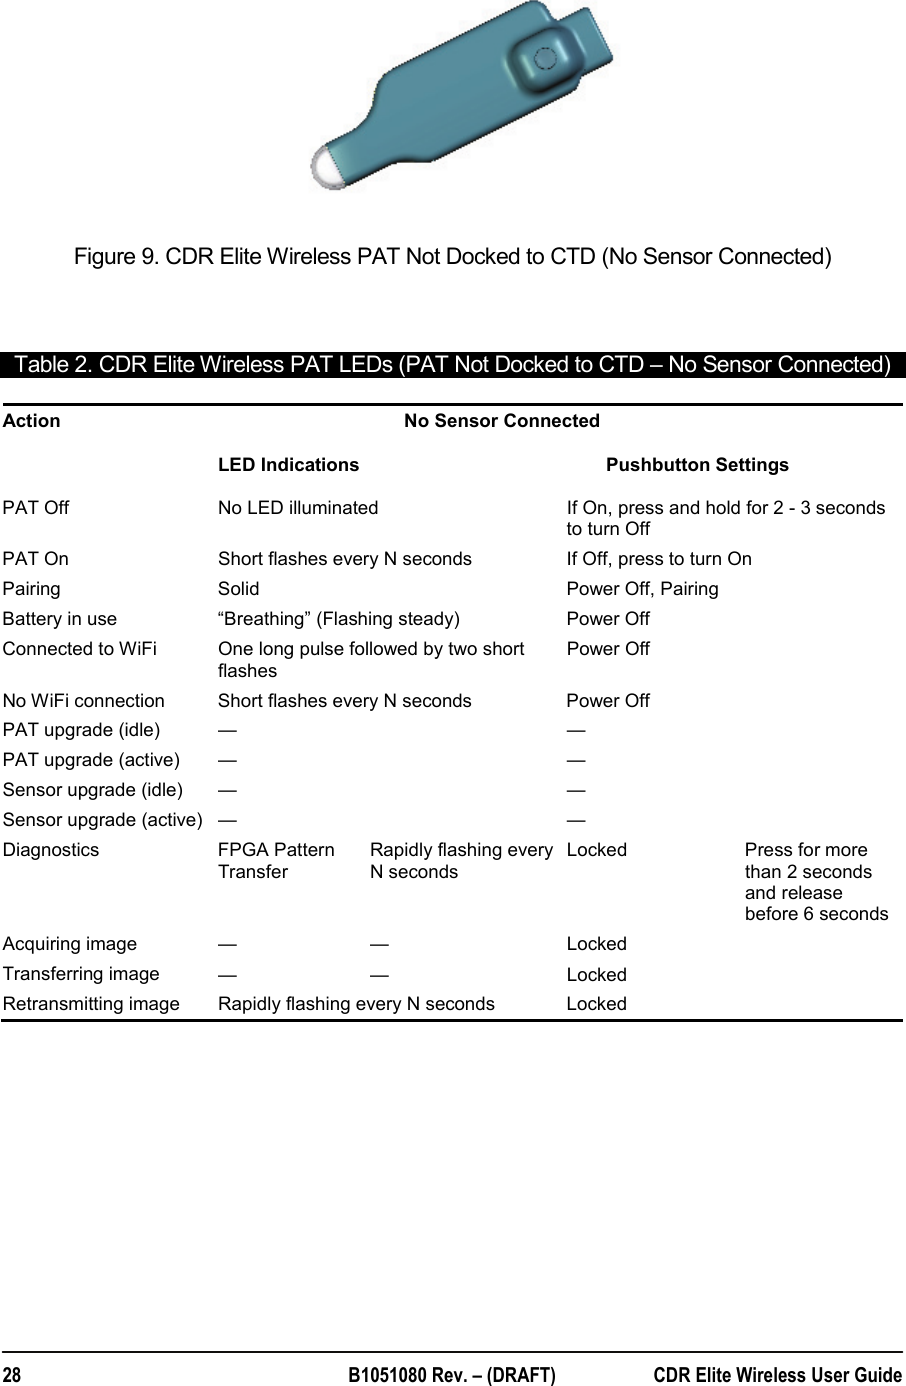
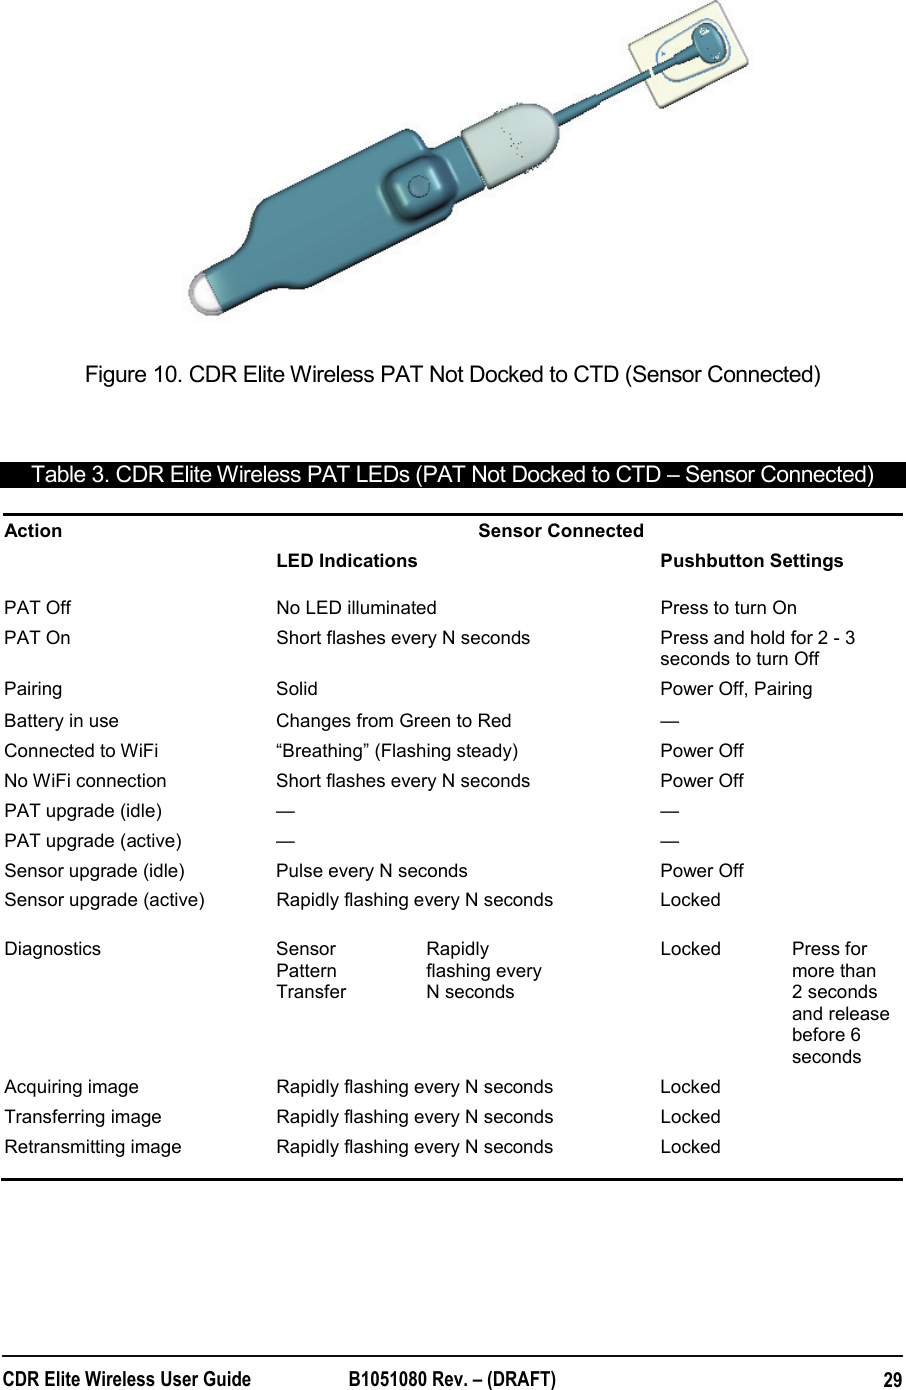
![CDR Elite Wireless User Guide B1051080 Rev. – (DRAFT) vRadio Frequency (RF) Interference Considerations Although the CDR Elite Wireless System equipment is designed to provide a reasonable degree of protection from electromagnetic interference according to International Electrotechnical Commission (IEC) regulations, it must be installed at an adequate distance from electricity transformer rooms, static continuity units, two-way amateur radios and cellular phones. To ensure proper operation, the latter can be used only at a minimum distance of 5 feet (1.5m) from any part of the equipment. Any instrumentation or equipment for professional use located near the CDR Elite Wireless system must conform to Electromagnetic Compatibility regulations appropriate to this type of equipment. Non-conforming equipment, with known poor immunity to electromagnetic fields, may not operate properly unless they are installed at a distance of at least 10 feet (3m) and supplied by a dedicated electric line. Installers to Ensure that CDR Elite Wireless System Operates Optimally Installers must ensure that the CDR Elite Wireless system provides the user with the optimal use of the equipment. This includes, but is not limited to, ensuring that the system operates as described in this document. Installers must also ensure that the system presents no physical obstacles or hazards during operation and when not in use. To verify this requirement, installers shall confirm that the CDR Elite Wireless system is installed as described in this User Guide and shall perform the appropriate procedures therein. Ensure Proper System and PC Workstation Installation and Operation The Sensor and CDR Elite Wireless PAT have been determined to be in accordance with international safety standards and are deemed suitable for use within the patient area, which extends from the patient for a distance of 5 ft (1.5m). To comply with these standards, do not operate non-medical equipment (such as a PC workstation) inside the patient area. Outside the patient area, the presence of approved non-medical grade equipment and Listed / Approved / IEC 60950-1 certified Information Technology Equipment (ITE) computer equipment is acceptable. The host computer (PC workstation) should be CE-approved and conform with the Low Voltage [73/23/EC] and EMC Directive [89/336/ERC]. Also, to help ensure optimal performance, verify that all software programs residing on the workstation are virus-free and have been adequately tested so they will not impact imaging applications after installation.](https://usermanual.wiki/Schick-Technologies/B2410100/User-Guide-1363925-Page-7.png)


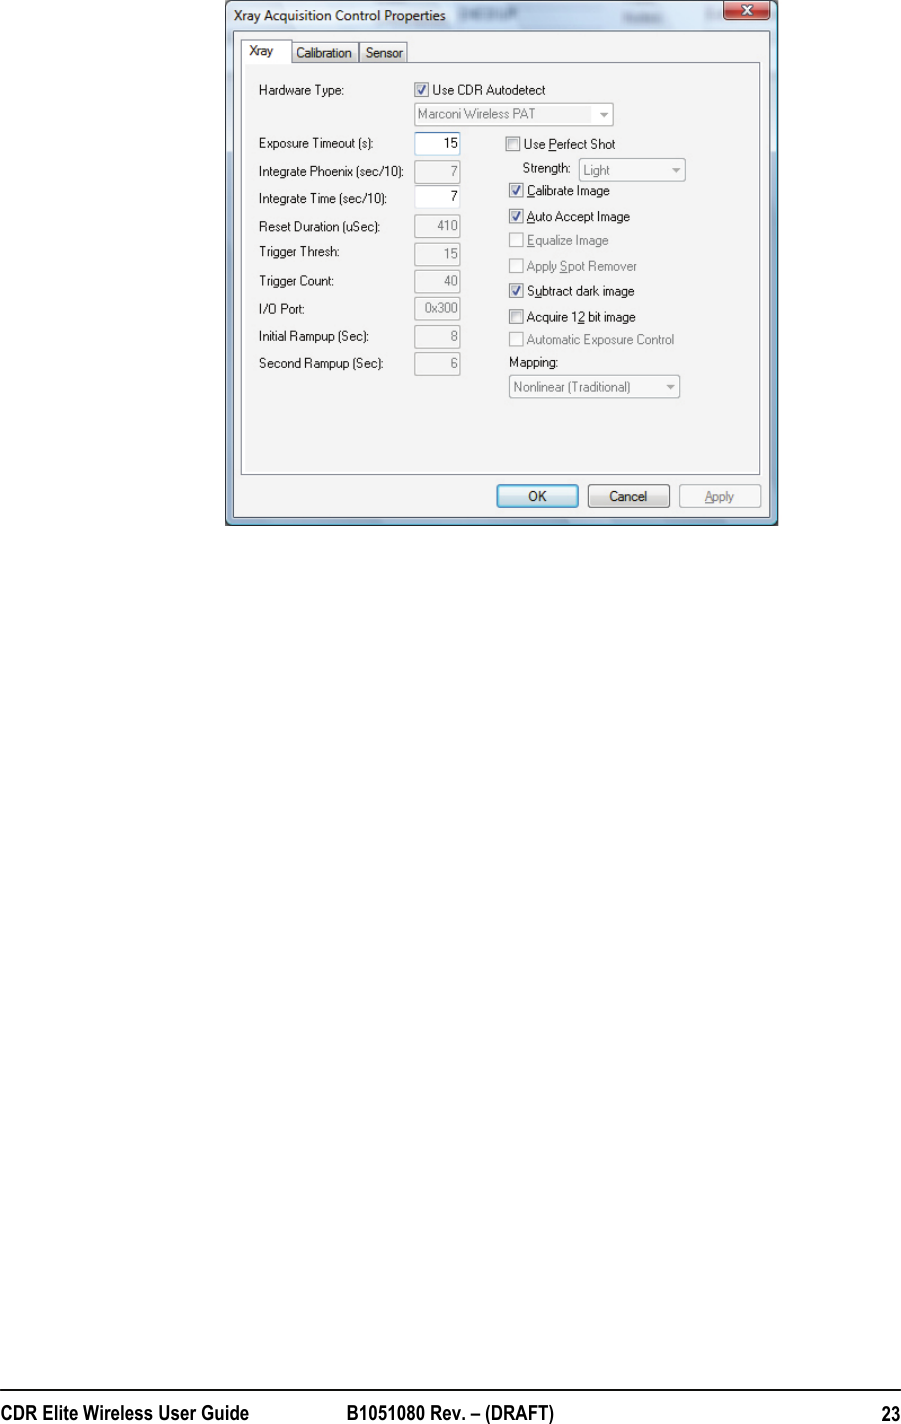
![CDR Elite Wireless User Guide B1051080 Rev. – (DRAFT) 52.4. PC Workstation The PC workstation (CE-approved computer system conforming to the Low Voltage [73/23/EC] and EMC Directive [89/336/ERC]) connects to the USB Interface of the CTD via a compatible USB cable and serves as the host for CDR software and utilities. For safety, connect the cable from the USB Interface to Listed / Approved / Certified Information Technology Equipment (ITE) computer equipment only. The workstation provides the capabilities to display, manipulate, store, and print images acquired with CDR Elite Wireless hardware. Recommended system requirements for the PC workstation are listed below: • Windows 7 (Home Premium, Professional, Ultimate) and Windows 7 x64 Edition; Windows Vista (Home Premium, Business, Ultimate) and Vista x64 Edition, and XP Professional and XP Professional x64 Edition. • CDR DICOM for Windows 3.5 SR1 and higher, EagleSoft 14.0 and higher, and Patterson Imaging 14.0 and higher. • Pentium D processor or Intel Core2Duo processor • 2 GB RAM • 250 GB hard drive Raid Level 1 (practice-specific, depends on number of patients) • Intel USB chipset with at least 2 powered USB 2.0 ports (USB 1.1 also supported). When connecting the CTD via USB cable to the PC workstation, we recommend the use of a 1 meter (3.28 feet)USB cable (28AWG/2C and 20 AWG/2C) with the “/2c” designation marked along the cable, typically at either end and close to the connector. The “/2c” designation is the USB spec designation for power connectors inside the cable, and is a requirement for this system.](https://usermanual.wiki/Schick-Technologies/B2410100/User-Guide-1363925-Page-21.png)