Sean and Stephen 1593-RF100 Laser Presenter User Manual
Sean & Stephen Corporation Laser Presenter
User Manual
RF100 Laser Presenter (2.4GHz)
User’s Manual
○
c 2008 All rights reserved.
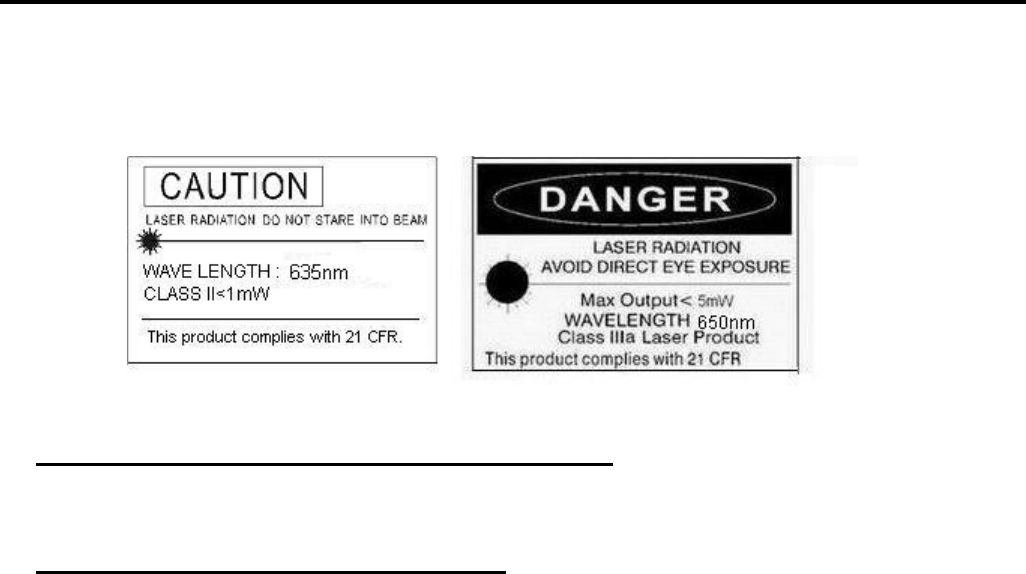
IMPORTANT SAFETY AND HEALTH INFORMATION
Laser beam can cause permanent damage to eyes. Do not look into the laser beam
or shine the laser beam into your eyes, other peoples’ eyes, or pet’s eyes.
WARNING! RISK OF INJURY!
Keep this device away from Children. This is a working tool, not a toy or
entertainment device. It should only be used by adults.
Chapter 1 Introduction
Product Function
In addition to laser pointer, this Laser Presenter can control PowerPoint slide up
and slide down wirelessly with up to 100 feet (30 meters) away from the receiver.
Chapter 2 Getting Started and Operation Mode
Insert the batteries
Screw off the product head and insert the attached batteries.
Connect the USB receiver
Plug the USB receiver (i.e. product head) exactly into an USB port.
Open presentation PowerPoint file on your PC
2
Chapter 3 Using the Laser Presenter
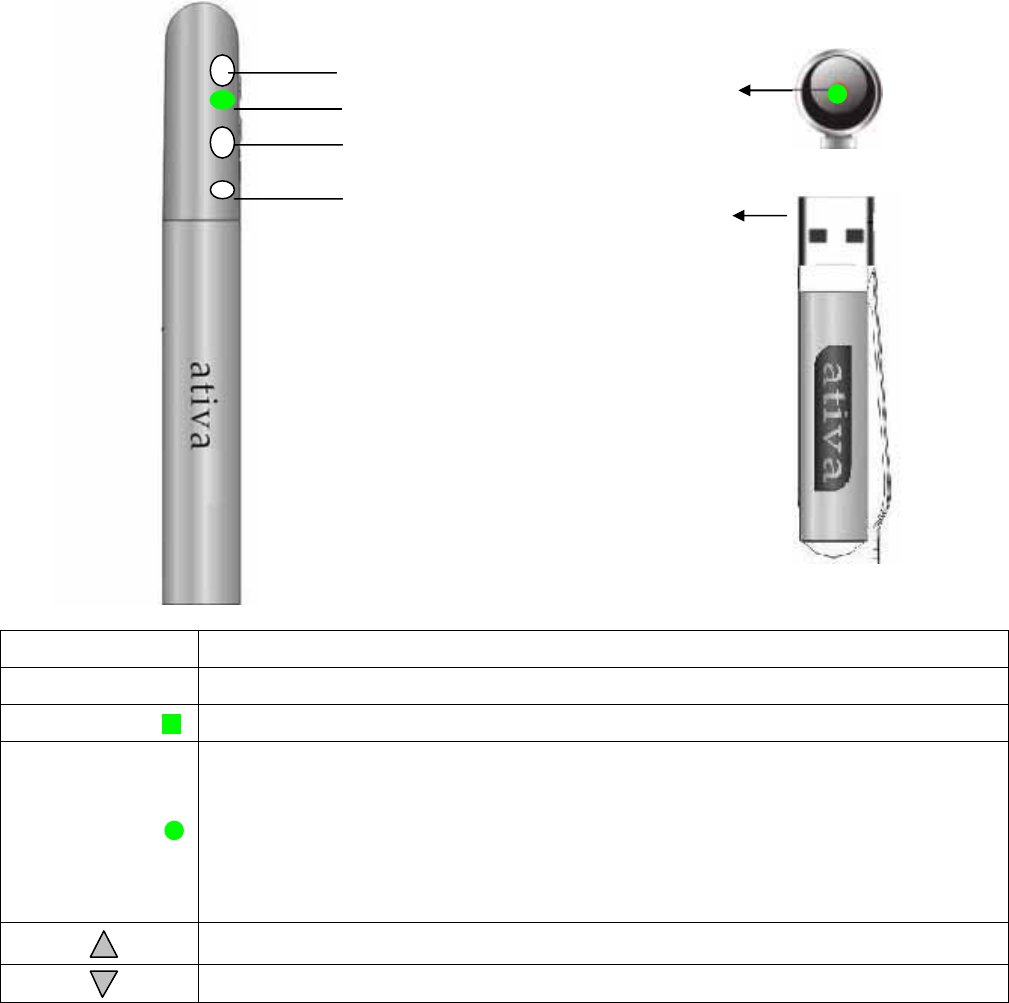
Button or LED Function description
Laser button Press Laser button to shoot the laser beam
Green LED Light up when laser button is pressed
Green LED
1. Light up when the USB receiver is plugged in PC USB port and will have
10-second standby time for ID pairing. If you conduct ID pairing on Presenter
within 10-second standby time, the green LED will become blinking which
means the ID pairing is completed.
2. (After above 10 seconds) Light up when slide up or slide down button is pressed.
Click to go to previous slide
Click to go to next slide
Chapter 4 Specifications
(Note: Design and specifications are subject to change without prior notice.)
Slide up button
Slide down button
Laser button USB head
Green LED
Green LED

3
System
Frequency range:2400~2483MHz
Remote range:Approx. 100 feet (30 meters) indoors
Operating voltage:Remote control: 2.4V~3.3V, Laser:
Power:Batteries: N type x 2 pcs
Power:Normal operation <10mA
Laser operation < 35mA
Sleep < 10uA
Output power: Below 0dBm
Dimension
Presenter : 15.2*123.9 mm
USB receiver: 15.2*55.2 mm
Chapter 5 ID Pairing Process
If in any interferential condition, the user can pairing in
below way.
4.1 Plus the USB receiver in your PC and its green LED will light up and receiver will
automatically enter into 10-second ID pairing standby mode.
4.2 Press (slide up and slide down) buttons on presenter simultaneously for 3
seconds until the green LED on USB receiver becomes blinking which means the
ID pairing has successfully completed and presenter and USB receiver has new
paired ID.
Note: Above process 4.1 will be executed whenever the USB receiver is plugged in
PC and If process 4.2 is not executed, the existing ID will be remained.
PS:
(1) If user does not do above Step 2 during 10-second standby time, the channel
and ID will not be changed.
(2) If user does above Step 2 after 10-second standby time, the new channel and
ID will be sent out which will cause the channel and ID of presenter and USB
receiver are different and consequently no function when pressing Page up or
down key. In such case, please plug out and plug in USB receiver from PC again
and do the “ID Link procedure” to let presenter and USB receiver have the
same channel and ID.
Whenever user wants to conduct ID link after 10-second standby time, user shall
plug out and in USB receiver from PC again and do the “ID Link procedure”.

4
Chapter 6 Trouble Shooting
Question Possible cause How to resolve
Need to install software for first
use of this product? No, this is a plug and play device.
Need to pair ID before first use? No need
Possible to use 2 or more of this
product in a room at the same
time? Yes, but please implement ID pairing
in advance to avoid interference (see
page 5 of ID Pairing Process)
Laser pointer malfunction Batteries inserted in wrong
direction or run out of battery power Batteries inserted in wrong direction
or run out of battery power
Laser pointer and remote control
both malfunction Batteries inserted in wrong
direction or run out of battery power Batteries inserted in wrong direction
or run out of battery power
★Remote control malfunction Interfered by other RF signal To conduct ID pairing
(see Chapter 5 of ID Pairing
Process)
Federal Communication Commission Interference Statement
This equipment has been tested and found to comply with the limits for a Class B digital device,
pursuant to Part 15 of the FCC Rules. These limits are designed to provide reasonable protection
against harmful interference in a residential installation. This equipment generates, uses and can
radiate radio frequency energy and, if not installed and used in accordance with the instructions, may
cause harmful interference to radio communications. However, there is no guarantee that interference
will not occur in a particular installation. If this equipment does cause harmful interference to radio or
television reception, which can be determined by turning the equipment off and on, the user is
encouraged to try to correct the interference by one of the following measures:
z Reorient or relocate the receiving antenna.
z Increase the separation between the equipment and receiver.
z Connect the equipment into an outlet on a circuit different from that to which the receiver is
connected.
z Consult the dealer or an experienced radio/TV technician for help.
FCC Caution: Any changes or modifications not expressly approved by the party responsible for
compliance could void the user's authority to operate this equipment.
This device complies with Part 15 of the FCC Rules. Operation is subject to the following two conditions:
(1) This device may not cause harmful interference, and (2) this device must accept any interference
received, including interference that may cause undesired operation.
This device and its antenna(s) must not be co-located or operating in conjunction with any other
antenna or transmitter.