Secure Wireless EV-F433P Remote Control Transmitter User Manual 7084 SW DSC Non Sup Revised
Secure Wireless, Inc Remote Control Transmitter 7084 SW DSC Non Sup Revised
User Manual
Example: If the serial number on the back of the remote is 65382A and you program the
‘ZONE’ function, then the serial number you will program into the panel will be 25382A. If you
use the ‘ZONE’ function you must program the unit into Zone 1-32, it will not operate at 41-56 if
you are using the ‘ZONE’ function.
Note 1: Delay features requires that the remote button be held for 3 continuous seconds before
it will transmit to eliminate any false activations.
Note 2: When the button is pressed on a WS****-433 it will transmit the same code as a DSC
button #4 wireless key.
2.3 Programming for Two Button Panic
1. Press and HOLD both buttons on the remote. The LED will pulse ON/OFF, continue to HOLD
until the LED begins to flash (approximately 5 seconds) then release.
2. Press button #2 to indicate dual button function. The LED will flash faster.
3. Press button # 1 for Instant Transmission OR Button #2 for .5 second delay transmission.
LED will flash faster.
4. Press Button #1 for dual button panic mode. LED will flash faster.
5. Press button #1 for Remote function or Press #2 for Zone function. LED will turn OFF to
indicate unit has exited programming.
If you choose to use the ‘ZONE’ function you must make sure to substitute a ‘2’ in the first
digit of the serial number when programming into the panel.
Example: If the serial number on the back of the remote is 65382A and you program the
‘ZONE’ function, then the serial number you will program into the panel will be 25382A.
If you use the ‘ZONE’ function you must program the unit into Zone 1-32, it will not operate at
41-56 if you are using the ‘ZONE’ function.
Note 1: When both buttons are pressed on a WS****-433 it will transmit the same code as a
DSC button #4 wireless key.
2.4 Programming for Three Button Remote
1. Press and HOLD both buttons on the remote. The LED will pulse ON/OFF, continue to HOLD
until the LED begins to flash (approximately 5 seconds) then release.
2. Press button #2 to indicate dual button function. The LED will flash faster.
3. Press button # 1 for Instant Transmission OR Button #2 for .5 second delay transmission.
LED will flash faster.
4. Press Button #2 for three button mode. LED will turn off to indicate unit has exited
programming.
NOTE: When button #1 is pressed on a WS****-433 it will transmit the same code as a DSC
button #2 wireless key. When button #2 is pressed on a WS****-433 it will transmit the same
code as a DSC button #3 wireless key. When both buttons are pressed on a WS****-433 it will
transmit the same code as a DSC button #4 wireless key.
Section 3: Additional Notes
The WS****-433 Wireless Key requires TWO CR2025 lithium batteries.
Replacing batteries
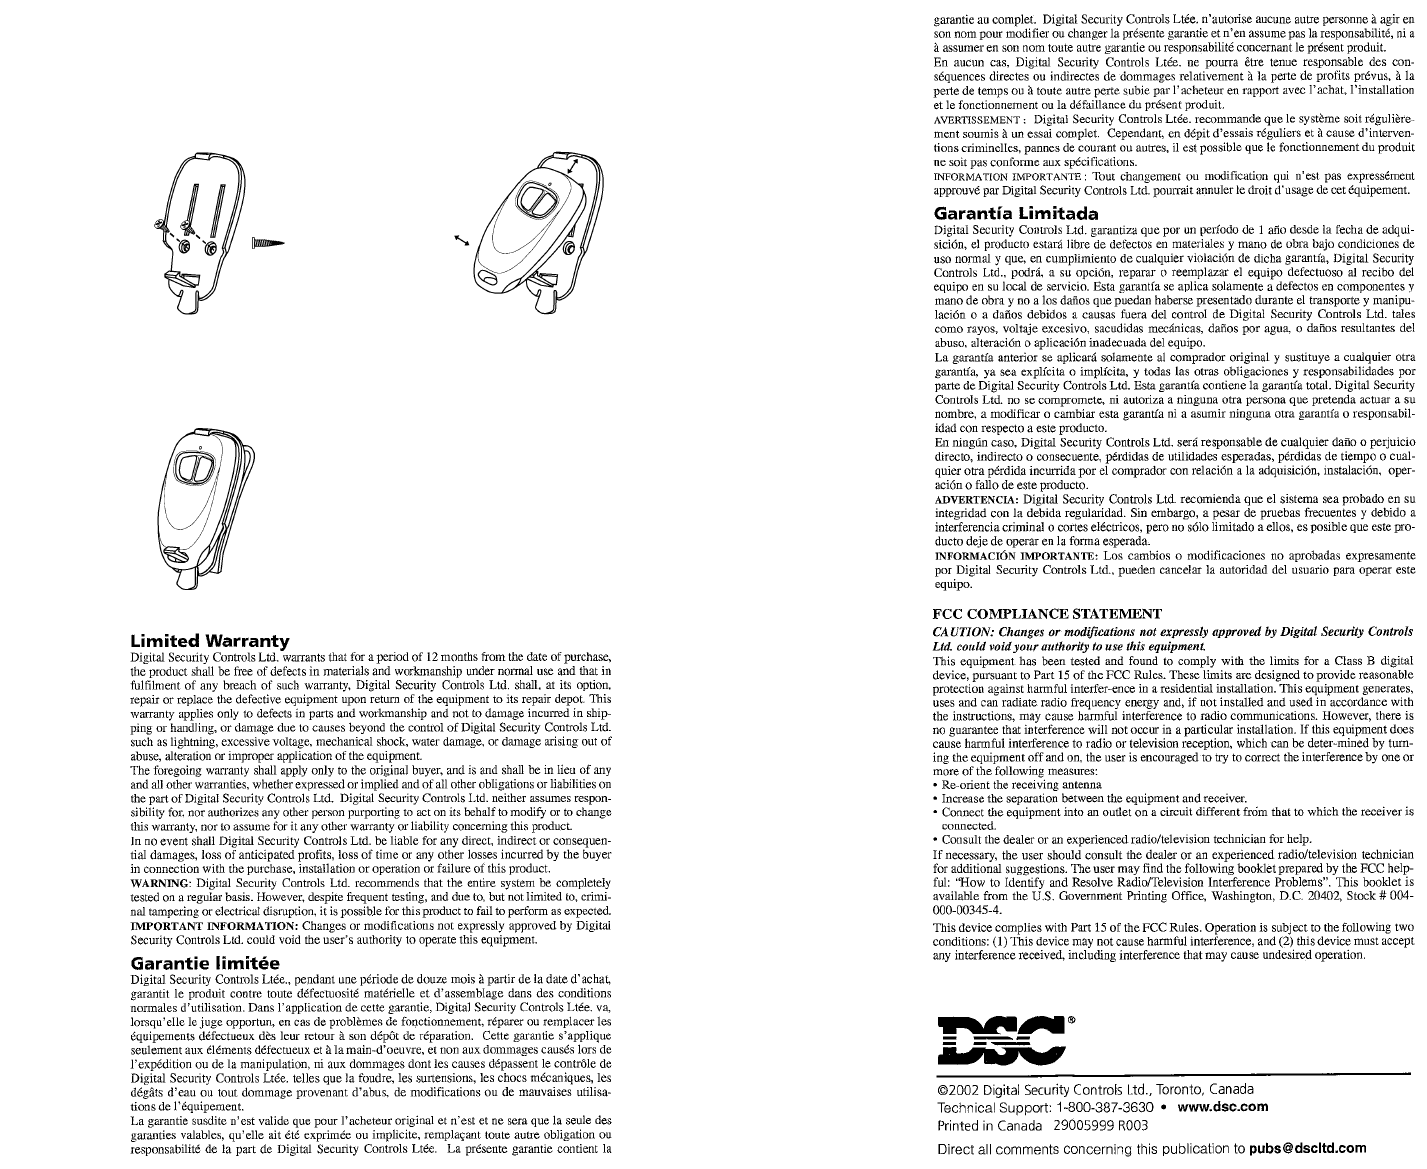
1) Open the case by inserting a coin or a flat head screw driver at the base and carefully twist
the screwdriver to separate the top and bottom plastic.
2) Using a #1 Phillips screw driver, remove the screw that holds the circuit board to the back of
the case. The screw is in the center of the circuit board.
3) Insert a small flat head screwdriver at the base of the board and carefully lift it up.
4) Note the polarity of the battery as etched into the bottom side of the case. Improper handling
of lithium batteries may result in heat generation, explosion or fire, which may lead to
personal injuries.
WARNING: Danger of explosion if batteries are installed incorrectly, Replace ONLY with
Panasonic or Toshiba CR2025 Batteries. Keep away from small children. If batteries are
swallowed, promptly see a doctor. Do not try to recharge batteries. Disposal of used batteries
must be made in accordance with waste recovery and recycling regulations in your area.
WS****-433NA v 1.0 Installation Manual
Section 1: Introduction
The WS****-433 is the industries most flexible
wireless key. It is field programmable to be a
single button panic, a two button panic or a
three button remote which can be used to arm
and disarm a panel as well as any other
desired wireless key function.
1.1 Specifications and Features
• Programmable as a 1, 2 or 3 button non-supervised remote
• Programmable instant or delay function
• Water resistant for baths or shower use
• Frequency: 433 MHz
• Lithium batteries to ensure long life
• Includes under desk/counter or wall mount for police or medical panics
• Includes belt clip for portable mounting including car visor.
• Includes neck strap
1.2 Compatible Receivers
Please refer to the installation sheets of the following receivers for more information.
The WS****-433 is compatible with the following receivers:
• PC5132-433 • PC5102WKK1 (2) • PC4164-433
• LCD 5501Z32-433 • Envoy Systems
CAN BE PROGRAMMED AS A REMOTE OR A ZONE
WARNING
This manual contains information regarding
product use and information on the limitations as
to liability of the manufacturer.
1.3 Batteries
The WS**** uses two CR2025 lithium batteries and are designed to last at least 5 years under
normal usage. To replace batteries see section 3.
Section 2: WS****-433 Programming
This section describes how to set up and program your remote.
NOTE: For programming you will need the 2 button rubber insert installed. If you plan to use the
WS****-433 as a one button panic you can change the insert after programming is complete.
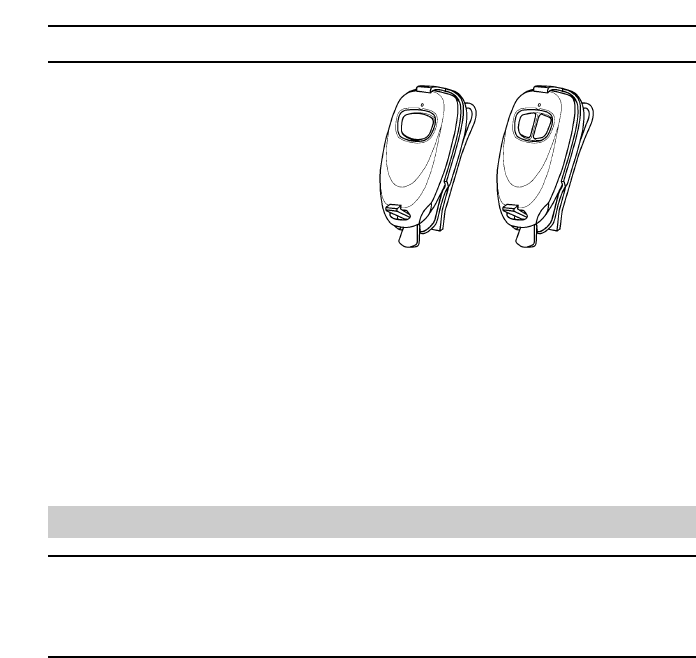
2.1 Description:
1 Button Remote: Single button operation to activate Police or Medical panic.
2 Button Remote: Dual button operation (Press buttons 1 and 2 together) to activate Police or
Medical panic.
3 Button Remote: Button 1 and button 2 plus both buttons pressed simultaneously give a
3rd channel transmitter function.
2.2 Programming for single button operation.
1. Press and HOLD both buttons on the remote. The LED will pulse ON/OFF, continue to HOLD
until the LED begins to flash (approximately 5 seconds) then release.
2. Press button #1 to indicate single button function. The LED will flash faster.
3. Press button # 1 for Instant Transmission OR Button #2 for three second delay transmission.
LED will flash faster.
4. Press button #1 for Remote function or Press #2 for Zone function. LED will turn OFF to
indicate unit has exited programming.
If you choose to use the ‘ZONE’ function you must make sure to substitute a ‘2’ in the first
digit of the serial number when programming into the panel.
DRAFT
MANUAL
IC: 4676A-EV433P The term ‘IC:’ before the radio certification number only signifies
that Industry Canada Technical specifications were met.
Section 4: Miscellaneous Uses
4.1 Wall or Under Counter Mount
The included wall/under counter enclosure is useful for a multitude of applications. It is perfect
for a medical panic with mounting next to showers, beds or counters. Excellent for commercial
use as an under desk/counter panic button.
Wall or Desk Mount Remote Snaps In
4.2 Belt Clip
The included belt/visor clip is excellent for wireless ‘on the go’ applications like keyless entry for
garage doors, electric strikes or even jewelry store panic buttons that are kept on the person. It
is also convenient to attach to a visor for garage door or security gate access.
Belt Clip