Senao Co SN1302 Industrial cordless phone system - DuraFon1X User Manual manual for certification
Senao International Co Ltd Industrial cordless phone system - DuraFon1X manual for certification
Senao Co >
Contents
- 1. Manual revised
- 2. Manual final revised
- 3. Manual revised 3
Manual revised
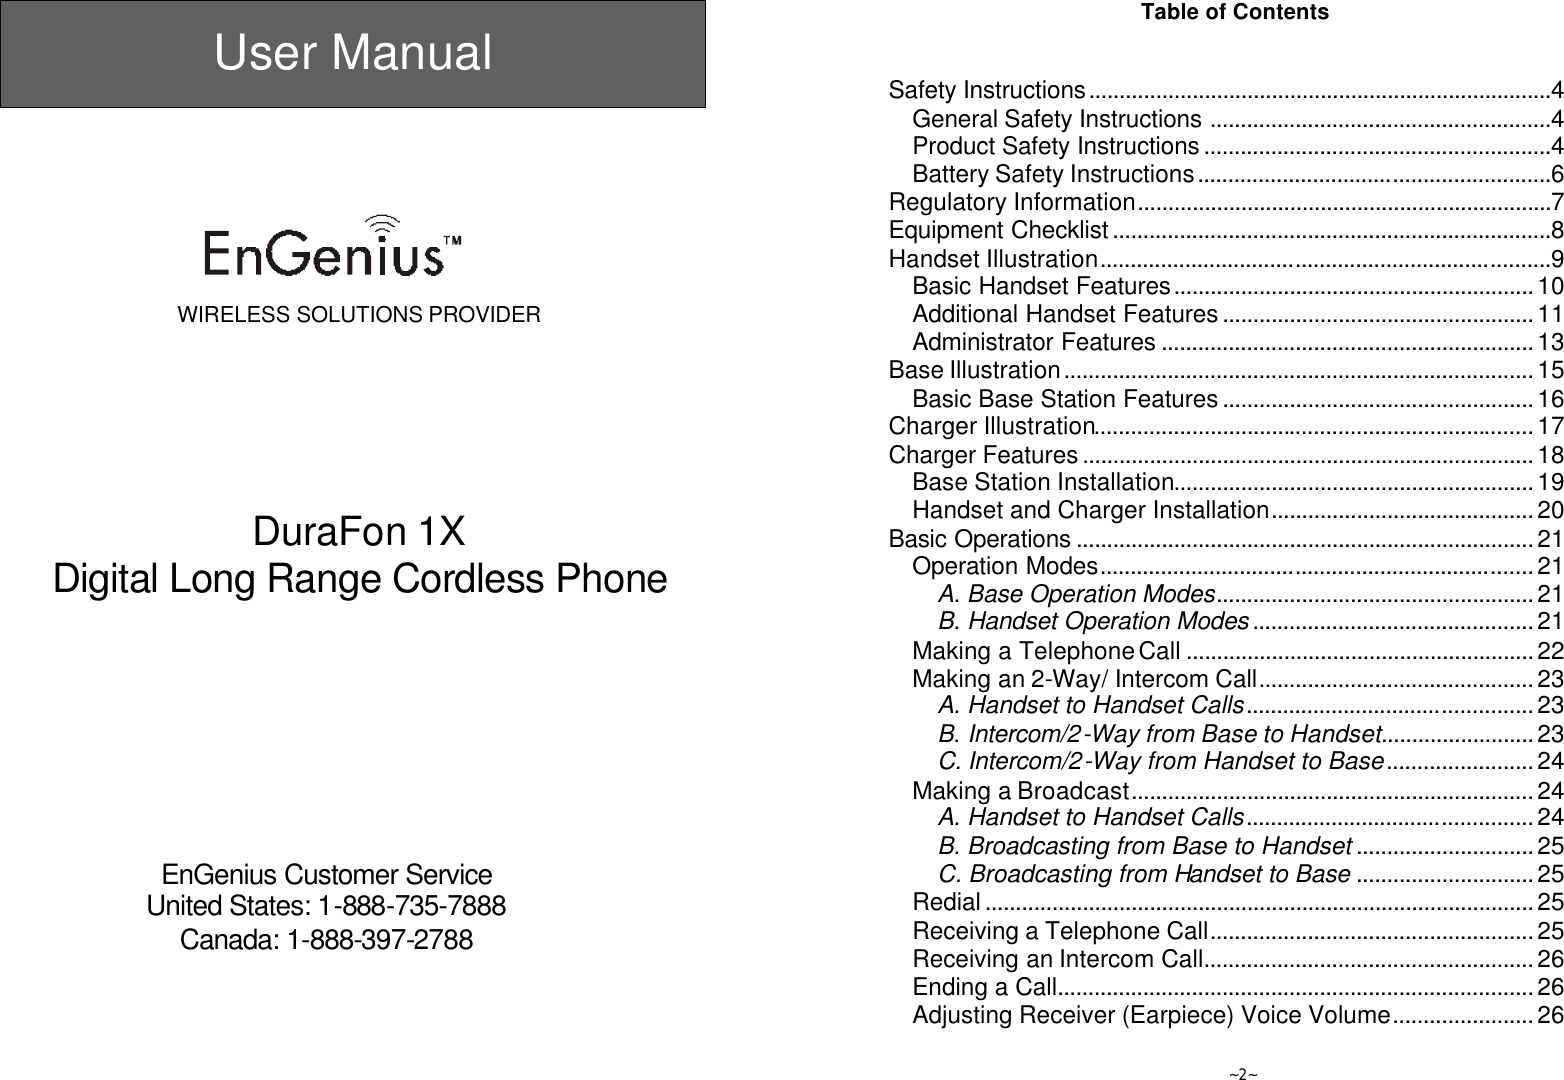
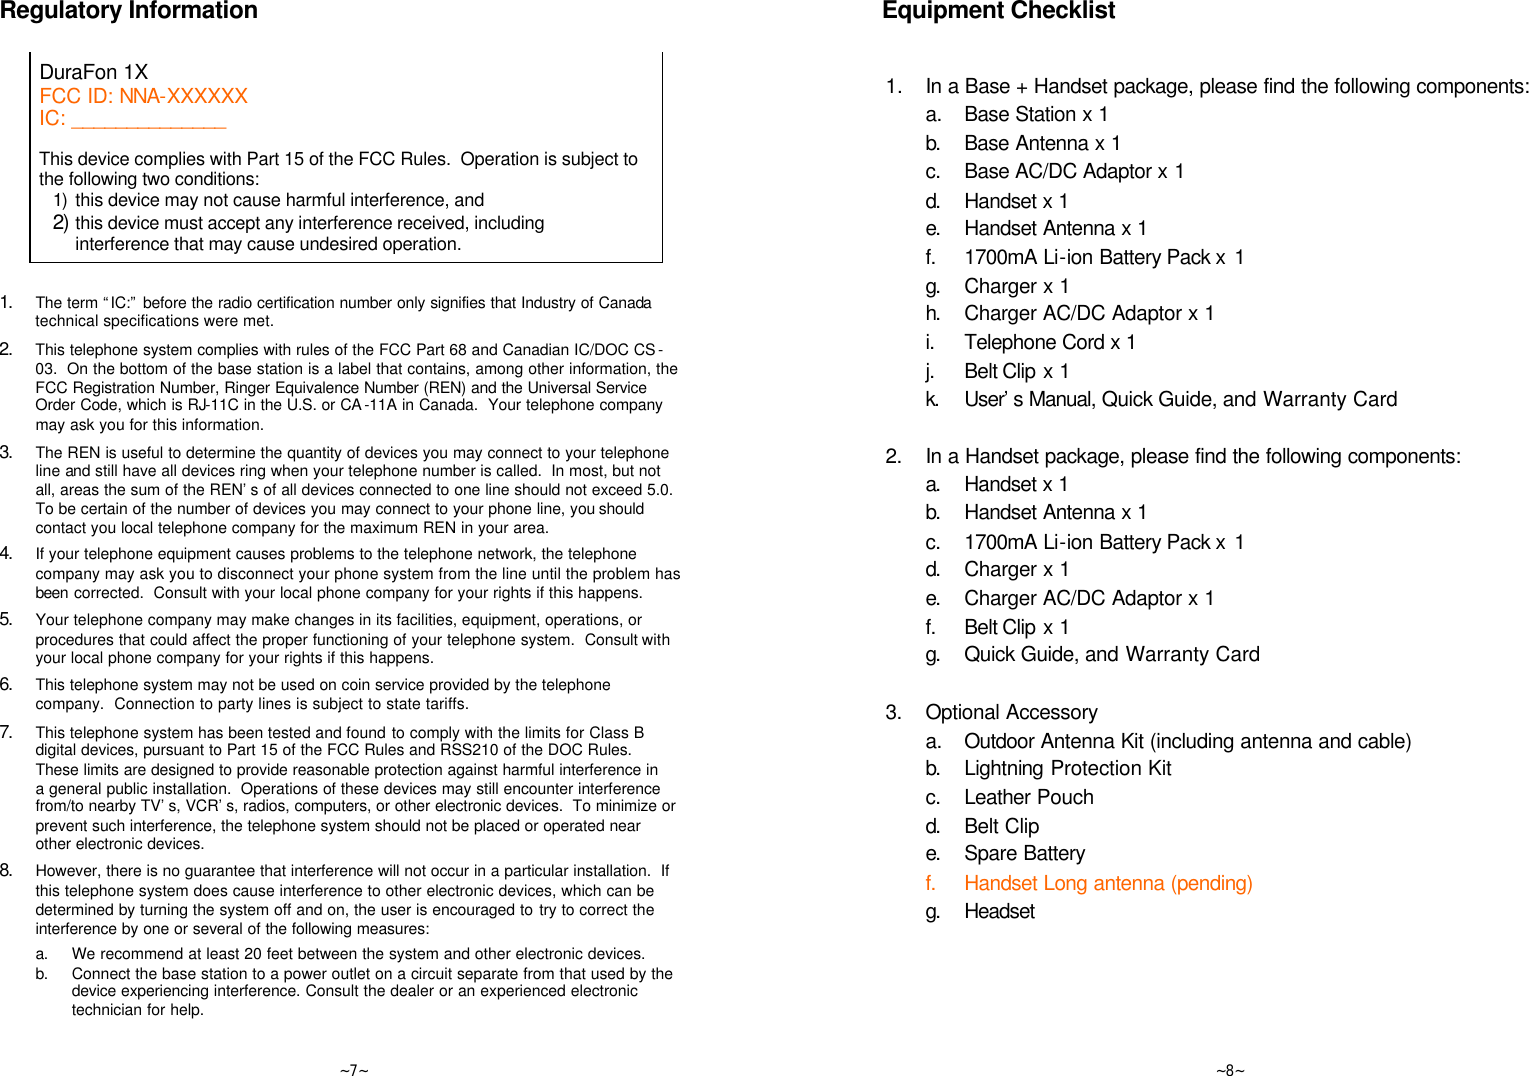
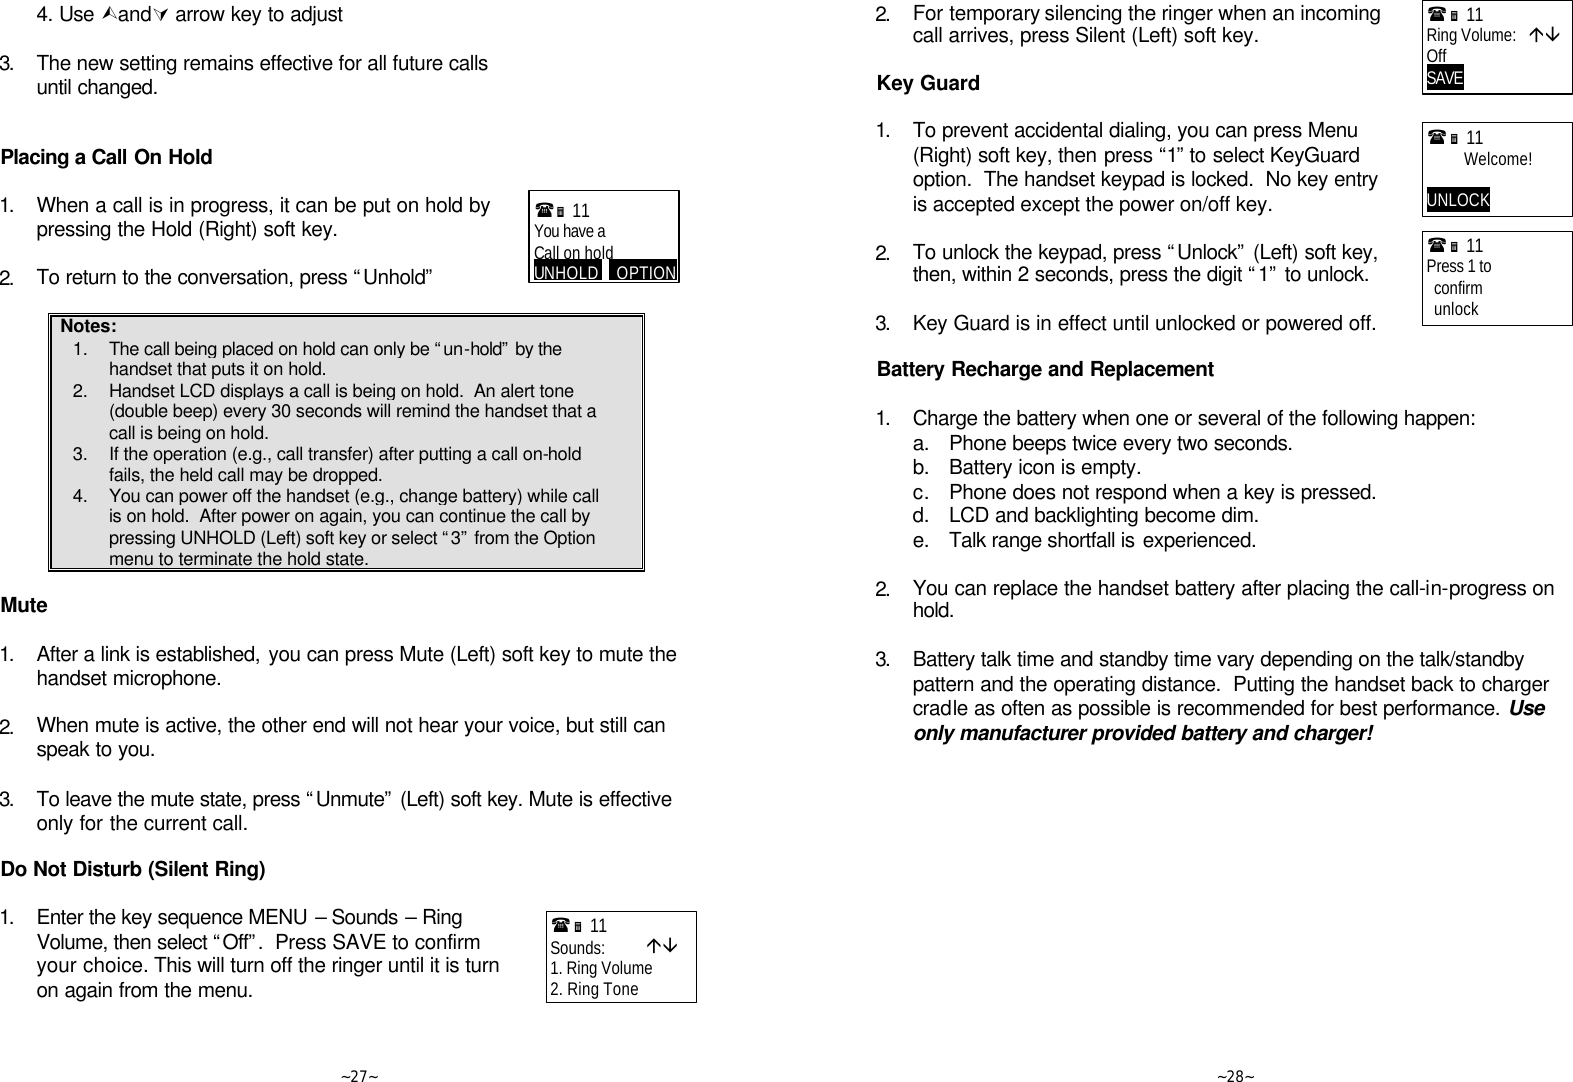
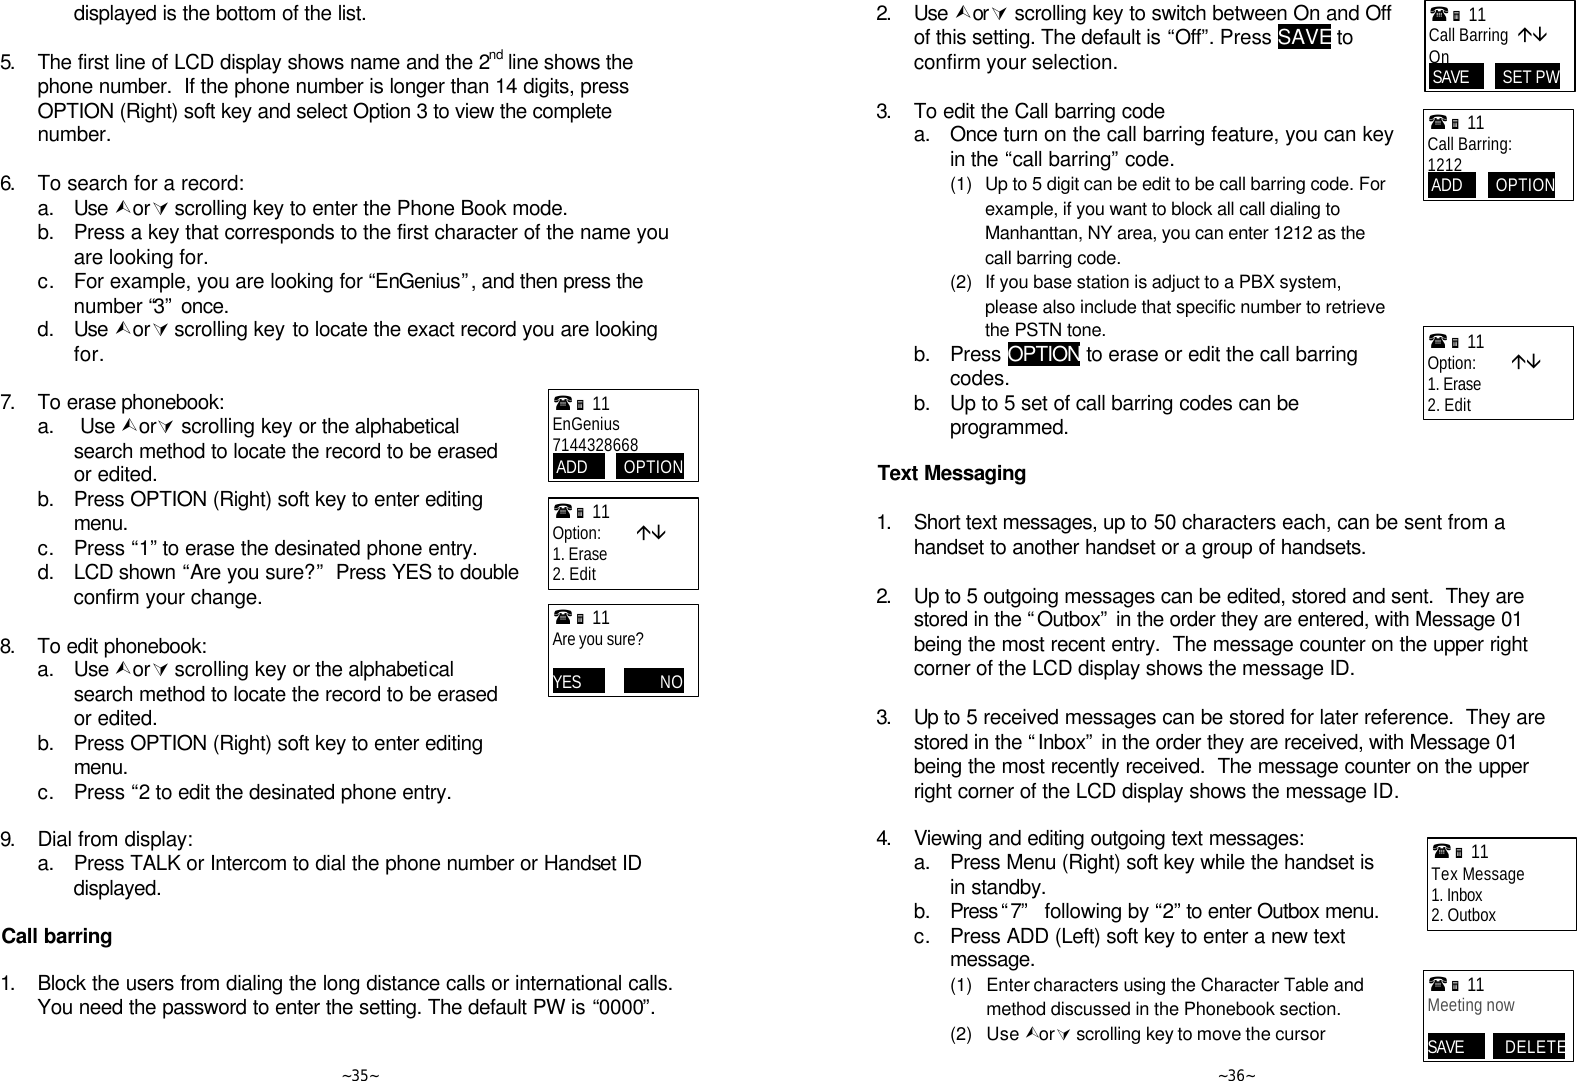
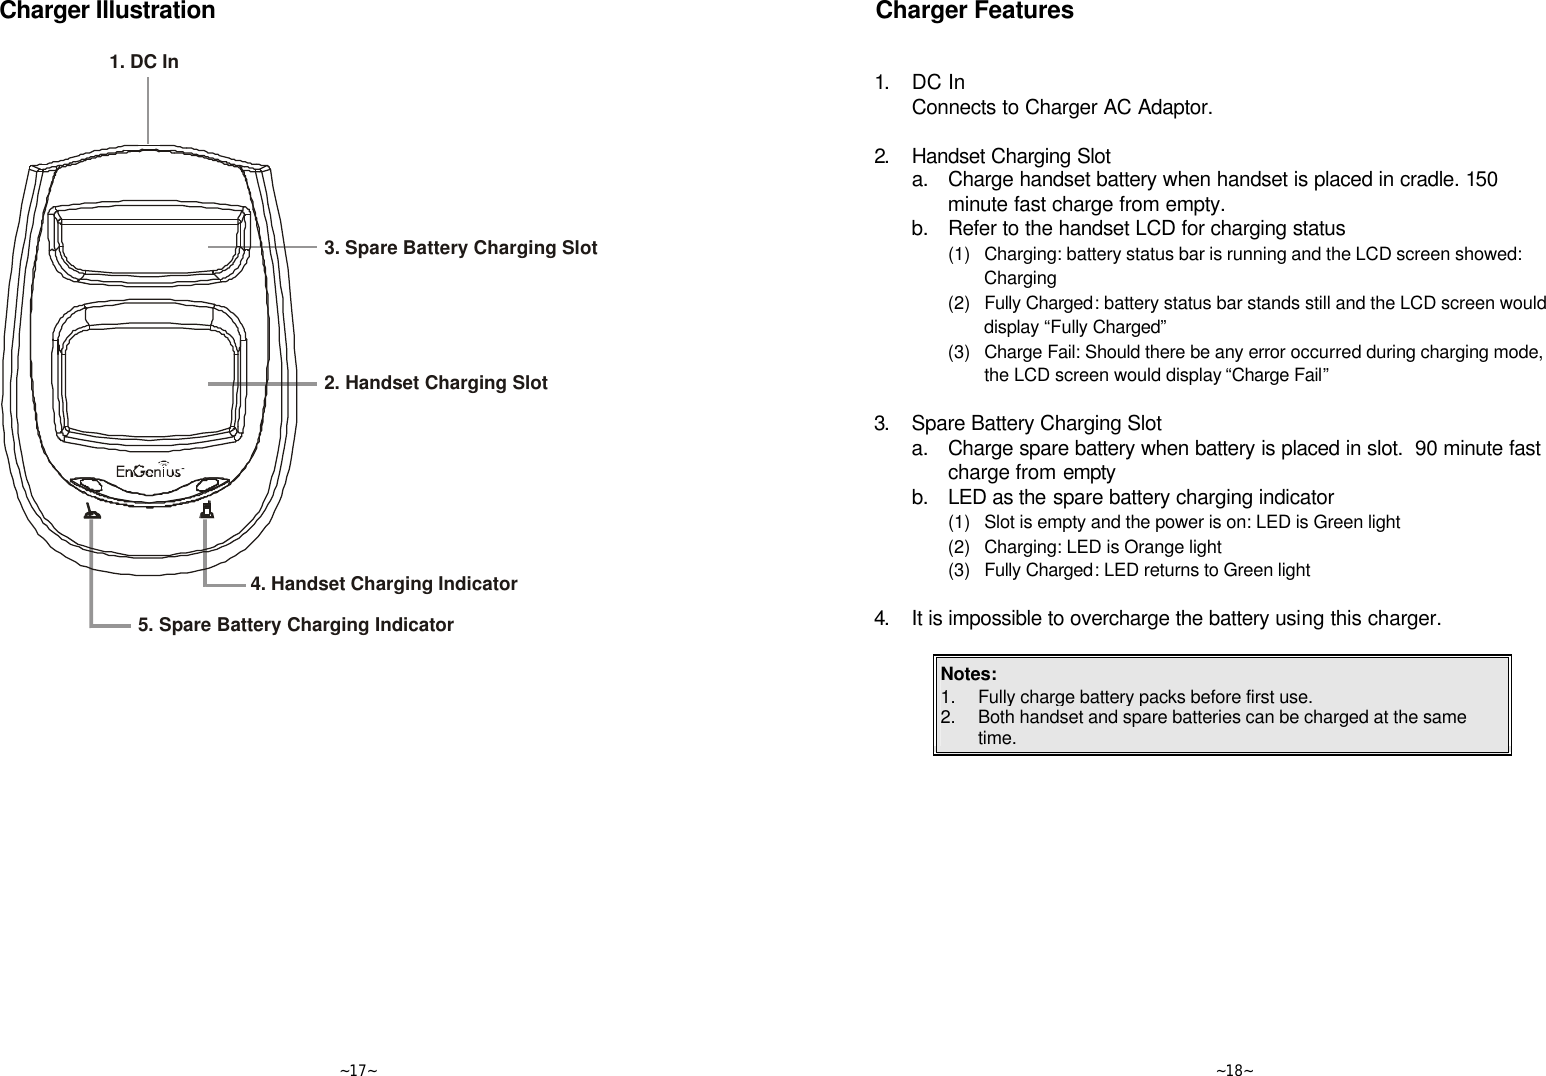
![~11~ phone companies during a call. 4. 2-WAY/INTERCOM a. Places an intercom call to another handset ID or a group ID (group paging). b. Intercom calls are digital, full duplex, and are conducted without the assistance from the base. 5. BROADCAST a. Half duplex broadcasting to handsets for immediate announcement b. Half duplex broadcasting to base stations [please refer to page 24 for detail operation] 6. Left/Right Soft Keys a. Make menu selection. 7. Up(Ù) /Down(Ú) Scrolling Keys a. Scroll through records and menu selections. b. Adjust receiver voice volume when in Talk mode. 8. END; On/Off Key a. Ends a call. b. Leaves current menu operation, up one level. c. Press for 3 seconds to off the power Additional Handset Features 1. Multiple handsets registration a. Up to 9 handsets can be registered to a base station; up to 36 handsets can be accommodated to the system b. ID 10-99: individual Handset IDs. ID 10 and 11 are the first two ID’s assigned by the base and are designated “administrators” who can change base settings such as greeting message and other base administrative functions. c. ID 01-09: Group IDs. Handsets can “subscribe” from the handset menu to group(s) and be paged when a landline caller or an intercom caller enters a Group ID. 2. Ringer Vibrator a. Five-level ringer volume selections (high/ low/ vibrate/ vibrate-then-ring/ off) b. Four ringer type selections ~12~ 3. Caller ID a. Displays incoming call phone number and name on the LCD (needs Caller ID service from local telephone company) 4. Call waiting with caller ID a. Displays 2nd incoming call information on the same phone line when 1st call is in progress (needs Call Waiting with Caller ID service from local telephone company) 5. Name tagging with caller ID a. Match the caller ID with the phone book entries; once matched, the LCD screen will display the name or nickname instead of pure caller ID info (needs Call Waiting with Caller ID service from local telephone company) 6. DND (Do Not Disturb, i.e., Silent Ring) 7. Three Call Logs a. Called Log: Stores 10 phone numbers (up to 28 digits each) dialed most recently. Can perform last-number redial on all 10 numbers. b. Received Call Log: 10 entries (14-digit phone number, 14-character names, and time stamp), needs Caller ID service from local telephone company. c. Missed Call Log: 10 entries (14-digit phone number, 14-character names, and time stamp), needs Caller ID service from local telephone company. d. Phone numbers and names can be saved into phonebook while in display. 8. Call barring a. Block the users from dialing the long distance calls or international calls b. Up to 5 digits of each call barring setting; up to 4 entries allowed c. If you need to dial a specific number to retrieve the dial tone, you need to key in that number while setting the call barring [Note] you need to key in the accurate user ID and password to perform this feature. The default password is 0000 9. Any Key Answer (except END, Silent Soft Key) 10. Key-guard](https://usermanual.wiki/Senao-Co/SN1302.Manual-revised/User-Guide-493716-Page-6.png)
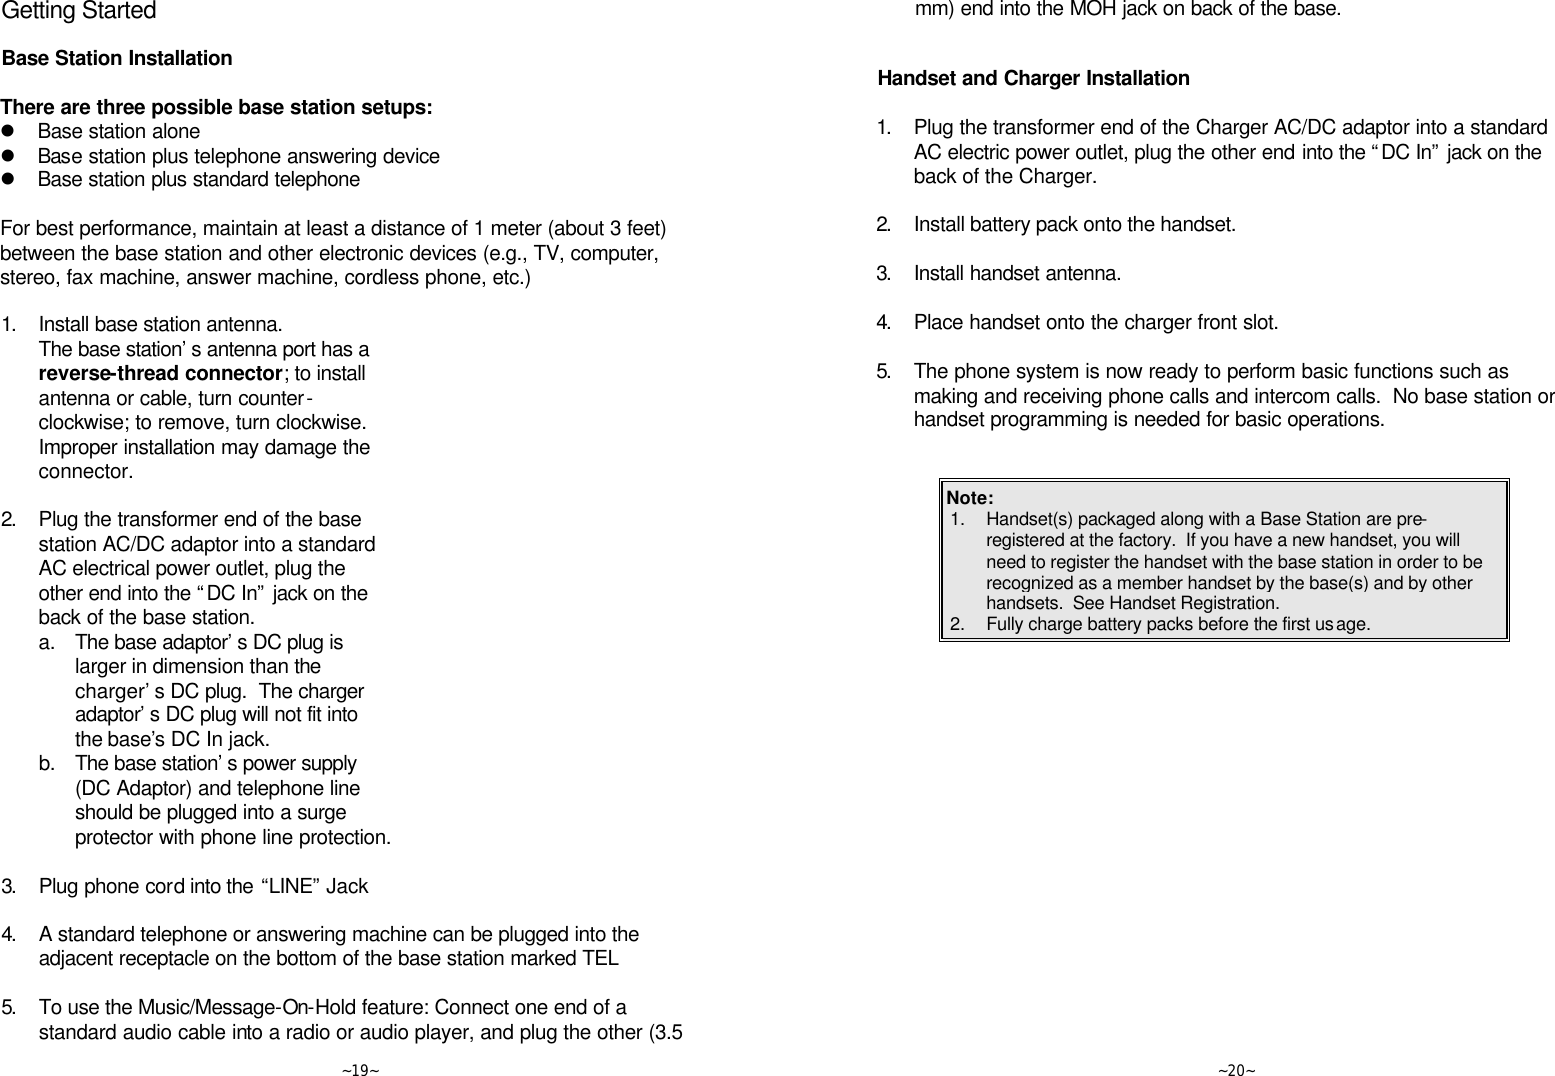

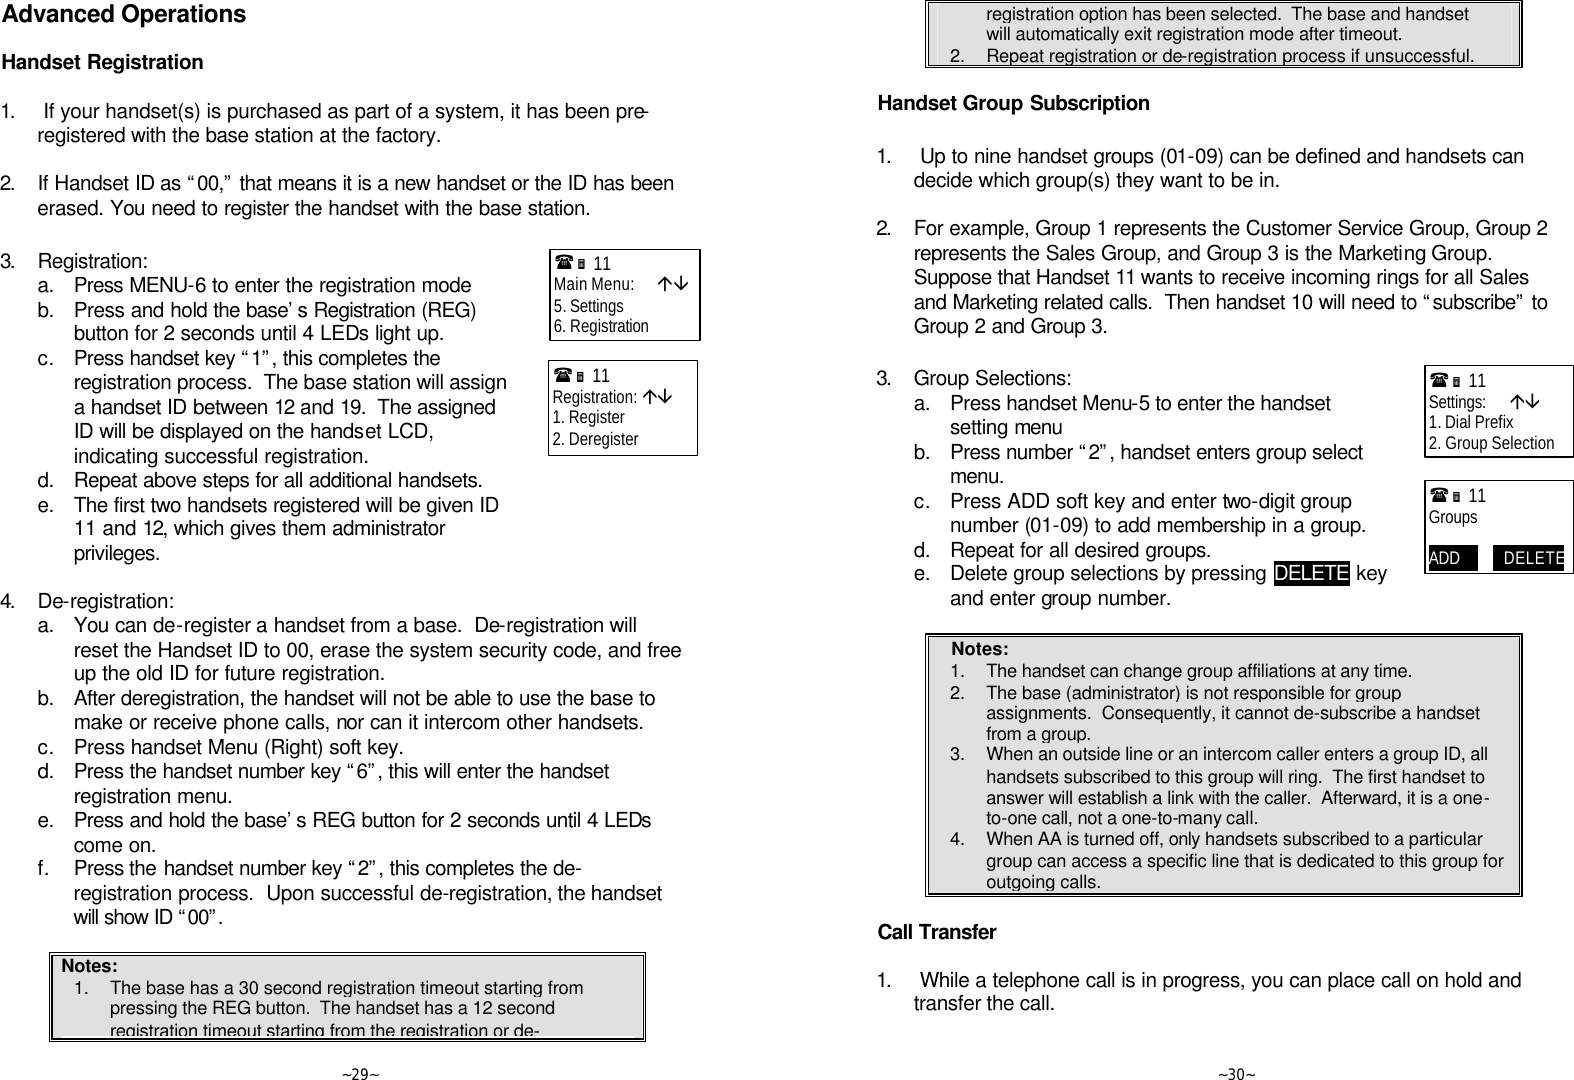
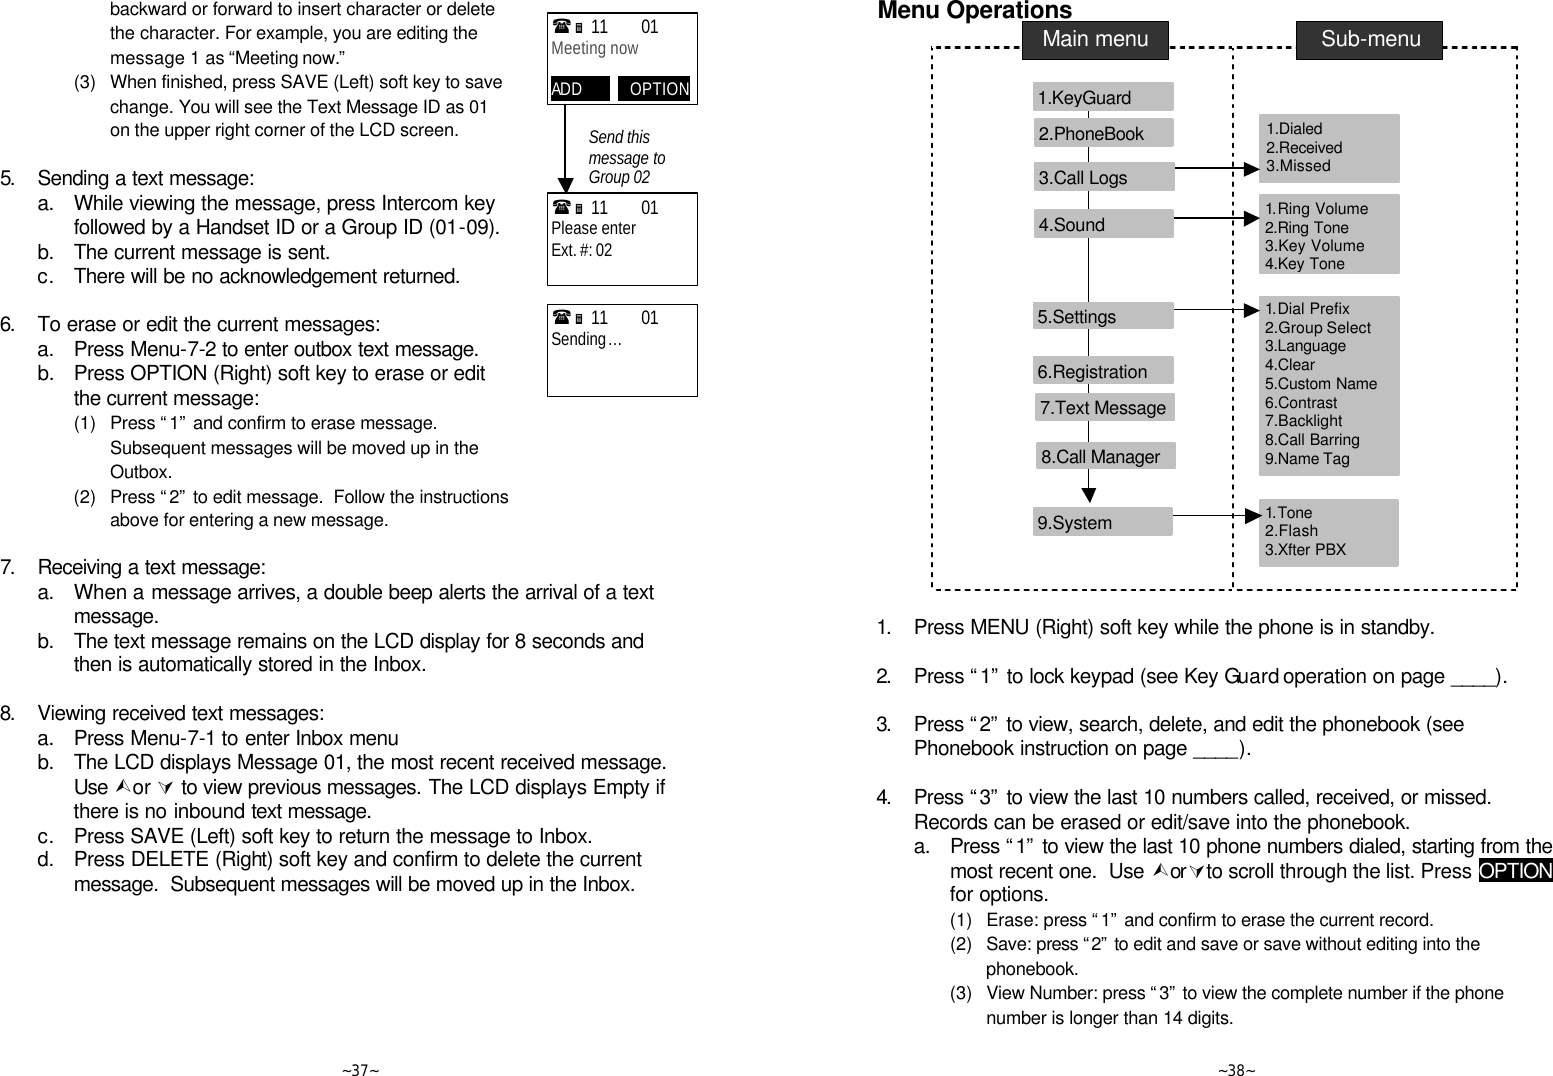
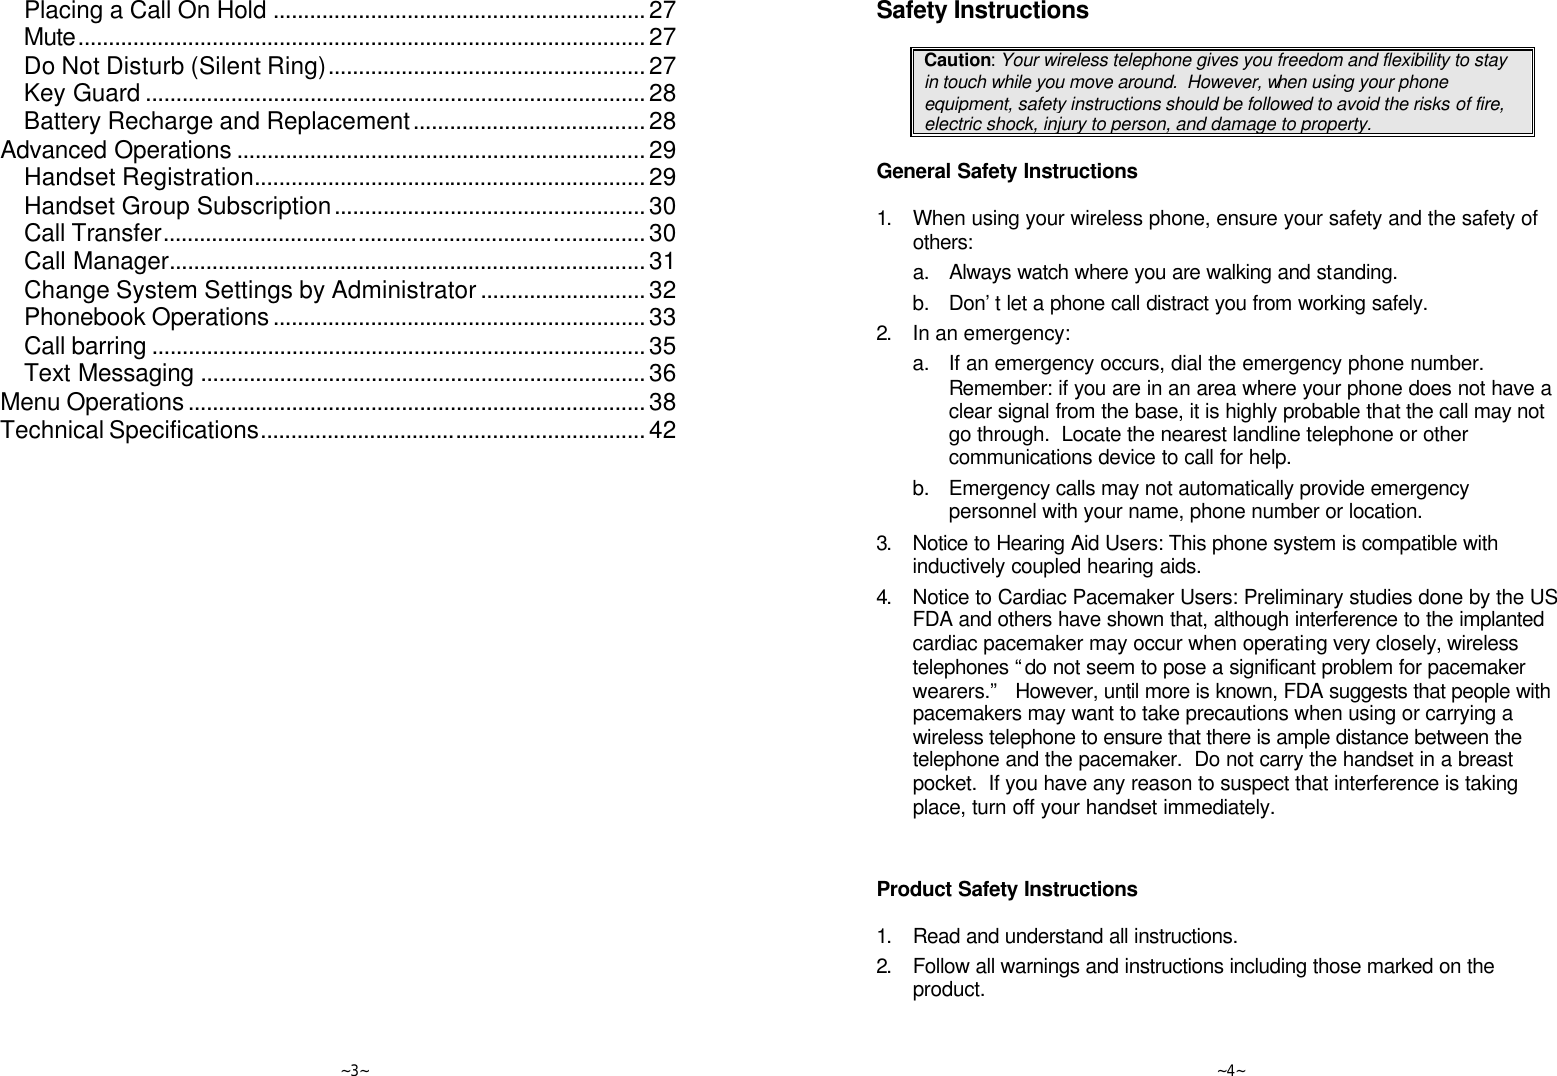
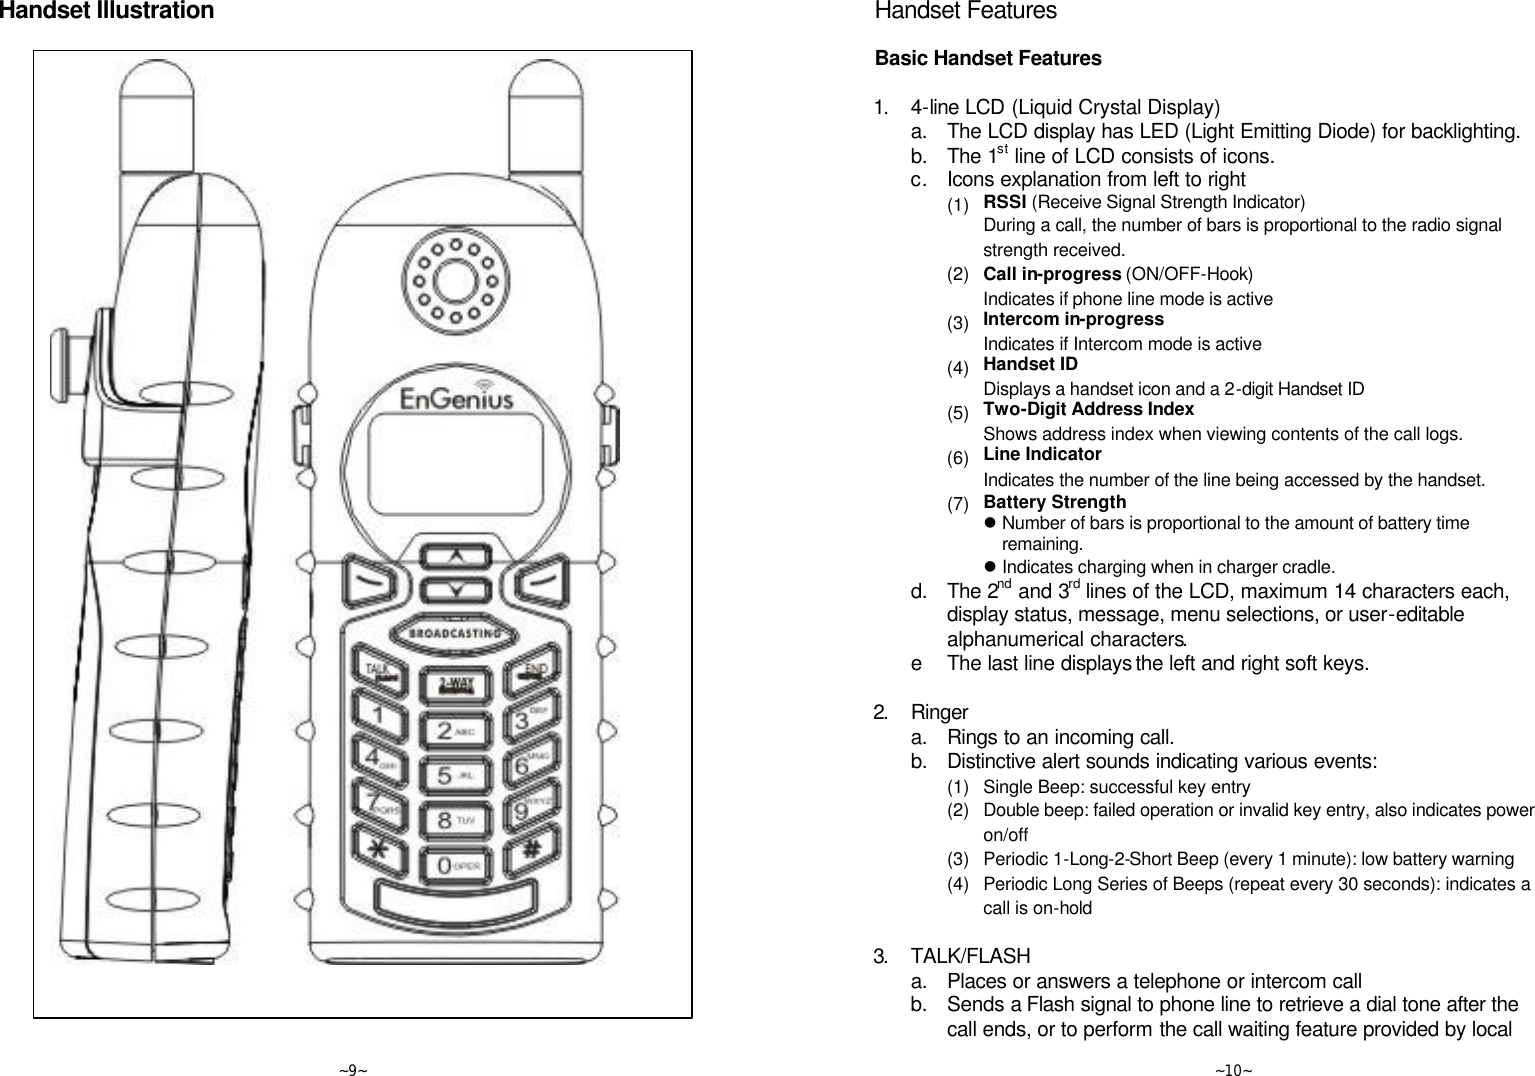
![~23~ Notes: 1. If the line is occupied, the LCD shows “No Line Available” and handset returns to standby mode. 2. If a link cannot be established, the LCD will show “No Base” after a 12-second time out. 3. A call duration timer will start displaying the length of the call after link is established. Making an 2-Way/ Intercom Call The EnGenius Industrial Cordless Phone System offers private, Intercom/ 2-way radio calls independence of base station. Intercom/ 2-way communication can be placed from or to base stations and handsets. A. Handset to Handset Calls 1. Press Intercom key followed by a two-digit handset ID or Group ID. 2. Press END key to end the call. Notes: 1. Intercom calls can be made regardless if the Base Station is present. 2. If a Group ID is entered, the first handset (belonging to that group) that answers will establish a link with the caller. See Handset Group Subscription. 3. If a link cannot be established, the LCD shows “No Connection” after a 12-second time out. B. Intercom/2-Way from Base to Handset 1. Press Intercom key on the base station to intercom all registered handsets. The first handset to answer will establish a voice link with the base. 2. The INTERCOM LED will flash until a handset responds. 3. The base unit will page for 15 seconds, then terminate the page if no handset responds. 4. Before a handset answers, the INTERCOM can be cancelled from the base by pressing INTERCOM again. However, once a handset answers, only the answering handset can end the call. (Ë 11 Please enter Ext. #: 12 (Ë 11 Intercom from Base 1 SLIENT ~24~ C. Intercom/2-Way from Handset to Base 1. Press Intercom key followed by a two-digit base ID [Note: Base 1 ID as 10, Base 2 ID as 20, Base 3 ID as 30, and Base 4 ID as 40] 2. The base will ring once, then automatically connect the intercom call from a handset. Making a Broadcast A. Handset to Handset Calls 1. Broadcasting all handsets a. Press “BROADCAST” key from one handset b. Hear bi-bi-beep while the initiating handset broadcast all handsets within communication coverage c. Start to speak the message to be broadcasted once you hear the “beep” sound; the speakerphone of destination handsets will be opened up d. Press END key to end the broadcasting 2. Broadcasting a group of handsets a. Enter the Group ID and then press “BROADCAST” key b. Hear bi-bi-beep while the initiating handset broadcast all handsets within communication coverage c. Start to speak the message to be broadcasted once you hear the “beep” sound; the speakerphone of destination handsets will be opened up d. Press END key to end the broadcasting 3. Broadcasting an individual handset a. Enter the Handset ID and then press “BROADCAST” key b. Hear bi-bi-beep while the initiating handset broadcast all handsets within communication coverage c. Start to speak the message to be broadcasted once you hear the “beep” sound; the speakerphone of destination handsets will be (Ë 11 Please enter Ext. #: 10 (Ë 11 PA paging to all… (Ë 11 PA paging to Ext. # 02 (Ë 11 PA paging to Ext. # 12](https://usermanual.wiki/Senao-Co/SN1302.Manual-revised/User-Guide-493716-Page-12.png)
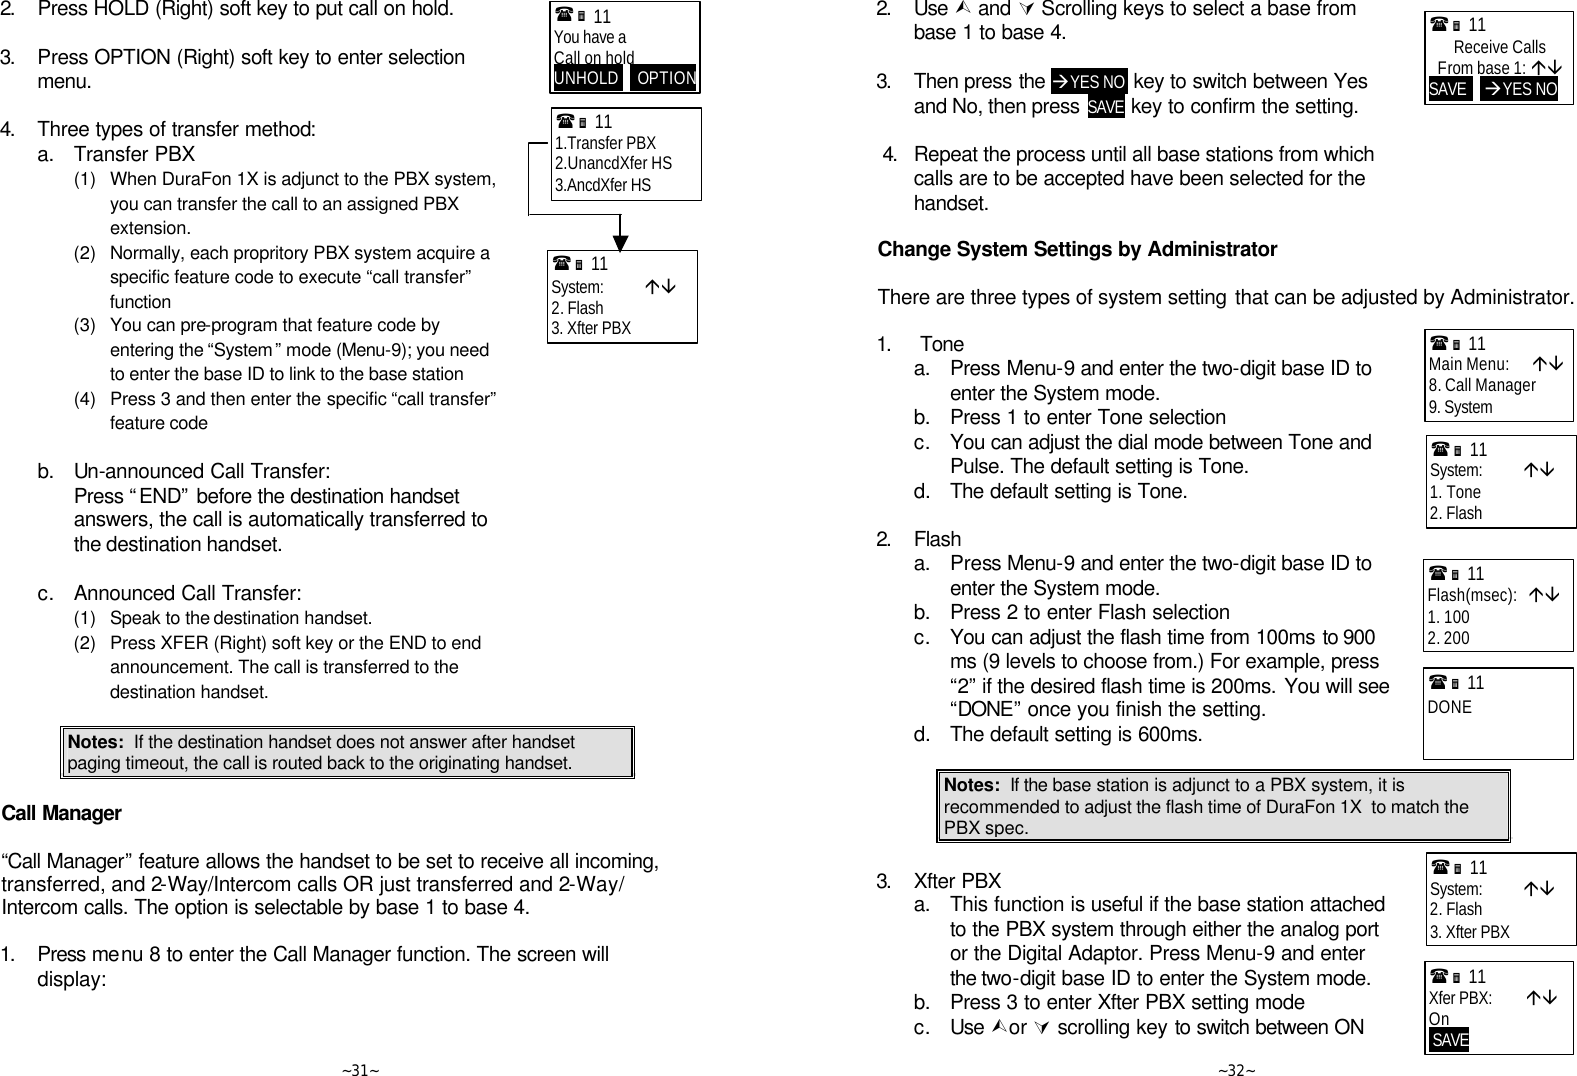
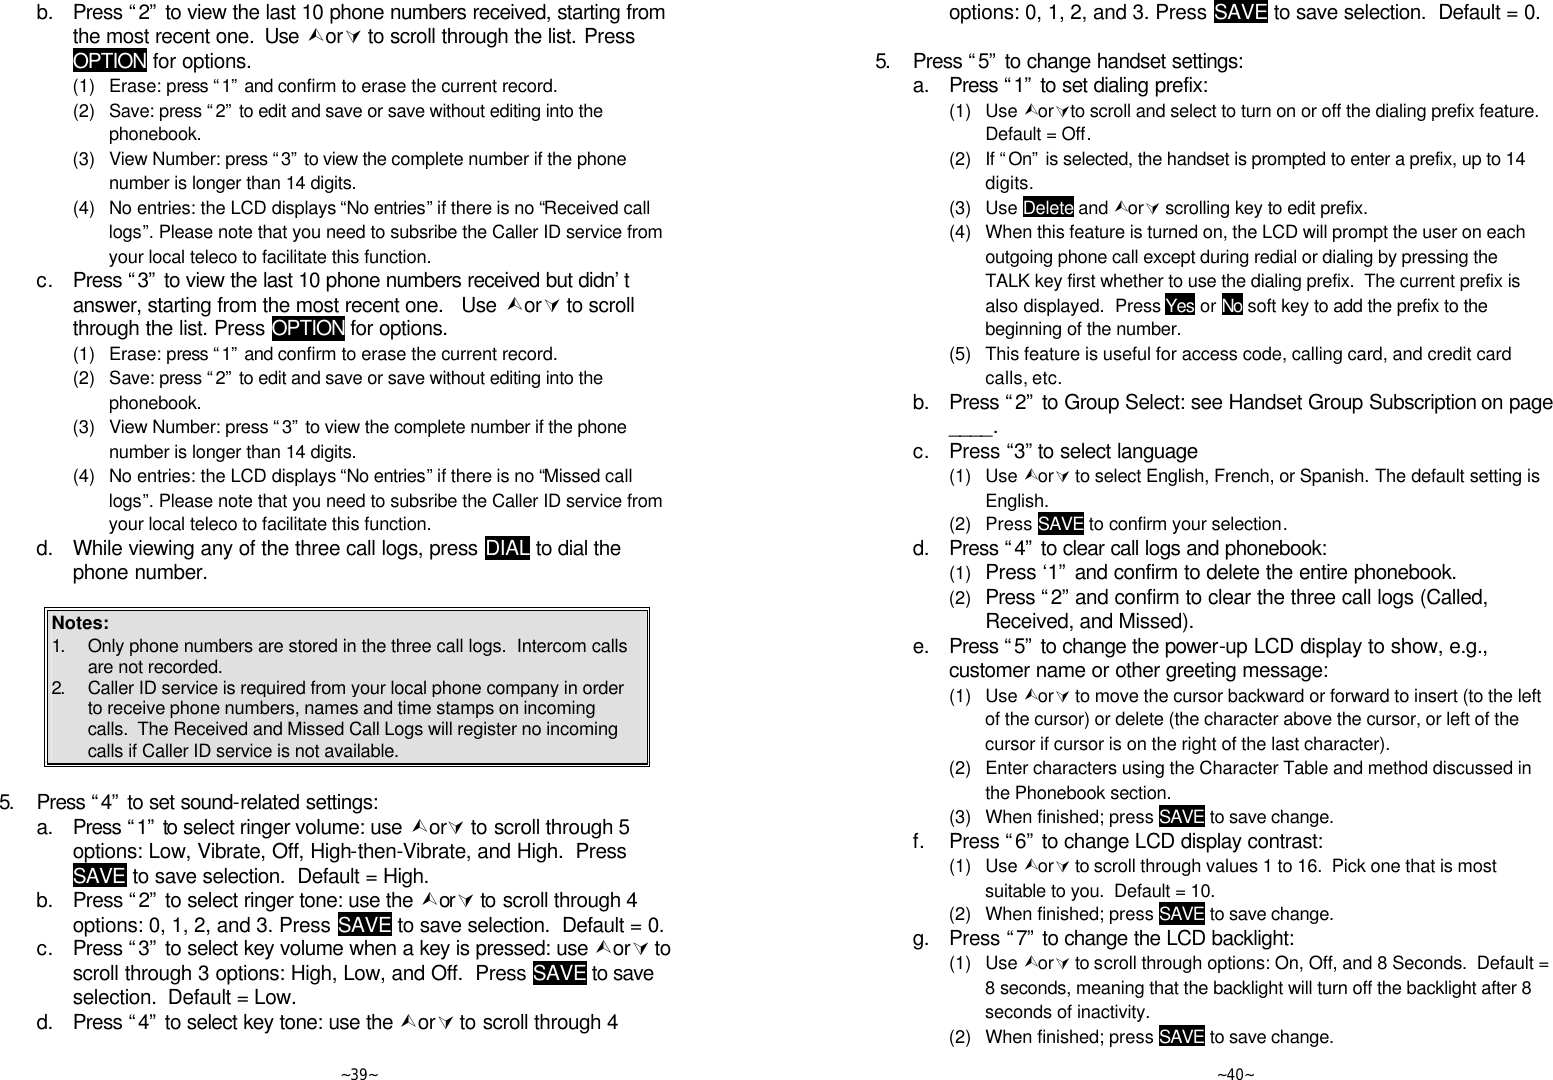
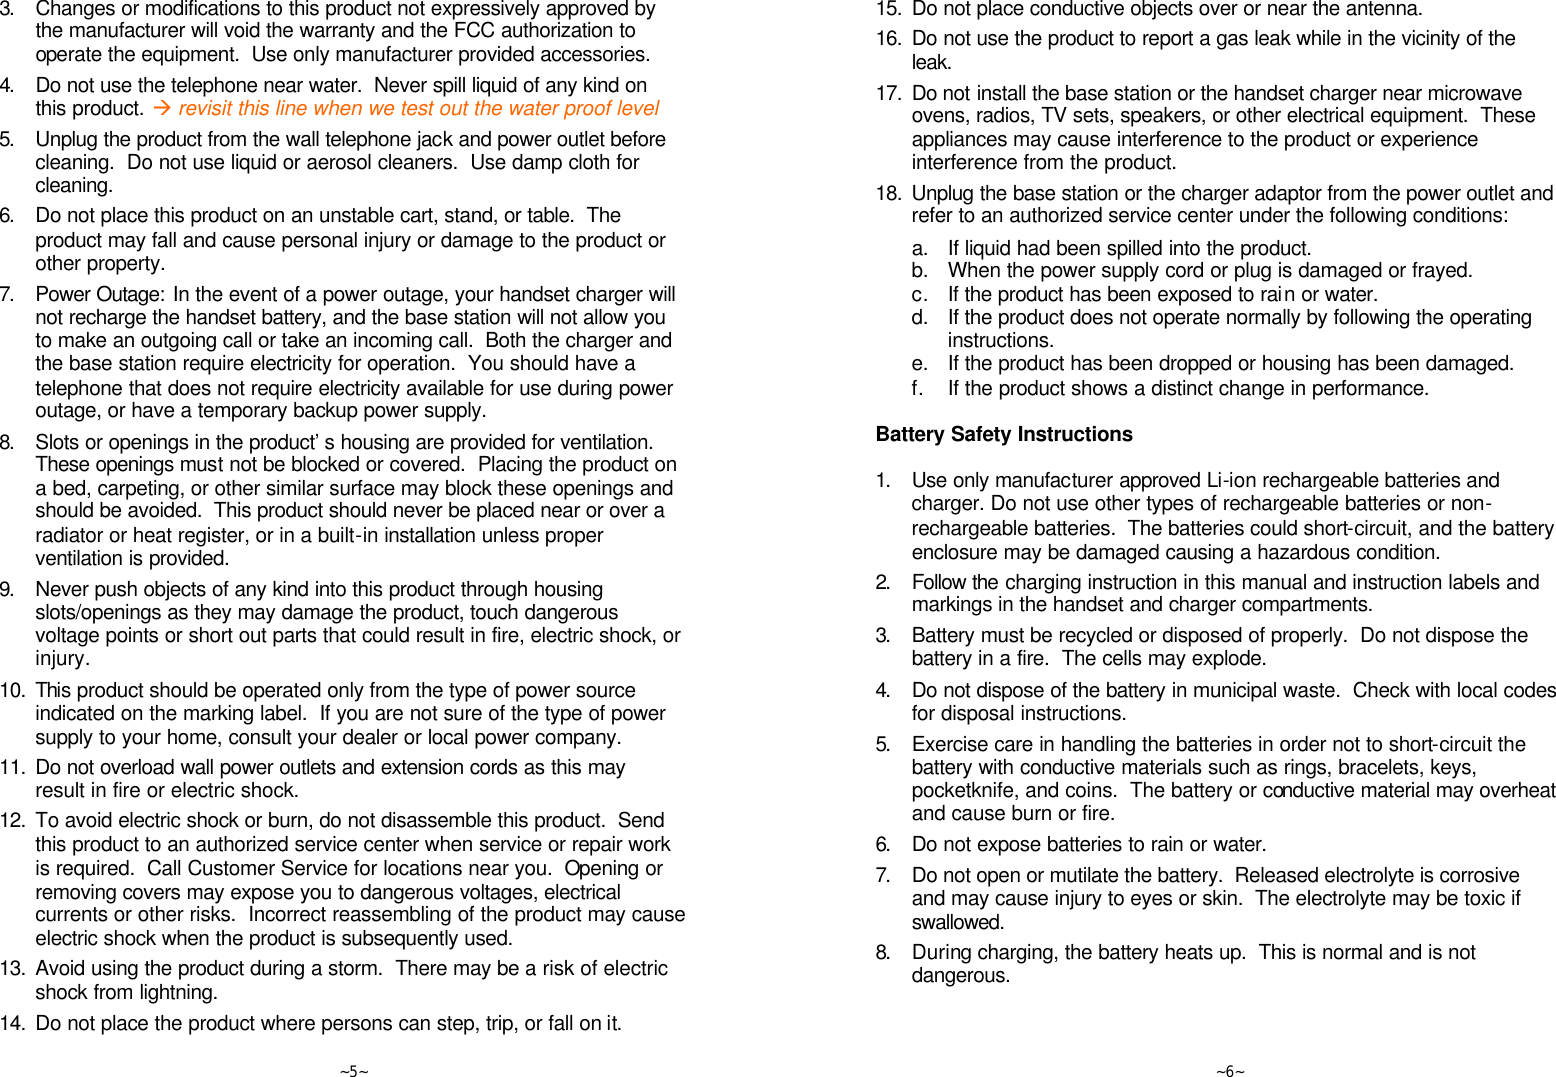
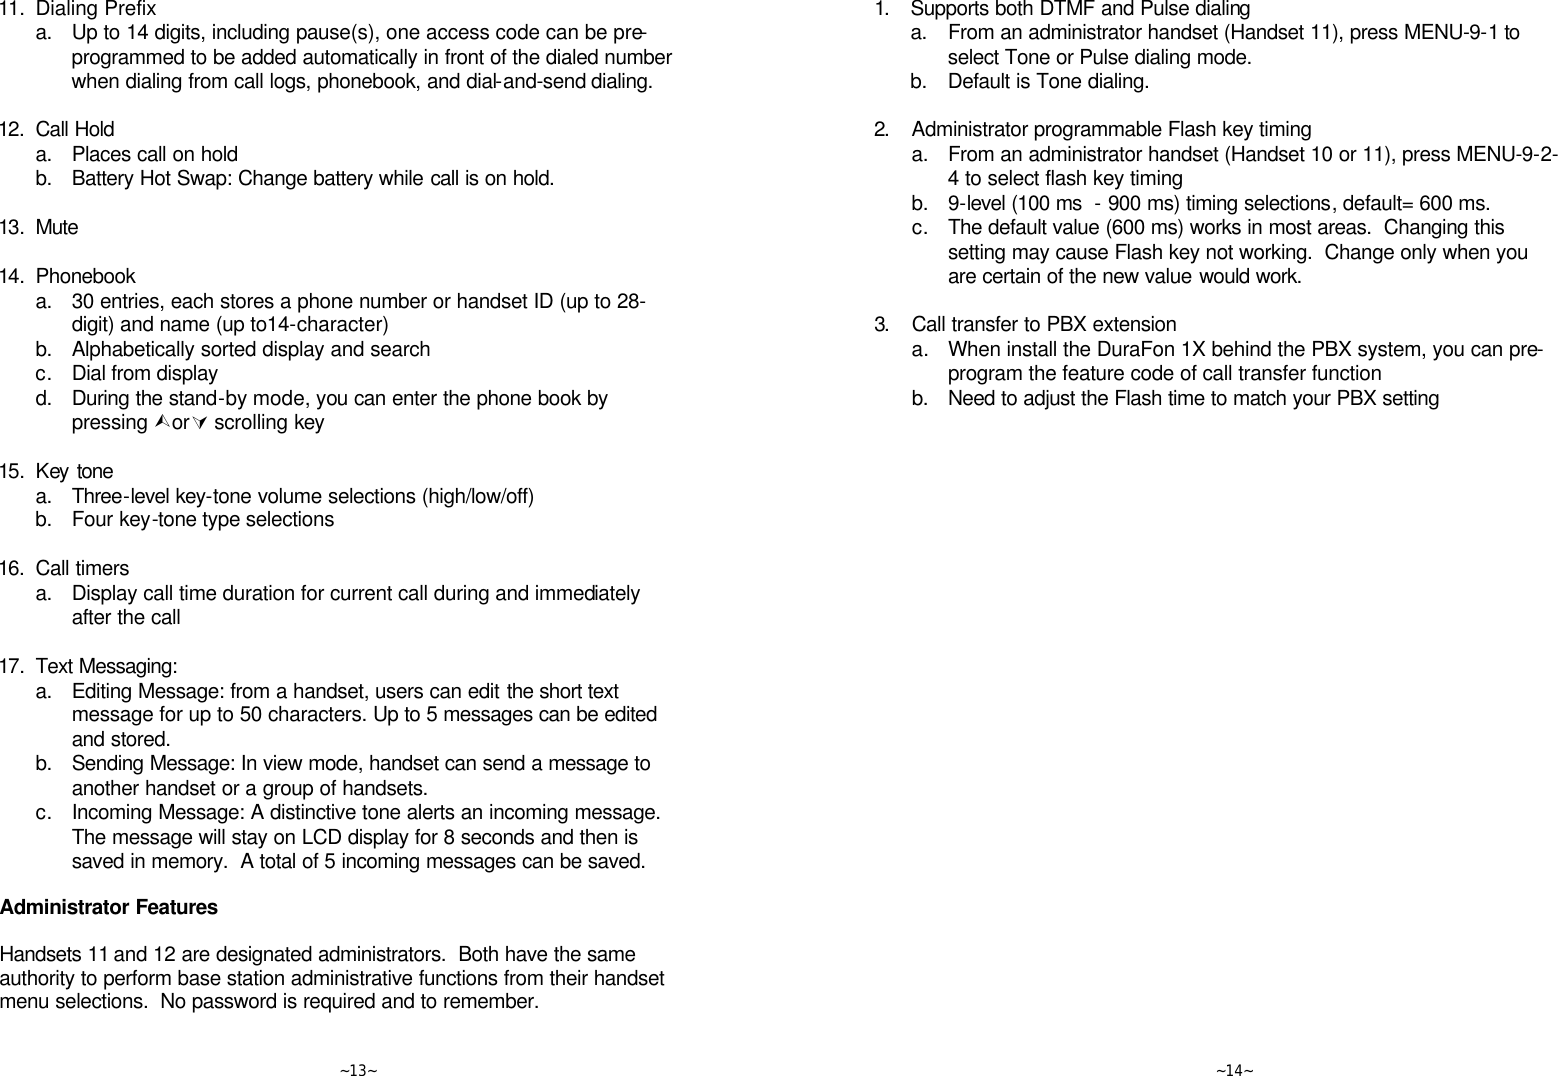
![~25~ opened up d. Press END key to end the broadcasting B. Broadcasting from Base to Handset 1. Broadcast to all handsets a. Press Broadcast key on the base station to intercom all registered handsets. b. Hear bi-bi-beep while the initiating handset broadcast all handsets within communication coverage. c. The Broadcast LED will light up d. Press the Broadcast key again and return to IDLE mode C. Broadcasting from Handset to Base 1. Broadcast to the base station a. Enter the Base ID and then press “BROADCAST” key b. Hear bi-bi-beep while the initiating handset broadcast the base stations. c. Start to speak the message to be broadcasted once you hear the “beep” sound; the speakerphone of the base will be opened up d. Press the END key again and return to IDLE mode Redial 1. Press REDIAL (Left) soft key. 2. The LCD shows the last phone number dialed. To dial this number, press DIAL (Left) soft key. 3. Use Up or Down Arrow Key to scroll through the last 10 phone numbers dialed. Select and press DIAL soft key. [Note] Intercom numbers (Handset ID) are not stored in the last 10 numbers dialed log. Receiving a Telephone Call 1. When an incoming call arrives, the ringer will ring or vibrate unless the ringer has been turned off. (Ë 11 PA paging from Base 1 SLIENT (Ë 11 PA paging to Ext. # 10 ~26~ 2. If the handset is on the charger cradle (ringer will be temporarily switched to “Ring” if it has been set to “Vibrate”), lift the handset and start conversation. 3. If the handset is not on the cradle, press any key (except END, and the Silent soft key) to answer. Notes: 1. You can press SILENT (Left) soft key if you choose to ignore the call. Unlike turning off the ringer (from the handset menu), the SILENT key operation is valid only for the current call. 2. If Caller ID service is available, the LCD will display the incoming call information. If the LCD shows “Private” or “Unknown”, the caller’s information may have been blocked by the caller or the originating phone company. Receiving an Intercom Call 1. When an intercom call arrives, the ringer will ring or vibrate unless the ringer has been turned off. Press TALK to answer the intercom call. 2. If the handset is on the charger cradle (ringer will be temporarily switched to “Ring” if it has been set to “Vibrate”), lift the handset and start conversation. 3. If the handset is not on the cradle, press any key (except PWR, END, and the SILENT soft key) to answer. Notes: 1. The LCD displays the caller’s Handset ID. 2. You can press the SILENT (Left) soft key if you choose to ignore the call. Unlike turning off the ringer the SILENT key operation is valid only for the current call. Ending a Call To end a telephone or intercom call, press END key or place handset into charger cradle. Adjusting Receiver (Earpiece) Voice Volume 1. Voice volume can only be adjusted during a call. 2. There are 6 levels of volume selections. Default = (Ë 11 00:00:10 Volume:4 MUTE HOLD](https://usermanual.wiki/Senao-Co/SN1302.Manual-revised/User-Guide-493716-Page-13.png)