Senao Networks UB9700703 Wireless-N USB 2.0 Adapter User Manual Manual Part 2
Senao Networks, Inc. Wireless-N USB 2.0 Adapter Manual Part 2
Contents
- 1. Manual Part 1
- 2. Manual Part 2
- 3. Manual Part 3
Manual Part 2
IEEE802.11b/g/n Wireless LAN USB 2.0 Client Adapter Version 1.0
46
4 USB Adapter for MAC OS X
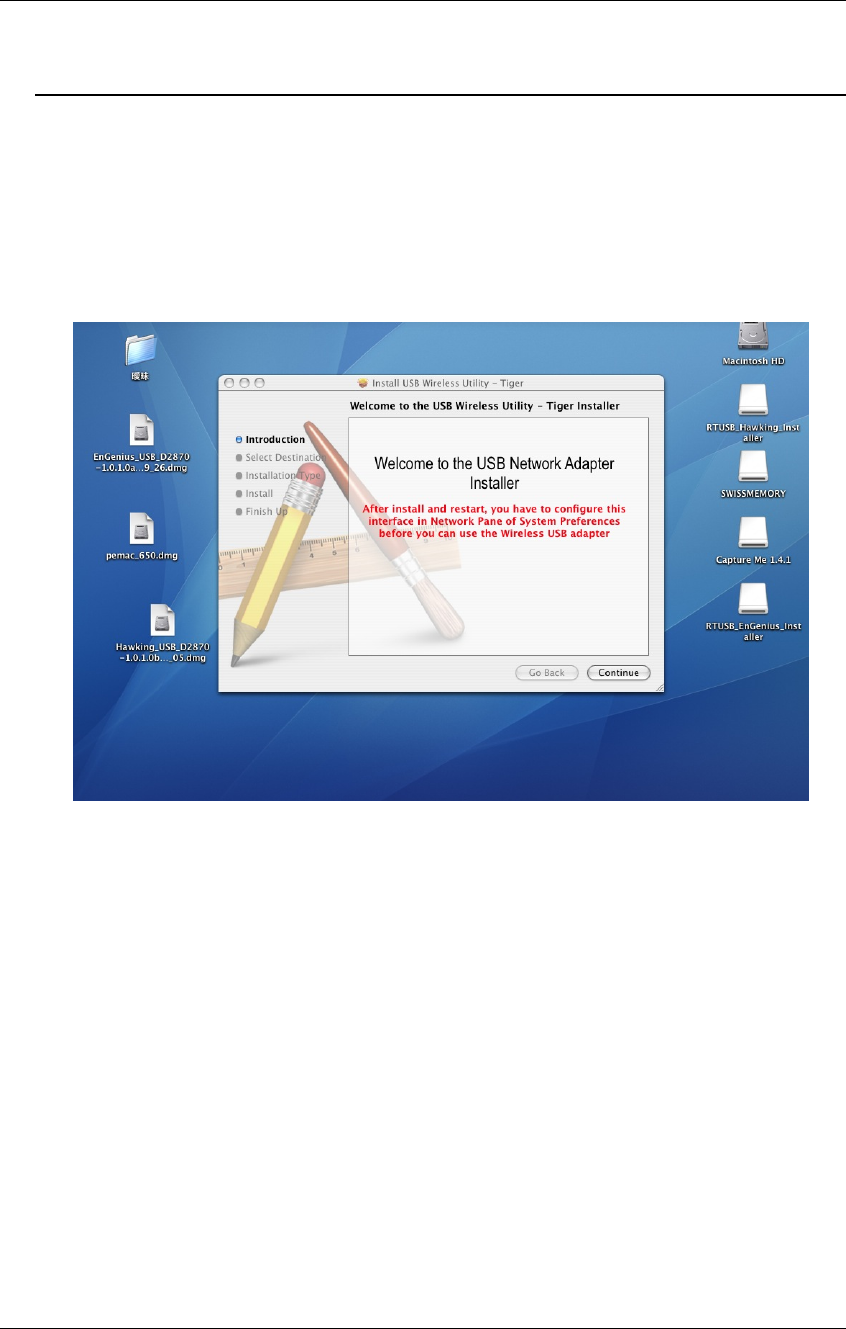
4.1 Installing the Drivers
Follow the steps below in order to install the USB adapter drivers:
1. Insert the CD-ROM that was provided to you in this package. The setup should
run automatically. If the setup does not run automatically, then you must manually
select the setup file from the CD-ROM drive.
2. Click on the Continue button to configure the next step.
IEEE802.11b/g/n Wireless LAN USB 2.0 Client Adapter Version 1.0
47
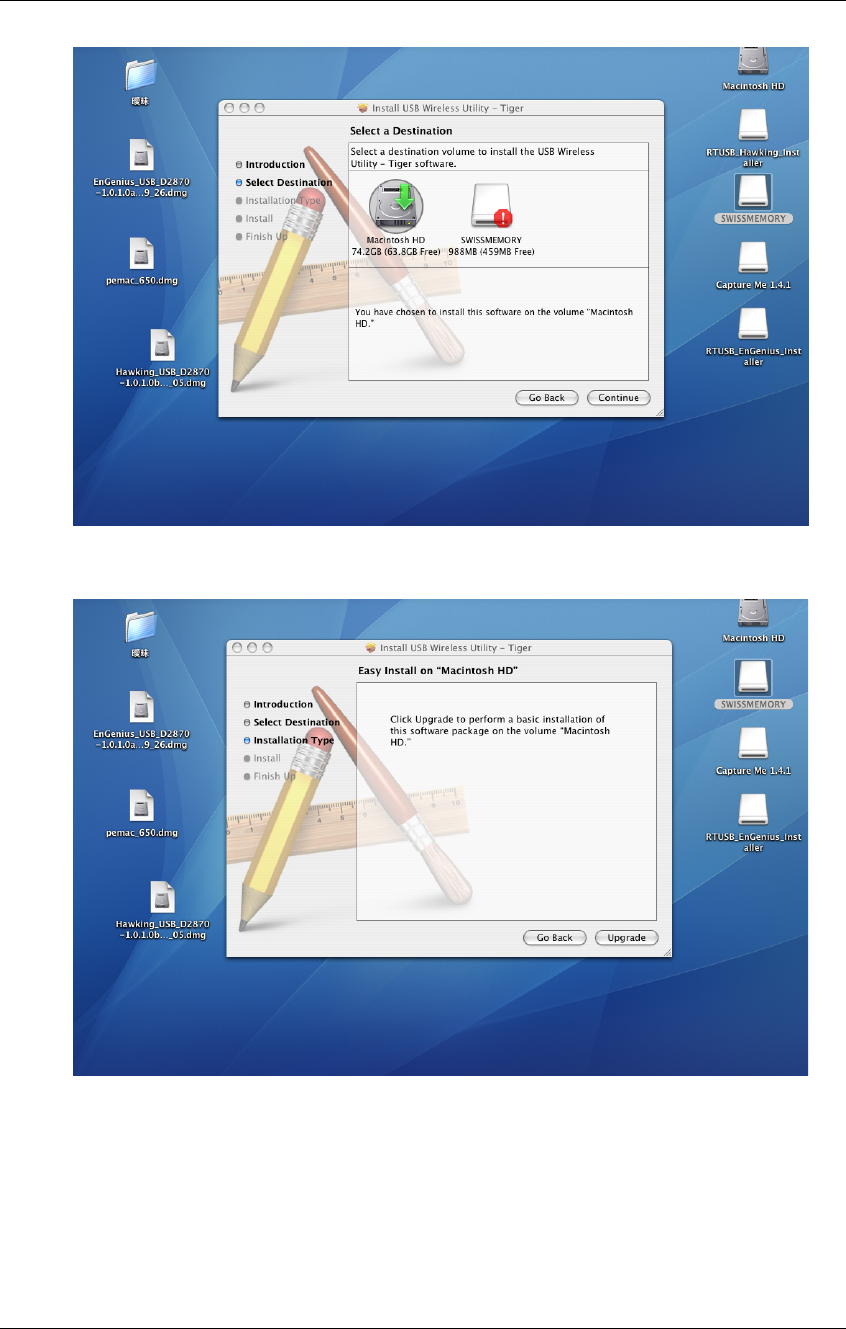
3. Select the Macintosh HD and then click on the Continue button.
4. Click on the Continue button to configure the next step.
IEEE802.11b/g/n Wireless LAN USB 2.0 Client Adapter Version 1.0
48
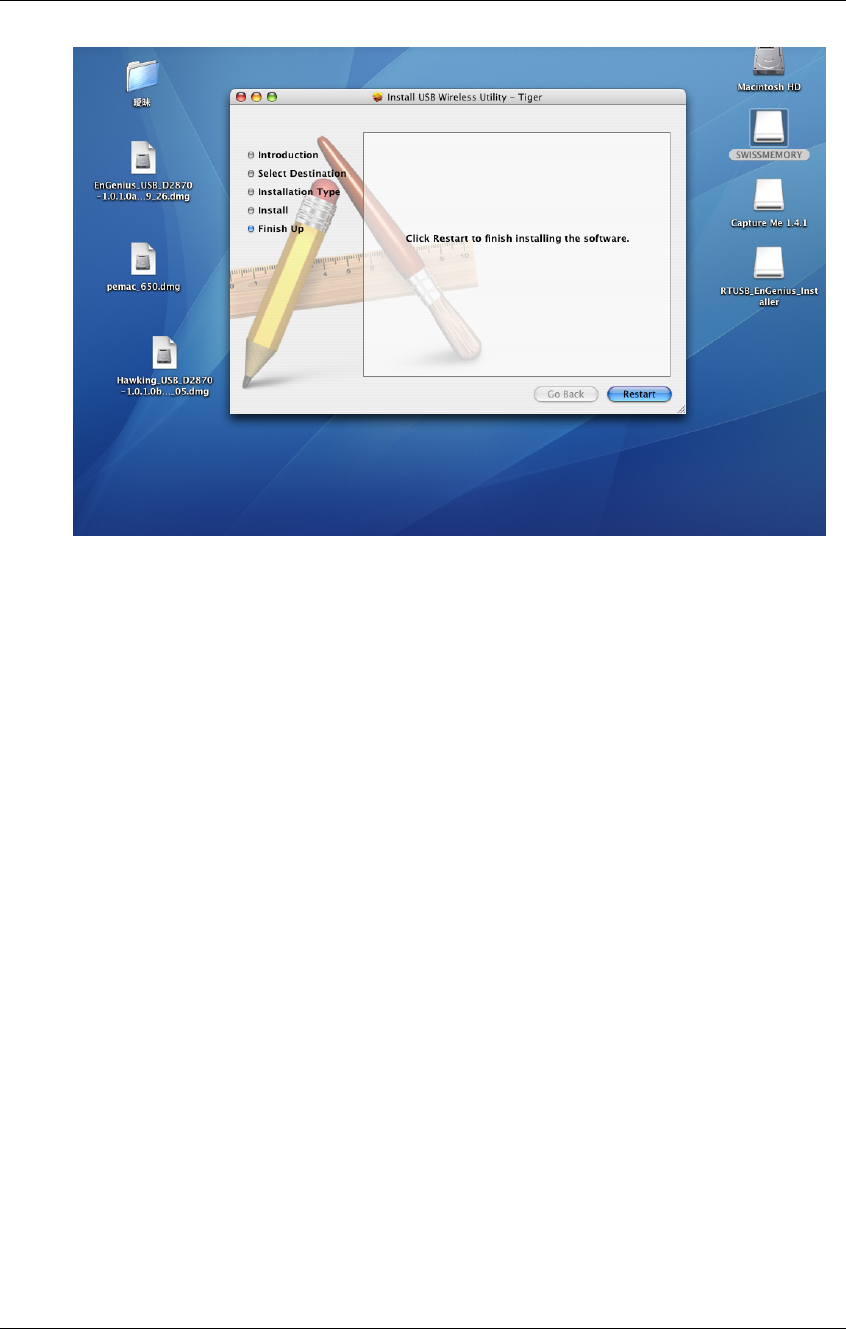
5. The installation is complete. Click on the Restart button.
6. Carefully insert the USB adapter into the USB port. MAC OS X will then detect
and install the new hardware.
7. The Client Utility is installed in the Applications folder.
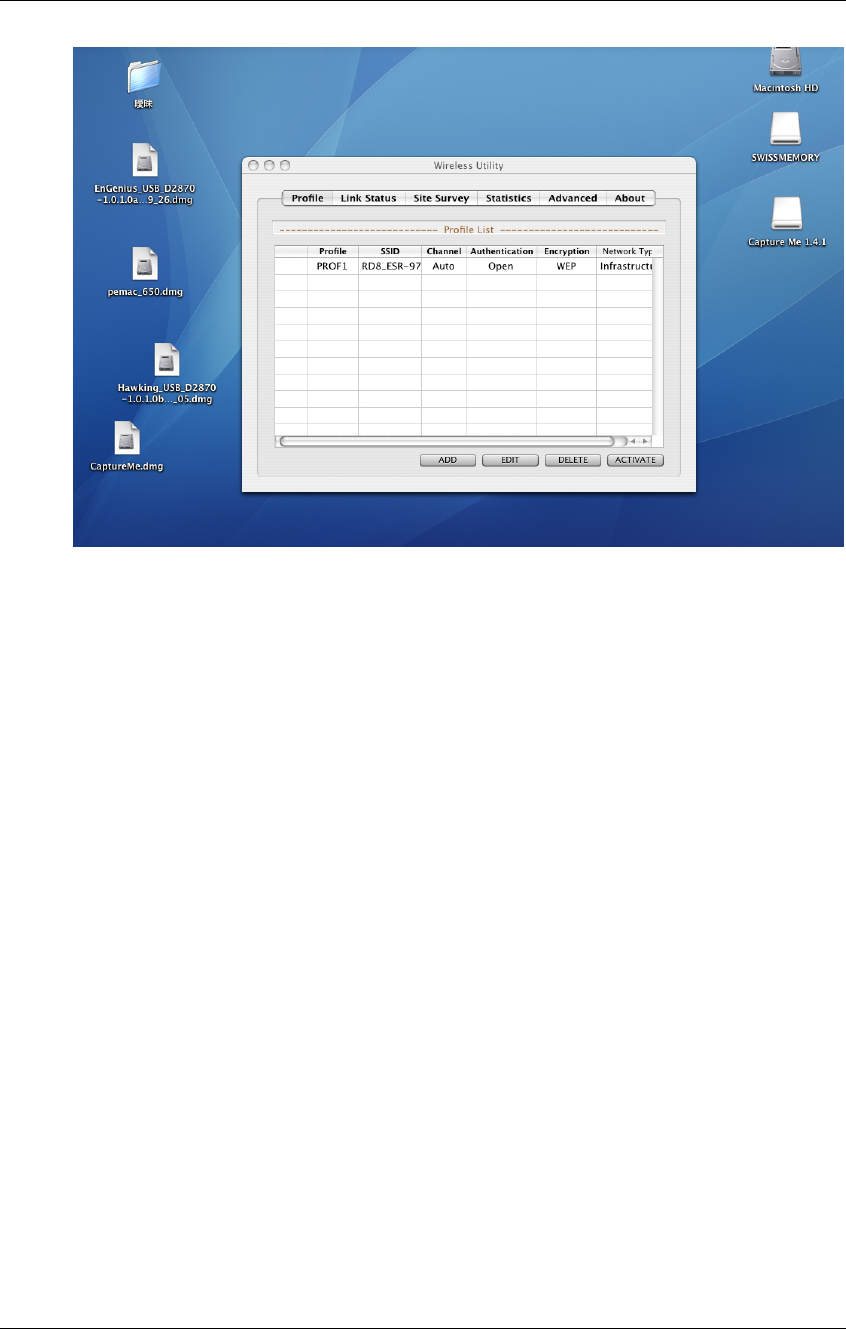
4.2 Profiles
The Profile tab is used to store the settings of multiple Access Points such as
home, office, café, etc. When adding a profile you are required to enter a profile
name and SSID as well as configure the power-saving mode, network type,
RTS/fragmentation threshold and encryption/authentication settings. A profile
can be configured as Infrastructure or Ad-hoc mode. The configuration settings
for each mode are described below.
IEEE802.11b/g/n Wireless LAN USB 2.0 Client Adapter Version 1.0
49
4.2.1 Infrastructure Mode
The infrastructure mode requires the use of an Access Point (AP). In this mode,
all wireless communication between two computers has to be via the AP. It
doesn’t matter if the AP is stand-alone or wired to an Ethernet network. If used in
stand-alone, the AP can extend the range of independent wireless LANs by
acting as a repeater, which effectively doubles the distance between wireless
stations.

IEEE802.11b/g/n Wireless LAN USB 2.0 Client Adapter Version 1.0
50
h Profile: Enter a name for the profile; this does not need to be the same
as the SSID.
h SSID: Enter the SSID of the network or select one from the drop-down
list. The SSID is a unique name shared among all points in your wireless
network. The SSID must be identical for all points in the network, and is
case-sensitive.
h PSM: Select a power saving mode (PSM) option.
o CAM (Continuously Awake Mode): Select this option if your
notebook is always connected to the power supply.
o PSM (Power Saving Mode): Select this option if your notebook
uses its battery power. This option minimizes the battery usage
while the network is idle.
h Network Type: Select Infrastructure from the drop-down list.
h RTS Threshold: Place a check in this box if you would like to enable
RTS Threshold. Any packet in the RTS/CTS handshake larger than the
specified value (bytes) will be discarded.
h Fragment Threshold: Place a check in this box if you would like to
enable Fragment Threshold. Any packet larger than the specified value
(bytes) will be discarded.
h Click on the Apply button to save the changes.
4.2.2 Ad-hoc Mode
This is the simplest network configuration with several computers equipped with
the PC Cards that form a wireless network whenever they are within range of one
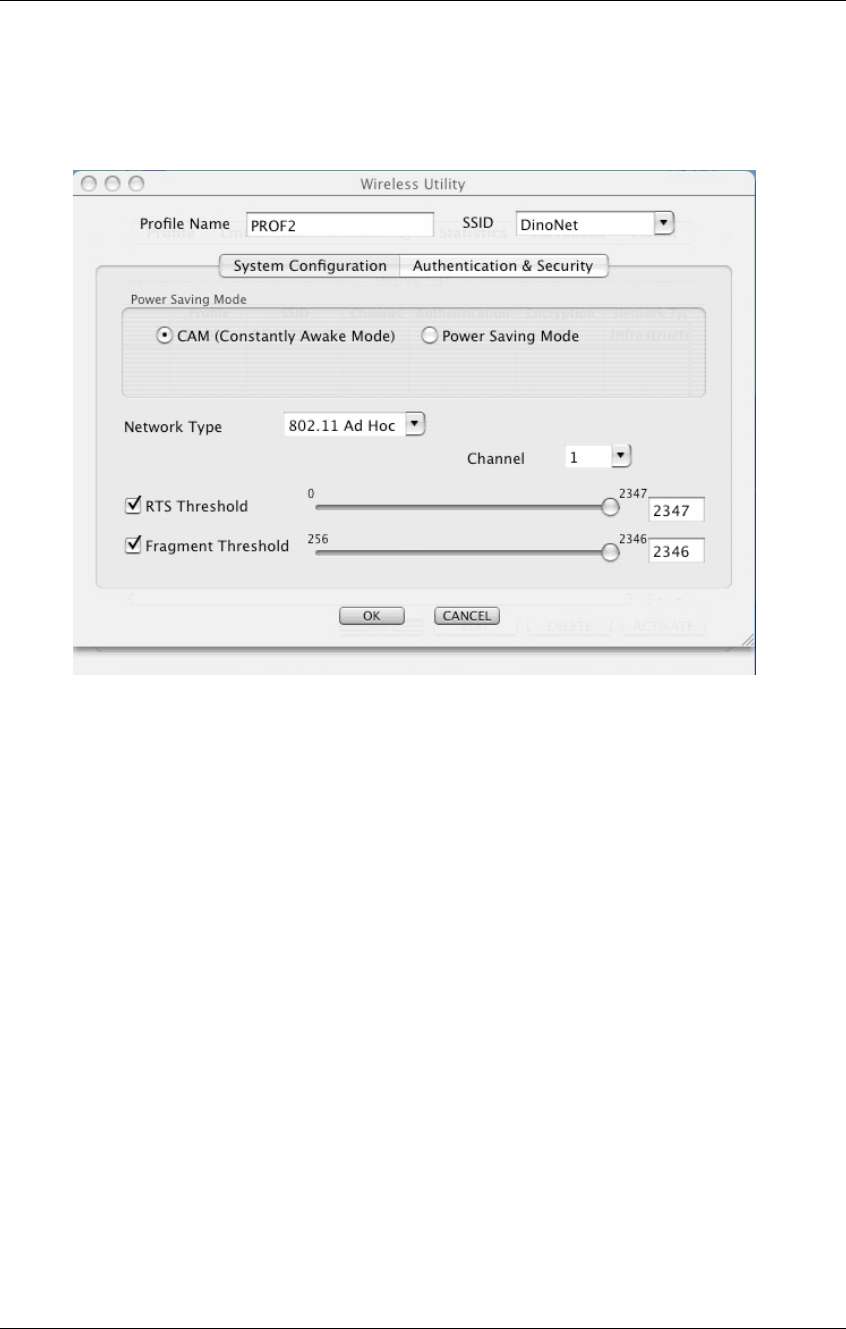
IEEE802.11b/g/n Wireless LAN USB 2.0 Client Adapter Version 1.0
51
another. In ad-hoc mode, each client is peer-to-peer, would only have access to
the resources of the other client and does not require an access point. This is the
easiest and least expensive way for the SOHO to set up a wireless network.
h Profile: Enter a name for the profile; this does not need to be the same
as the SSID.
h SSID: Enter the SSID of the network or select one from the drop-down
list. The SSID is a unique name shared among all points in your wireless
network. The SSID must be identical for all points in the network, and is
case-sensitive.
h Network Type: Select Ad-hoc from the drop-down list.
h Preamble: Select Auto from the drop-down list, unless you are aware of
the preamble type (long or short) used in each station.
h Ad-hoc wireless mode: Select a wireless mode from the drop-down list
depending on the type of stations used in the ad-hoc network. Select
B/G Mix if the network consists of 11b and 11g stations. Select B-only or
G-only if the network consists of only one type of wireless mode.
h RTS Threshold: Place a check in this box if you would like to enable
RTS Threshold. Any packet in the RTS/CTS handshake larger than the
specified value (bytes) will be discarded.
h Fragment Threshold: Place a check in this box if you would like to
enable Fragment Threshold. Any packet larger than the specified value
(bytes) will be discarded.
h Click on the Apply button to save the changes.
IEEE802.11b/g/n Wireless LAN USB 2.0 Client Adapter Version 1.0
52
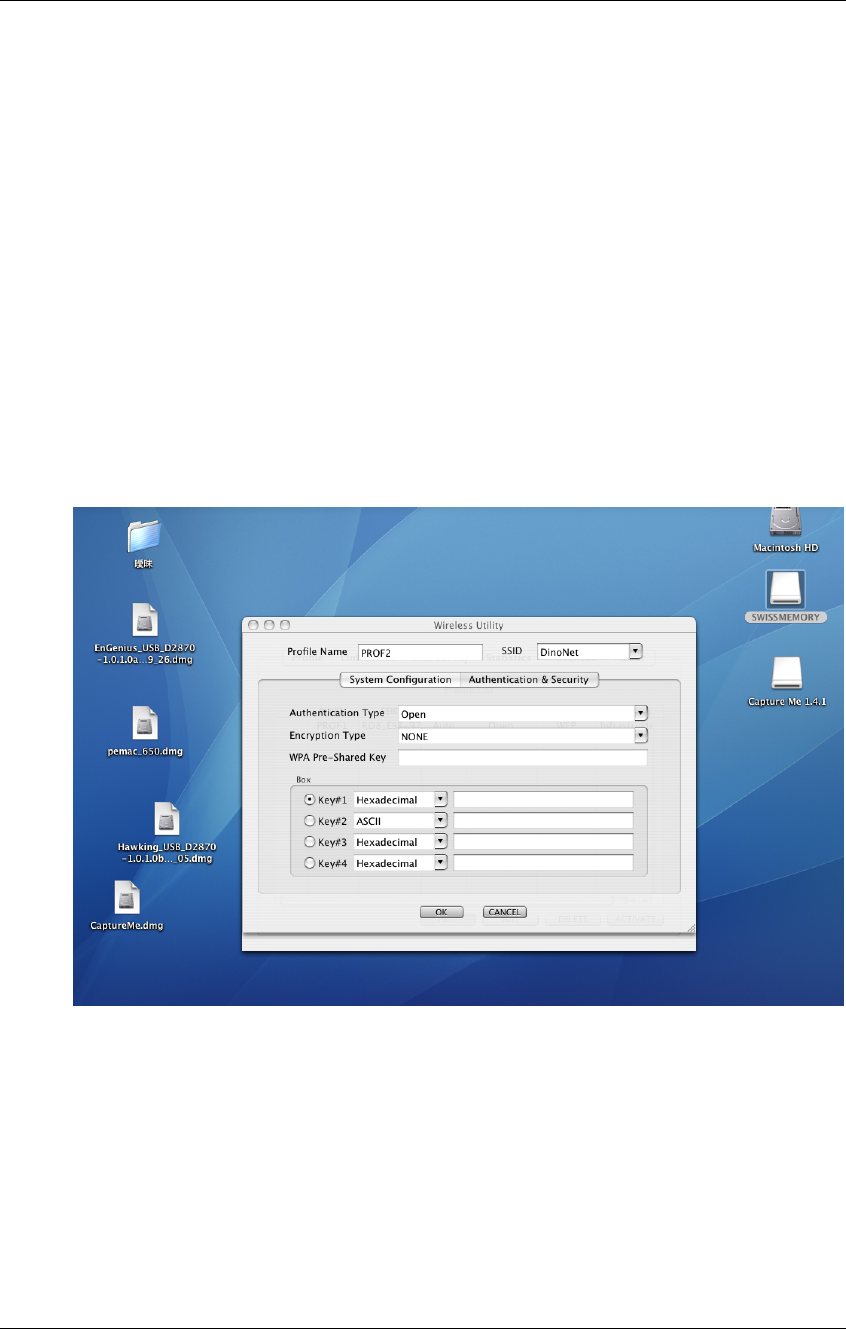
4.3 Authentication and Security
The Security tab allows you to configure the authentication and encryption
settings such as: WEP, WPA, WPA-PSK, WPA2, and 802.1x. Each security
option is described in detail below.
4.3.1 WEP Encryption
The WEP tab displays the WEP settings. Encryption is designed to make the
data transmission more secure. You may select 64 or 128-bit WEP (Wired
Equivalent Privacy) key to encrypt data (Default setting is Disable). WEP
encrypts each frame transmitted from the radio using one of the Keys from a
panel. When you use WEP to communicate with the other wireless clients, all the
wireless devices in this network must have the same encryption key or pass
phrase. The following information is included in this tab, as the image depicts
below.
h Authentication Type: Select Open or Shared from the drop-down list.
h Encryption: Select WEP from the drop-down list.
h WEP Key: Type a character string into the field. For 64-bit enter 5
alphanumeric or 10 hexadecimal characters. For 128-bit enter 13
alphanumeric or 26 hexadecimal characters.
h Click on the Apply button to save the changes.
h Show Password check box. If you want to make sure the accuracy of
password you type, click the Show Password box to check it.