User Manual
CL.2 Clock Operation Guide
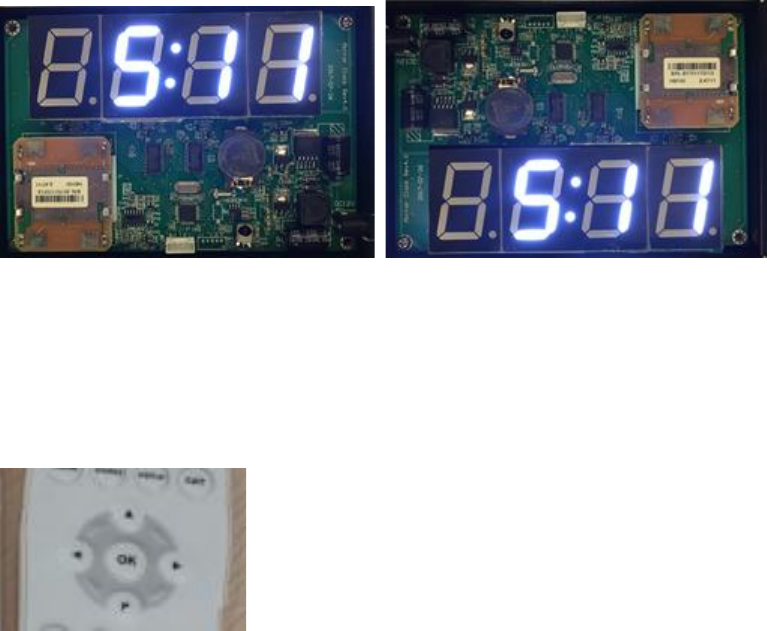
Turn on the CL.2 Clock with the specified DC 12V power adaptor, the clock will turn on the LED
display with one of following 2 types of display orientation.
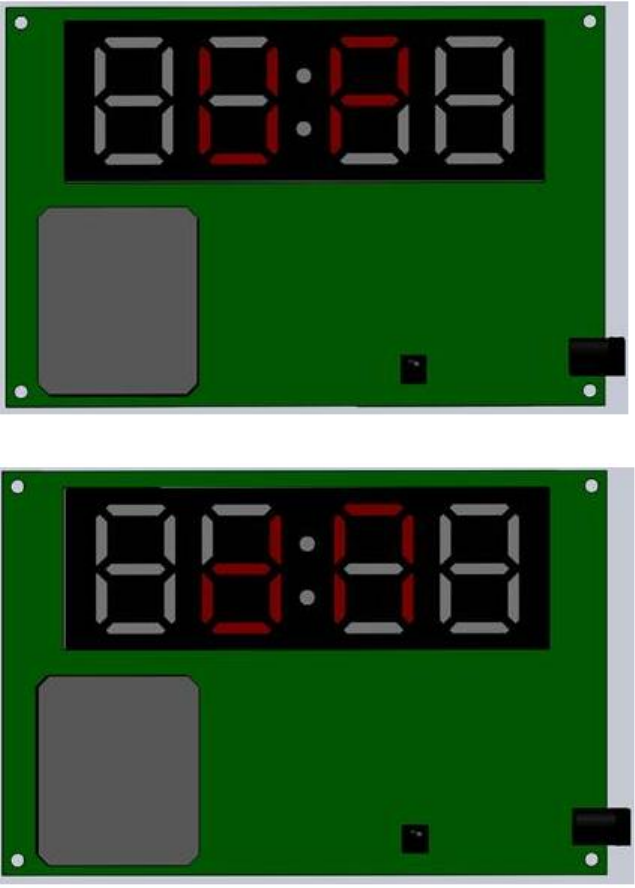
A: Normal Display Orientation B: Reverse Display Orientation
1. Hour Adjustment Mode
Use SEURA remote, aim to the IR sensor on the CL.2 clock, keep pressing “OK” key on the remote
till the 2 digits representing hour to blink, to enter Hour Adjustment mode.
Note: Once Adjustment mode is activated, the frequency of LED segments blinking is 1Hz, if no
pressing on any key of Seura remote, the CL.2 clock will return to normal working mode.
Short press UP Arrow key, or Down Arrow key on the remote, the value of hour will increase or
decrease accordingly; pressing and hold on these 2 keys, the hour value will be changed
continuously.
2. Minute Adjustment Mode
Once Hour Adjustment mode is activated, short press “OK” key on the remote, the 3rd digit and
the 4th digit on the LED display will blink, press UP Arrow key, or Down Arrow key on the remote,
the value of minute will increase or decrease accordingly; pressing and hold on these 2 keys, the
hour value will be changed continuously.
3. Selection of 12-Hour or 24 Hour Mode
Once Minute Adjustment Mode is activated, short press “OK” key on the remote, “12” or “24”
will be displayed on the clock, use Up Arrow key or Down Arrow key on the remote to switch
between 12-Hour and 24-Hour system.
4. Selection of AUTO/ON Mode
Once 12-Hour/24-Hour selection mode is activated, short press “OK” key on the remote, “AUTO”
or “ON” will be displayed, if AUTO mode is used, it means that the LED display will be turned on
once the human motion is detected, if no motion is detected, the LED display will be turned off in
1 minute; if ON mode is used, it means that LED display will be turned on at all time. Press UP
Arrow key or Down Arrow key to switch between “AUTO” and ”ON”.
5. Orientation of Display
Once AUTO/ON selection is activated, short press “OK”, “UP” or “dN” will be displayed, press UP
Arrow key or Down Arrow key to switch between “UP” or”dN” mode; “UP” means that the
display orientation is normal, “dN” means the display orientation will be rotated 180 degrees.
Normal Display Orientation, the 2nd digit and the 3rd digit form “UP” as indication
Reverse Display Orientation, the 2nd digit and the 3rd digit form “dN” as indication.
6 Exit of Adjustment Mode
Once the Orientation selection mode is activated, short press “OK” key on the remote, the clock
will exit adjustment mode and return to normal working mode.
Caution: This device can not be used in any way with perimeter protection systems.
Federal Communications Commission (FCC) Interference Statement
This equipment has been tested and found to comply with the limits for a Class B digital device,
pursuant to Part 15 of the FCC Rules.
These limits are designed to provide reasonable protection against harmful interference in a
residential installation. This equipment generate, uses and can radiate radio frequency energy
and, if not installed and used in accordance with the instructions, may cause harmful
interference to radio communications.
However, there is no guarantee that interference will not occur in a particular installation. If this
equipment does cause harmful interference to radio or television reception, which can be
determined by turning the equipment off and on, the user is encouraged to try to correct the
interference by one of the following measures:
Reorient or relocate the receiving antenna.
Increase the separation between the equipment and receiver.
Connect the equipment into an outlet on a circuit different from that to which the receiver is
connected.
Consult the dealer or an experienced radio/TV technician for help.
This device complies with Part 15 of the FCC Rules. Operation is subject to the following two
conditions:
(1) This device may not cause harmful interference, and (2) this device must accept any
interference received, including interference that may cause undesired operation.
FCC Caution: Any changes or modifications not expressly approved by the party responsible for
compliance could void the user’s authority to operate this equipment.
RF exposure warning
This equipment complies with FCC radiation exposure limits set forth for an uncontrolled
environment.
This equipment must be installed and operated in accordance with provided instructions and
the antenna(s) used for this transmitter must be installed to provide a separation distance of at
least 20 cm from all persons and must not be collocated or operating in conjunction with any
other antenna or transmitter.