Sharp HRO00044 PCS Cellular Phone W/ Bluetooth User Manual J400 insatsu
Sharp Corporation PCS Cellular Phone W/ Bluetooth J400 insatsu
UserManual.wiki
>
Sharp
>
HRO00044 User Manual
User Manual
Navigation menu
Upload a User Manual
Namespaces
Wiki Guide
HTML
PDF
Info
Views
User Manual
Discussion / Help
Navigation
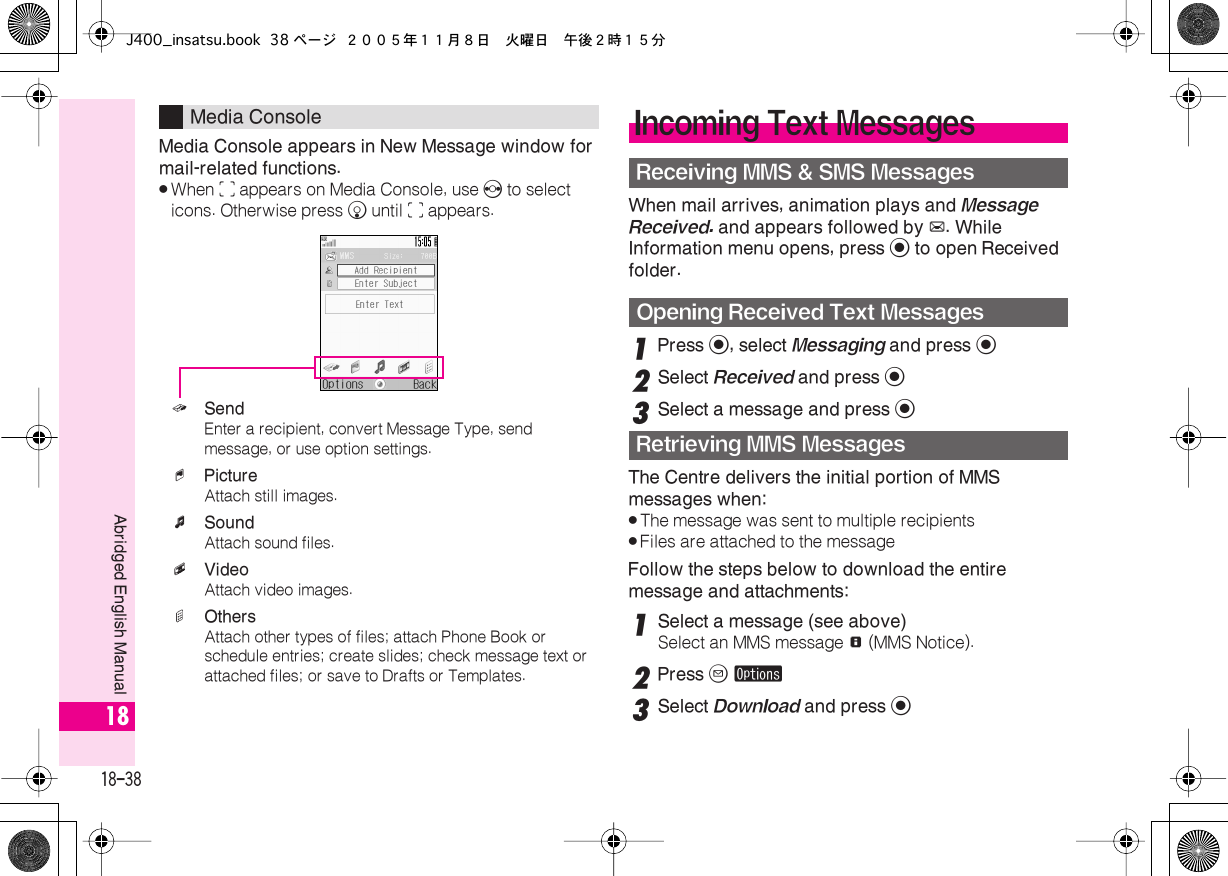
![18-19 Abridged English Manual 181 g Signal Strength / h 3G / i GSM g : Strong a : Moderate b : Low c : Weak ^ : Out-of-Range2 | Incoming Voice Call / @ Voice Call in Progress * Video Call in Progress 9 / [ Packet Data Communication Status f Offline Mode 3 z Unread Mail | / { /■ Mail Reception Disabled | : Handset Memory Low { : USIM Card Memory Low■ : Handset & USIM Card Memory Low ] Receiving Mail / : Sending Mail 4 - IC Card Lock Active 5 . Call Forwarding or Voice Mail / 3 Auto Delivery Info6 i / L / J / / miniSD™ Memory Card Status i : Loading / L : In Use J : Formatting / / : Unusable 7 X / | / W / Y / y / z External Transmission X : USB Transmission Ready | (red): Infrared Connection in Progress W : Infrared Transmission in Progress Y : Bluetooth Transmission Ready y : Bluetooth Transmission in Progress z : Bluetooth Talk in Progress8 6 Active V-Application 6 (grey) Paused V-Application 1 Music Player Active / W SSL 9 u Silent / t Increasing Volume / s Vibration - Loudspeaker / _ Microphone Mute a ] / [ / ; / , / v Mode Settings ] : Meeting [ : Activity ; : Car,: Headset v: Mannerb5 Battery Strength / m Pen Light5: Strong 6: Moderate 7: Low 8: Emptycw Answer Phone Active / [ Message@: Answer Phone Active[: Answer Phone Cancelleddk Alarm Seten / o ScheduleReminder On: n / Off: of; Message Delivery Failuregx New Voice Mailhq Secret Mode Activeir Function Lock Active / 0 Keypad Lock Activej|(grey) Infrared Transmission ReadyDisplay Indicatorsg@z-.iX6u]5w kn;xqr|g@z-.iX6u]5w kn;xqr|1dce h i jf g23 54 76 8 9 a bJ400_insatsu.book 19 ページ 2005年11月8日 火曜日 午後2時15分](https://usermanual.wiki/Sharp/HRO00044/User-Guide-606759-Page-18.png)

![18-27 Abridged English Manual 18 1 Extensions are listed for easy entry. 2 + is for phone number entry. Press for 1+ seconds. 3 P (Pause), ? and - are for phone number entry. 4 Press ! once for each character to recover immediately after deleting. [Not available after deleting text with $ (Long Press).] Key Assignments KeySingle-byte Alphanumerics Single-byteNumbers Character CodeUpper/Lower Case Lower Case 1 @./_-1 (Space) @./_-1 (Space) 1 1 2 ABCabc2 abc2 2 2 3 DEFdef3 def3 3 3 4 GHIghi4 ghi4 4 4 5 JKLjkl5 jkl5 5 5 6 MNOmno6 mno6 6 6 7 PQRSpqrs7 pqrs7 7 7 8 TUVtuv8 tuv8 8 8 9 WXYZwxyz9 wxyz9 9 9 0 ,.0 L (Line Break) ,.0 L (Line Break) 0 + 2 0 ( Single-byte Mail/Web Extensions 1 * P (Pause) ? - 3 # Log, Single-byte Symbol/Double-byte Pictograph List # a Cursor Up b Cursor Down L (Line Break) c Cursor Left d Cursor Right&Change Character Entry Mode'Toggle Case + Toggle Mode (upper/lower and lower case)$ (Press) Delete One CharacterDelete Code/One Character$ (Long Press)Delete before or after cursor!Recover up to 64 deleted characters4%OKJ400_insatsu.book 27 ページ 2005年11月8日 火曜日 午後2時15分](https://usermanual.wiki/Sharp/HRO00044/User-Guide-606759-Page-26.png)