Siemens Information and Communication Mobile 228869 Cordless Telephone Handset User Manual manualf
Siemens Information and Communication Mobile LLC Cordless Telephone Handset manualf
UserManual.wiki
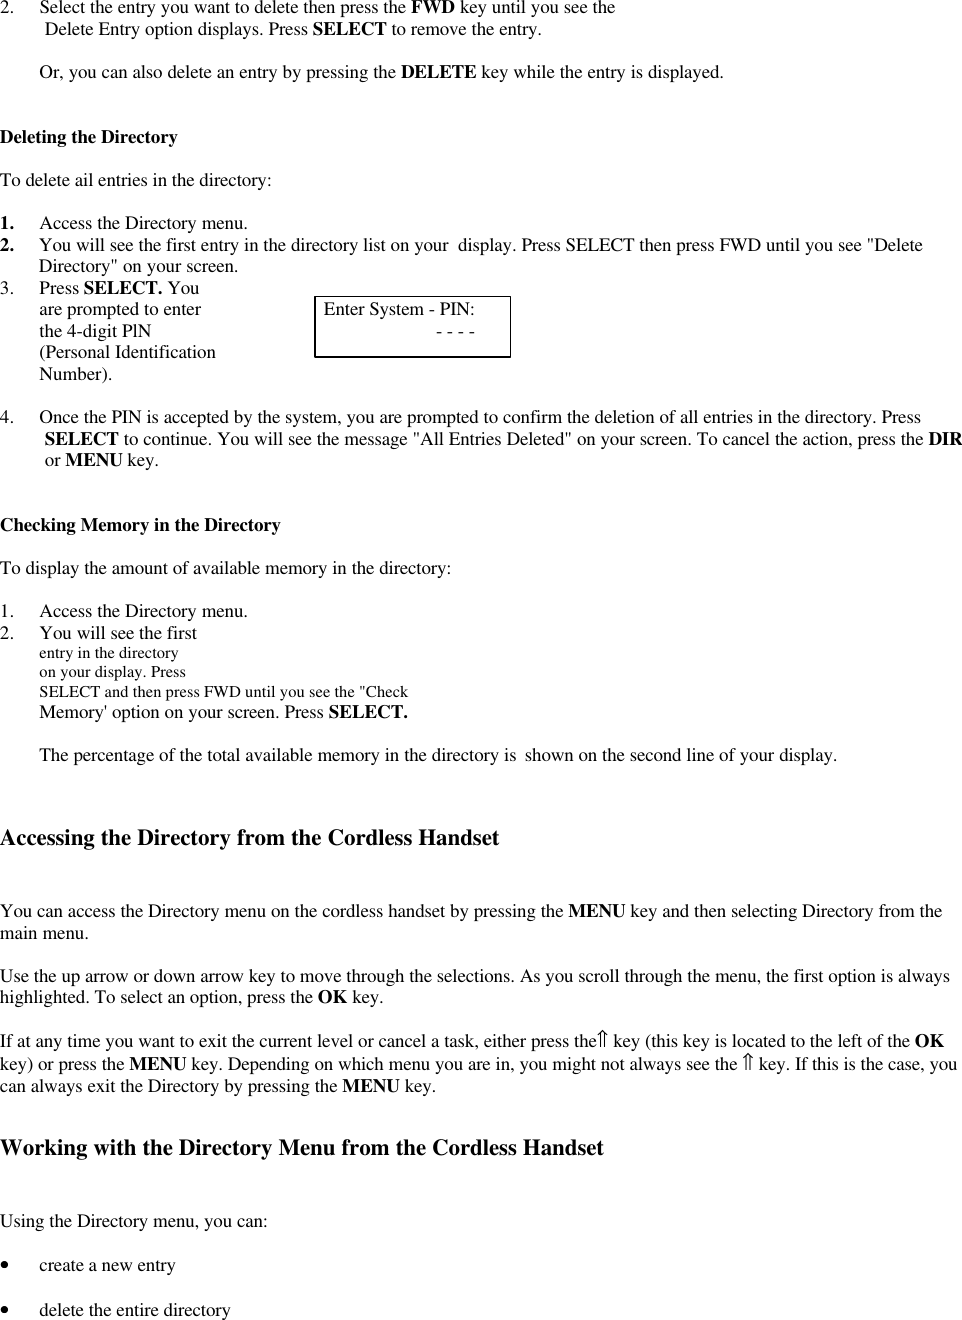
>
Siemens Information and Communication Mobile
>
228869 User Manual
Users Manual
Navigation menu
Upload a User Manual
Namespaces
Wiki Guide
HTML
PDF
Info
Views
User Manual
Discussion / Help
Navigation


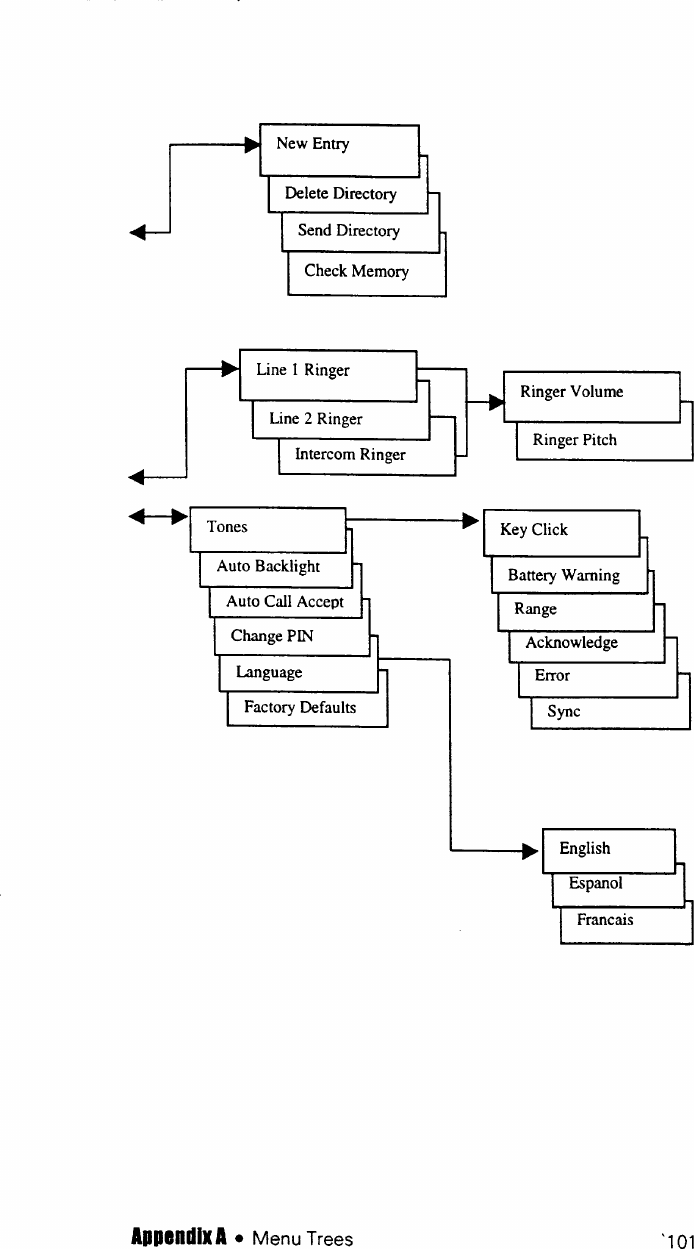
![handset from its charger cradle. If you want to require that the TALK key be pressed when answering a call, you must disable theAuto Call Accept option. To enable/disable Auto Call Accept, highlight "Auto Call Accept" and press OKChange PINEach desk station and cordless handset has its own PIN personal identification number) which protects system configurations andpersonal information on that phoneTo change the cordless handset's PIN1. Highlight "Change PIN" and press OK2. Enter the handset's PIN [The factory default is0000 (zeros).] Press ~3. Enter the new PIN press OK Confirm it in the subsequent display and press OKLanguageLanguage settings affect both displays and audible answering system phrases. Therefore, the answering system must be availablewhen changing languages.To pick a language, highlight "Language" and press OK Your choices are English, Espanol, and Francais. Scroll to the desiredlanguage and press OK to enable or disable itThe answering system must also change phrases from one language to another. This can take up to two minutes. During that time,the answering system is not functional.Note: To change the language on the desk station, see the Desk Station's Main Menu earlier in this chapter.Factory DefaultsYour telephone system comes with factory default settings. You may restore the default settings from the desk station or from thecordless handset. If you restore the factory defaults, the settings for the cordless handset's Directory and Call Log will be reset.All entries from the Directory will be deleted.See Appendix C Programming Worksheets for a completelisting of all factory default settings.Chapter 7 •• Customizing Your System 93To reset the factory defaults from the cordless handset highlight "Factory Default" and press OK Enter the cordless handset'sPIN number. To continue press OK To cancel the task, press MENU or](https://usermanual.wiki/Siemens-Information-and-Communication-Mobile/228869/User-Guide-6253-Page-60.png)