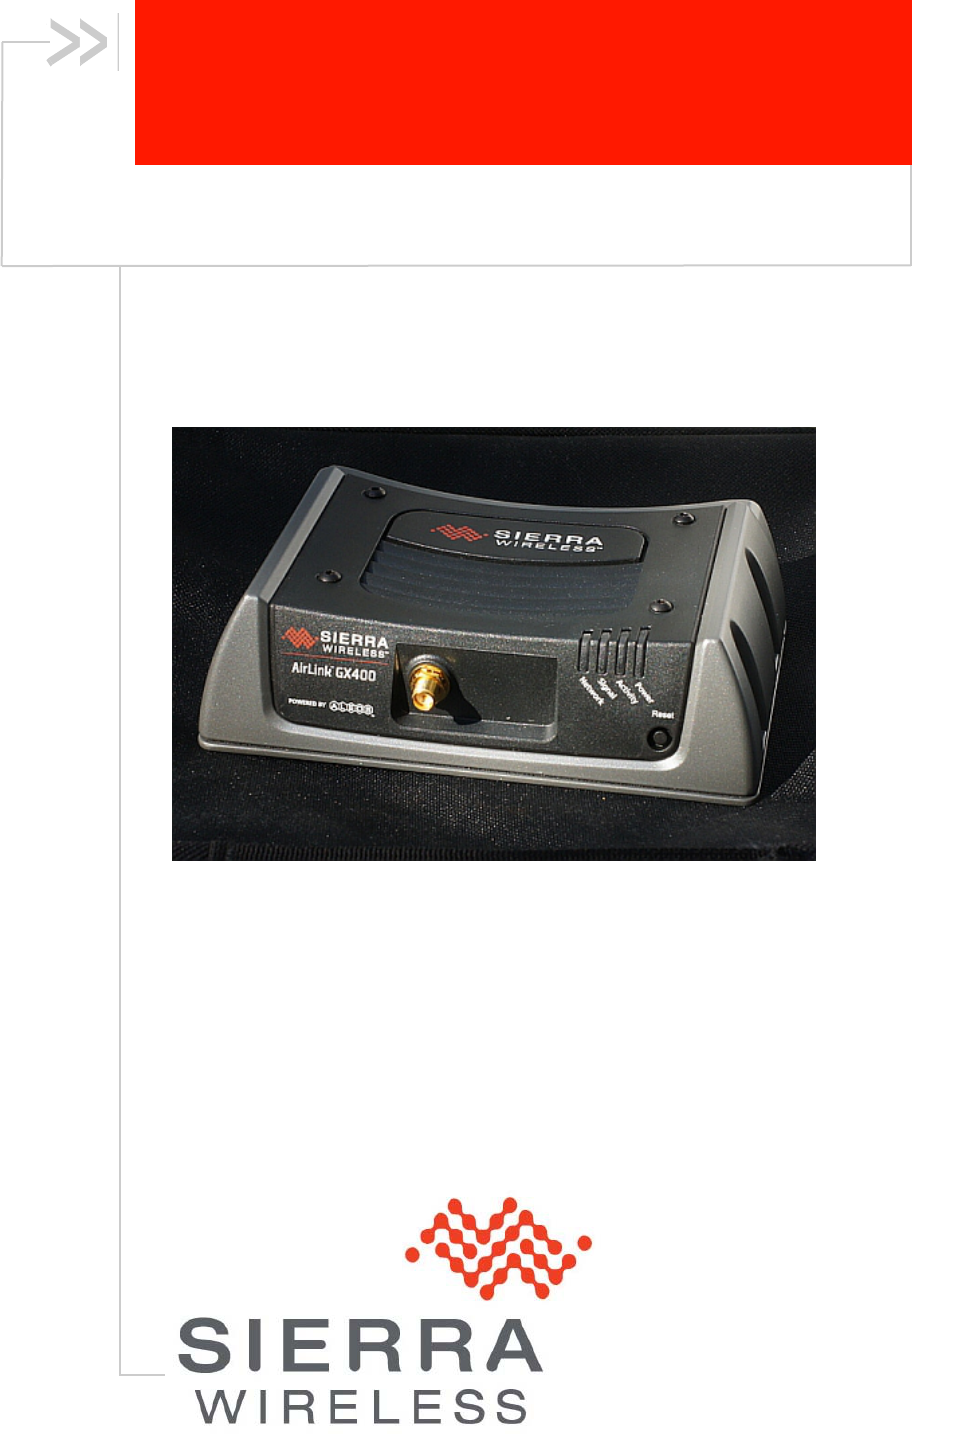
Sierra Wireless EC4501 Wi-Fi b/g/n Expansion Card User Manual Installation Procedure
Sierra Wireless Inc. Wi-Fi b/g/n Expansion Card Installation Procedure
Contents
- 1. Installation Procedure
- 2. User Manual
Installation Procedure

Rev 1.1
17-Feb-2012
WiFi Xcard Installation Guide
GX400/GX440

Important Notice
Becauseofthenatureofwirelesscommunications,transmissionand
receptionofdatacanneverbeguaranteed.Datamaybedelayed,
corrupted(i.e.,haveerrors)orbetotallylost.Althoughsignificant
delaysorlossesofdataarerarewhenwirelessdevicessuchasthe
SierraWirelessdeviceareusedinanormalmannerwithawell‐
constructednetwork,theSierraWirelessdeviceshouldnotbeusedin
situationswherefailuretotransmitorreceivedatacouldresultin
damageofanykindtotheuseroranyotherparty,includingbutnot
limitedtopersonalinjury,death,orlossofproperty.SierraWireless
acceptsnoresponsibilityfordamagesofanykindresultingfrom
delaysorerrorsindatatransmittedorreceivedusingtheSierra
Wirelessdevice,orforfailureoftheSierraWirelessdevicetotransmit
orreceivesuchdata.
Safety and Hazards
DonotoperatetheSierraWirelessdeviceinareaswhereblastingisin
progress,whereexplosiveatmospheresmaybepresent,nearmedical
equipment,nearlifesupportequipment,oranyequipmentwhichmay
besusceptibletoanyformofradiointerference.Insuchareas,the
SierraWirelessdeviceMUSTBEPOWEREDOFF.TheSierraWireless
devicecantransmitsignalsthatcouldinterferewiththisequipment.
DonotoperatetheSierraWirelessdeviceinanyaircraft,whetherthe
aircraftisonthegroundorinflight.Inaircraft,theSierraWireless
deviceMUSTBEPOWEREDOFF.Whenoperating,theSierra
Wirelessdevicecantransmitsignalsthatcouldinterferewithvarious
onboardsystems.
Limitation of Liability
Theinformationinthismanualissubjecttochangewithoutnoticeand
doesnotrepresentacommitmentonthepartofSierraWirelessorits
affiliates.SIERRAWIRELESSANDITSAFFILIATESSPECIFICALLY
DISCLAIMLIABILITYFORANYANDALLDIRECT,INDIRECT,
SPECIAL,GENERAL,INCIDENTAL,CONSEQUENTIAL,PUNITIVE
OREXEMPLARYDAMAGESINCLUDING,BUTNOTLIMITEDTO,
LOSSOFPROFITSORREVENUEORANTICIPATEDPROFITSOR
REVENUEARISINGOUTOFTHEUSEORINABILITYTOUSEANY

SIERRAWIRELESSPRODUCT,EVENIFSIERRAWIRELESS
AND/ORITSAFFILIATESHASBEENADVISEDOFTHE
POSSIBILITYOFSUCHDAMAGESORTHEYAREFORESEEABLE
ORFORCLAIMSBYANYTHIRDPARTY.
Notwithstandingtheforegoing,innoeventshallSierraWireless
and/oritsaffiliatesaggregateliabilityarisingunderorinconnection
withtheSierraWirelessproduct,regardlessofthenumberofevents,
occurrences,orclaimsgivingrisetoliability,beinexcessoftheprice
paidbythepurchaserfortheSierraWirelessproduct.
Patents
ThisproductmaycontaintechnologydevelopedbyorforSierra
WirelessInc.Thisproductincludestechnologylicensedfrom
QUALCOMM®3G.ThisproductismanufacturedorsoldbySierra
WirelessInc.oritsaffiliatesunderoneormorepatentslicensedfrom
InterDigitalGroup.
Trademarks
HeartoftheWirelessMachineisaregisteredtrademarkofSierra
Wireless.SierraWireless,theSierraWirelesslogo,andtheredwave
designaretrademarksofSierraWireless.
Contact information
Phone: 1-877-231-1144
Support Desk: Hours: 5:00 AM to 5:00 PM Pacific Time,
Monday to Friday, except US Holidays
E-mail: support@sierrawireless.com
Sales Desk: Phone: 1-510-624-4200
1-604-232-1488
Hours: 8:00 AM to 5:00 PM Pacific Time
E-mail: MobileandM2Msales@sierrawireless.com
Post: Sierra Wireless America
39677 Eureka Drive
Newark, CA
USA 94560
Fax: 1-510-624-4299
1-604-231-1109
Web: www.sierrawireless.com
Forup‐to‐dateproductdescriptions,documentation,applicationnotes,
upgrades,troubleshootingtips,andpressreleases,consultourwebsite:
www.sierrawireless.com.

Revision History
Table 1: Revision history
Version Summary of changes
1.1 Feb 2012 Initial release
Scope
This document provides instructions to install a WiFi Xcard into a Sierra
Wireless GX400/440 wireless gateway, allowing wireless connectivity
utilizing the 802.11b/g/n standard.
Precautions: Before You Start
Electrostatic Discharge
You are modifying sensitive electronic equipment, and your body may be
charged with static electricity. This charge could discharge through electronic
components you will handle, possibly destroying your electronic equipment.
Please make sure you are properly grounded (using a grounding strap) before
starting any modification of electronic equipment.
Tools Required to Install WiFi Card
1. 2mm or 5/64” Allen (hex) wrench
2. 8mm or 5/16” socket (long enough to fit over SMA connector)
3. Torque wrench for socket above
Procedure
1. All installations require the WiFi upgrade kit (SKU: --- for GX400, SKU: --- for
GX440), one kit will be required for each GX product to be upgraded with WiFi
connectivity. Kit contains: WiFi expansion card, rubber gasket, lock washer, nut,
new black cover with hole for SMA antenna.
2. Turn unit on and install the latest version of ALEOS SW (downloaded from
support area of the Sierra Wireless web site). This is required for the new WiFi
card to work properly and to detect the WiFi card when it is installed.
3. Remove the four hex screws on top of the unit (used to secure the black cover)
using a 2mm or 5/64” size Allen (hex) wrench, place screws in a safe spot, these
screws will be used again.
4. Remove the black cover, exposing the expansion card slot in the middle of the
unit. Make sure the model number on the WiFi upgrade kit cover matches the
model number on the cover you remove.
5. Make sure there are no internal antenna wires which would interfere with the
card sliding in the expansion card slot, if there are, gently move them out of the
way.
6. Slide the WiFi expansion card into the slot with the SMA antenna connector
facing you and on the top of the card. Push in until you feel the electrical bus
contacts making connection on the bottom of the card.
7. Push the black gasket onto the SMA antenna connector until it fits into the
groove behind the threaded portion of the SMA.
8. Install the new black cover by lining up the SMA antenna connector with the
hole in the cover, tilt the rear of the cover slightly to make sure the front bottom
of the cover seats in the front ridge, and then push the top of the cover down.
This requires some force to make sure the 4 holes line up with the threaded holes
on the top of the unit.
9. Re-install the 4 hex screws on top of the unit.
10. Place the lock washer onto the SMA antenna connector and push to the face of
the cover.
11. Install then tighten nut with a 5/16 or 8mm socket torque wrench to a torque spec
of 8in-lbs.
12. Test with a WiFi equipped laptop, scan for WiFi SSID (should default to S/N on
label on bottom of unit).
13. Connect to WiFi SSID, connection to unit should be made with no encryption
and in bridged mode.
14. Test WiFi functionality: Browse to external site when cellular connection is
made to check functionality of card (remember to remove any tethered
connections to unit, including serial, USB, or Ethernet cables before testing).