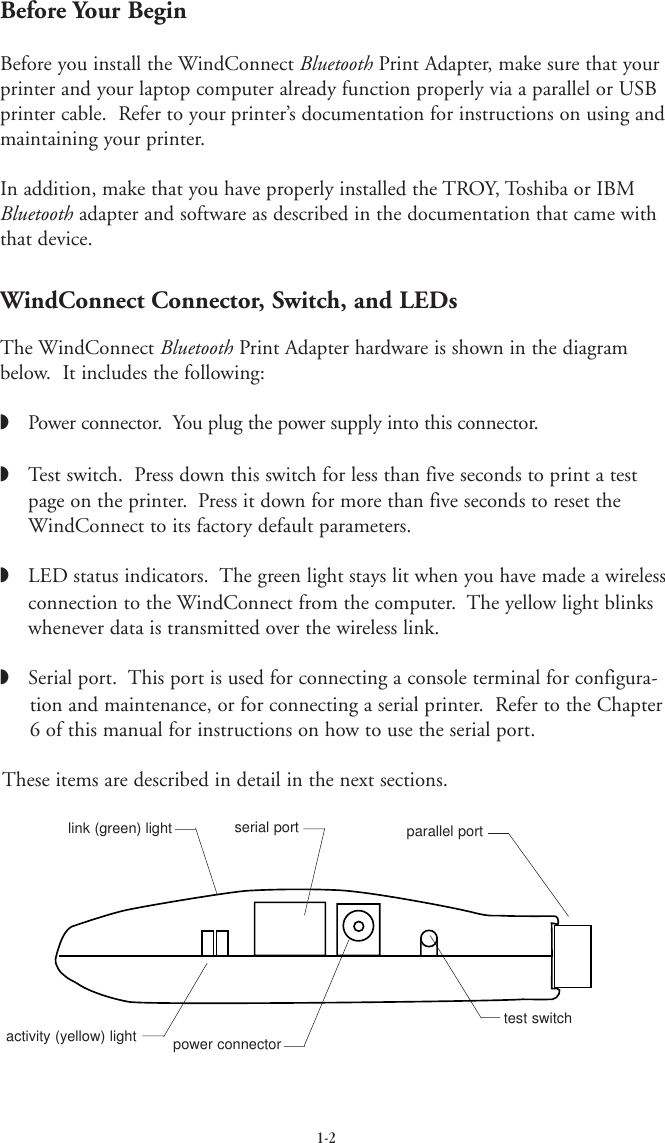
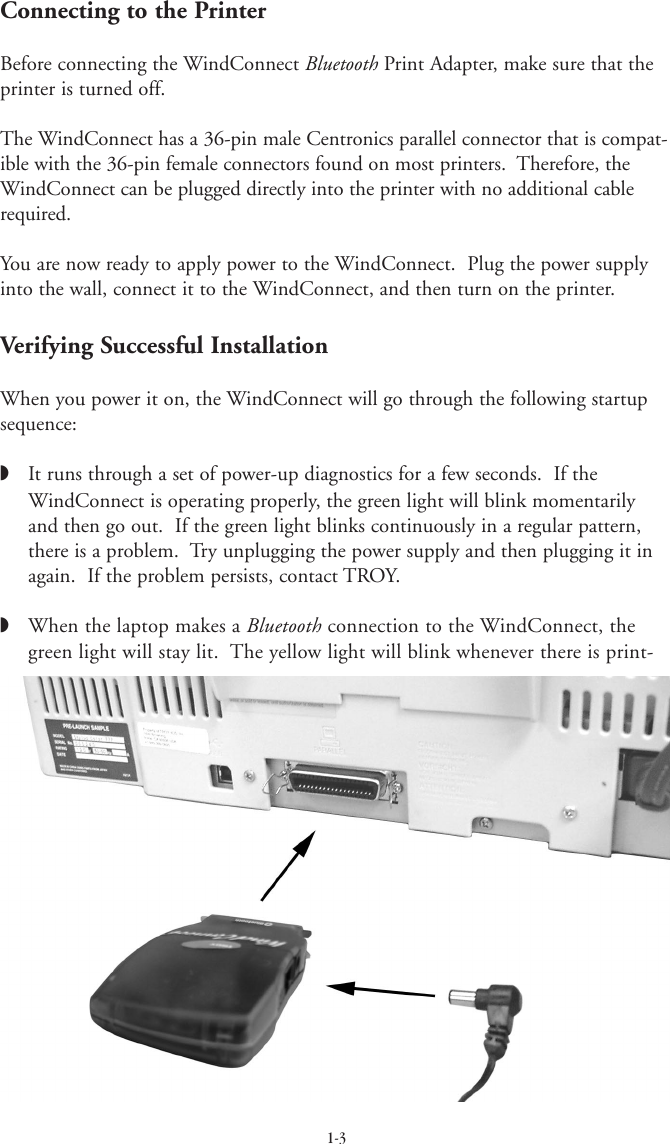
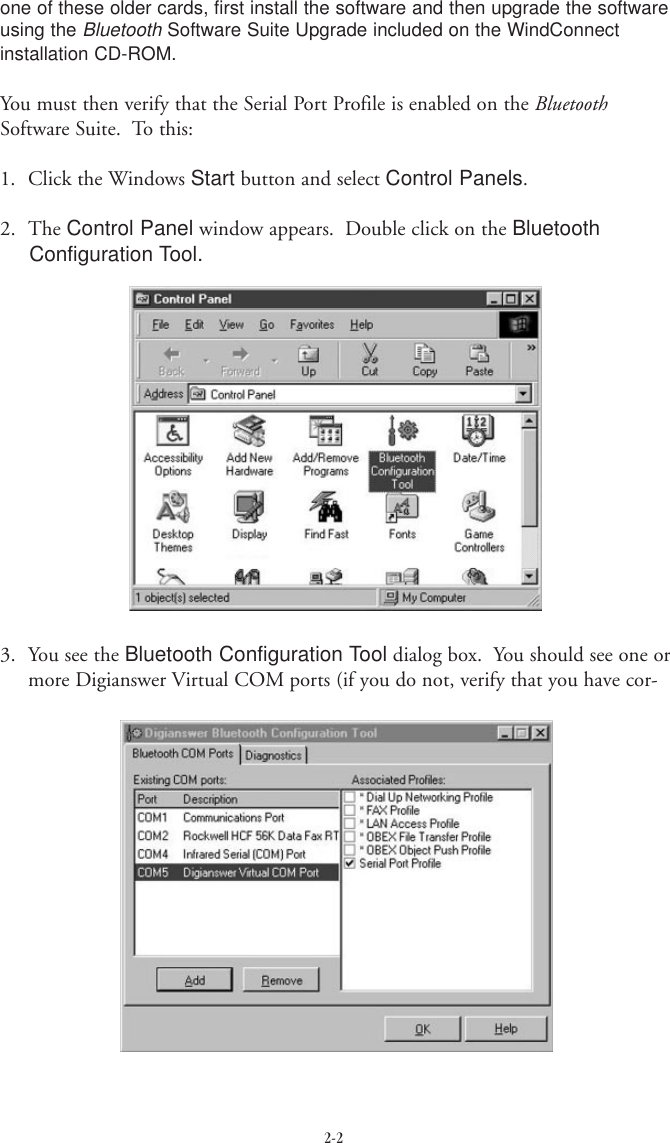
Silex Technology 90150 Bluethooth Wireless Print Adapter User Manual WindConnect Manual
Silex Technology, Inc. Bluethooth Wireless Print Adapter WindConnect Manual
UserManual.wiki
>
Silex Technology
>
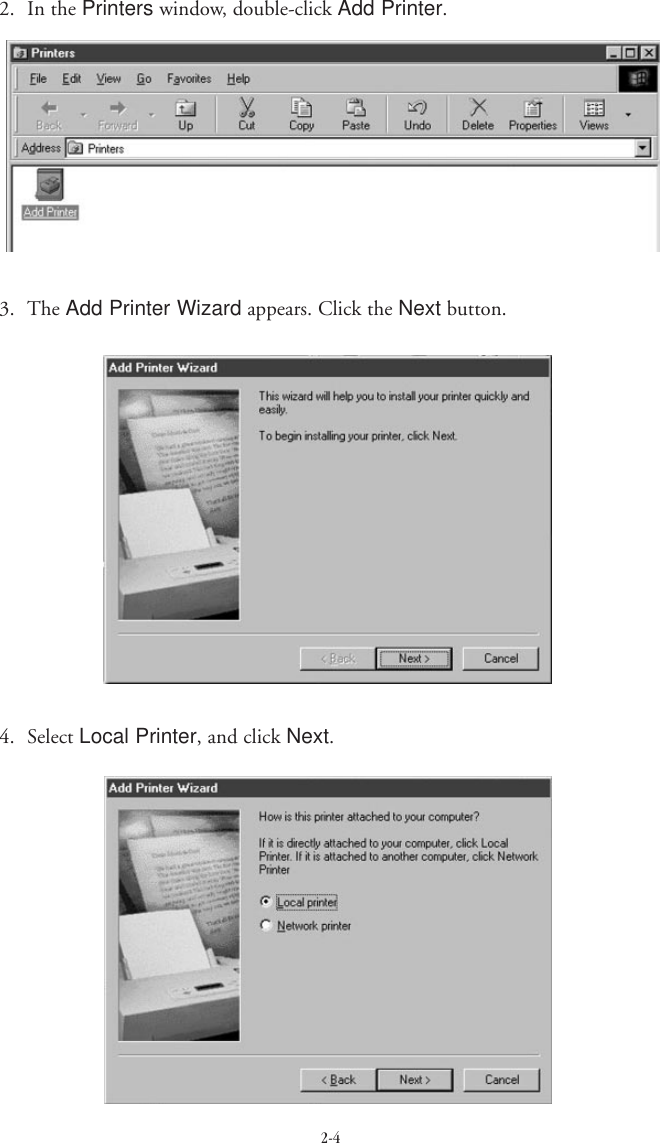
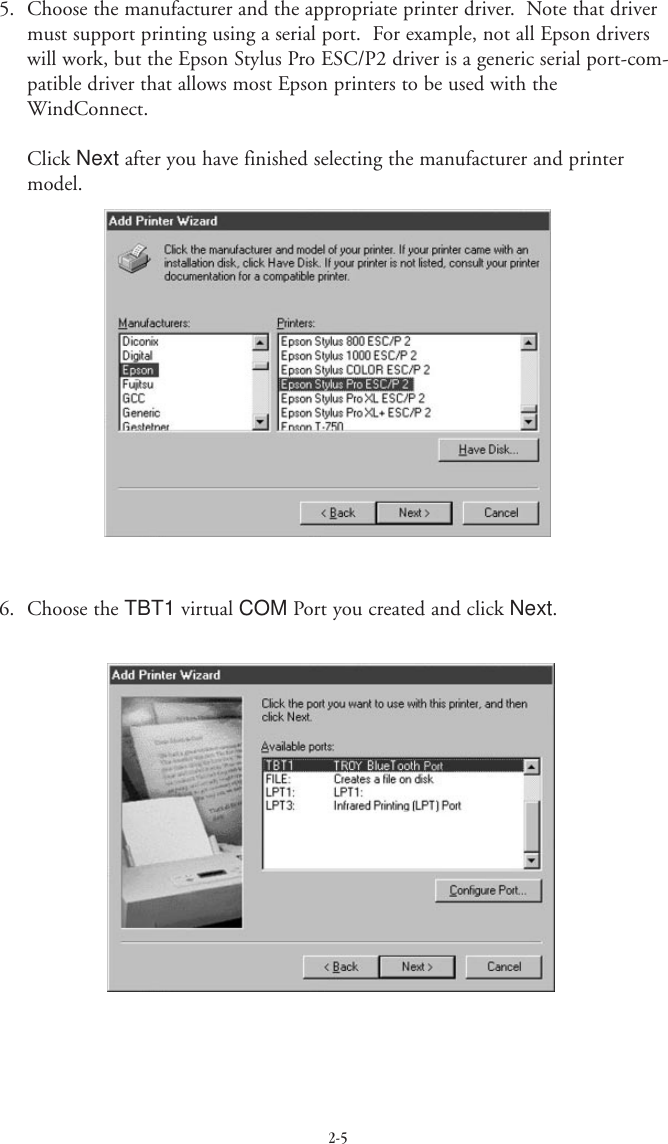
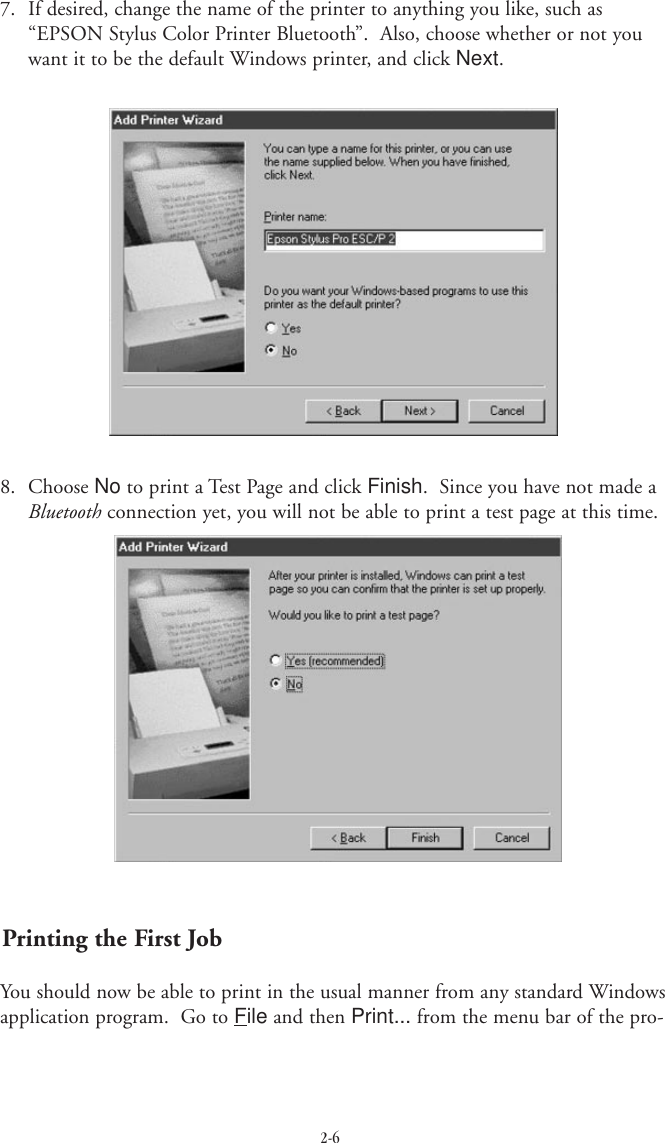
90150 User Manual
Manual
Navigation menu
Upload a User Manual
Namespaces
Wiki Guide
HTML
PDF
Info
Views
User Manual
Discussion / Help
Navigation


![Using the WindConnect with Ericsson Mobile PhonesThe Ericsson R520 mobile phone supports printing address book cards (vCards)and other information using the Bluetooth OBEX Object Push Profile. To use theWindConnect Bluetooth Print Adapter with this phone, you must set enable a PINnumber. To do this:1. Make sure that you have configured a virtual COM3 or COM4 port with theSerial Port Profile enabled as described in the Installing the Bluetooth SoftwareSuite section of Chapter 2 of this manual (the port must be either COM3 orCOM4 for compatibility with the HyperTerminal program and/or withWindows 2000). If COM3 or COM4 does not already exist, click on the Addbutton in the Bluetooth Configuration Tool to create one of these ports.2. Discover the WindConnect Bluetooth Print Adapter using the BluetoothNeighborhood program and then double click on the icon of the desiredWindConnect Print Adapter icon to discover the available services.3. Double click on the CON service (NOT the P1 service) to establish a connec-tion to the Print Adapter console.4. Start up the Windows HyperTerminal Accessory program (or any other termi-nal emulator) for operation at 115.2Kbps, no parity, no flow control, and 8-bitcharacters). Set HyperTerminal to Connect using Direct to COM3 (substitutethe actual Virtual COM port number if you are not using COM3).5. Press Enter and then enter the password ACCESS in response to the #prompt.6. Press Enter in response to the Enter username> prompt.7. Enter the following commands in response to the Local> prompt:SET BT PIN 1111 [substitute the desired PIN number for “1111”]SET SERVICE 1 EOT 12 [causes page to eject from printer]INITEXITThe print adapter restarts. You then need to configure the phone to use theWindConnect Bluetooth Print Adapter. This configuration only needs to be per-formed one time for each Print Adapter.1. Turn the phone on by holding down the No key for several seconds.2. Push the right arrow key five times until you see 5 Extras.3-5](https://usermanual.wiki/Silex-Technology/90150/User-Guide-173942-Page-23.png)