Silicon Laboratories Finland WRAP312X0 Bluetooth Access Server User Manual WRAP
Silicon Laboratories Finland Oy Bluetooth Access Server WRAP
UserManual.wiki
>
Silicon Laboratories Finland
>
WRAP312X0 User Manual
Users Guide
Navigation menu
Upload a User Manual
Namespaces
Wiki Guide
HTML
PDF
Info
Views
User Manual
Discussion / Help
Navigation

![USER MANUAL WRAP PRODUCT SERIES TABLE OF CONTENTS 1 INTRODUCTION .......................................................................................................................................4 1.1 LICENSES AND WARRANTY .................................................................................................................4 1.2 CERTIFICATION INFORMATION ............................................................................................................5 1.3 BLUEGIGA TECHNOLOGIES CONTACT INFORMATION .........................................................................6 2 QUICK START..........................................................................................................................................7 2.1 MANAGEMENT CONSOLE.....................................................................................................................7 2.2 ACCESSING WITH TELNET....................................................................................................................8 3 CONFIGURATION...................................................................................................................................10 3.1 USING THE SETUP APPLICATION........................................................................................................10 3.2 NETWORK CONFIGURATION ..............................................................................................................10 3.3 BLUETOOTH SETTINGS.......................................................................................................................10 3.3.1 GENERAL BLUETOOTH SETTINGS ..............................................................................................11 3.3.2 LAN ACCESS PROFILE SETTINGS ...............................................................................................11 3.3.3 SERIAL PORT PROFILE SETTINGS...............................................................................................11 3.3.4 OBEX SETTINGS........................................................................................................................12 3.3.5 OPTIONAL COMMAND LINE PARAMETERS FOR BLUETOOTH SERVER [] ....................................12 3.4 RAMDISK SETTINGS ...........................................................................................................................13 3.5 SYSTEM LOGGER SETTINGS ...............................................................................................................13 3.6 WEB SERVER SETTINGS .....................................................................................................................13 3.7 SMS GATEWAY SETTINGS.................................................................................................................13 3.8 /ETC/RC.USER .....................................................................................................................................13 3.9 RESETTING CONFIGURATION .............................................................................................................14 3.10 ADVANCED CONFIGURATION ..........................................................................................................14 4 USING THE SYSTEM ..............................................................................................................................15 4.1 BLUETOOTH .......................................................................................................................................15 4.1.1 BLUETOOTH SERVER SOCKET INTERFACE PASSWORD PROTECTION ........................................15 4.1.2 LAN ACCESS PROFILE ................................................................................................................15 4.1.3 SERIAL PORT PROFILE ...............................................................................................................15 4.1.4 OBJECT PUSH AND FILE TRANSFER PROFILE.............................................................................16 4.2 SERVERS.............................................................................................................................................16 4.2.1 WEB SERVER..............................................................................................................................17 4.2.2 SMS GATEWAY SERVER............................................................................................................17 4.2.3 TELNET ......................................................................................................................................17 4.3 UTILITIES ...........................................................................................................................................17 4.4 TRANSFERRING FILES TO/FROM WRAP.............................................................................................19 4.4.1 TRANSFERRING FILES TO/FROM WRAP USING FTP .................................................................19 4.4.2 TRANSFERRING FILES TO/FROM WRAP USING TERMINAL SOFTWARE ....................................20 4.5 APPLICATION EXAMPLES ...................................................................................................................21 4.5.1 INSTALLING EXAMPLES .............................................................................................................21 4.5.2 RUNNING EXAMPLES .................................................................................................................22 4.6 SYSTEM RE-INSTALL .........................................................................................................................23 4.6.1 SYSTEM REQUIREMENTS ...........................................................................................................24 4.6.2 RE-INSTALLING WRAP USING MICROSOFT WINDOWS.............................................................24 4.6.3 RE-INSTALLING WRAP USING LINUX .......................................................................................24 5 BLUETOOTH TECHNOLOGY OVERVIEW ..............................................................................................25 5.1 FREQUENCY BANDS AND CHANNEL ARRANGEMENT ........................................................................25 5.2 POWER CONSIDERATIONS ..................................................................................................................26 5.3 RADIO FREQUENCY PROPAGATION....................................................................................................26](https://usermanual.wiki/Silicon-Laboratories-Finland/WRAP312X0/User-Guide-282695-Page-3.png)

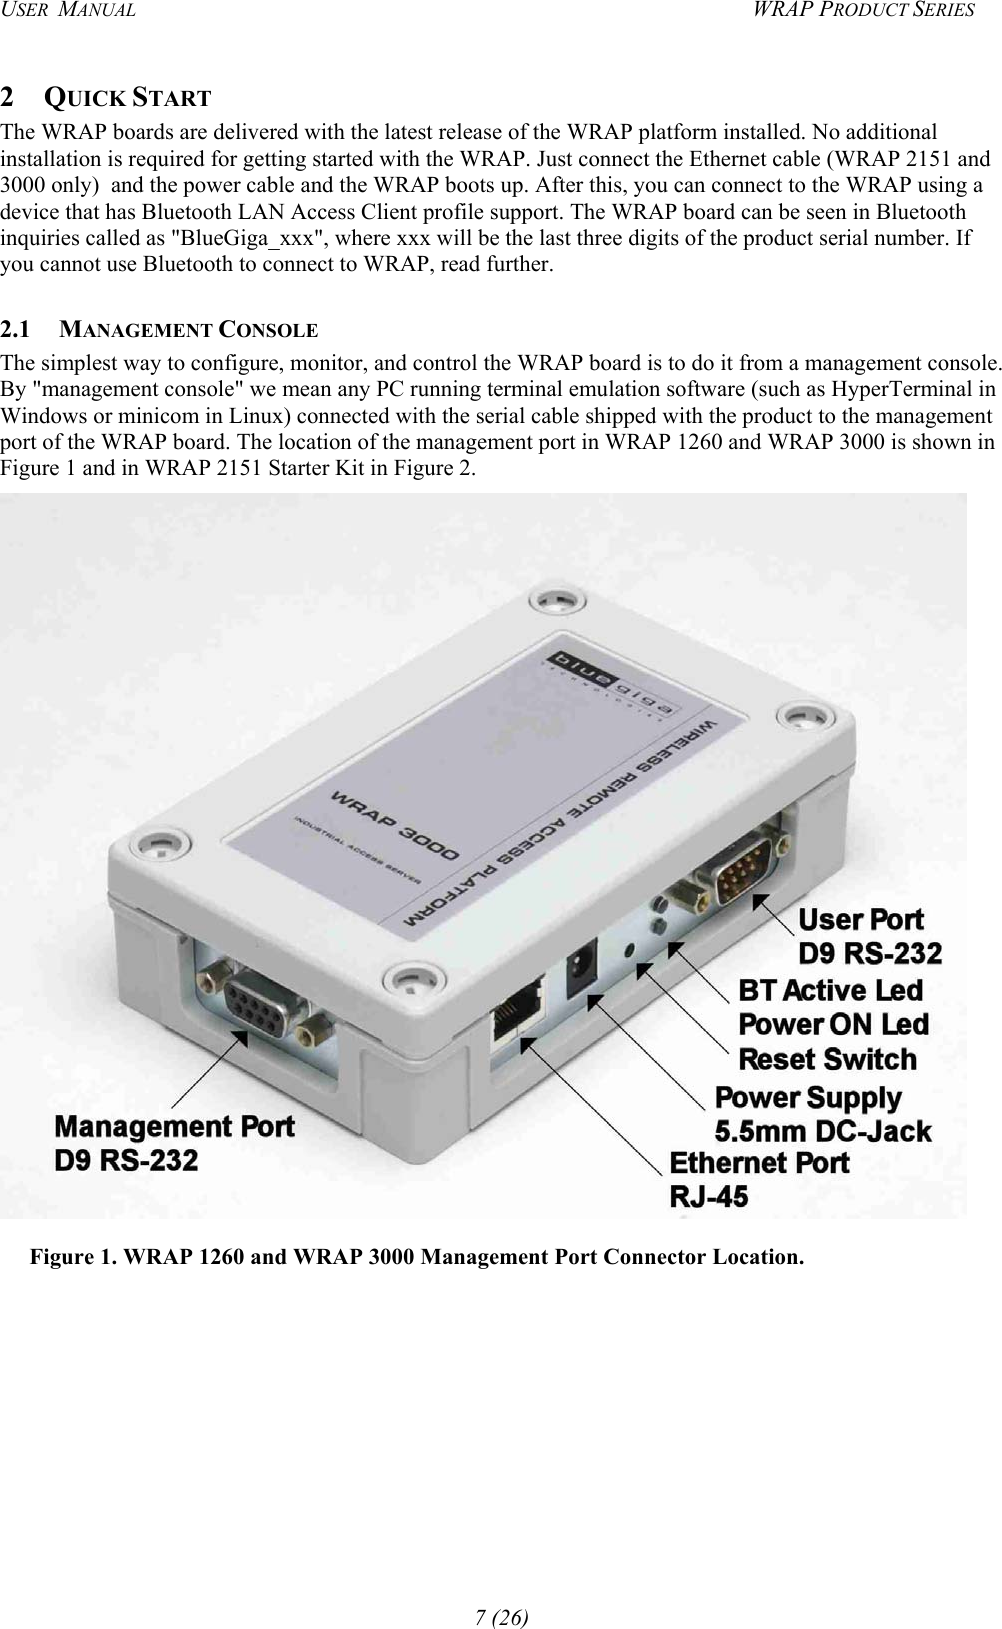
![USER MANUAL WRAP PRODUCT SERIES 3 CONFIGURATION When the WRAP is installed and powered up for the first time, the default configuration settings are being used. With these settings, the WRAP automatically configures its network settings assuming that the board is connected to a LAN network with a DHCP server running. After booting, you can use the WRAP as a Bluetooth LAN access point to the network without any changes in configuration. Also the Serial Port Profile is enabled by default in listening mode. 3.1 USING THE SETUP APPLICATION The basic configuration settings are changed using the "setup" application. It displays the settings in a hierarchical menu. Navigating the menu is accomplished by entering the number or the letter of the setting to view and/or change and pressing <enter>. Pressing only <enter> either accepts the previous value of the setting or returns to the previous level in the menu hierarchy. The settings and their meanings, and the default values are described in the following sections. 3.2 NETWORK CONFIGURATION Note: this setting is not applicable for WRAP 1x60. 1. Enable Interface Eth0 [Y] This option determines whether or not an Ethernet interface is brought up at all at boot. If set to no, the other options in the Network Configuration menu are not visible. 2. Use Dynamic network configuration [Y] This option determines whether or not automatic configuration of the Ethernet interface using DHCP should be attempted at boot. If set to yes, the following options in the Network Configuration menu are not visible. 3. IP address of the host [10.0.0.101] If the dynamic network configuration is disabled (step 2), the IP address of the WRAP must be entered here. 4. Subnet mask [255.255.255.0] If the dynamic network configuration is disabled (step 2), the network mask of the WRAP must be entered here. 5. IP address of the default gateway [10.0.0.254] If the dynamic network configuration is disabled (step 2), the IP address of the default gateway in the LAN to which the WRAP is connected must be entered here. 6. Hostname of the device [wrap] The hostname of the WRAP device. Local applications will see this name. 7. Domain of the device [local.net] The domain name of the WRAP device. Local applications will see this name. 8. IP address of the primary name server [10.0.0.1] The IP address of the primary name server. 9. IP address of the secondary name server [10.0.0.2] The IP address of the secondary name server. 3.3 BLUETOOTH SETTINGS Bluetooth settings are divided into general and profile specific settings, which are described in the following sections. 10 (26)](https://usermanual.wiki/Silicon-Laboratories-Finland/WRAP312X0/User-Guide-282695-Page-10.png)
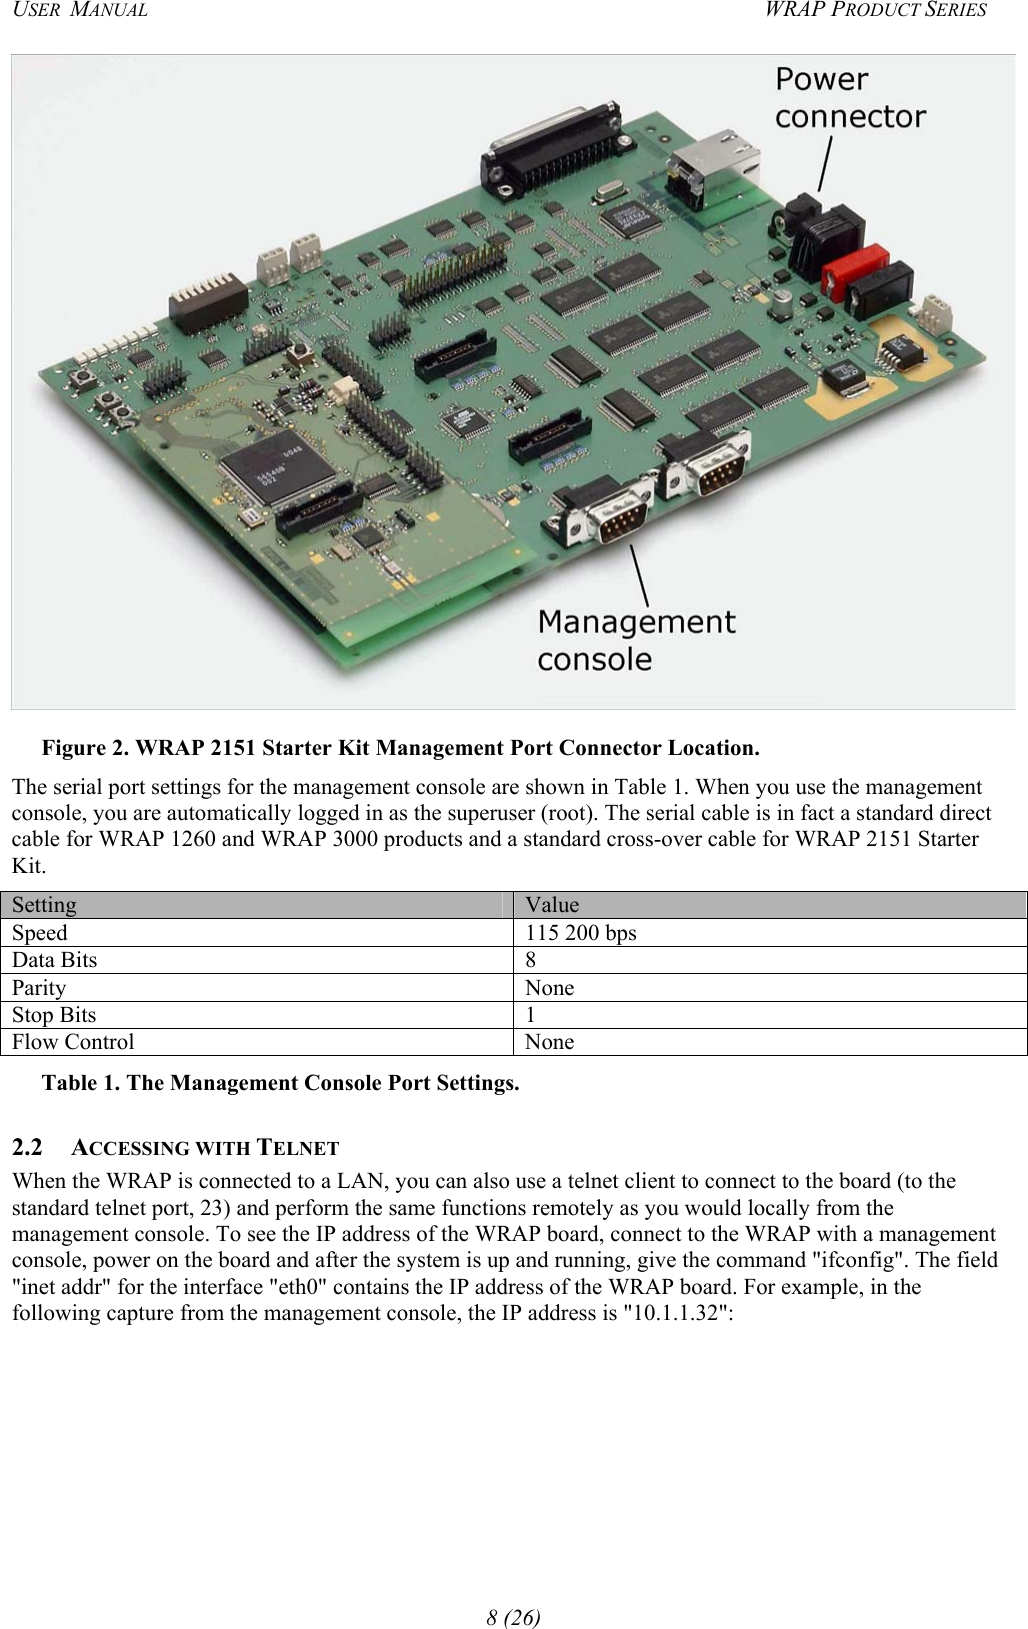
![USER MANUAL WRAP PRODUCT SERIES 3.3.1 GENERAL BLUETOOTH SETTINGS 1. Friendly Name [BlueGiga_*] The name shown when this device is found when inquired by other Bluetooth devices. The name may end with asterisk (*), which will be replaced with the last 3 digits of the serial number of this WRAP board. 2. Bluetooth Server Socket Interface Password [buffy] The password required to enter before any commands when discussing with the WRAP Bluetooth Server Socket Interface. 3. Connectable and Discoverable Mode [3] The setting specifying whether this device is connectable and/or discoverable or not by other Bluetooth devices. When a device is connectable, other Bluetooth devices can make a Bluetooth connection to it. Before making a connection, the calling device must know the Bluetooth address of the device to connect. The Bluetooth addresses are found by making an inquiry. When a device is discoverable, it shows up in inquiries. Possible values for all combinations of these settings are: 0: Not connectable, not discoverable 1: Not connectable, discoverable 2: Connectable, not discoverable 3: Connectable and discoverable (default) 4. Master/Slave Role Switch Policy [1] The setting specifying how the connecting Bluetooth devices should decide their roles. When a device is calling another Bluetooth device, it originally is the master and the answering device is the slave. When the connection is being built, a role switch can be made. Normally, access point devices want to be the master for all their slaves, and therefore they require a master-slave switch when a new device is connecting. This is also how WRAP is configured by default. Other possible combinations are: 0: Allow switch when calling, don't request when answering 1: Allow switch when calling, request when answering (default) 2: Don't allow switch when calling, request when answering If you have problems in connecting to WRAP, this might be due the fact that your client device does not support a master/slave switch. In this case, set this setting to "0". 3.3.2 LAN ACCESS PROFILE SETTINGS 1. Enable Lan Access Profile [Y] Whether the Lan Access Profile is enabled or not. 2. Lan Access Login Name and Password [] The login name and password required from the Lan Access Clients. Must be entered as a single string, separated with a space. An example: "guest buffy". If empty (default), no login is required. 3. Service Name (shown in SDP) [Lan Access Using PPP] The name of this service shown in the Service Discovery. 3.3.3 SERIAL PORT PROFILE SETTINGS Note: visibility of some of these settings is controlled by the "Act as the Calling Device" -setting. Note2: Serial Port Profile is disabled if SMS Gateway is enabled as they share the same physical serial port. 1. Enable Serial Port Profile [Y] 11 (26)](https://usermanual.wiki/Silicon-Laboratories-Finland/WRAP312X0/User-Guide-282695-Page-11.png)
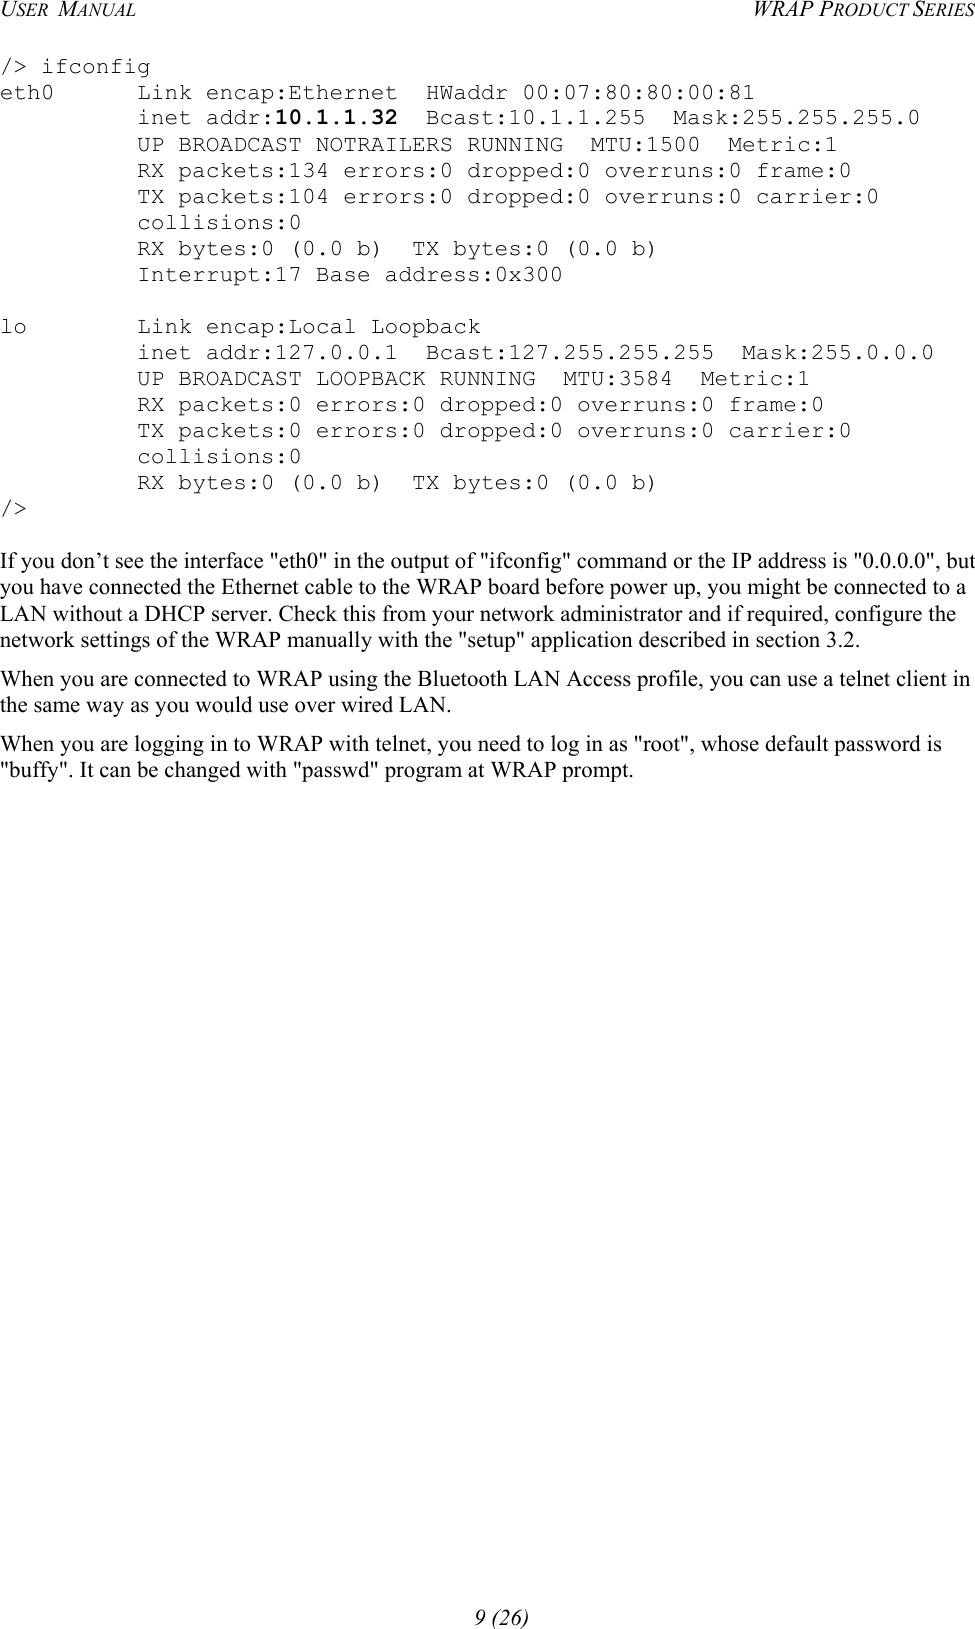
![USER MANUAL WRAP PRODUCT SERIES Whether the Serial Port Profile is enabled or not. 2. Act as the Calling Device [N] Whether this device should act as the calling device (DevA) or the answering device (DevB). 3. BPS Rate [9600] The bits-per-second rate of the connection. Possible values are 300, 1200, 2400, 4800, 9600, 19200, 38400, 57600, 115200, 230400 and 460800. 4. Data Bits [8] The number of data bits in the connection. Possible values are 5, 6, 7 and 8. 5. Parity [0] The parity bit setting of the connection. Possible values are: 0: no parity, 1: odd parity and 2: even parity. 6. Stop Bits [1] The number of stop bits in the connection. Possible values are 1 and 2. 7. Hardware Flow Control (RTS/CTS) [Y] Whether the hardware flow control is used in the connection or not. 8. Software Flow Control (XON/XOFF) [N] Whether the software flow control is used in the connection or not. 9. Service Name (shown in SDP) [Serial Port] The name of this service shown in the Service Discovery. (This setting is visible only when setting 2. "Act as the Calling device" is disabled.) 10. Bluetooth Address of the Remote Device [00:07:80:80:01:1f] The Bluetooth address of the device to be contacted. (This setting is visible only when setting 2. "Act as the Calling device" is enabled.) 11. Server Channel of the Remote Device [10] The Bluetooth server channel of the device to be contacted. (This setting is visible only when setting 2. "Act as the Calling device" is enabled.) 3.3.4 OBEX SETTINGS 1. Enable Object Push Profile [Y] Whether the Object Push Profile is enabled or not. 2. Service Name (shown in SDP) [OBEX Object Push] The name of this service shown in the Service Discovery. 3. Enable File Transfer Profile [Y] Whether the File Transfer Profile is enabled or not. 4. Service Name (shown in SDP) [OBEX File Transfer] The name of this service shown in the Service Discovery. 3.3.5 OPTIONAL COMMAND LINE PARAMETERS FOR BLUETOOTH SERVER [] This setting can be used to override the defaults. For example, "—port 4242" would set the Bluetooth server control port to 4242 instead of the default 10101. However, you should not give any optional parameters for the Bluetooth server if you don’t know what you are doing. 12 (26)](https://usermanual.wiki/Silicon-Laboratories-Finland/WRAP312X0/User-Guide-282695-Page-12.png)
![USER MANUAL WRAP PRODUCT SERIES 3.4 RAMDISK SETTINGS 1. Size of the ramdisk (in kilobytes) [512] The size of the ramdisk (/mnt/ram/). Sizes below minimum (currently 50) and above maximum (currently 1024) are not allowed. 3.5 SYSTEM LOGGER SETTINGS 1. Log locally [Y] This option determines whether or not the System Logger (syslogd) should log locally (to /var/log/messages). 2. Address of the Remote Syslog Server [] The address of the device in the network to which the System Logger should log to. Note: This remote device must be configured to accept syslogd connections from this WRAP board. See the system logger documentation on the remote device for more information on how to do that. 3.6 WEB SERVER SETTINGS 1. Web Server logging device [/dev/null] The file to which the Web Server (httpd) logs all requests and connections. Use /dev/console for console output and, for example, /tmp/httpd.log if you want to save this information. Be careful, however, not to fill the RAM filesystem (use a cron job to free disk space from time to time). Note: If the file is invalid, httpd does not start at boot. 3.7 SMS GATEWAY SETTINGS Note: SMS Gateway is disabled by default as Serial Port Profile is enabled by default, because they share the same physical serial port. Disable Serial Port Profile first to be able to enable SMS Gateway. 1. Enable SMS Gateway at startup [N] Whether the SMS Gateway (smsgw) should be started automatically when the system boots up or not. 2. SMS Gateway logging device [/dev/null] The file to which the SMS Gateway (smsgw) logs all traffic. Use /dev/console for console output and, for example, /tmp/smsgw.log if you want to save this information. Be careful, however, not to fill the RAM filesystem (use a cron job to free disk space from time to time). 3.8 /ETC/RC.USER While not configurable with the "setup" application, the file /etc/rc.user is important for system boot configuration. It is the file executed as the last task by the system boot script. By default, the file /etc/rc.user does not exist, but you should create one if you want to do some special automatic initialization at every boot, like starting up your own servers. Small textual configuration files (like the /etc/rc.user file) are often most quickly done by using the "cat" command. In the following example, we create a new /etc/rc.user file: /> cat > /etc/rc.user #!/bin/sh echo Starting up my server /usr/local/bin/myserverd & echo Everything booted up <ctrl-D> /> 13 (26)](https://usermanual.wiki/Silicon-Laboratories-Finland/WRAP312X0/User-Guide-282695-Page-13.png)