Silicon Laboratories Finland WT41 WT41 long range class 1, Bluetooth 2.1 + EDR module User Manual SF61BUG
Silicon Laboratories Finland Oy WT41 long range class 1, Bluetooth 2.1 + EDR module SF61BUG
UserManual.wiki
>
Silicon Laboratories Finland
>
WT41 User Manual
>
User Manual
Contents
1.
manual
2.
antenna datasheet
3.
Installation guide
4.
Installation TCB questions
5.
User manual of host
6.
Data Sheet
7.
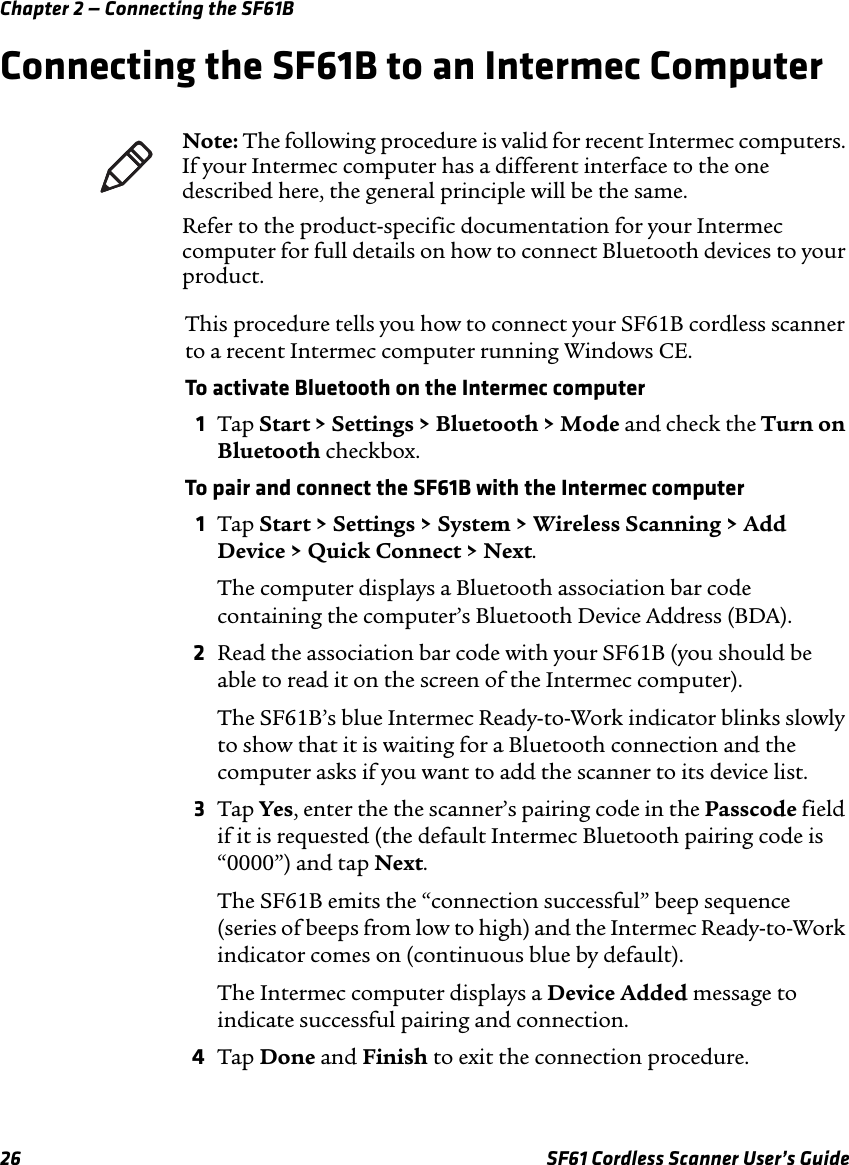
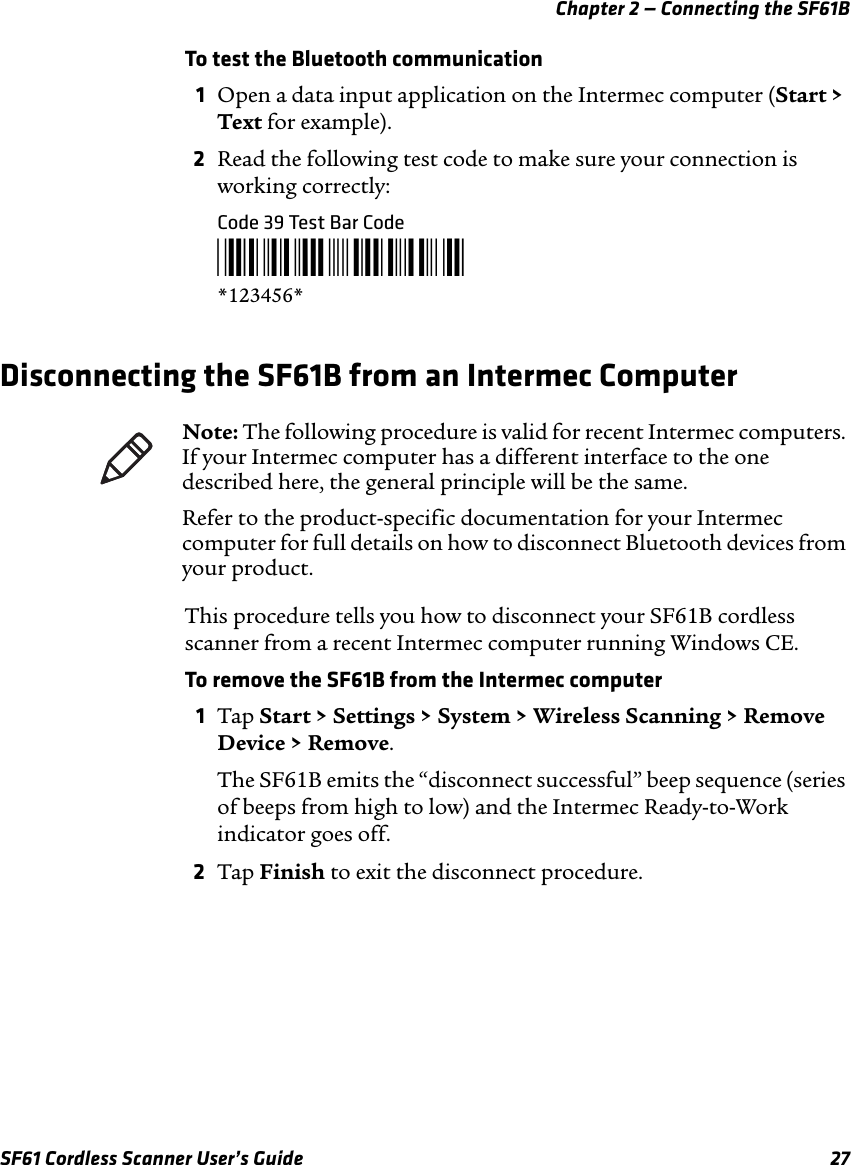
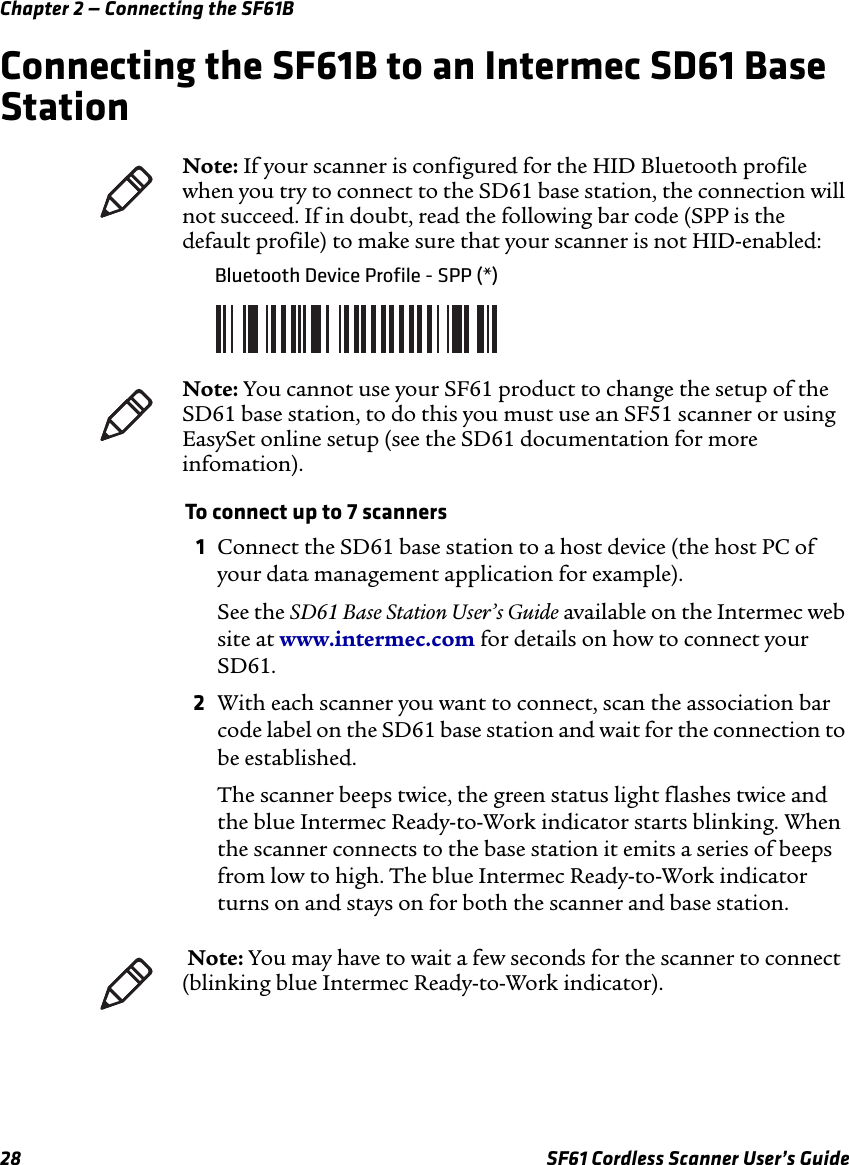
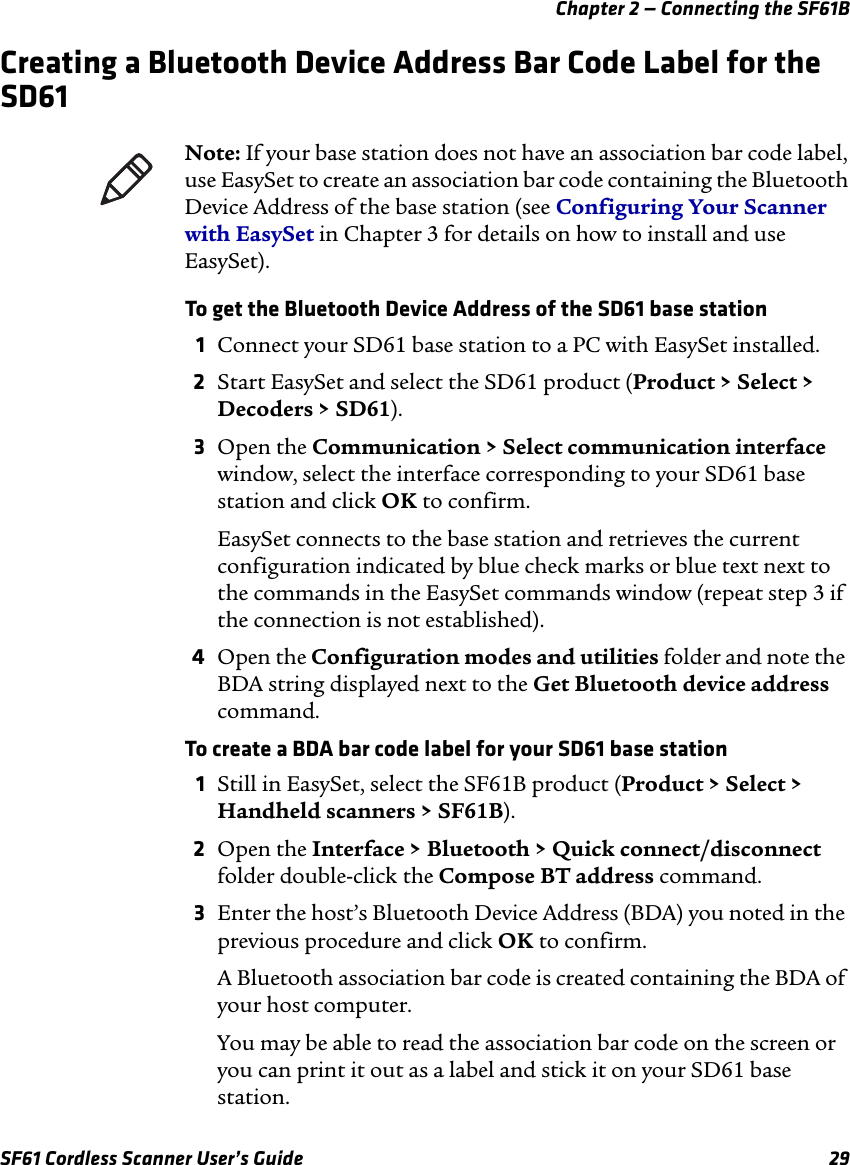
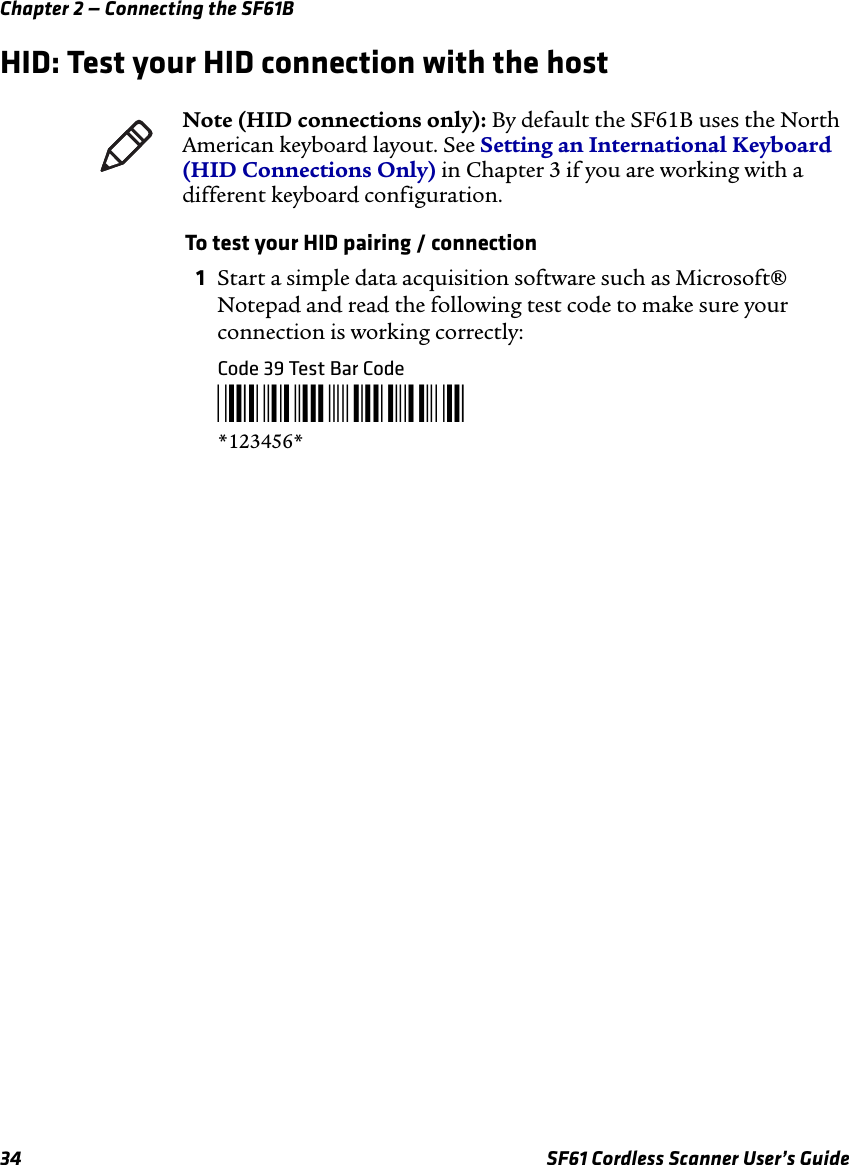
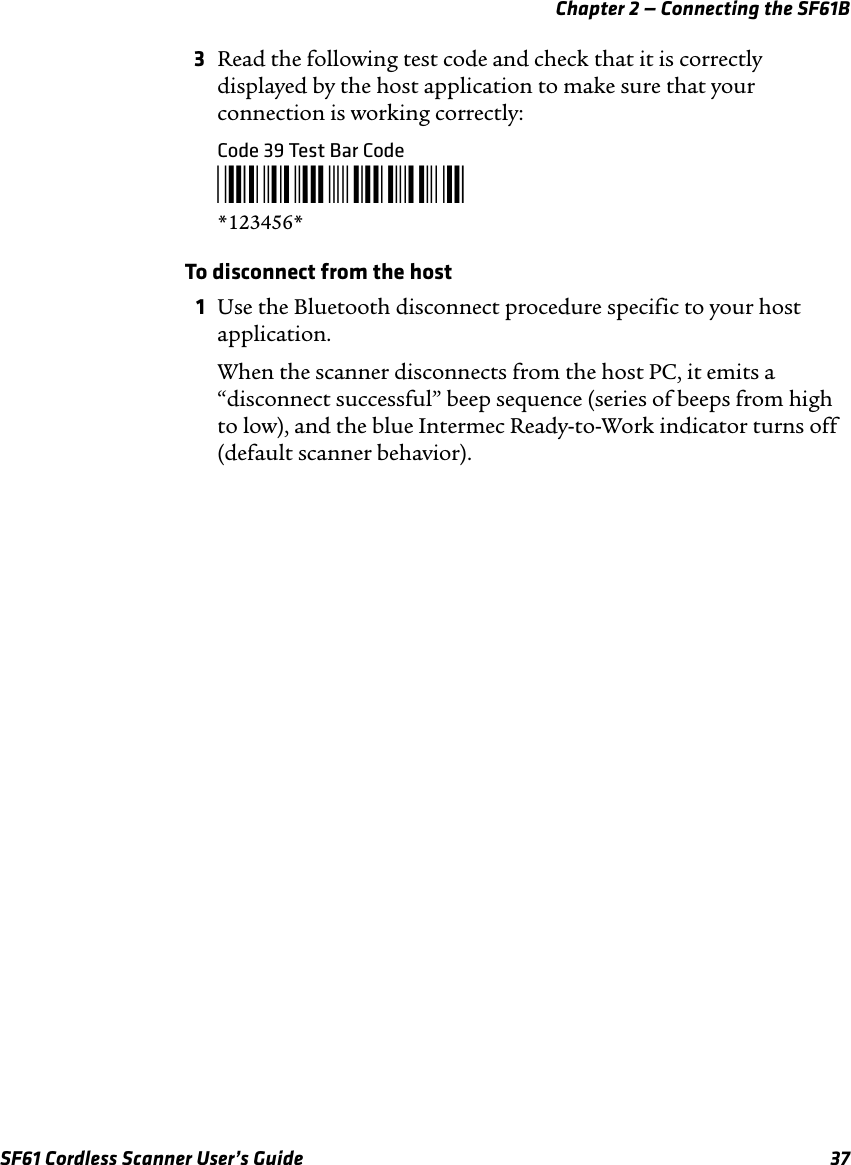
User Manual
8.
Insert
User Manual
Navigation menu
Upload a User Manual
Namespaces
Wiki Guide
HTML
PDF
Info
Views
User Manual
Discussion / Help
Navigation