Rep Net Instructions S V1 Web
2012-12-27
: Sklz Repnet Instructions Sv1 Web RepNet_Instructions_sV1_web instructions storefiles
Open the PDF directly: View PDF ![]() .
.
Page Count: 4
SKLZ.COM
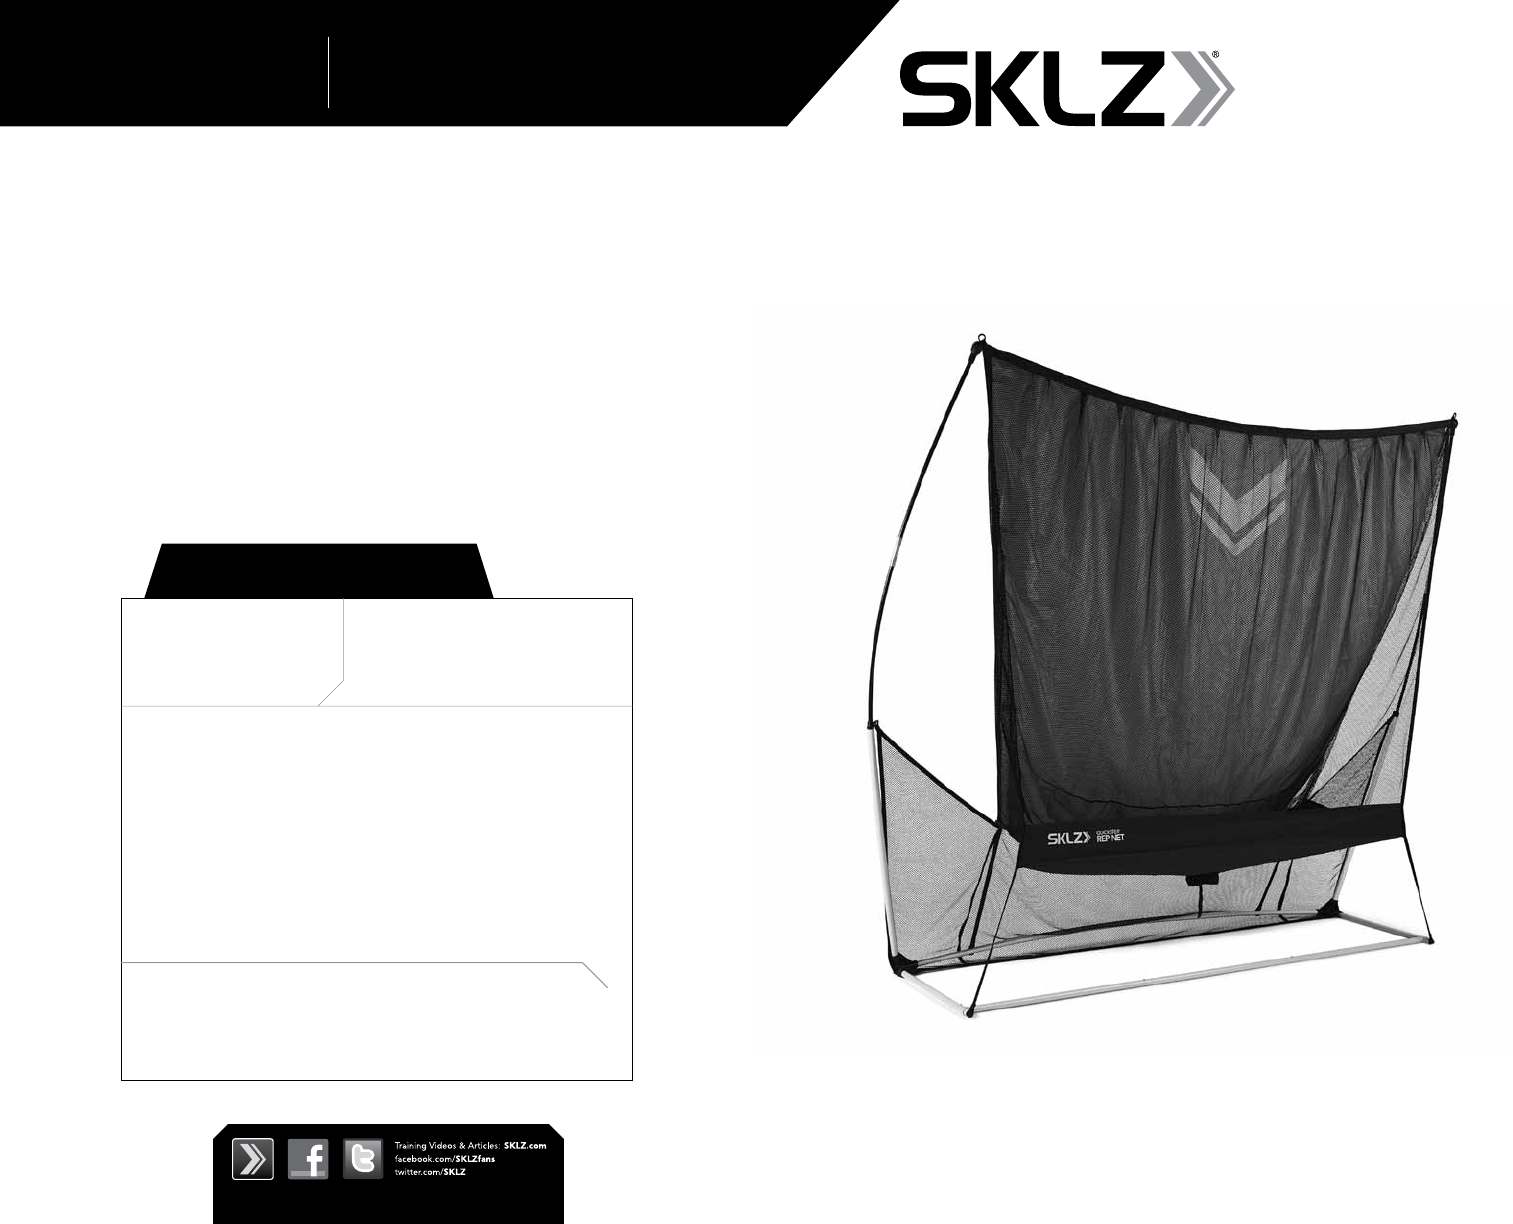
REP NET
QUICKSTER®
INSTRUCTION MANUAL
INCLUDES:
» QUICKSTER REP NET
» Carry Bag
» Ground Stakes (4)
LIMITED
WARRANTY
REGISTER YOUR PRODUCT AT SKLZ.COM
TO ENSURE WARRANTY
COVERAGE, GET NEW PRODUCT
INFORMATION AND SPECIAL DEALS
FROM SKLZ
Pro Performance Sports (PPS) / SKLZ warrants to the original consumer purchaser of any
PPS/SKLZ product it manufactures that the product will be free of defects in materials or
workmanship for 90 days (unless specified in alternate warranties) from the date of purchase.
If defective and purchased from a retail store, return the product along with receipt to the
retail store where the product was purchased. If the item was purchased from PPS/SKLZ,
return the product along with the packing slip (proof of purchase) postage prepaid to the
address below for replacement consideration. Label: Attn: Returns
This warranty does not cover damages resulting from accident, misuse, abuse or lost
merchandise. Only valid in the USA. All returns sent to PPS/SKLZ require a Return
Merchandise Authorization number (RMA). For returns to PPS/SKLZ and for all other
Customer Service inquiries, please call toll free, 1-877-225-7275 for a return authorization
number for any exchange.
Made in China. ©2012 Pro Performance Sports, LLC. All rights reserved. Manufactured and
distributed by SKLZ/Pro Performance Sports: 2081 Faraday Avenue, Carlsbad, CA 92008 U.S.A.
SKLZ, SKLZ Chrome and Sport-Brella are registered trademarks of Pro Performance Sports, LLC.,
its subsidiaries and affiliates. Product features, appearance, and specifications may be subject to
change without notice. Unauthorized duplication is a violation of applicable local and
international laws.
IDEA SUBMISSION
If you have an idea for a new and innovative sports training product,
visit SKLZ.com to submit your concept. Some restrictions may apply.
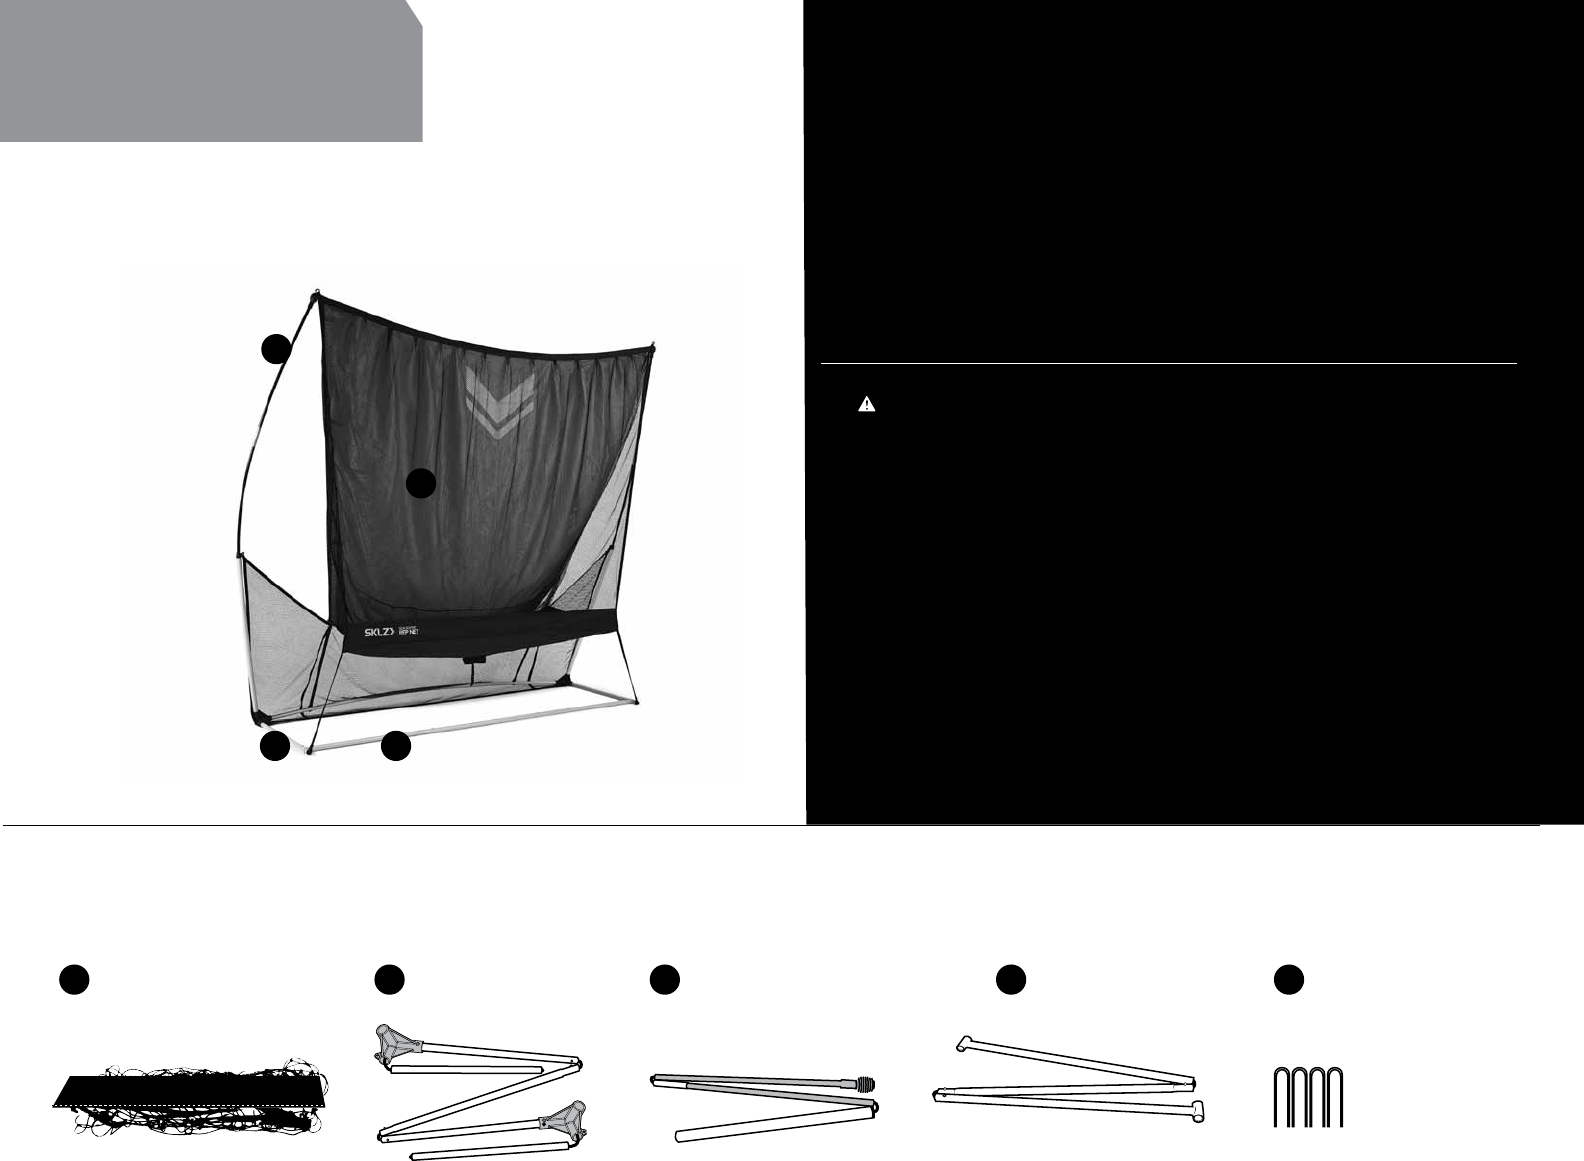
NET WITH
BALL COLLECTION
ABASE FRAME
B
BASE FRAME B
TENSION-TITE
ARM POLE (2)
C
C
GROUND STAKES (4)
E
CROSS BAR
D
QUICKSTER PITCH RETURN PARTS:
REP NET
QUICKSTER PITCH RETURN IS PERFECT FOR:
» BASEBALL » SOFTBALL » LACROSSE
QUICKSTER®
NET
A
TENSION-TITE™
ARM POLE
CROSS BAR
D
Thank you for choosing SKLZ QUICKSTER REP NET. We are dedicated to providing you with
the best tools and instruction possible to help you unleash your athletic potential. If there
is anything else we can do to help you optimize your training, don’t hesitate to drop us an
email (customerservice@sklz.com) or give us a call (1-877-225-7275).
BEFORE YOU BEGIN:
» Read all setup and usage instructions carefully before using. If the setup and/or
instructions are not followed correctly, it could result in injury or damage to the product.
» Adult assembly recommended.
» Make sure you have all of the QUICKSTER REP NET components. Please contact SKLZ
customer service toll free at 1-877-225-7275 if you are missing anything.
WARNING:
Regularly check for wear and tear. Stop using QUICKSTER REP NET if any part of it breaks.
Failure to do so could result in injury.
QUICKSTER REP NET is under tension when assembled. Please take the utmost care
when releasing the tension during disassembly. Failure to do so may result in injury.
QUICKSTER REP NET cannot catch all batted balls. Set-up in a clear area to avoid
damage to property.
Do not climb or hang on the QUICKSTER REP NET.
Keep away from fire and heat sources.
Not suitable for children under 3 years of age.
HOW TO QUICKSTER® REP NET A SSEM BLY
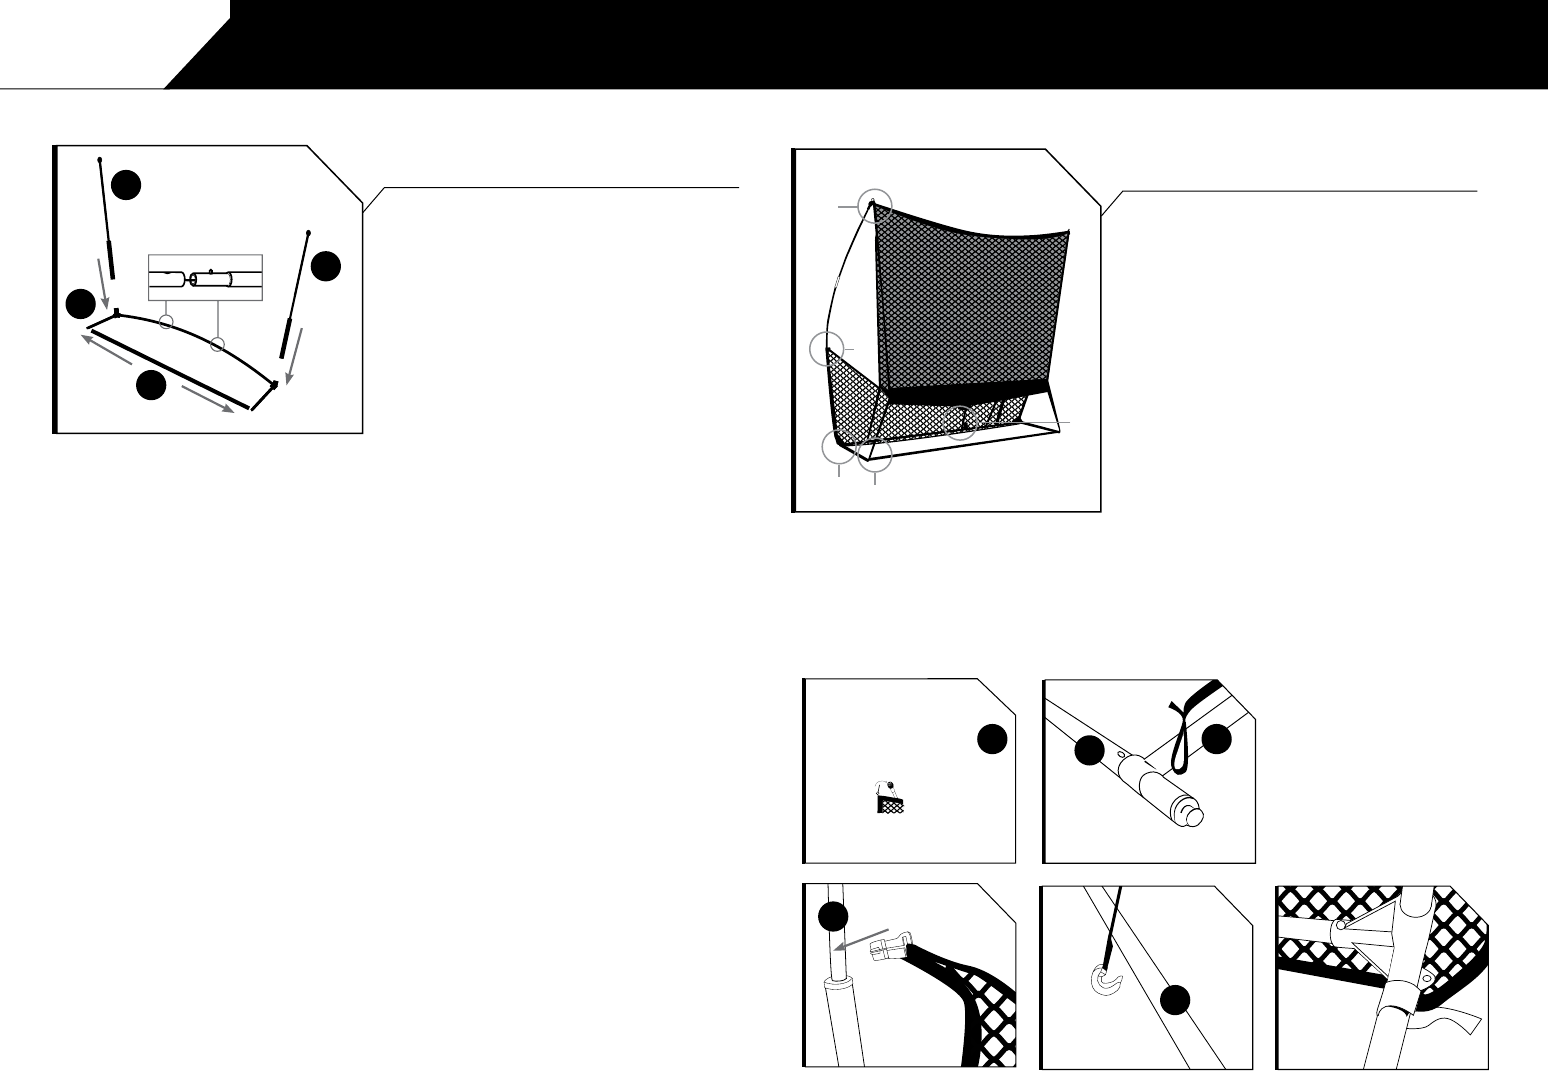
STEP 1
BASE FRAME & TENSION-TITE™ ARM POLE
NOTE – Base Frame and Tension-Tite arm poles come
pre-attached by elastic cords.
1. Lay out one Arm Pole (C) and link together to form a
straight pole. Repeat with second Tension-Tite Arm Pole.
2. Lay out Base Frame (B) and link the frame together. Make
sure to secure the poles with the push buttons.
3. Lay out cross bar (D) and link together.
4. Slide tube on cross bar over base frame. Rivet will keep
cross bar in place.
NOTE – The slight bowing on the Base Frame is a normal
part of the Tension-Tite system design.
5. Slide the Tension-Tite Arm Poles into each side of the
Base Frame.
NOTE - Ensure arm poles are fully inserted. Failure to do so
may result in damage to the QUICKSTER.
PUSH BUTTON ATTACHMENT
INSTALL CROSS BAR
C
C
B
D
STEP 2
CONNECT THE NET TO THE FRAME
1. Unfold the Net (A) and slide the metal pin at the top of one
corner of the net into the top of the Tension-Tite Arm Pole.
Make sure that the QUICKSTER logo on the net is facing away
from the frame. Repeat on the other side.
2. Attach bottom Net loop attachments to the plastic post hooks
on each side of the base frame.
3. Clip back of net to Arm Pole. Follow illustration #3 for
placement.
4. Clip webbing straps to the base frame.
5. Wrap the bottom of the net under the back base frame and
Velcro around the side base frame.
NOTE: Check the frame to make sure it is securely and fully
assembled with the net before securing to the ground.
2.
5.
4.
3.
1.
1.
3.
2.
4. 5.
CLIP
LOOP ATTACHMENT
SIDE BASE FRAME
BACK BASE FRAME
VELCRO
D
B
B
C
C
SIDE
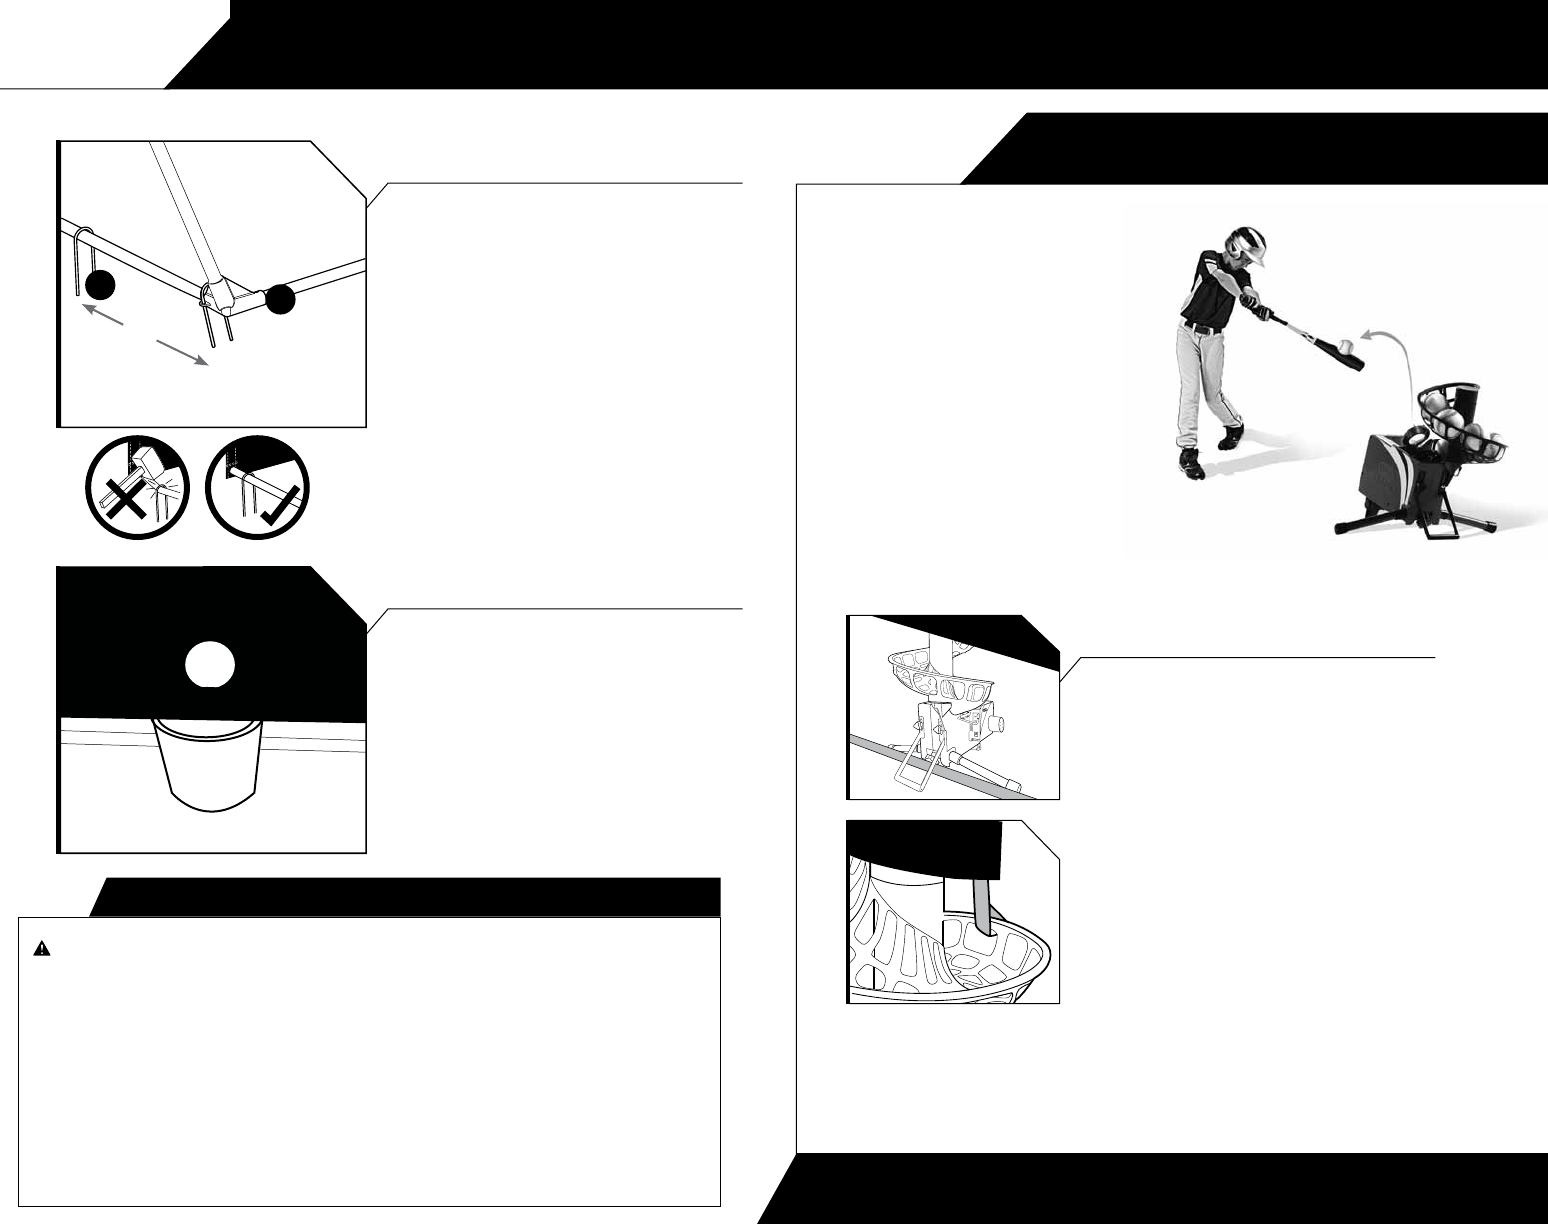
STEP 4
BUCKET RECOMMENDATIONS
QUICKSTER REP NET funnels the balls into the central hole.
Place a bucket (not included) or other capture device to
collect the balls.
B
STEP 3
SECURE THE QUICKSTER
Place QUICKSTER in the desired location and ensure it is on
level ground. Secure frame with included Ground Stakes.
Ground Stakes can be secured with hand, foot or mallet.
NOTE: Do not use Ground Stakes on the back of the base
frame. Poles will bend and tension system will not
function properly.
NOTE: Care should be taken when pressing in the ground
stakes. Poles can be bent if driven too far into the
ground or hard surface.
CAUTION: Make sure the QUICKSTER is secured into the
ground before play. During play make sure that
the Ground Stakes are secured as a loose Ground
Stake may cause injury.
ONLY SECURE STAKES WHERE INDICATED ABOVE.
(BUCKET IS NOT INCLUDED)
E
HOW TO QUICKSTER® REP NET A SSEM BLY
WARNING:
QUICKSTER is under tension when assembled. Please take the utmost care when releasing the tension during
disassembly. Failure to do so may result in injury.
Hold one pin in one hand and one Tension-Tite Arm Pole in the other while pulling the pin out. Repeat on the other side.
Remove the net loop attachments from each side of the frame. If needed, air dry the net before you fold and place it into
the carry bag.
Pull the Tension-Tite Arm Poles out of each side of the base frame and unlink and fold them down to store.
Fold up and place into the carry bag. Remove the Ground Stakes and place them into the carry bag.
NOTE: Store Tension-Tite Arm Pole in the carry bag with the round tops facing away from each other.
Unlock the push buttons on the Base Frame to unlink the frame. Fold and store in carry bag.
STORING YOUR QUICKSTER
PERFECT FOR PRACTICE WITH:
(CATAPULT IS NOT INCLUDED)
» Adjustable height and distance
» Automatically tosses balls every 8 seconds
» Use regulation baseballs for hitting training during
practice or pregame warm-up
» Use 9” plastic balls for pop fly practice
» Use regulation baseballs to practice footwork and
glove-hand ball transfer
SOFT TOSS MACHINE AND FIELDING TRAINER
CATAPULT
SETUP
CATAPULT WITH QUICKSTER® REP NET
1. Place CATAPULT behind crossbar as shown and align the
ball return hole with the top of the ball feeder.
2. Use the Velcro strap on the REP NET ball return hole to
attach the net to the CATAPULT ball feeder.
1.
2.
VISIT SKLZ.COM FOR INSTRUCTIONAL VIDEO AND CONTENT
