Sky Phone SKYFUEGO40M Sports DV User Manual
Sky Phone LLC Sports DV
Contents
- 1. Users manual
- 2. User Manual
- 3. Users Manual
Users manual

SKY
User Manual
Smart phone
Fuego 4.0M
Trade Name: SKY
Manufacturer: Shenzhen OVVI Technology CO., Ltd.
Address: Room 201, Block D, Number 16 LangShan Road, North
of Science Technology Park
Preface
Thank you for choosing the phone, operating on Google Android system 4.4.2, is
designed for the WCDMA and GSM network environments. In addition to the general
functions, a variety of useful features and services including music playback, camera,
sound recording, Bluetooth® wireless connection, Wi-Fi®, web browsers, email,
etc… In addition, the open Android platform offers abundant applications, adding
value to mobile experience to satisfy all kinds of needs.
Security Notifications
Please read these simple guidelines. Non-compliance may be dangerous or illegal. This user
manual provides more detailed information on security matters.
Safe Power on: When wireless device or equipment is
prohibited or possible to cause interference or danger, do not
switch on.
Safe driving: Please obey all traffic rules and regulations.
Please drive with both of your hands.
INTERFERENCE: All wireless devices may be susceptible
to interference, which could affect performance.
SWITCH OFF IN HOSPITALS Please follow the restrictions
and switch off near hospitals.
SWITCH OFF IN AIRCRAFT Please follow the restrictions.
Wireless devices may cause interference to aircraft.
SWITCH OFF WHEN REFUELING: Do not use the device
at a refueling point and near fuels or chemicals.
SWITCH OFF NEAR EXPLOSION. Do not use the device
during an explosion process.
Follow the documentation and use the product in
normal positions. Avoid touching the antenna.

QUALIFIED SERVICE: Only qualified personnel
may install or repair this equipment.
Accessories and batteries: Use only approved
accessories and batteries. Do not connect with
incompatible products.
This device is not waterproof. Please keep it dry.
Remember to backup all important information or
keep a written record.
When connecting to other devices, read user guide for
detailed safety instructions. Do not connect
incompatible products.
Emergency call: ensure there is network available and
phone function activated. Press the end button
repeatedly to clear the display content and return to
standby mode. Enter the emergency number, then
press call button and provide your location. Please do
not hang up without permission.
Contents
Security Notifications ....................................................................................................................... 2
1.0 Your Device .............................................................................................................................. 5
1.1 Installing USIM/SIM and MicroSD Card ................................................................................... 5
1.2 Charging Battery ...................................................................................................................... 5
1.3 Start up your Device ................................................................................................................... 6
1.4 Home Screen ............................................................................................................................... 6
1.5 Use your Device as Storage Card ................................................................................................ 6
1.6 Making a voice Call .................................................................................................................... 7
1.7 Contacts ....................................................................................................................................... 7
1.8 Sending a Message ...................................................................................................................... 8
1.9 Using Browser .......................................................................................................................... 10
2.0 Setting up Email Account ......................................................................................................... 10
2.1 Sending and Receiving Emails.................................................................................................. 11
2.2 Using Gmail .............................................................................................................................. 11
2.3 Using Play store ........................................................................................................................ 12
2.4 Using Camera and Camcorder .................................................................................................. 12
2.5 Gallery ....................................................................................................................................... 14
2.6 Using Music Player ................................................................................................................... 14
2.7 Using Sound Recorder .............................................................................................................. 14
2.8 FM Radio .................................................................................................................................. 15
2.9 Using Wi-Fi® ............................................................................................................................. 16
3.0 Using Bluetooth® .................................................................................................................... 17
3.1 Mobile Network Settings .......................................................................................................... 18
3.2 SIM management ...................................................................................................................... 18
3.3 Sound and Display Settings ...................................................................................................... 18
3.4 Other Settings ............................................................................................................................ 19
3.5 Using Calculator ....................................................................................................................... 19
3.6 Using GPS ................................................................................................................................. 20
3.7 Calendar .................................................................................................................................... 21
3.8 File manager .............................................................................................................................. 21
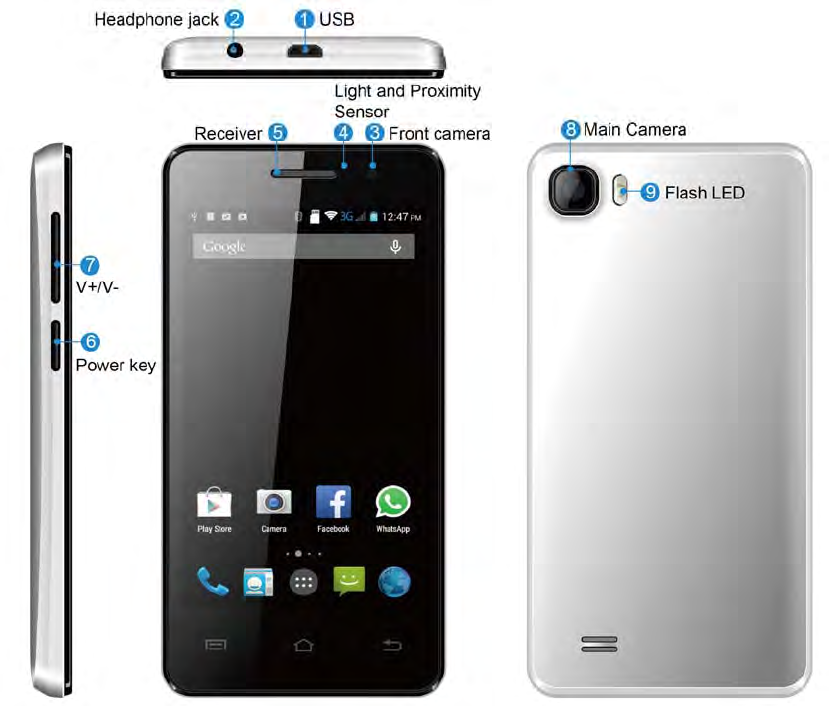
1.0 Your Device
1.1 Installing USIM/SIM and MicroSD Card
Insert SIM and MicroSD card with the gold contacts facing down.
Note:
To remove the SIM and MicroSD card, push it down to eject it from the slot.
Do not remove the USIM/SIM card while the device is turned on.Sudden removal
may cause data loss or unpredictable system hang up.
1.2 Charging Battery
1. One end of the leave the changer connected to the phone's charging port.

2. Plug the charger into a power outlet to begin charging the battery.
Note:
Use the supplied charger to charge the battery. The battery life depending on the
user's usage varies.
Battery can also be charged when device connects to computer through USB cable.
1.3 Start up your Device
Power on
Press the Power button, And the emergence of boot screen
Power off
1. Press and hold Power button.
2. Click power off.
3. Press confirm to power off. Then the screen reveals a power off notification. The screen
completely dark and vibration, the phone is fully powered off.
1.4 Home Screen
1. Press Home and click to open Main Menu tab.
2. To close the tab, click Back.
Note:
Press and hold the application tab on the main menu, then drag them to the blank
area of the homescreen to create shortcuts.
You can return to Home screen from any other screen by tapping the “Home” key.
1.5 Use your Device as Storage Card
To save some files on your device
1 Connect your device with USB cable.
2 Open Notification menu and click USB connected .
3 Click Turn on USB storage device and confirm it.
Note:
When USB storage device is turned on, some applications will be unavailable,
including camera, music player, etc.
To close the USB mode, click Turn off USB device on the screen.
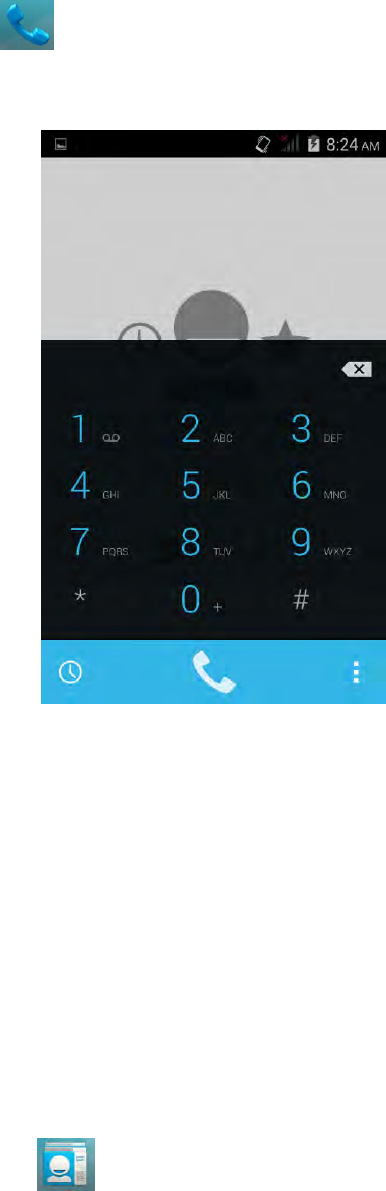
1.6 Making a voice Call
On Home screen, click
Note: To call a contact, tap the contact from the list.
Note:
When receive an incoming call, it will display the information of the incoming call
including the caller’s name, number, portrait, etc., and adopt the ringtone or
vibration according to your settings.
If the caller’s number is not saved in the contacts, it would only display the number
and the default picture.
1.7 Contacts
To create new contacts
1. On Home screen click .
2. According to the new contact icon, add contacts, choose new contact storage location.
3. Insert contact photo, name, number, address, e-mail, etc.
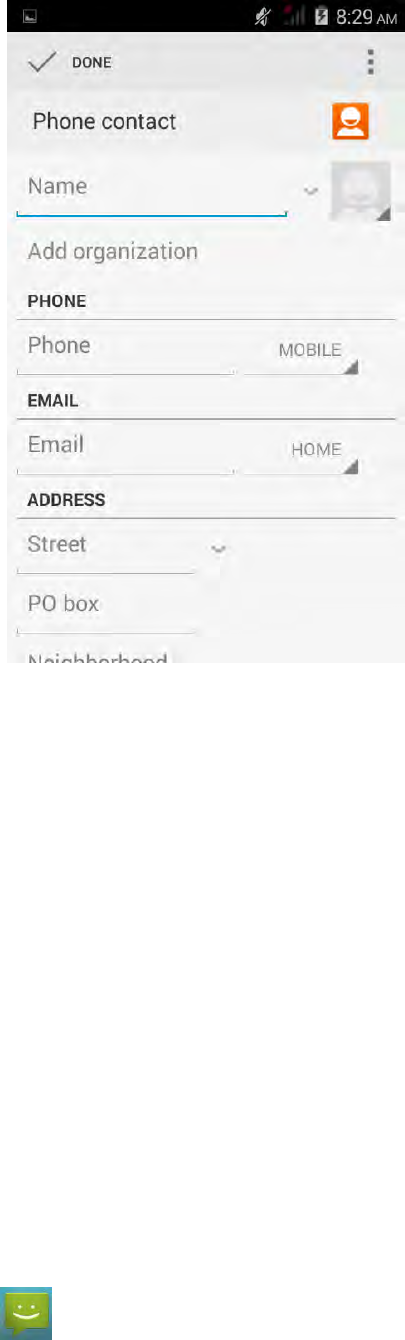
4. Click Done to save the contact or Or click Cancel choice Discard exit without saving.
To import contacts
1. On Contacts screen, click Menu>Import/Export, select one option.
2. Please operate the one of the following:
To import a single contact, select the contact and click OK.
To import all contacts, select all contacts and click OK.
If you import Vcard from SD card, all contacts will be auto-imported.
Note: If there are too many contacts on your USIM card, it might take a while to load.
Search contact
1. On Contacts screen, press Search.
2. Input the name of a contact on the search bar. All matching results will appear under the
search bar.
Note: After searching a contact, click the contact, then you can make a call with the
contact or send message to the contact and so on.
1.8 Sending a Message
On Home screen, click , enter message edit interface.
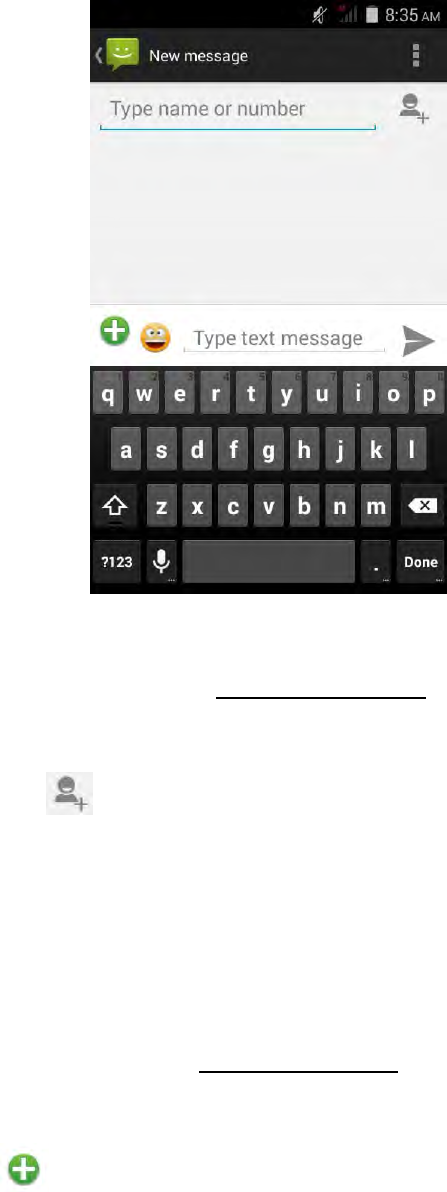
For text Message
1. Input recipient number on the Type name or number bar. While you input the number,
matching contacts will appear under the bar for you to select.
Note:
Click to open contact search screen and select any contact to add to
recipient bar.
Please use commas between each recipient.
2. Click Compose to start composing message.
3. After you finish typing, click Send.
For Multi-media message
1. Input recipient number on the Type name or number bar.
2. Click Menu >Add Subject, then type the Subject.
3. Click Compose to start composing message.
4. Click ,add Attach.
Note: You can select Capture picture, Pictures, Capture videos, Videos, Record audio,
Audio, Contact, Calendar, Slideshow from the attachment list.
5. After you finish typing, click Send .
1.9 Using Browser
To open a web page
1. On Home screen, click Click the address bar.
2. Type the URL then click .
Note: Click Menu to access more functions.
Quick search on the web
From the Home screen, you can search information on the web with Google Search.
1. Click Google Search widget.
2. Type text to search in the Quick Search Box.
3. Click ..
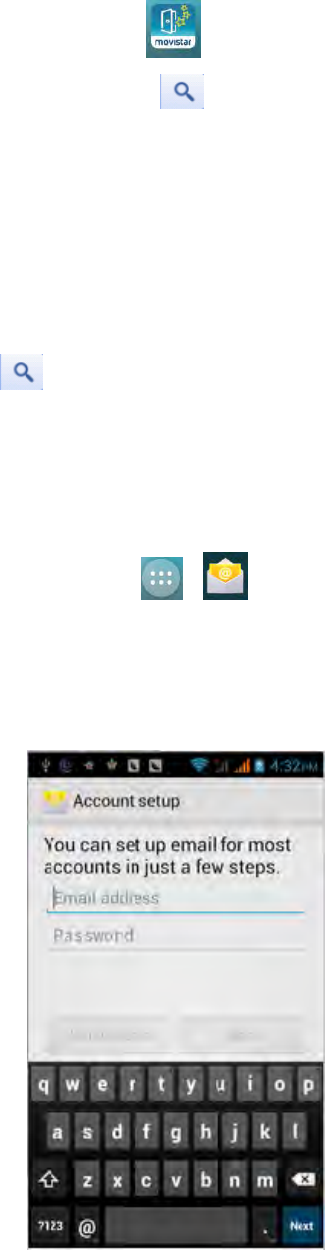
2.0 Setting up Email Account
1. On Home screen click >
2. Enter your Email address and Password.
3. Click Next the device will automatically retrieve email settings.
4. Enter Name and Account display name.
5. Click Done.
2.1 Sending and Receiving Emails
Compose and send an e-mail
1. On Home screen click > ,then select an email account.
2. Press Menu>Compose ..
3. In To field, enter recipient’s email address.
4. Enter Subject.
5. Compose contents.
6. Click Send.
Adding attachments to an email message
1. Click Menu>Attach file.
2. Select items to attach.
Receiving emails
Emails are automatically received in Inbox folder when your device connects to network.
1. On Home screen, click > , then select an email account.
2. Click Refresh.
2.2 Using Gmail
1. On Home screen click > , enter account and password.
2. Click Sign in.
3. Start to send and receive emails.
Note: If you do not have any Gmail account, click New on the screen.
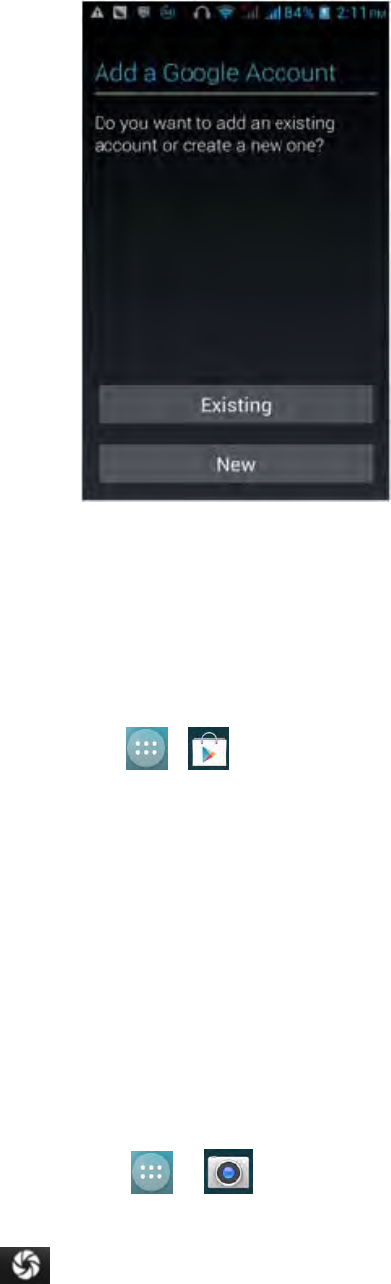
2.3 Using Play store
1. On Home screen, click >
Note:
Please connect your phone to 3G or WIFI connection.
If you already login to Gmail, it will automatically transfer to the Play store
interface. If not, create or sign in following Gmail instruction. Please refer to
related details in the Gmail section.
2. On market screen, browse applications you want, click them to download and install.
2.4 Using Camera and Camcorder
To capture photos
1. On Home screen click > .
2. Focus on your object with the lens.
3. Click .
Note: The default location to store for phone, please plug the memory card, so as not
to lack of space.
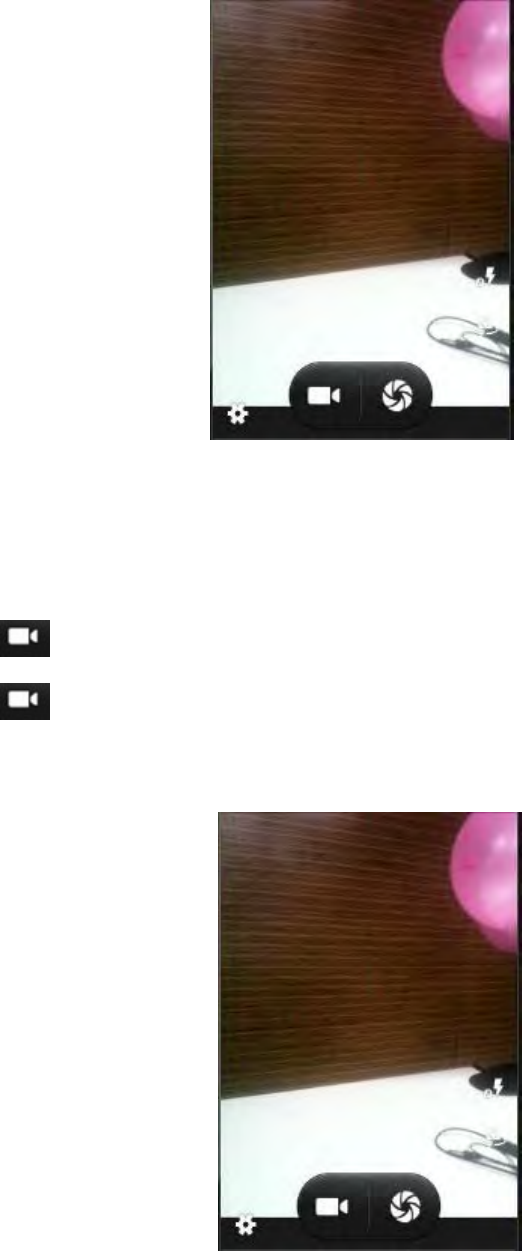
To record video
1. On Camera interface switching Camcorder.
2. Focus on your object with the lens.
3. Click to start filming.
4. Click to stop.
Note: The default location to store for phone, please plug the memory card, so as not
to lack of space.
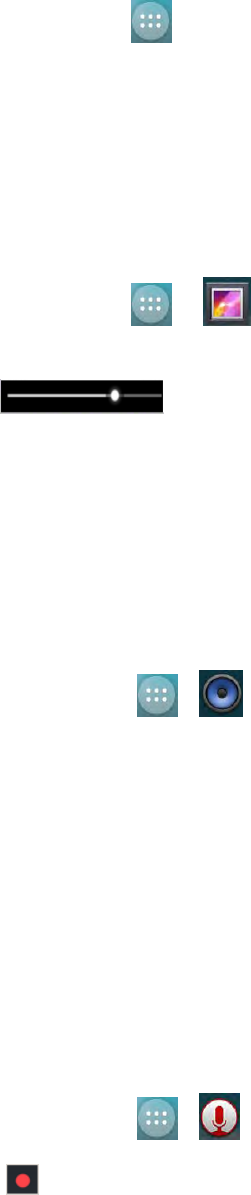
2.5 Gallery
To view photos
1. On Home screen click >Gallery.
2. Click a photo to view on the screen.
3. Slide the touch screen horizontally to switch forward and backward.
4. To play slideshow or edit an image, click Menu to show options..
5. To share an image, click Share icon the top right corner.
To play back videos
1. On Home screen click > .
2. Click a video thumbnail to play in full screen.
3. Click to rewind/fast forward the video clip.
2.6 Using Music Player
Open music player
1. On Home screen click >.
2. Select a song to play.
Note:
Save audio files to SD card before you open music player.
Press and hold a song and click Use as phone ringtone from the menu. The song
will be added to the ringtone list and set as default ringtone.
2.7 Using Sound Recorder
1. On Home screen click >.
2. Click to start recording.
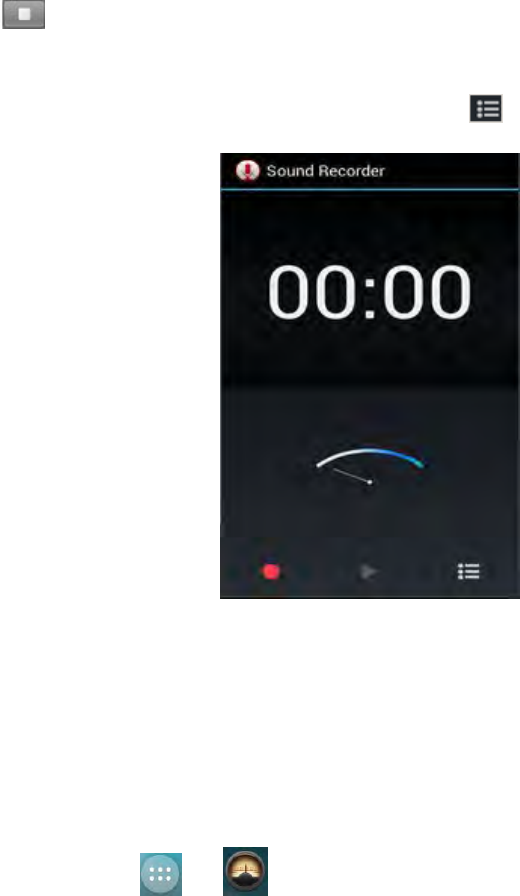
3. Click to stop.
4. Click Save or Discard button to save the audio file or Discard.
Note: If you want to play back the recorded audio, click to play.
2.8 FM Radio
1. Plug in headphone cable.
2. On Home screen, click >.
3. Searching channel to listen the radio.
Note: When you unplug headphone cable,you can not listen it. If you open the radio
firstly, you need search channel for listening radio.
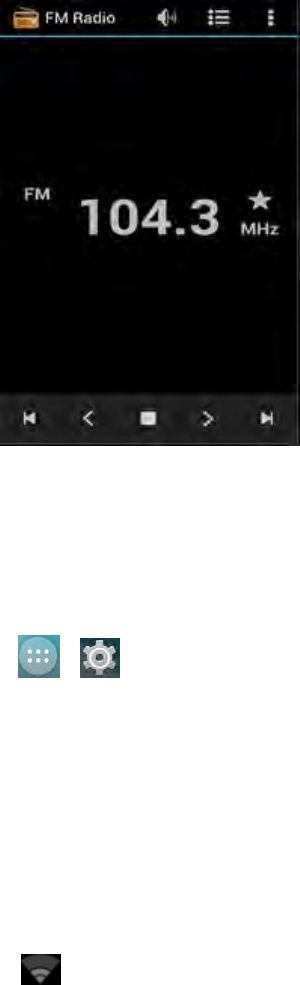
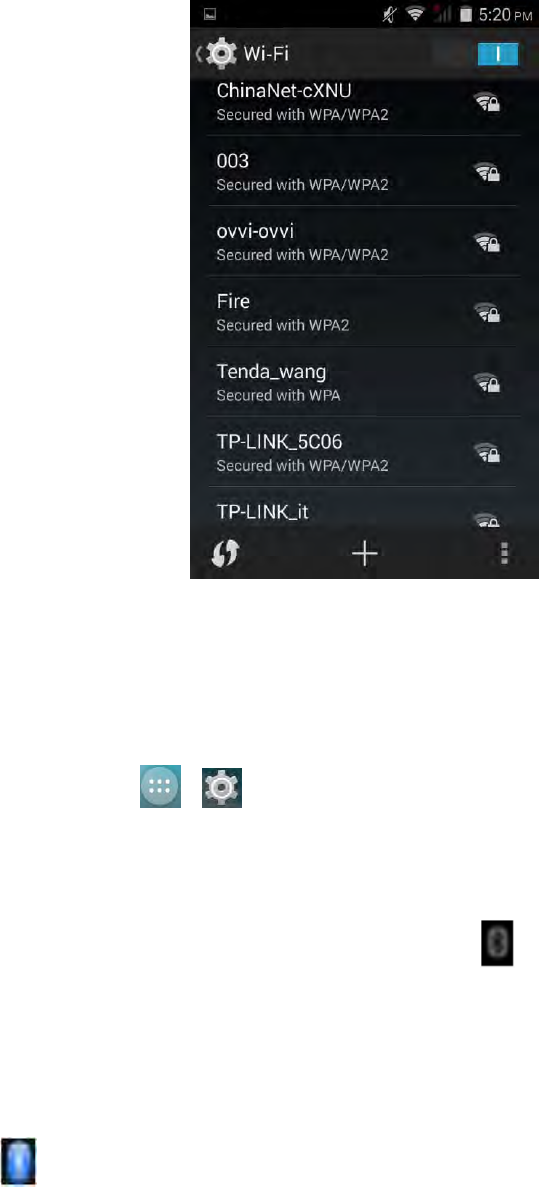
2.9 Using Wi-Fi®
1. On Home screen, click >>Wi-Fi®.
2. Select Wi-Fi® to turn on Wi-Fi® function.
Note : When the battery is very low, Wi-Fi® will be unavailable in order to protect data
of the system.
3. Click Wi-Fi®. then the phone displays all discovered Wi-Fi® network names and security
settings.
Note : When you choose an open network, the phone automatically connect the
network. If you choose a locked one, security PIN is required before connection.
4. Click one of the Wi-Fi® network to connect.
Note : Wi-Fi® icon will appear and display signal strength when connected to
network.
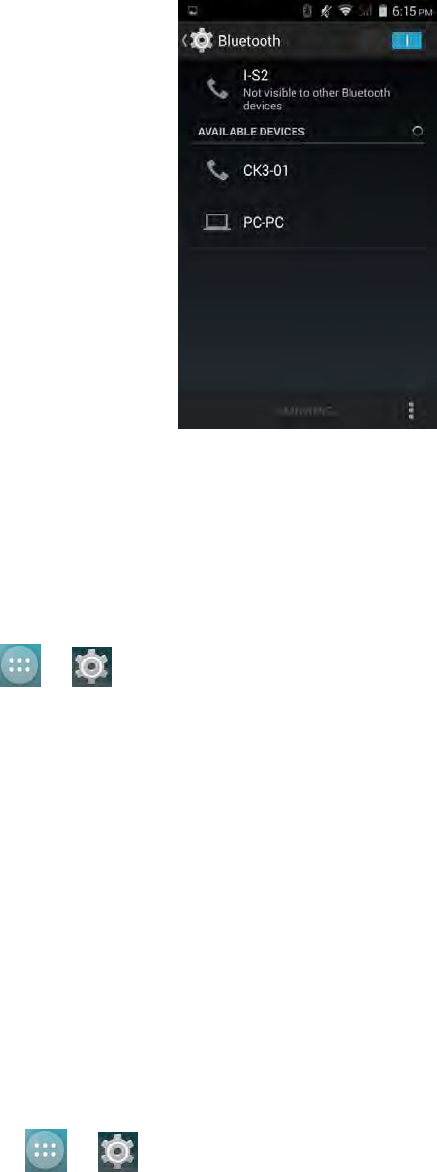
3.0 Using Bluetooth®
1. On Home screen click >>Bluetooth®.
2. Click Bluetooth® wireless connection to open it.
Note:
It would automatically scan discoverable Bluetooth® devices and display bluetooth®
icon on the status bar ( ) after turn on bluetooth®.
When the battery is very low, Bluetooth® might be unavailable in order to protect
data of the system.
3. Click Bluetooth®, and select a discovered device to match with.
4. Enter matching code.
Note: When the devices are matched and connected, the status bar will show an
icon , then you can start exchanging data.
3.1 Mobile Network Settings
1. On Home screen click > >More>Select Mobile networks
.
2. Click Mobile Networks.
Data connection Click to start to register. 3G network connection icon will appear,
enabling mobile internet functions.
Network Mode Switch different network mode among GSM/WCDMA、WCDMA
only、GSM only(2G/3G).
Access point Names Switch bewteeen WAP and NET functions. Also, create New APN
on the Menu.
Network operator Search and auto-search network.
3.2 SIM management
1. On Home screen click > >SIM management.
2. Select default voice call、Select default Data connection、Select default Messaging.
3.3 Sound and Display Settings
Set your ringtone

1. On Home screen, click >>Audio Profiles.
2. Click General>Voice call ringtone.
3. Select a ringtone and click OK.
Note:
You can also choose to automatically adjust the brightness, by the system according to
the current state of the environment automatically adjust screen brightness.
Screen brightness
1. On Home screen, click >.
2. Click Display>Brightness.
3. Brightness control: drag the rolling bar to the left (-) or to the right (+).
4. Click OK.
3.4 Other Settings
Uninstall Applications
You can only uninstall downloaded applications.
1. On Home screen, click >.
2. Click Apps, click the application you intend to uninstall.
3. On the information screen, click Uninstall.
Factory Data Reset
Factory data reset erases all downloaded applications and data on the phone.
1. On Home screen, click >.
2. Click Backup&reset >Factory data reset.
3. Click Reset phone>Erase everything
Note: Please make a backup for all important data before you reset the phone.
3.5 Using Calculator
Basic Calculator
1. On Home screen, click >.
2. Start calculation.
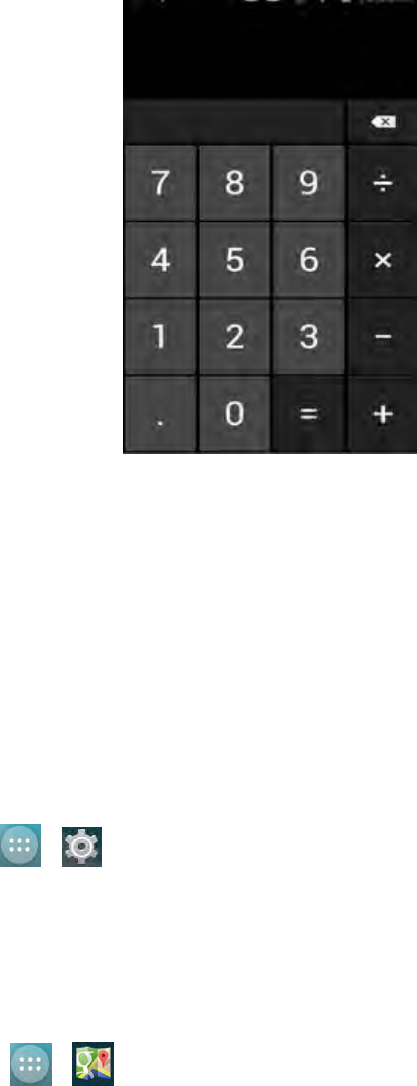
Open Advanced panel
1. Click Menu>Click Advanced panel.
2. Return to calculator to start.
3.6 Using GPS
Turn on GPS satellite Settings
You must launch GPS satellite settings before you navigate and search for a location.
1. On Home screen click > >Location.
2. Turn on GPS Satellites.
Note: When the battery is very low, GPS function will be unavailable in order to
protect the system data from getting damaged.
Using GoogleMap
1. On Home screen click >.
2. You can use the following applications through Google map:
My Location Click to locate yourself.
Directions Enter your starting point and destination to start navigation.
Search Enter a desired destination and click search icon to find the location of your
target location.
Layers You can choose Traffic mode and Satellite mode etc.
Note:
Please connect to network before you open the map.
Some countries and regions maybe unavailable on the map.
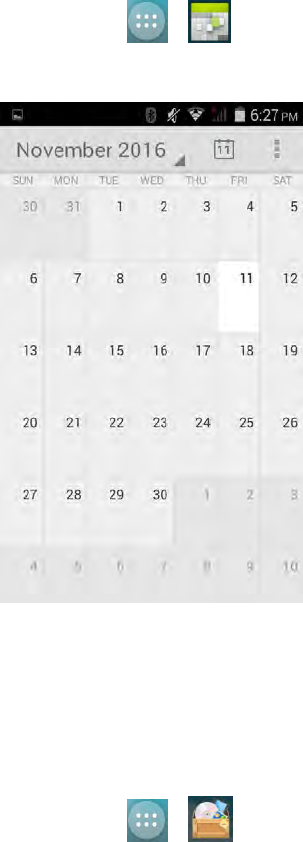
3.7 Calendar
1.Click on the home page interface >.
2.Can choose to create an activity or task, also can view has created activity or task.
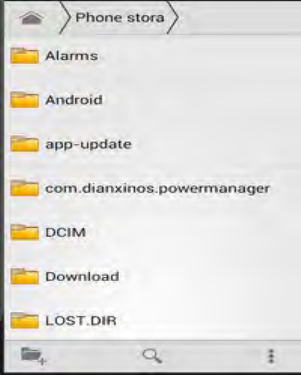
3.8 File manager
1.Click on the home page interface >.
2.Check the capacity of mobile phone memory and memory contents.
3.Open the list of files, you can create or delete a file / folder.
FCC Statements:
This device complies with part 15 of the FCC Rules. Operation is subject to the condition that
this device does not cause harmful interference
Any changes or modifications not expressly approved by the party responsible for compliance
could void the user's authority to operate the equipment.
NOTE: This equipment has been tested and found to comply with the limits for a Class B
digital device, pursuant to Part 15 of the FCC Rules. These limits are designed to provide
reasonable protection against harmful interference in a residential installation. This equipment
generates, uses and can radiate radio frequency energy and, if not installed and used in
accordance with the instructions, may cause harmful interference to radio communications.
However, there is no guarantee that interference will not occur in a particular installation.
If this equipment does cause harmful interference to radio or television reception,
which can be determined by turning the equipment off and on, the user is
encouraged to try to correct the interference by one or more of the following
measures:
-- Reorient or relocate the receiving antenna.
-- Increase the separation between the equipment and receiver.
-- Connect the equipment into an outlet on a circuit different
from that to which the receiver is connected.
-- Consult the dealer or an experienced radio/TV technician for help.
Specific Absorption Rate (SAR) information:
This Mobile Phone meets the government's requirements for exposure to radio waves. The
guidelines are based on standards that were developed by independent scientific organizations
through periodic and thorough evaluation of scientific studies. The standards include a
substantial safety margin designed to assure the safety of all persons regardless of age or
health.
FCC RF Exposure Information and Statement The SAR limit of USA (FCC) is 1.6 W/kg
averaged over one gram of tissue. Device types: Fuego 4.0M (FCC ID:
2ABOSSKYFUEGO40M) has also been tested against this SAR limit. The highest SAR
value reported under this standard during product certification for use at the ear is 0.469W/kg
and when properly worn on the body is 1.186W/kg. This device was tested for typical
body-worn operations with the back of the handset kept 10mm from the body. To maintain
compliance with FCC RF exposure requirements, use accessories that maintain a 10mm
separation distance between the user's body and the back of the handset. The use of belt clips,
holsters and similar accessories should not contain metallic components in its assembly. The
use of accessories that do not satisfy these requirements may not comply with FCC RF
exposure requirements, and should be avoided.
Body-worn Operation
This device was tested for typical body-worn operations. To comply with RF exposure
requirements, a minimum separation distance of 10mm must be maintained between the
user’s body and the handset, including the antenna. Third-party belt-clips, holsters, and
similar accessories used by this device should not contain any metallic components.
Body-worn accessories that do not meet these requirements may not comply with RF
exposure requirements and should be avoided. Use only the supplied or an approved antenna.