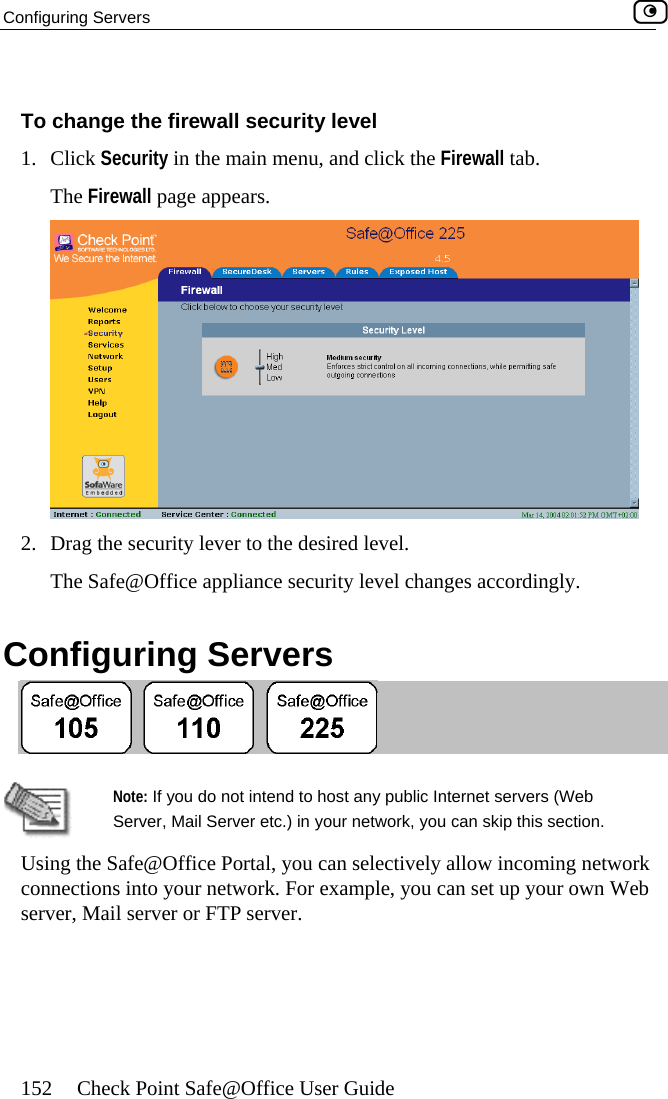
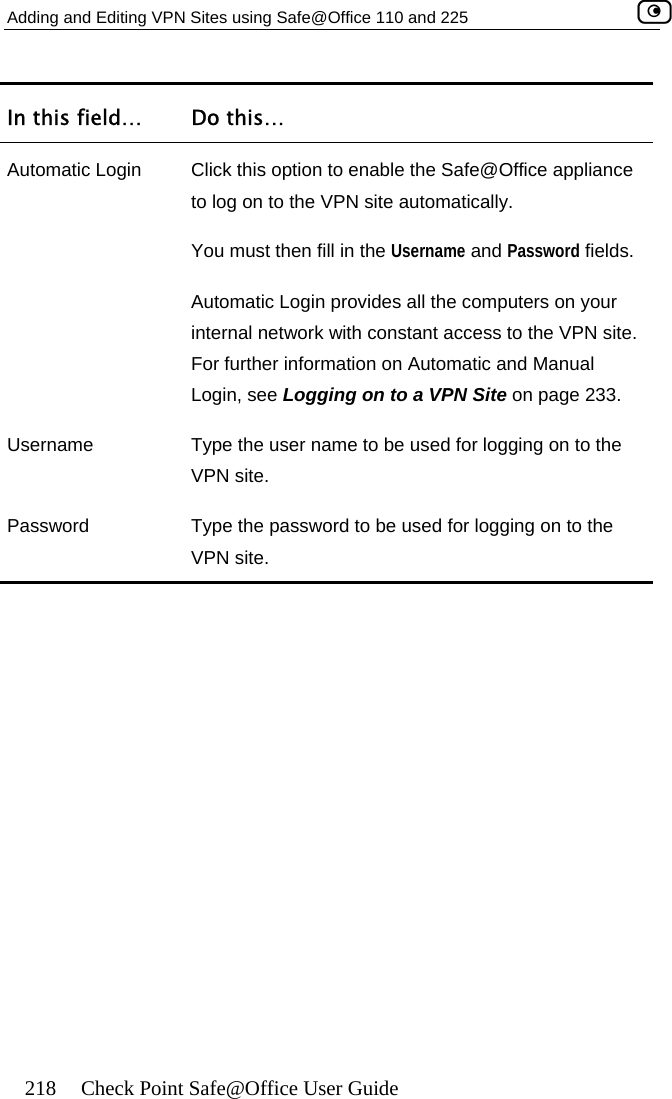
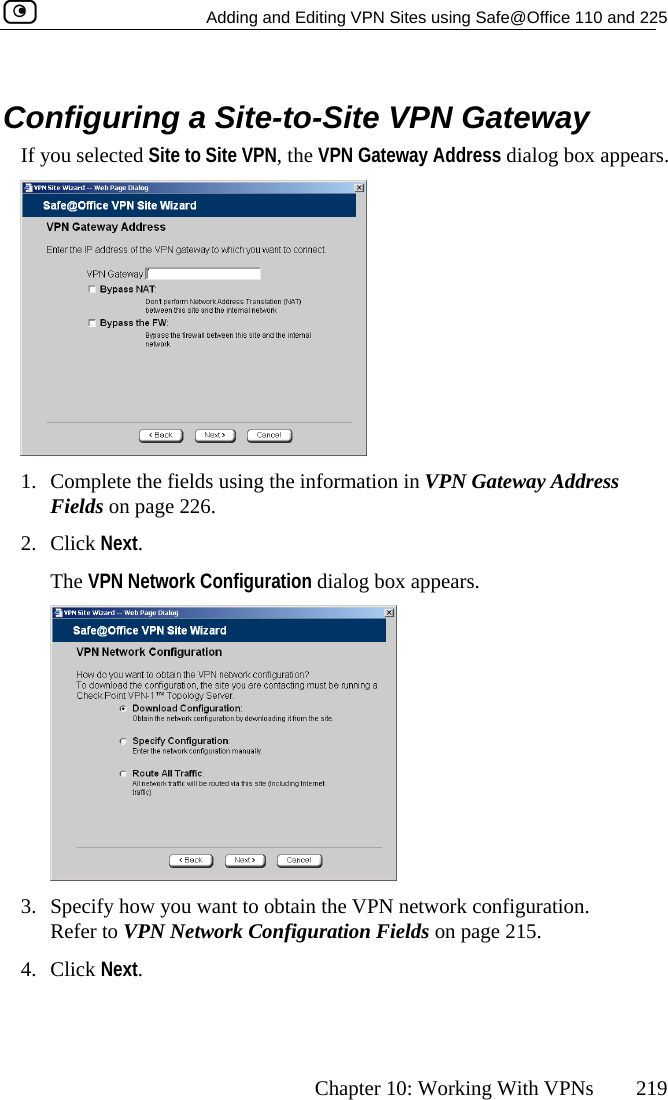
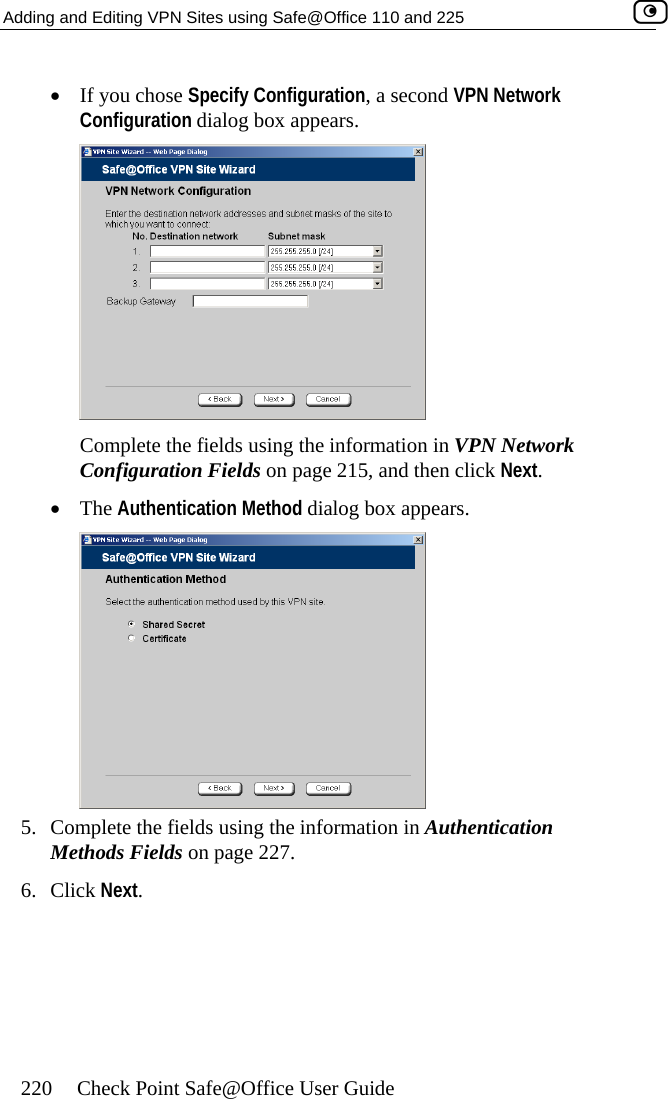
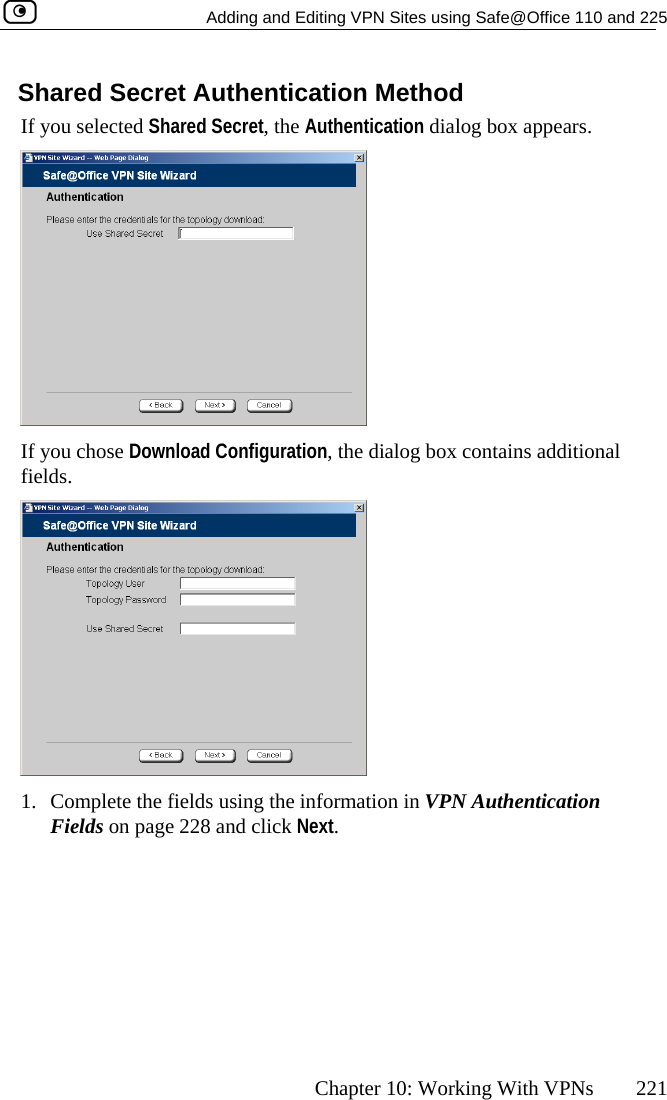
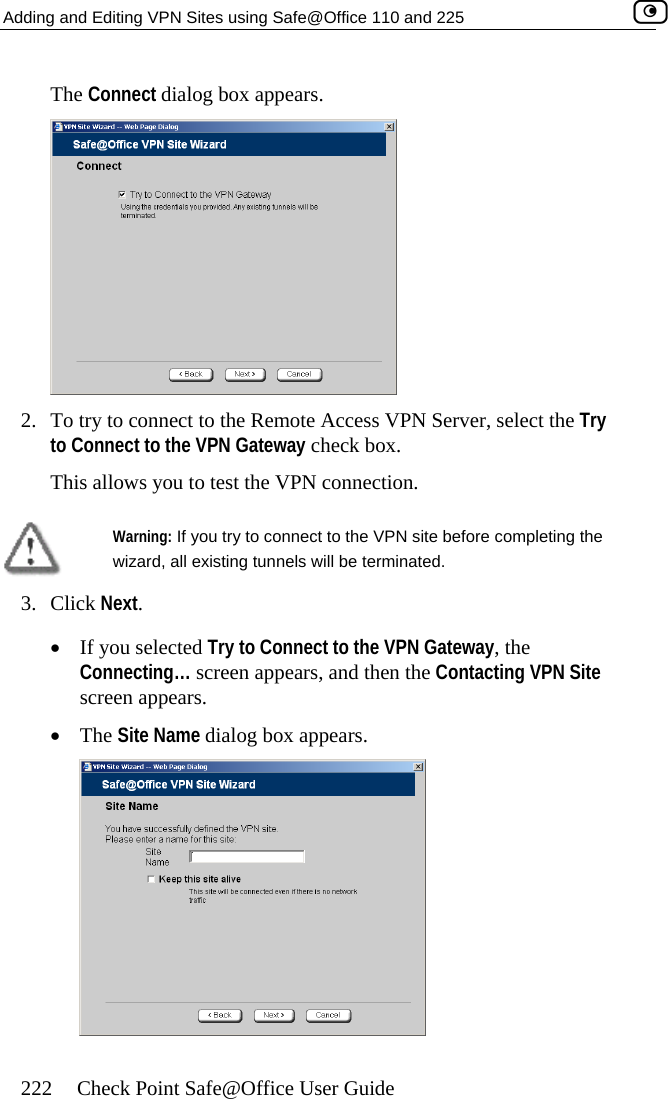
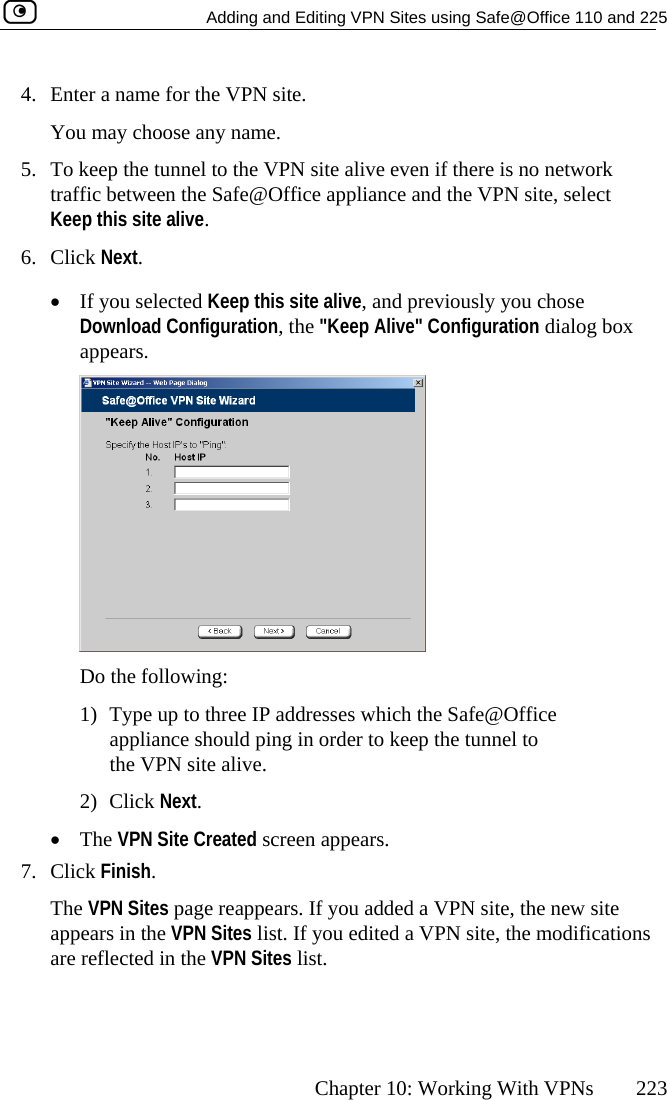
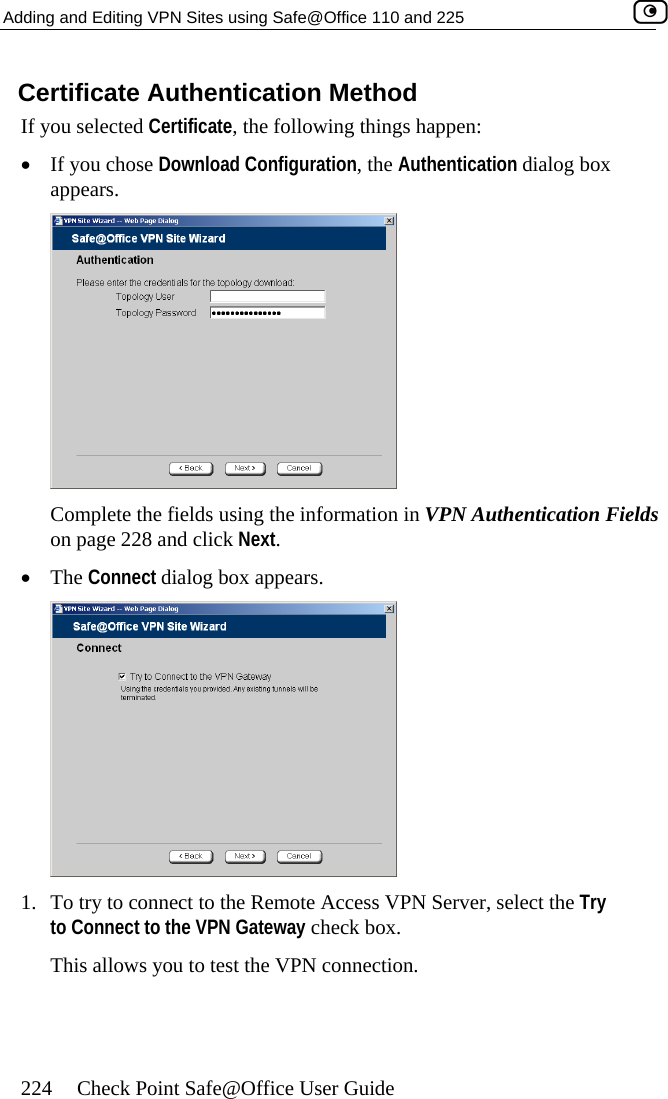
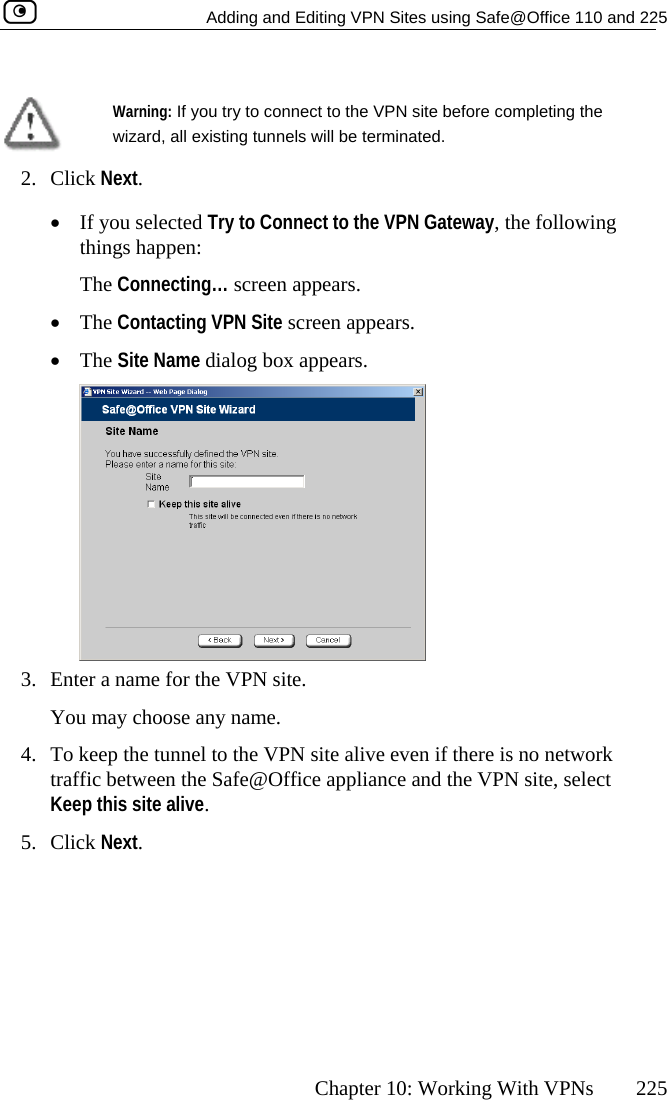
SofaWare Technologies SBXW-166LHGE-4 Wireless Broadband Router User Manual Internet Security Appliance
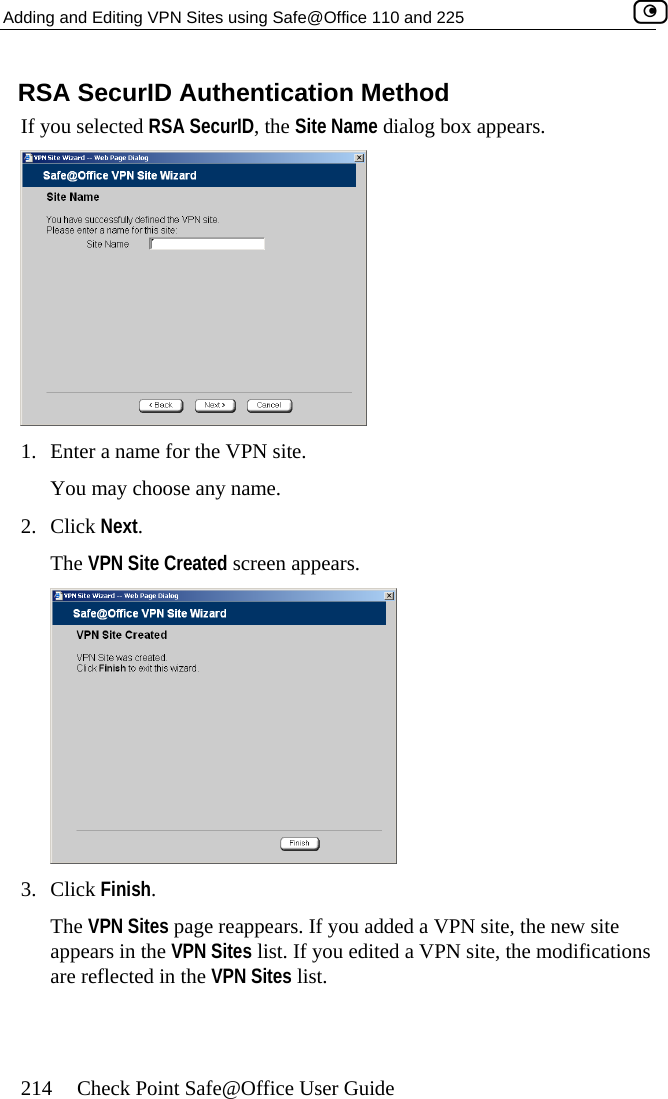
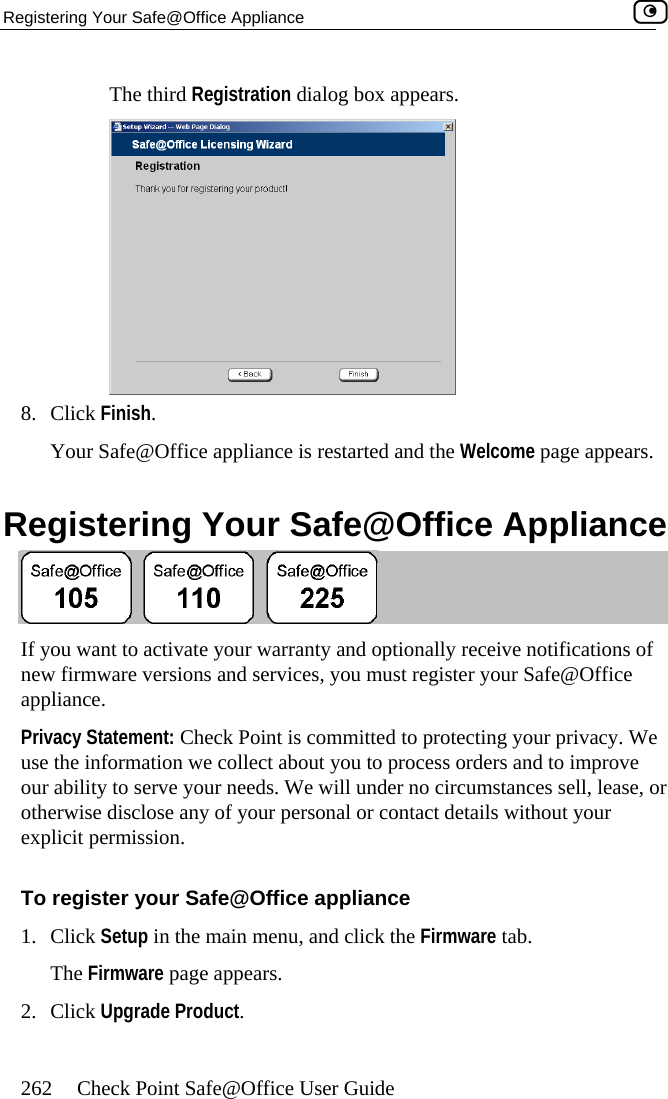
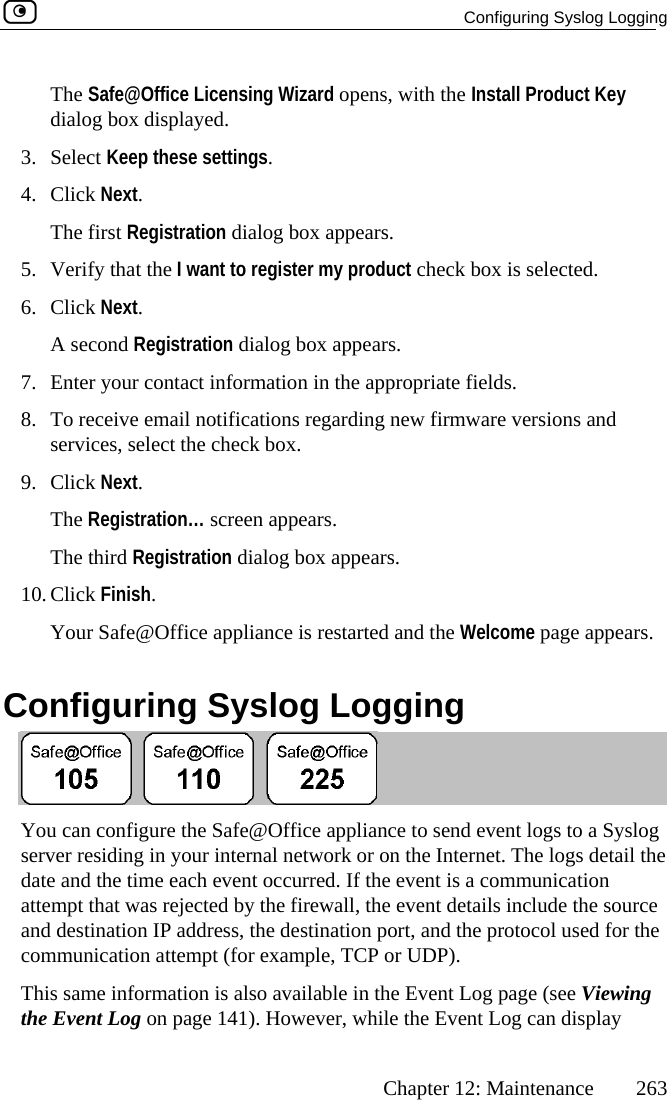
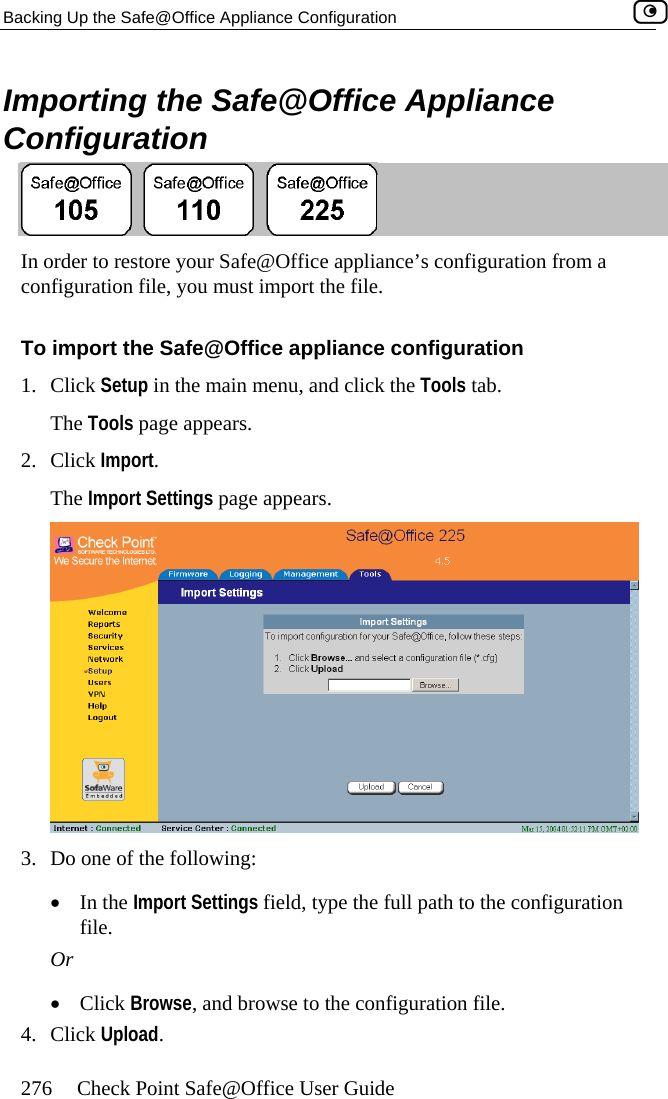
SofaWare Technologies Ltd. Wireless Broadband Router Internet Security Appliance
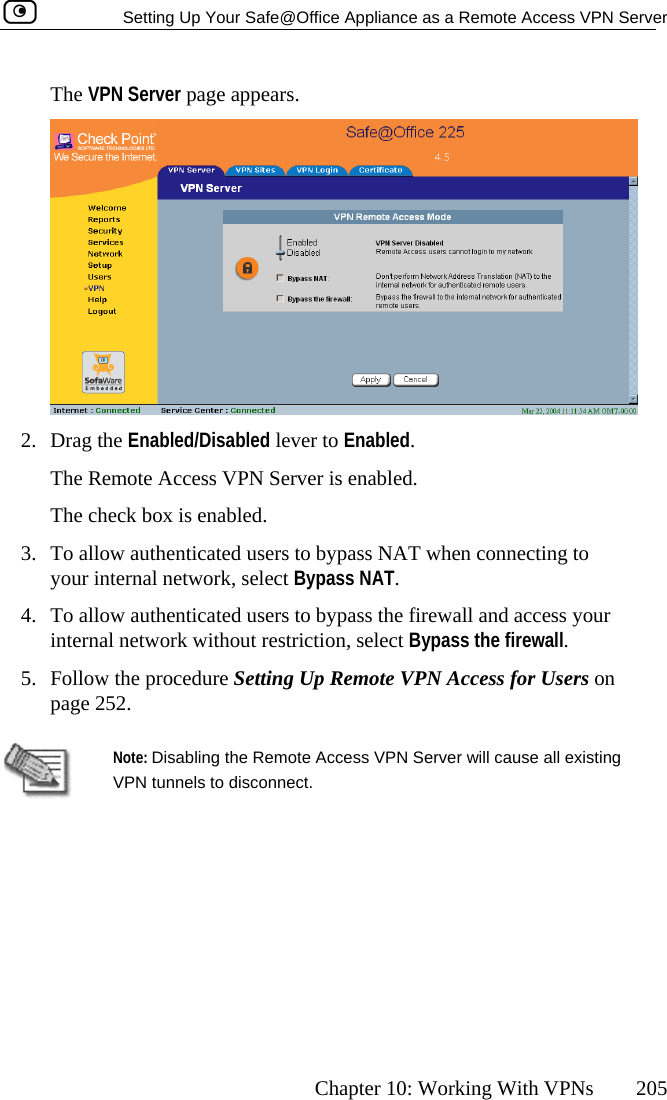
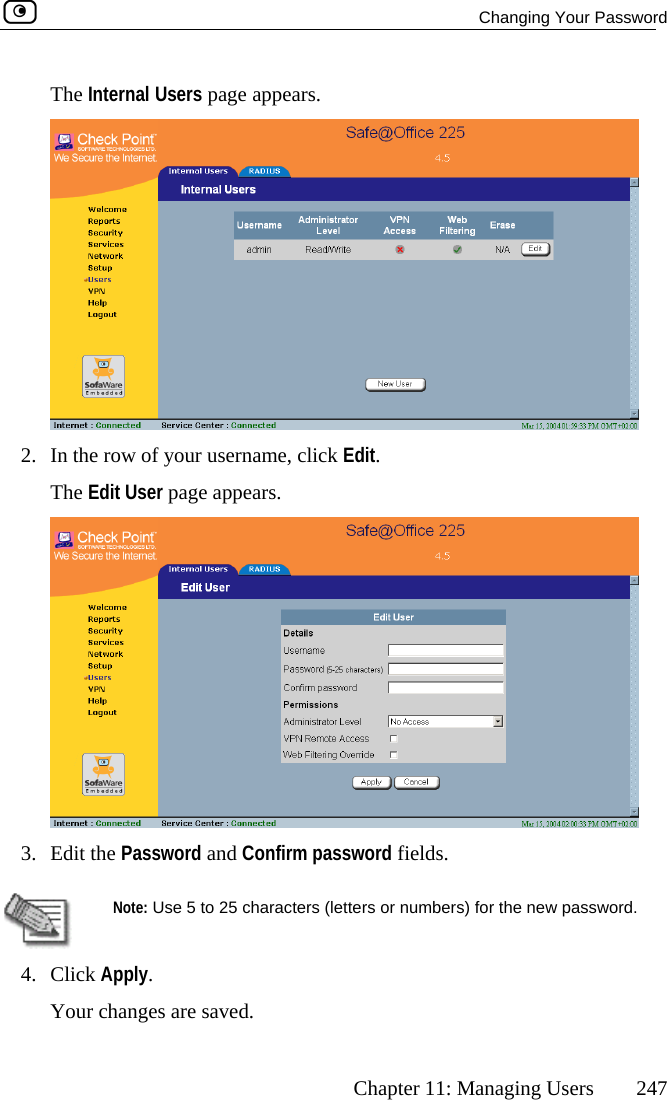
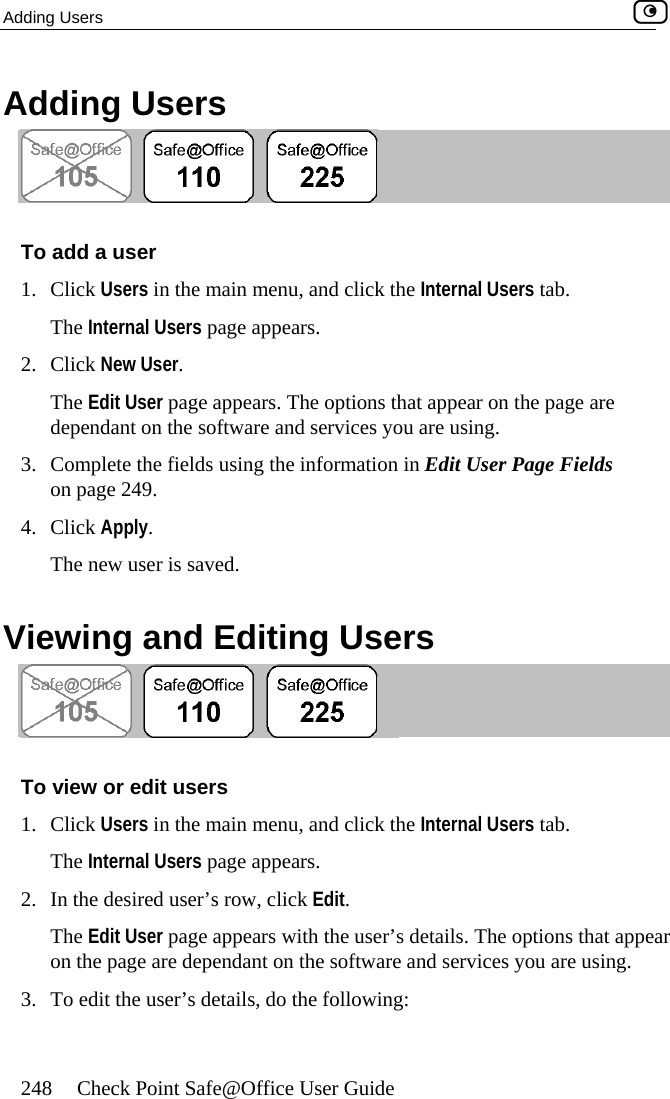
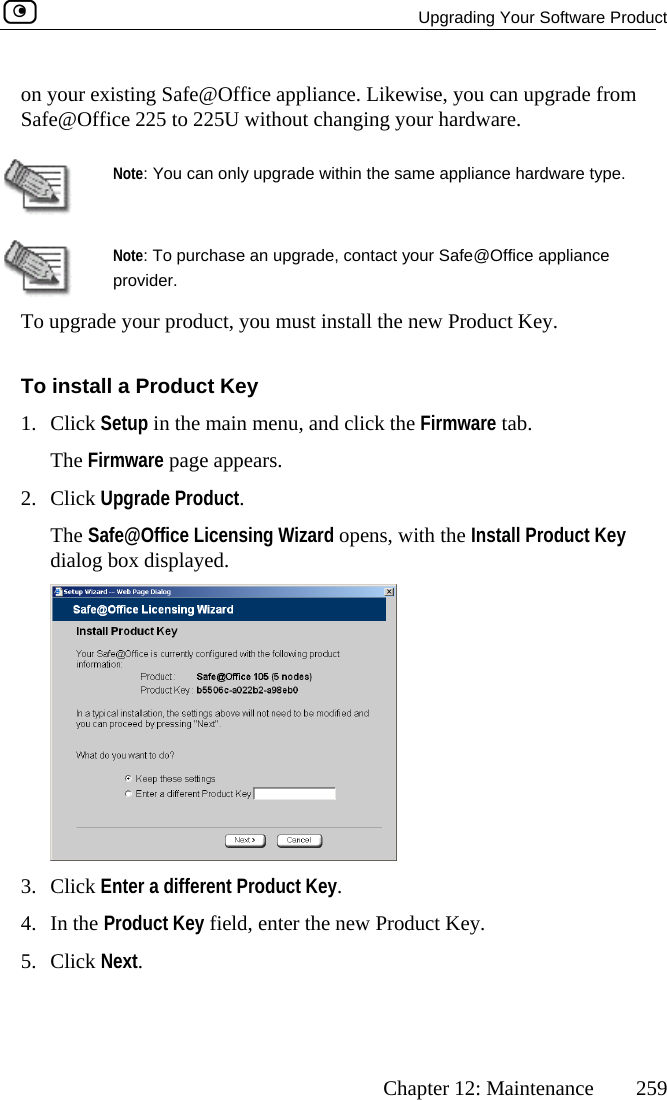
Contents
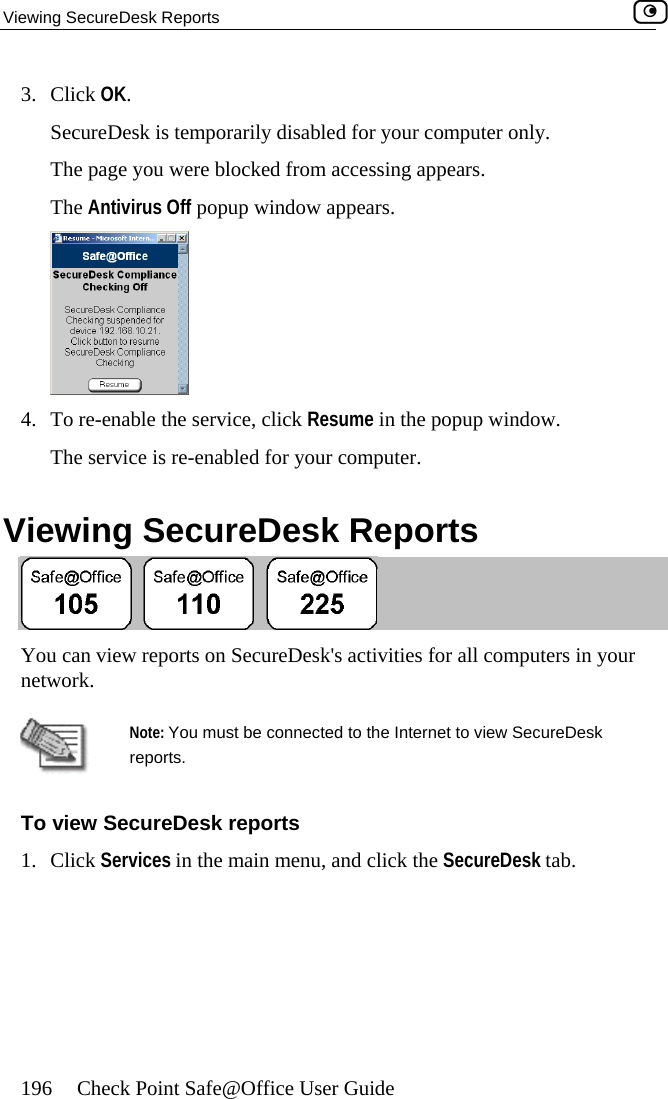
- 1. DoC Revised
- 2. Users Manual Part 1
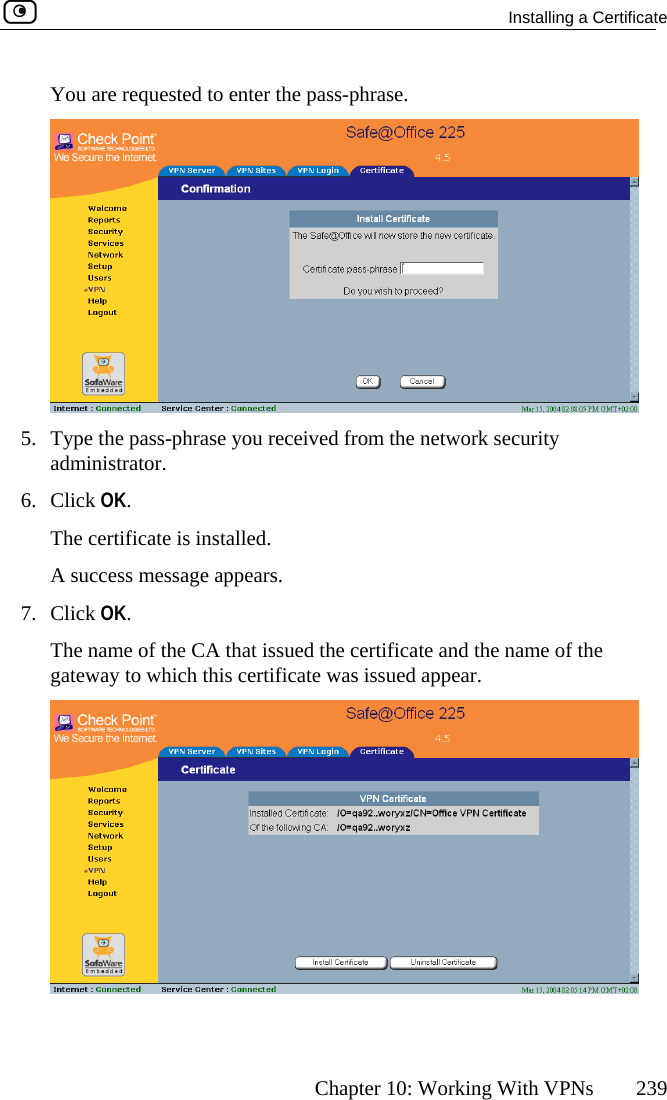
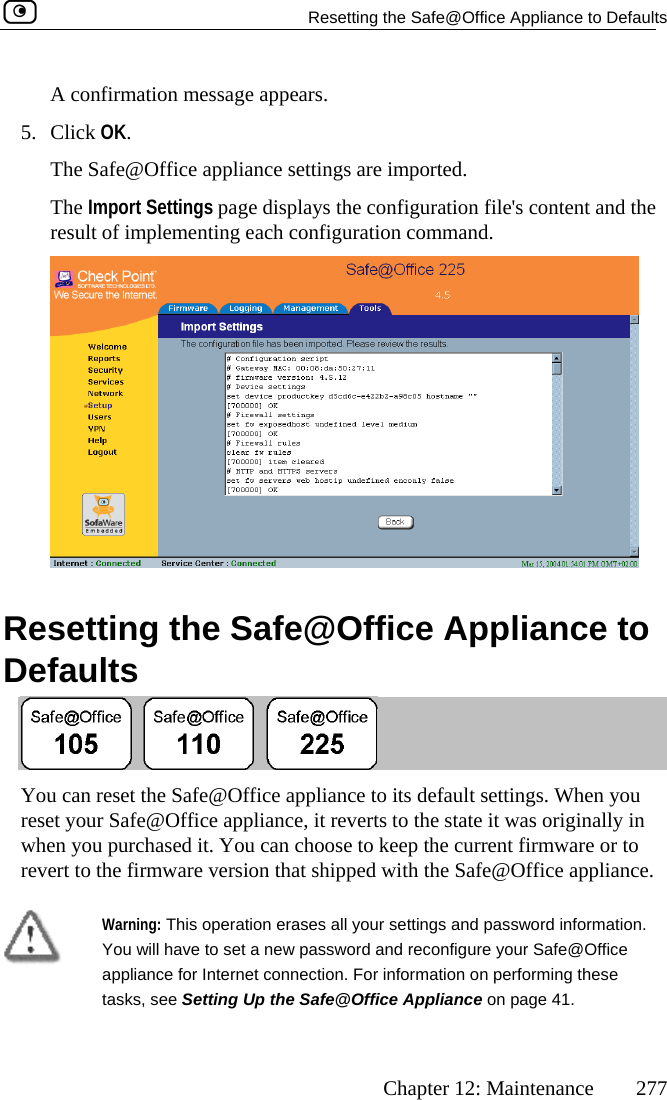
- 3. Users Manual Part 2
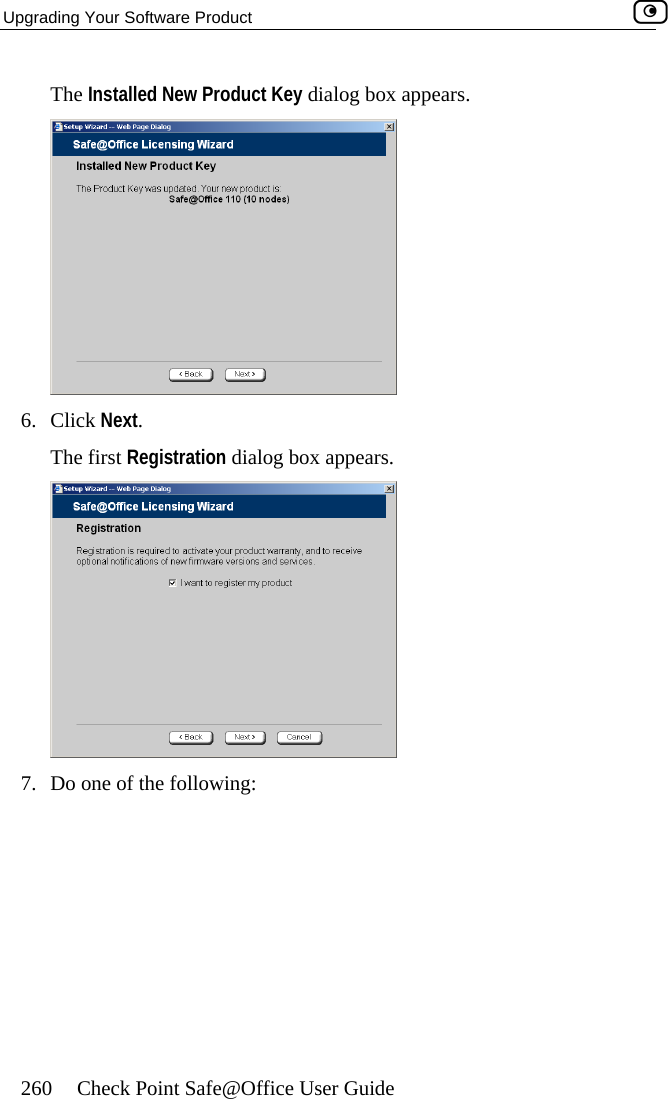
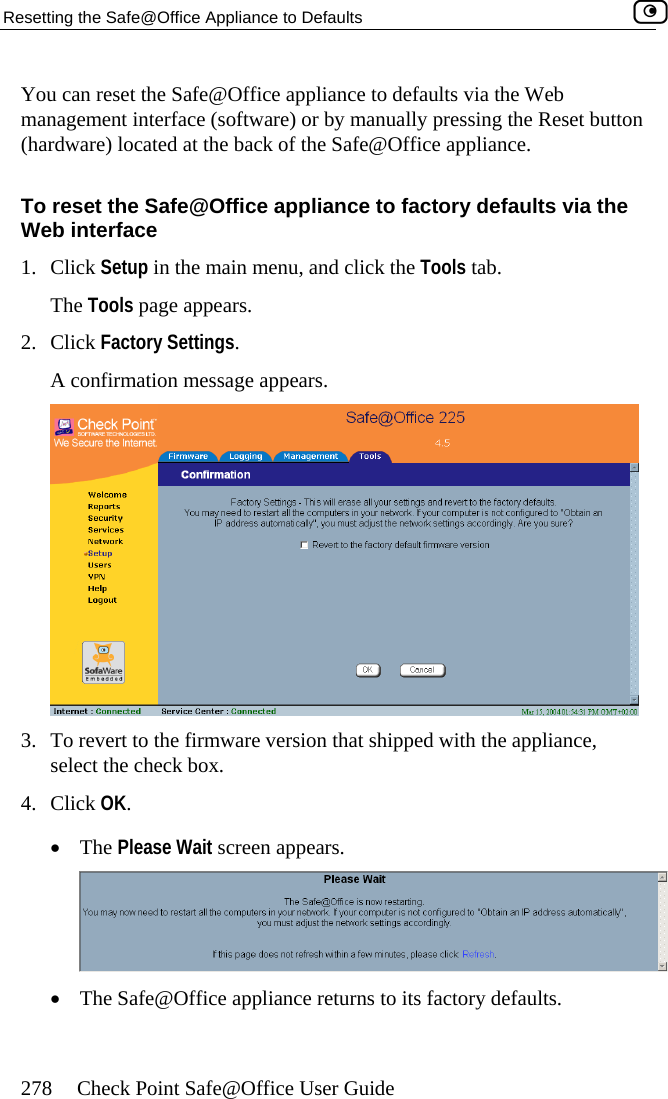
Users Manual Part 2