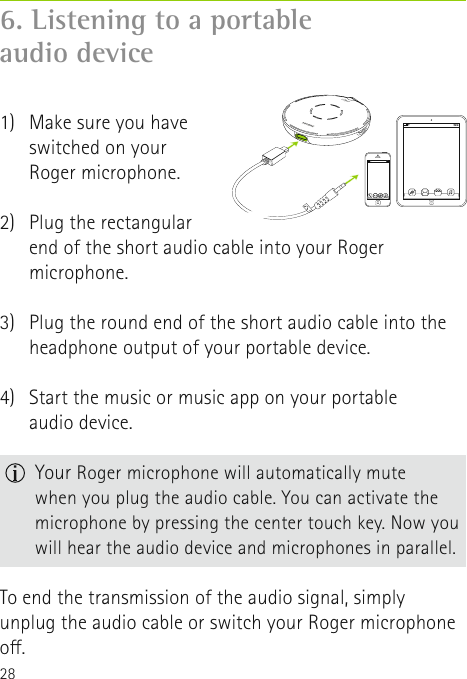
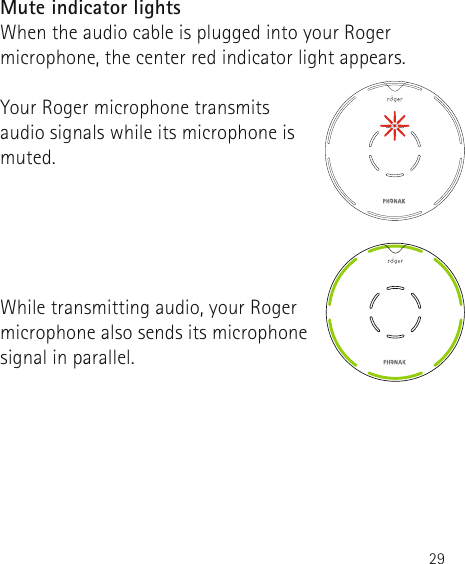
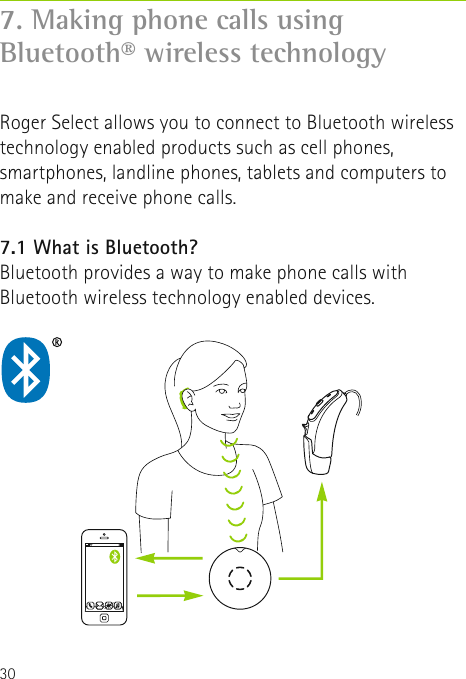
Sonova USA TX27 Wireless microphone User Manual ERC
Sonova USA Inc. Wireless microphone ERC
UserManual.wiki
>
Sonova USA
>
TX27 User Manual
KWCTX27_UserMan
Navigation menu
Upload a User Manual
Namespaces
Wiki Guide
HTML
PDF
Info
Views
User Manual
Discussion / Help
Navigation

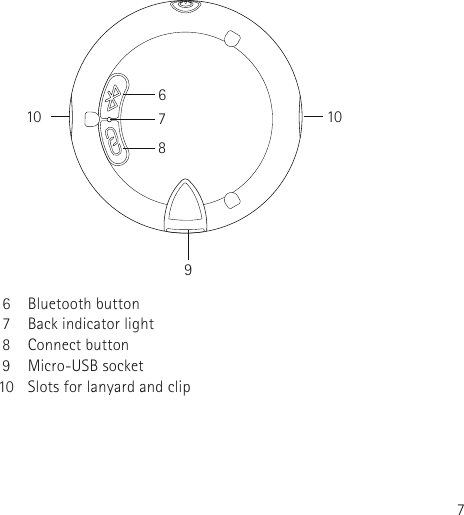

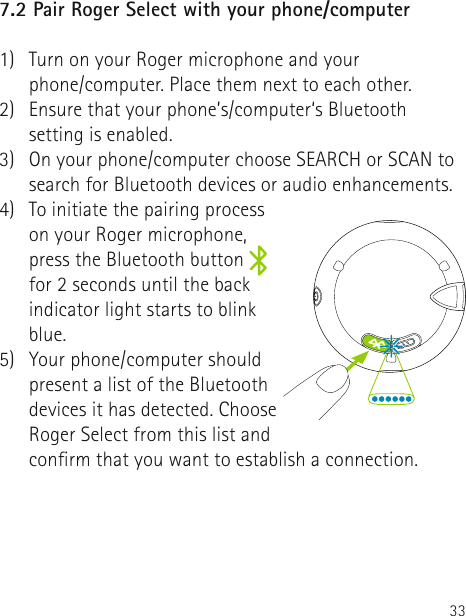
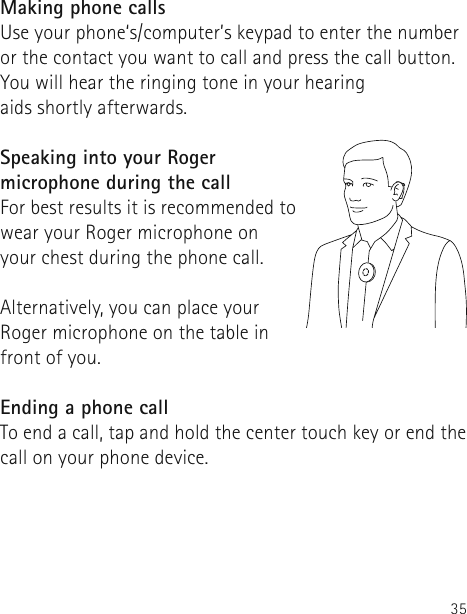
![346) Your Roger microphone should now be paired to your phone/computer and the indicator light will stop blinking.7) To add another Bluetooth device, briey press the Bluetooth button [Bluetooth symbol] until the back indicator light starts to blink blue again and repeat step 2 to 6. Your phone/computer may then ask you to enter a passcode. If so, enter ‘0000’ (four zeros). Some phones/computers may ask which Bluetooth service you want to enable, select Headset audio device and microphones in parallel.7.3 Making phone callsAccepting incoming callsWhen you receive a phone call, your Roger microphone Bluetooth light indicator will start ashing blue. To accept an incoming call, press the center touch key.](https://usermanual.wiki/Sonova-USA/TX27/User-Guide-3820447-Page-34.png)