Sony Group PCG551L Notebook PC with Integral Wireless LAN Card User Manual Harp UG
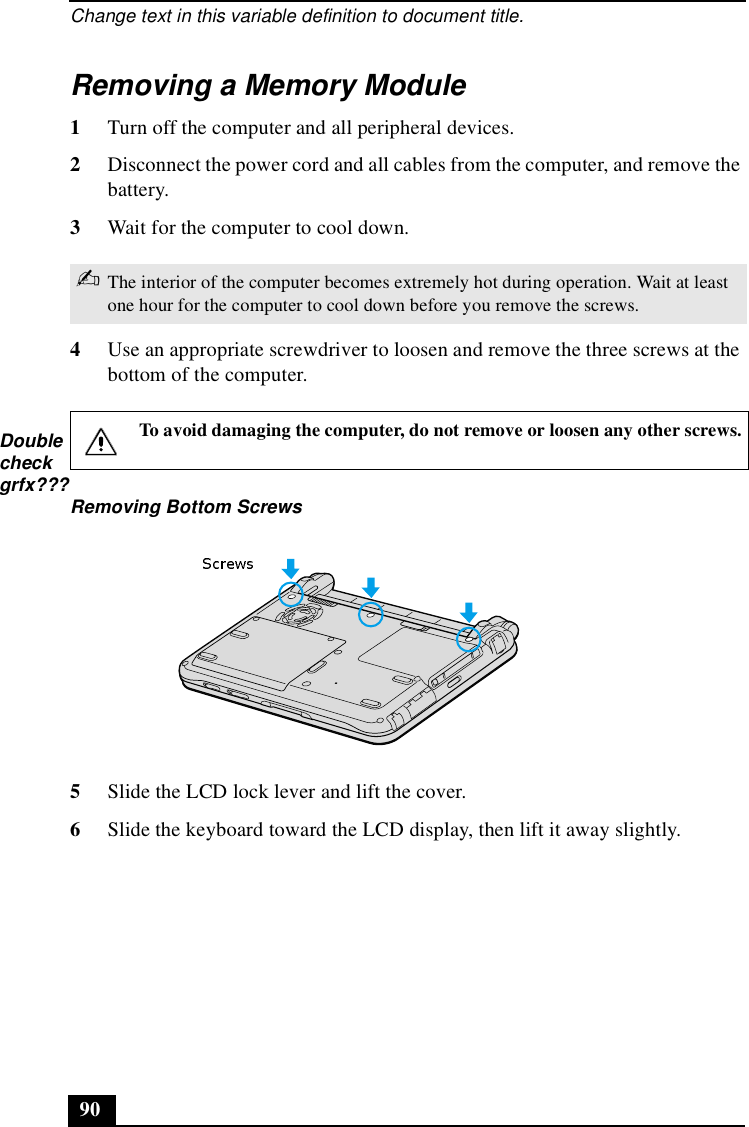
Sony Corporation Notebook PC with Integral Wireless LAN Card Harp UG
UserManual.wiki
>
Sony Group
>
PCG551L User Manual
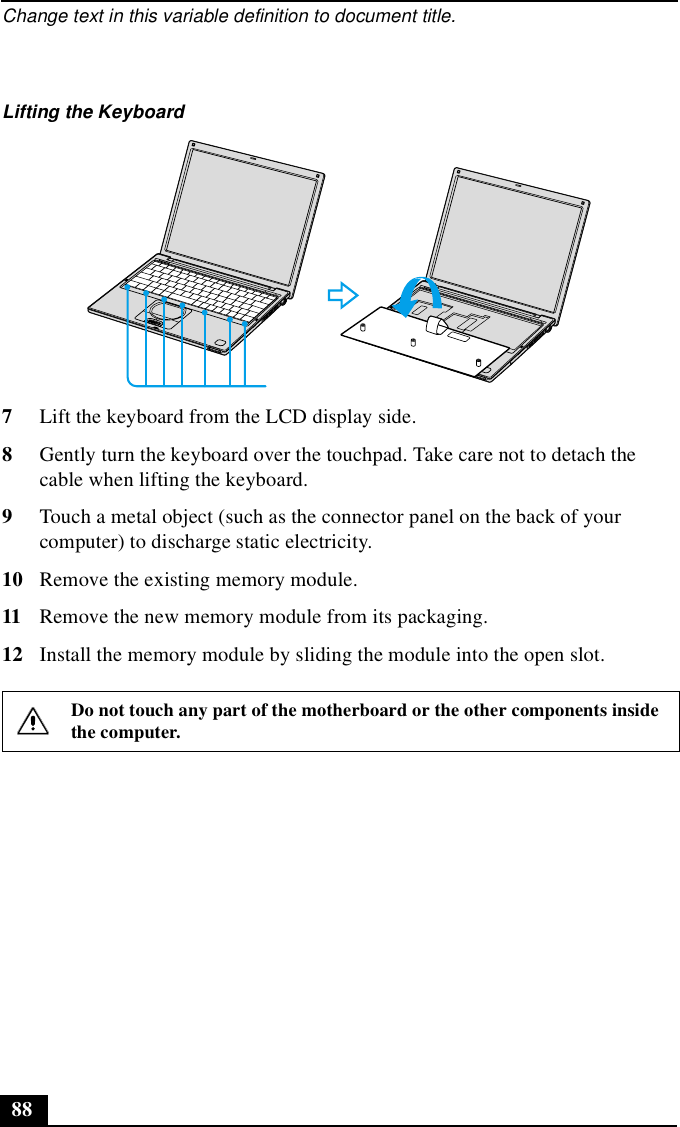
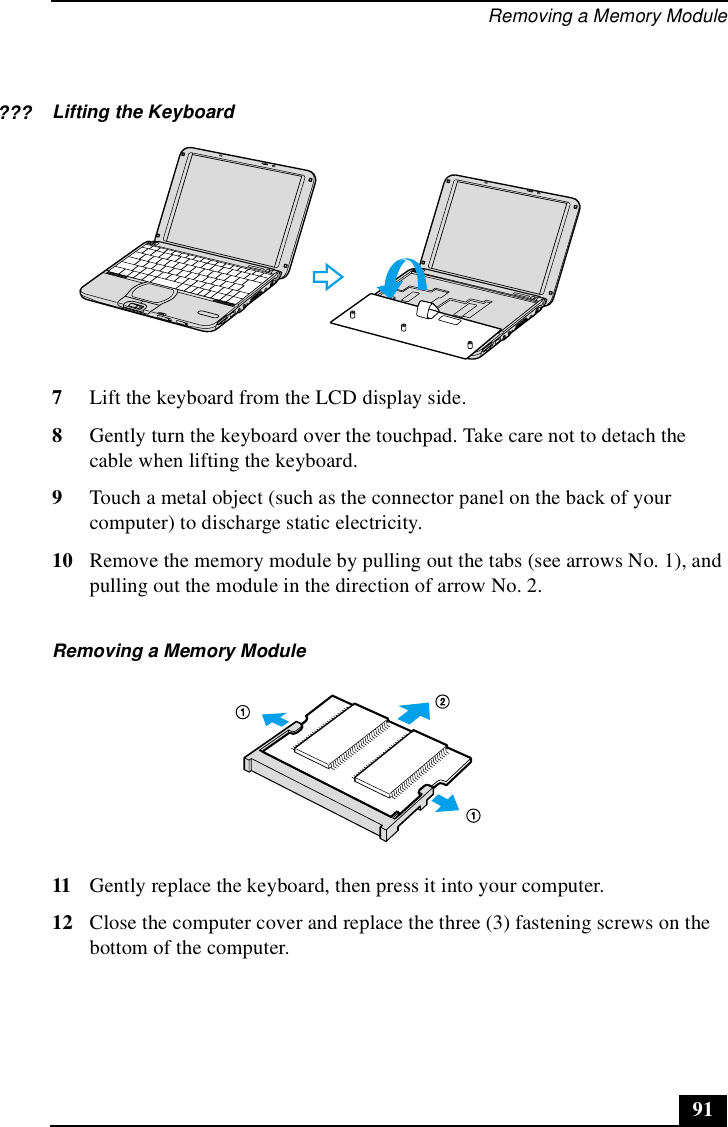
>
Manual Part 2
Contents
1.
Manual Part 1
2.
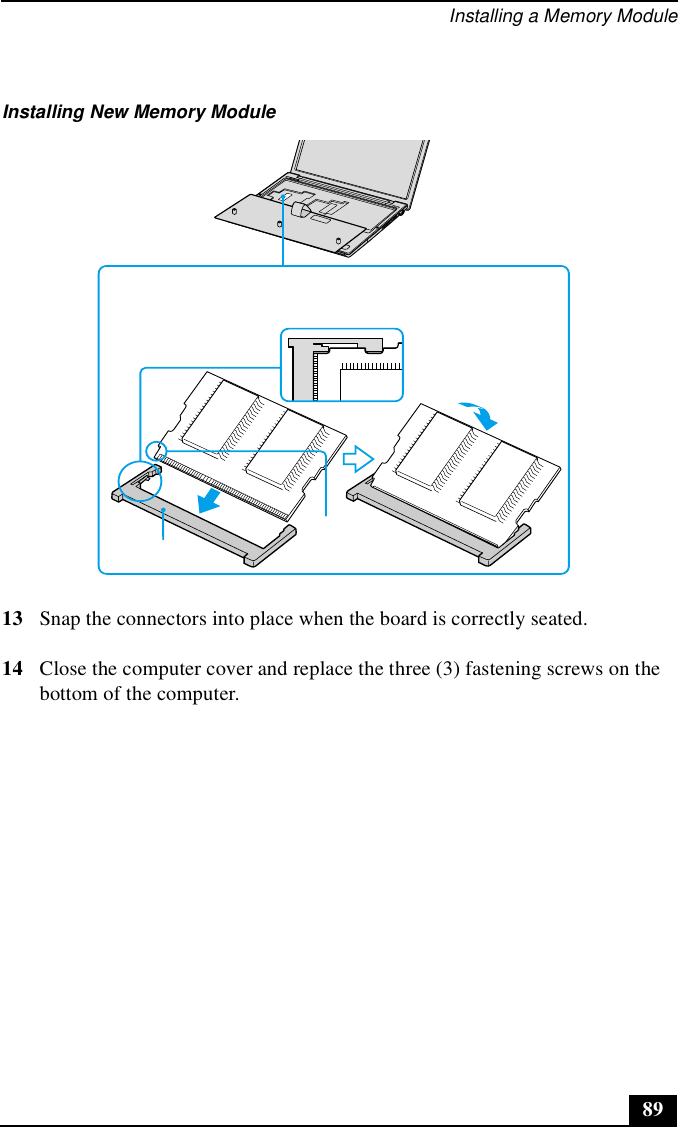
Manual Part 2
Manual Part 2
Navigation menu
Upload a User Manual
Namespaces
Wiki Guide
HTML
PDF
Info
Views
User Manual
Discussion / Help
Navigation


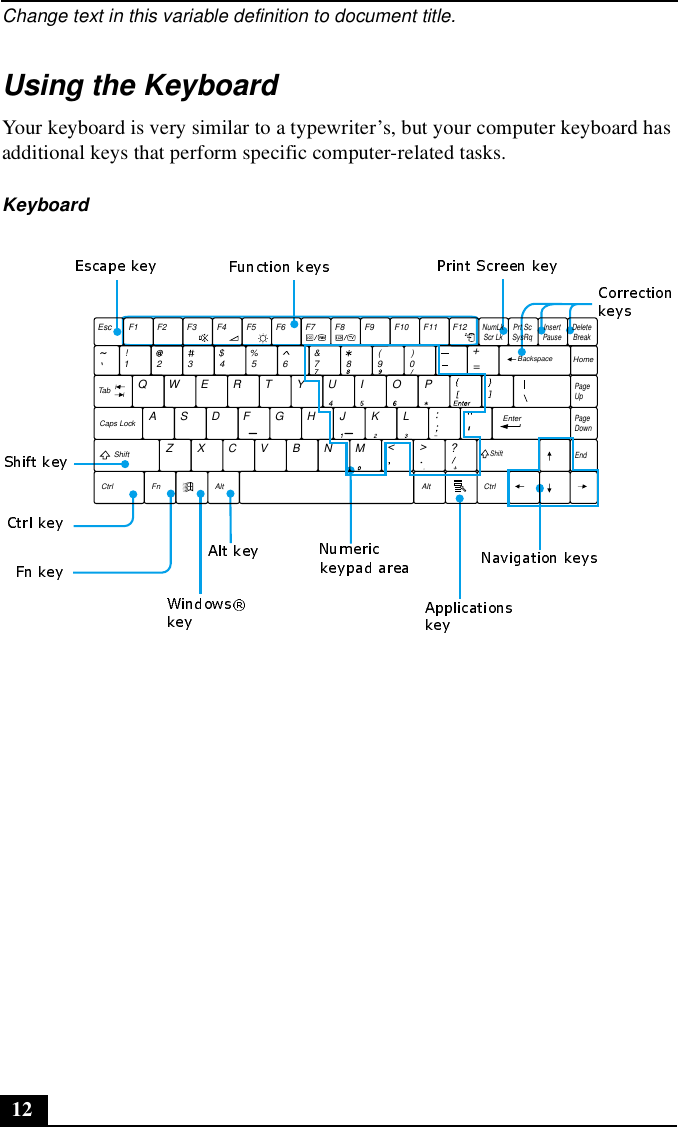
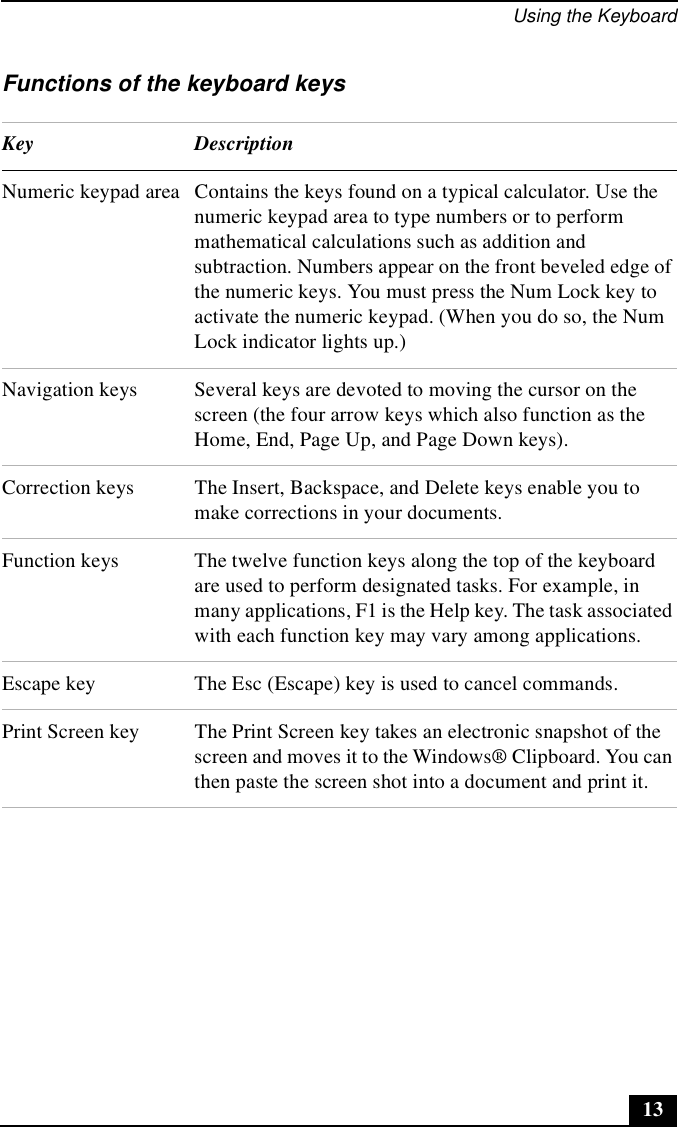

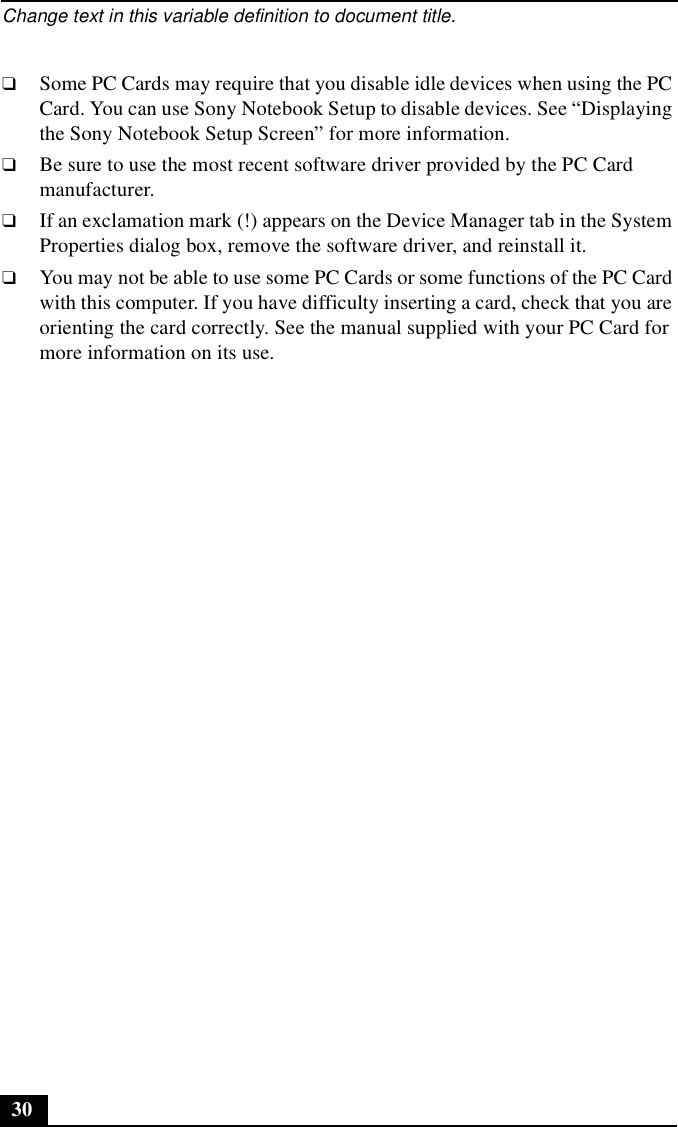
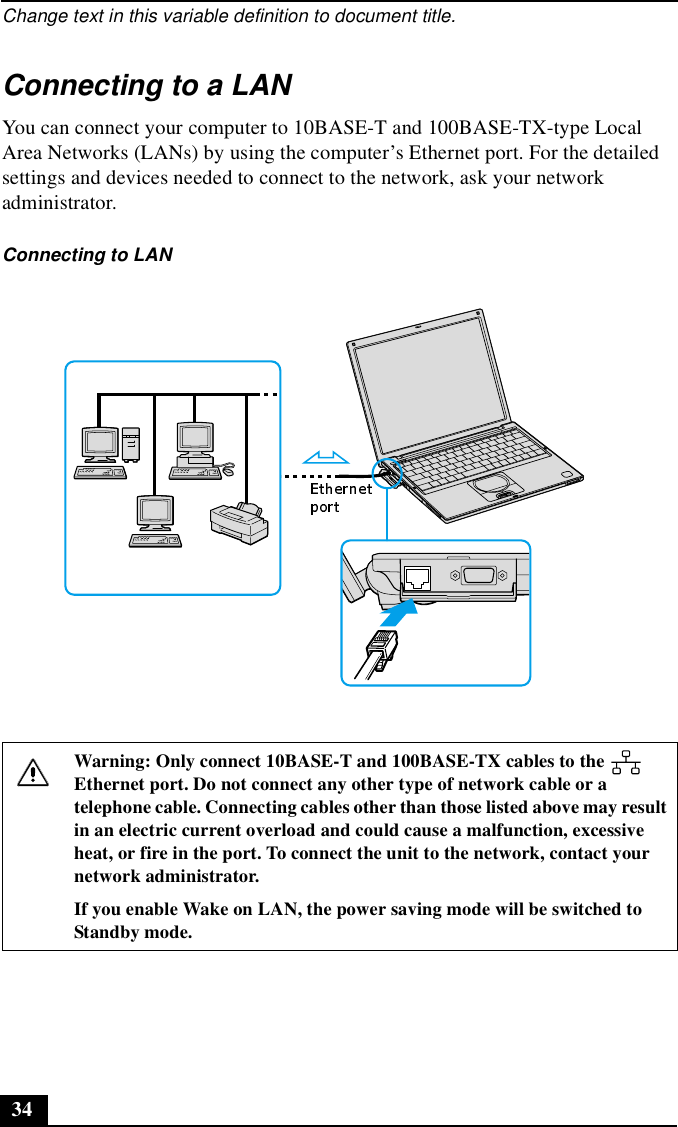

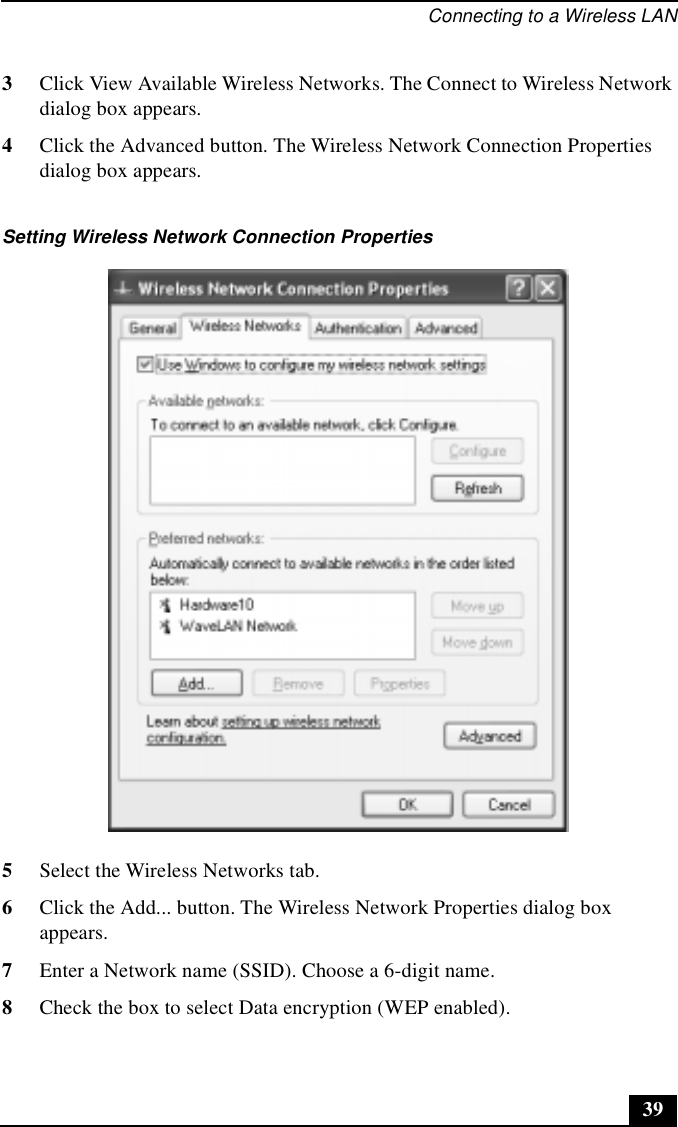
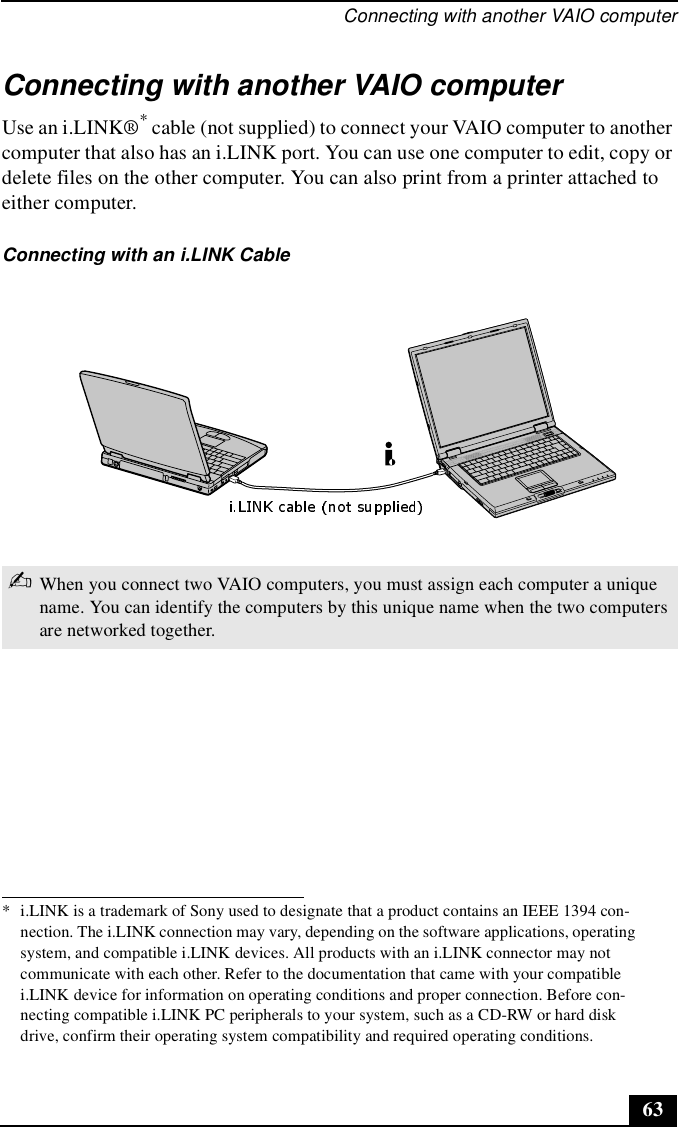
![Connecting to a Wireless LAN37You can also connect an access point to a telephone line, Integrated Services Digital Network (ISDN) router, cable modem, or Digital Subscriber Line (xDSL) modem to share access to the Internet among multiple computers. Communicating with an Access Point (infrastructure)An infrastructure network is one that extends an existing wired local network to wireless devices by providing an access point. The access point bridges the wireless and wired LAN, and acts as a central controller for the Wireless LAN. The access point coordinates transmission and reception from multiple wireless devices within a specific range. To communicate with an access point [[Cannot confirm steps yet]]1Locate the Wireless LAN switch that is located on the left side of the computer. Move the switch to the ON position.2From the Start menu, point to Connect To, and click Wireless Network Connection. The Wireless network Connection Status window appears.3Click Network and Internet Connections, and then Network Connections.4Double-click the Wireless Network Connection icon. The Connect to Wireless Network dialog box opens.Communicating via Wireless LAN Access Point✍For information on available Sony products, go to: http://www.sonystyle.com/wirelesslan.](https://usermanual.wiki/Sony-Group/PCG551L.Manual-Part-2/User-Guide-233219-Page-37.png)
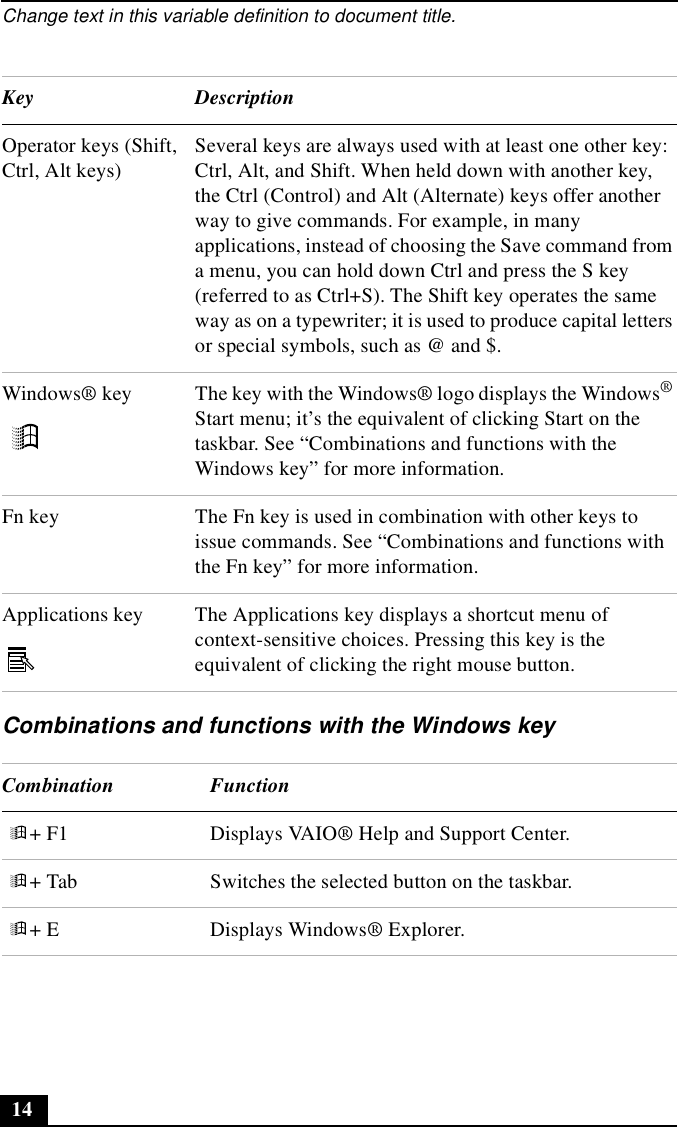
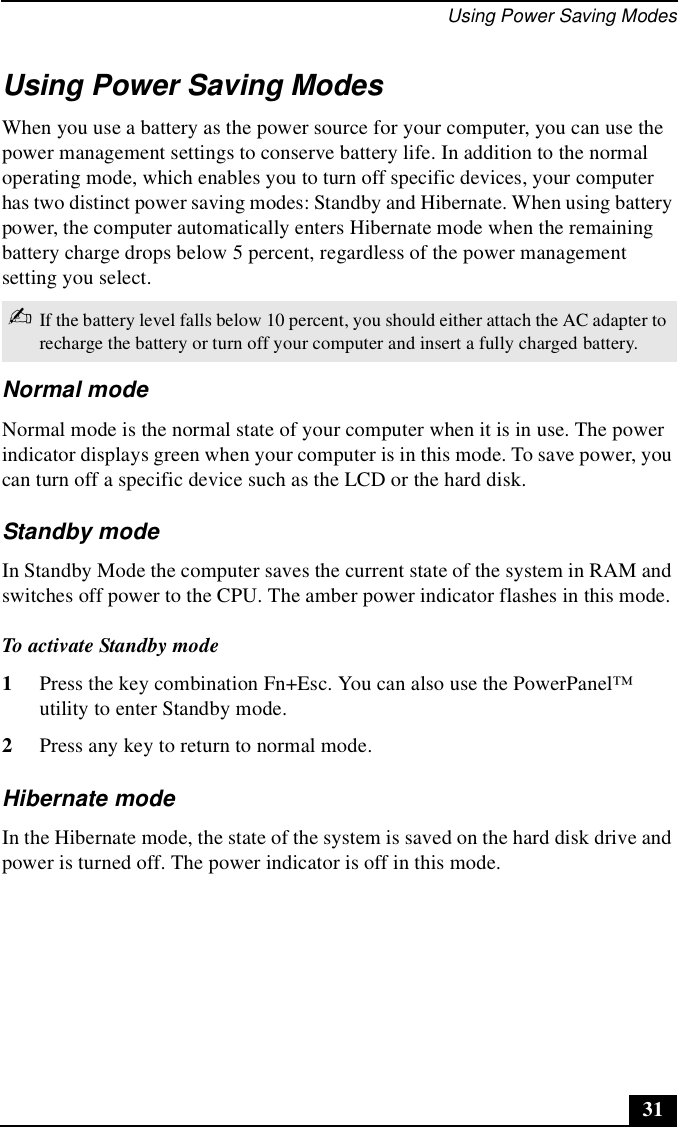
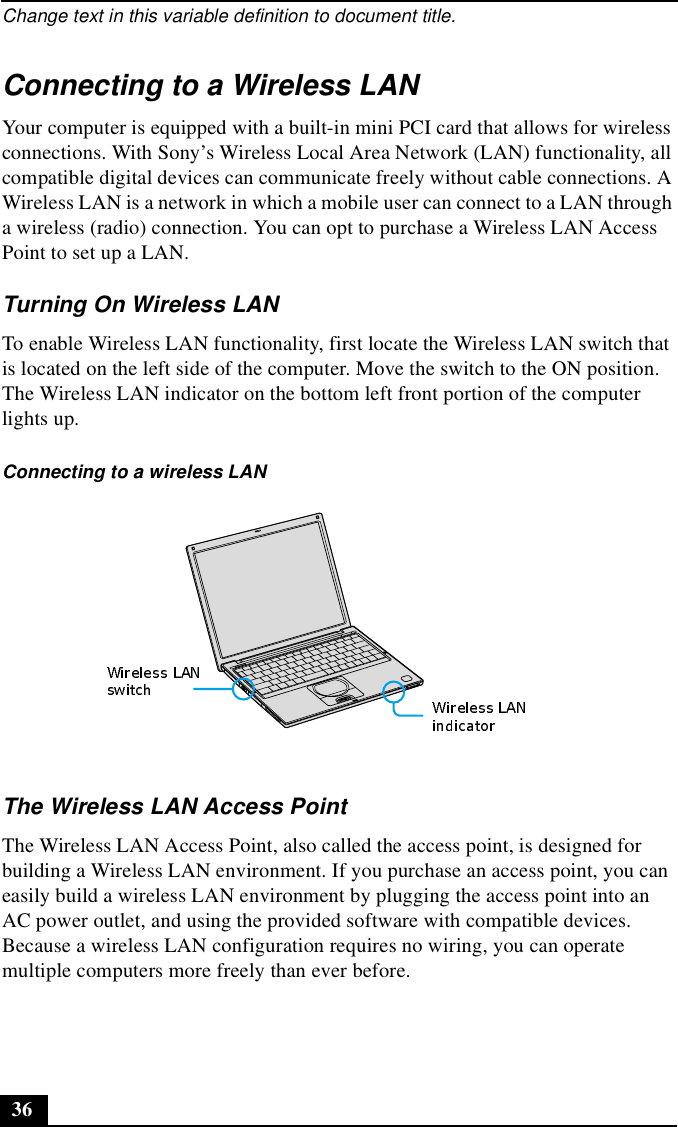
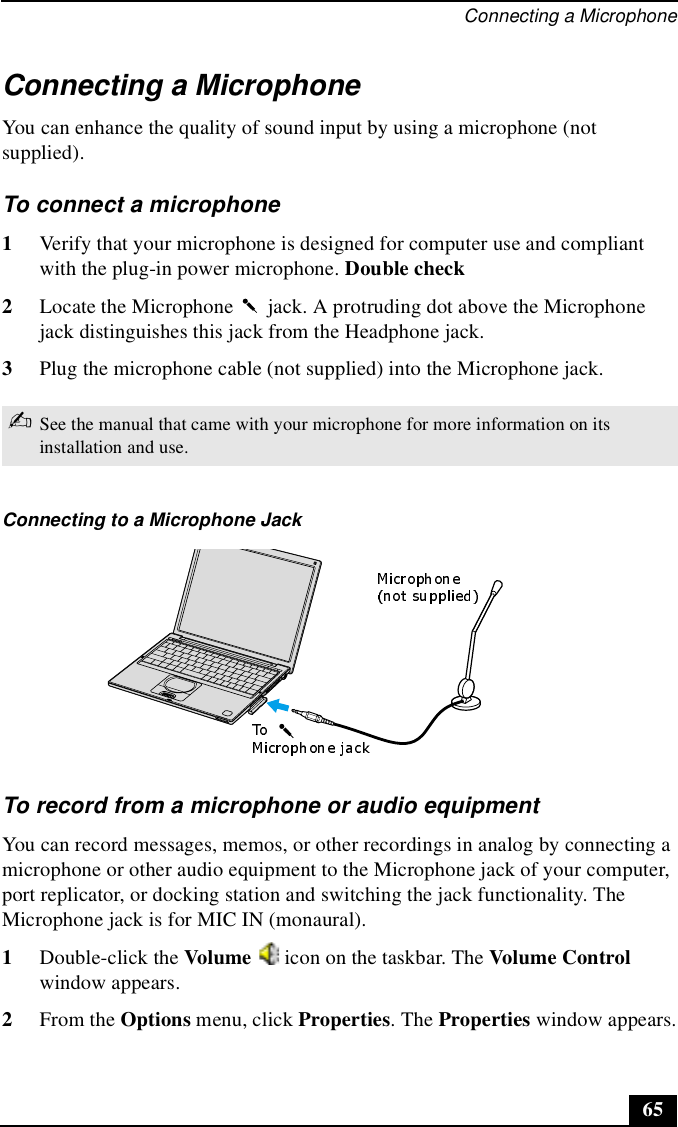
![Change text in this variable definition to document title.385Select a network from the Available Networks list box. 6Click Connect.Communicating without an access point (ad-hoc)An ad-hoc network is one in which a local network is created only by the wireless devices themselves, with no other central controller or access point. Each device communicates directly with other devices in the network. You can set up an ad-hoc network easily at home. To communicate without an access point [[Cannot confirm steps yet]]1Turn on the Wireless LAN switch located on the left side of the computer. The Wireless LAN indicator on the bottom left front portion of the computer lights up. See “Turning On Wireless LAN” for more information.2Click Start on the taskbar, point to Connect To, and click Wireless Network Connection. Connecting to a wireless LAN](https://usermanual.wiki/Sony-Group/PCG551L.Manual-Part-2/User-Guide-233219-Page-38.png)


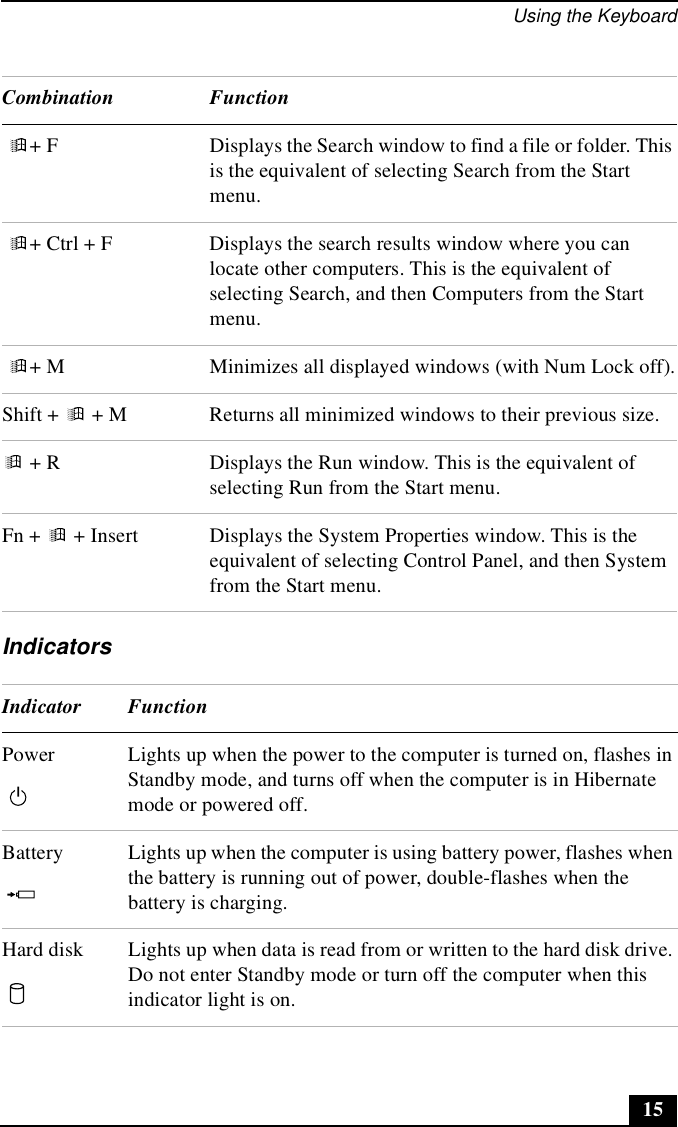
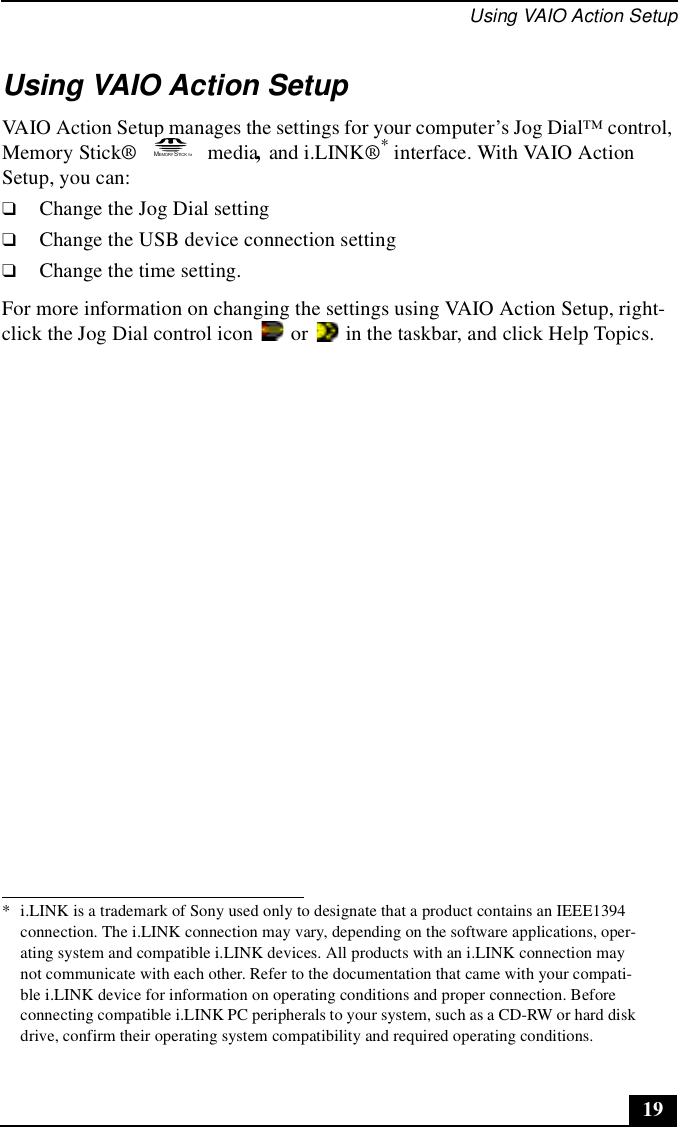
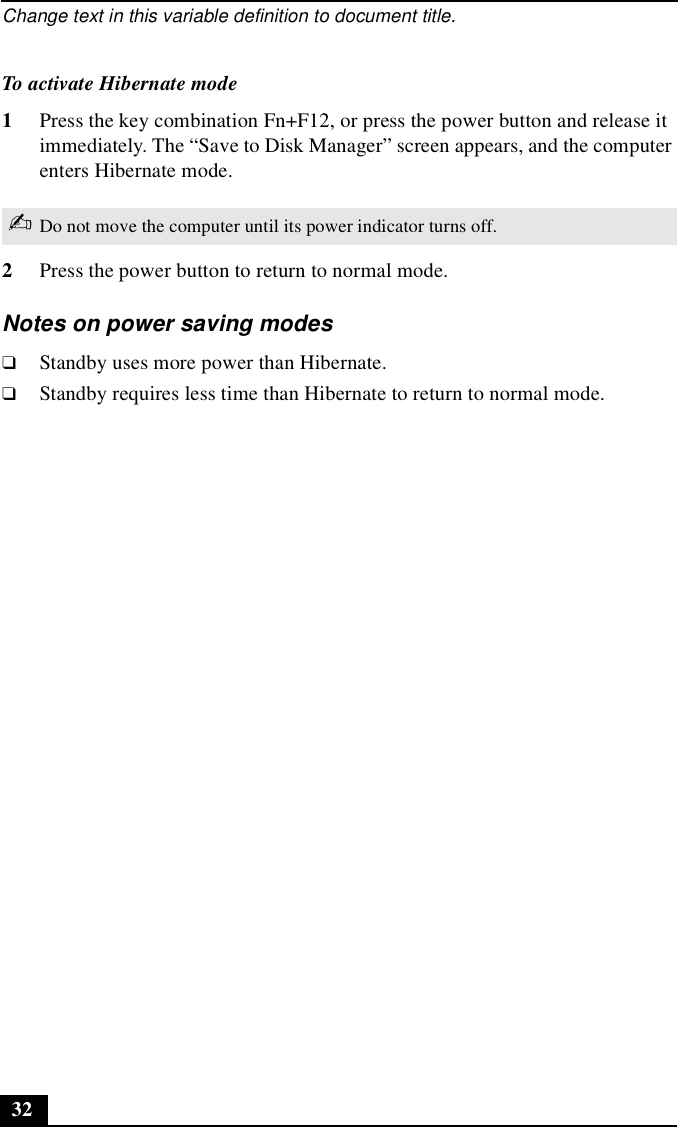
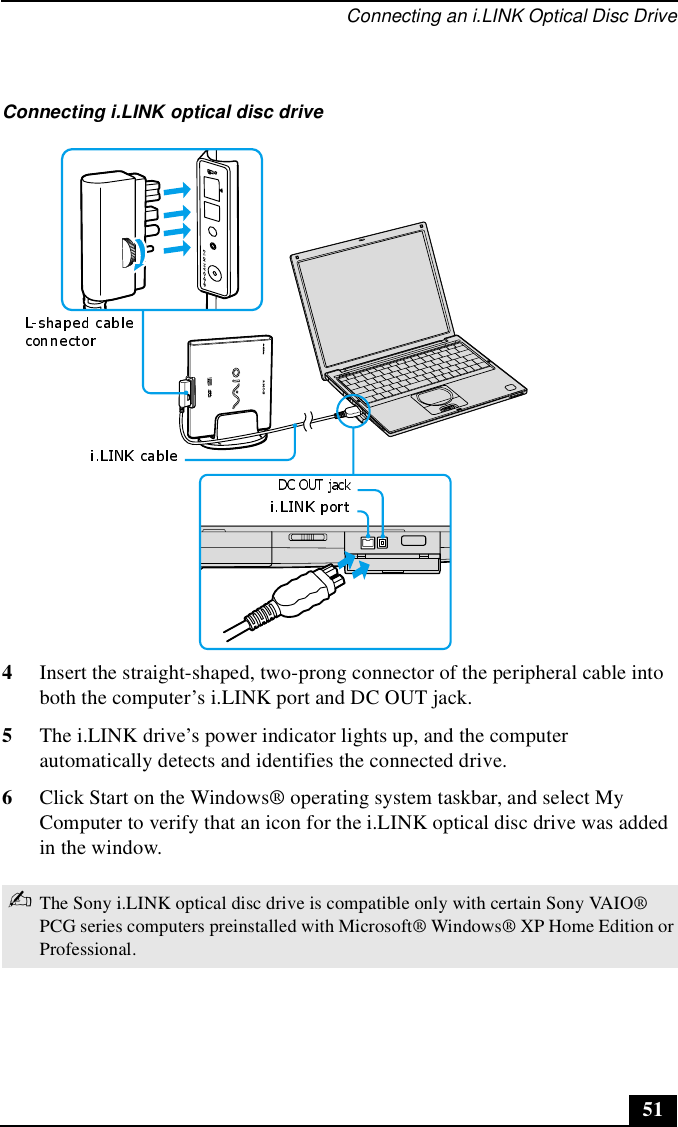
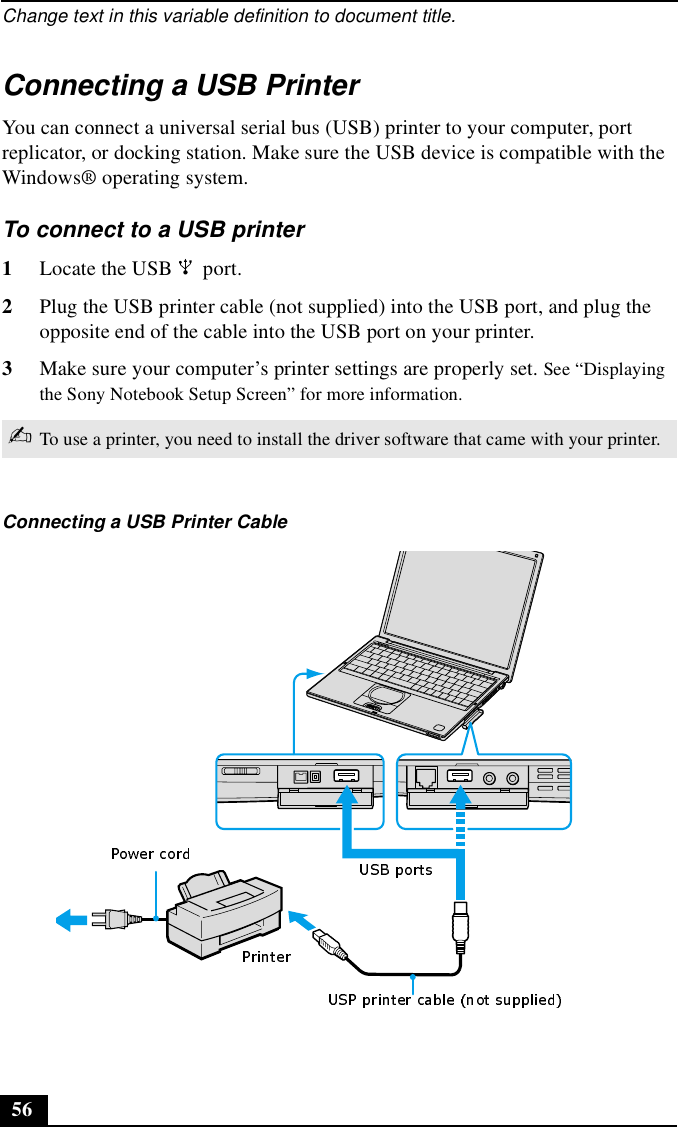
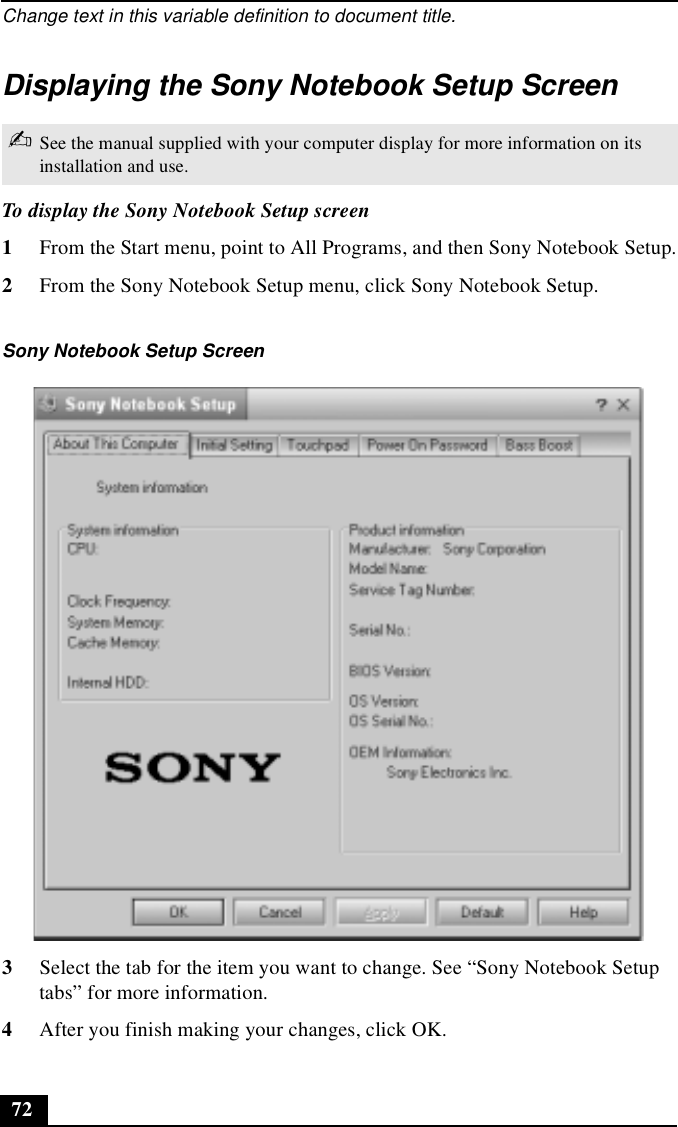
![Change text in this variable definition to document title.46Connecting a PC Card Bus Drive[[Cannot confirm steps yet]]You can use an optional optical drive with your computer. If you use an optional drive when your computer is running on battery power, the battery life will be shorter. The drive draws power from the computer through a PC Card.To connect an optical driveProcedures for connecting an optical drive may vary, depending on the specific drive you purchase. See the manual supplied with your optical drive for more information on its installation and use.1Remove the PC Card from the bottom side of the optical drive.2Insert the PC Card into the PC Card slot with the logo facing up. See “Using PC Cards” for details.If you connect a non-Sony DVD drive to your VAIO® computer, the DVD playback may not function properly. The DVD software (supplied) must be installed to play a DVD.For best performance, use a Sony compatible DVD drive.✍You can connect an optical drive while the computer is on. For specific instructions on using your supplied Application, Driver, and System Recovery CDs, see “Using Your Recovery CDs” for more information.Removing PC Card](https://usermanual.wiki/Sony-Group/PCG551L.Manual-Part-2/User-Guide-233219-Page-46.png)

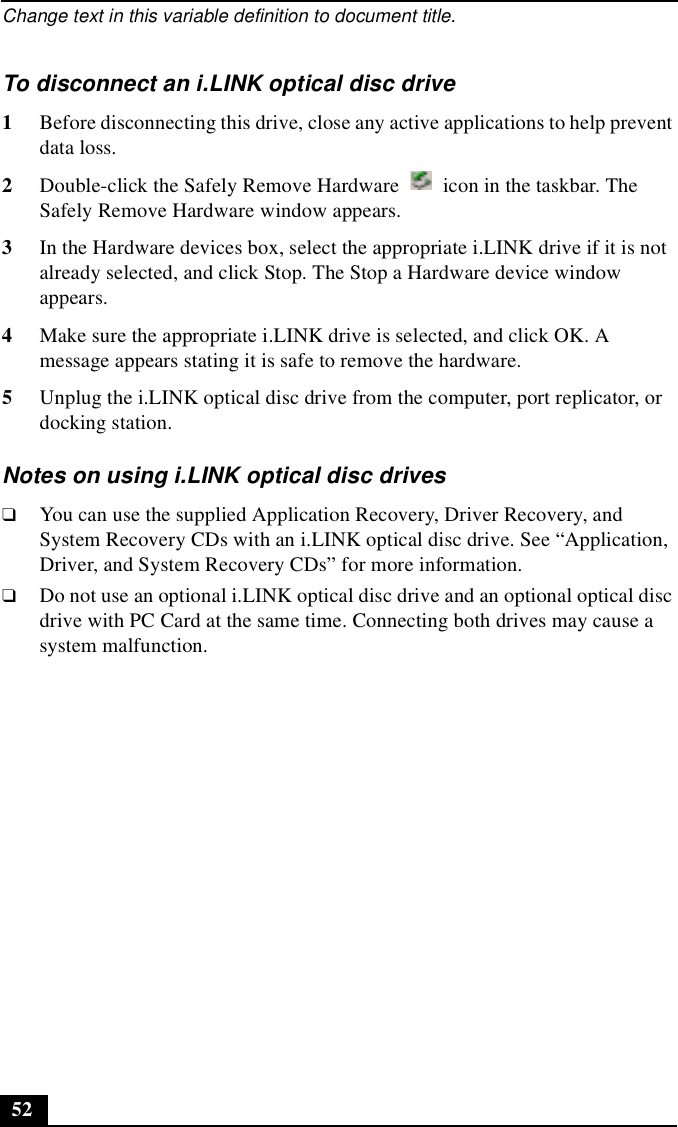


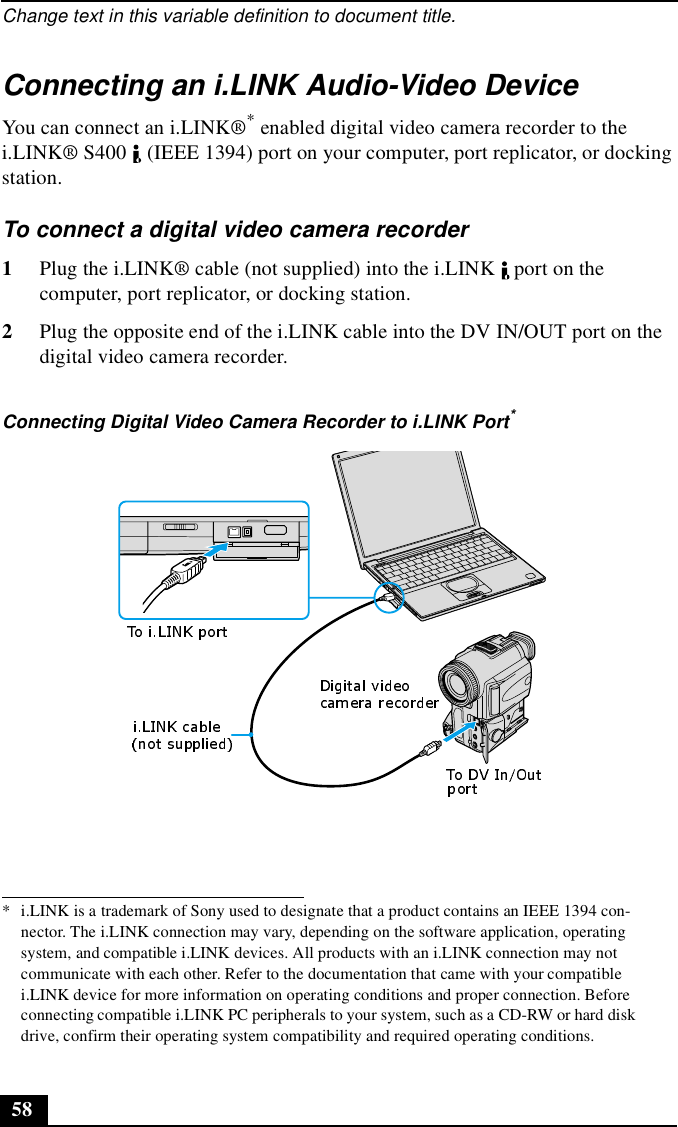


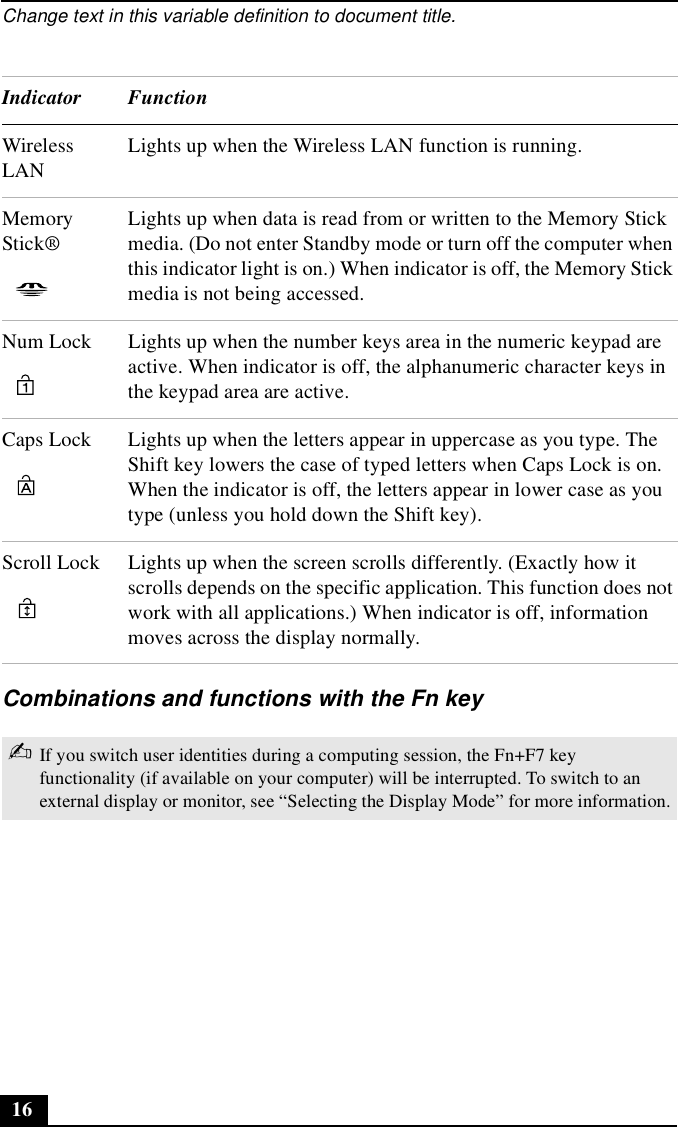
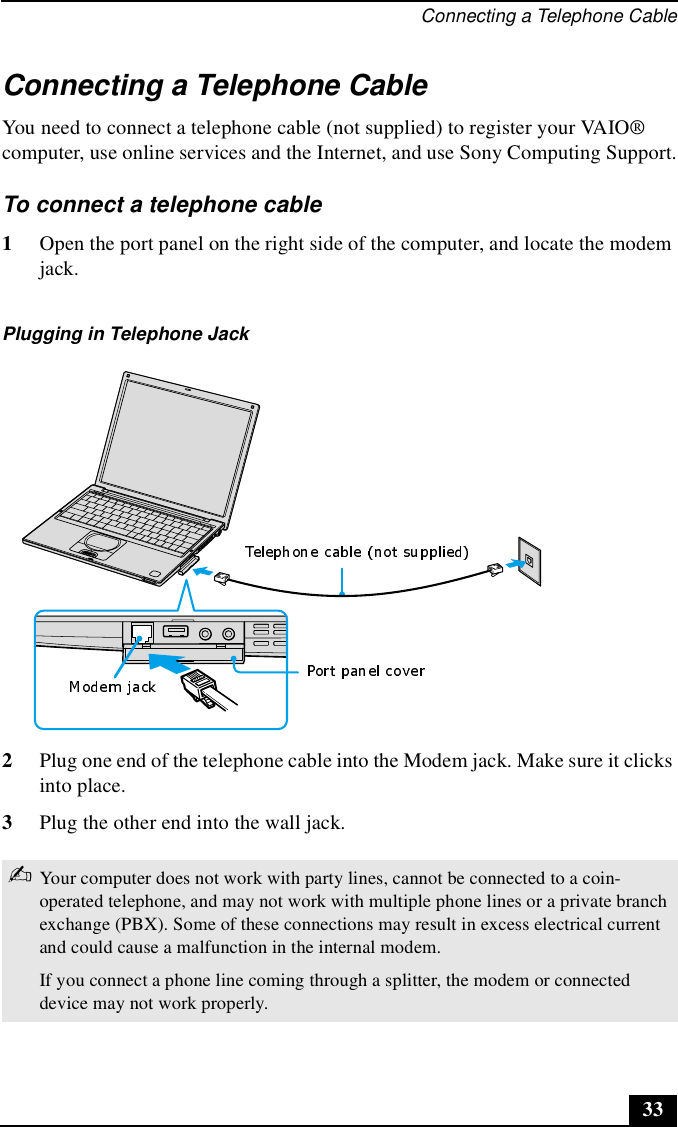
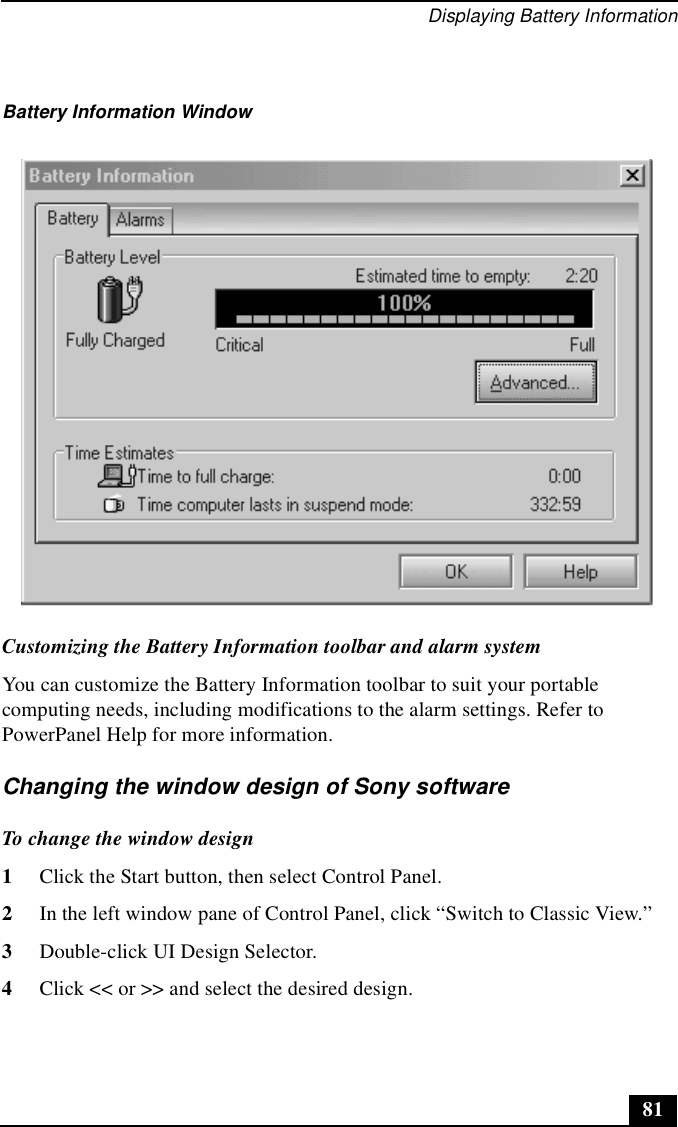
![Displaying Battery Information79Displaying Battery Information[[Can’t confirm yet]]You can display information for the battery on your computer. The following sections briefly describe how to display your computer’s general battery information. You can also refer to PowerPanel Help for more detailed information.To display the Battery Information window1Double-click the current Profile icon on the taskbar. The Battery Information window appears.2For additional information, click the Help button. The PowerPanel Help window appears.To display the Battery Information toolbar1Right-click the taskbar, point to Toolbars, and select Battery Information.2The Battery Information toolbar appears on the taskbar. The toolbar displays battery status gauges and the battery status icon.❑Percentage indicator — Displays the percentage of the remaining capacity.❑Time indicator — Displays estimated time (hours:minutes) remaining before the battery fully drains, also referred to as the time-to-empty.To close the Battery Information toolbar1Right-click the Battery Information toolbar, and point to Toolbars.2Click to deselect Battery Information. The toolbar disappears from view.Battery Information Toolbar](https://usermanual.wiki/Sony-Group/PCG551L.Manual-Part-2/User-Guide-233219-Page-79.png)
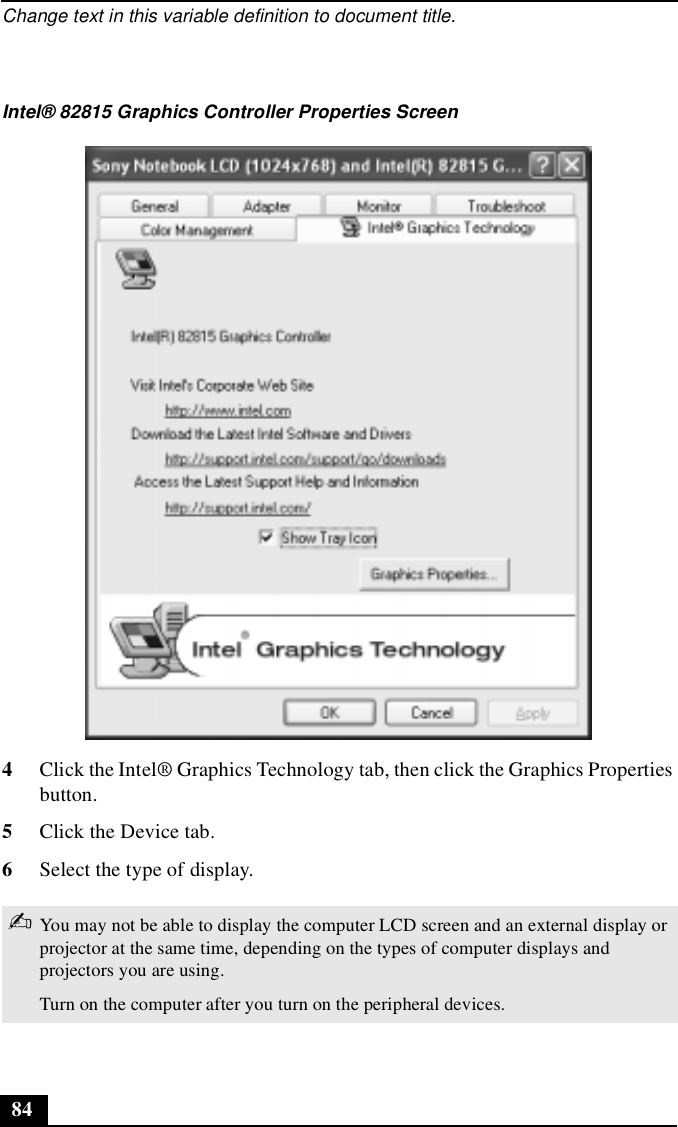
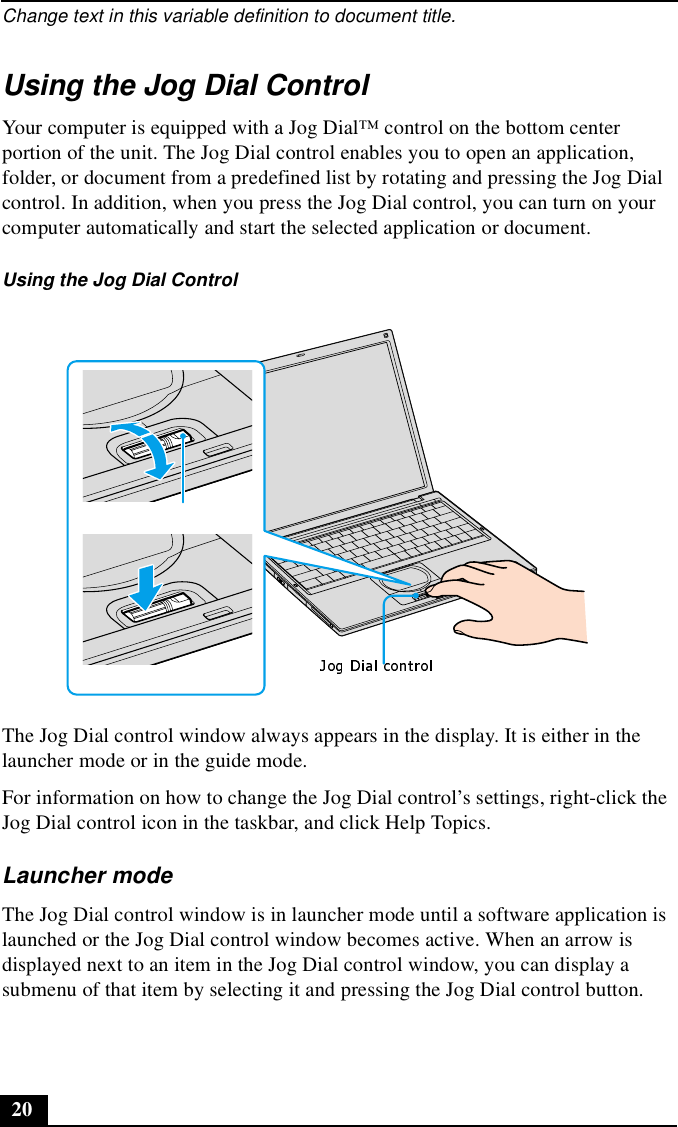
![Selecting the Display Mode83Selecting the Display Mode[[Can’t confirm steps yet]]This computer uses the Intel® video controller, which enables you to select the desired display when the computer is connected to an external monitor. When you connect an external display, you can switch the display mode between your notebook’s LCD display and the external monitor.To select the display mode 1Click Start, and point to Control Panel.2Click Display. The Display Properties window appears.3From the Settings tab, click Advanced, and select the Intel® Graphics Technology tab to display the Intel® 82815 Graphics Controller Properties dialog box.](https://usermanual.wiki/Sony-Group/PCG551L.Manual-Part-2/User-Guide-233219-Page-83.png)