Sony Group PCWAC700 802.11a/b Dual-Band Wireless LAN PCMCIA Card User Manual PCWA C700
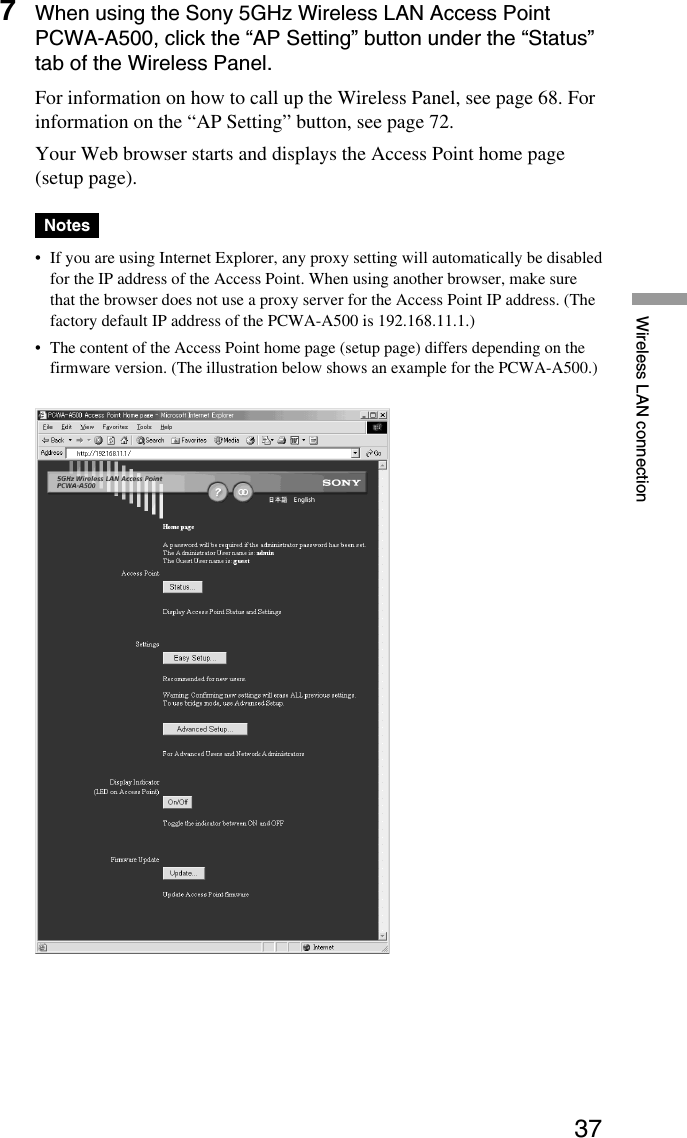
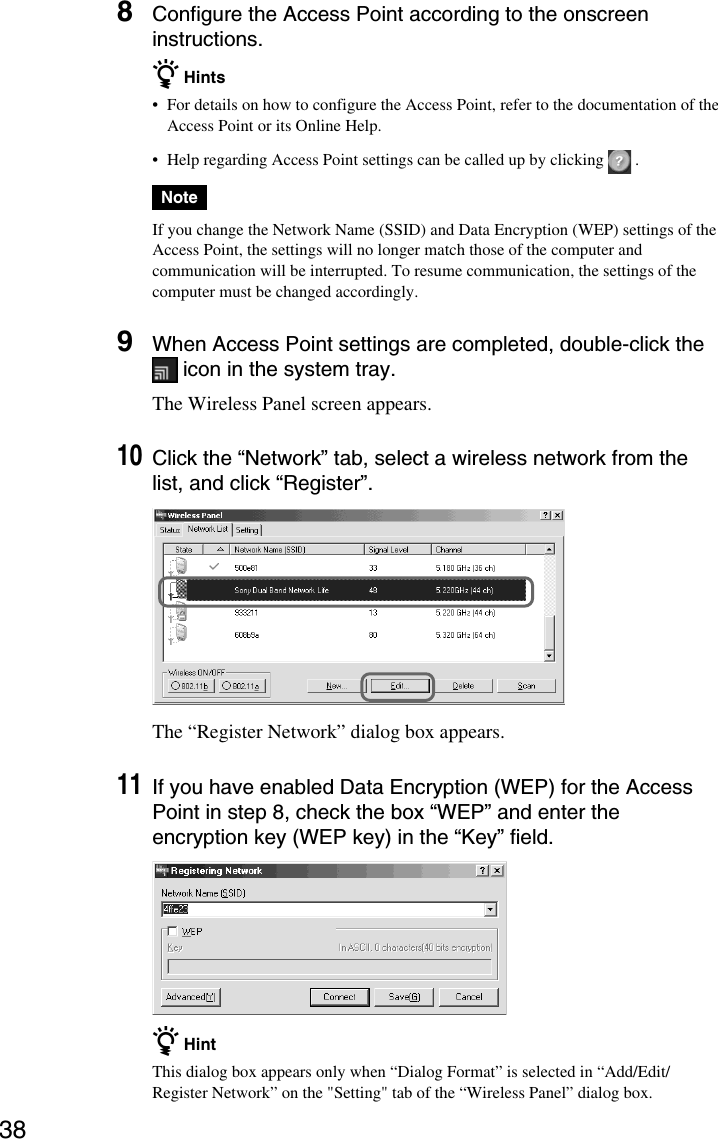
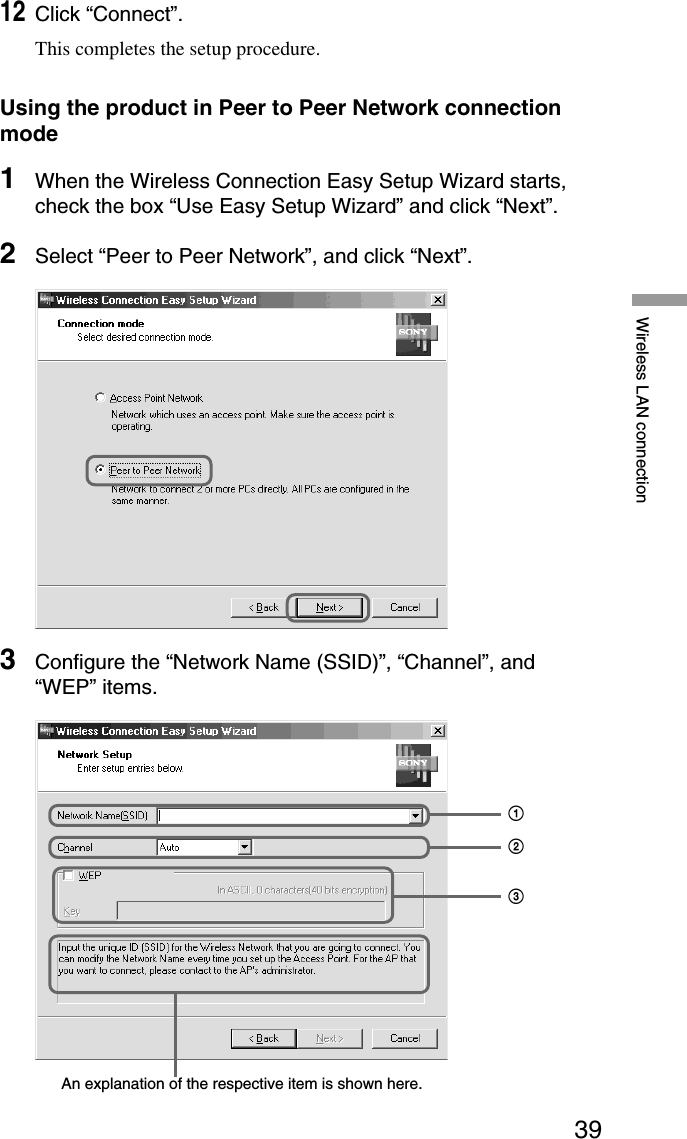
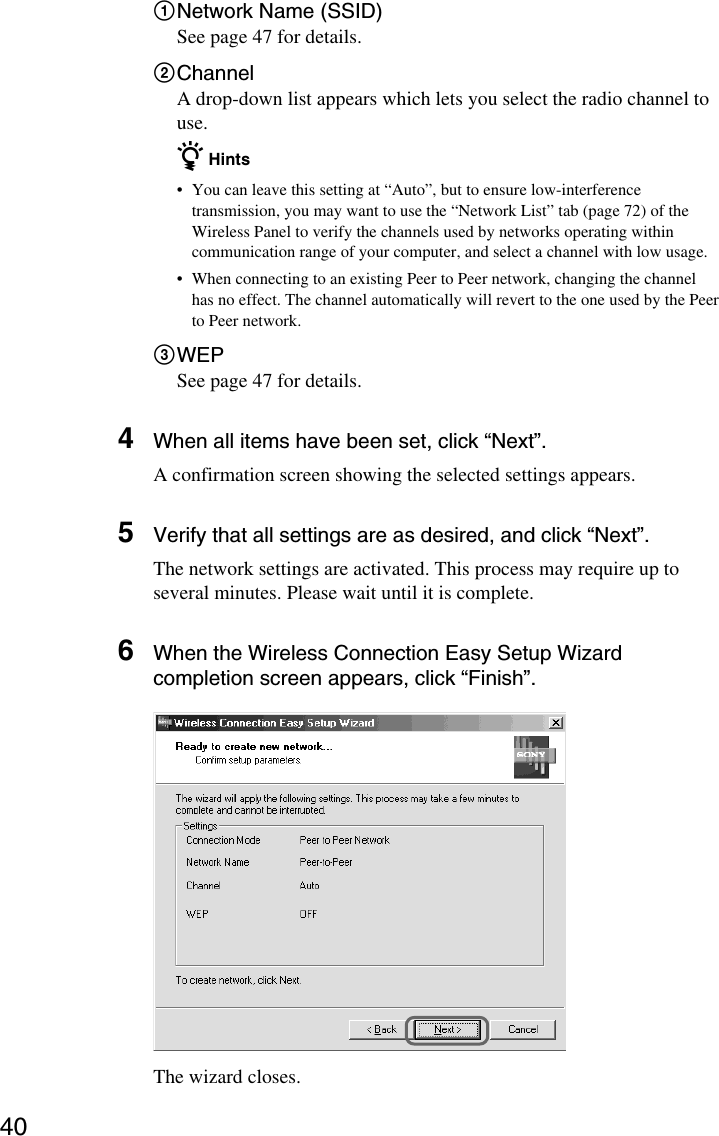
Sony Corporation 802.11a/b Dual-Band Wireless LAN PCMCIA Card PCWA C700
Contents
- 1. Users manual 1
- 2. Users manual 2
- 3. Answer 9 per CRN24914
- 4. Latest users manual
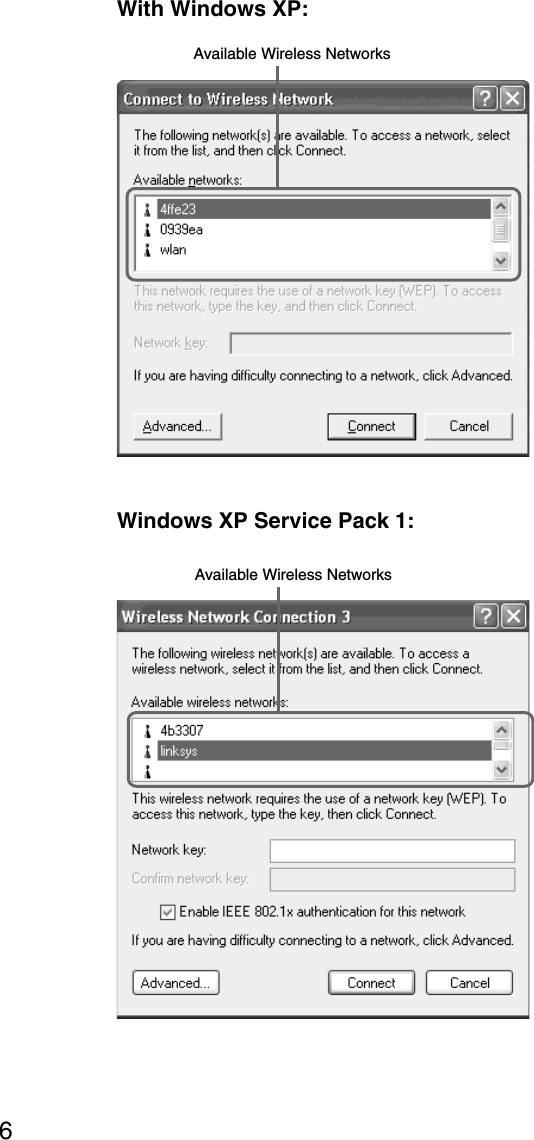
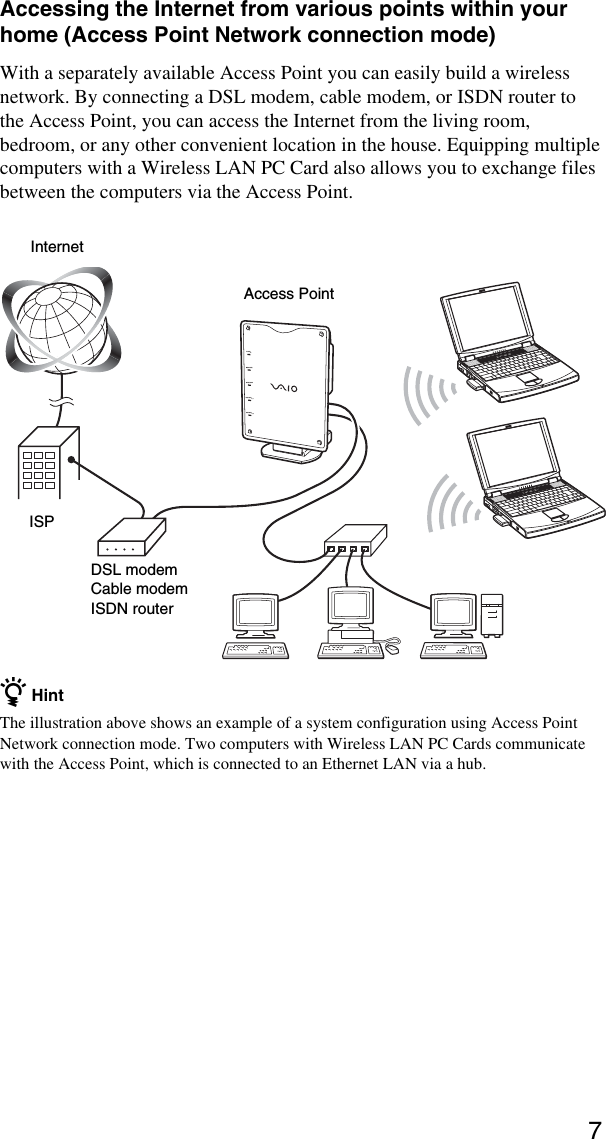
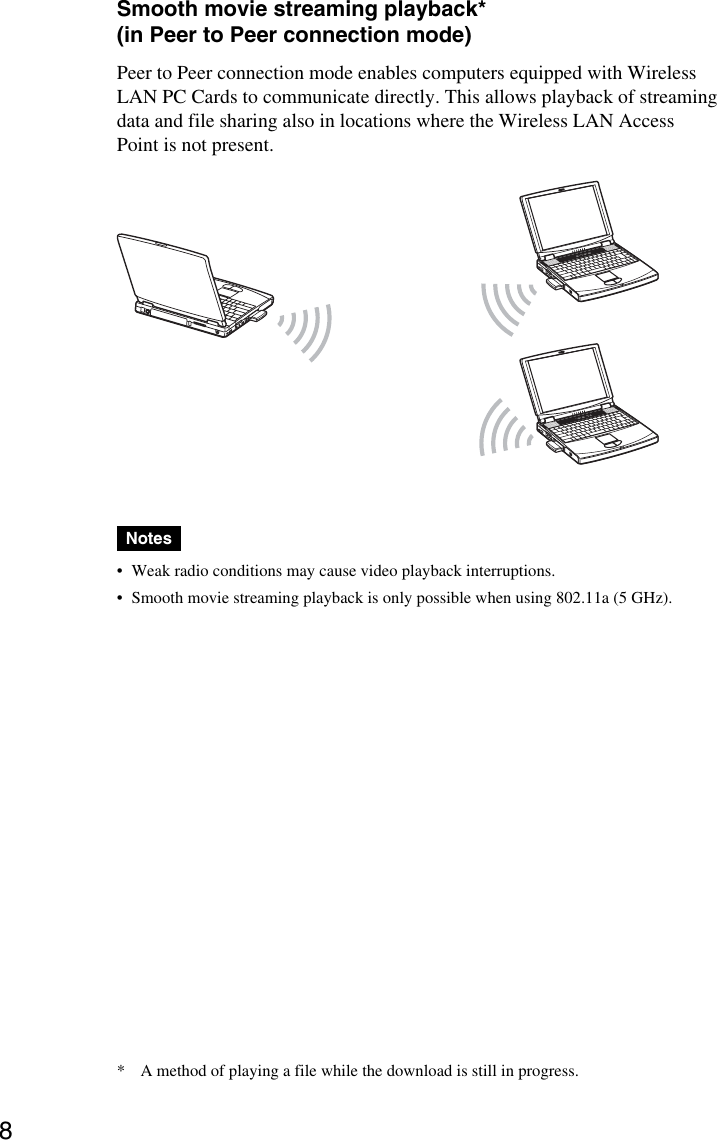
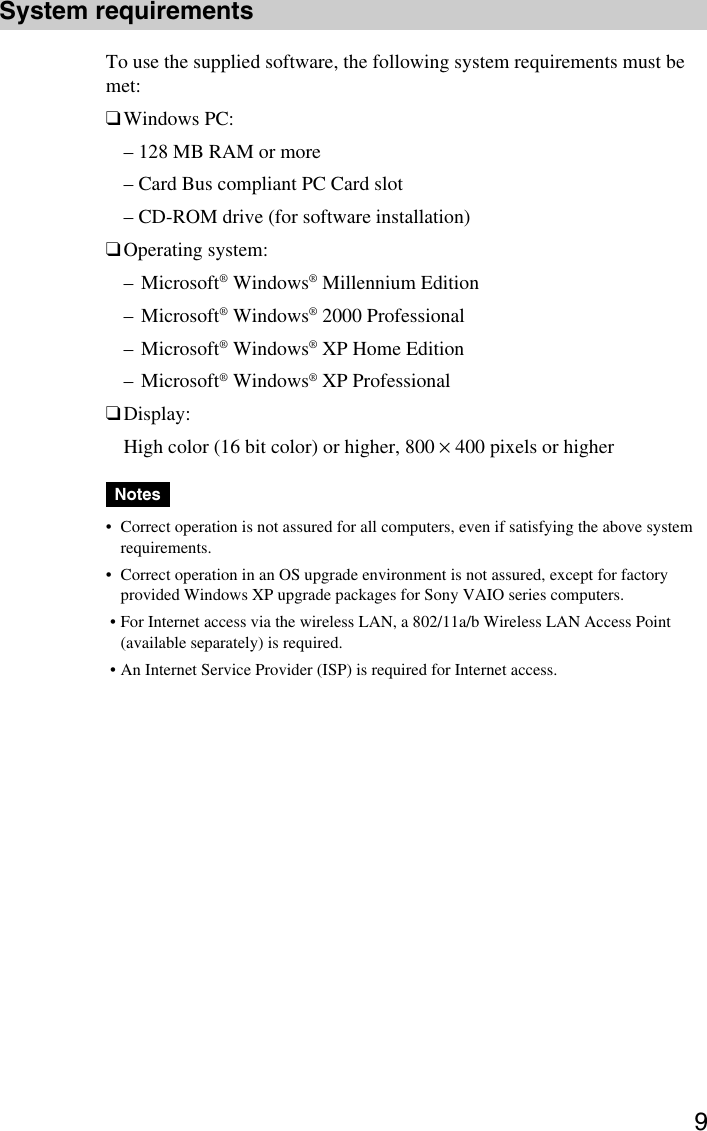
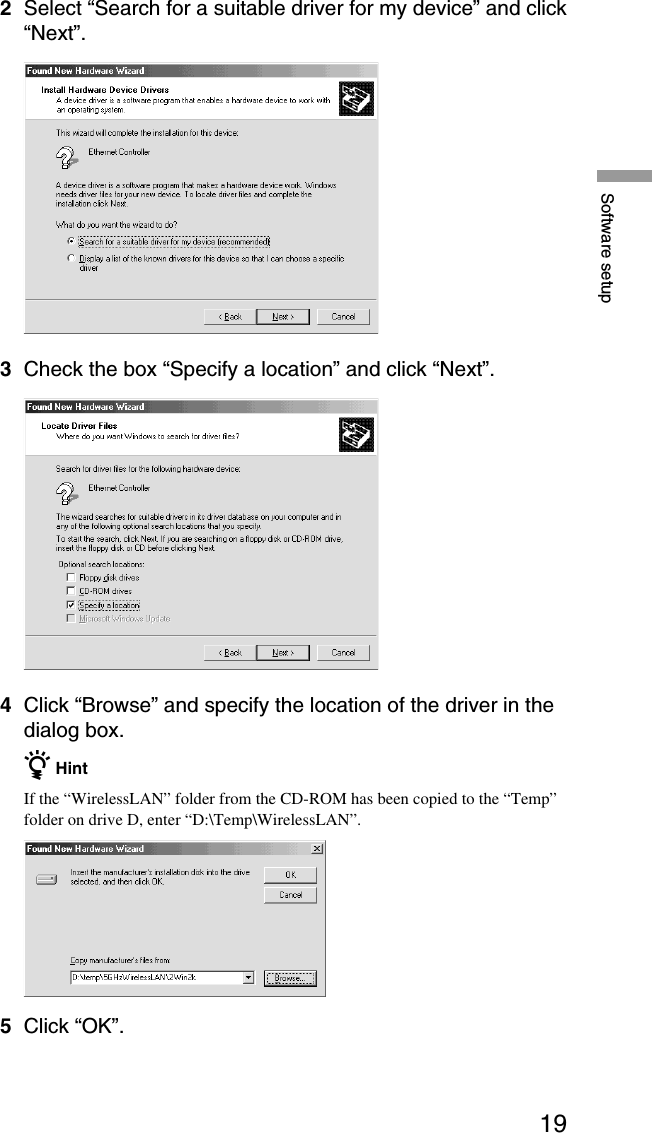
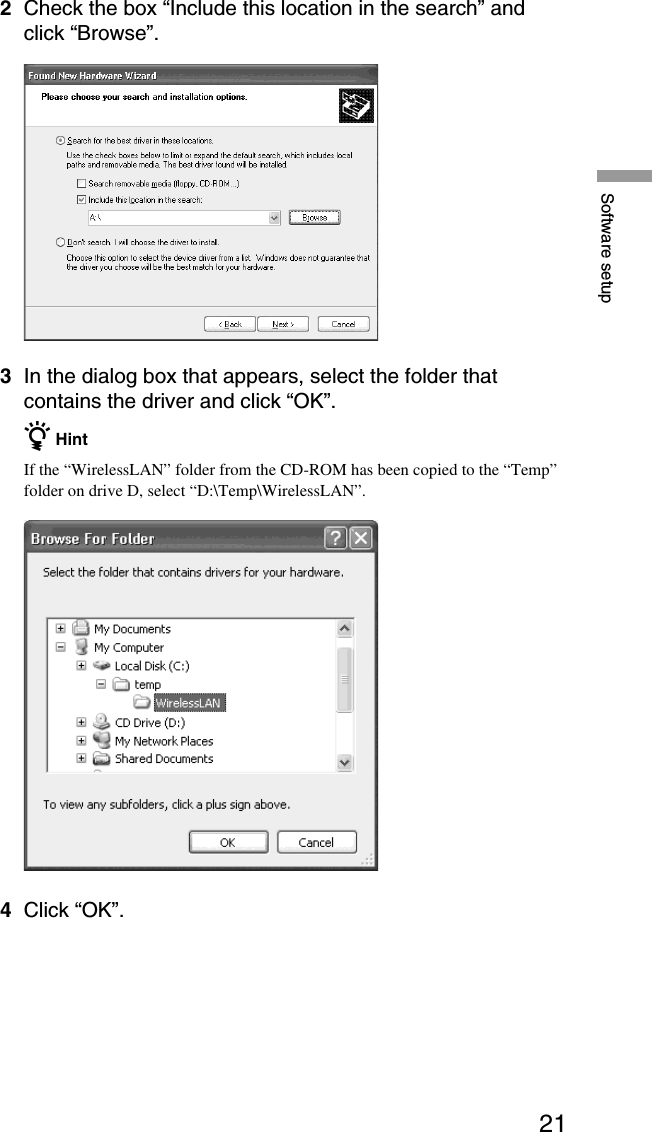
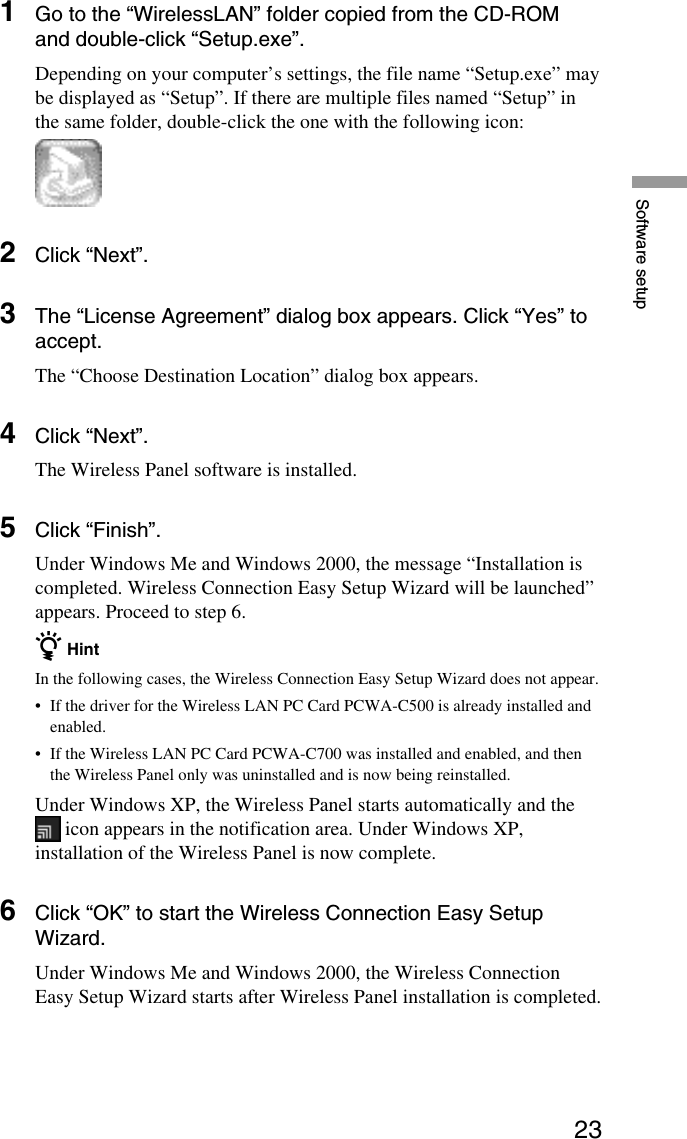
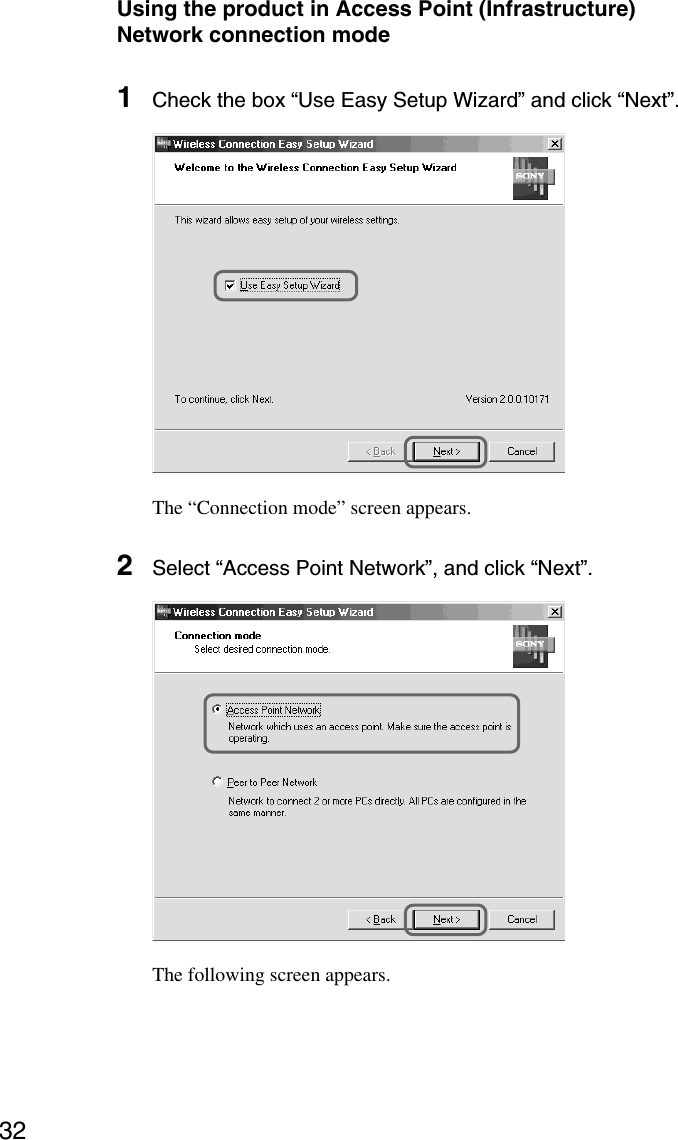
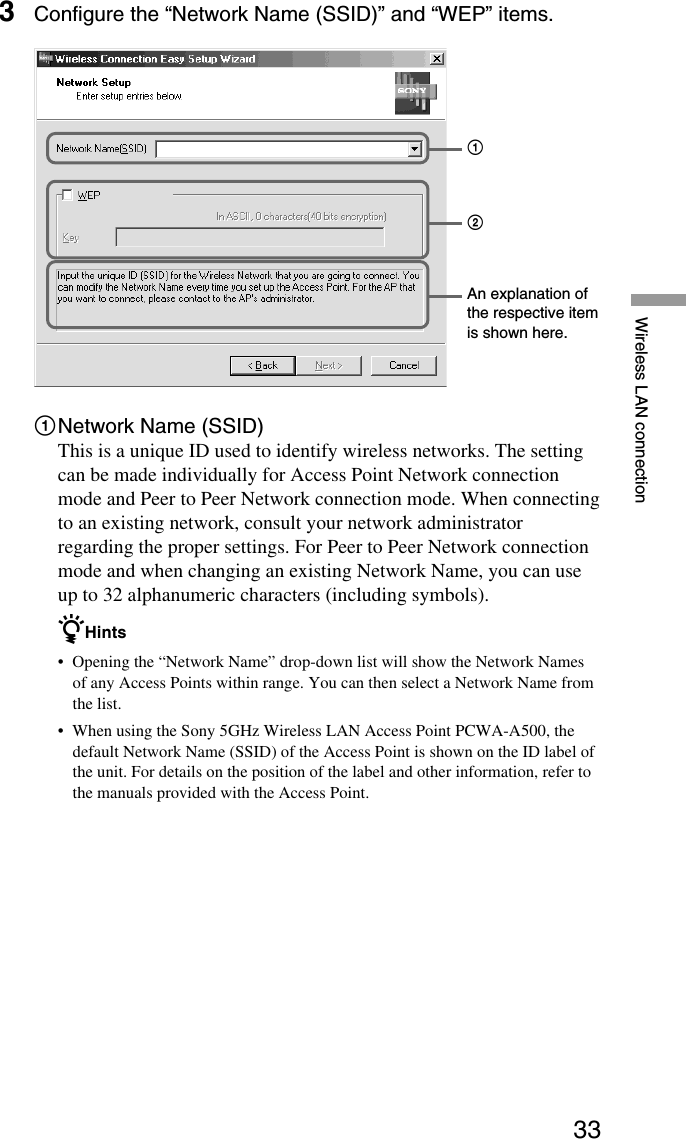
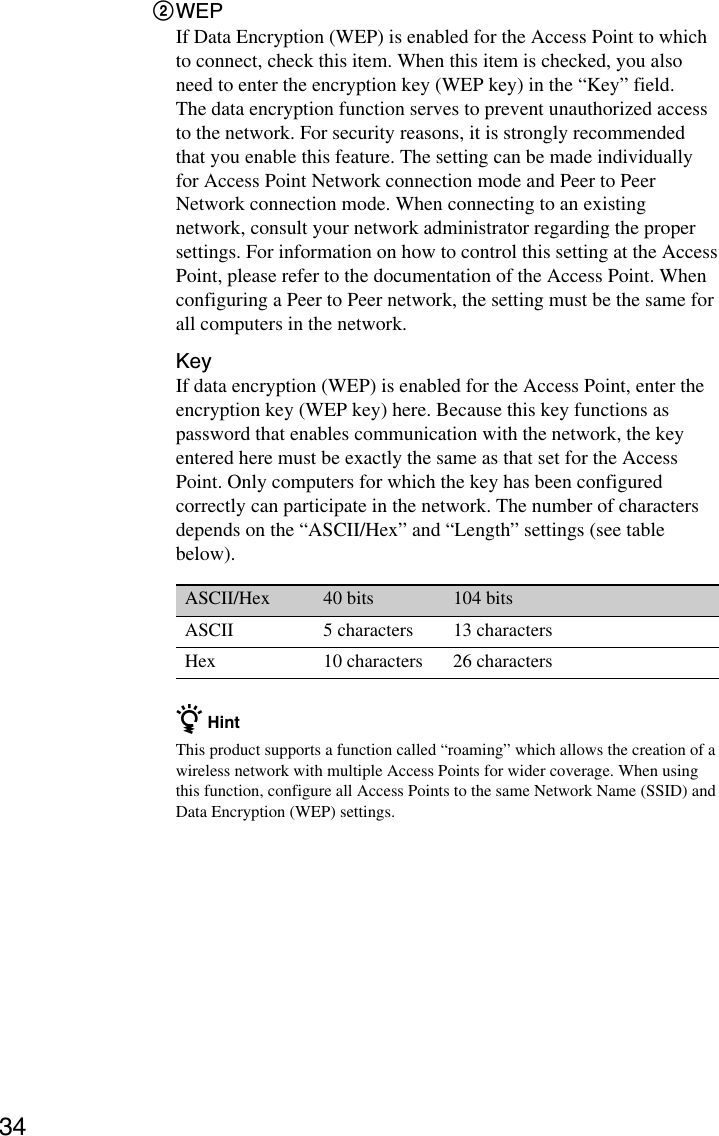
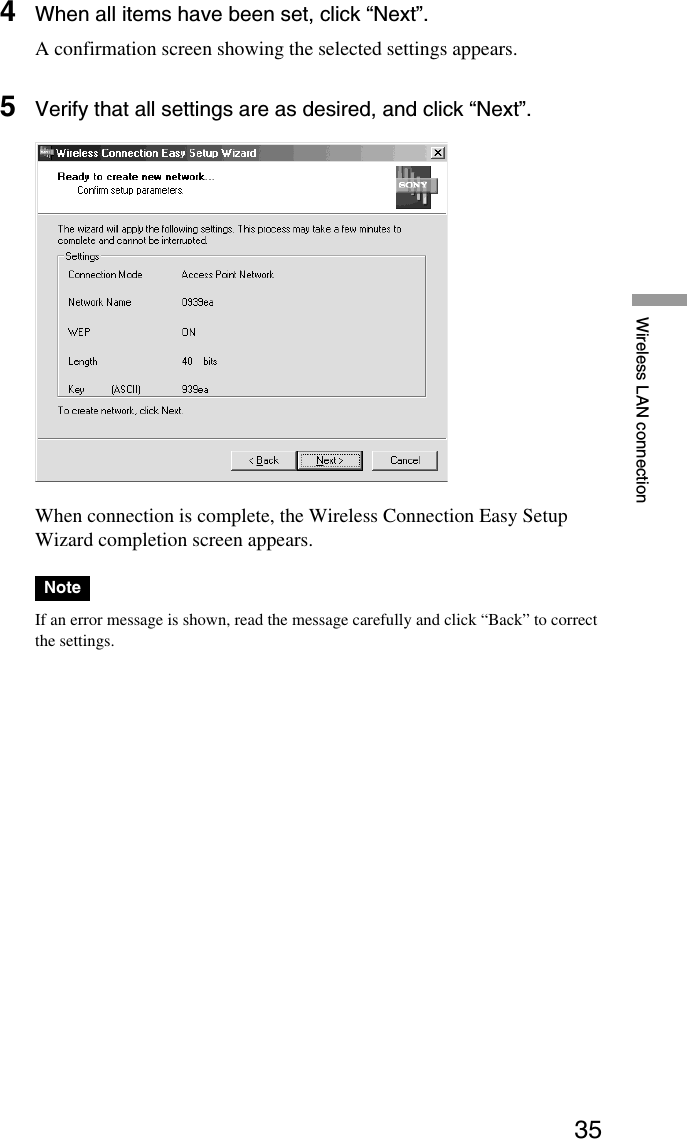
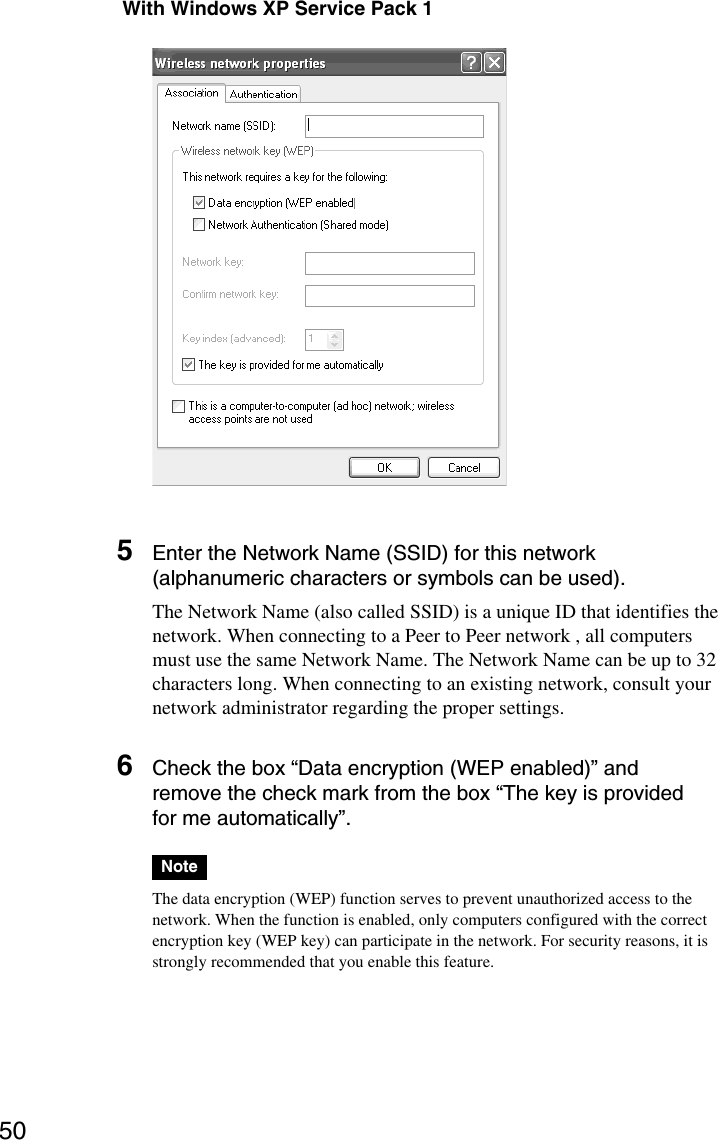
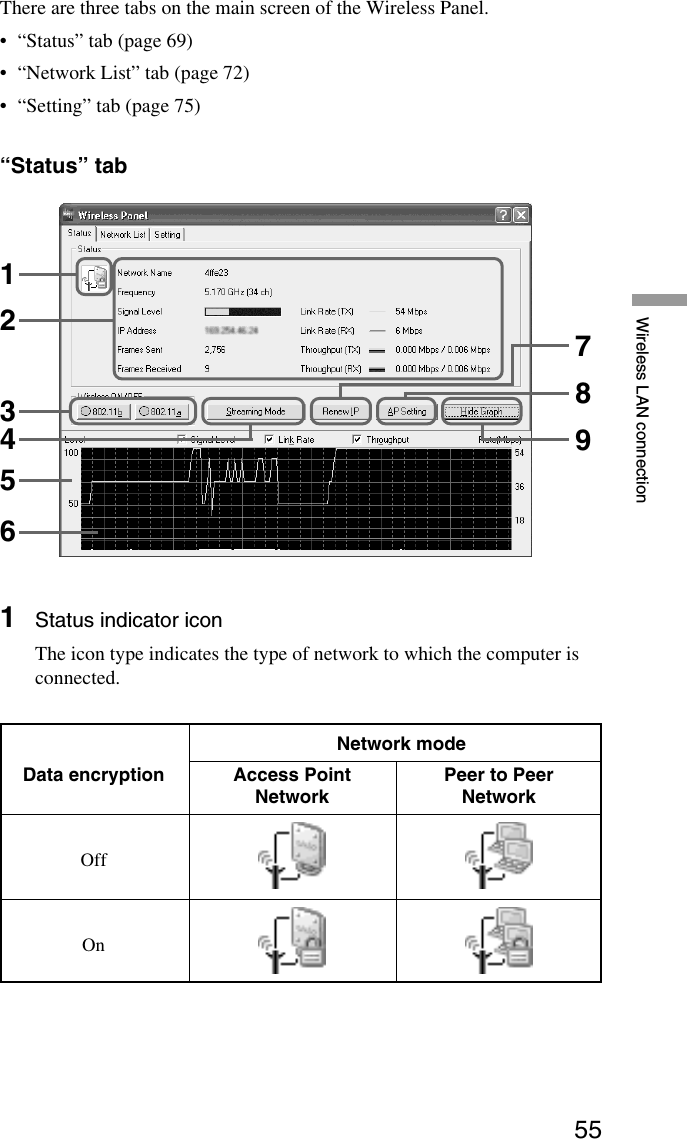
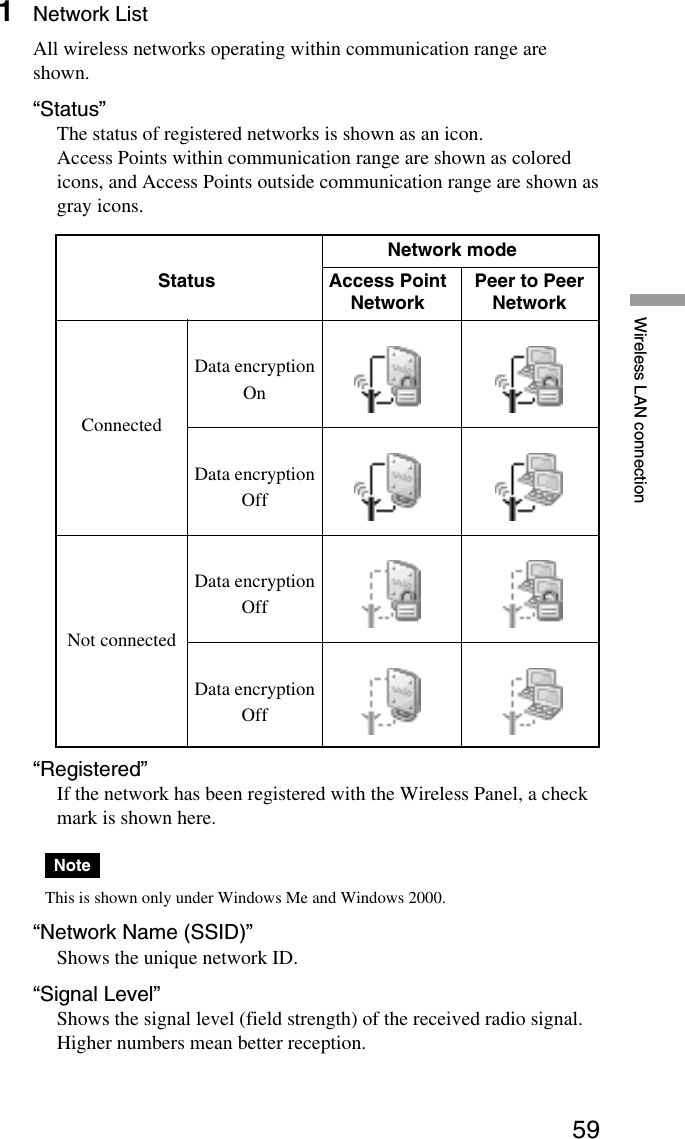
Users manual 1