Sony A1022121 GSM 900/1800/1900 mobile phone with EDGE and Bluetooth User Manual W350 Johanna UG
Sony Mobile Communications Inc GSM 900/1800/1900 mobile phone with EDGE and Bluetooth W350 Johanna UG
UserManual.wiki
>
Sony
>
A1022121 User Manual
08 user guide
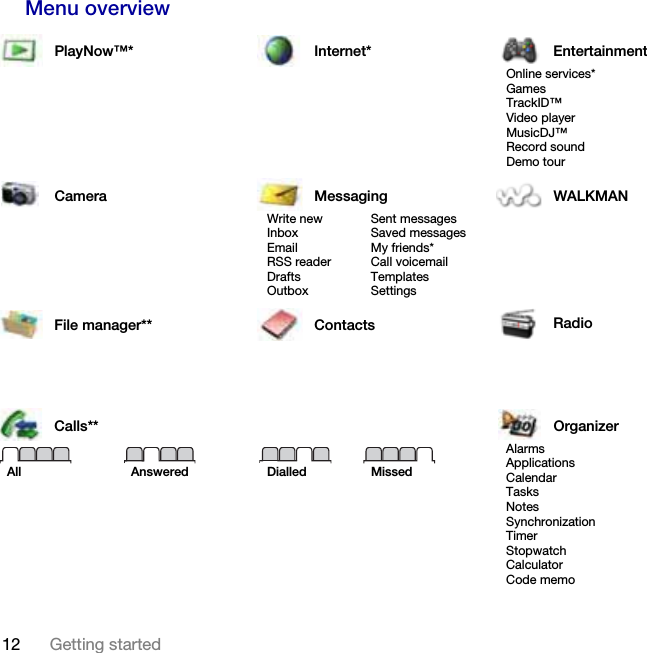
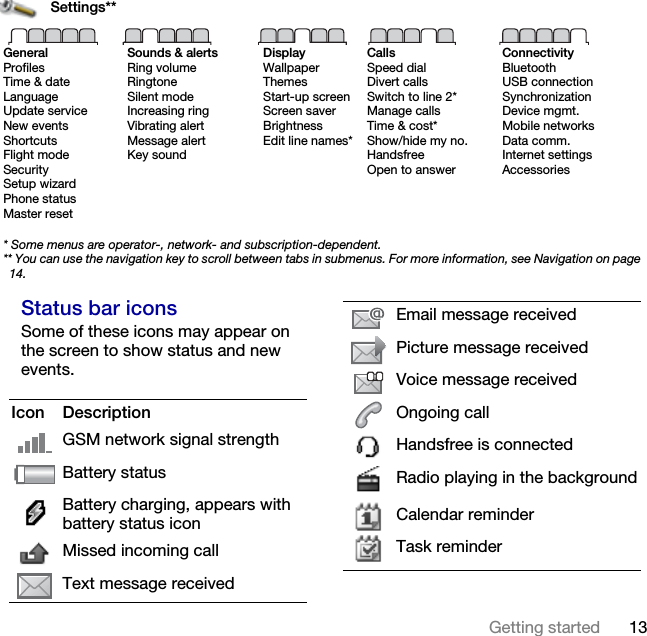
Navigation menu
Upload a User Manual
Namespaces
Wiki Guide
HTML
PDF
Info
Views
User Manual
Discussion / Help
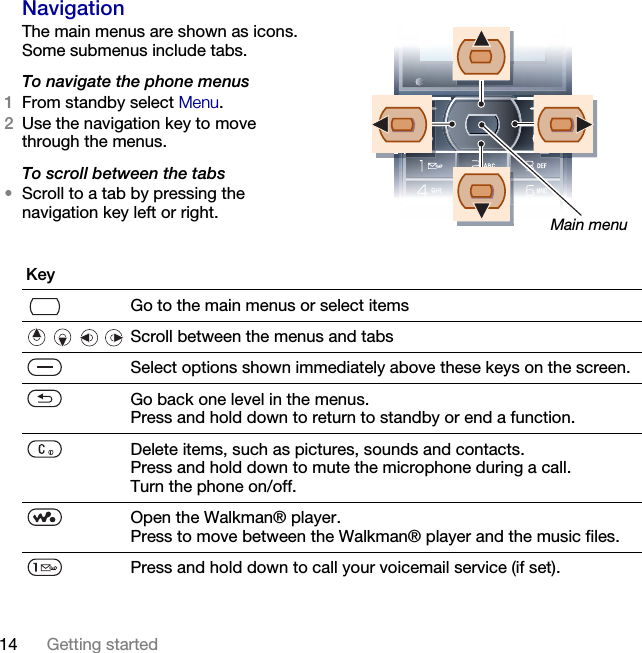
Navigation