Sony A1052171 GSM 900/1800/1900 mobile phone with GPRS/EDGE and Bluetooth User Manual
Sony Mobile Communications Inc GSM 900/1800/1900 mobile phone with GPRS/EDGE and Bluetooth
Sony >
Contents
- 1. 08 user manual
- 2. 08 user guide
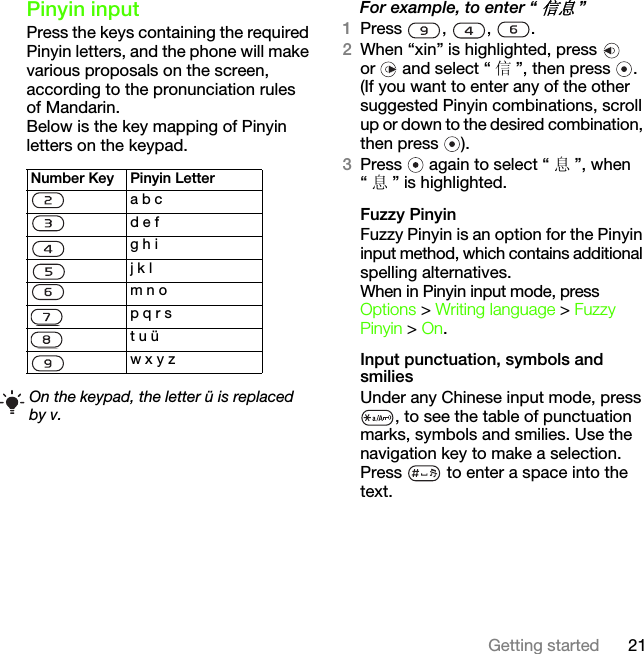
08 user manual