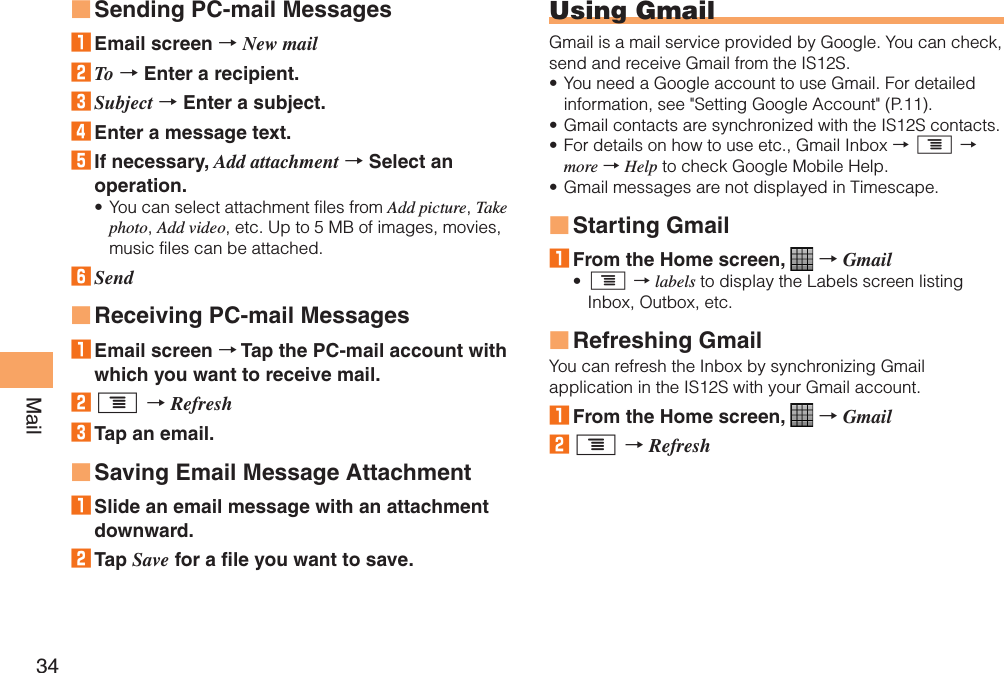
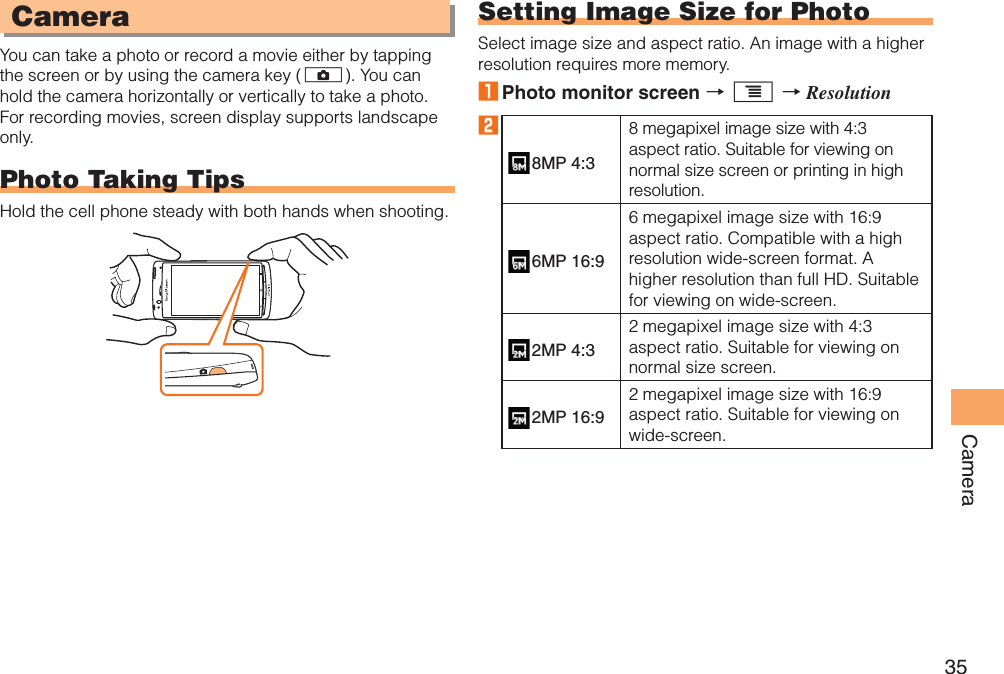
Sony A5880016 GSM/UMTS/HSPA Mobile Phone with WLAN, BT, RFID and ANT+ User Manual
Sony Mobile Communications Inc GSM/UMTS/HSPA Mobile Phone with WLAN, BT, RFID and ANT+
UserManual.wiki
>
Sony
>
A5880016 User Manual
User Manual
Navigation menu
Upload a User Manual
Namespaces
Wiki Guide
HTML
PDF
Info
Views
User Manual
Discussion / Help
Navigation
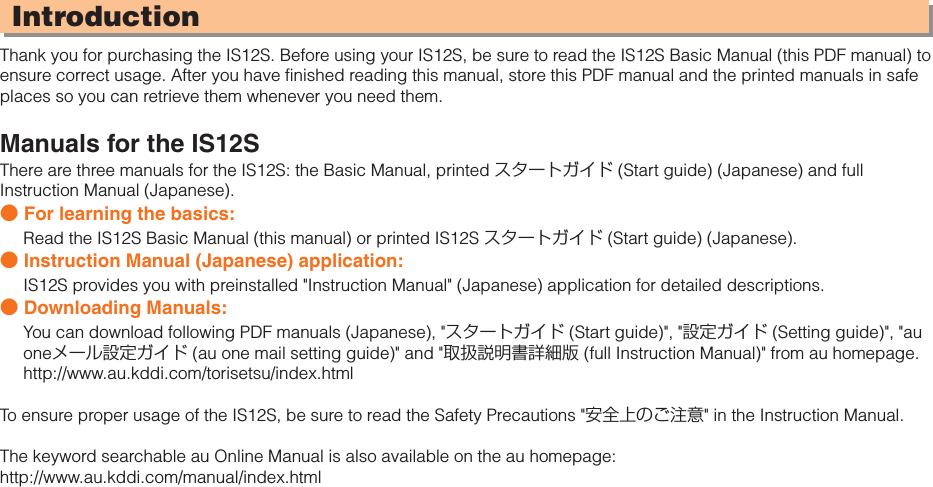

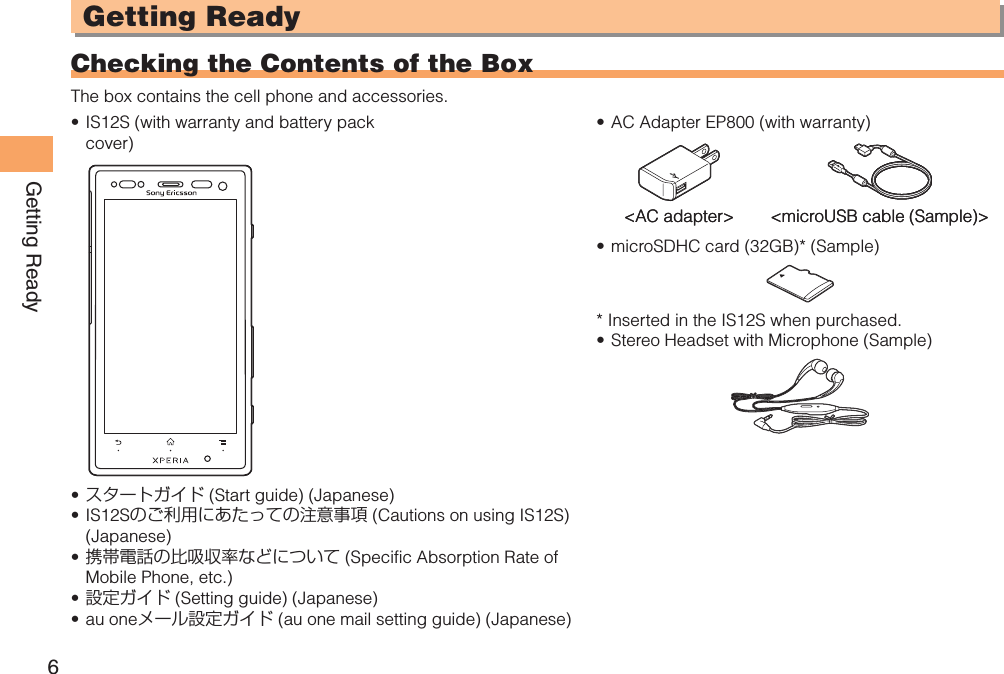
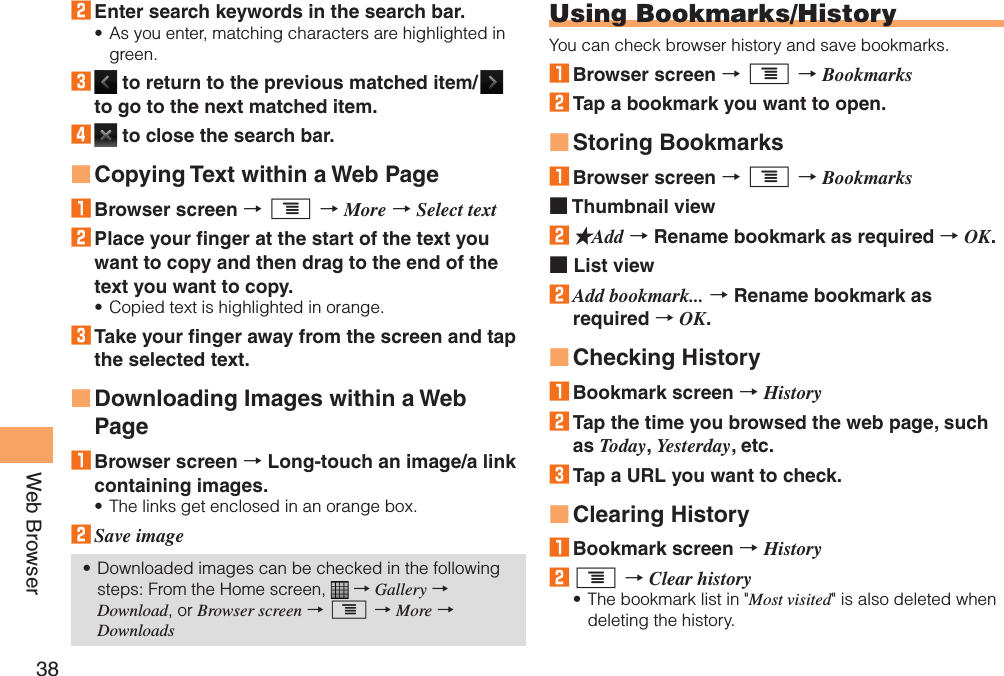
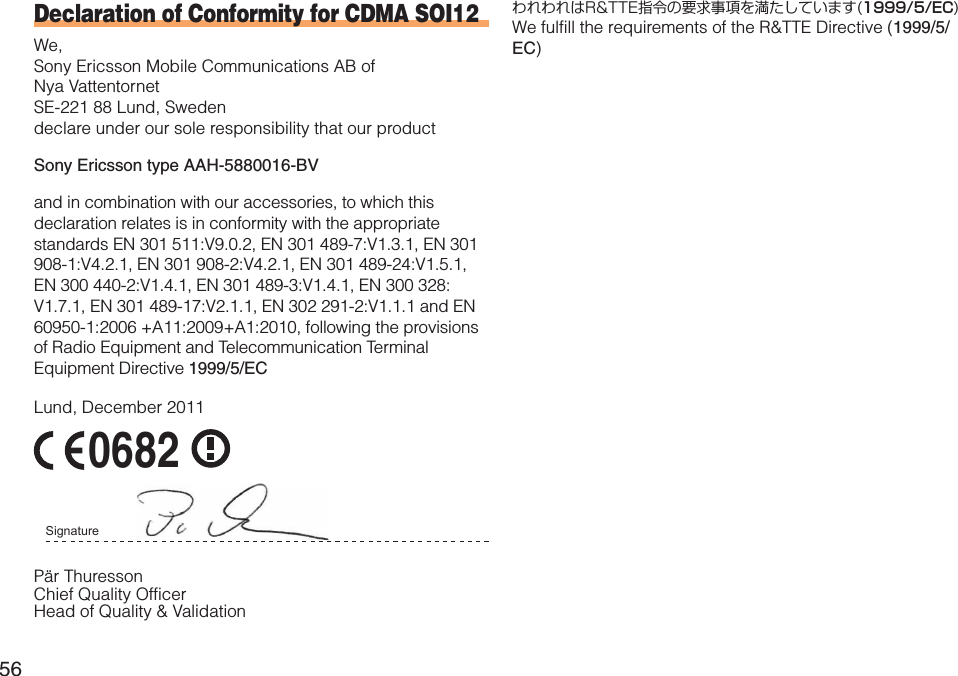
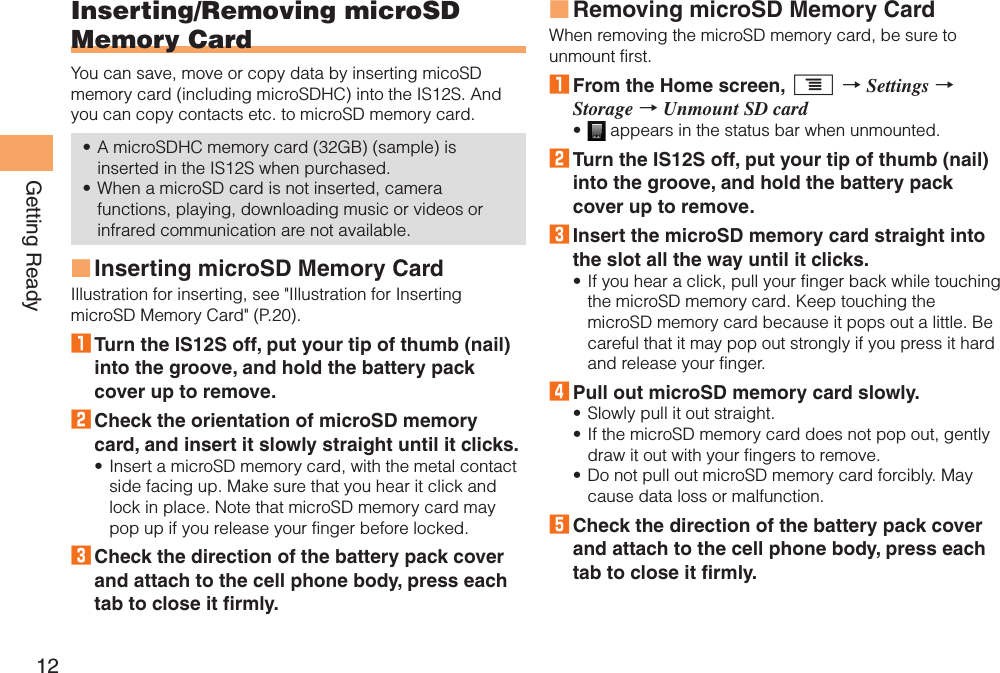
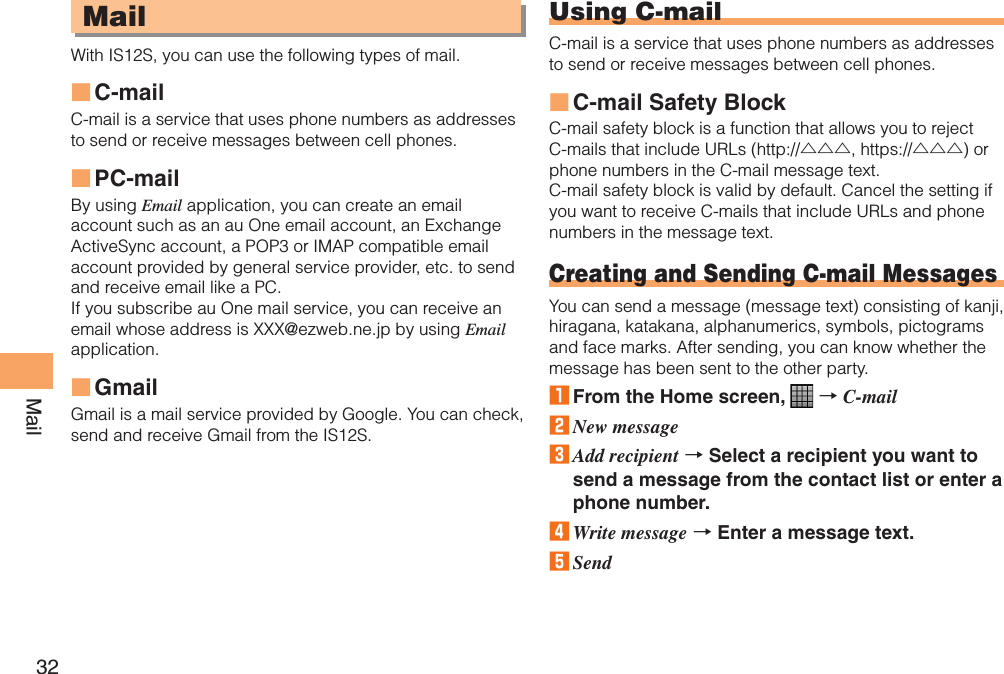
![11Getting ReadyInitial SetupThe first time IS12S turns ON, the initial setting screen appears automatically. After setting the display language, "Setup guide" appears. Follow the onscreen instructions to set each function.1 English (United States) → 次へ (Next)You can check the operations of main functions and initial settings.2 NextTap Change to change Date & time.3 NextTap View to check how to use the keyboard.4 NextTap View to check how to use the application Timescape™.5 NextTap Set up to set up services you want to use.You can set up the services afterward in the following procedure: From the Home screen, tap → Setup guide or from the settings screen, select each item.6 Next → Finish••••••Setting Google AccountYou can create a Google account on the IS12S and use Google services. Google account setup screen appears such as when launching a software that requires a Google account for the first time. You can also display it from Setup guide.1 Google account setup screen → Next2 Create/Sign inIf you already have a Google account, tap login, enter user name and password and tap login. If you have no Google account, tap Create and register an account following the onscreen instructions.Checking Your Phone NumberYour phone number appears at the top of the contact list. You can edit your contact information such as a name, mail address, etc.1 From the Home screen, → Contacts2 Tap [XXX-XXXX-XXXX] (Myself) at the top of the contact list.3 Edit4 Done•](https://usermanual.wiki/Sony/A5880016/User-Guide-1631165-Page-13.png)
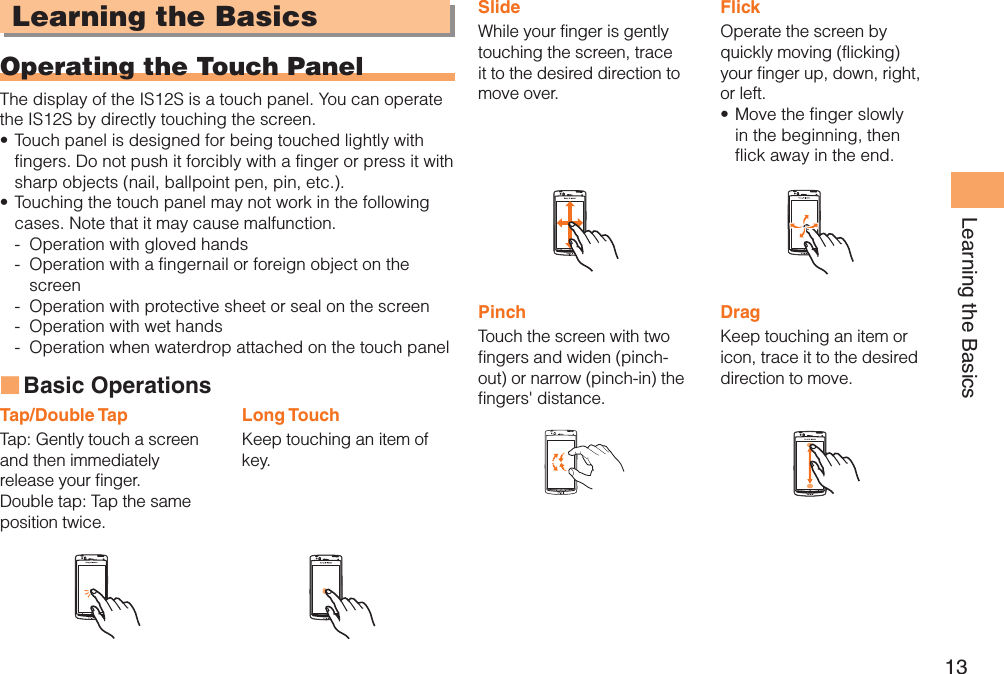


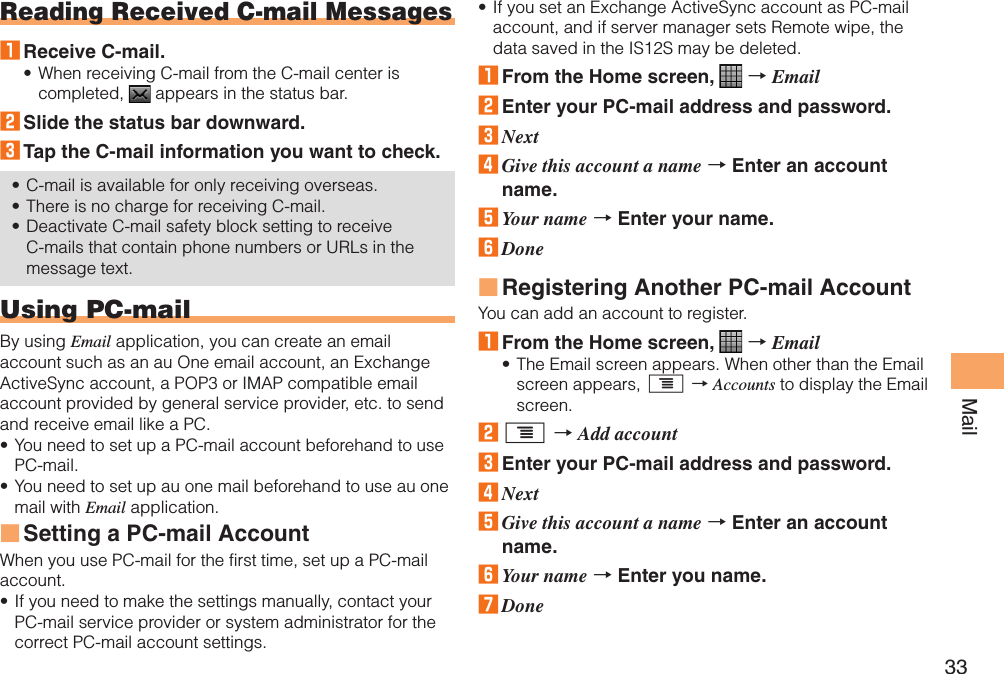

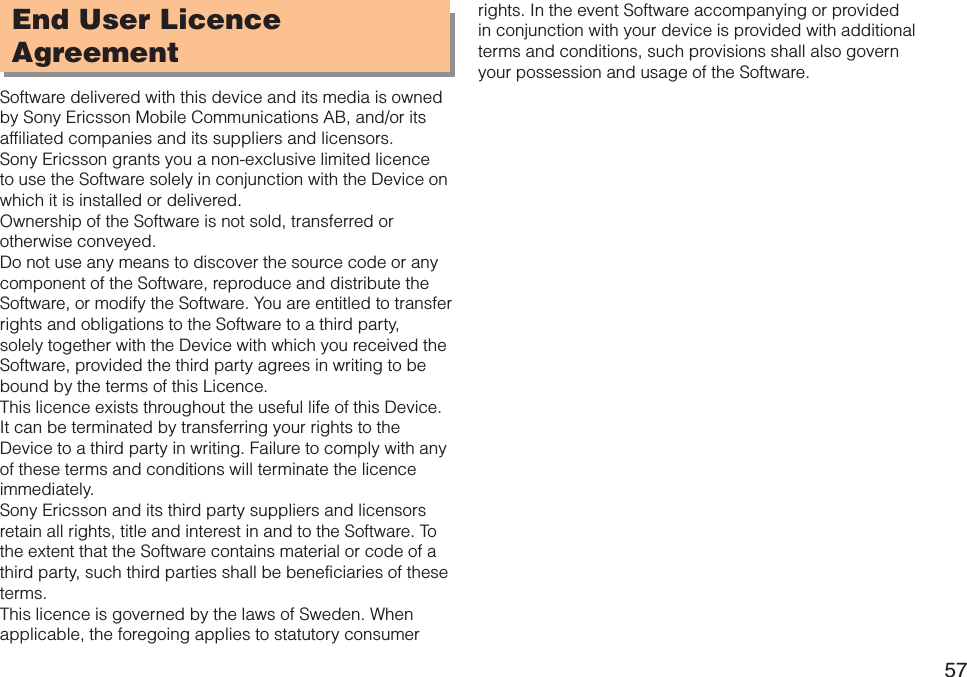
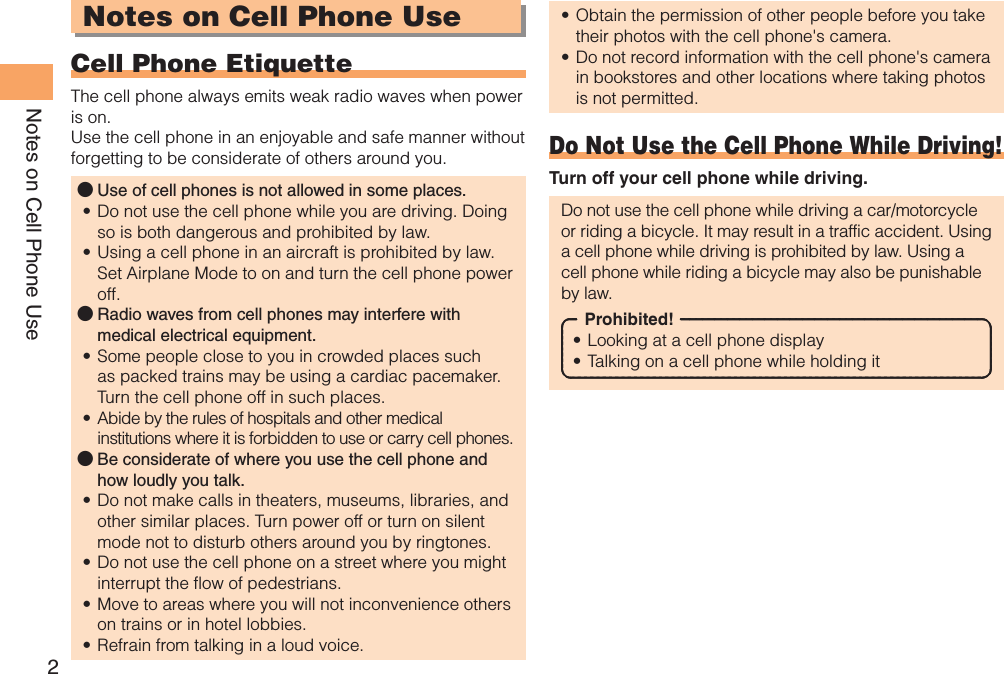
![37Web BrowserWeb BrowserViewing Sites with Web BrowserYou can use a browser to view web pages just as you can on a PC.Displaying a Web Page1 From the Home screen, BrowserYou can view the browser screen turning the IS12S sideways. If the screen orientation does not change automatically when you turn the IS12S sideways, from the Home screen, t → Settings → Display, then mark Auto-rotate screen.Browser screen → t → More → Settings → Mark Landscape-only display to fix the landscape view.Basic Operations in the Browser ScreenThe following operations are available.Tap: Selects or activates a link or a key.Slide/Flick: Scrolls a screen.Pinch out/in: Zooms in/out on a screen.Double tap: Zooms in/out on a tapped point (depending on the web pages, some operations may not be available). : Zoom out : Zoom in••■••••••Moving to a Web Page1 Browser screen → Tap the search box.2 Enter URL or search keywords.3 Select an item from the list/ [ ] in the search box.4 To return to the previous page, press x.Using WindowsYou can open new windows while browsing. Up to 8 windows can be opened.Opening a New Browser Window1 Browser screen → t → New windowSwitching the Windows1 Browser screen → t → Windows2 Tap a window you want to display.Closing a Browser Window1 Browser screen → t → Windows2 for a window you want to close.Searching for Text within a Web Page1 Browser screen → t → More → Find on page■■■■](https://usermanual.wiki/Sony/A5880016/User-Guide-1631165-Page-39.png)