Sony PM-0510 850/900/1800/1900 GPRS / EDGE / UMTS FDD1&8 / HSPA mobile phone with Bluetooth, WLAN 802.11bgn and GPS/A-GPS support User Manual Sony Ericsson Mobile Communications AB
Sony Mobile Communications Inc 850/900/1800/1900 GPRS / EDGE / UMTS FDD1&8 / HSPA mobile phone with Bluetooth, WLAN 802.11bgn and GPS/A-GPS support Sony Ericsson Mobile Communications AB
Sony >
Contents
- 1. User Manual
- 2. SAR Info Leaflet
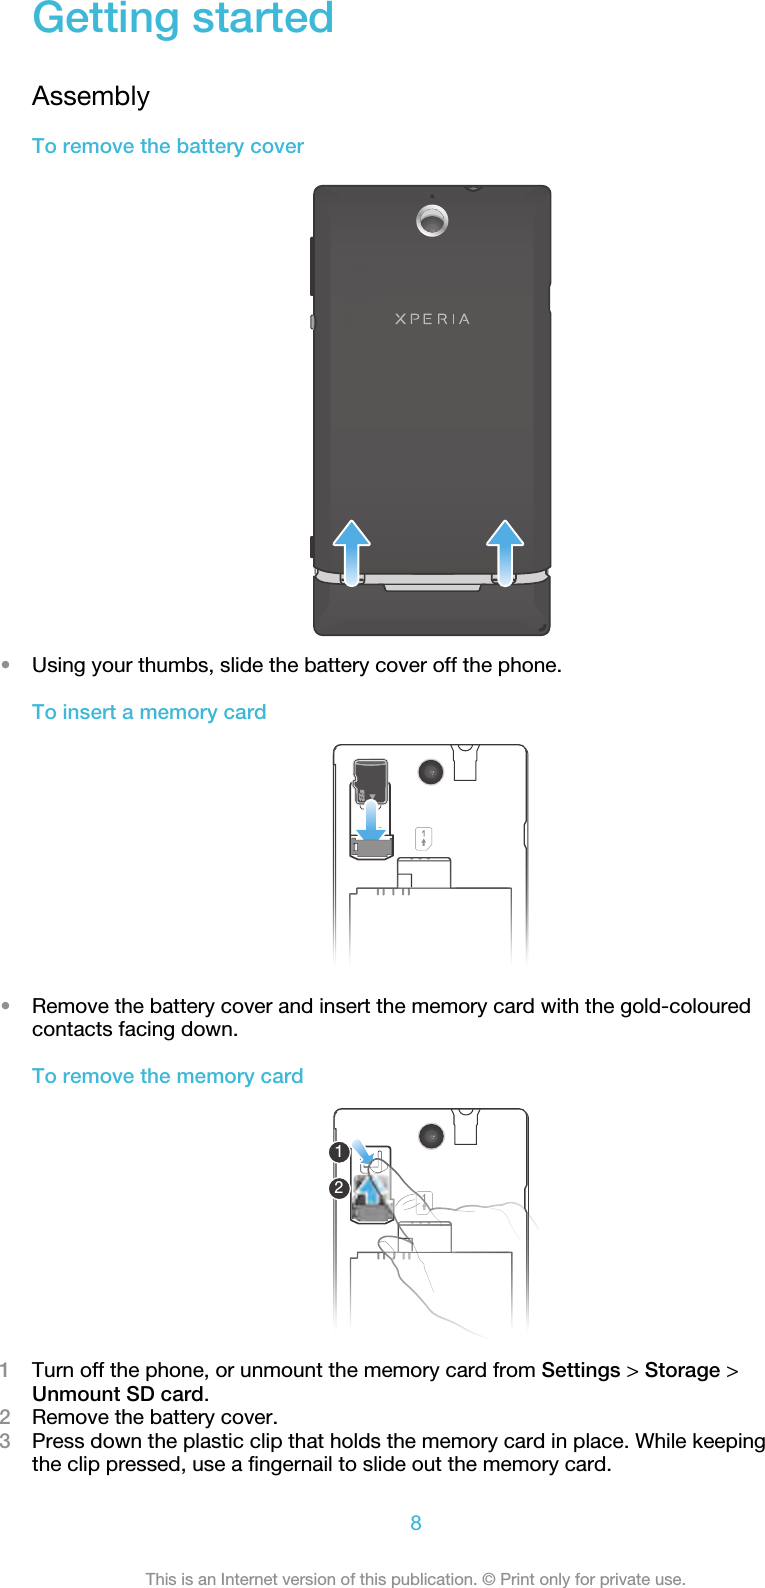
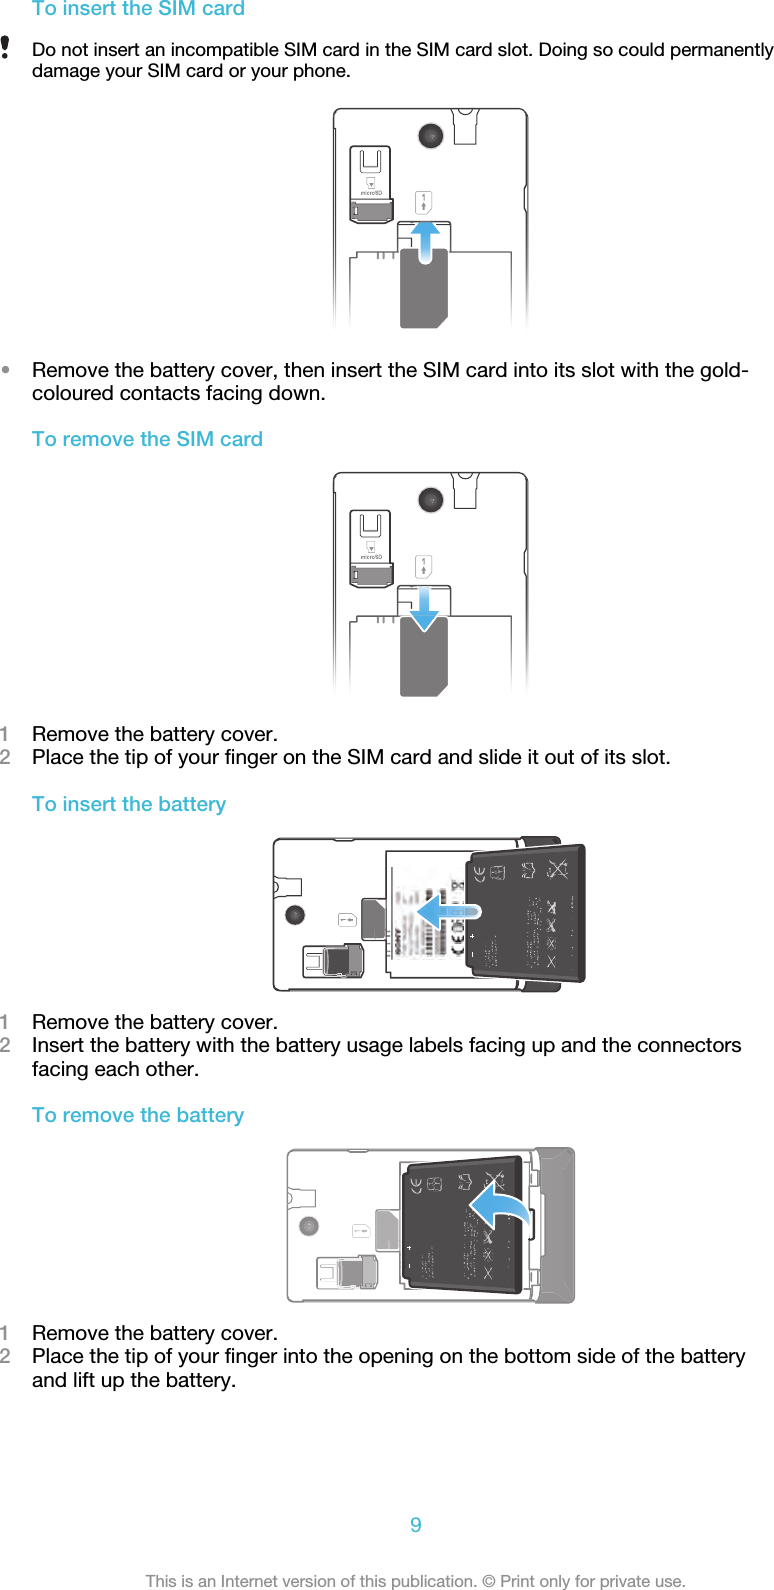
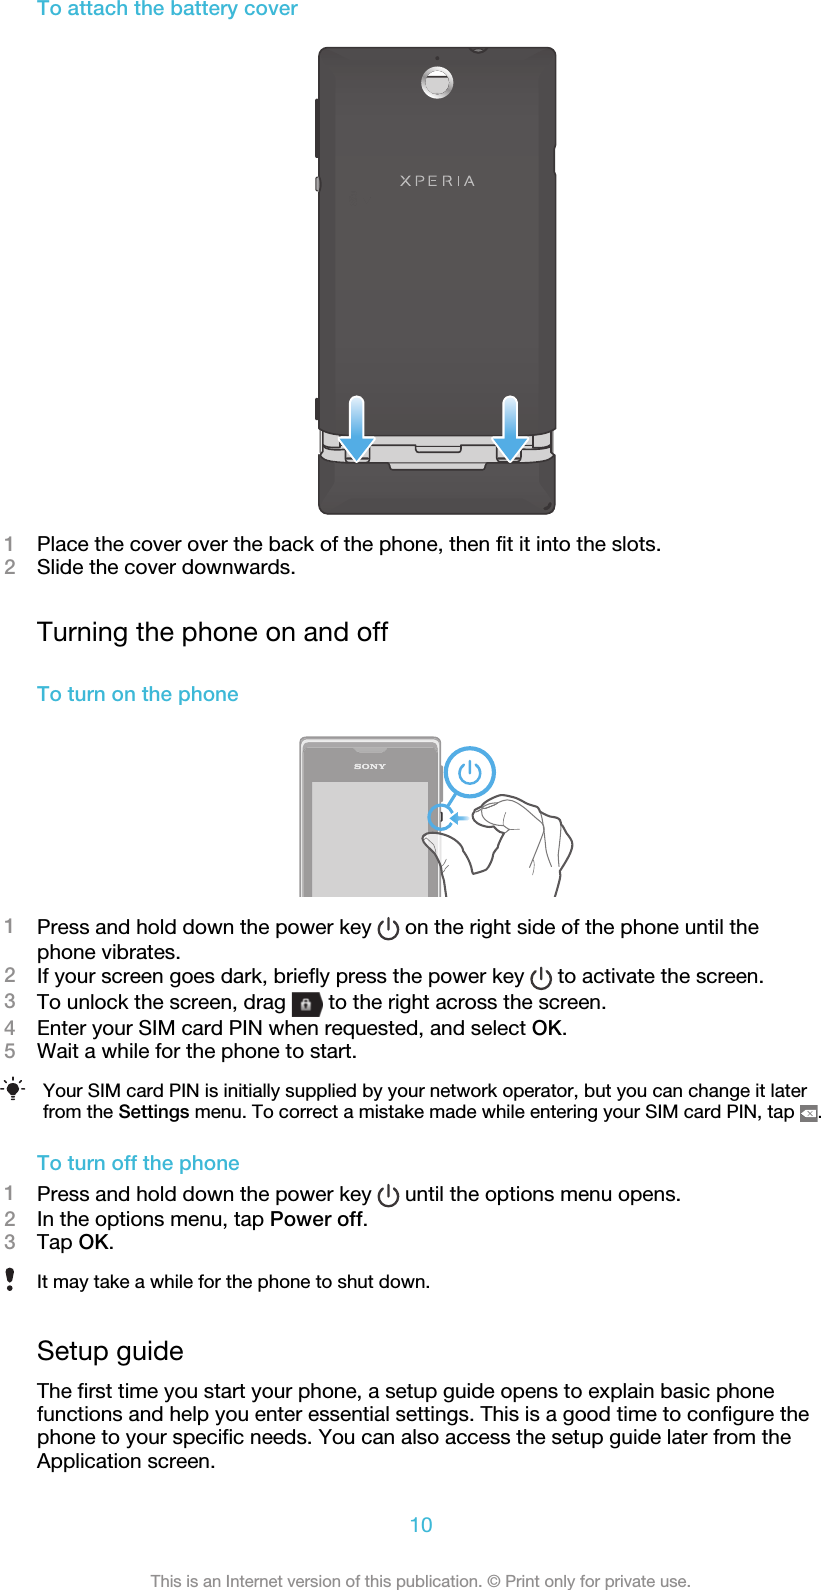
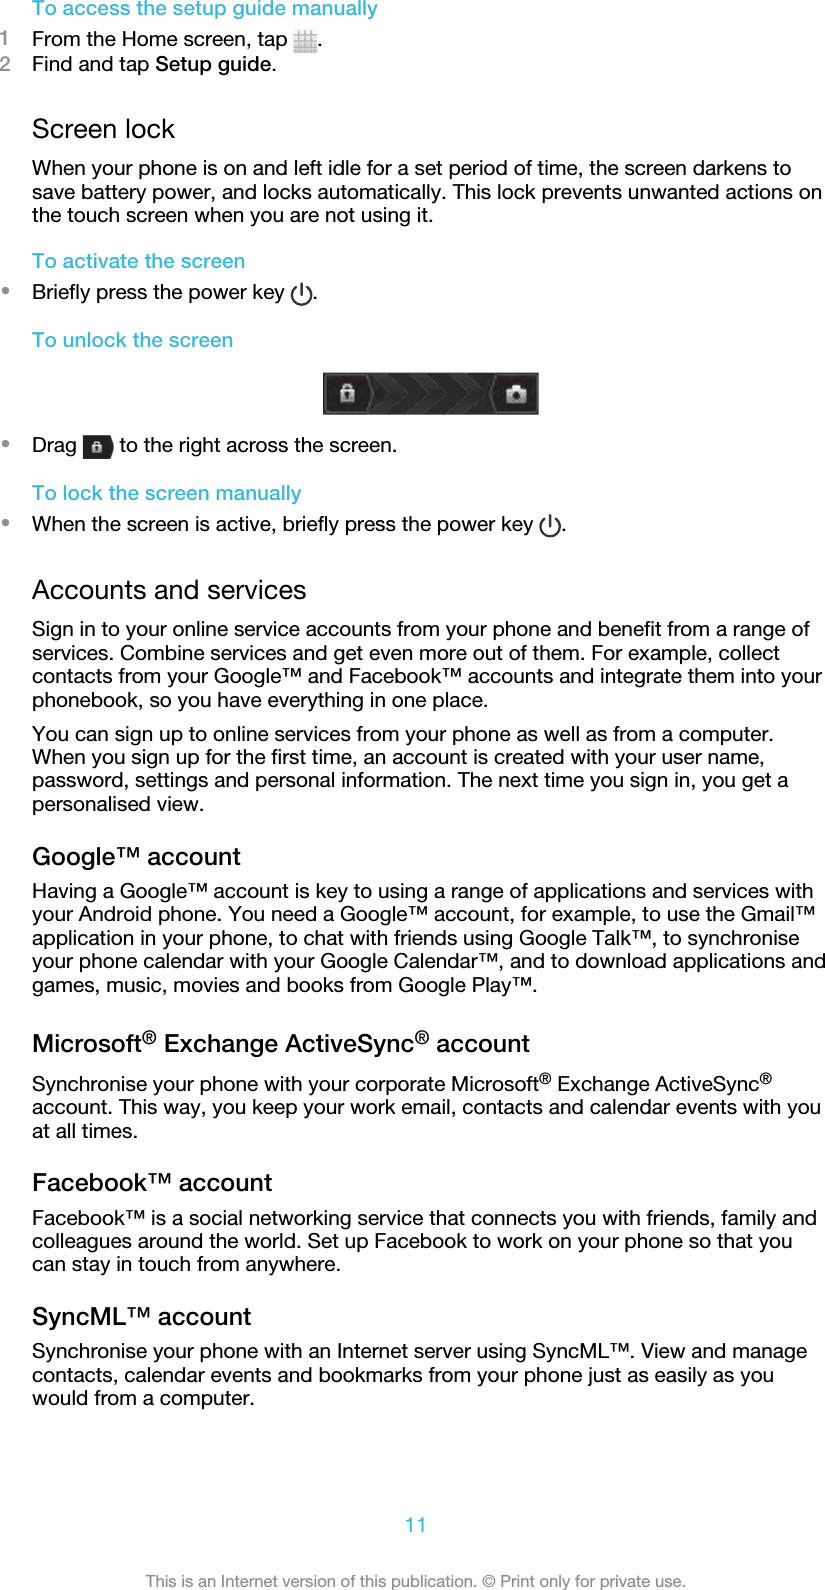
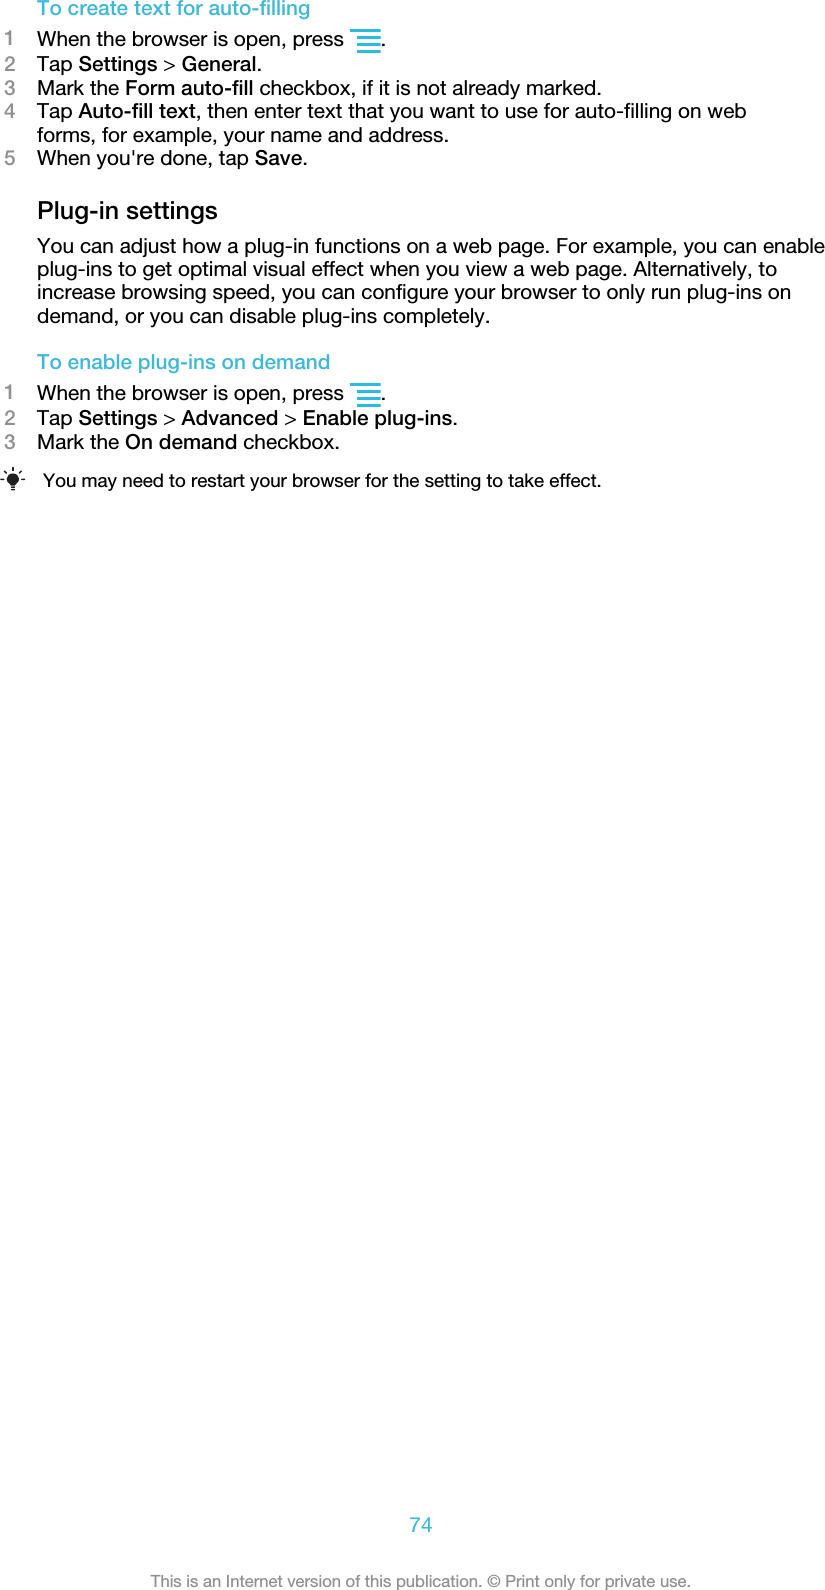
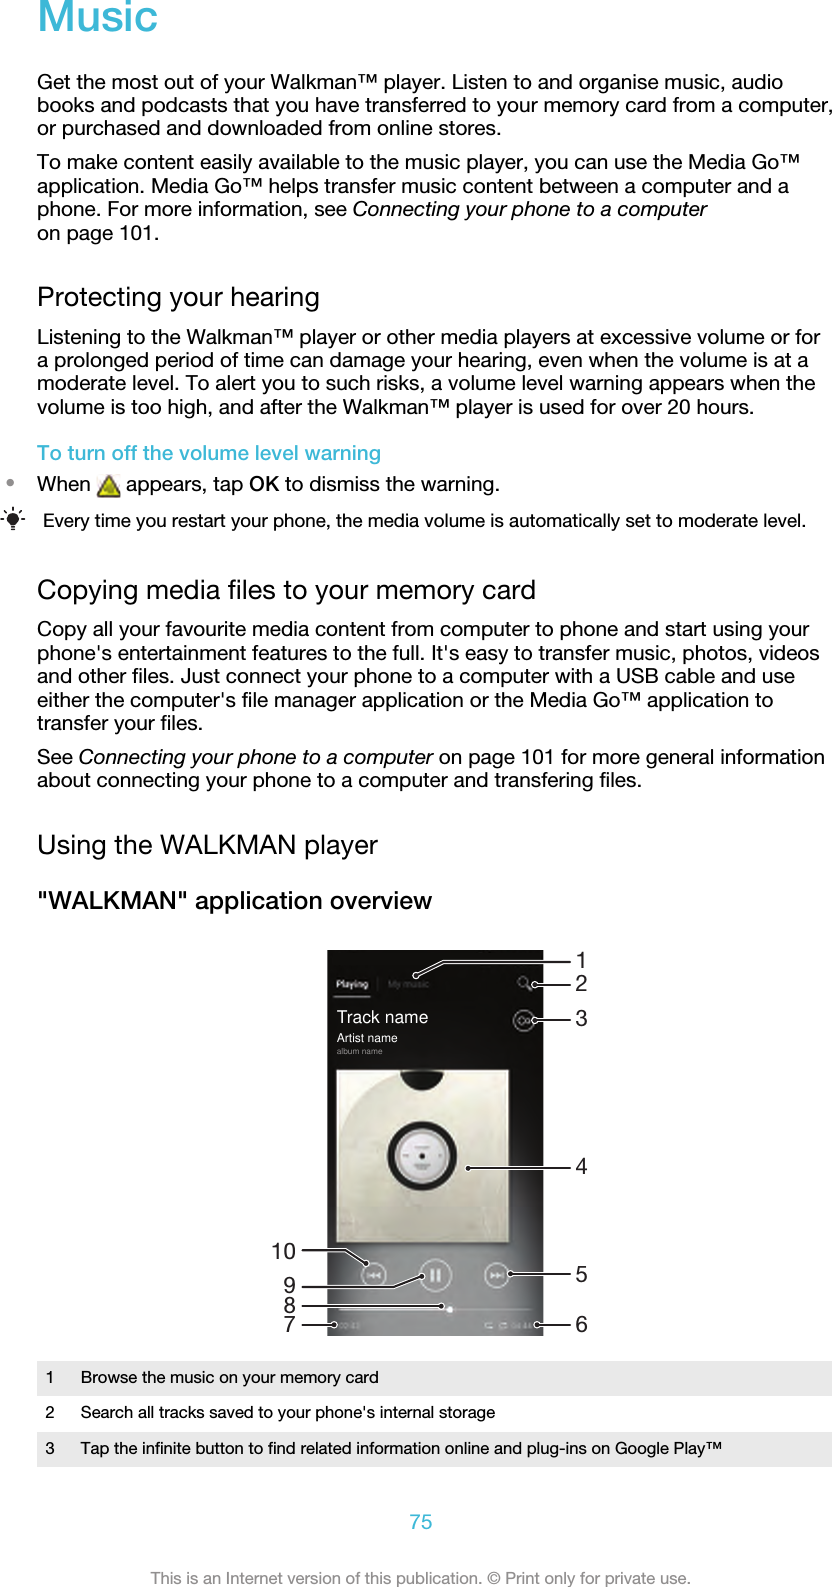
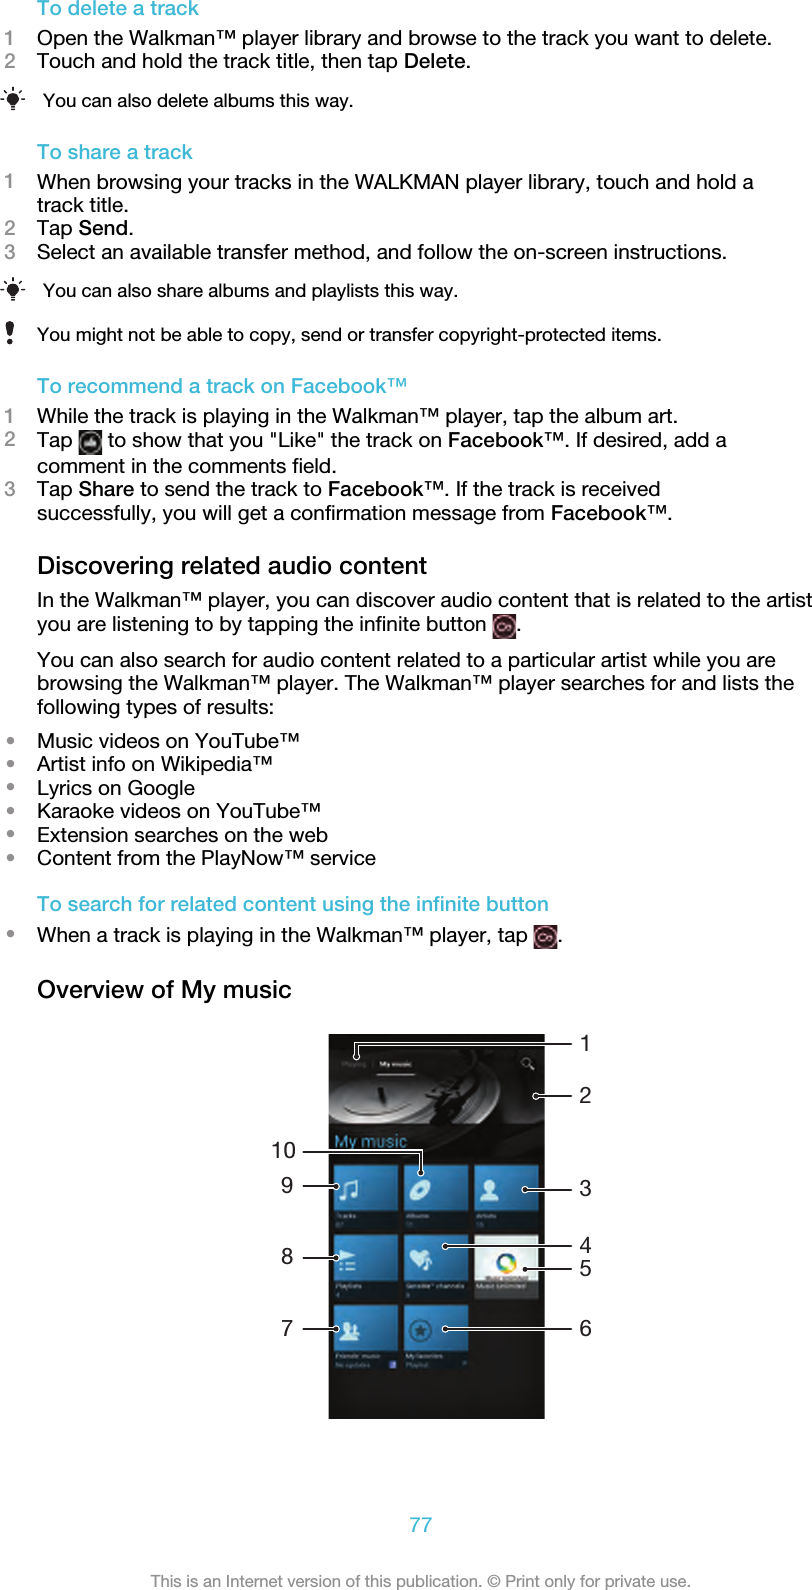
User Manual