Sony PM0817 GSM/WCDMA/LTE mobile phone User Manual Sony Mobile Communications AB
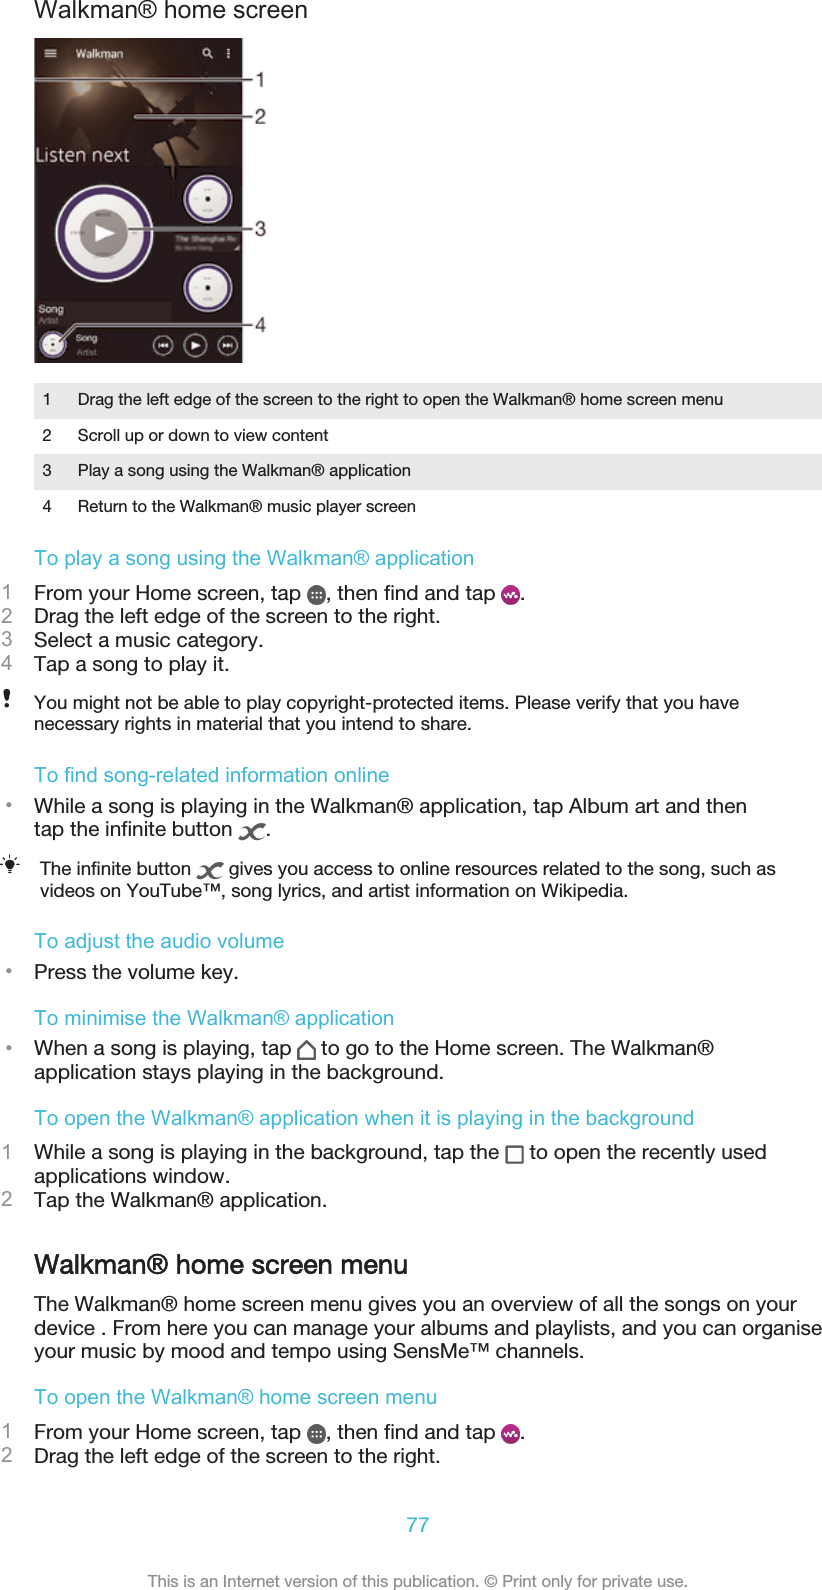
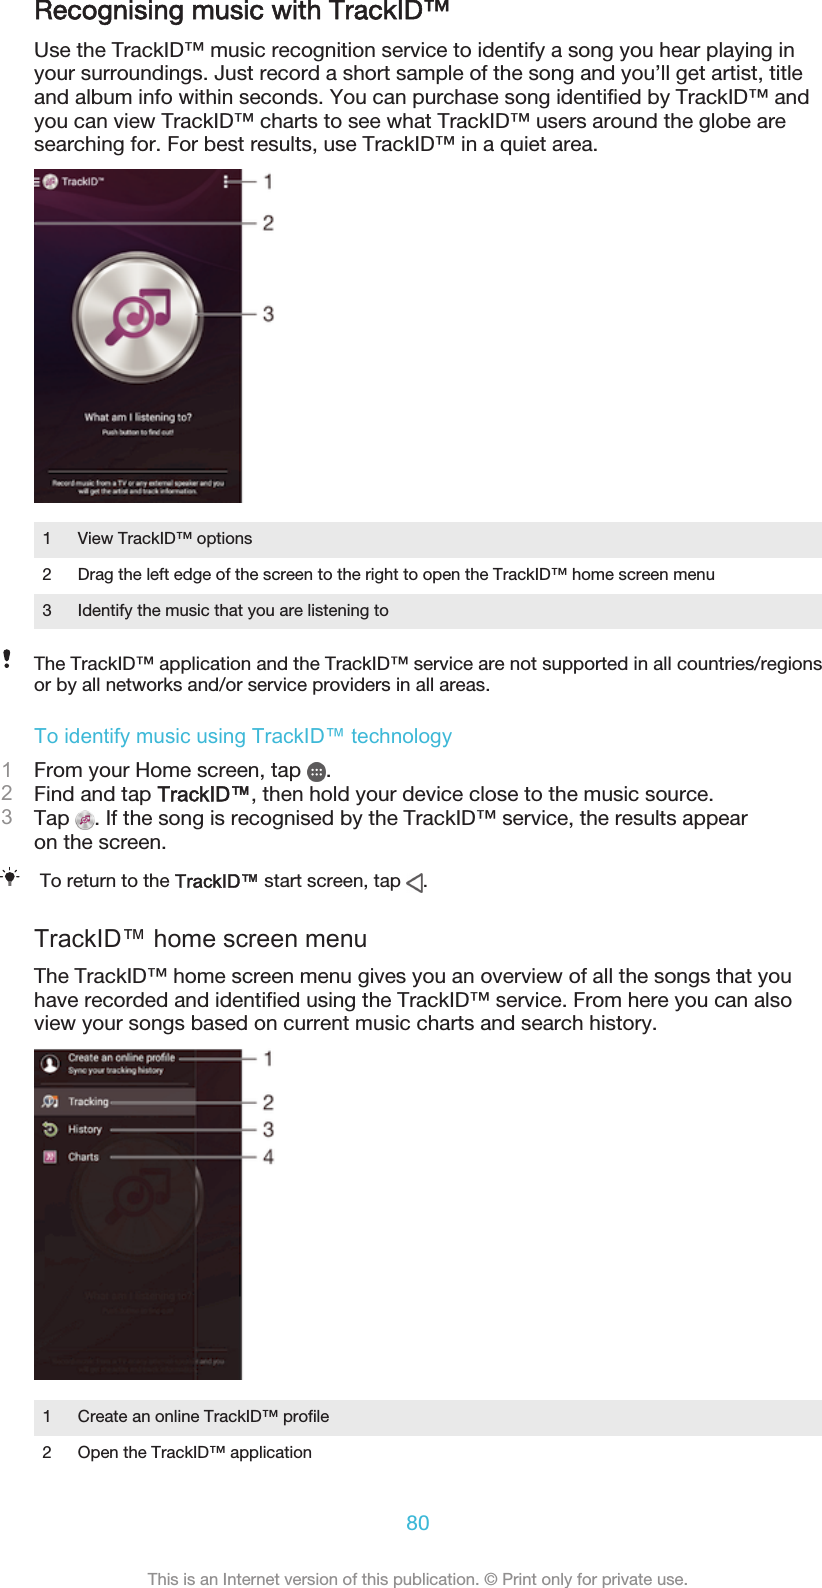
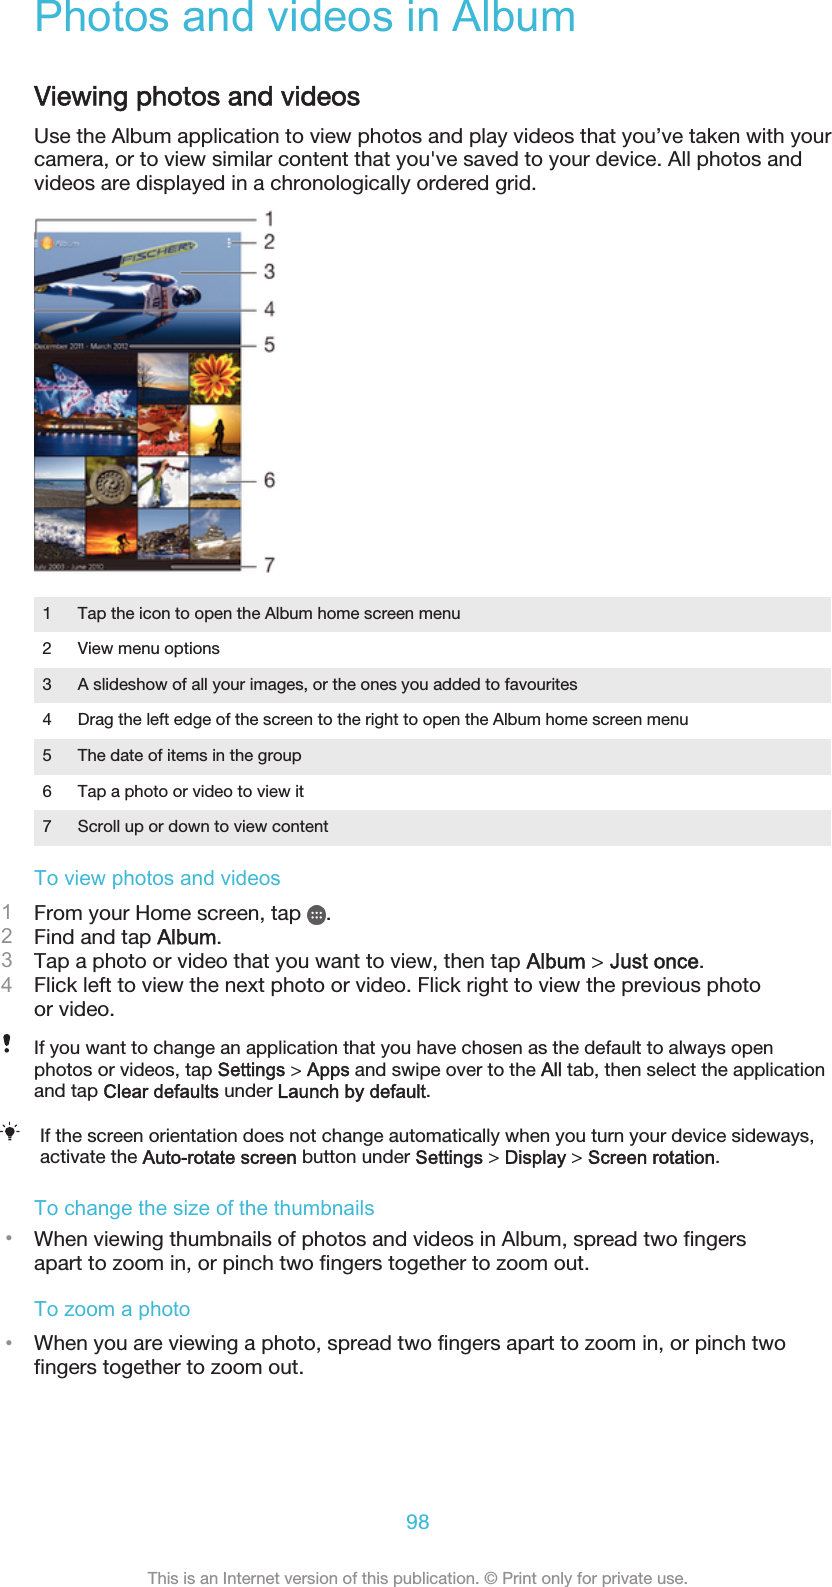
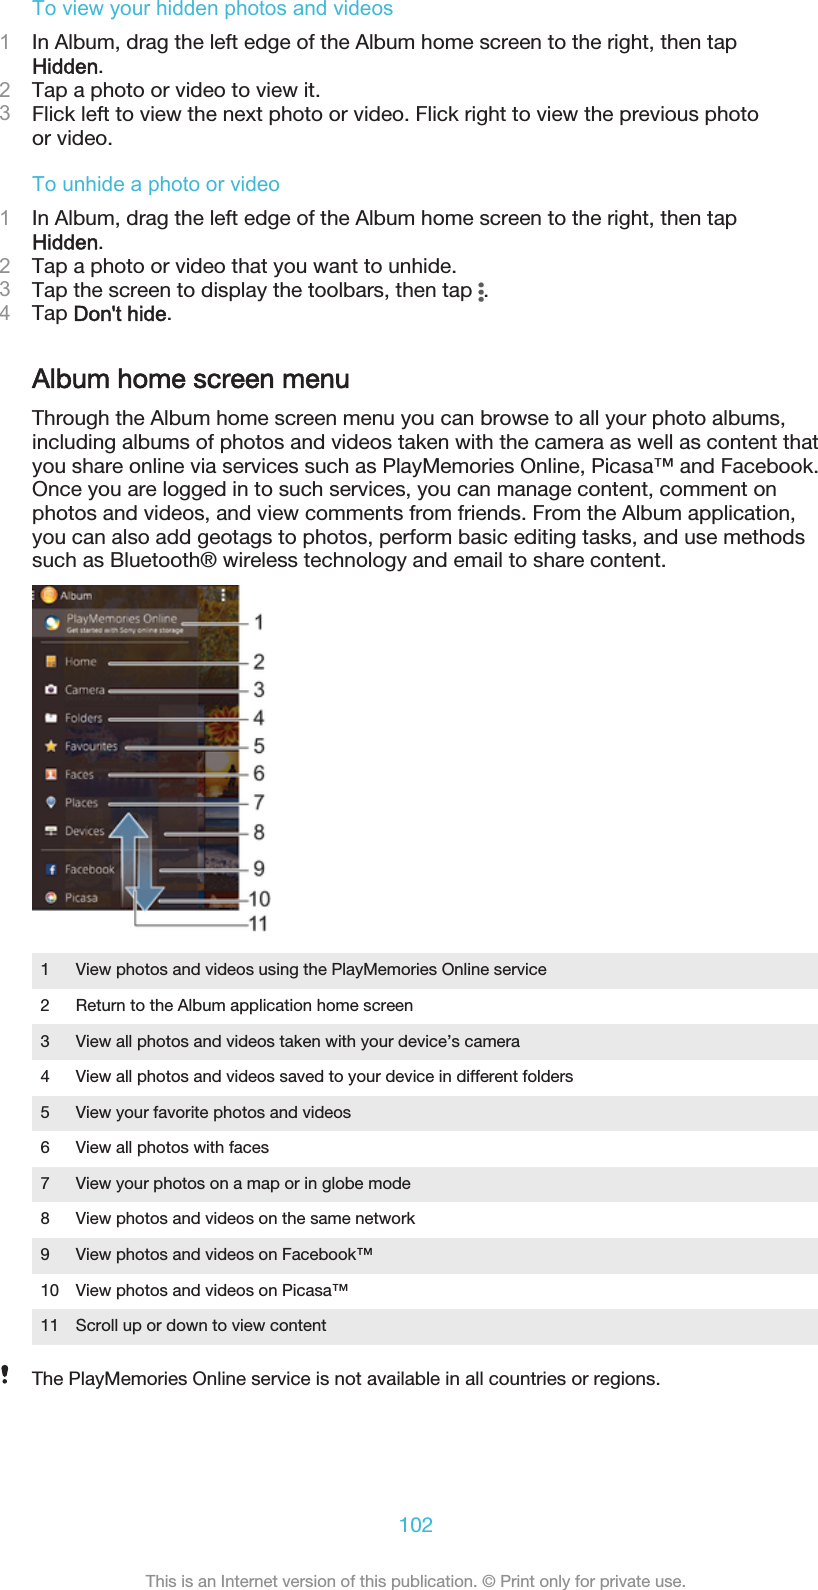
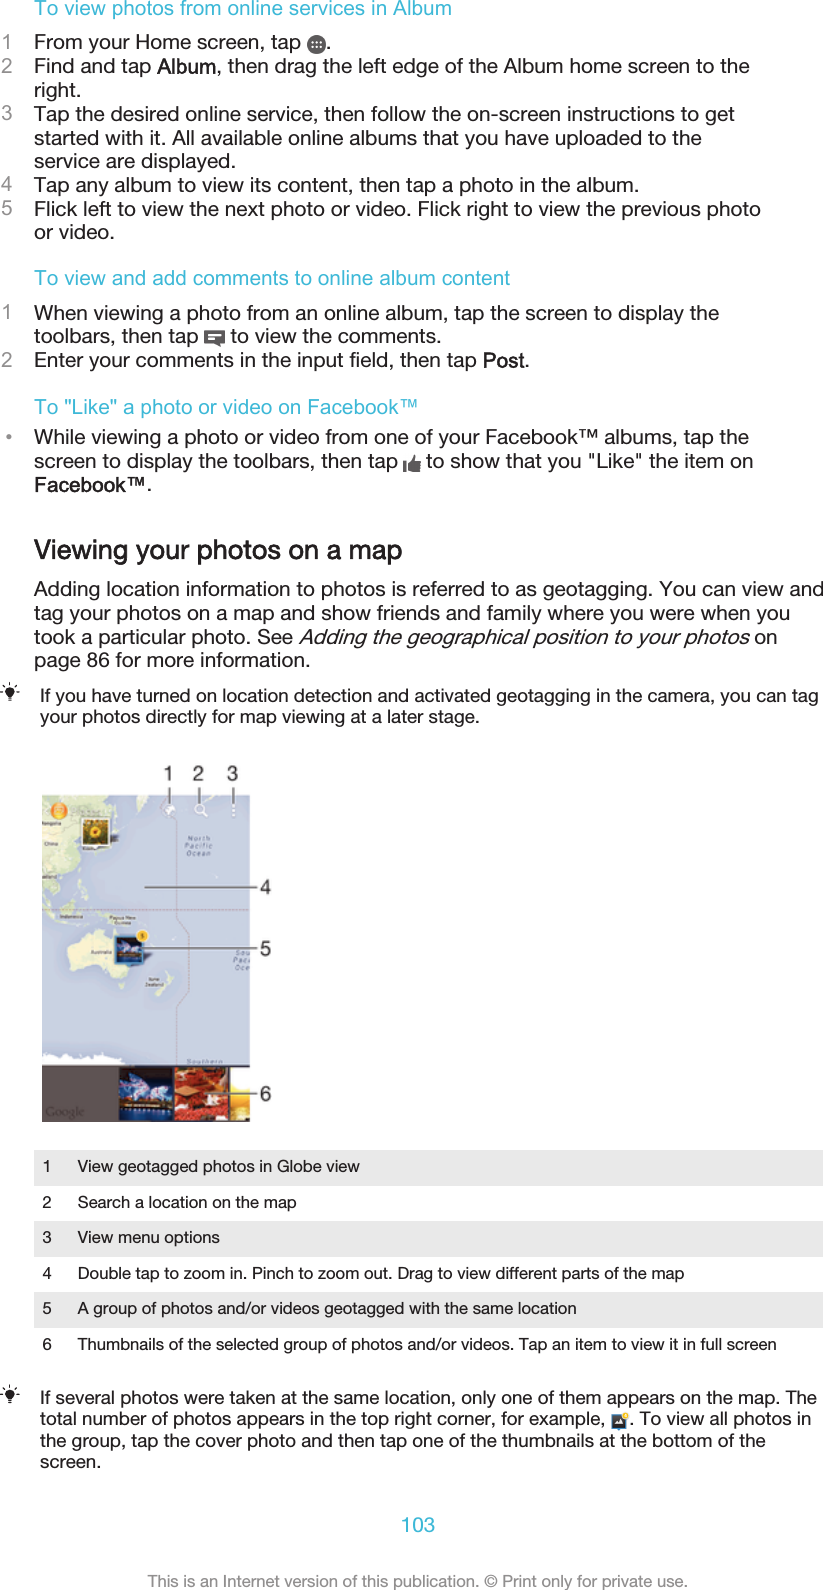
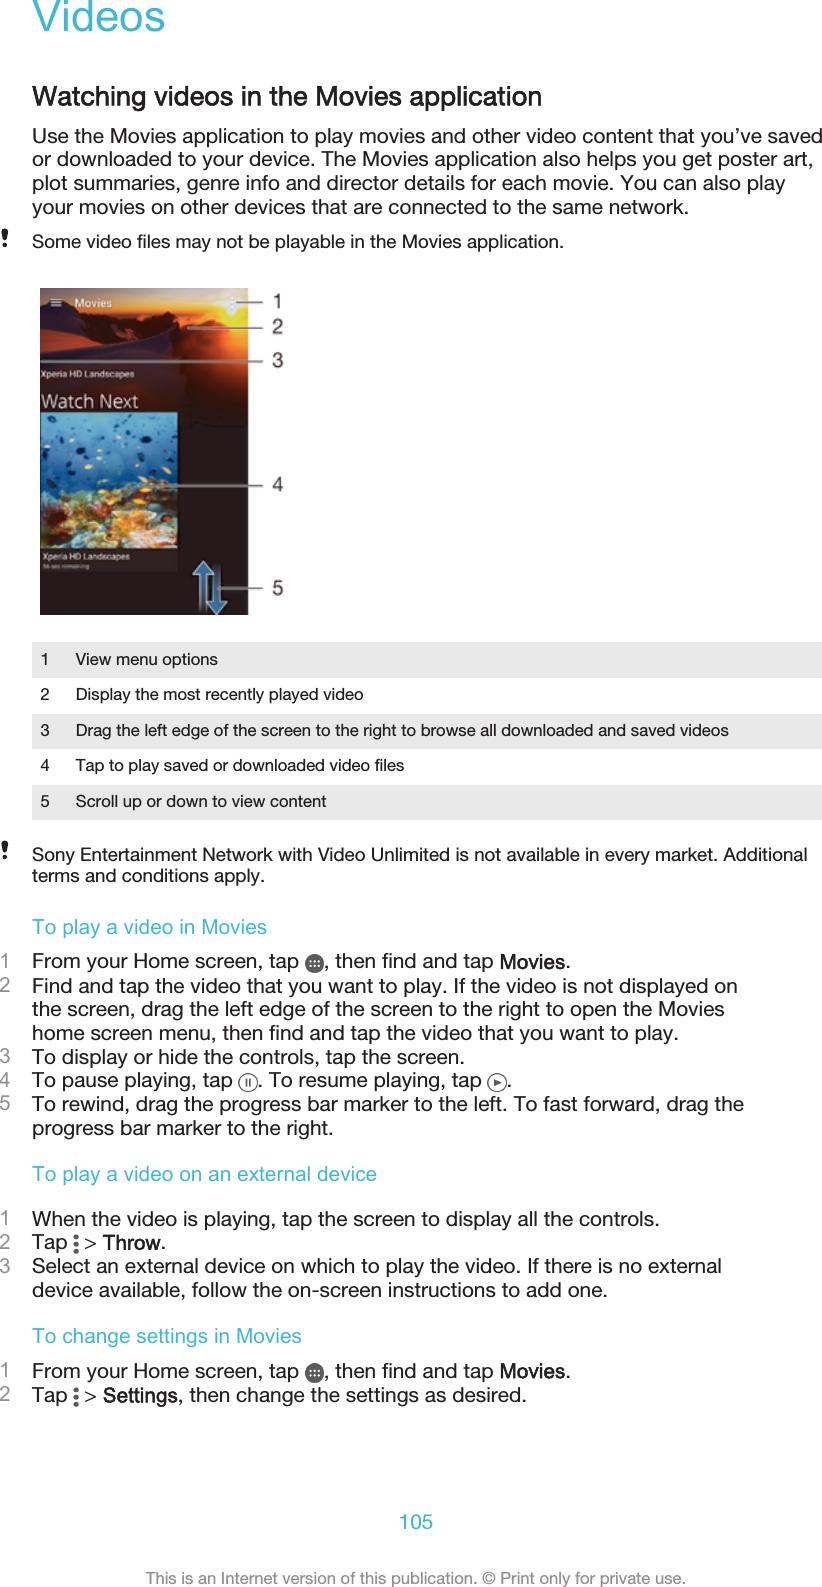
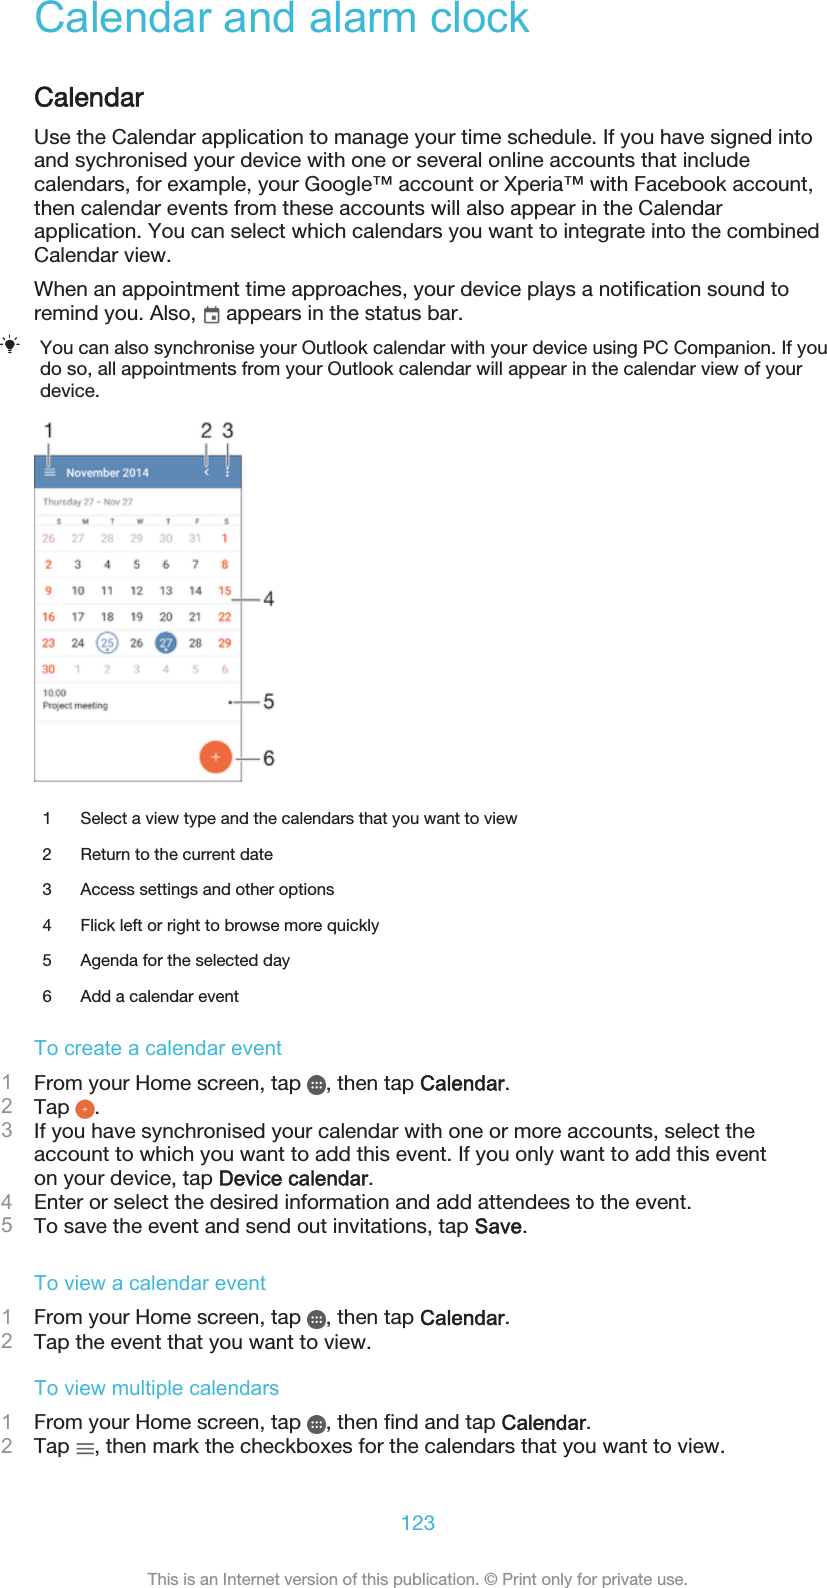
Sony Mobile Communications Inc GSM/WCDMA/LTE mobile phone Sony Mobile Communications AB
Sony >
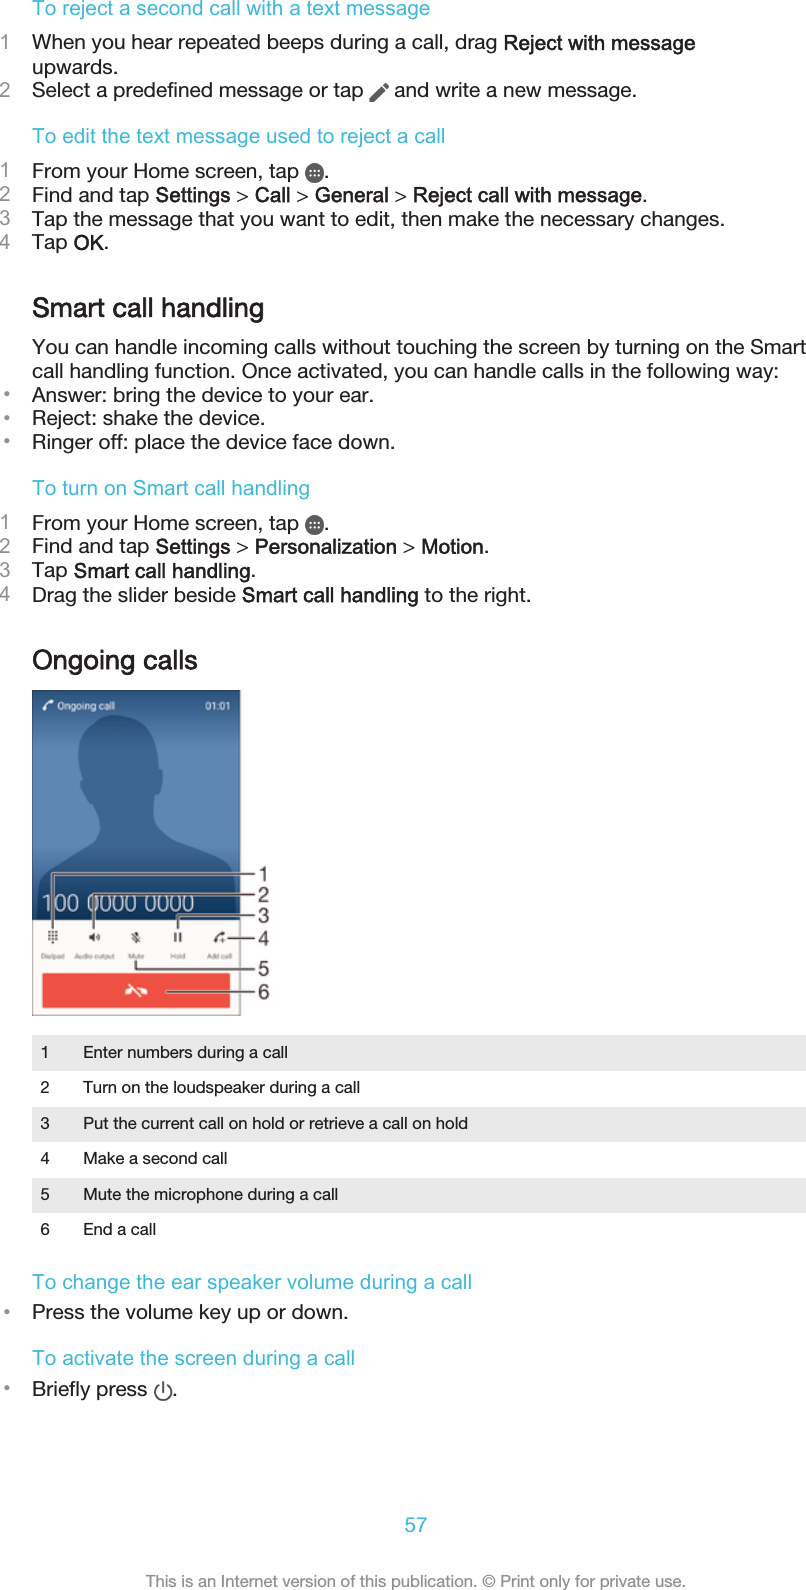
Contents
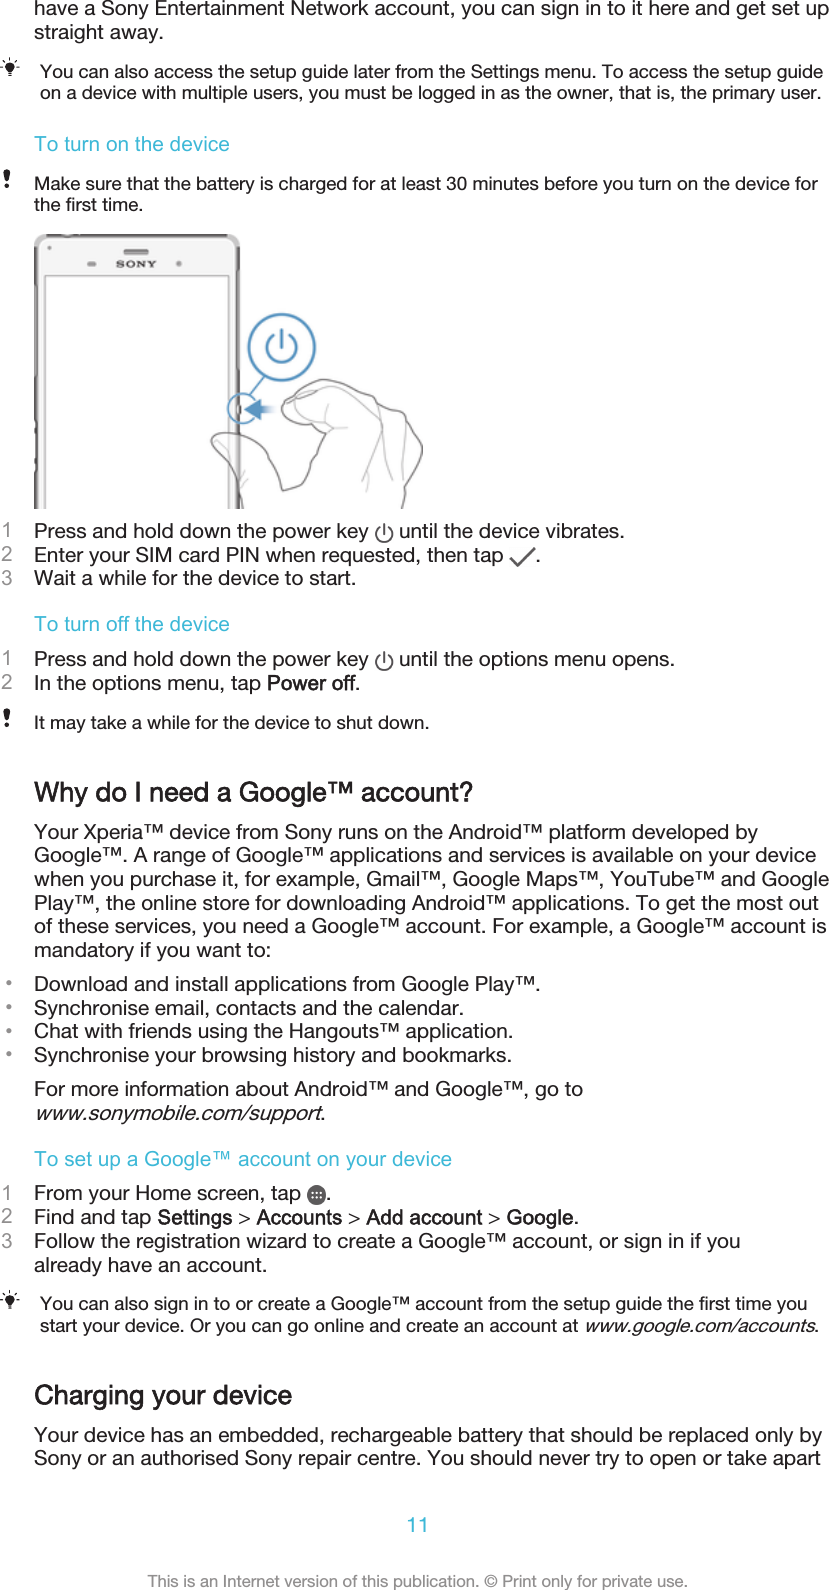
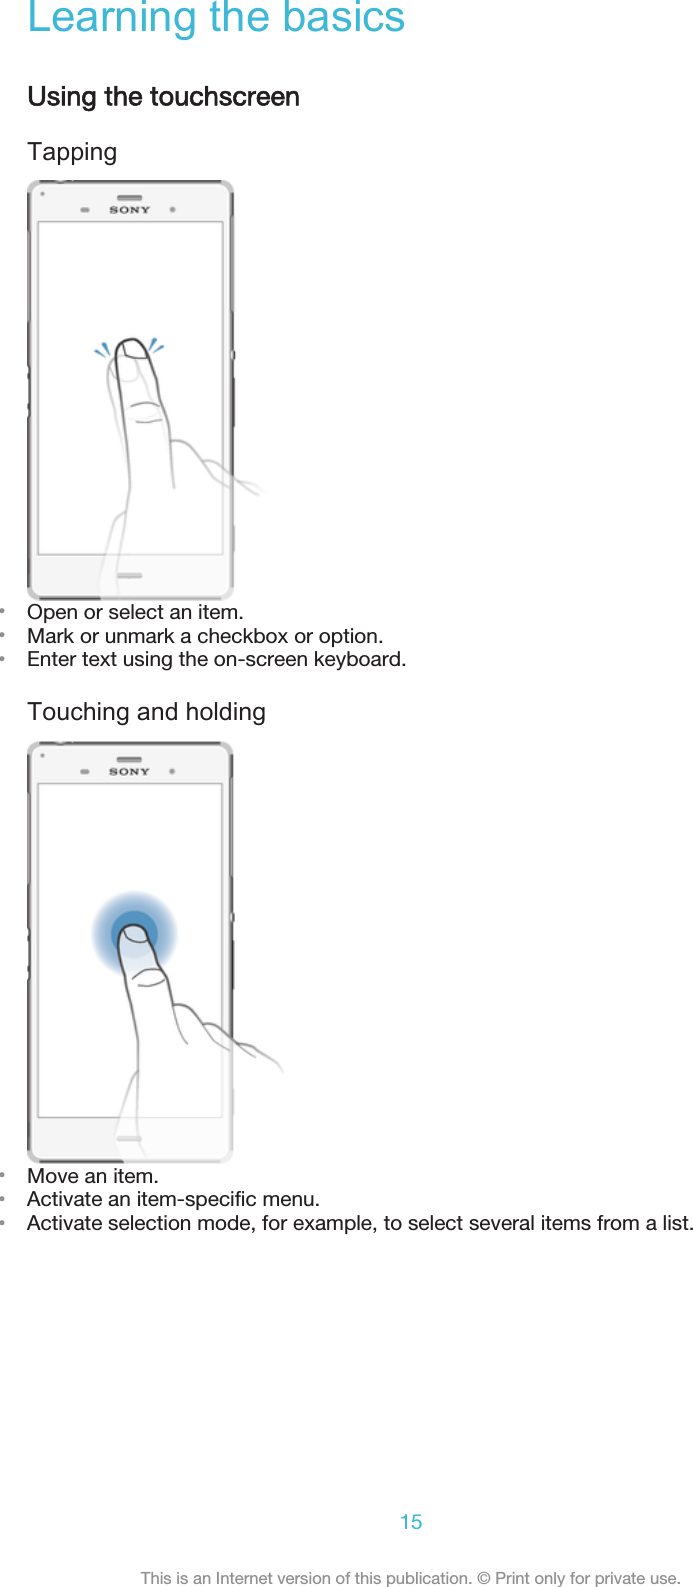
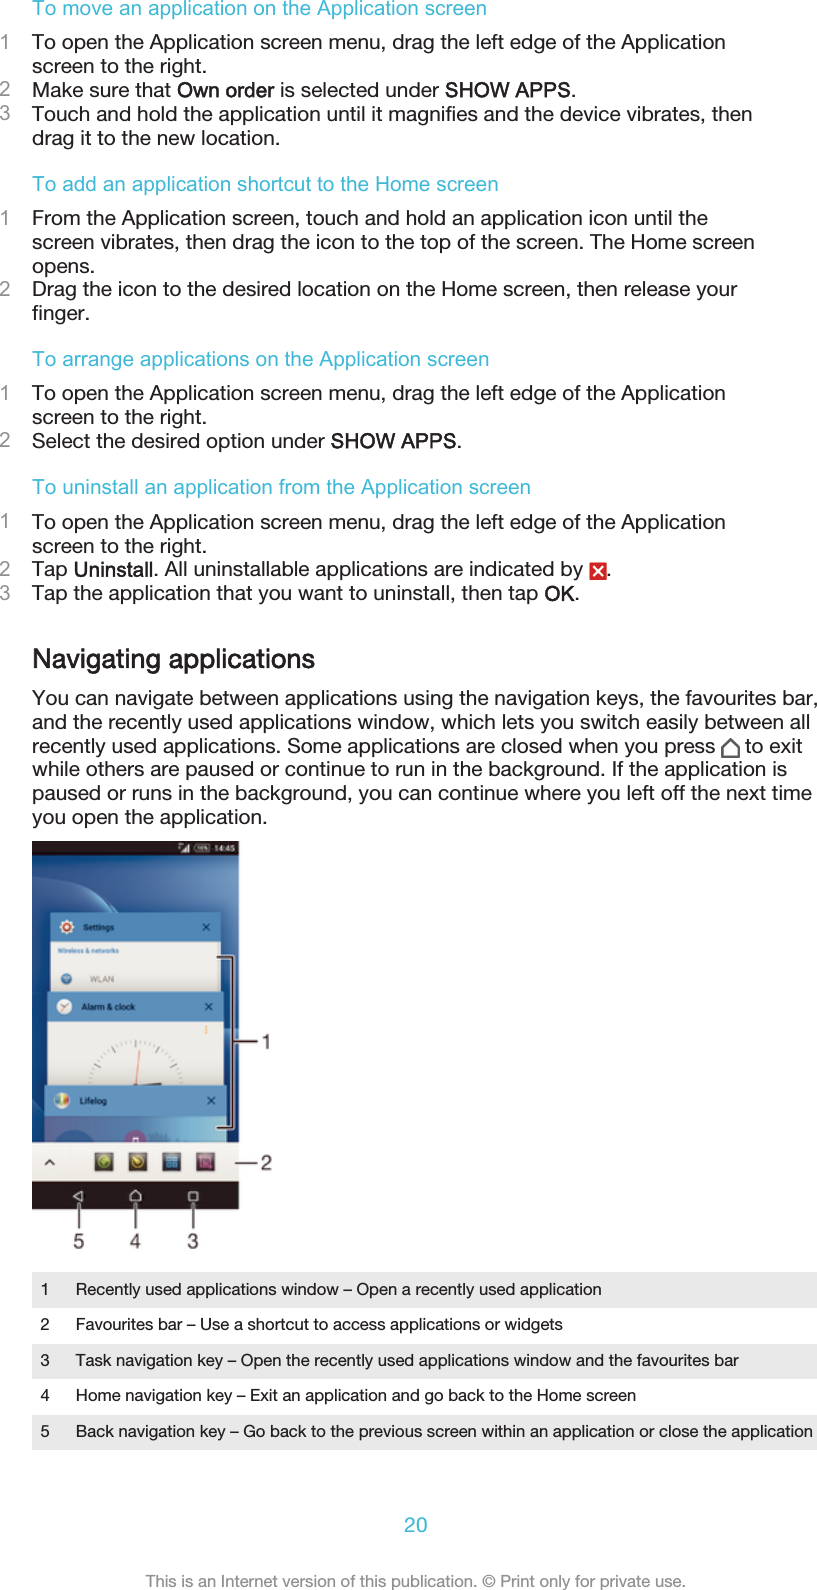
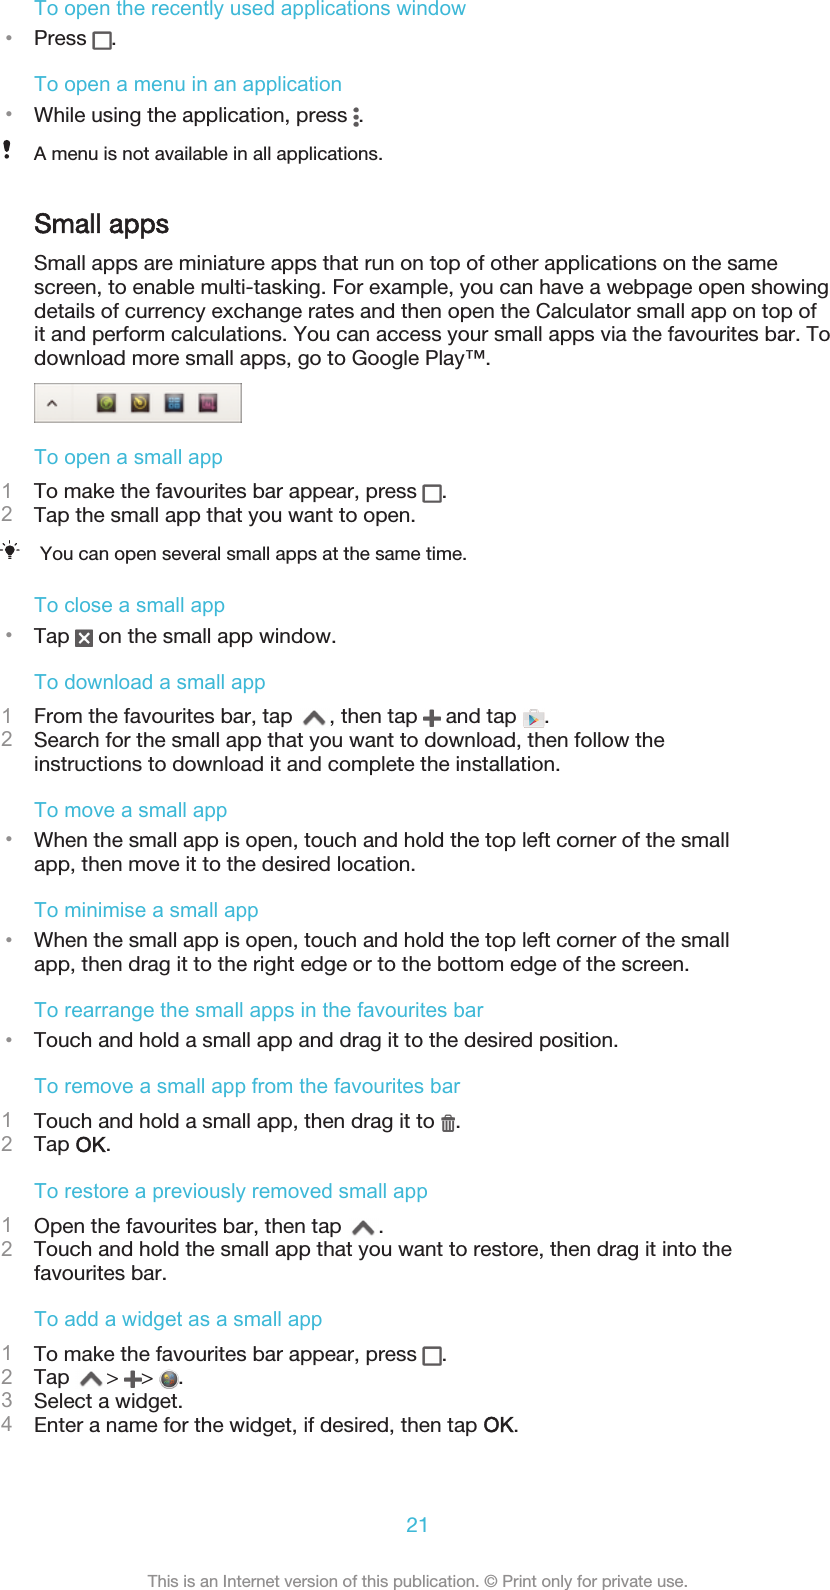
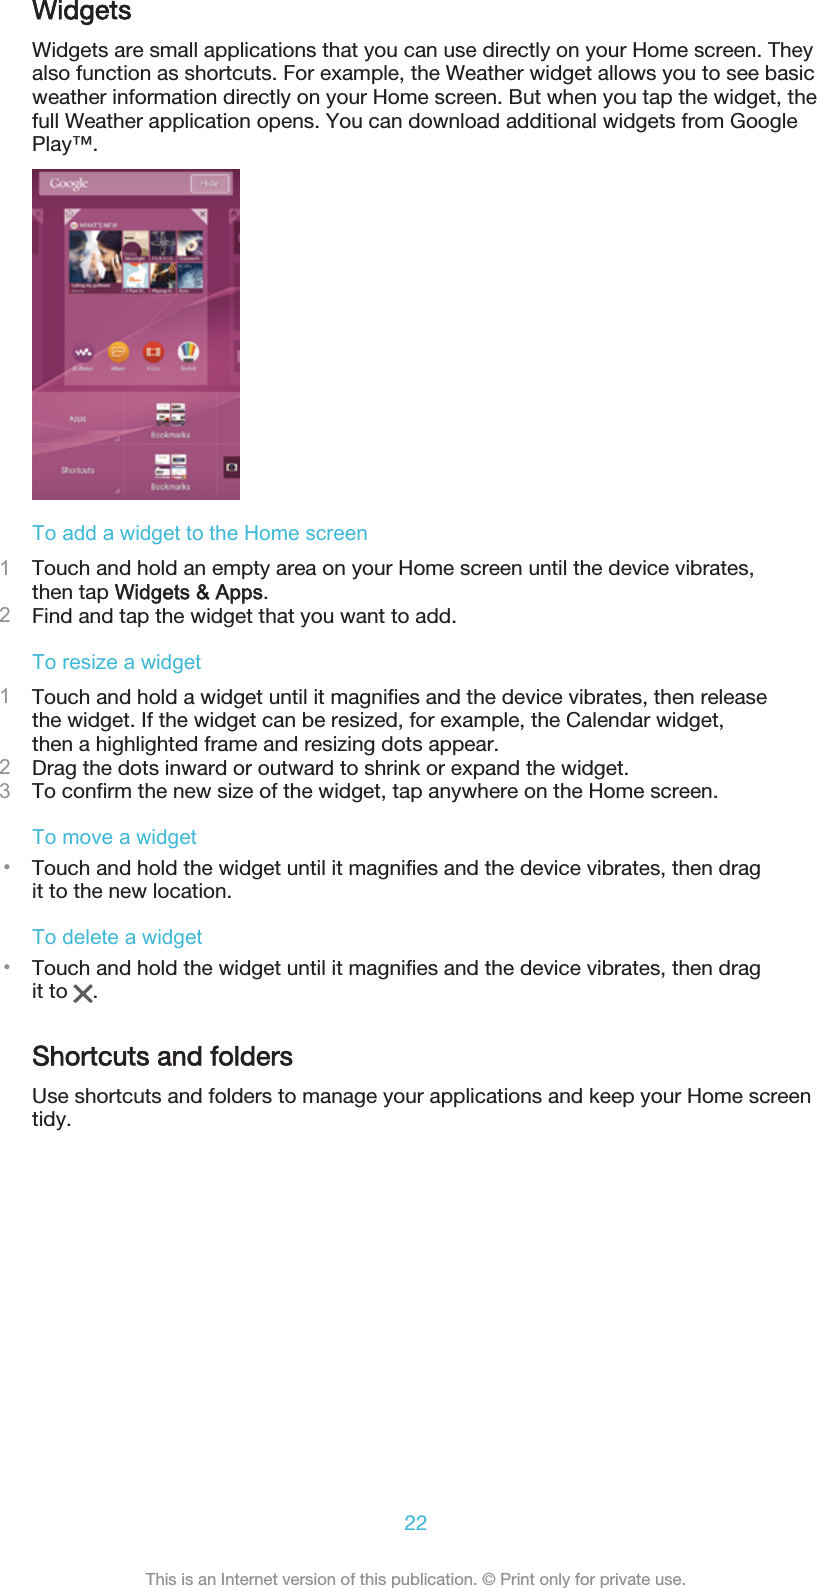
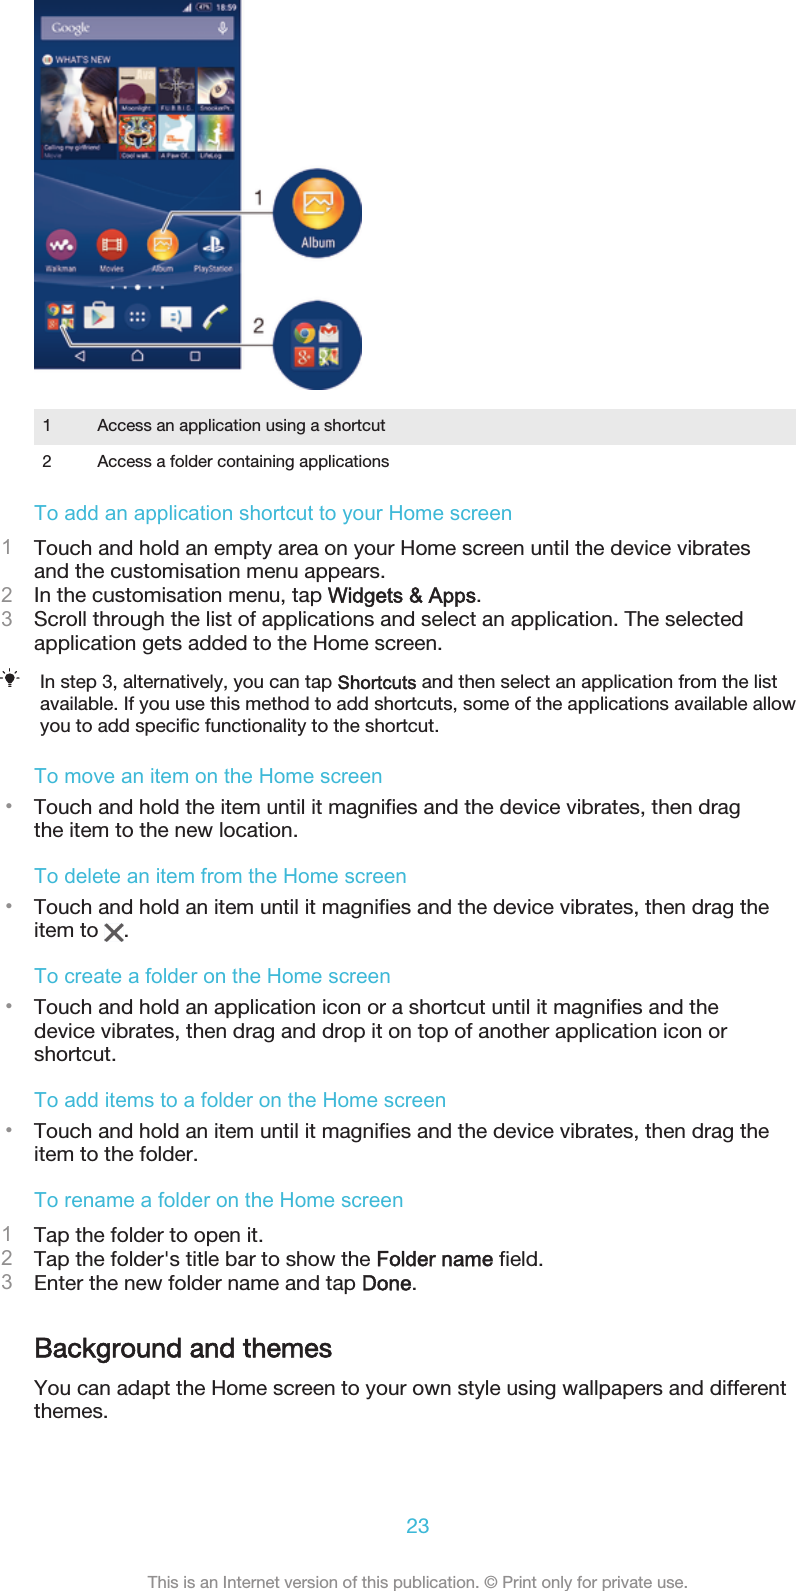
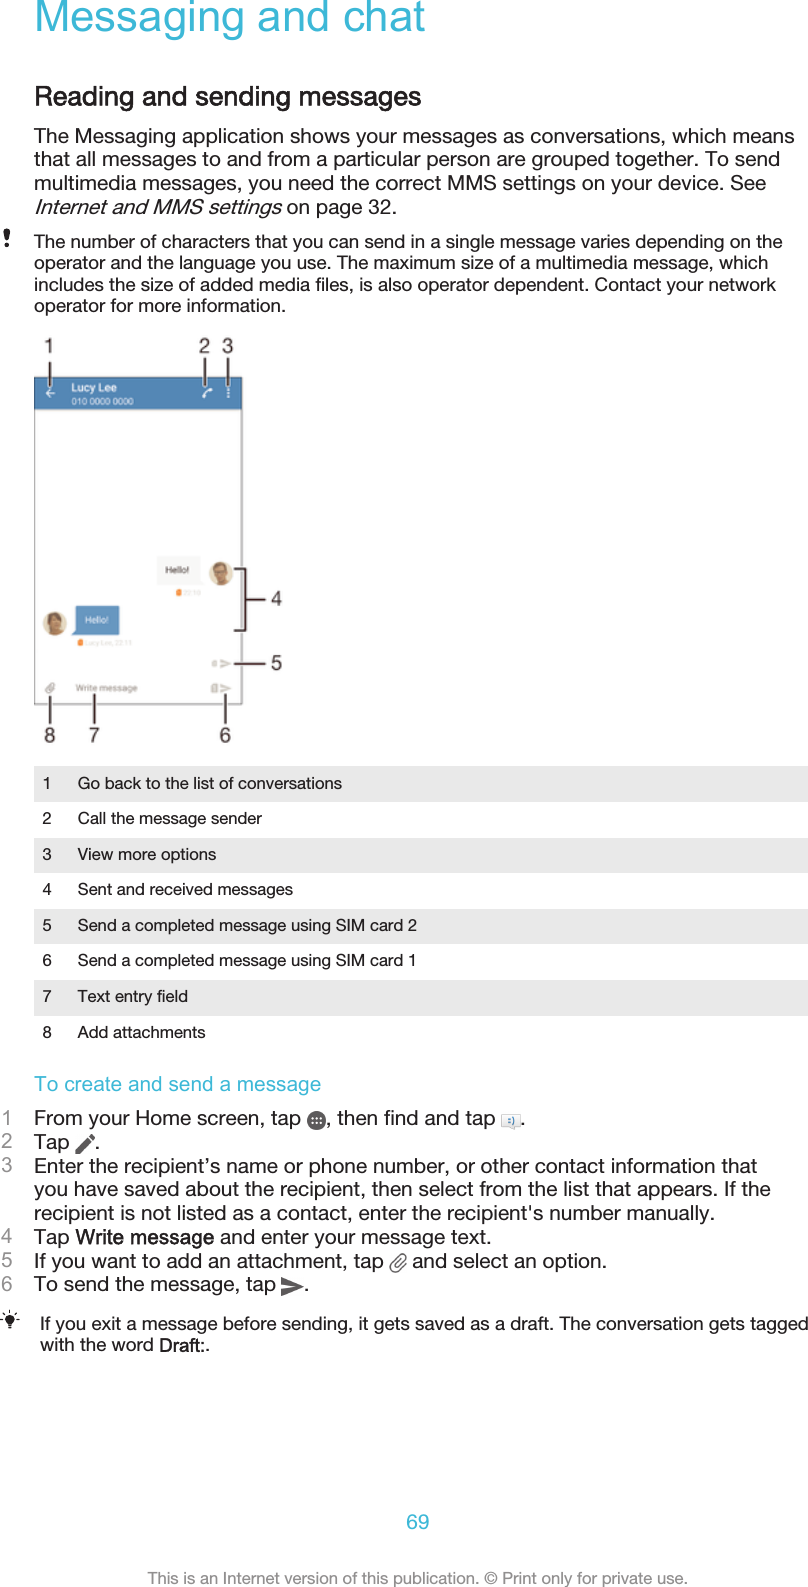
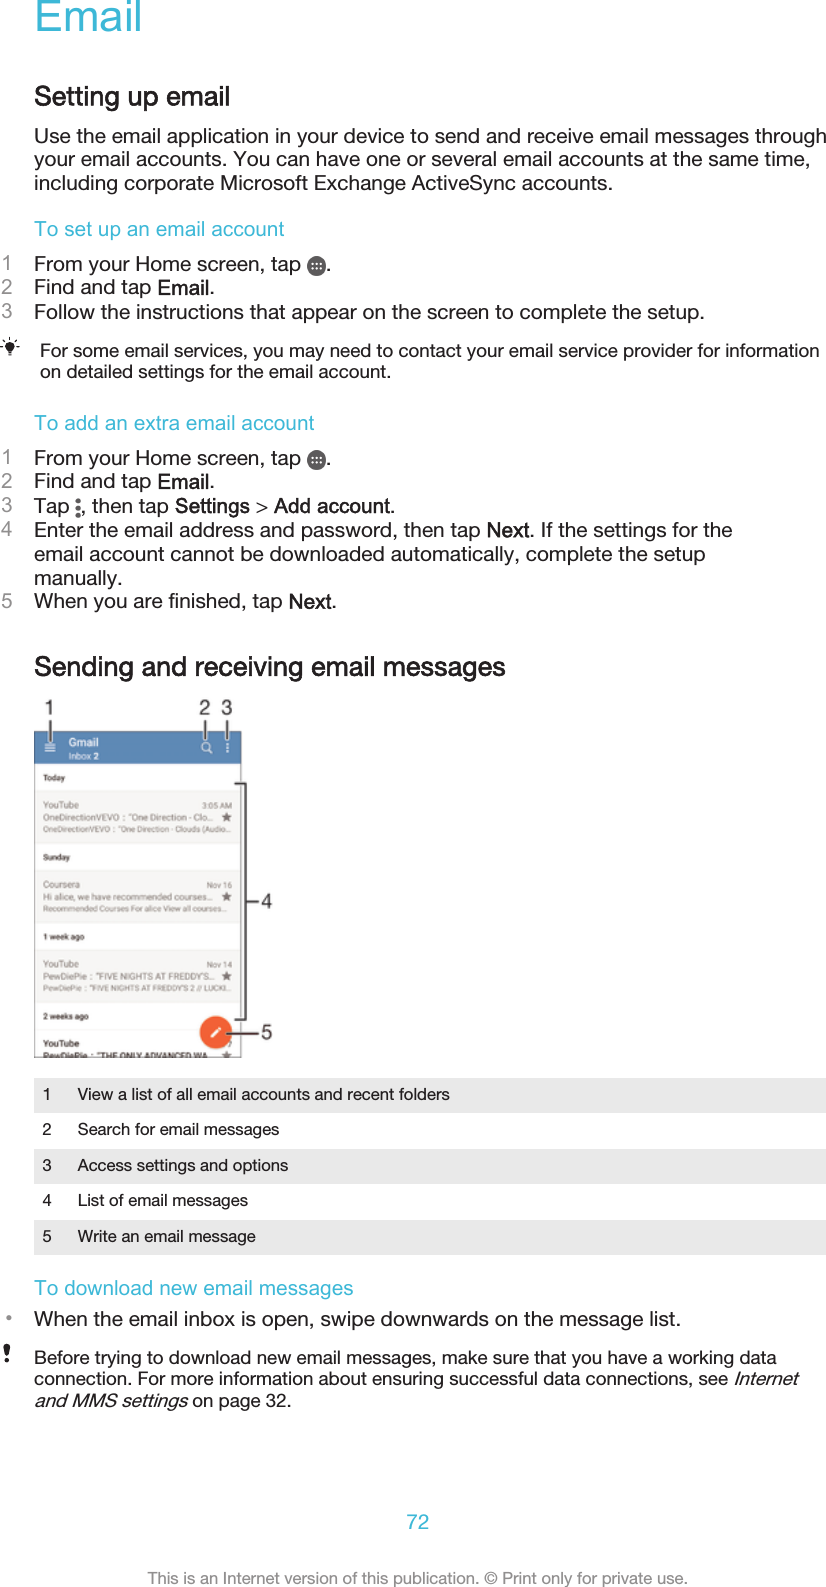
- 1. User Guide
- 2. SAR FCC DoC Leaflet
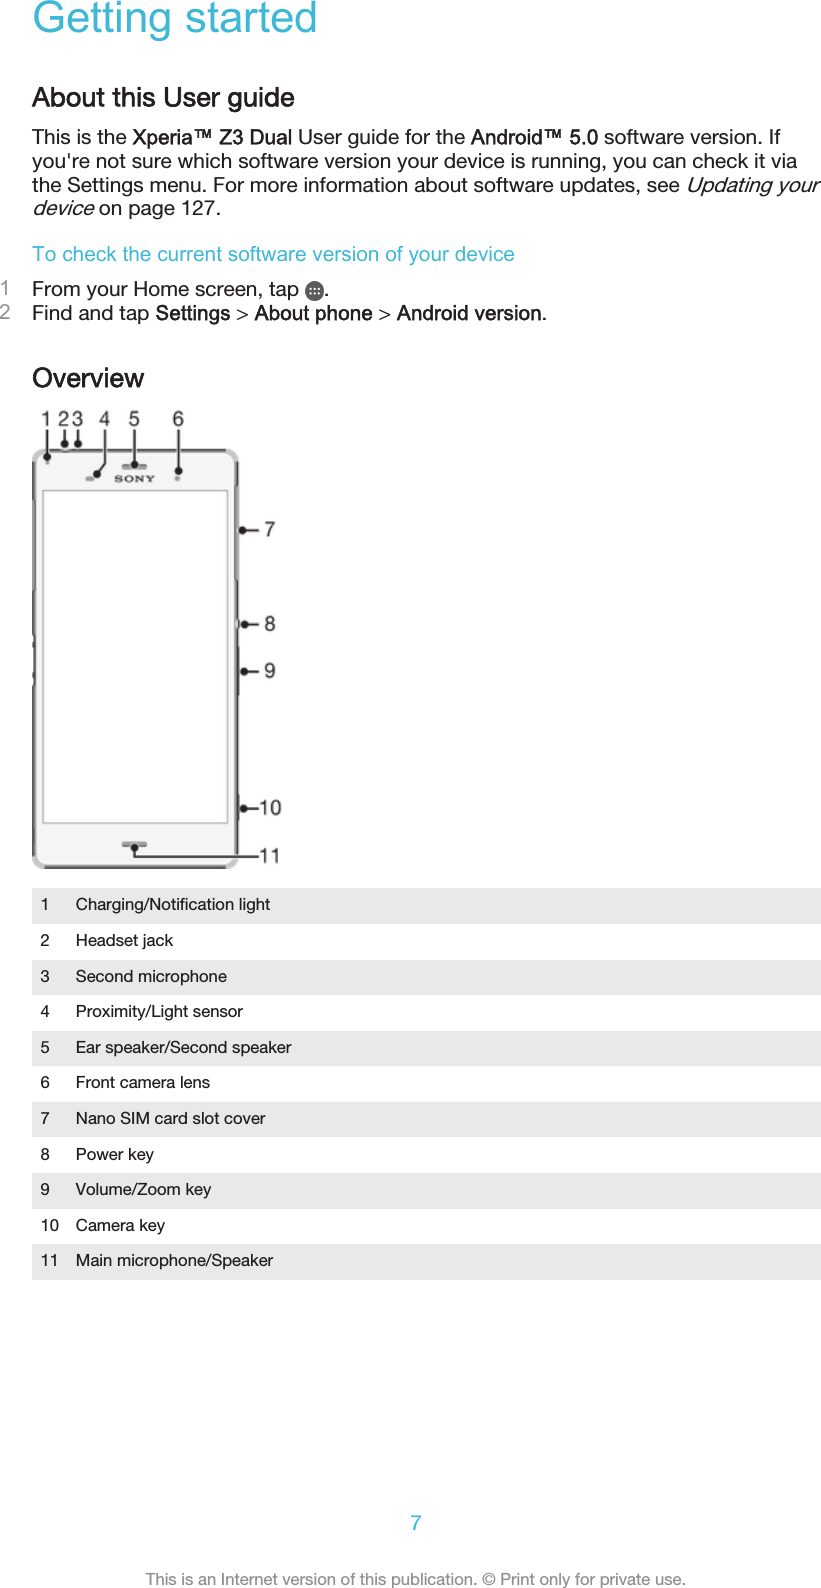
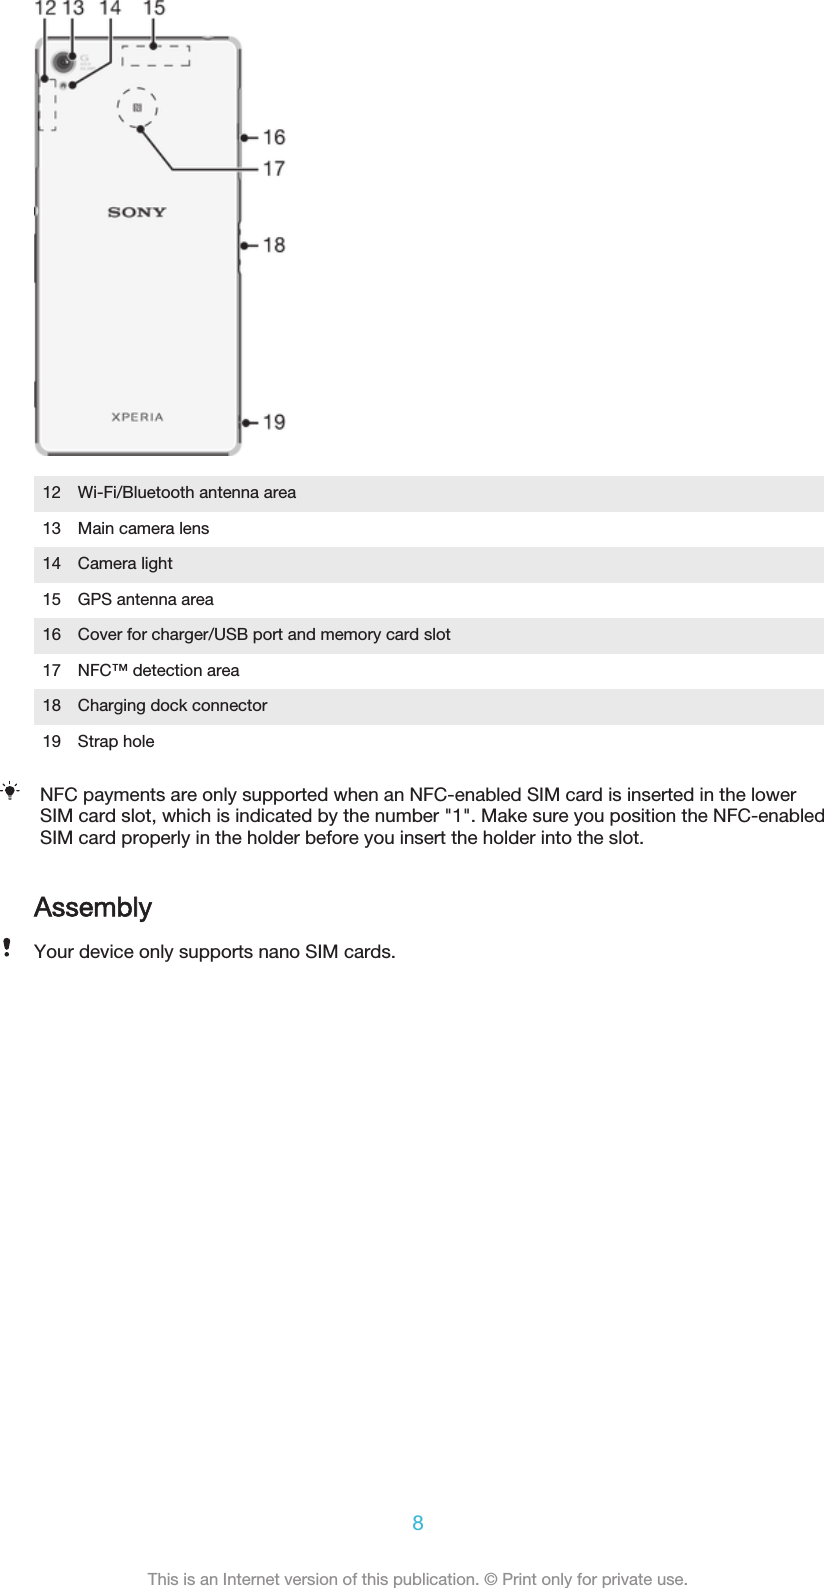
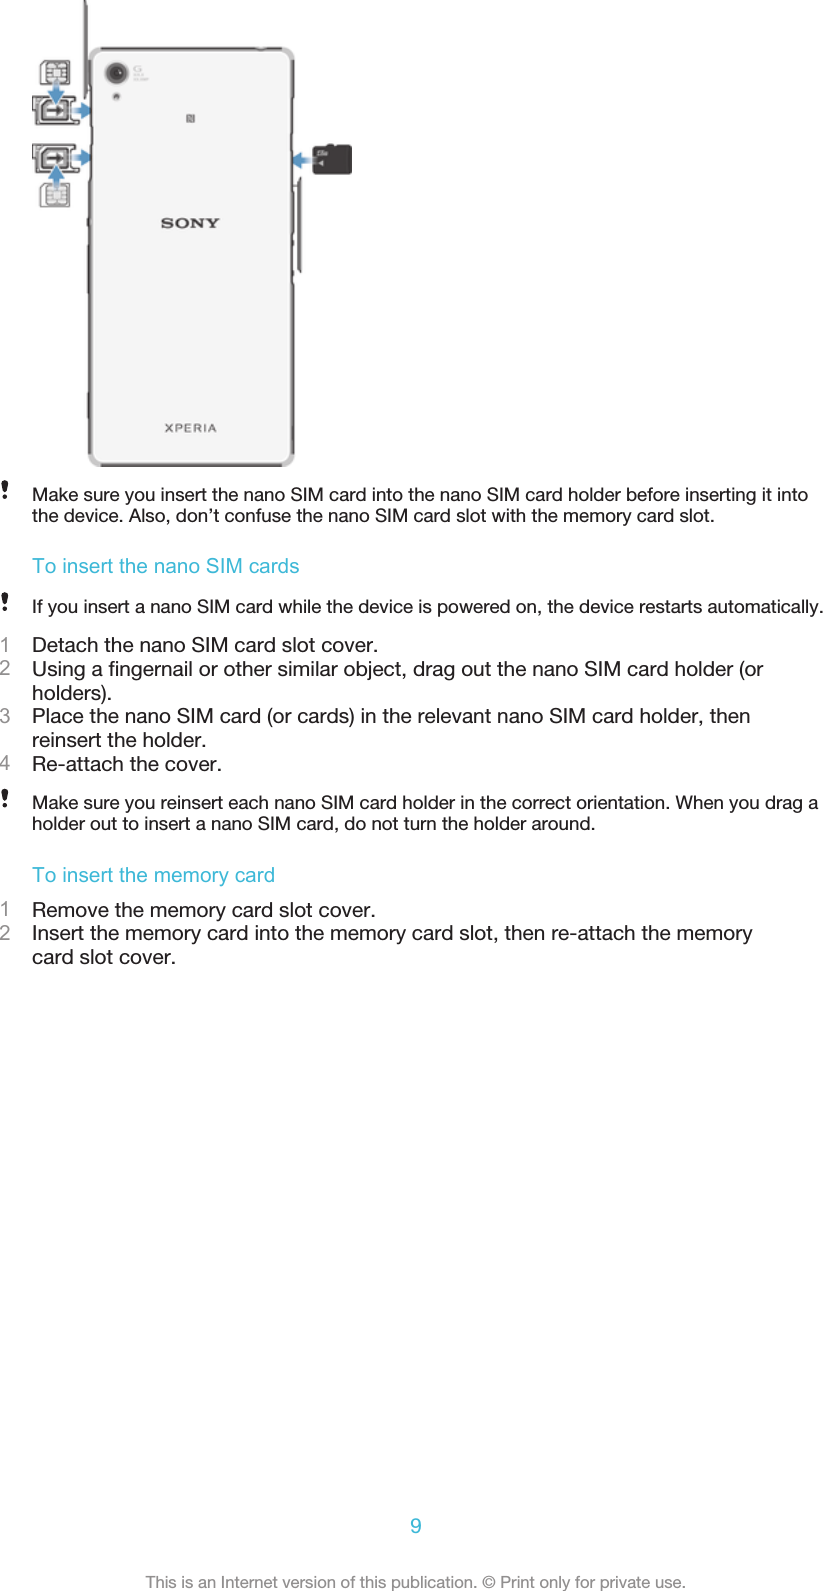
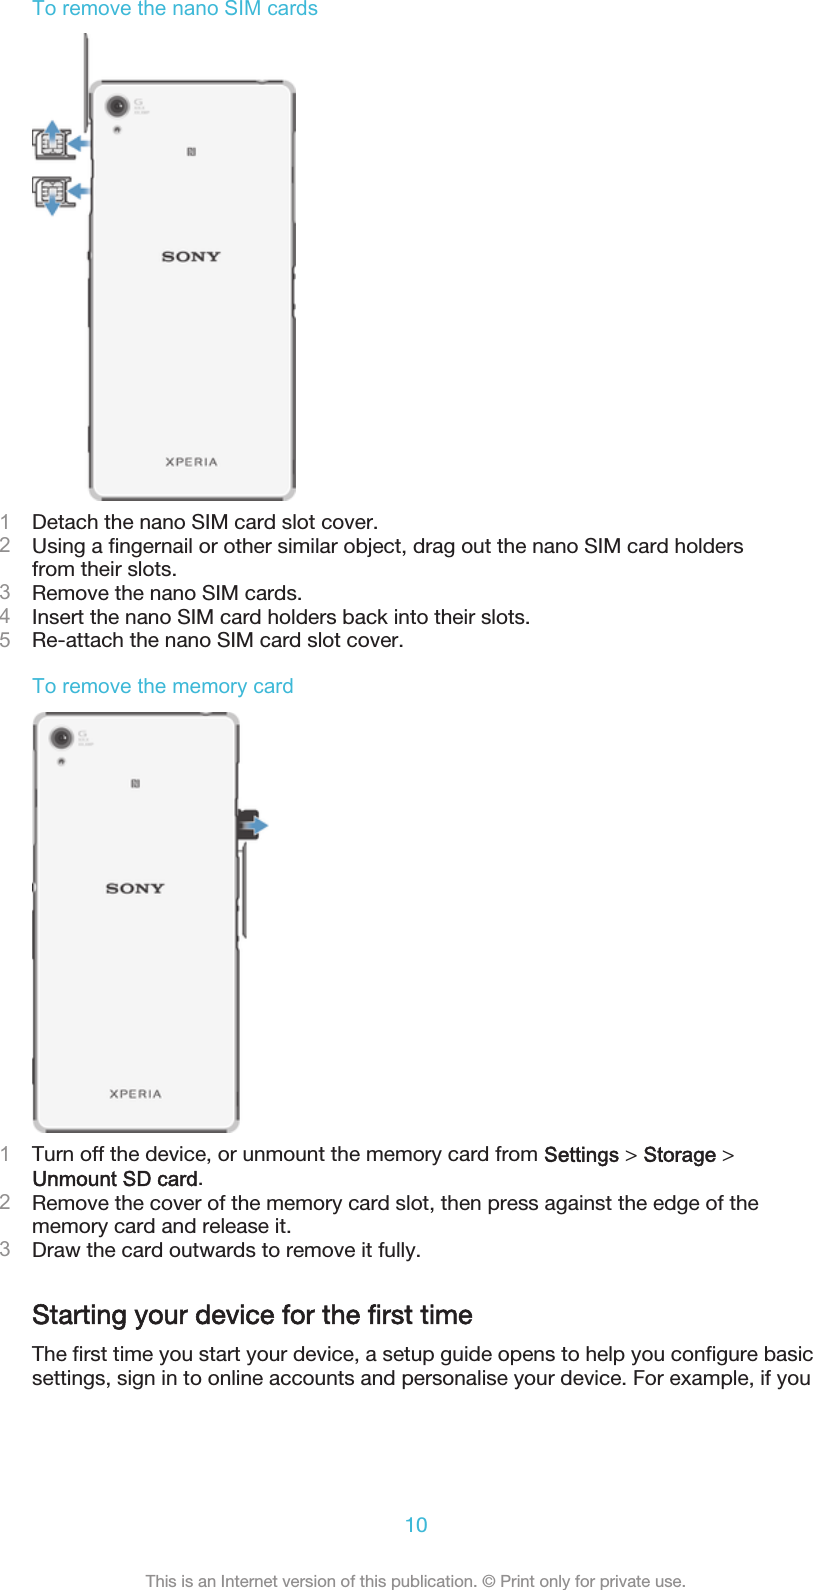
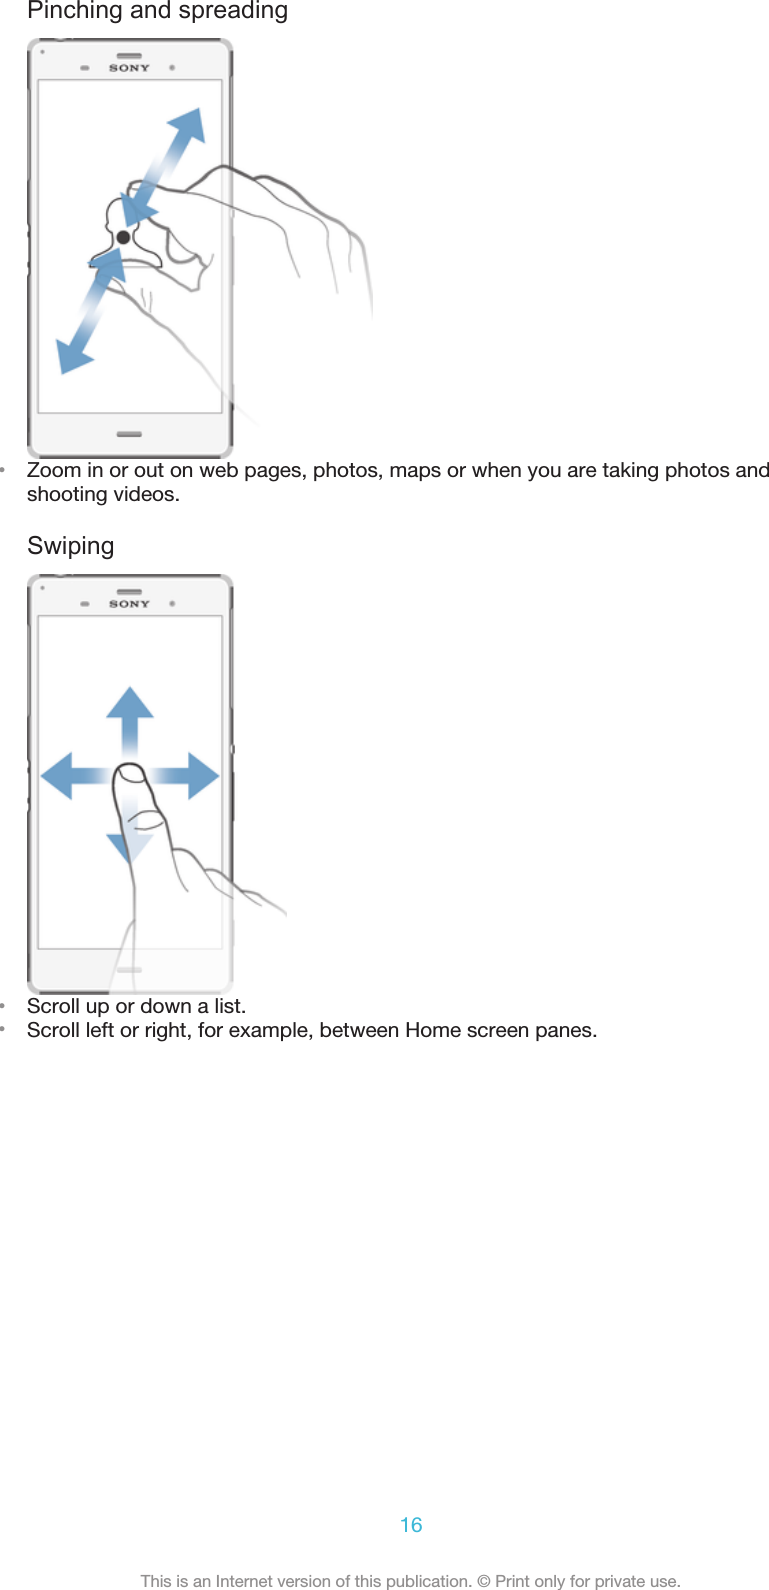
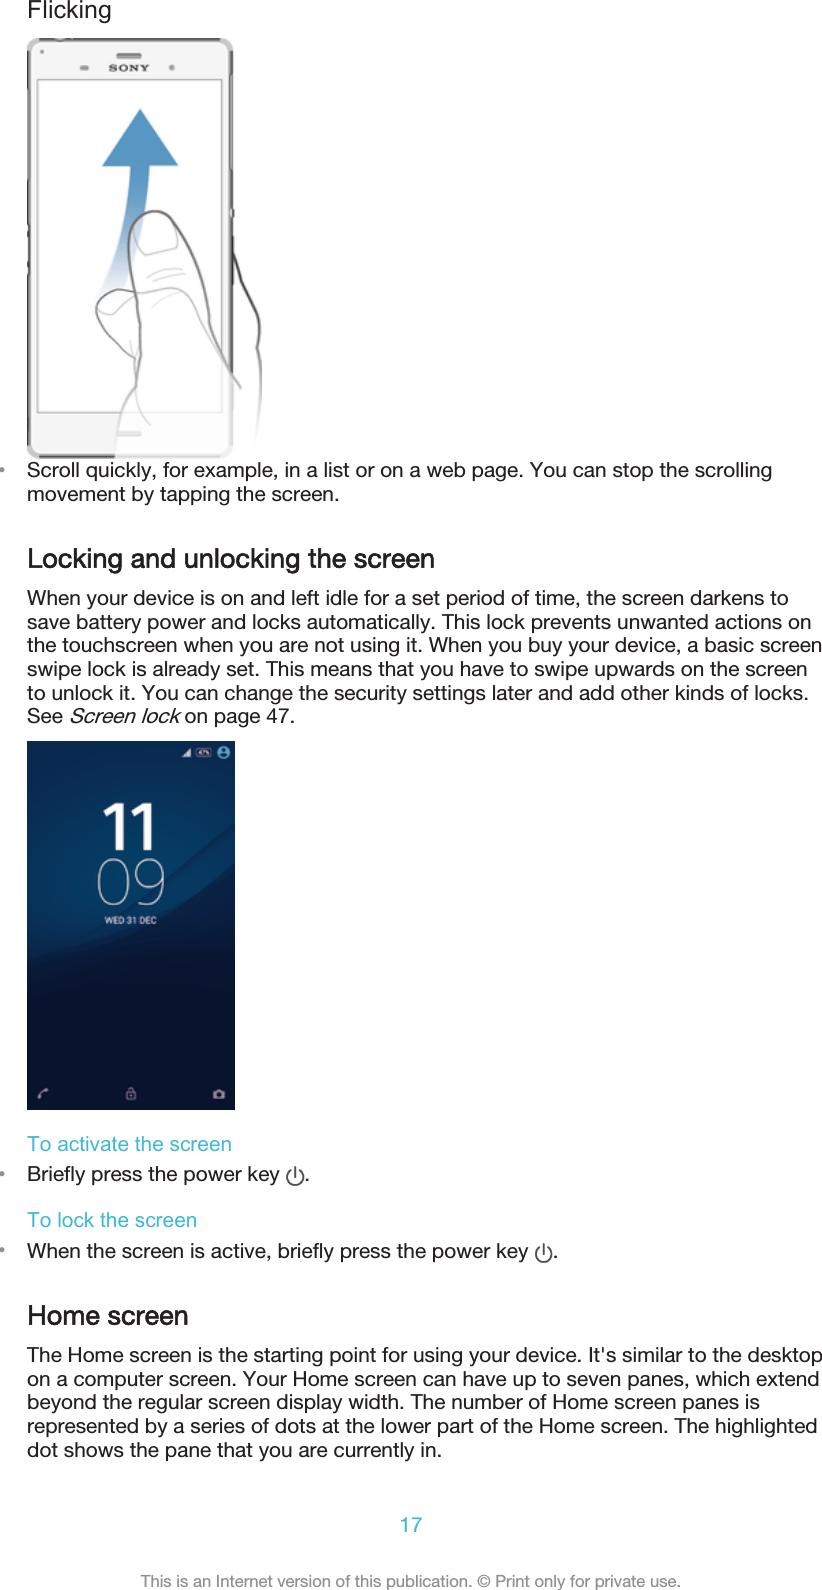
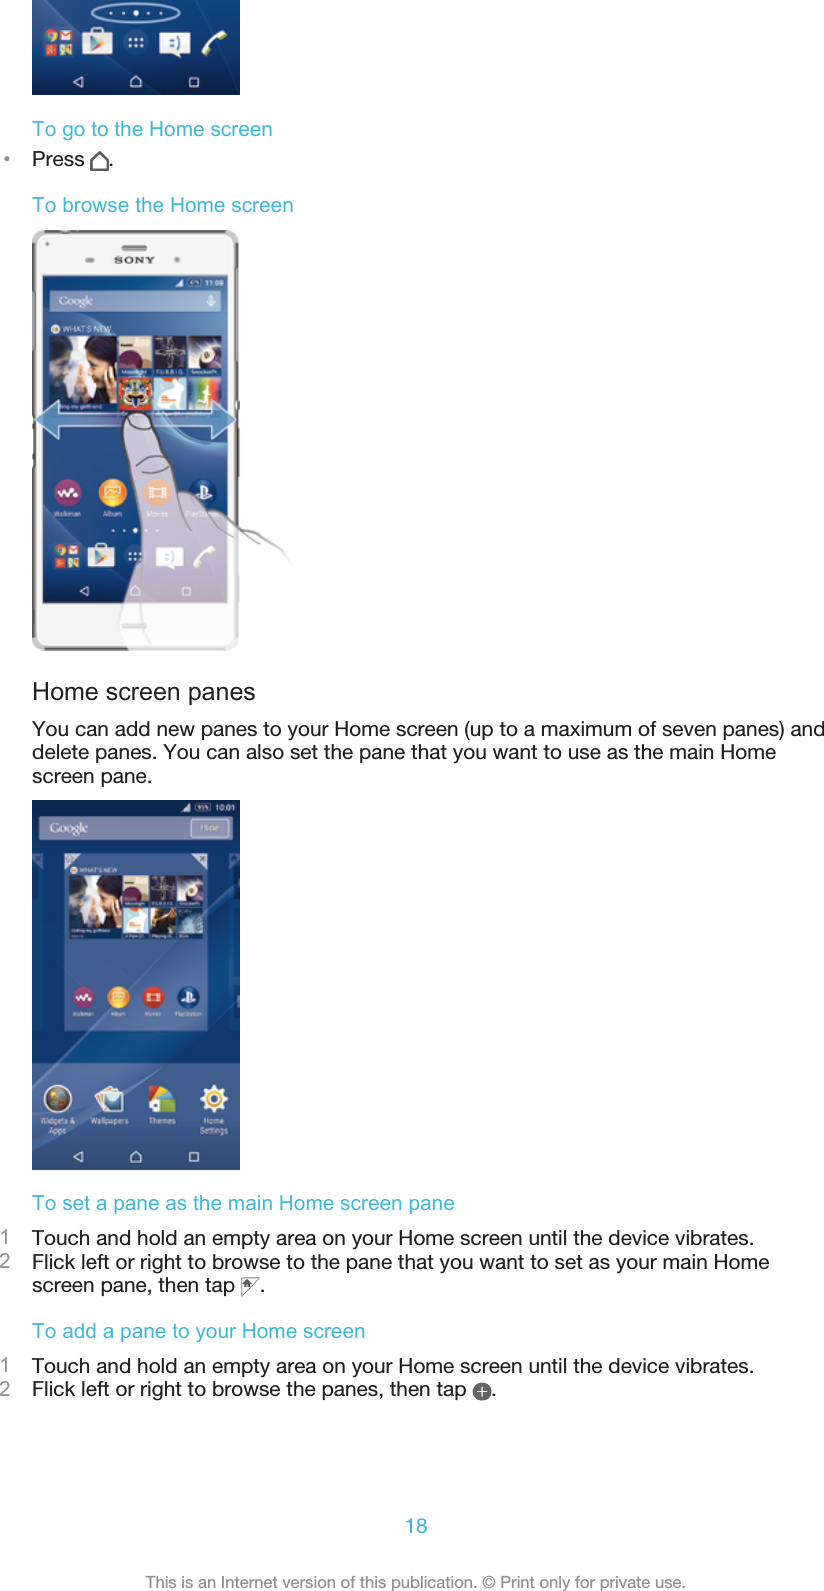
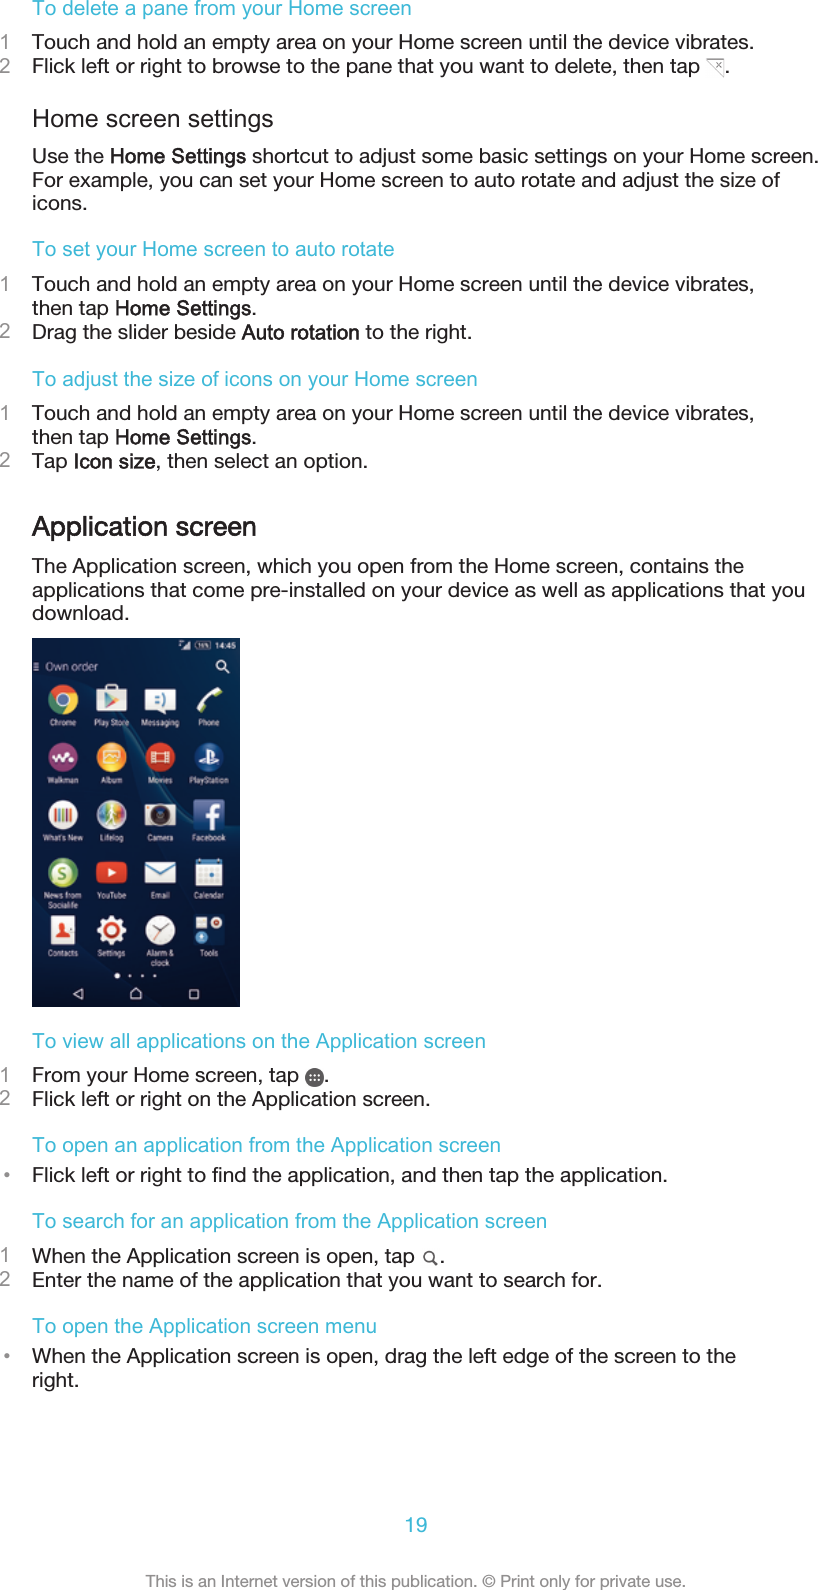
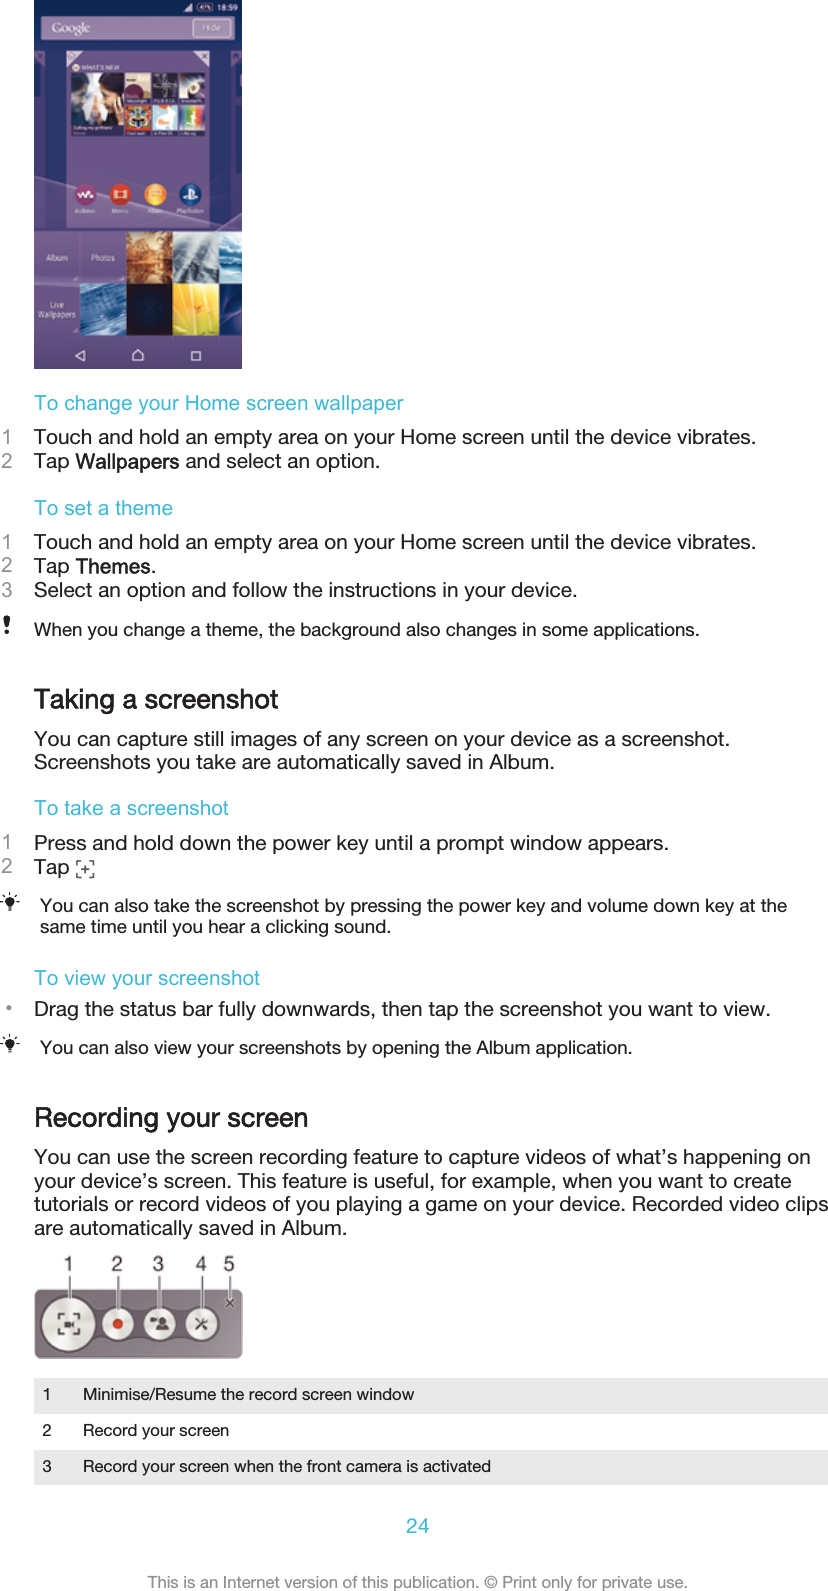
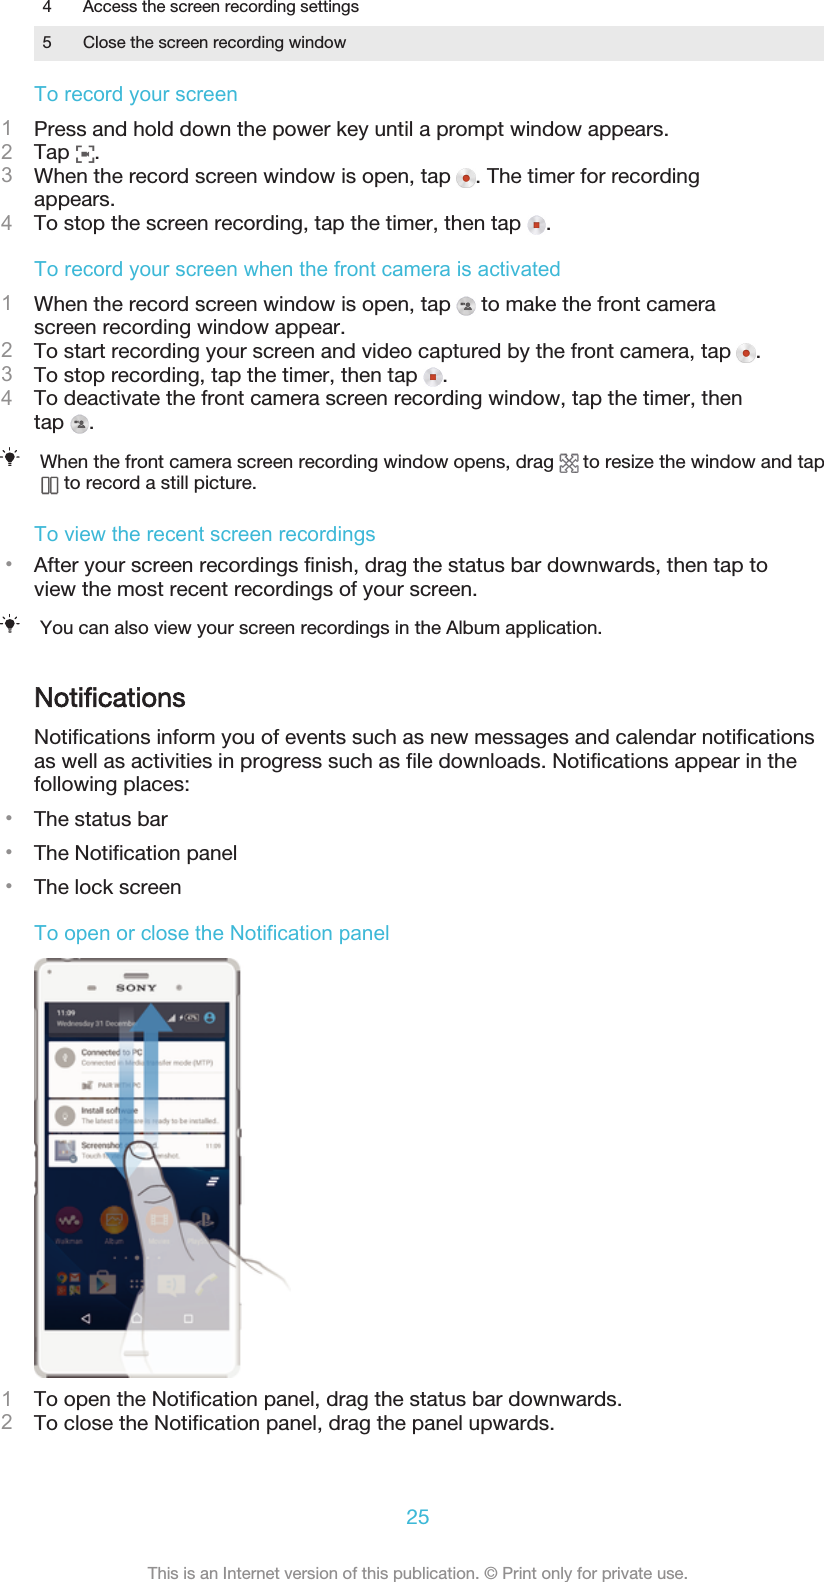
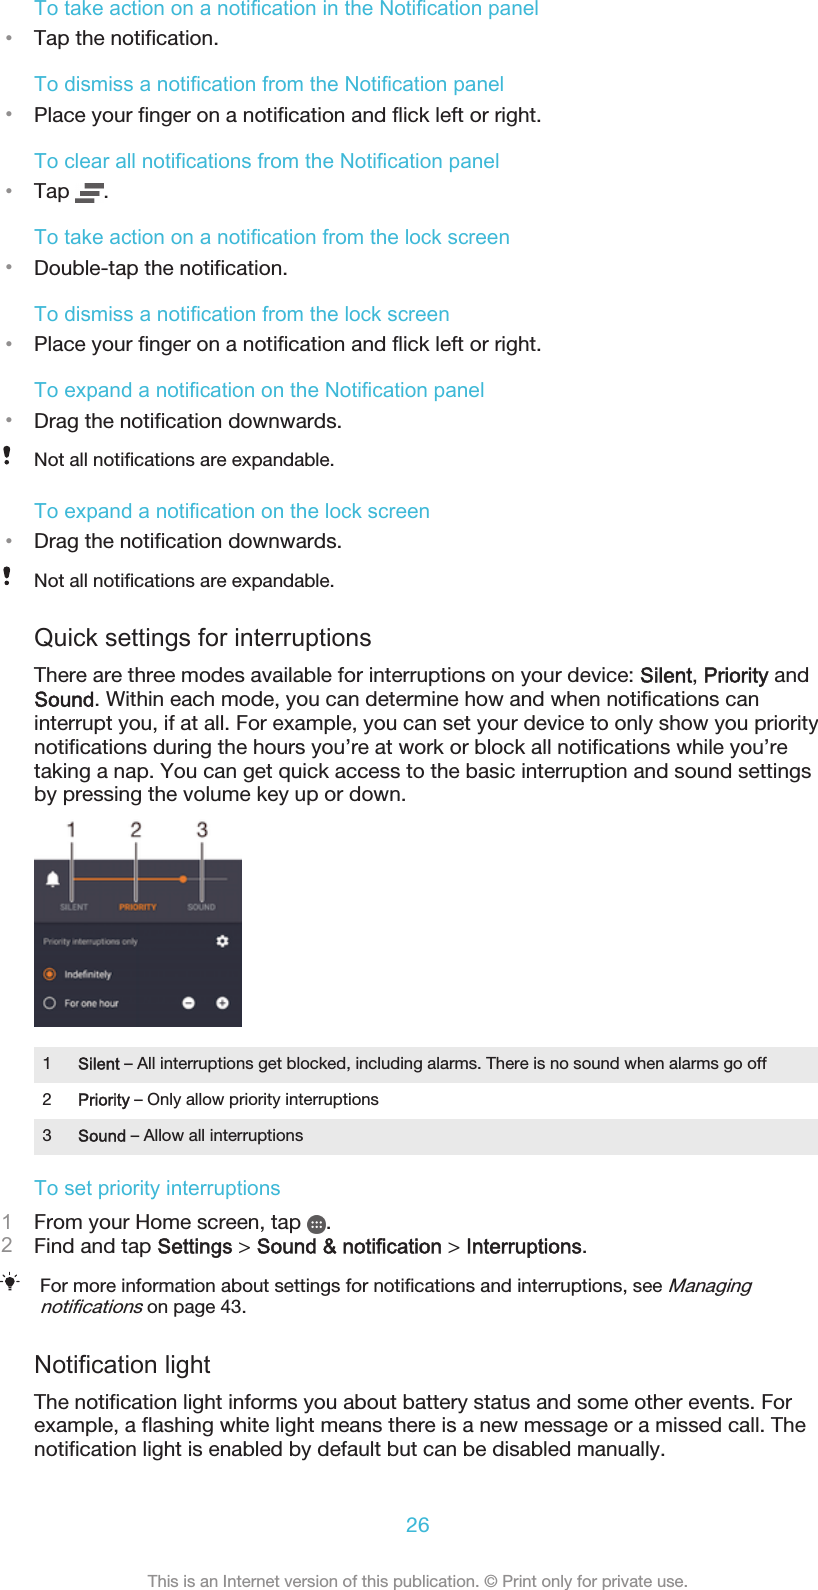
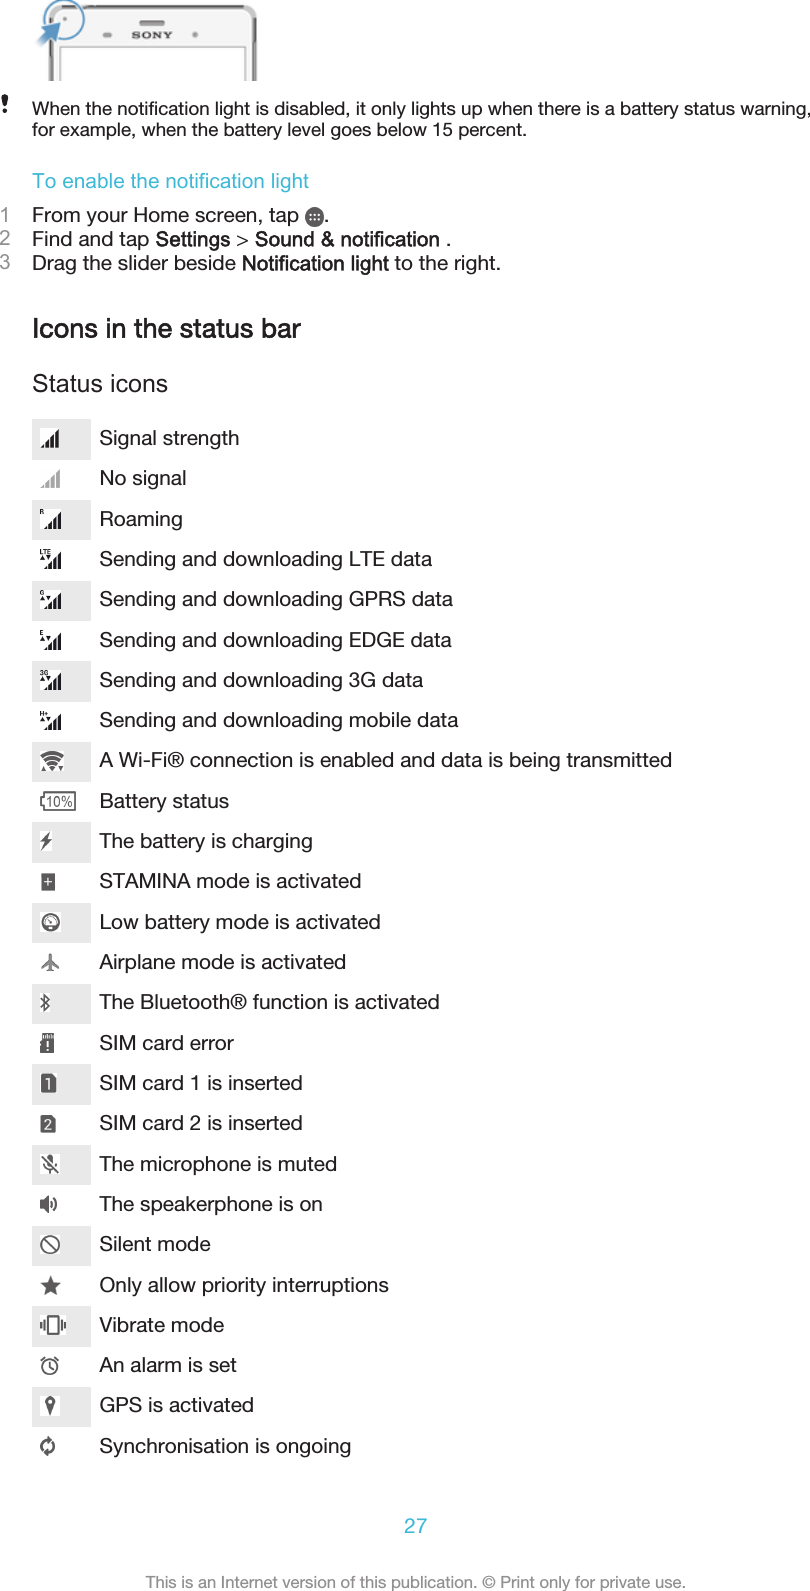
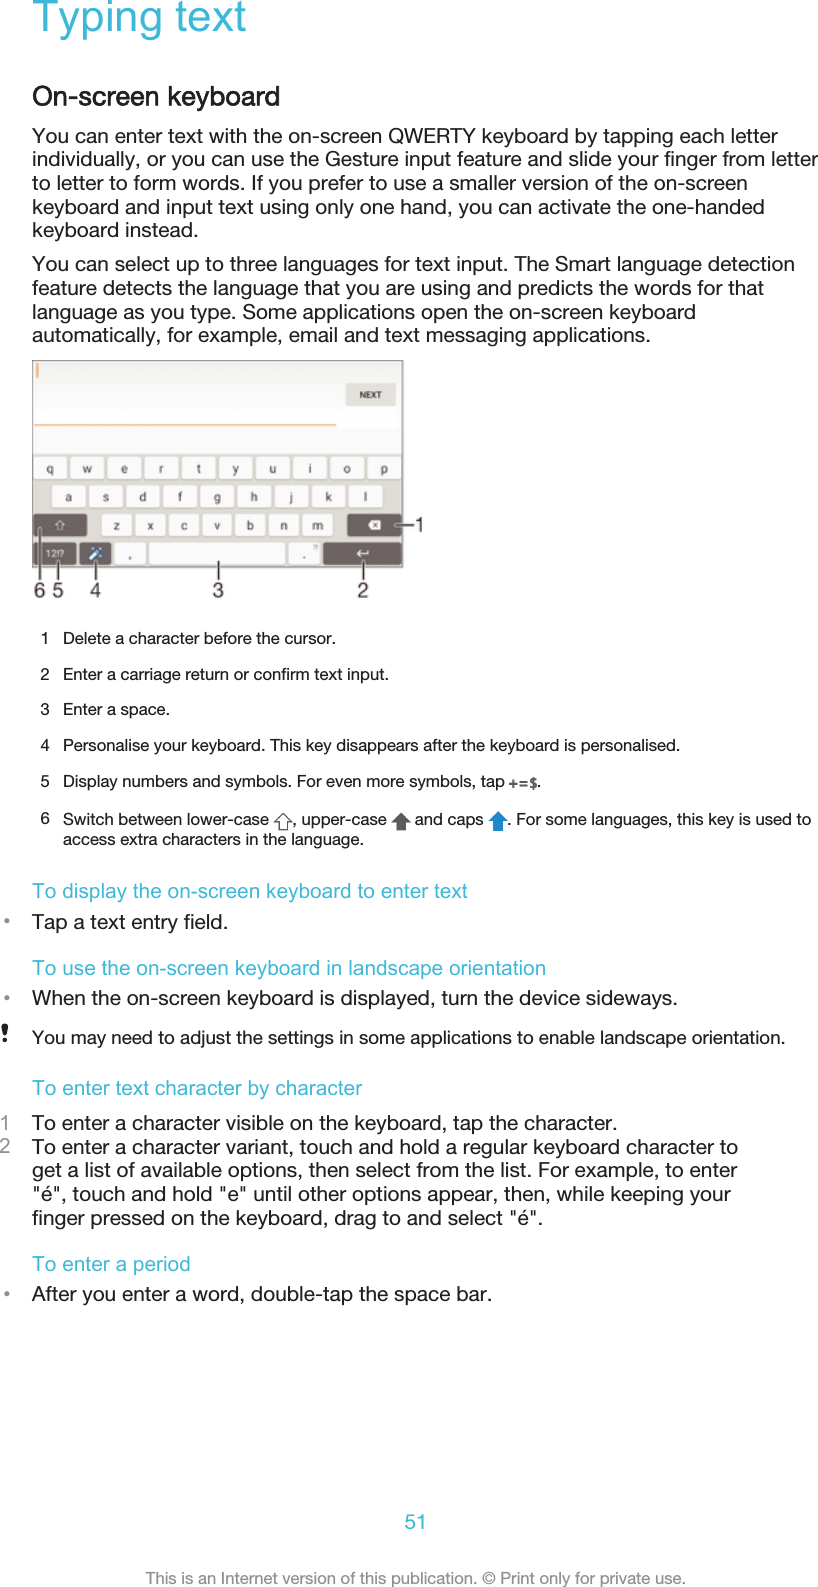
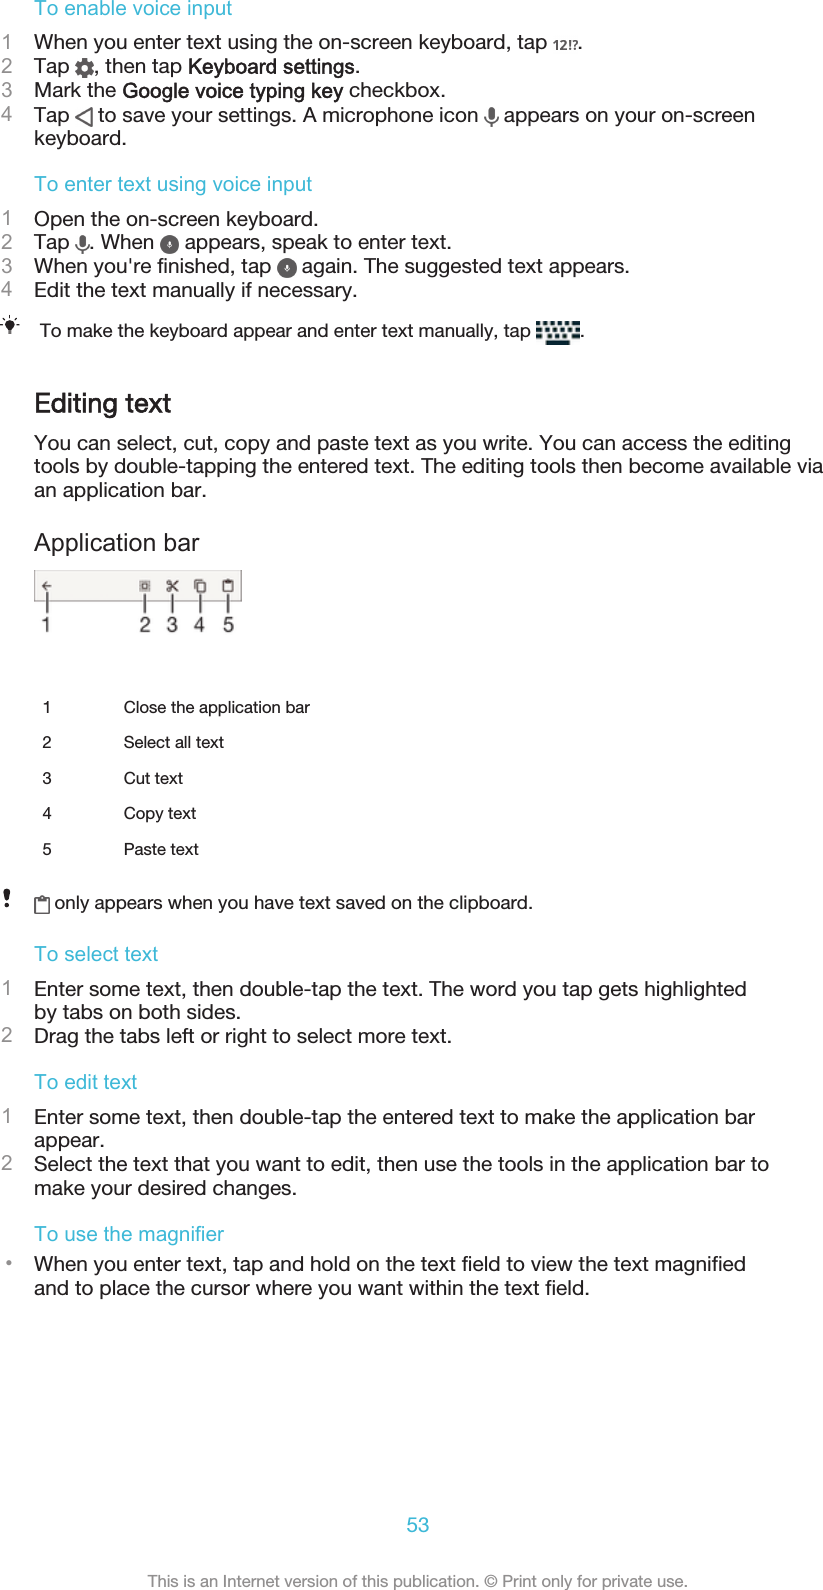
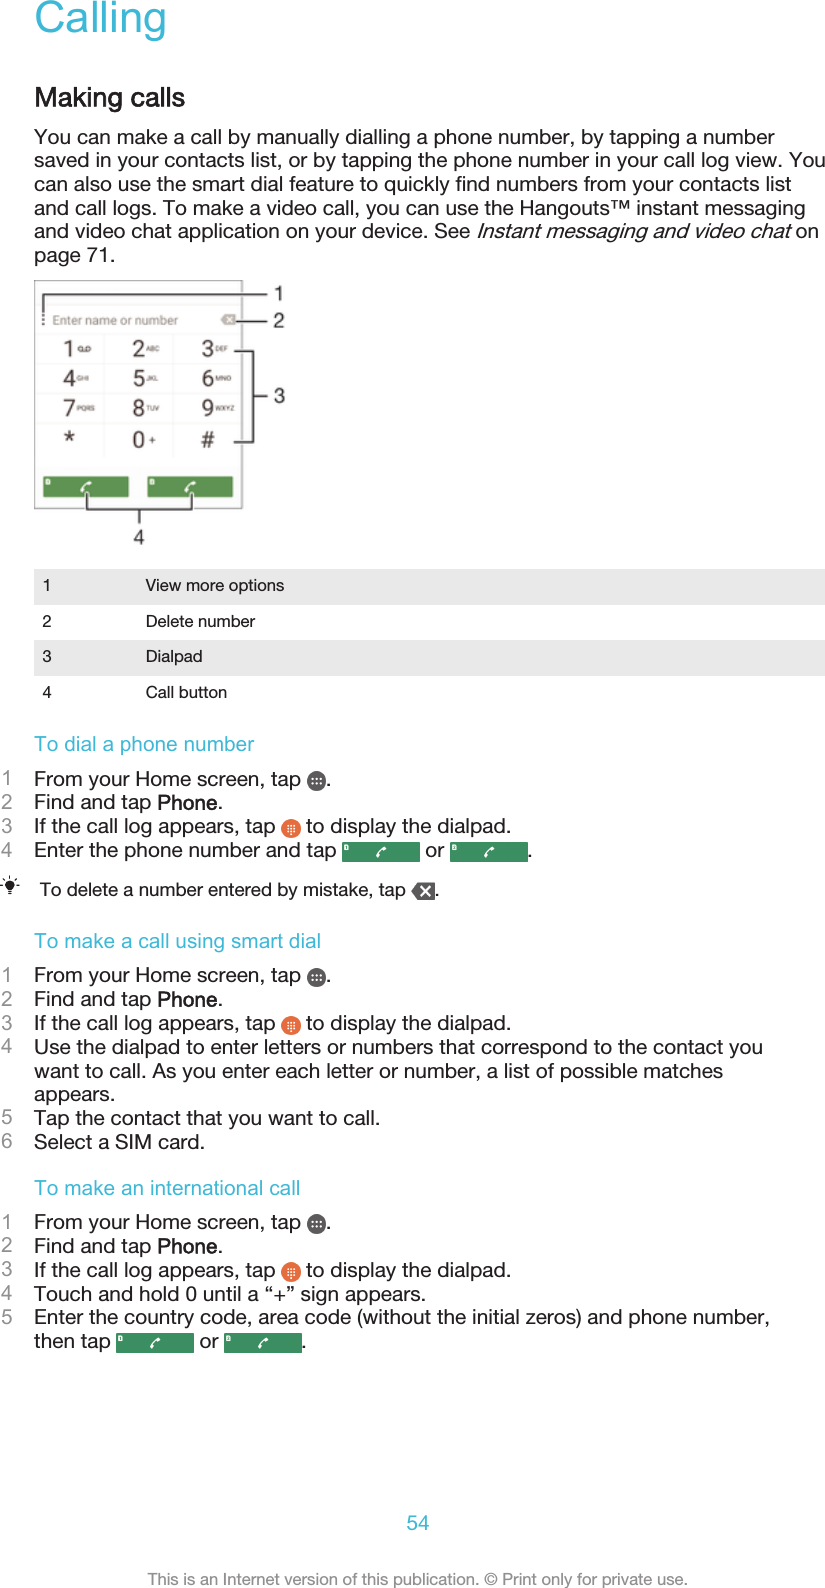
User Guide