Sony TM-0042 GSM/UMTS/LTE/CDMA Tablet PC with WLAN, BT, ANT+, RFID User Manual Sony Mobile Communications AB
Sony Mobile Communications Inc GSM/UMTS/LTE/CDMA Tablet PC with WLAN, BT, ANT+, RFID Sony Mobile Communications AB
Sony >
Contents
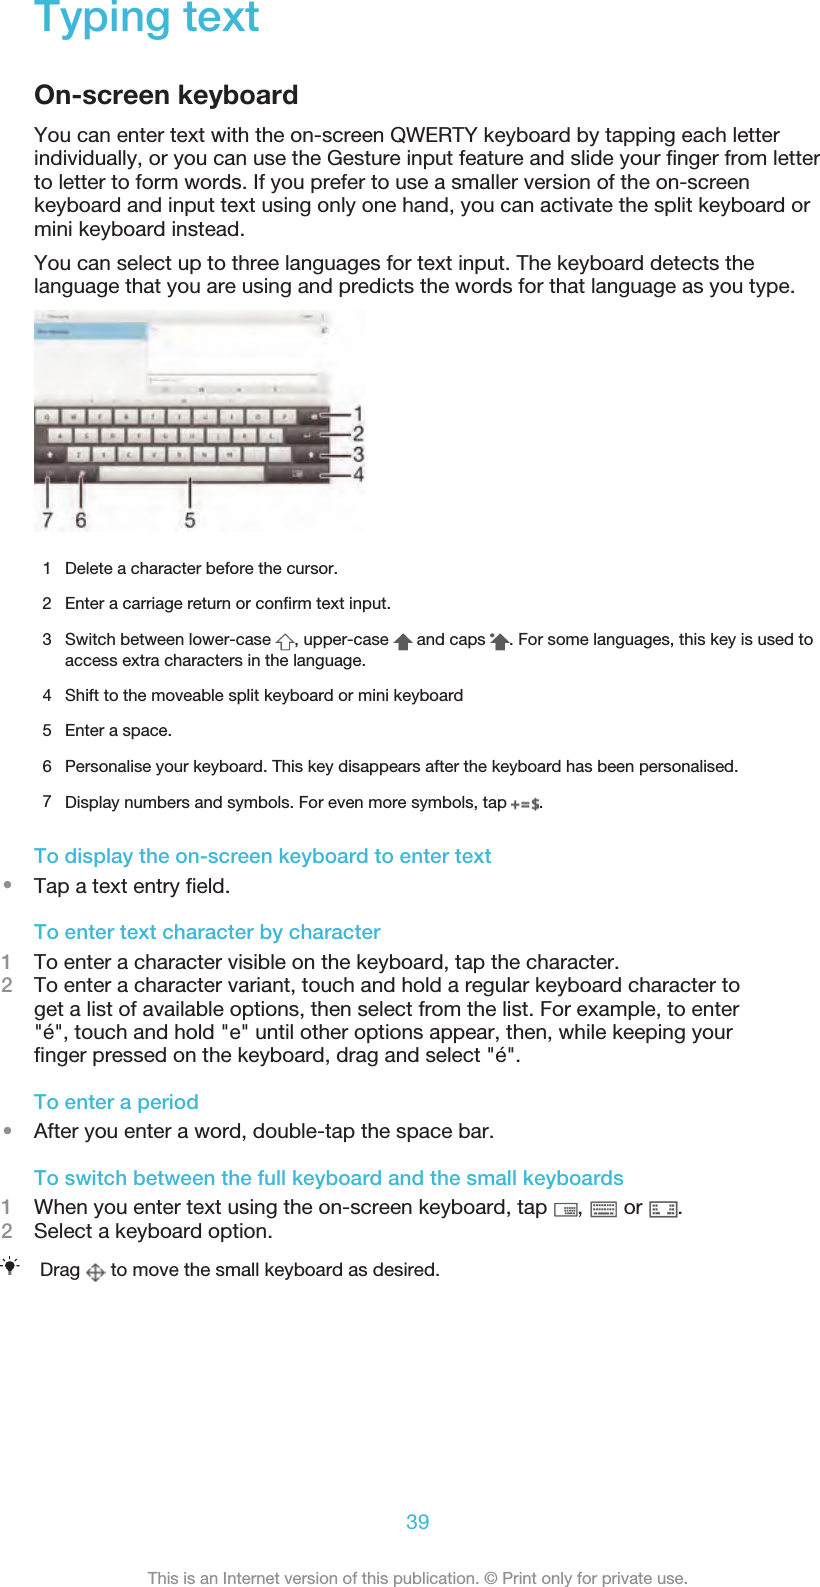
- 1. 08_User guide publication_Part1
- 2. 08_User guide publication_Part2
- 3. 08 SAR leaflet revised
- 4. 08 safety leaflet revised
- 5. 08 safety leaflet
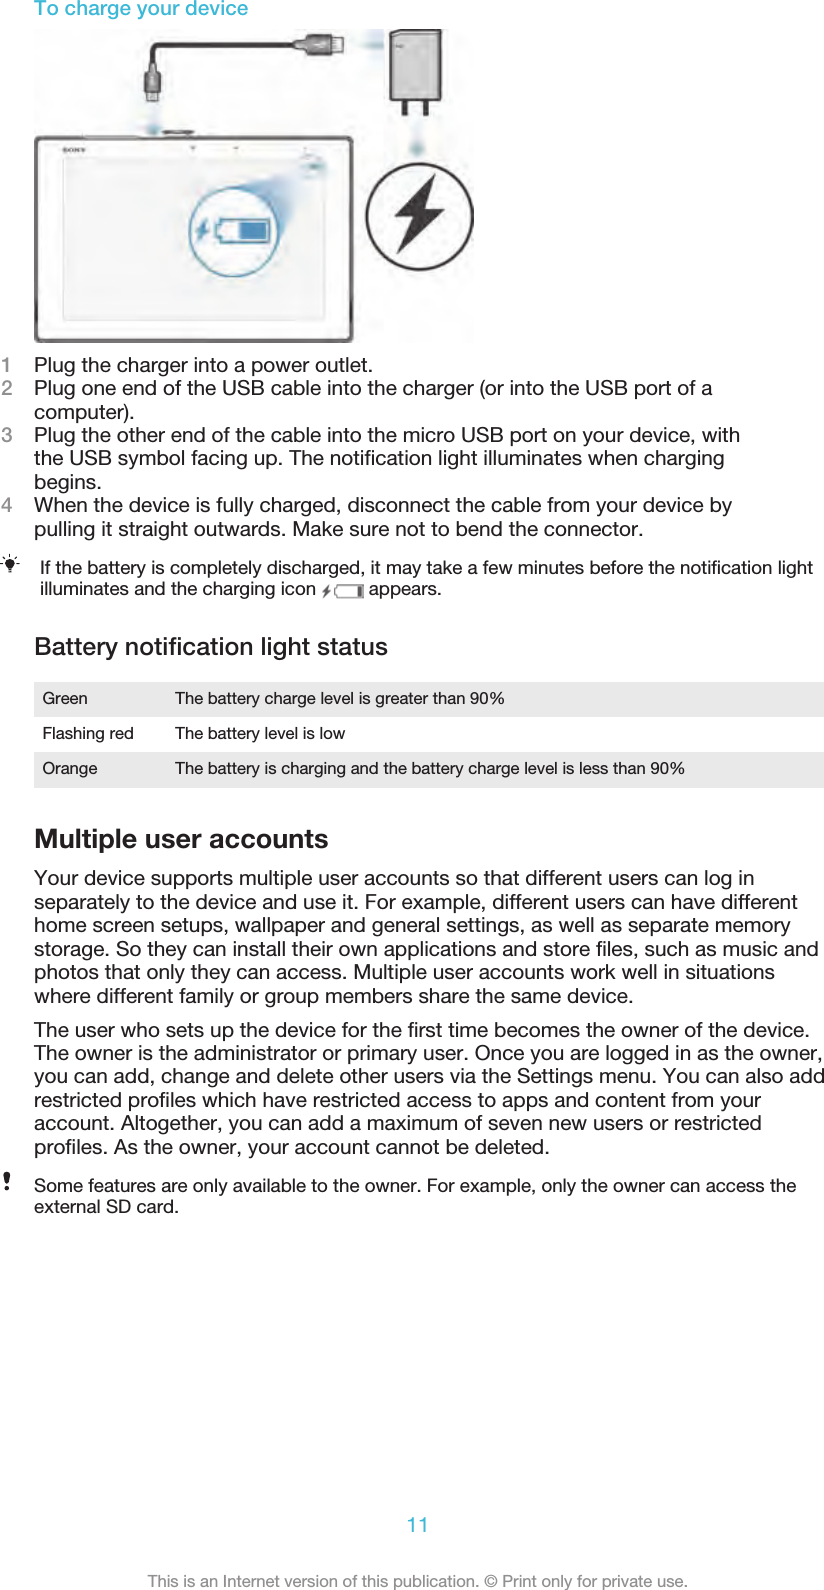
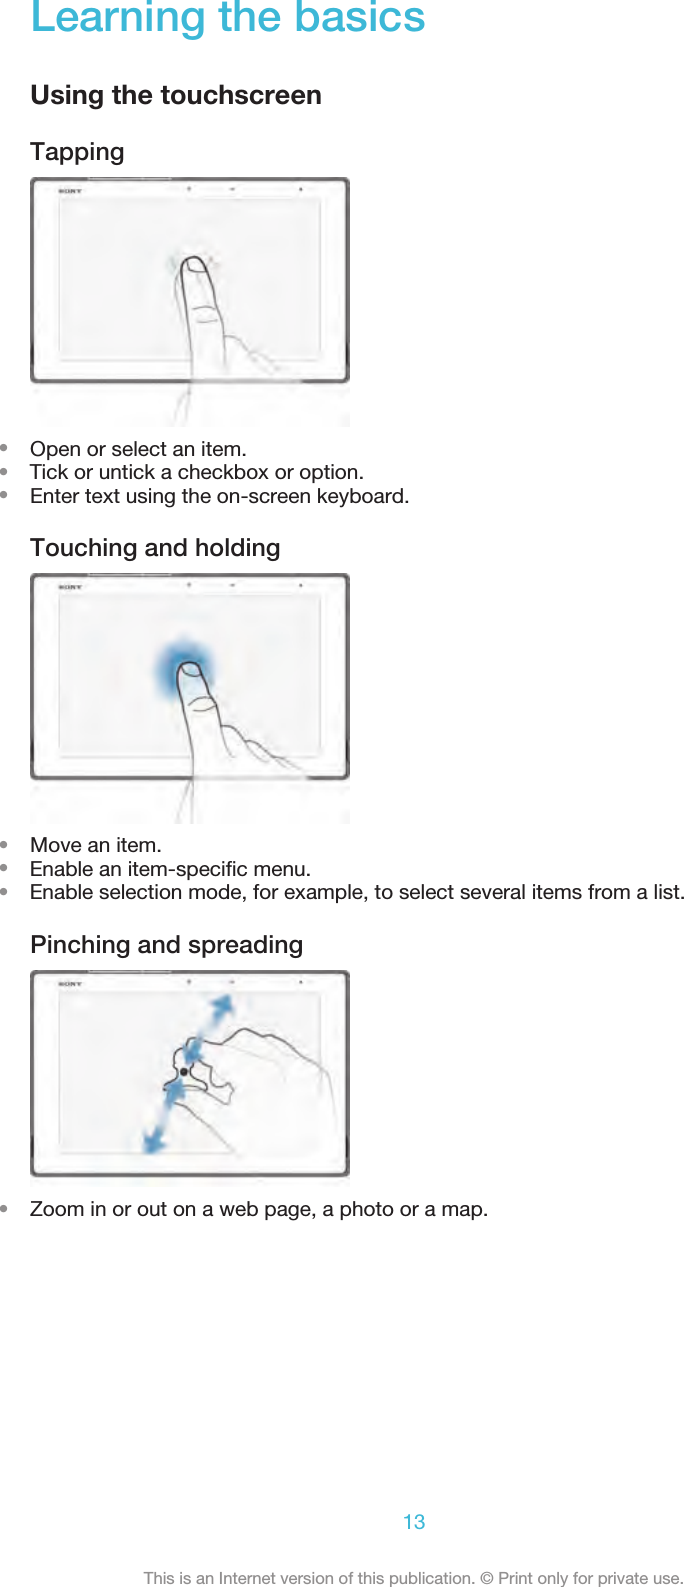
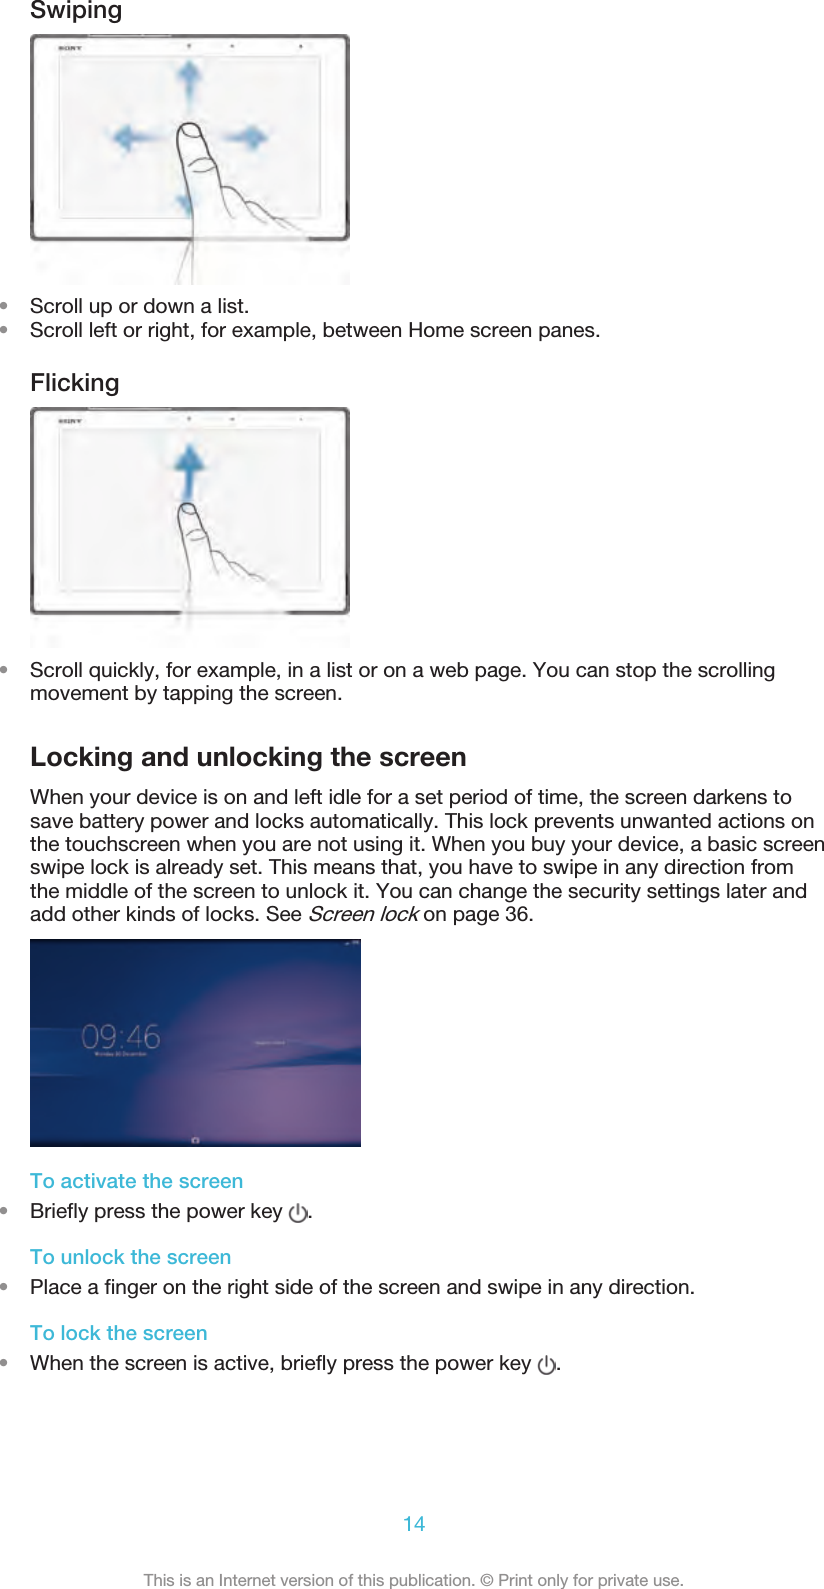
08_User guide publication_Part1