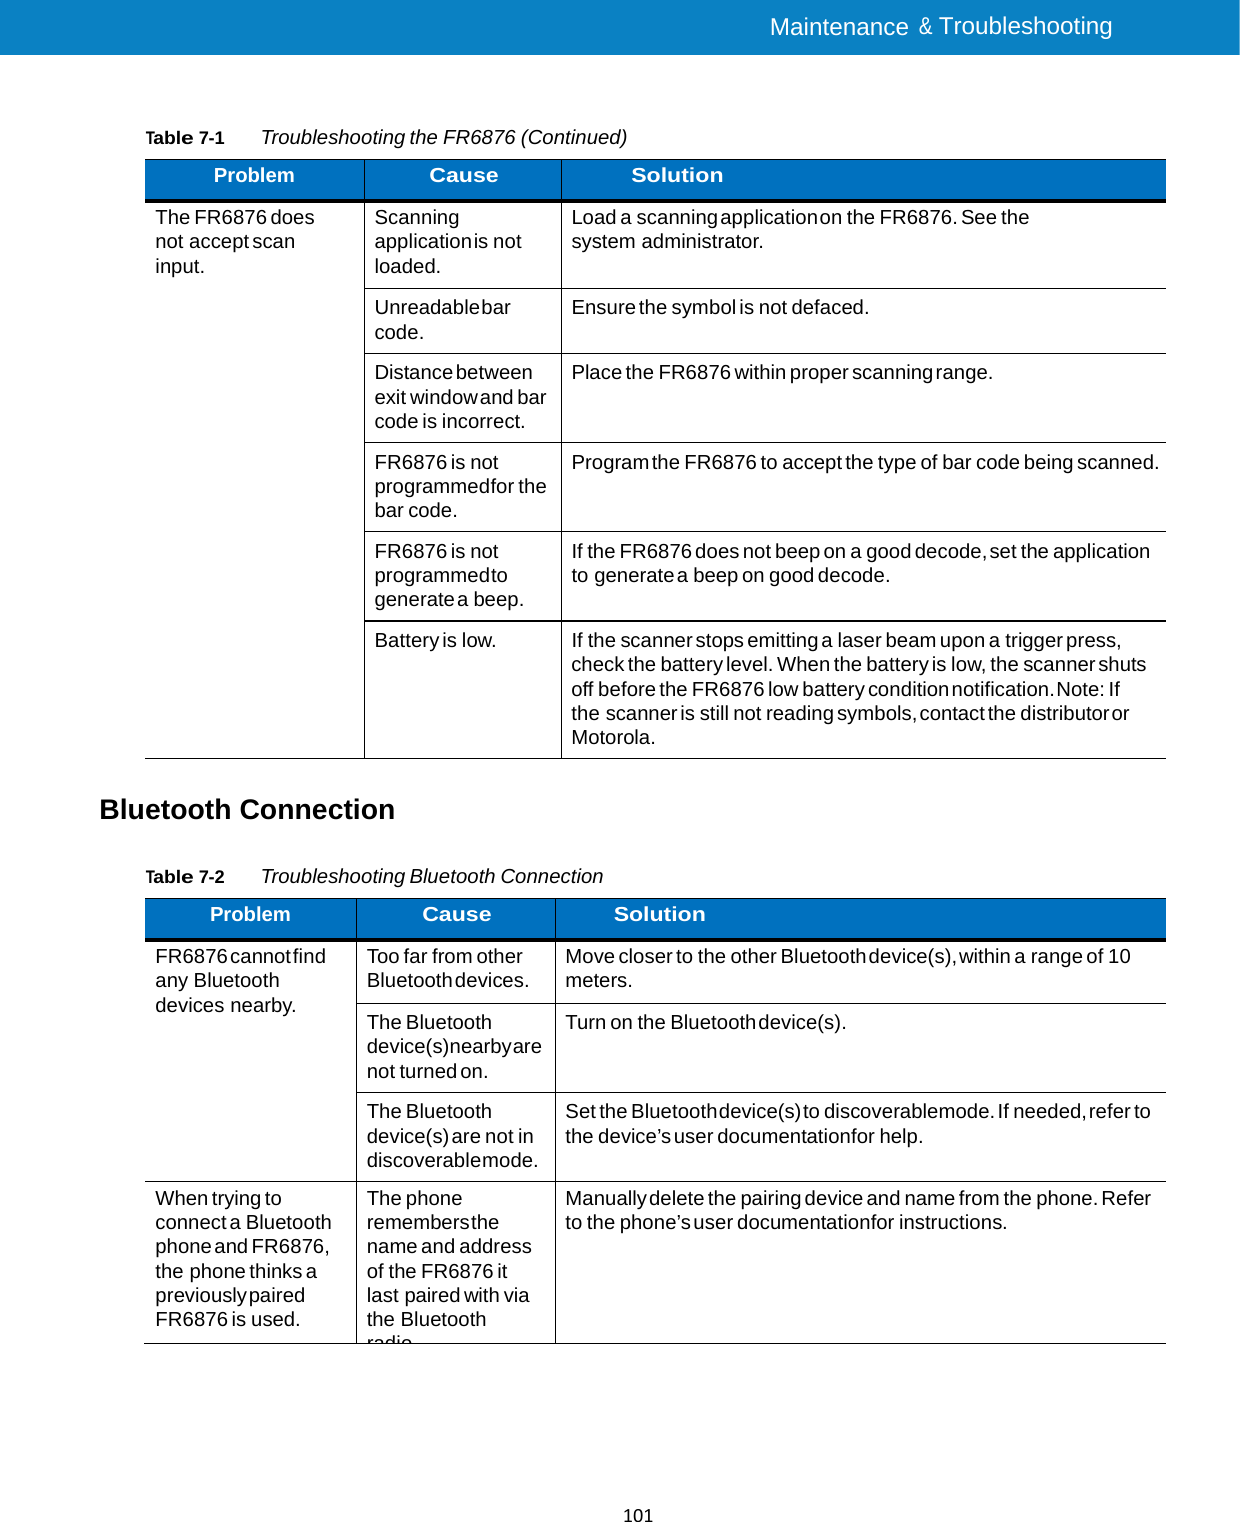
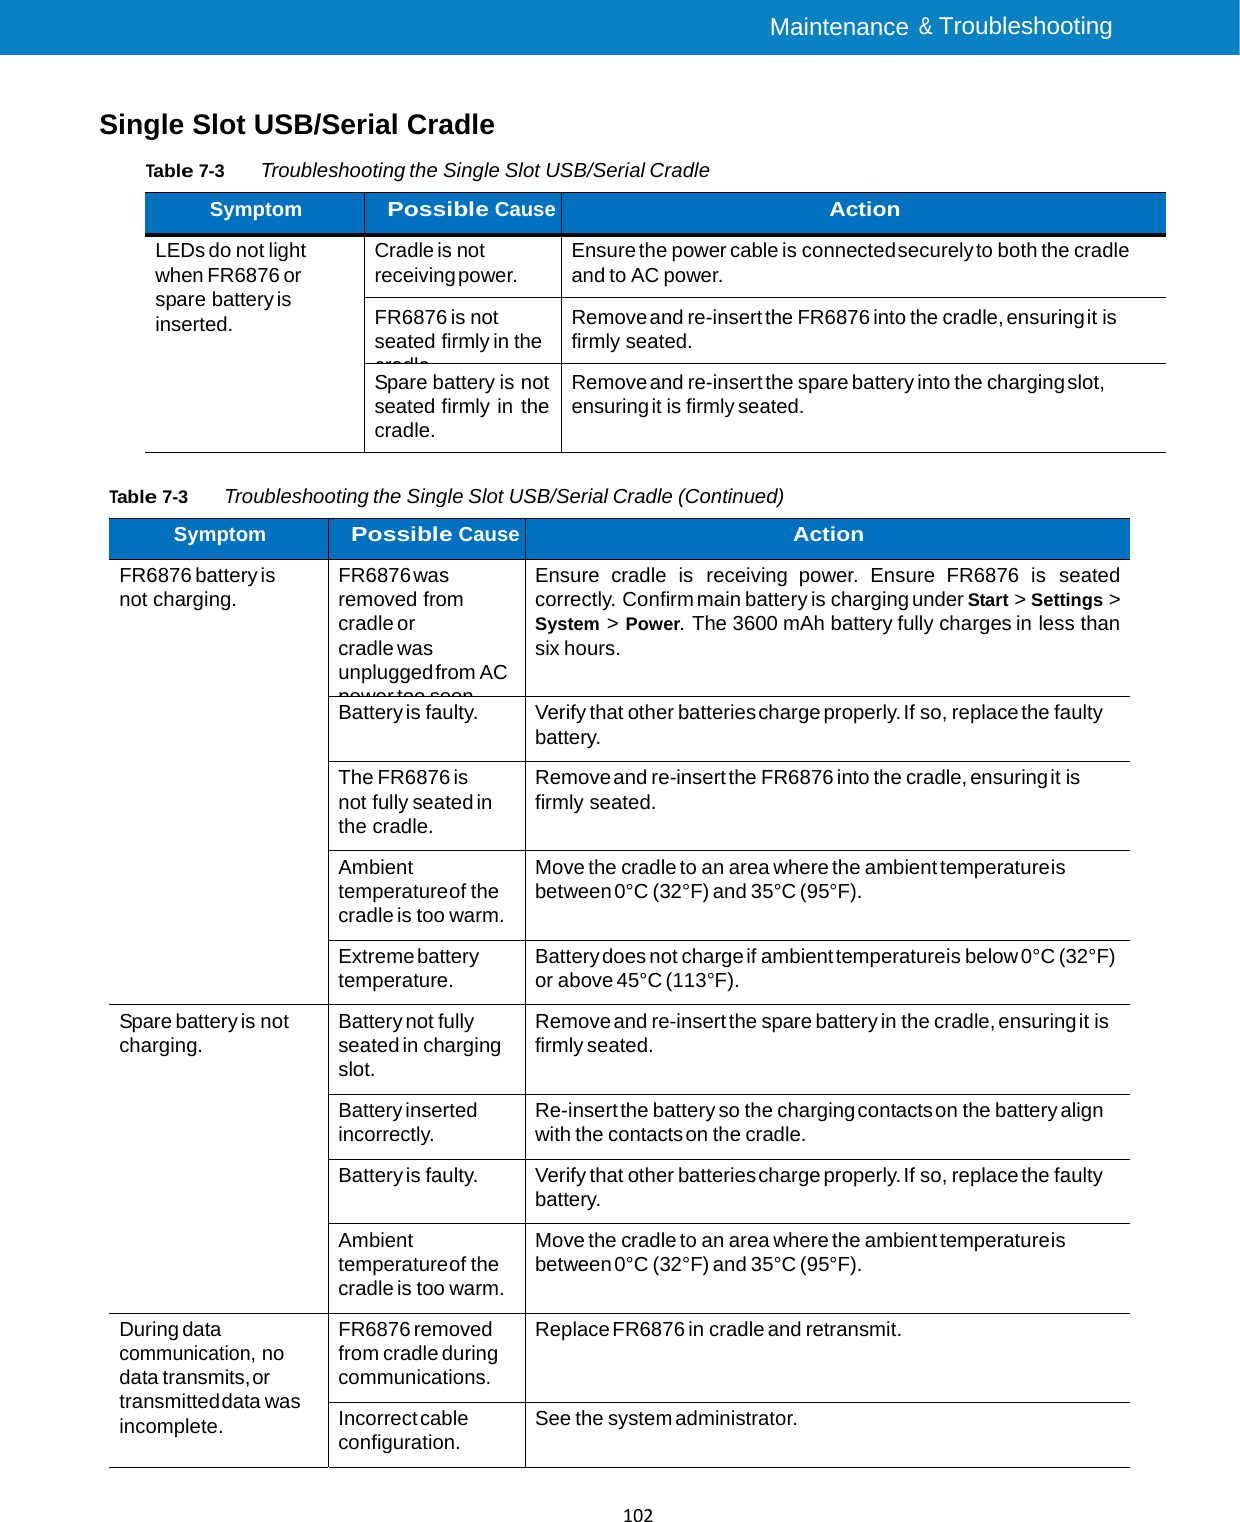
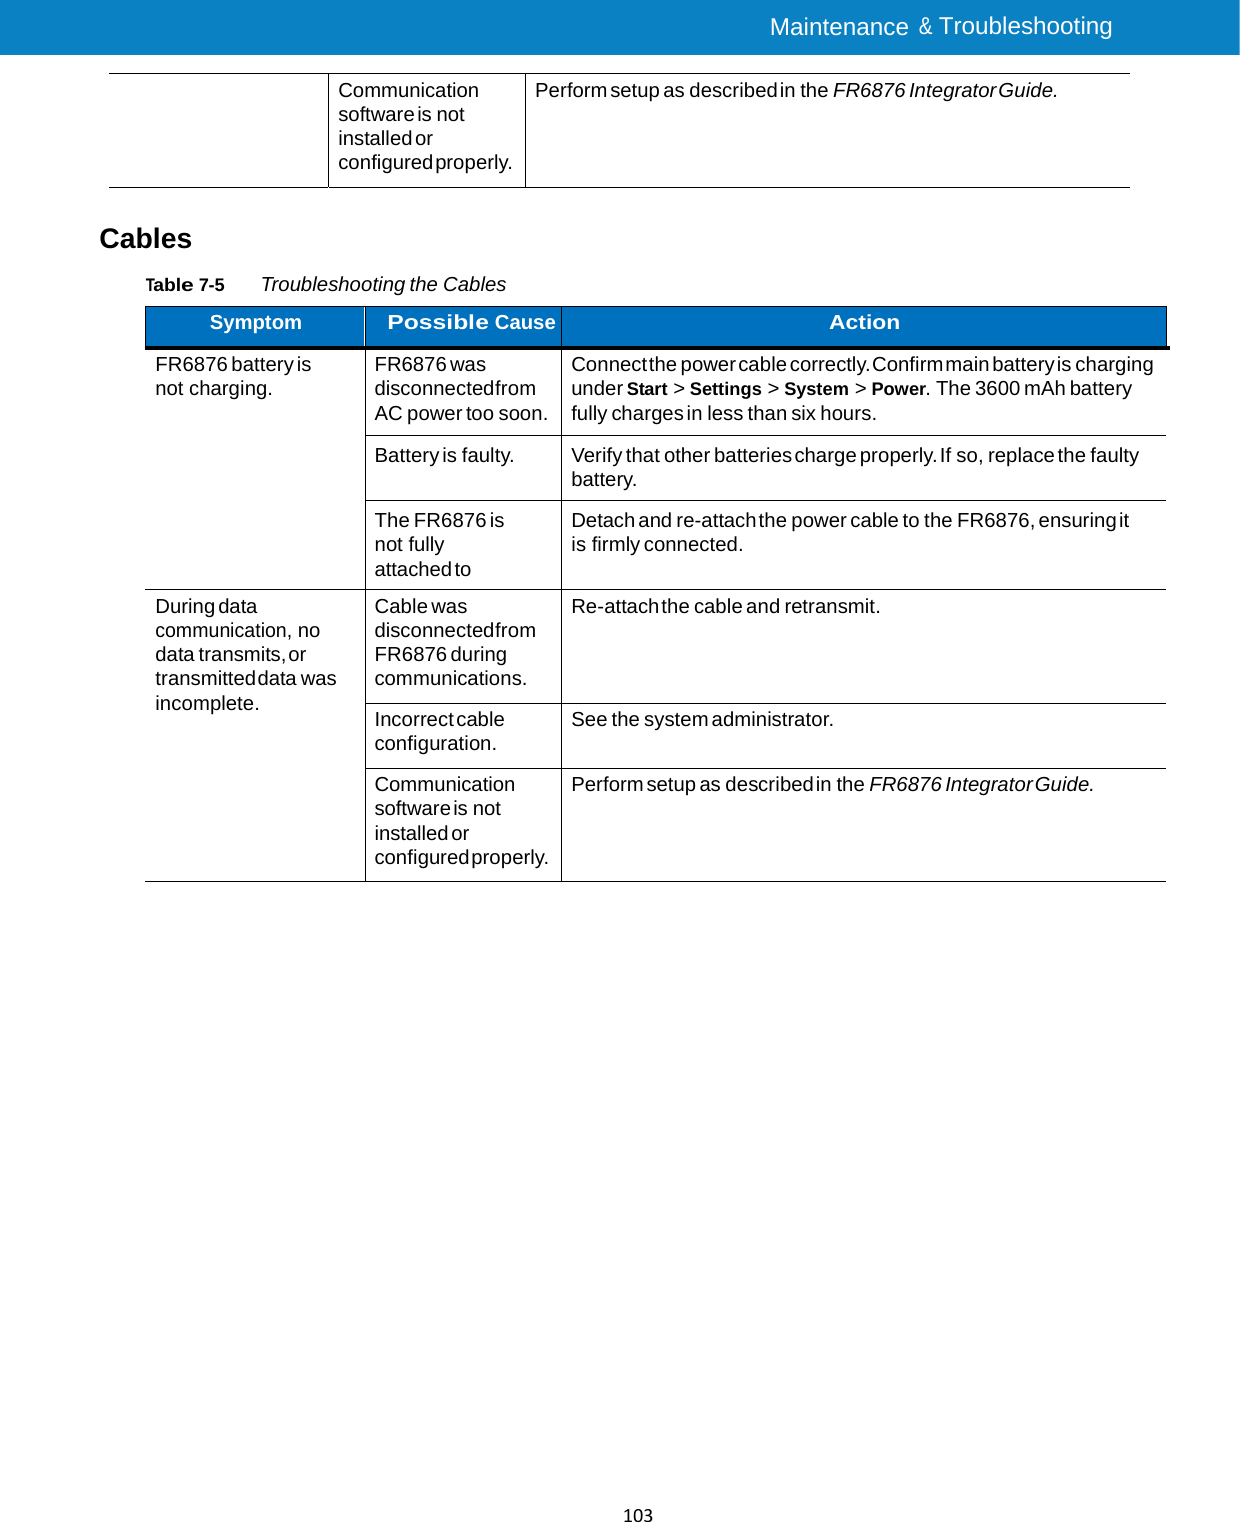
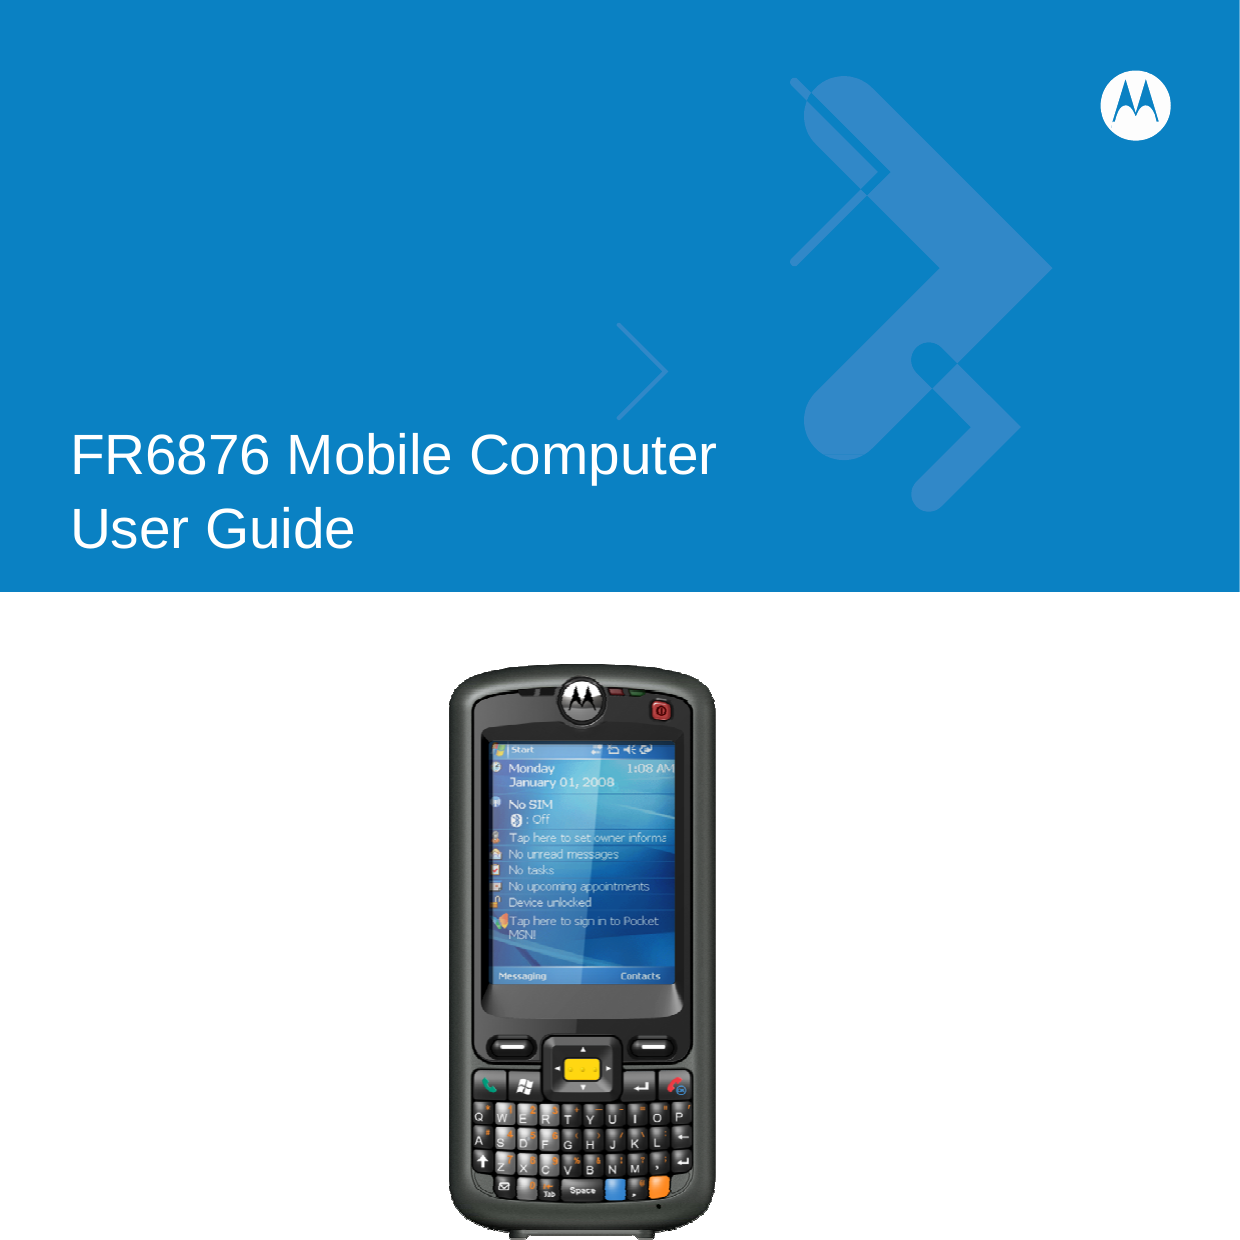
Symbol Technologies FR6876 MOBILE COMPUTER User Manual FR6876 CEFCC User Guide V2
Symbol Technologies Inc MOBILE COMPUTER FR6876 CEFCC User Guide V2
UserManual.wiki
>
Symbol Technologies
>
FR6876 User Manual
Users Manual
Navigation menu
Upload a User Manual
Namespaces
Wiki Guide
HTML
PDF
Info
Views
User Manual
Discussion / Help
Navigation

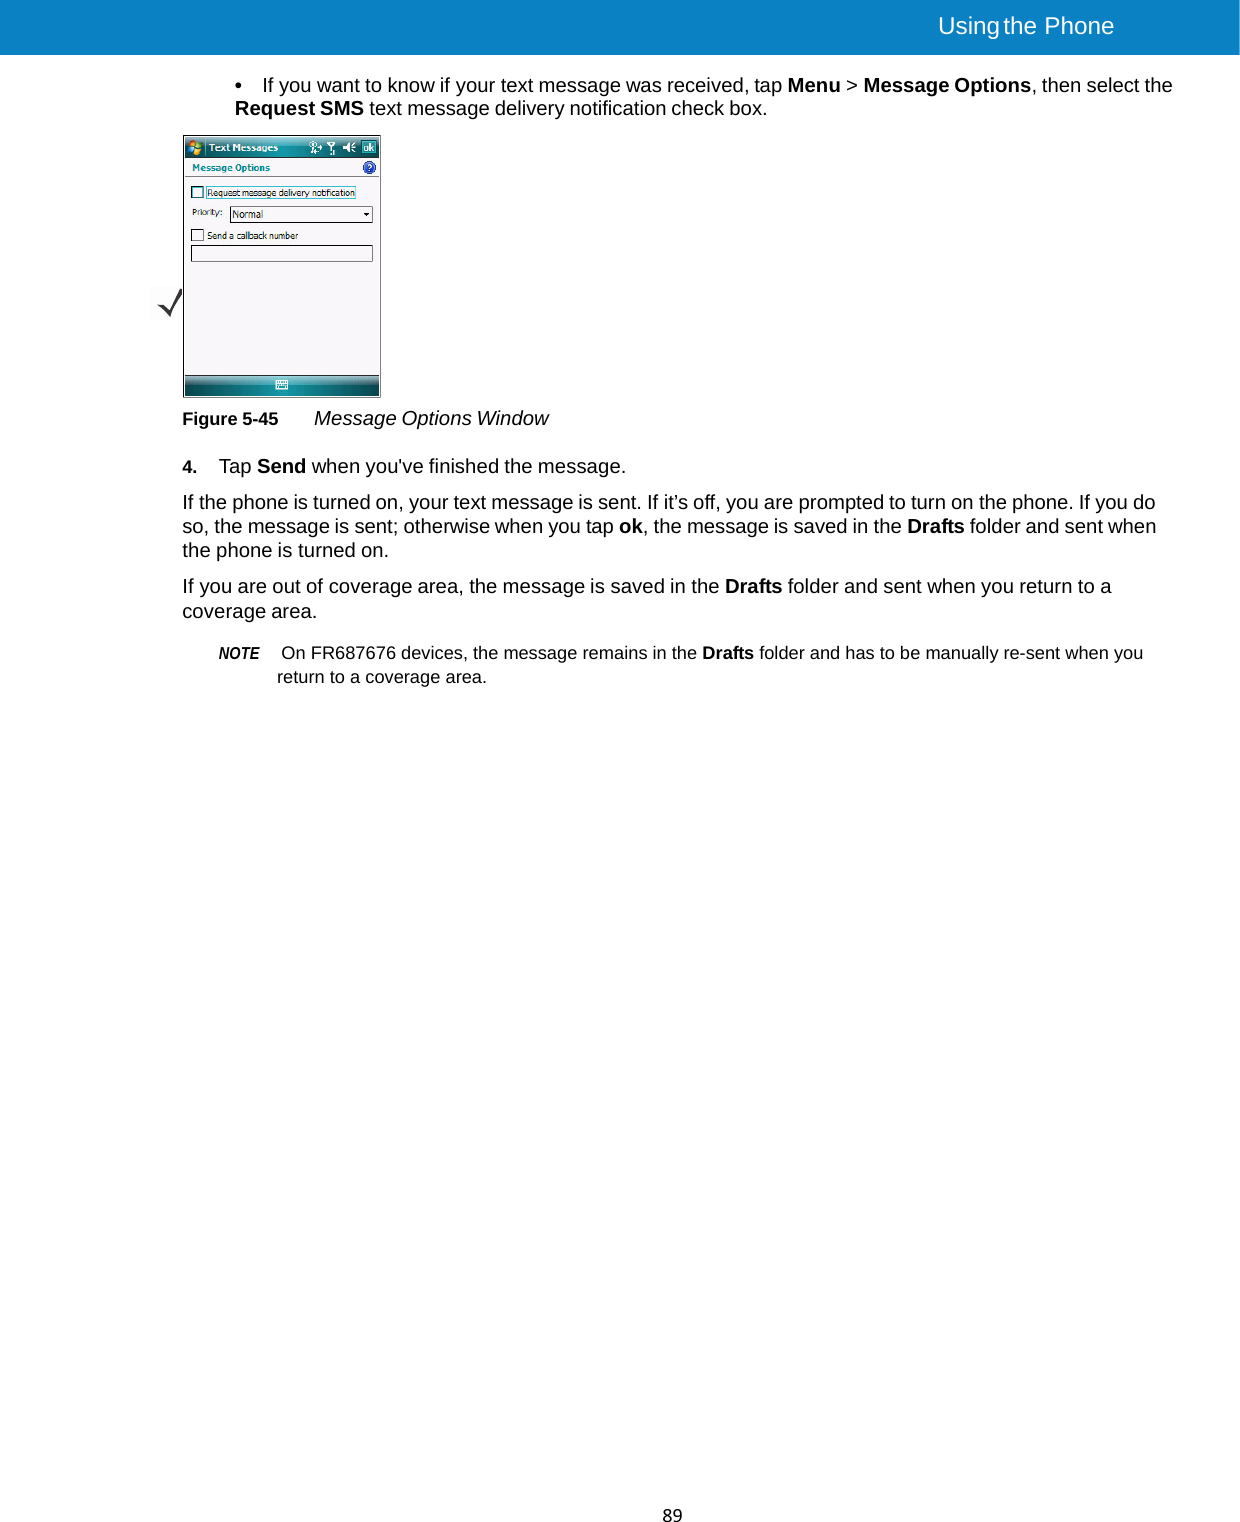
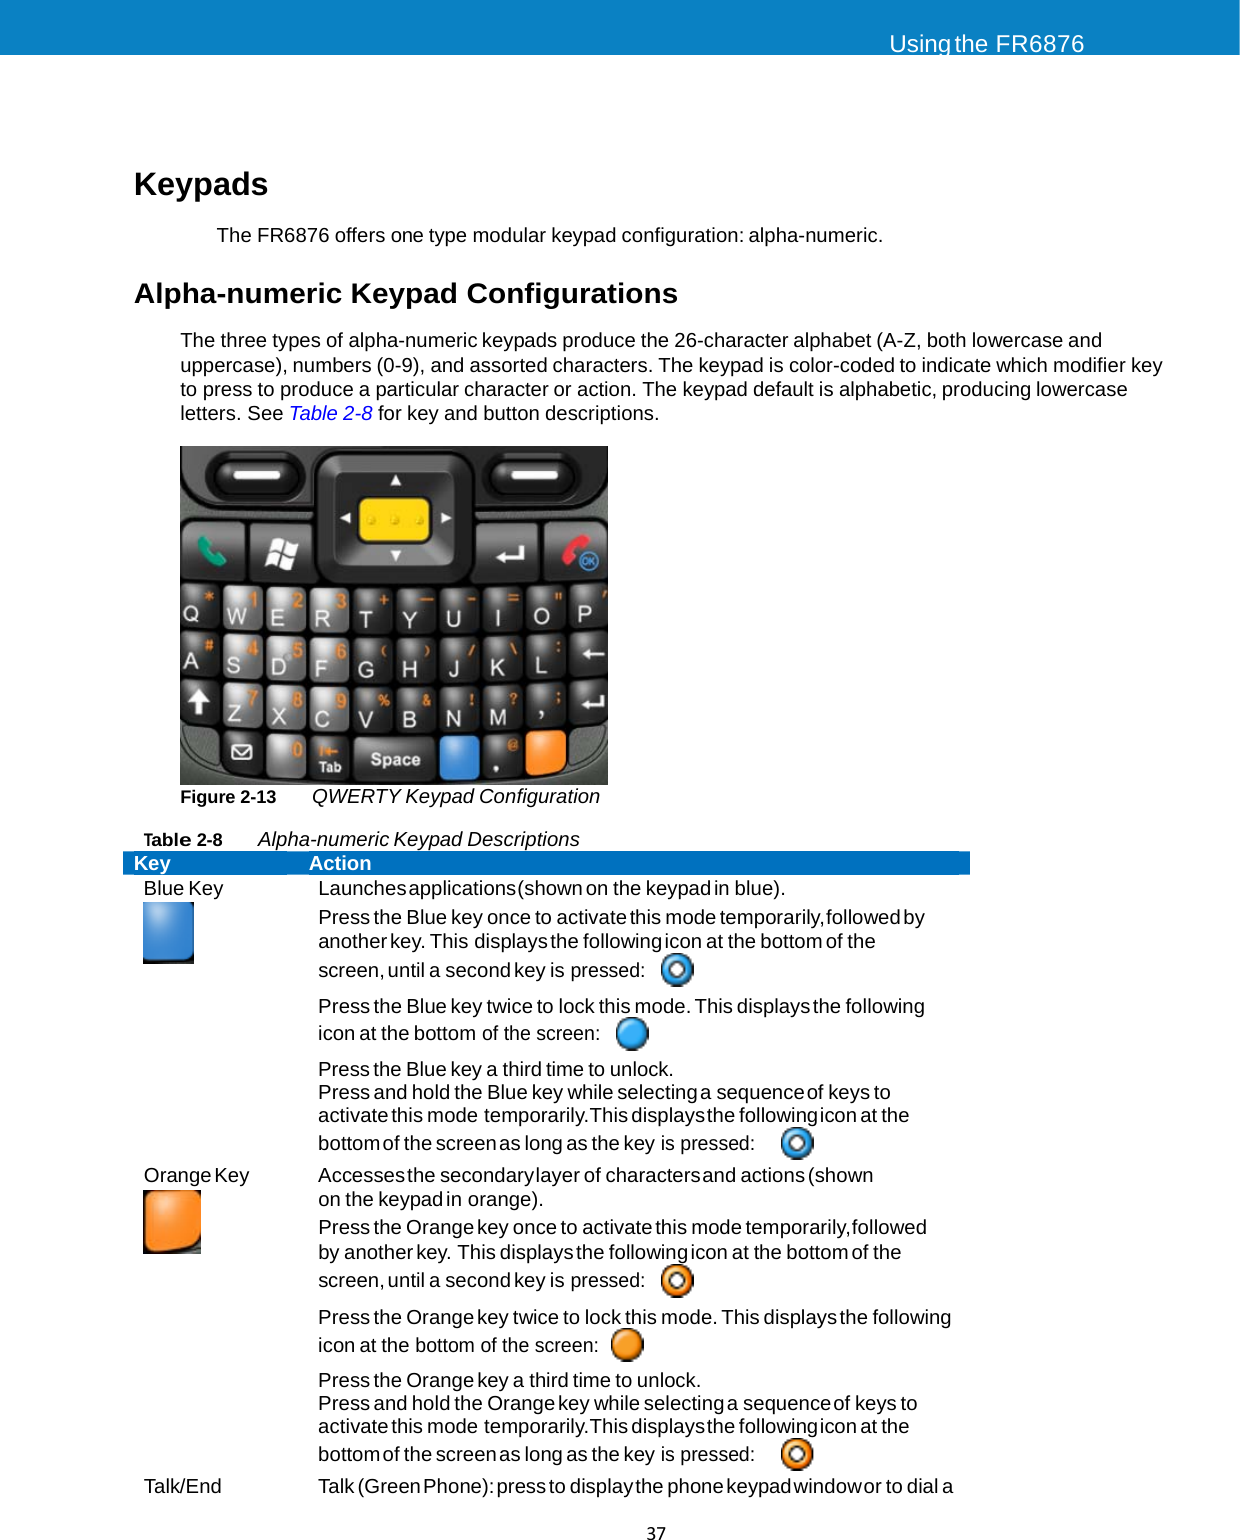
![FR6876 User Guide 7For additional information about the FCC's actions with regard to hearing aid compatible wireless devices and other steps the FCC has taken to ensure that individuals with disabilities have access to telecommunications services, please go to www.fcc.gov/cgb/dro. Turning on the HAC Setting When the HAC setting is on, FR6876 sends the audio from your phone calls to the telecoil rather than to the microphone of your hearing aid. You are likely to hear calls much better because volume is increased and background noise and feedback are diminished. The HAC setting improves only the calls you listen to through the earpiece. Turn off the [Bluetooth] function. Turn off the [WiFi] function. It does not affect calls heard on the speakerphone or with or a headset. HAC requires extra battery power, so watch your battery consumption when it's turned on.](https://usermanual.wiki/Symbol-Technologies/FR6876/User-Guide-1107099-Page-7.png)


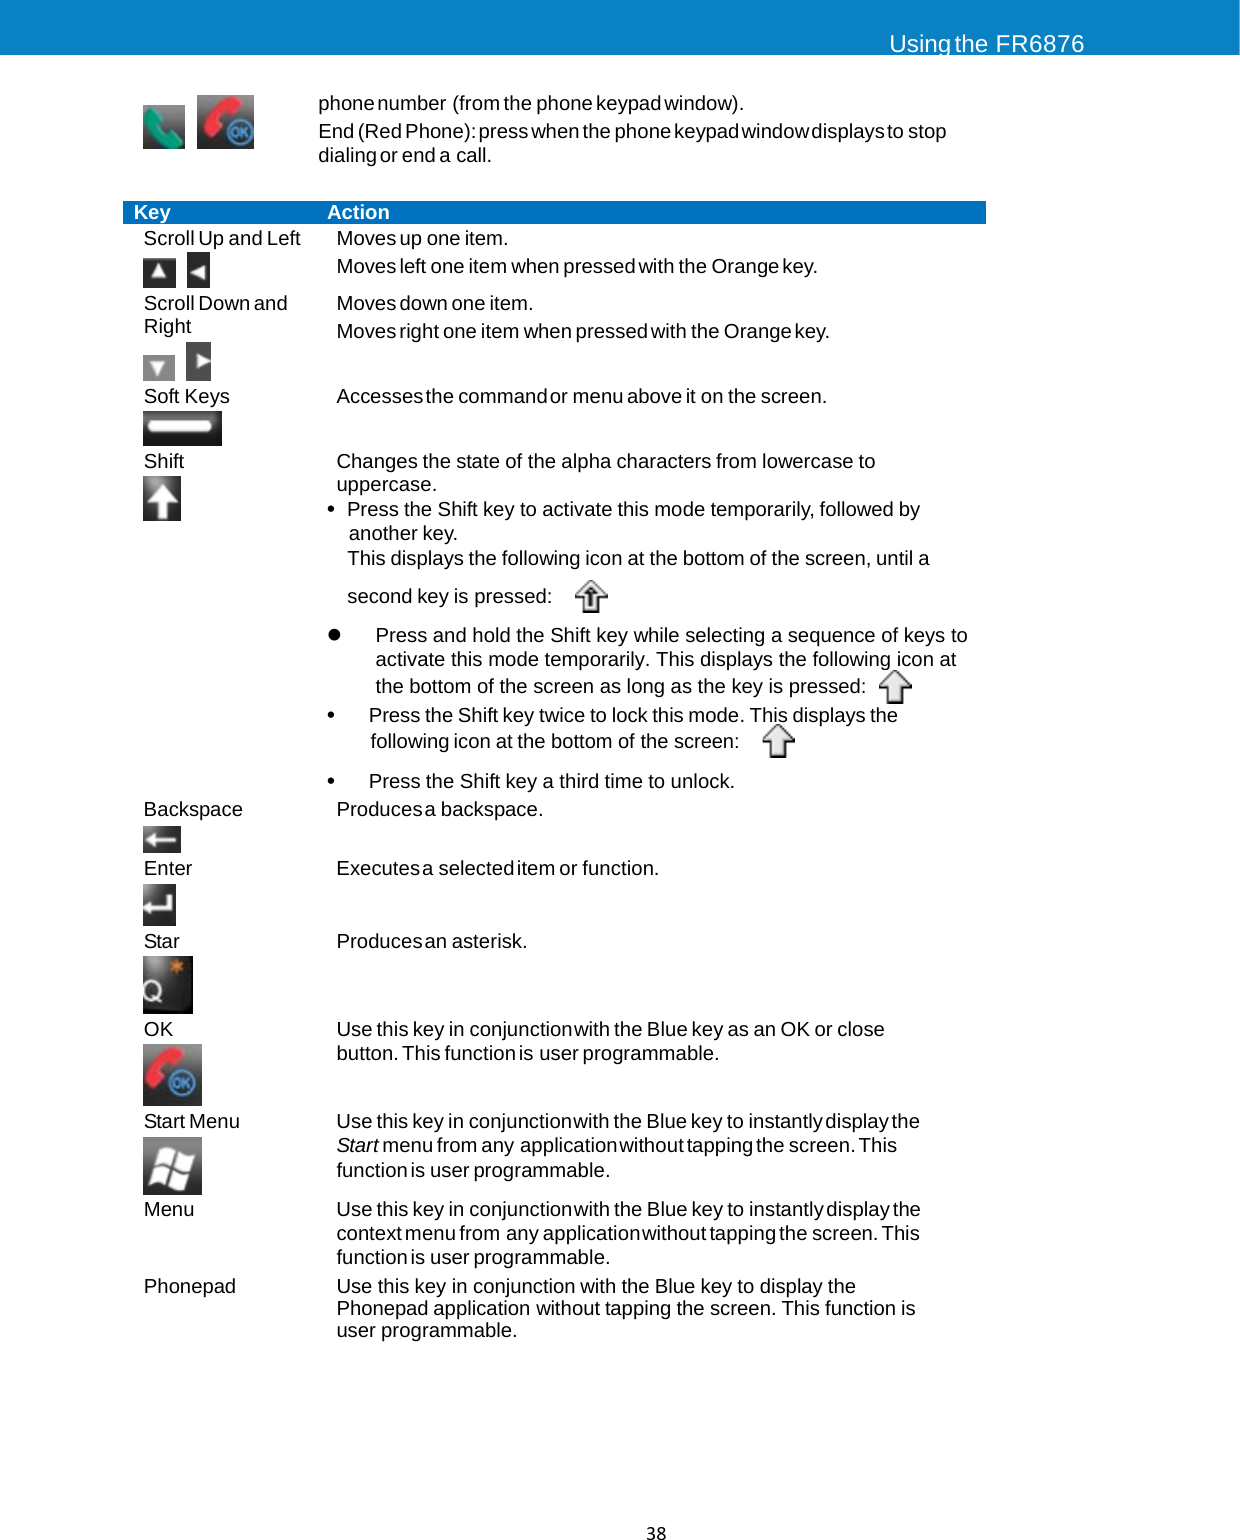


![Using the FR6876 47 2. Align the IrDA port of the FR6876 with that of the IrDA device so that they are unobstructed and within a close range. Figure 2-18 Align FR6876 with IrDA Device 3. Tap and hold the item, then tap Beam [type of item] on the pop-up menu. 4. Tap the device that you want to send the file to. Figure 2-19 Beam Contact Figure 2-20 Receive File To receive files via IrDA connection: 1. Align the IrDA port of the FR6876 with that of the other IrDA device so that they are unobstructed and within a close range. 2. On the other device, send the file to the FR6876. 3. When the Receiving Data dialog displays, tap Yes.](https://usermanual.wiki/Symbol-Technologies/FR6876/User-Guide-1107099-Page-53.png)

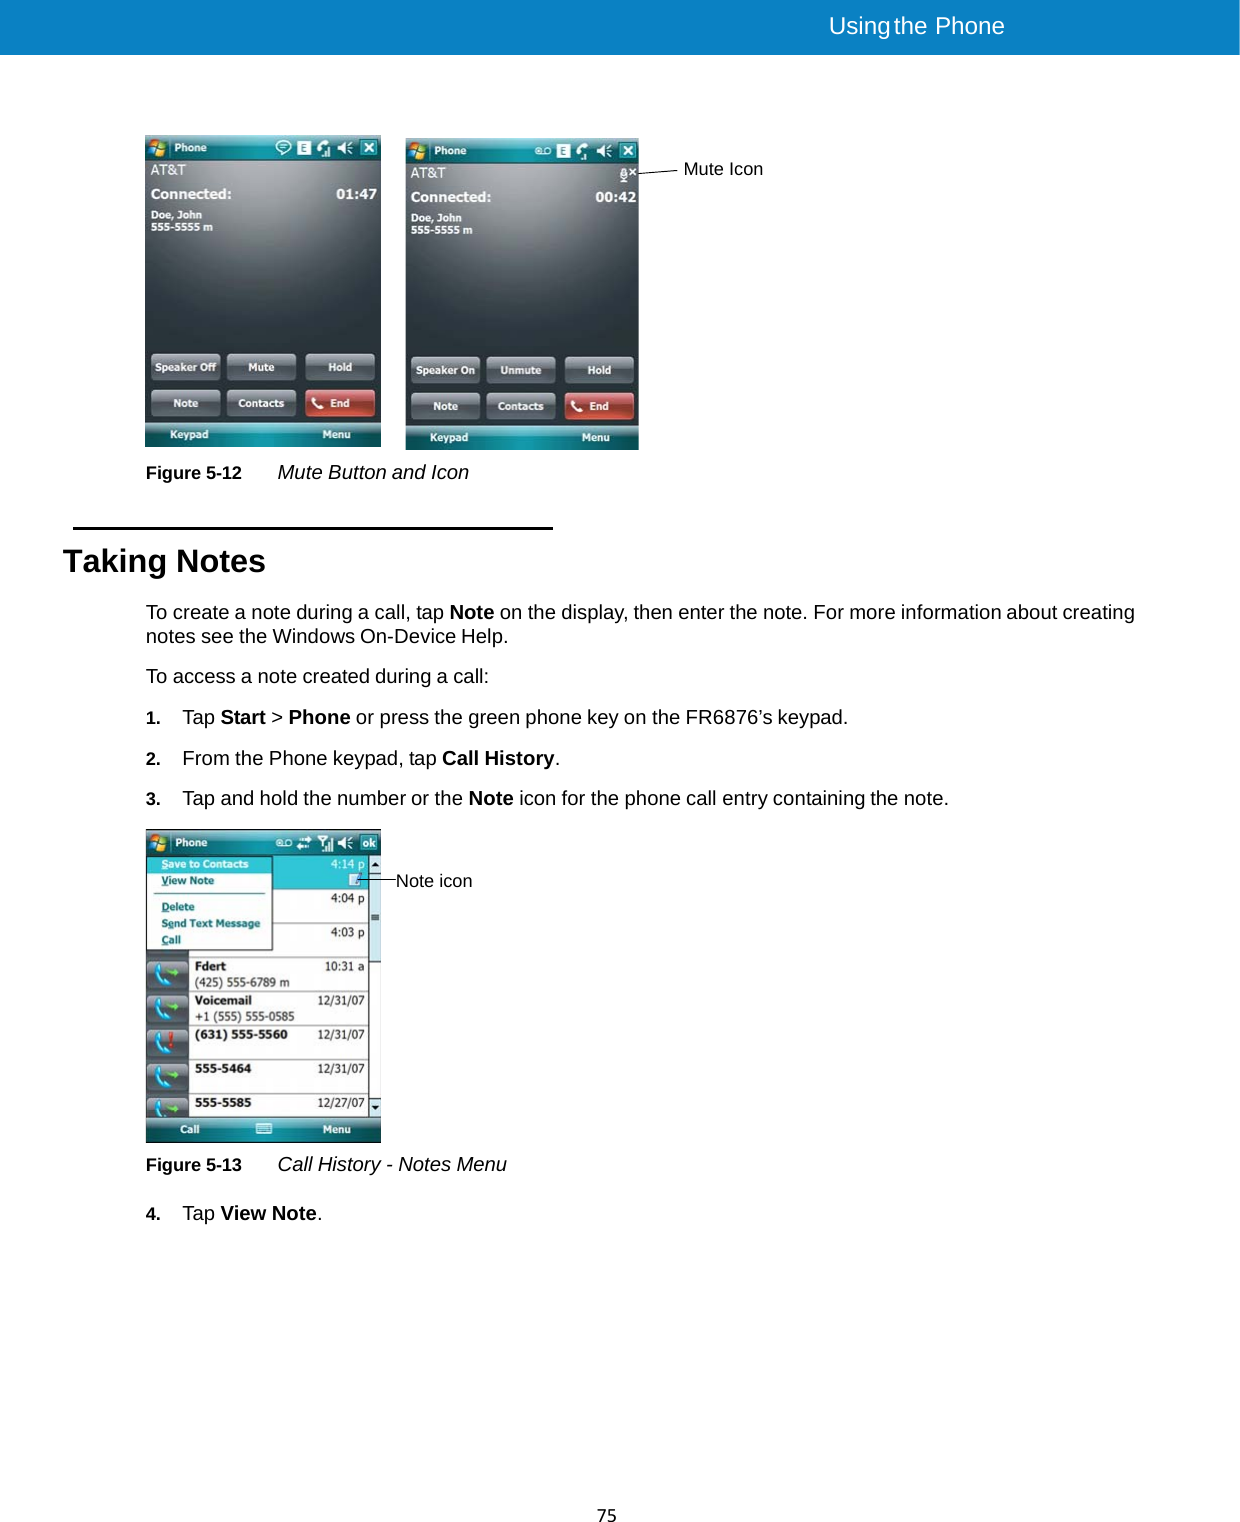
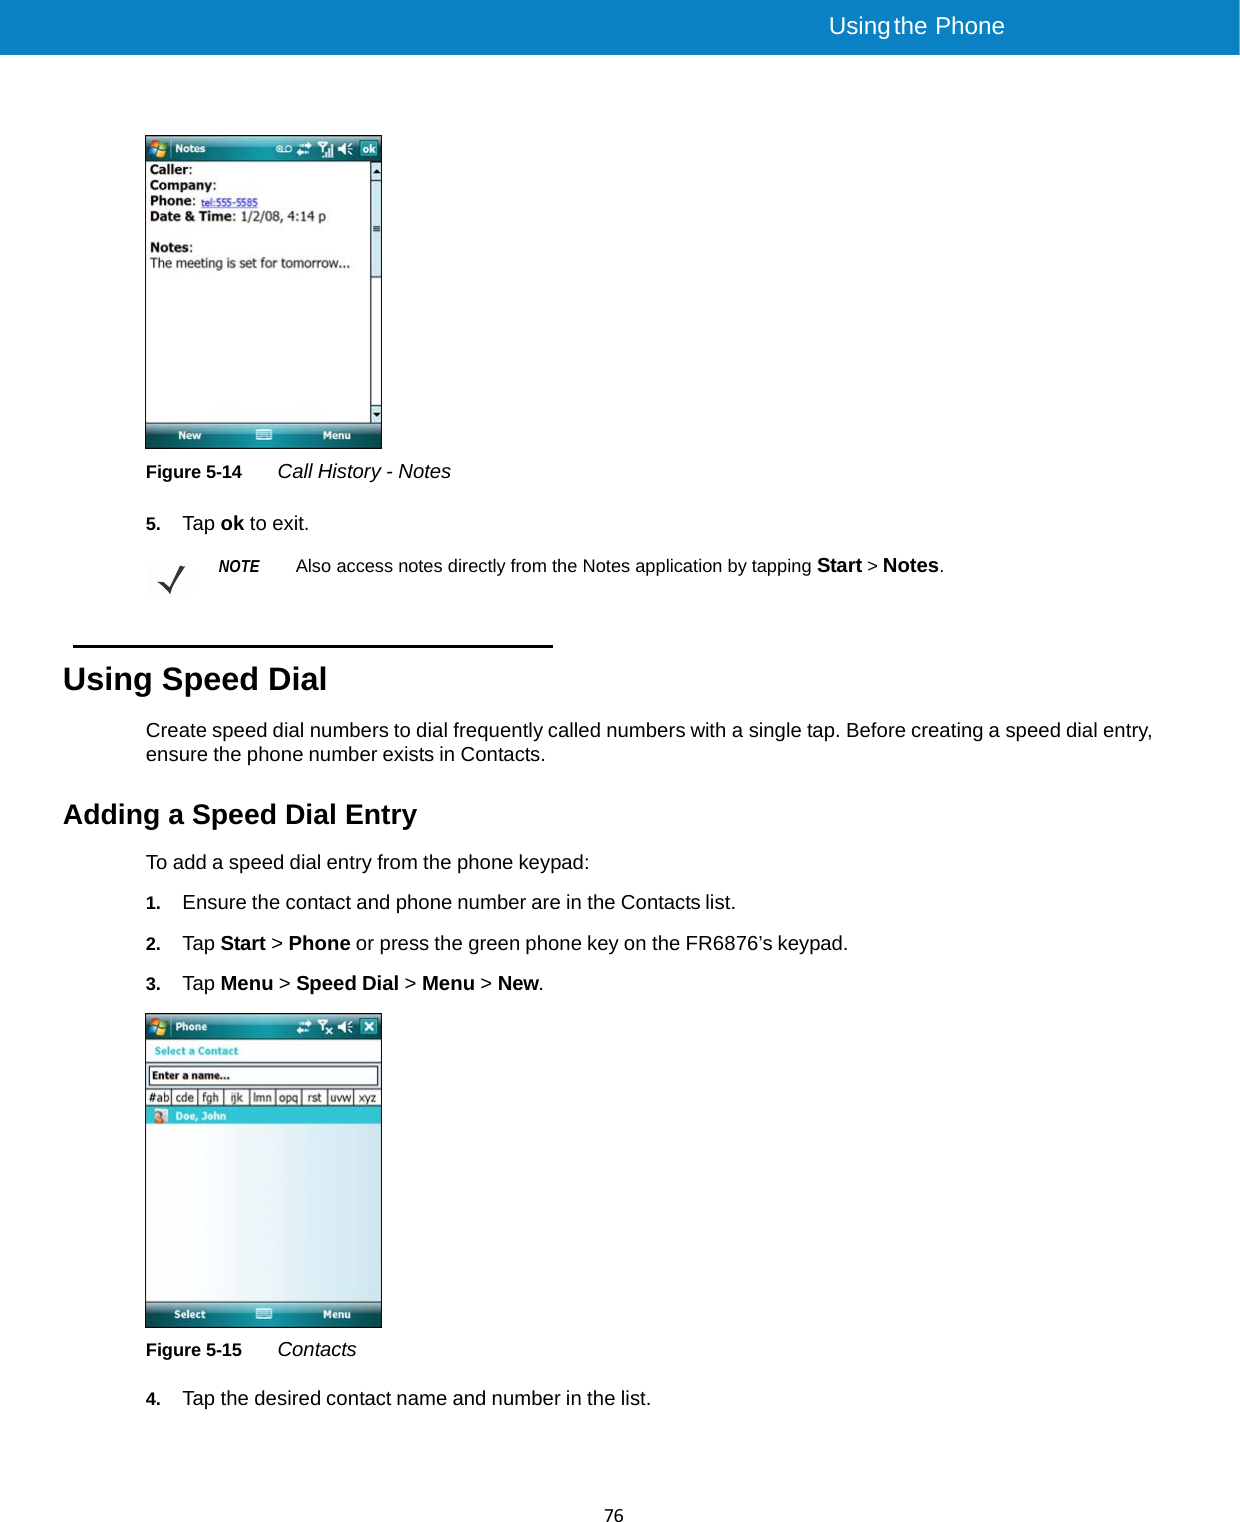
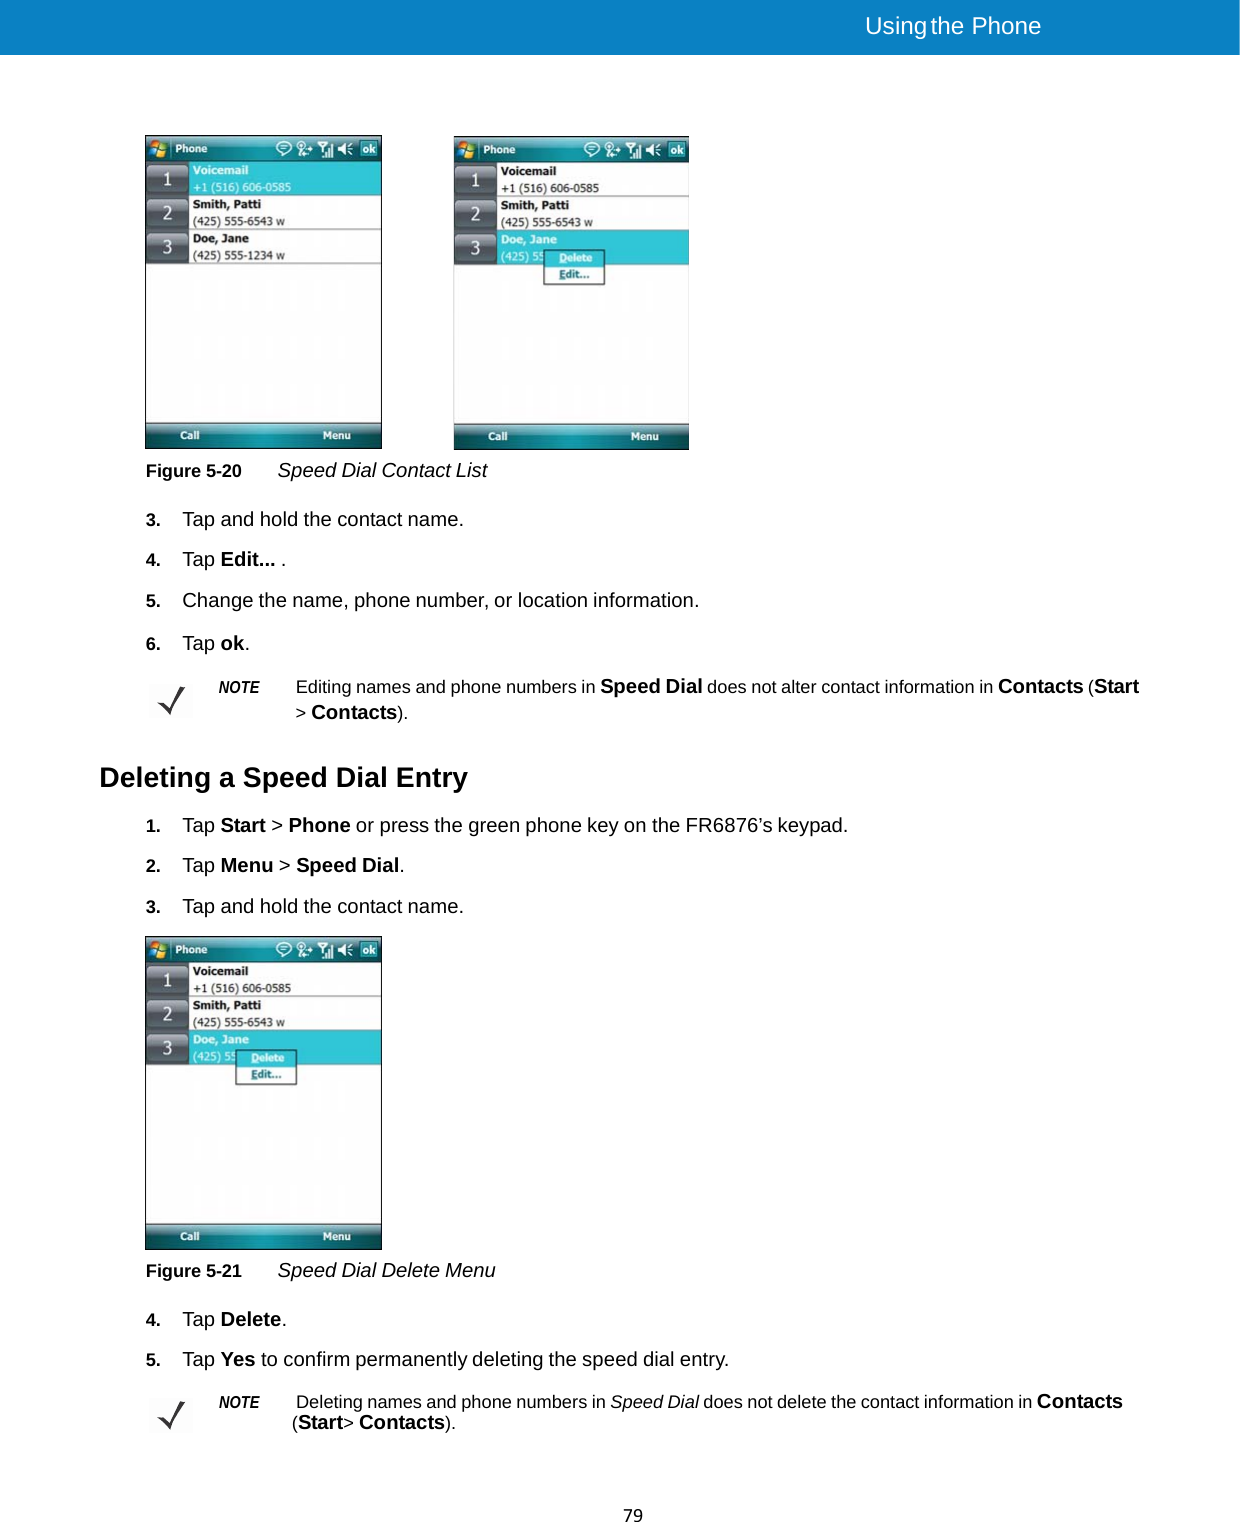
![Using the Phone 74 To find a contact name: • Enter the first letter of a contact’s first name or last name. Smart Dialing searches for the letter starting from the first character of a contact name as well as from the character that appears after a space, dash, or underscore in a contact name. For example, if you tap number “2” which is associated with [a, b, c] on the Phone keypad, contact names such as the following will be considered matches: “Smith, Bernard”, “Adams, John”, “Carlson, Eileen”, “Dillon, Albert”, “Childs, Larry”, “Cooper, Robert” and “Parks, Celine”. • If the matching list is long narrow down the search further by entering another letter. Using the same example above, tap “3” which is associated with (d, e, f), the matching list is narrowed down to the following names: “Smith, Bernard”, “Adams, John”, and “Parks, Celine”. Figure 5-11 Finding a Contact To make a call or send a text message using Smart Dialing: 1. Begin entering the first few numbers or characters. 2. In the Smart Dialing panel, use the up and down arrows on the keypad to navigate to the desired contact or phone number. 3. When the correct contact is selected, press TALK to make a voice call. 4. To send a text message to the selected contact, tap Menu > Send Text Message. 5. To call a different phone number associated with the selected contact, tap the contact name and select the phone number to call. Muting a Call During a call, you can mute the microphone so you can hear the person on the line but he or she cannot hear conversation from the microphone. This is useful when there is conversation or background noise on your end. To mute or unmute a call: 1. Tap Start > Phone or press the green phone key on the FR6876’s keypad. 2. Make a call. 3. Tap Mute on the display to mute the audio. The Mute icon appears.](https://usermanual.wiki/Symbol-Technologies/FR6876/User-Guide-1107099-Page-80.png)