TENDA TECHNOLOGY 268R 150Mbps Wireless‐N Router User Manual
SHENZHEN TENDA TECHNOLOGY CO., LTD. 150Mbps Wireless‐N Router
UserManual.wiki
>
TENDA TECHNOLOGY
>
268R User Manual
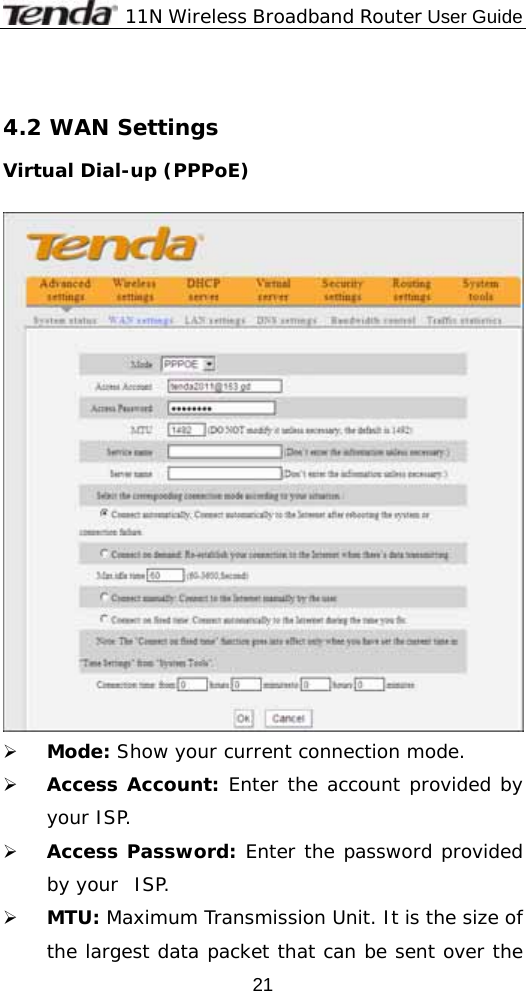
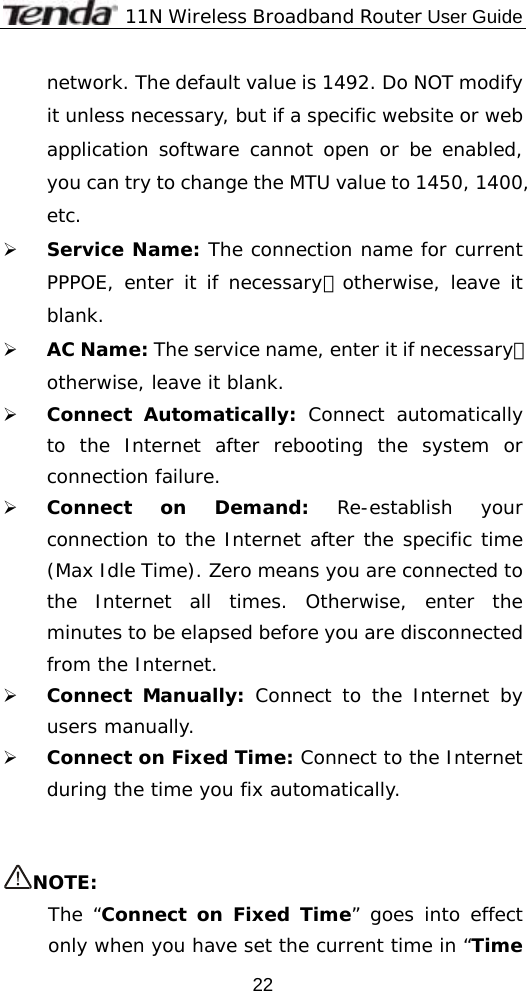
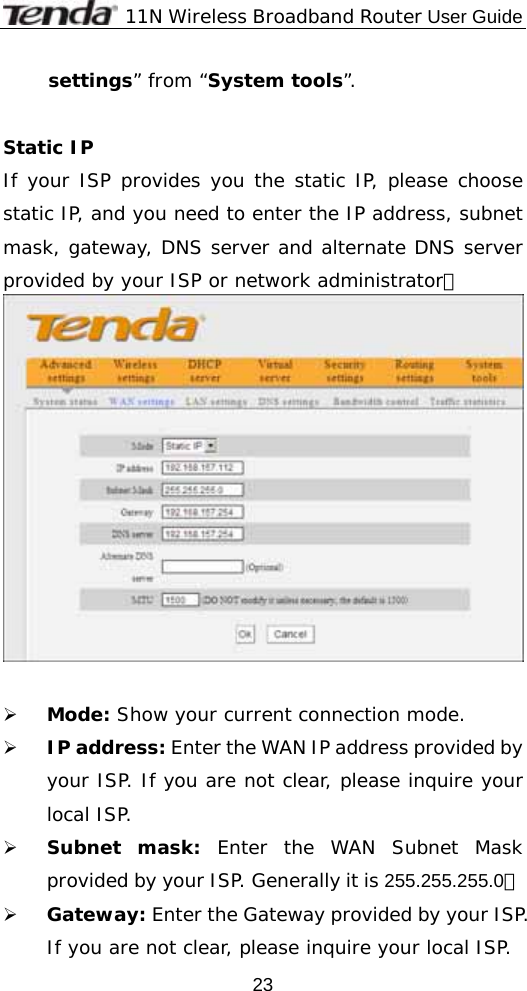
Users Manual
Navigation menu
Upload a User Manual
Namespaces
Wiki Guide
HTML
PDF
Info
Views
User Manual
Discussion / Help
Navigation
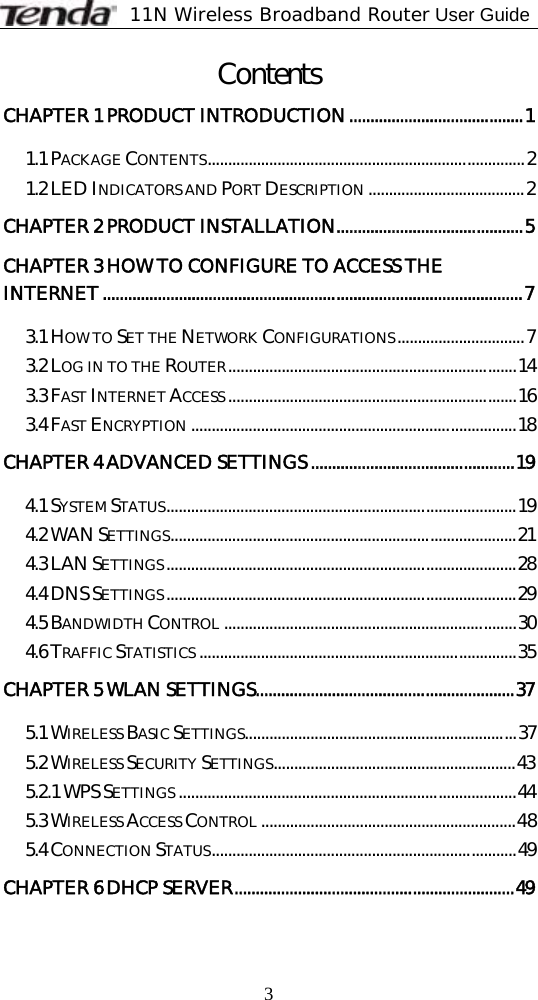

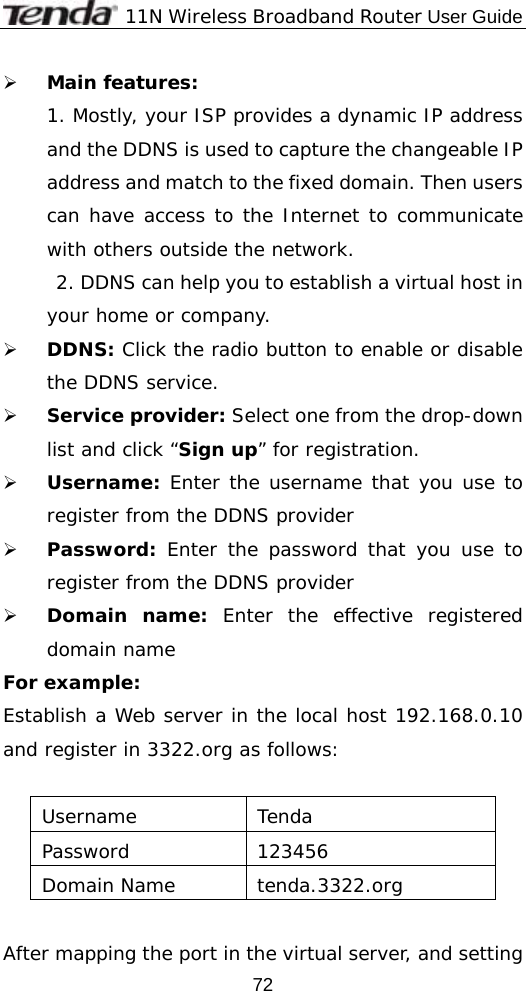
![11N Wireless Broadband Router User Guide 46 ¾ WPA Algorithms: Provides TKIP [Temporal Key Integrity Protocol] or AES [Advanced Encryption Standard]. ¾ Key: Enter the pass phrase that consists of 8-63 ASCII characters. ¾ Key Renewal Interval: Set the key’s renewal period, which tells the device how often it should change the dynamic keys.](https://usermanual.wiki/TENDA-TECHNOLOGY/268R/User-Guide-1539592-Page-51.png)
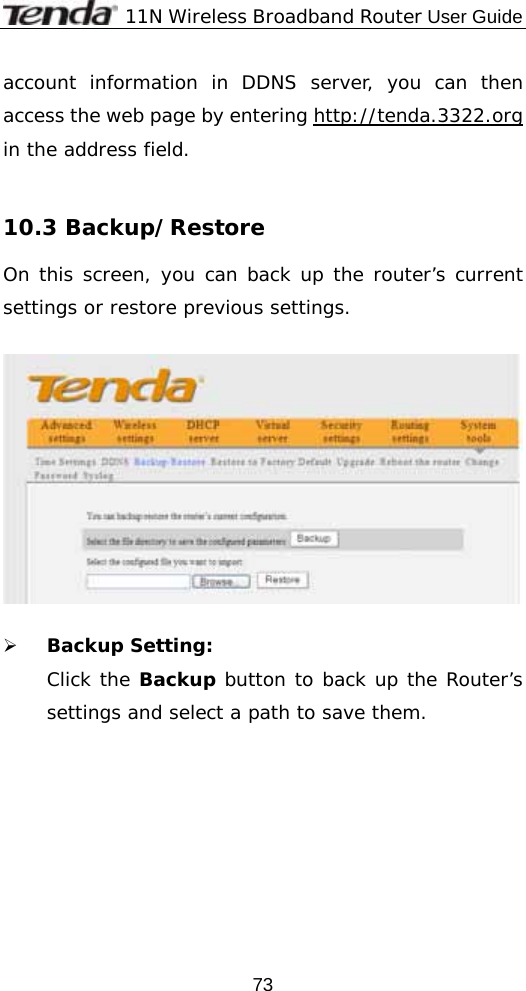
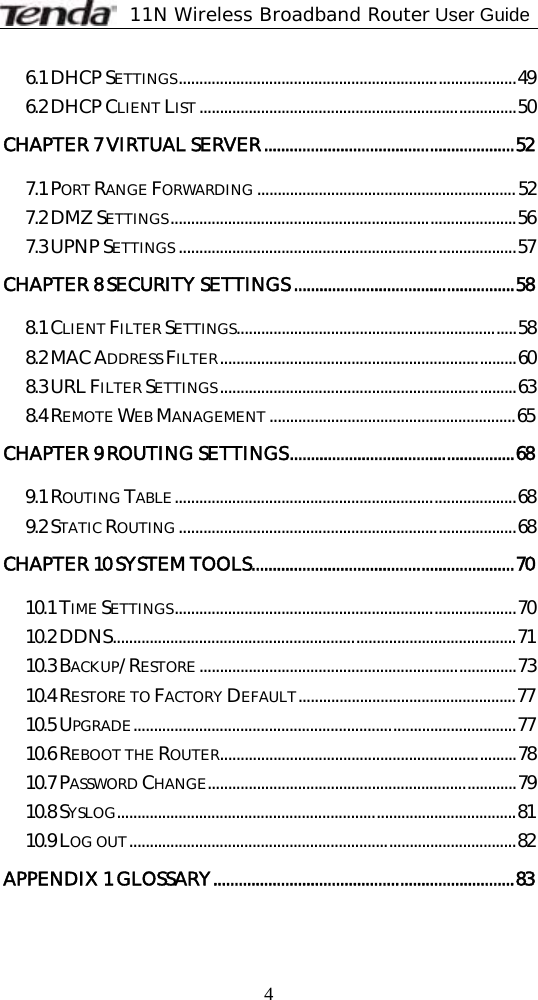
![11N Wireless Broadband Router User Guide 47 5.2.3 WPA2- PSK WPA2 (Wi-Fi Protected Access version 2) provides higher security than and WPA (Wi-Fi Protected Access). ¾ WPA Algorithms: Provides TKIP [Temporal Key Integrity Protocol] or AES [Advanced Encryption Standard]. ¾ Key: Enter the pass phrase that consists of 8-63 ASCII characters. ¾ Key Renewal Interval: Set the key’s renewal period, which tells the device how often it should change the dynamic keys.](https://usermanual.wiki/TENDA-TECHNOLOGY/268R/User-Guide-1539592-Page-52.png)