TENDA TECHNOLOGY W303R Wireless-N Broadband Router User Manual q U G
SHENZHEN TENDA TECHNOLOGY CO., LTD. Wireless-N Broadband Router q U G
UserManual.wiki
>
TENDA TECHNOLOGY
>
W303R User Manual
user manual
Navigation menu
Upload a User Manual
Namespaces
Wiki Guide
HTML
PDF
Info
Views
User Manual
Discussion / Help
Navigation


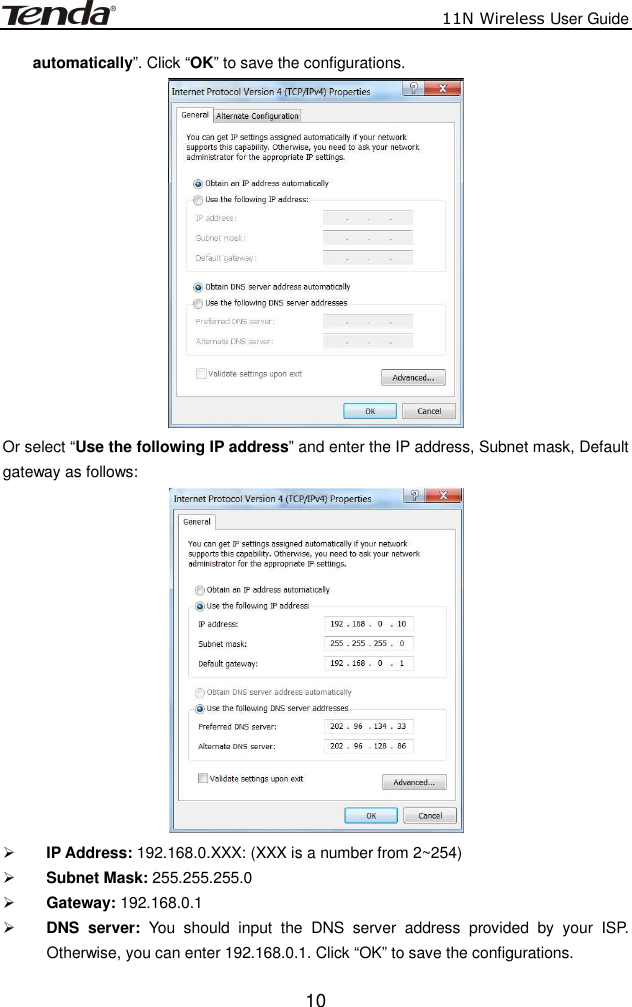

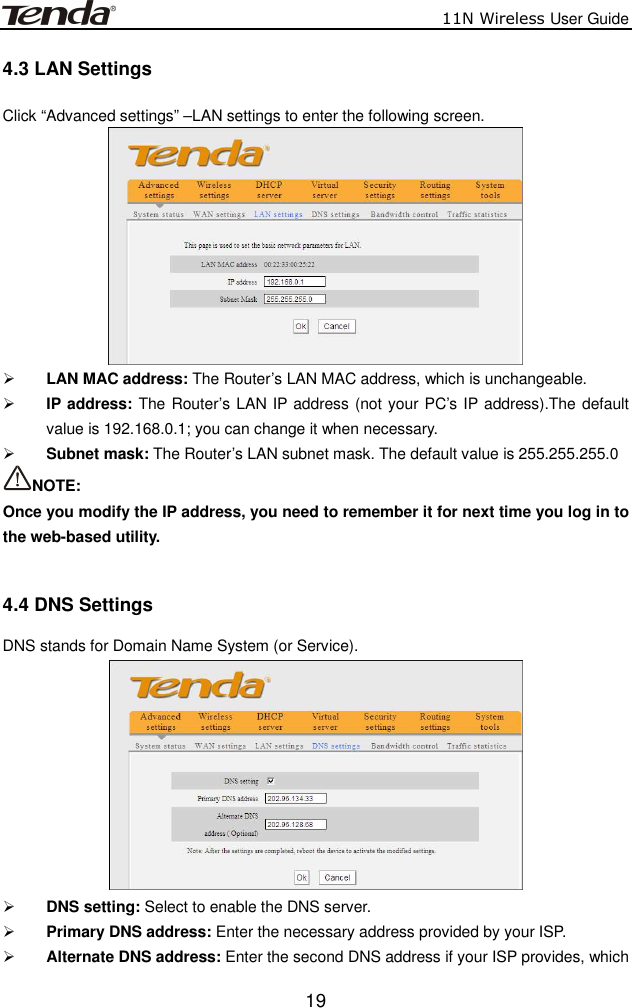


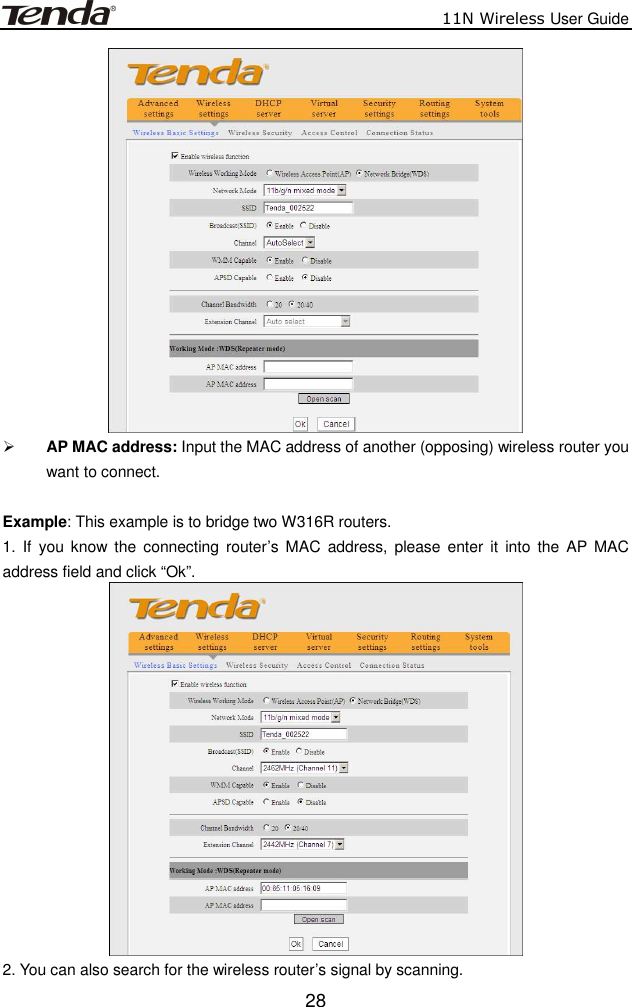
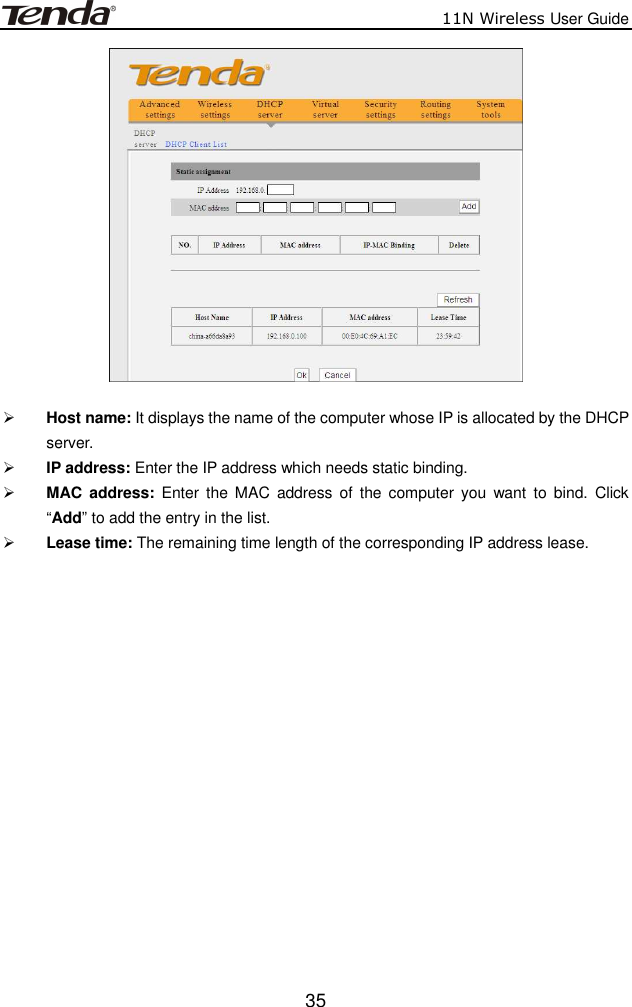
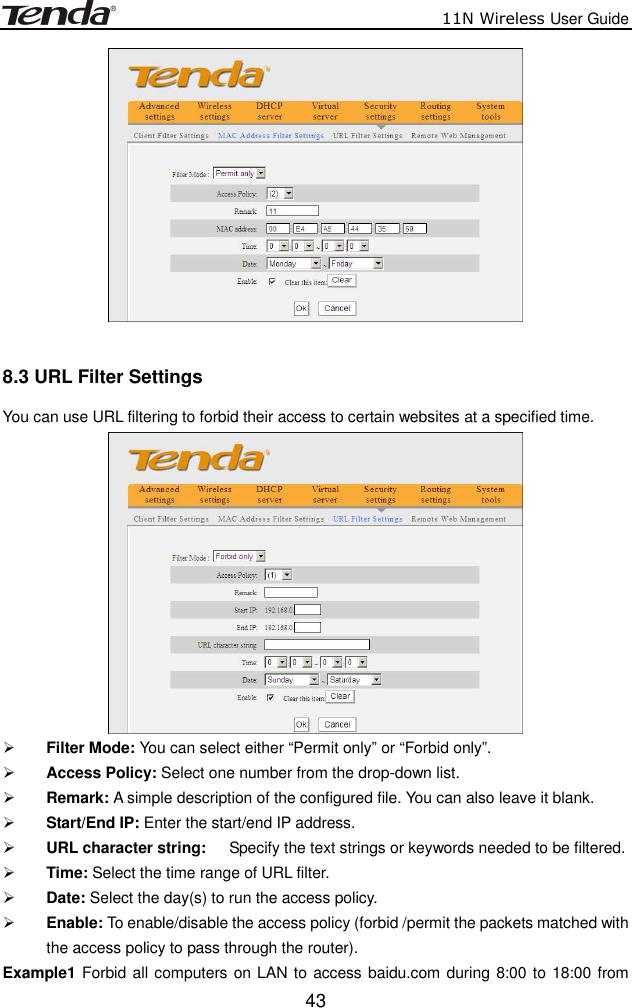
![11N Wireless User Guide 31 PIN: If this option is enabled, you need to enter a wireless client’s PIN code in the field and keep the same code in the WPS client. Reset OOB: Press this button, the WPS client will be in an idle state, and the WPS indicator will turn off. AP will not respond to the WPS client’s connection request and will set the security mode as Open-None (Disable) mode. NOTE: The use of WPS function requires the wireless adapter to support this function. 5.2.2 WPA- PSK WPA guarantees to protect WLAN users’ data and only the authorized network users can have access to WLAN. WPA Algorithms: Provides TKIP [Temporal Key Integrity Protocol] or AES [Advanced Encryption Standard]. Key: Enter the pass phrase that consists of 8-63 ASCII characters. Key Renewal Interval: Set the key’s renewal period, which tells the device how often it should change the dynamic keys. 5.2.3 WPA2- PSK](https://usermanual.wiki/TENDA-TECHNOLOGY/W303R/User-Guide-1587358-Page-36.png)
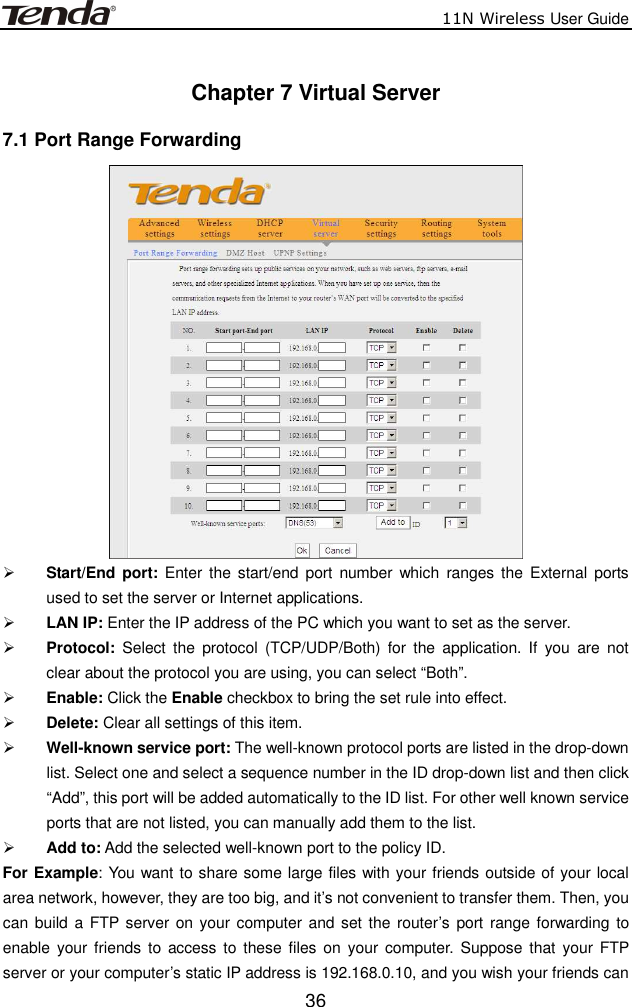
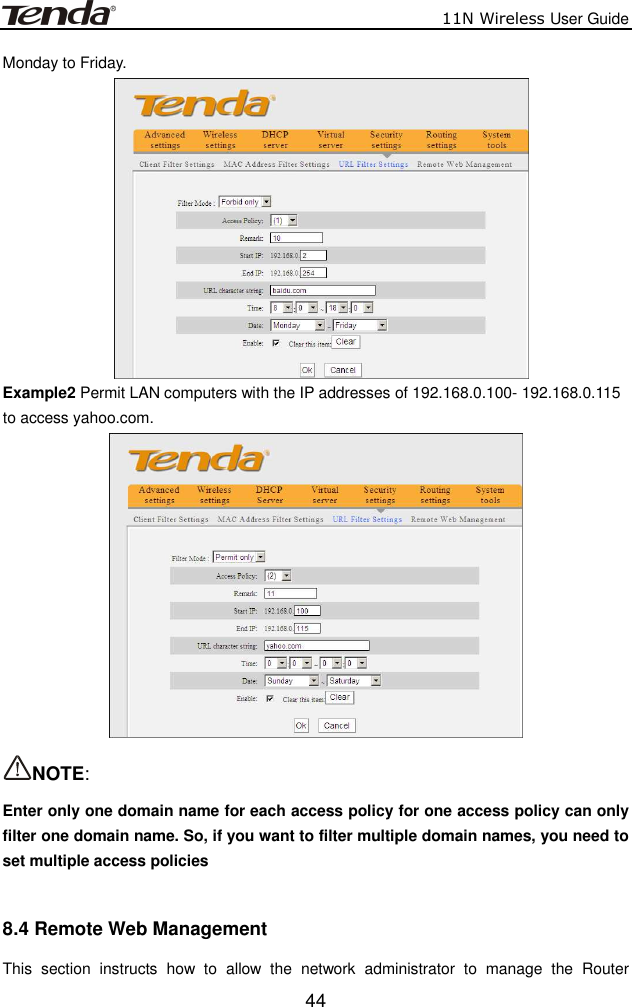
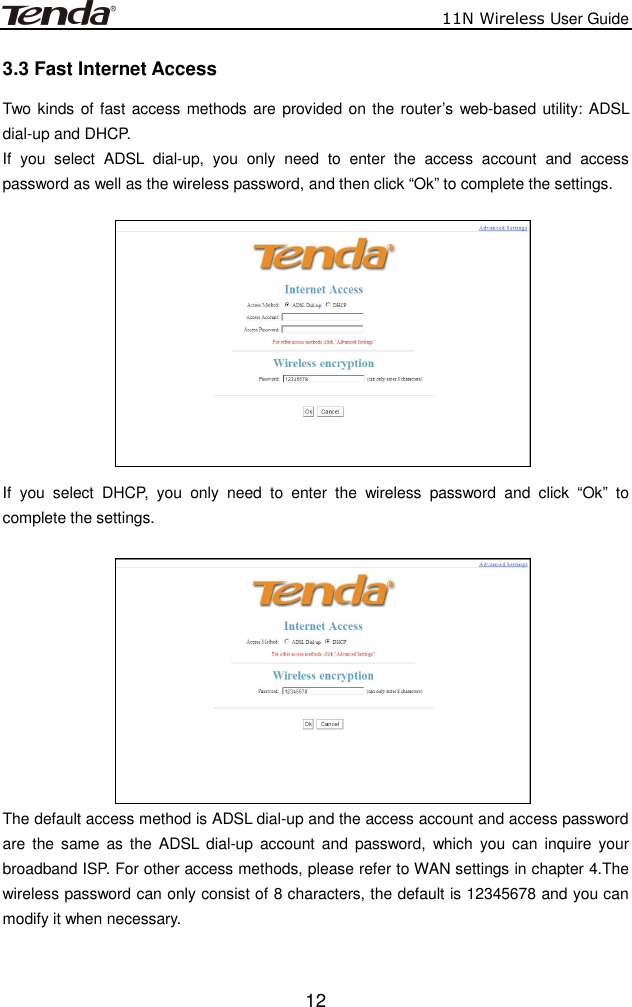
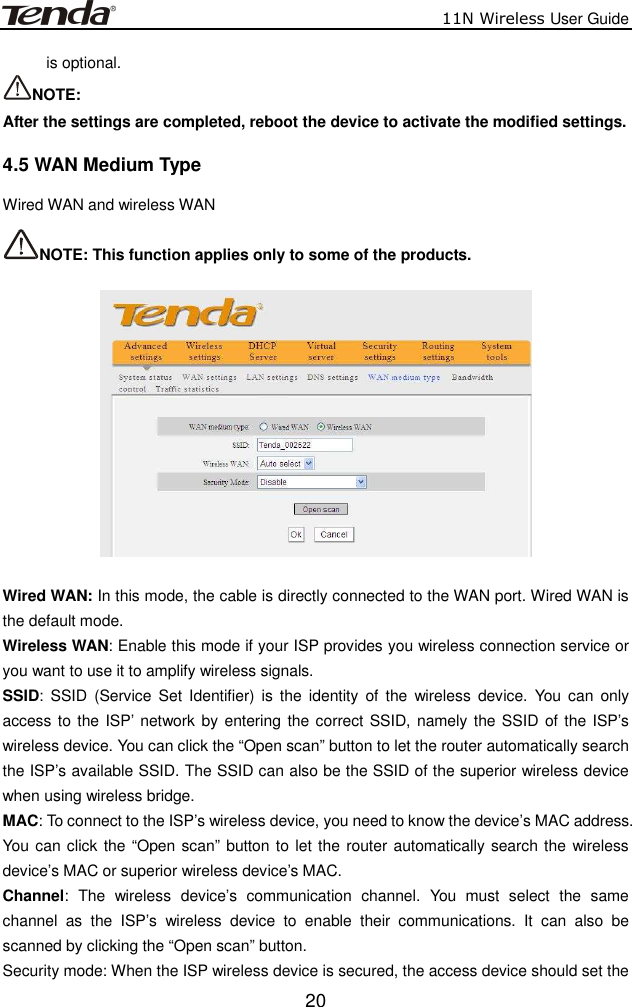
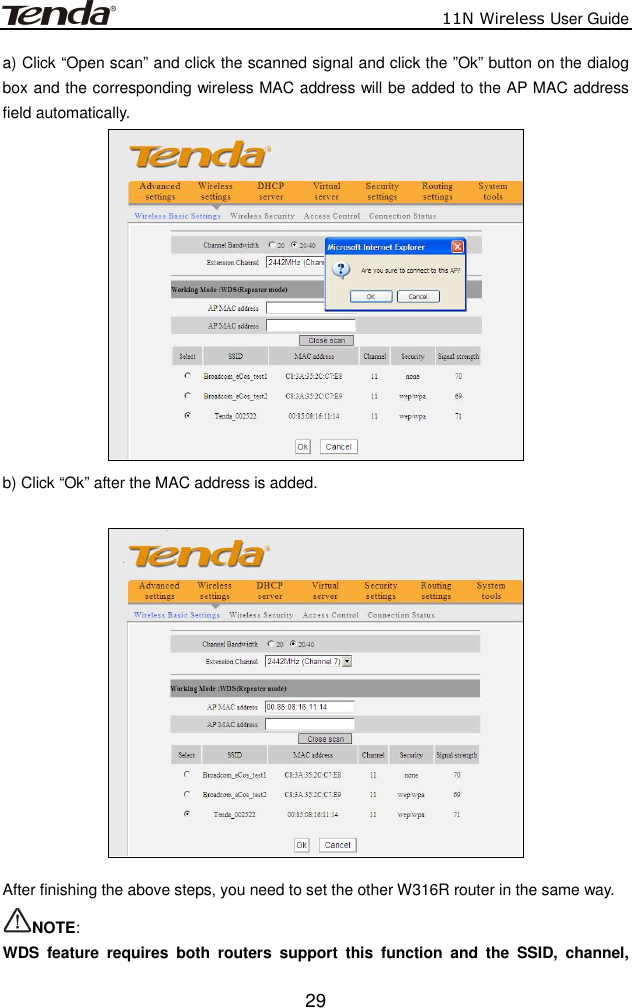
![11N Wireless User Guide 32WPA2 (Wi-Fi Protected Access version 2) provides higher security than and WPA (Wi-Fi Protected Access). WPA Algorithms: Provides TKIP [Temporal Key Integrity Protocol] or AES [Advanced Encryption Standard]. Key: Enter the pass phrase that consists of 8-63 ASCII characters. Key Renewal Interval: Set the key’s renewal period, which tells the device how often it should change the dynamic keys. 5.3 Wireless Access Control Wireless access control is actually based on the MAC address to permit or forbid specific clients to access the wireless network.](https://usermanual.wiki/TENDA-TECHNOLOGY/W303R/User-Guide-1587358-Page-37.png)