TENDA TECHNOLOGY W307R WIRELESS-N BROADBAND ROUTER User Manual W307R v4 0 User Guide 32M
SHENZHEN TENDA TECHNOLOGY CO., LTD. WIRELESS-N BROADBAND ROUTER W307R v4 0 User Guide 32M
UserManual.wiki
>
TENDA TECHNOLOGY
>
W307R User Manual
Users Manual
Navigation menu
Upload a User Manual
Namespaces
Wiki Guide
HTML
PDF
Info
Views
User Manual
Discussion / Help
Navigation
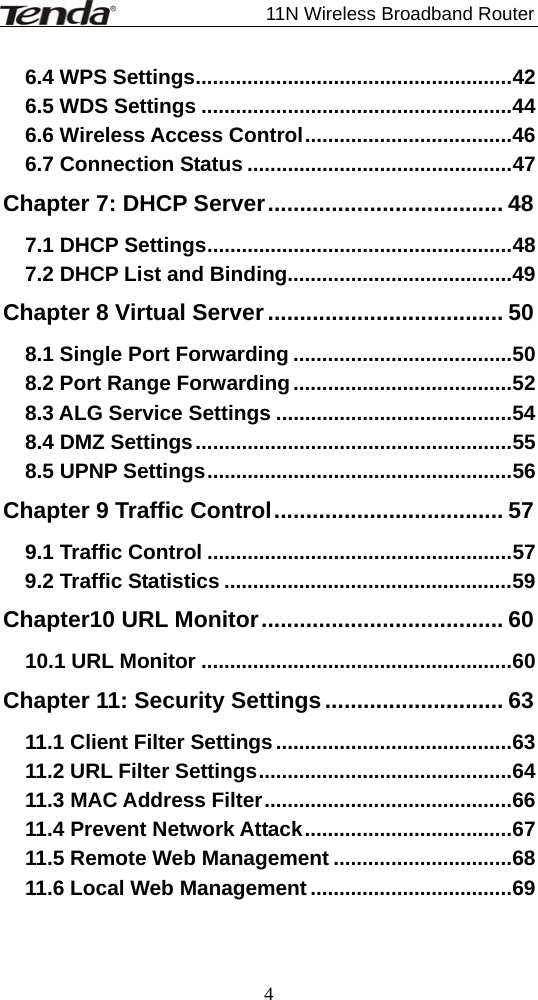


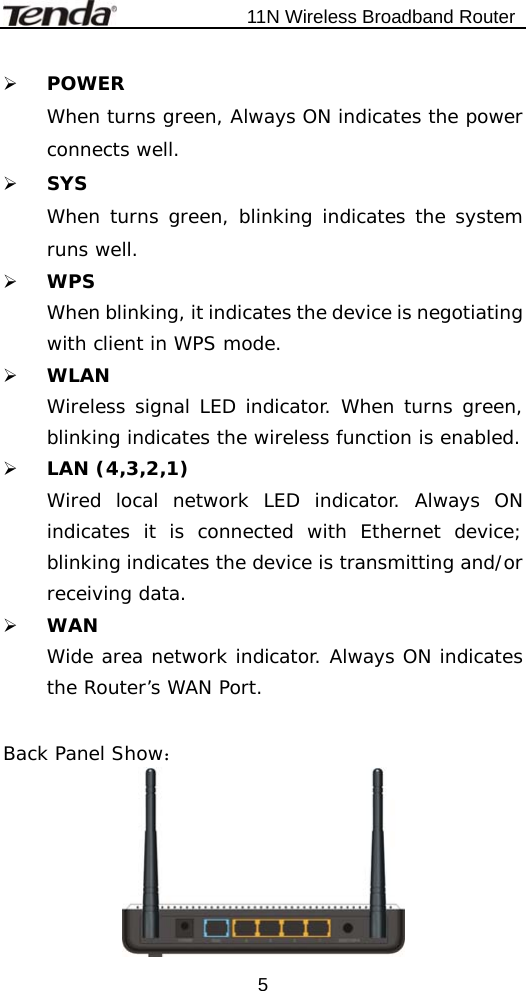
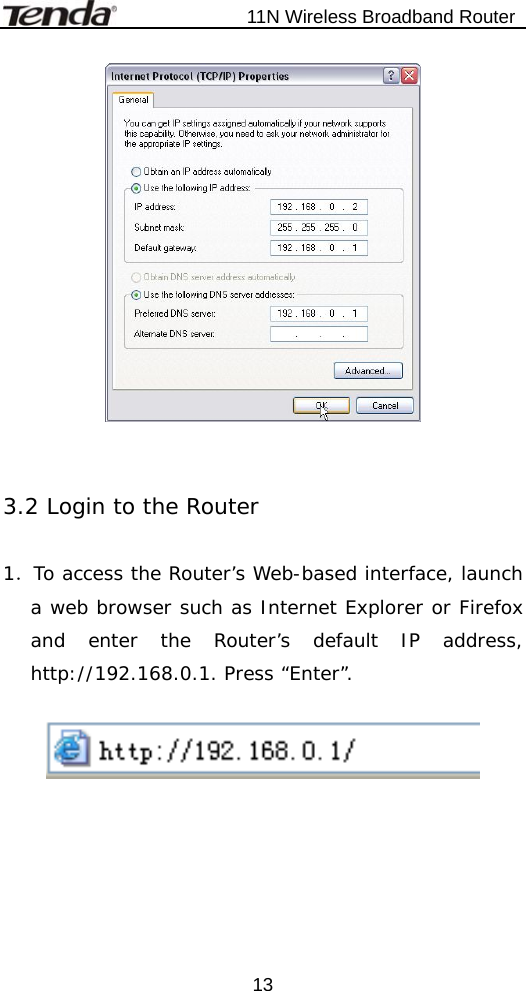
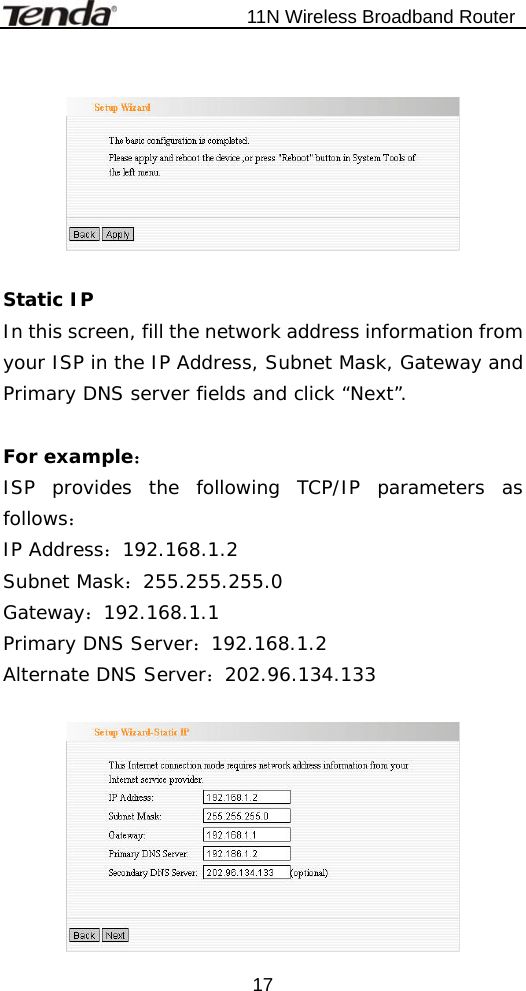
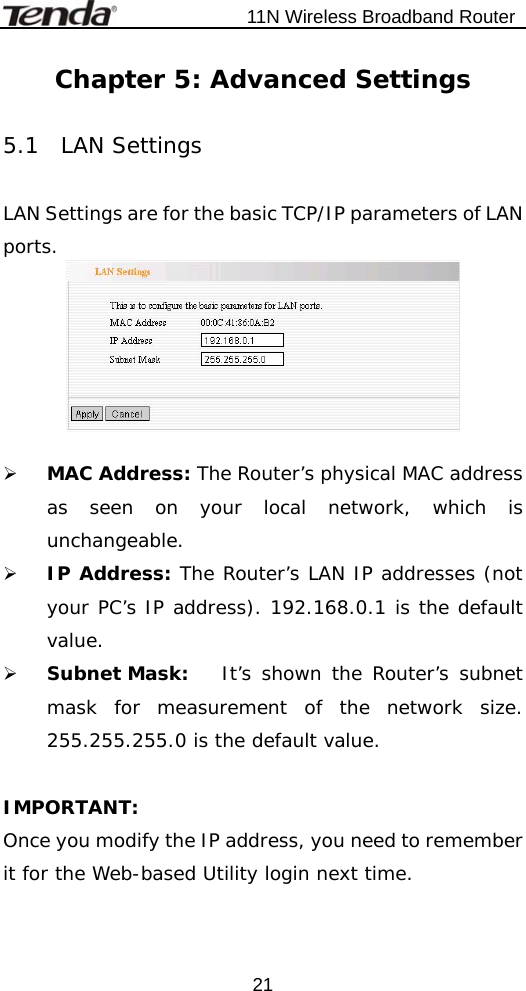
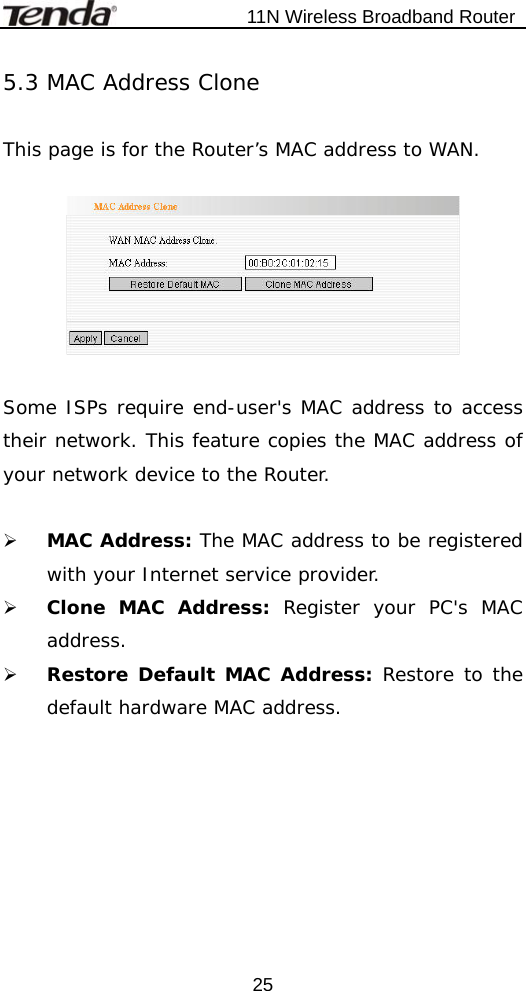
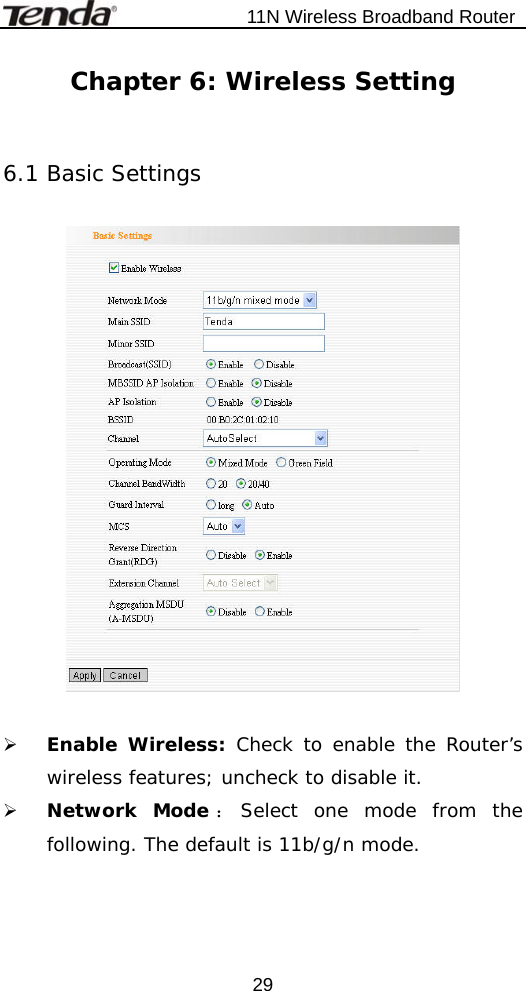
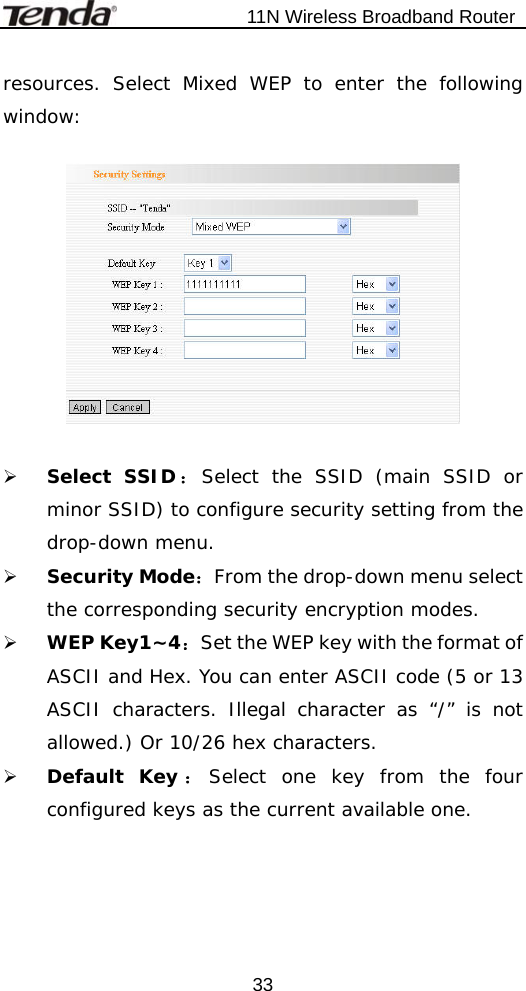
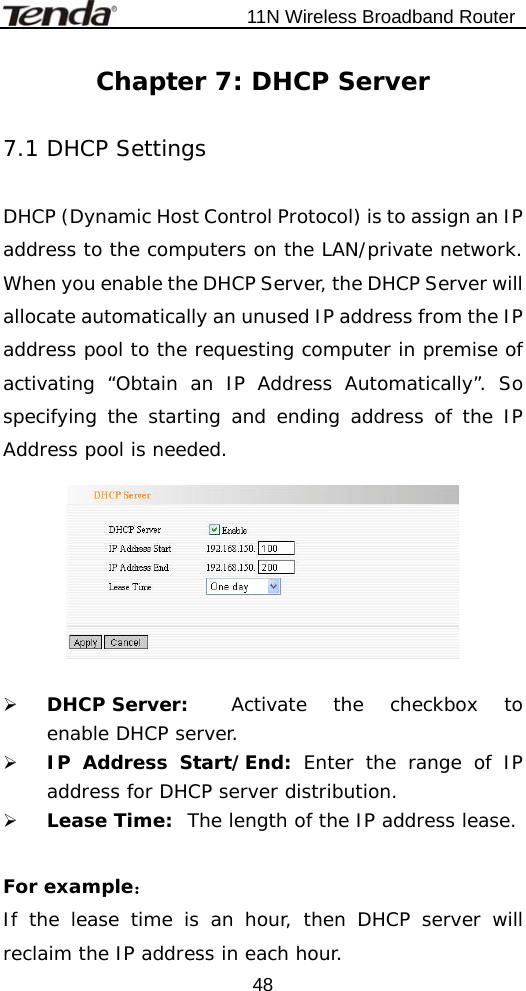
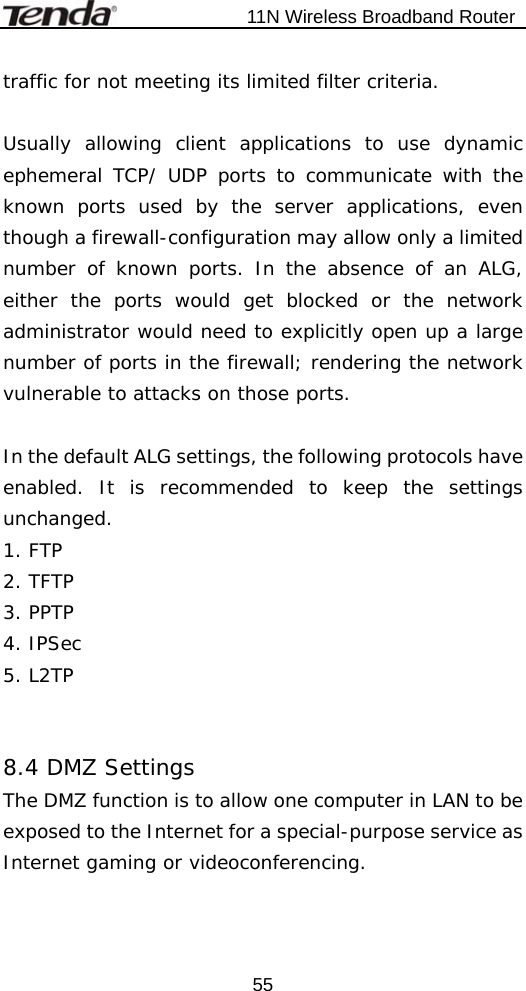
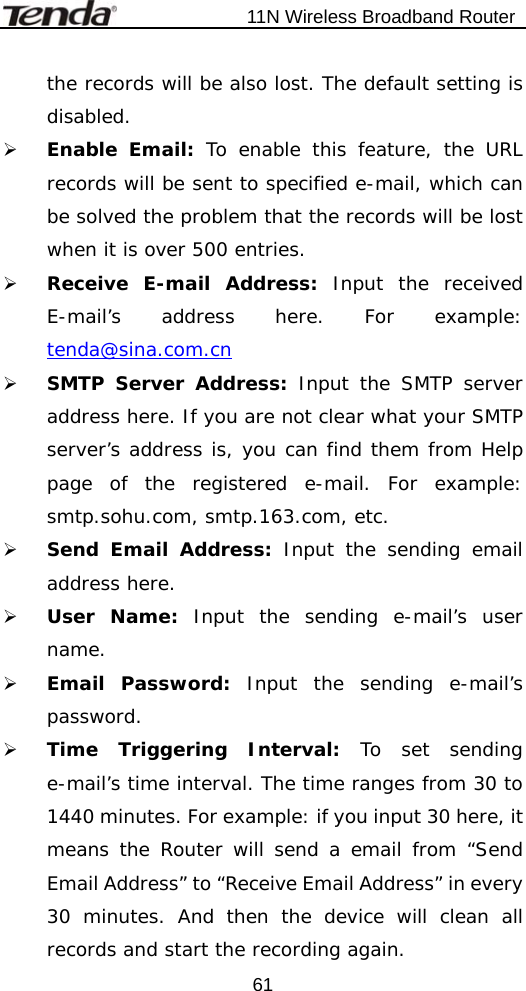
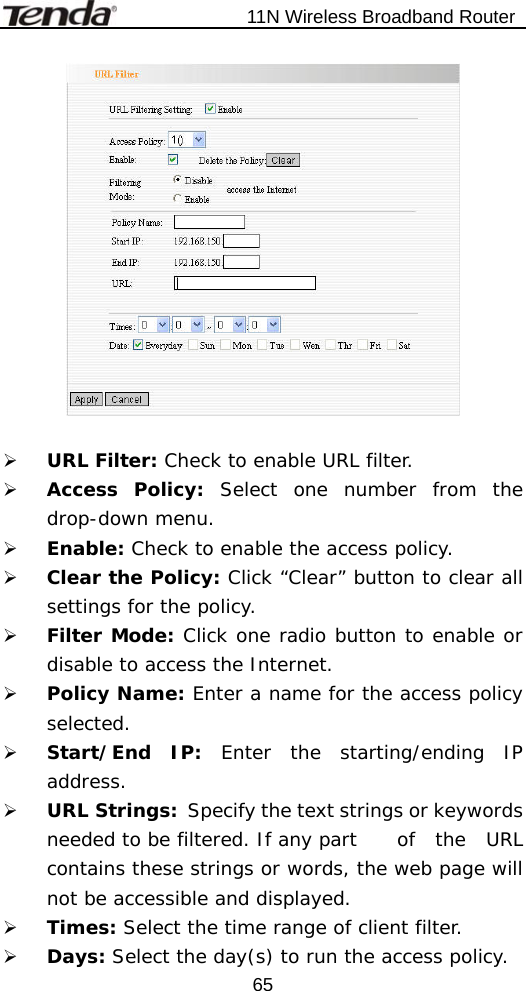
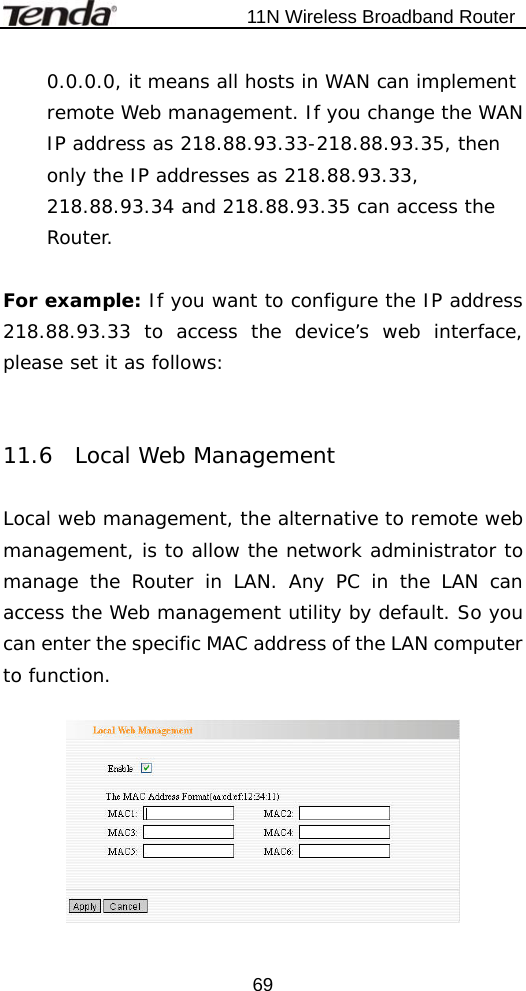
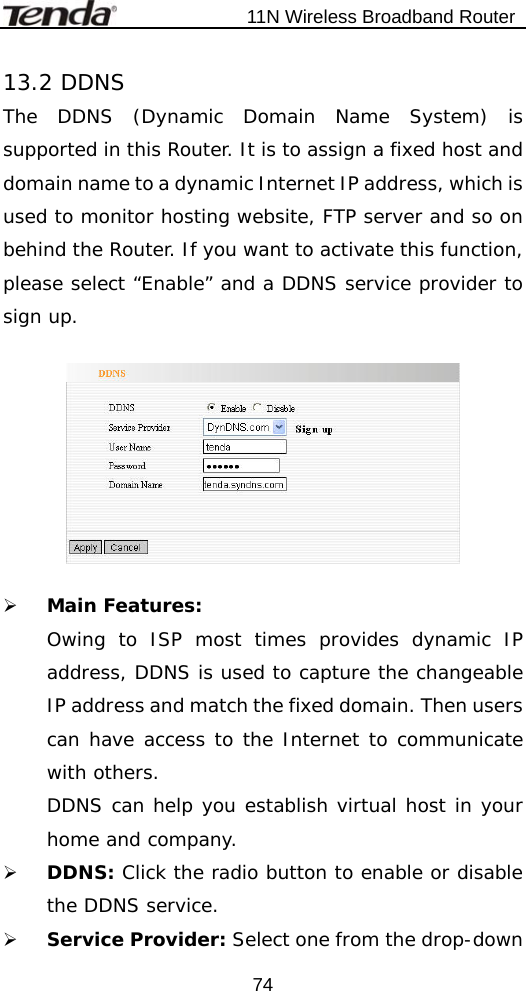
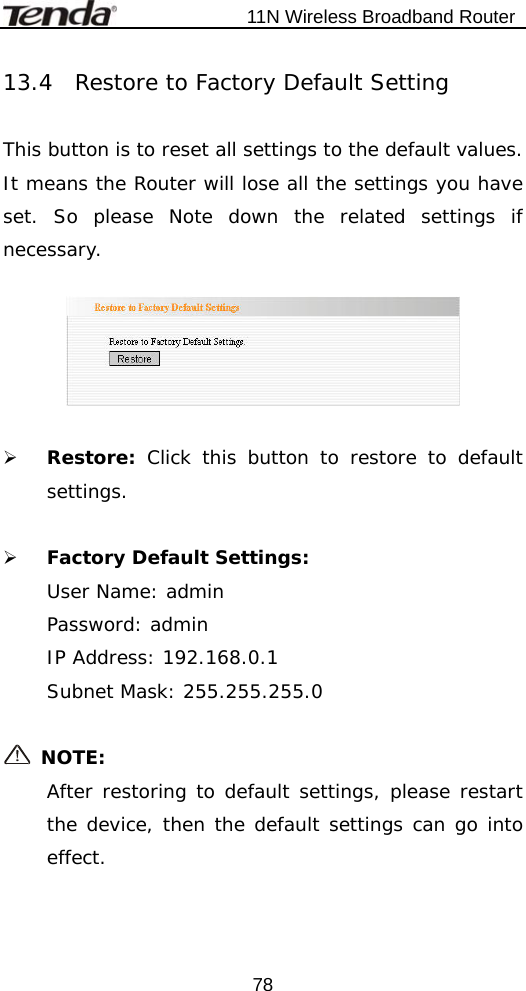
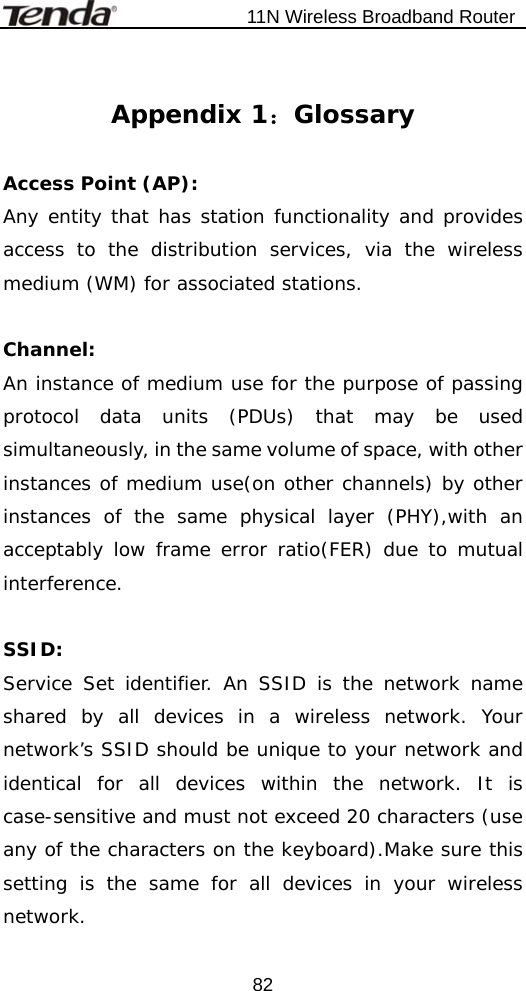
![11N Wireless Broadband Router 346.2.2 WPA-Personal WPA (Wi-Fi Protected Access), a Wi-Fi standard, is a more recent wireless encryption scheme, designed to improve the security features of WEP. It applies more powerful encryption types (such as TKIP [Temporal Key Integrity Protocol] or AES [Advanced Encryption Standard]) and can change the keys dynamically on every authorized wireless device. ¾ Select SSID:Select the SSID (main SSID or minor SSID) to configure security setting from the drop-down menu. ¾ WPA Algorithms:Provides TKIP [Temporal Key Integrity Protocol] or AES [Advanced Encryption Standard]. The default is TKIP mode. ¾ Pass Phrase:Enter the encrypted characters with 8-63 ASCII characters. ¾ Key Renewal Interval:Set the key’s renewal period.](https://usermanual.wiki/TENDA-TECHNOLOGY/W307R/User-Guide-1154538-Page-39.png)
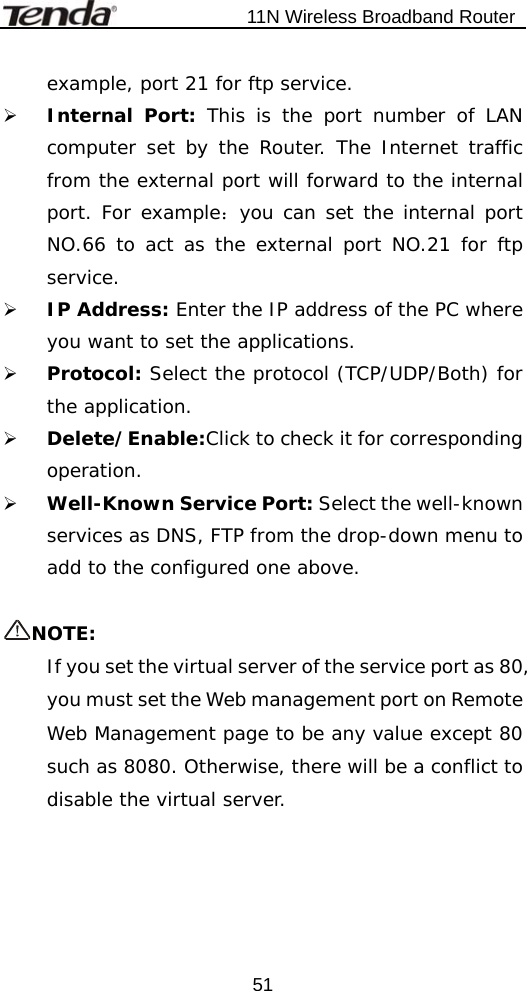
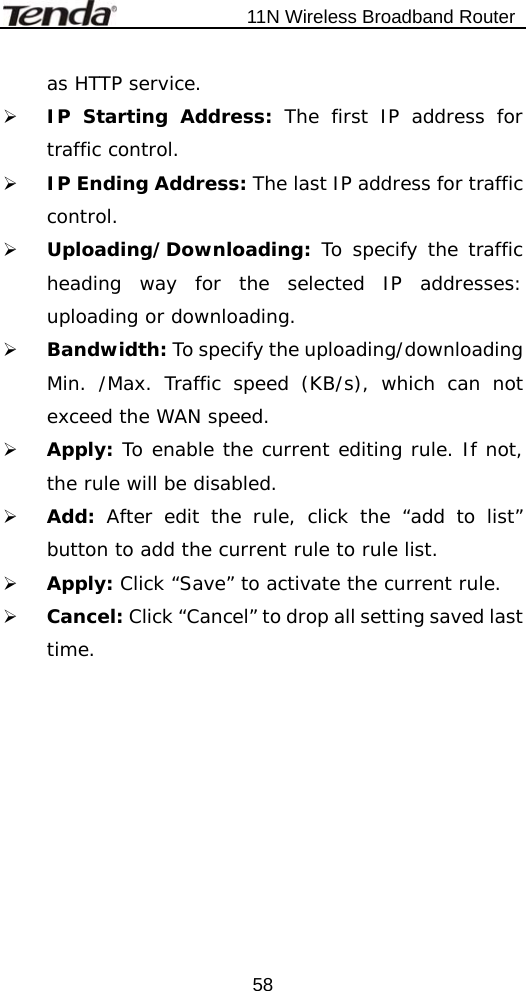
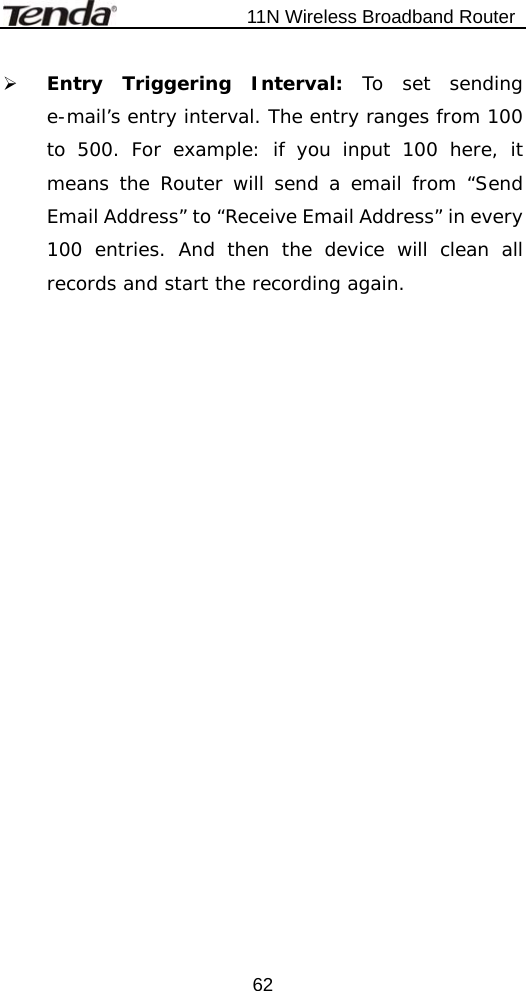
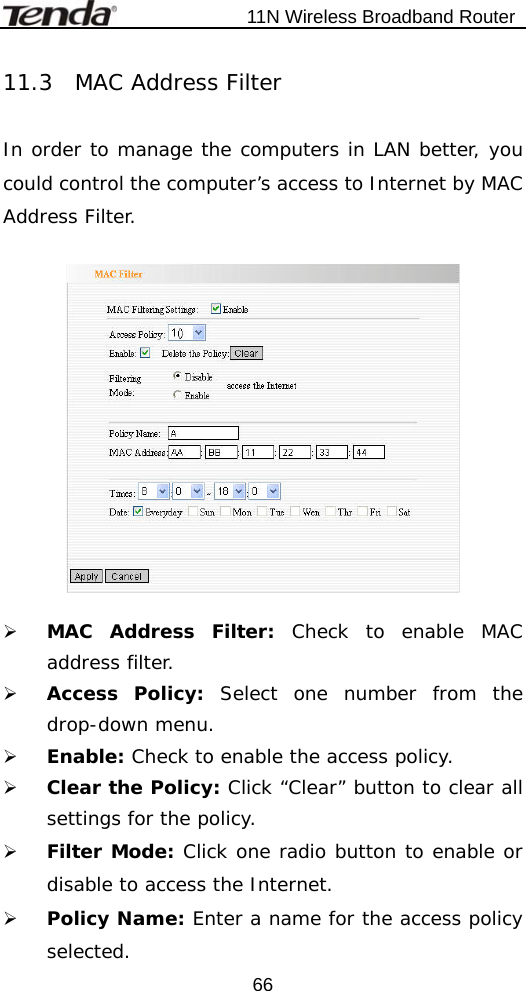
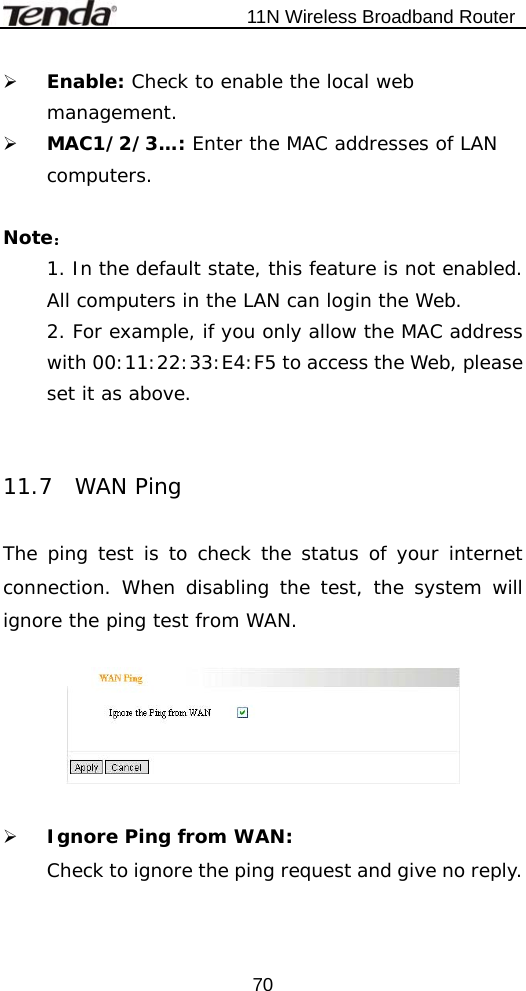
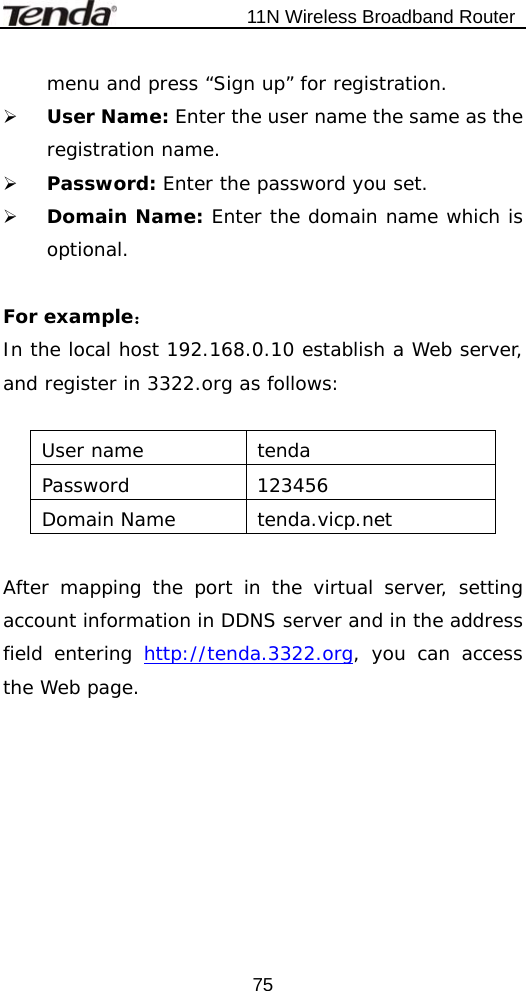
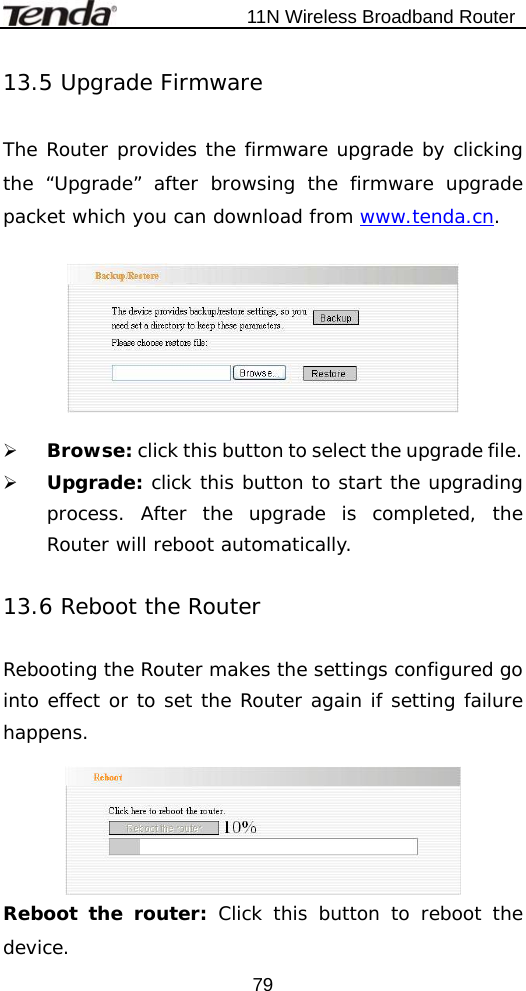
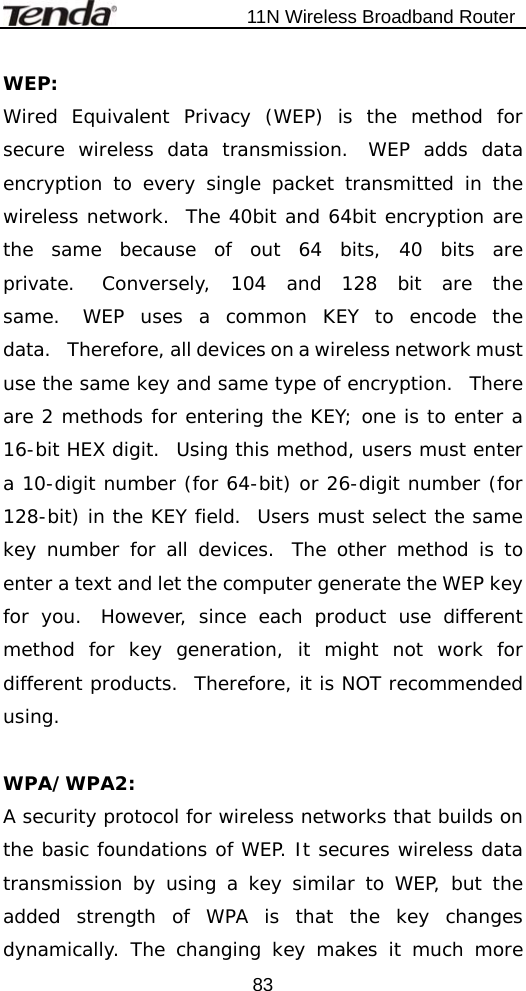
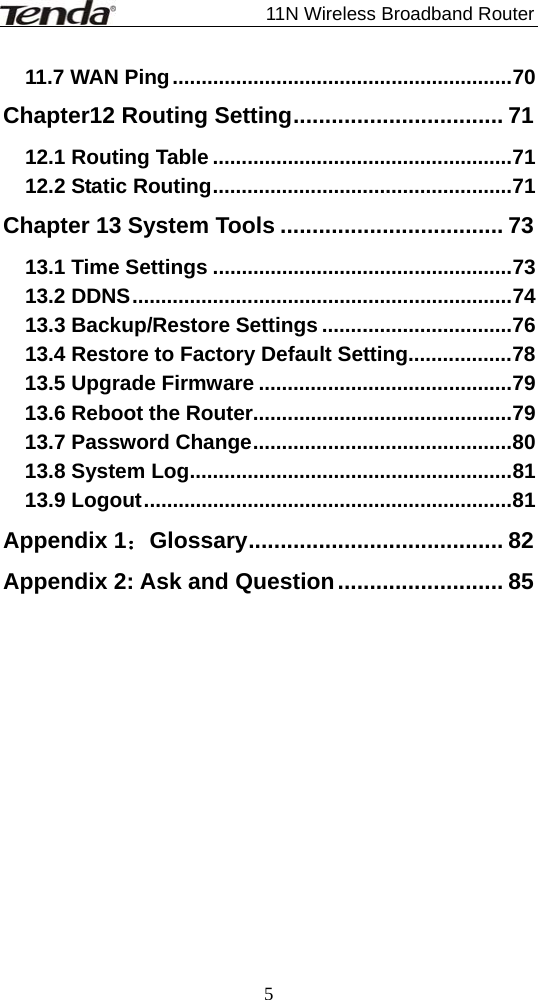
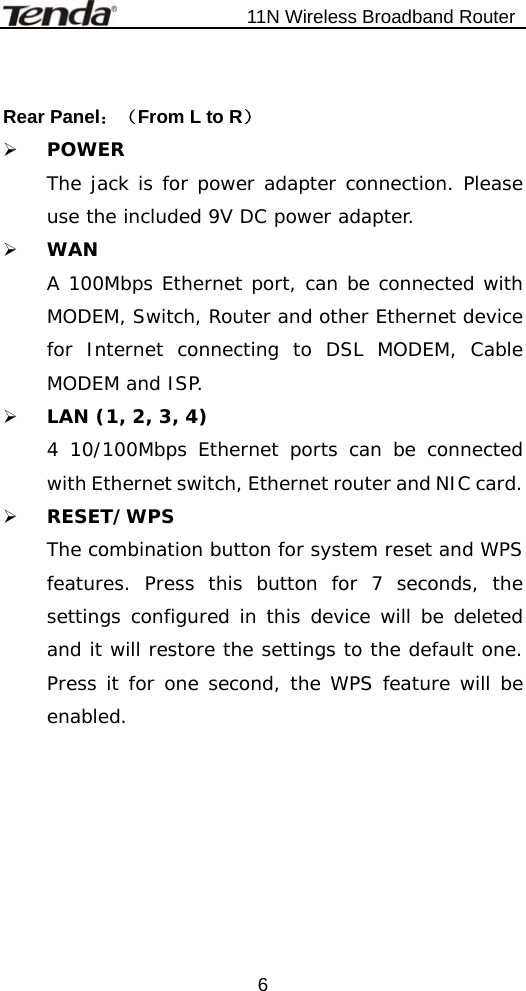
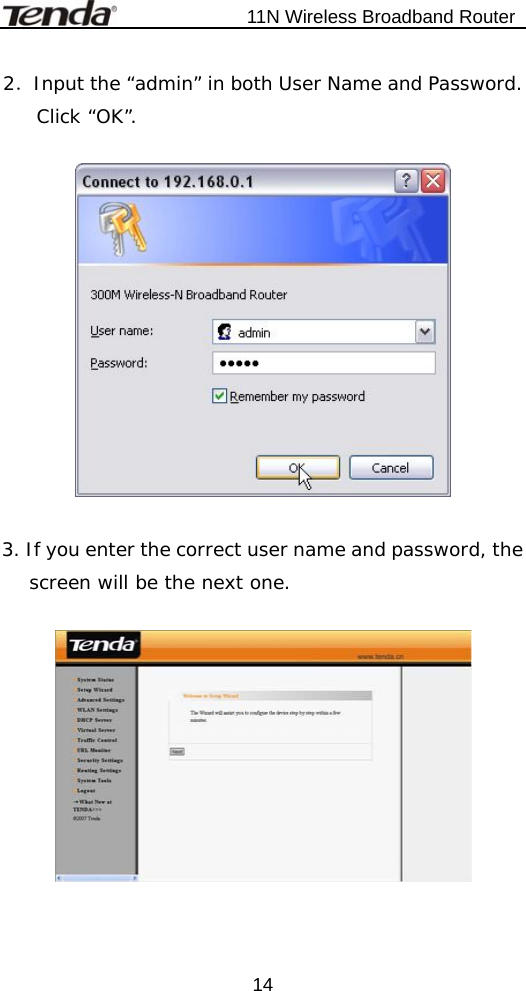
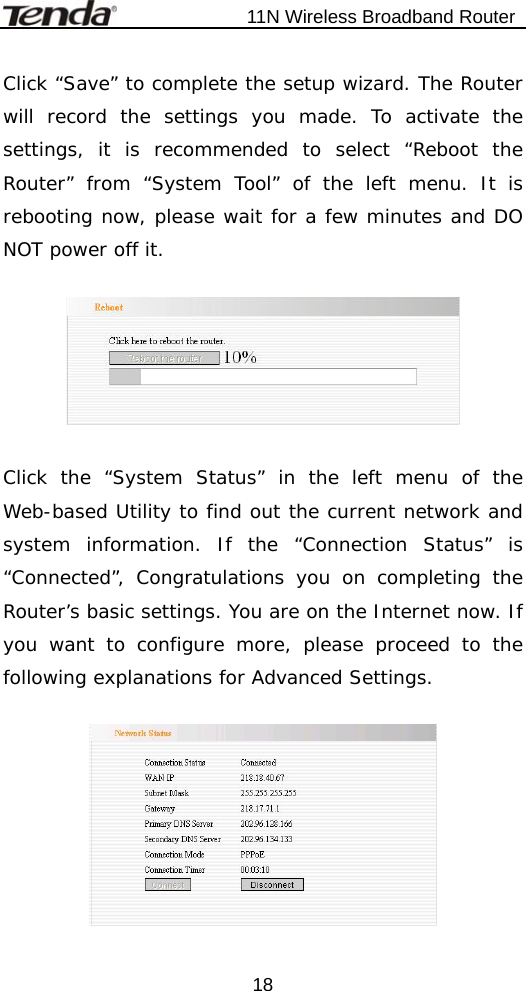
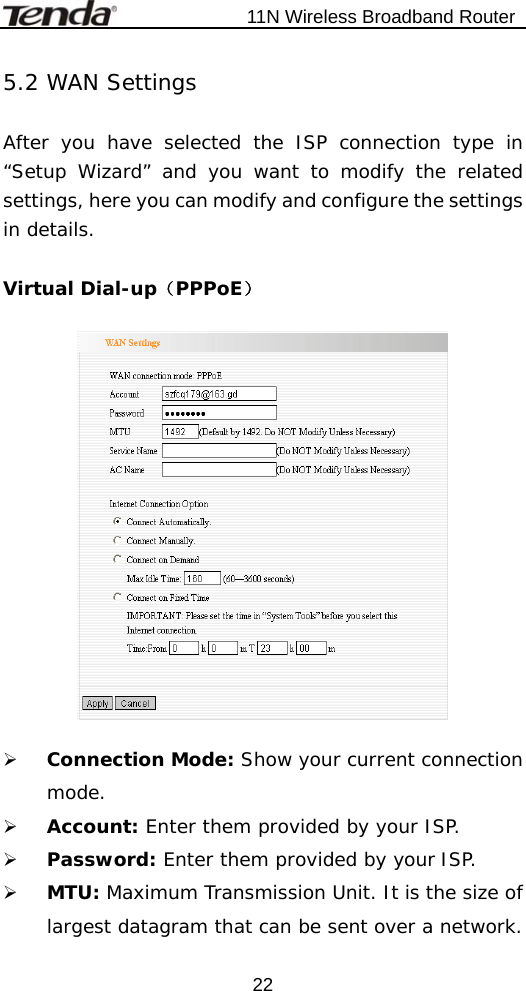
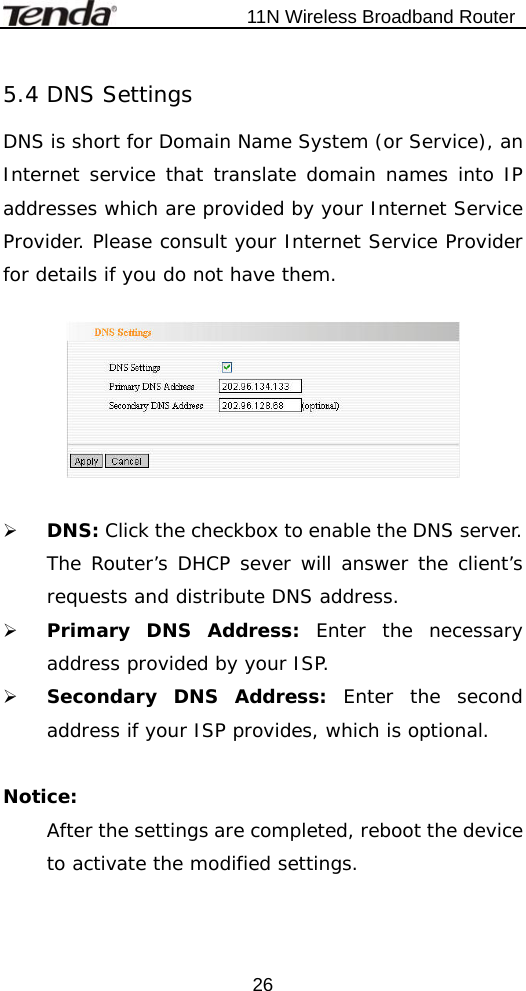
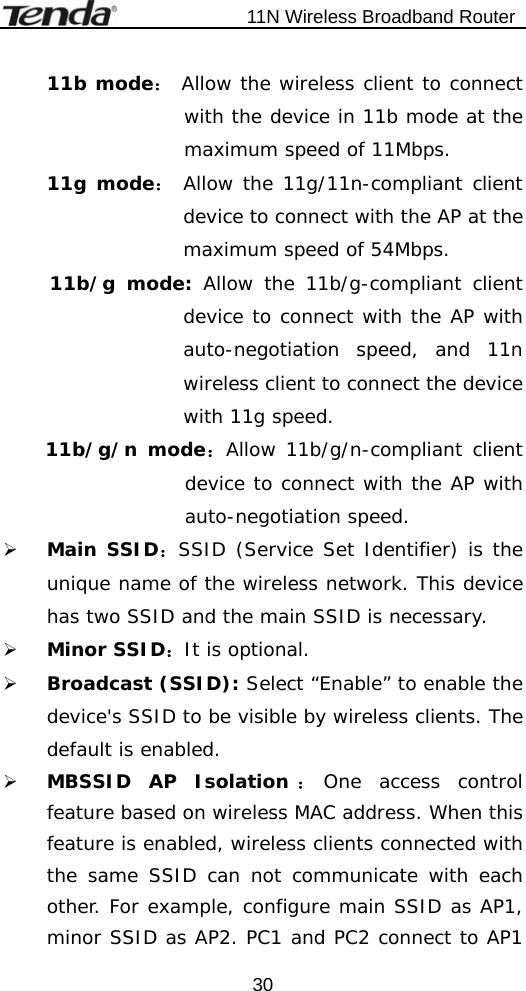
![11N Wireless Broadband Router 356.2.3 WPA2- Personal WPA2 (Wi-Fi Protected Access version 2) provides higher security than WEP (Wireless Equivalent Privacy) and WPA (Wi-Fi Protected Access). ¾ Select SSID:Select the SSID (main SSID or minor SSID) to configure security setting from the drop-down menu. ¾ WPA Algorithms:Provides TKIP [Temporal Key Integrity Protocol] or AES [Advanced Encryption Standard]. The default is TKIP mode. ¾ Pass Phrase:Enter the encrypted characters with 8-63 ASCII characters. ¾ Key renewal Interval:Set the key’s renewal period.](https://usermanual.wiki/TENDA-TECHNOLOGY/W307R/User-Guide-1154538-Page-40.png)
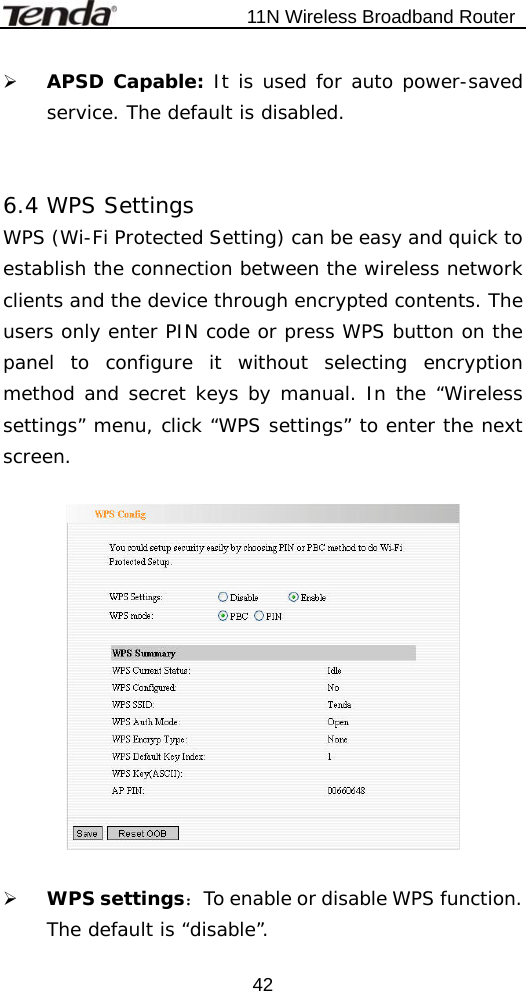
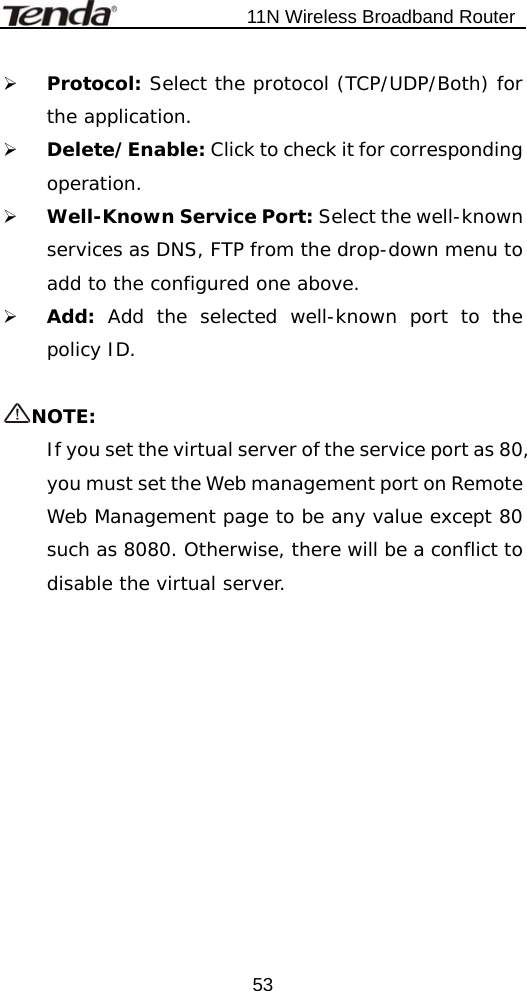
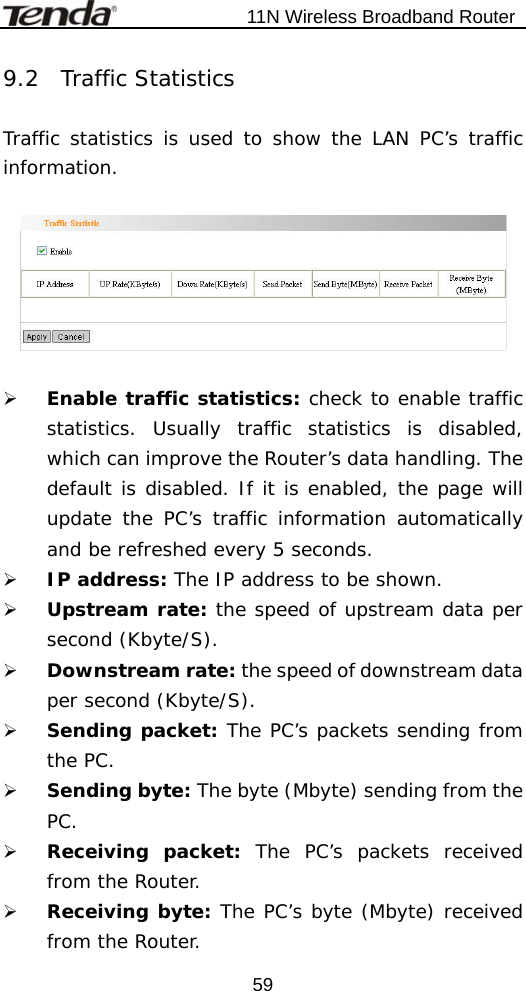
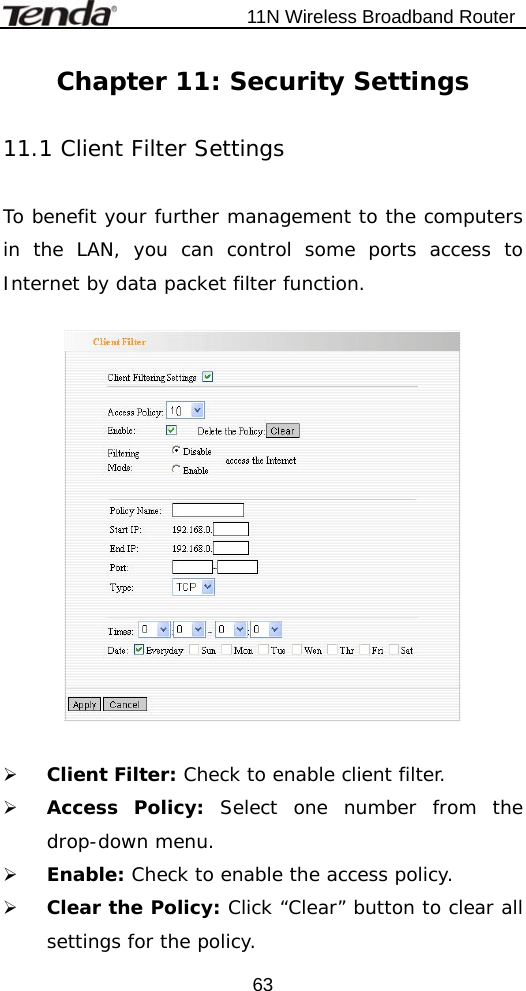
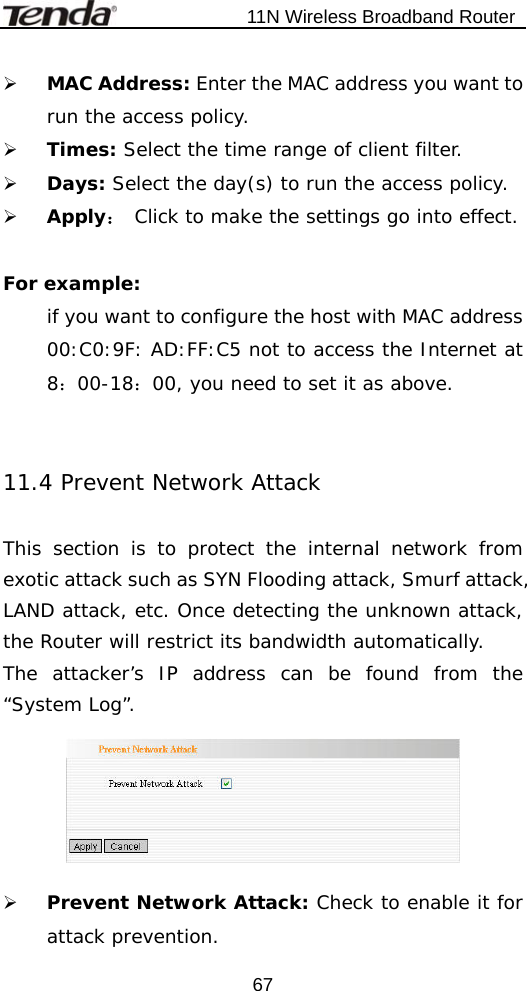
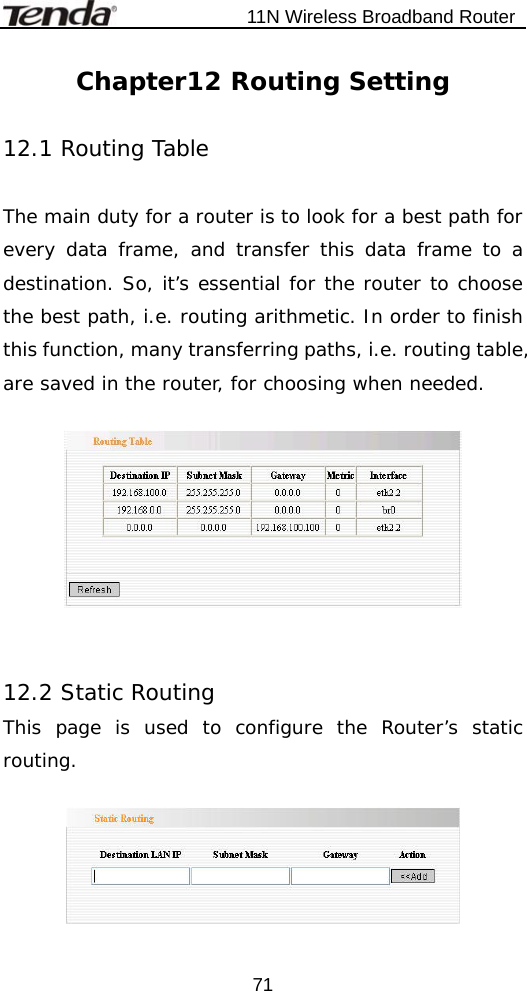
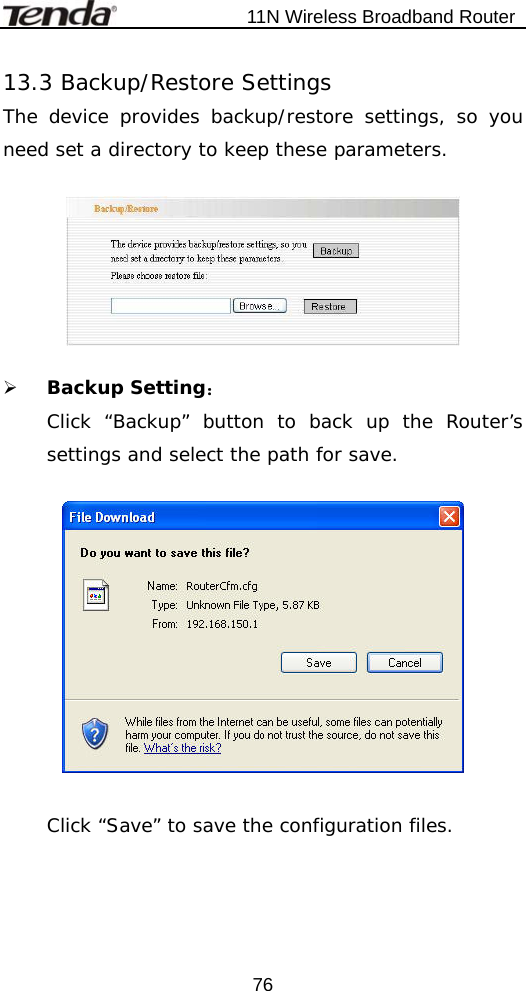
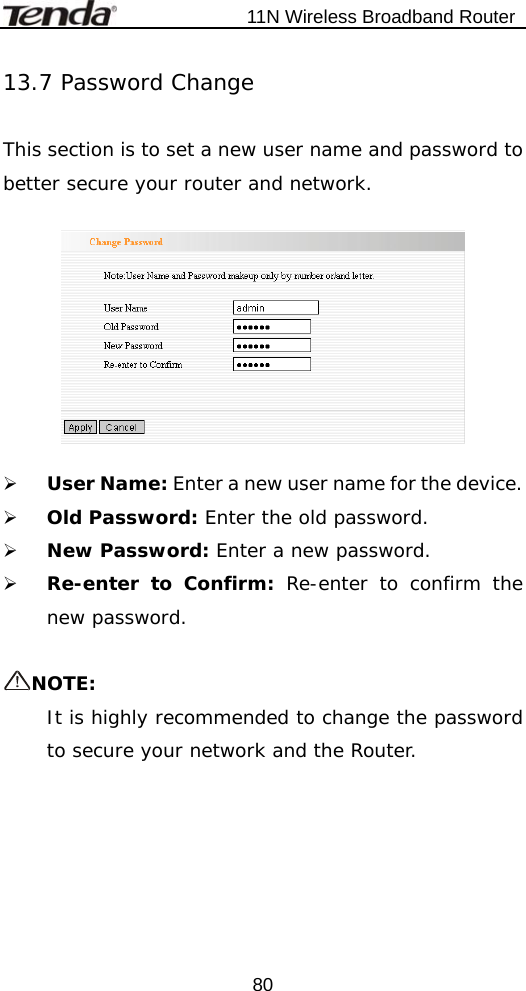
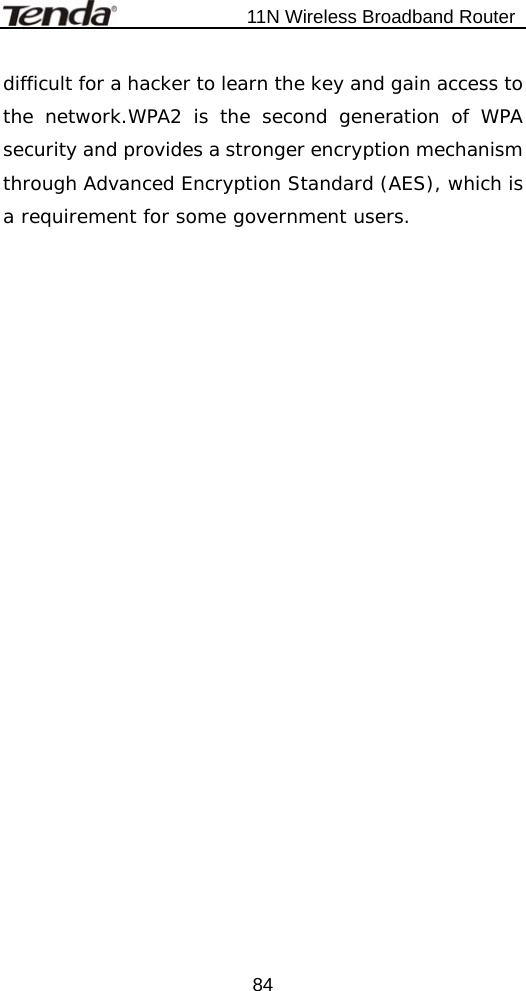
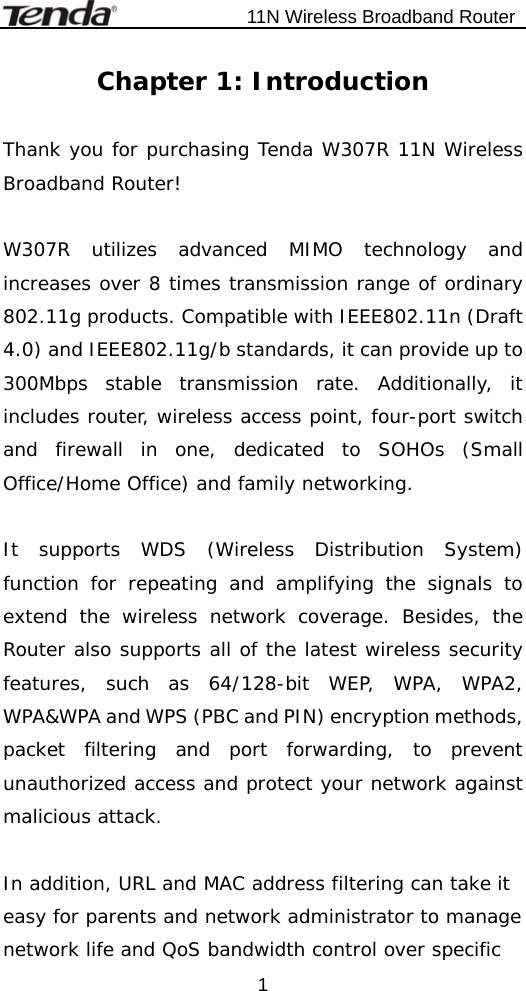
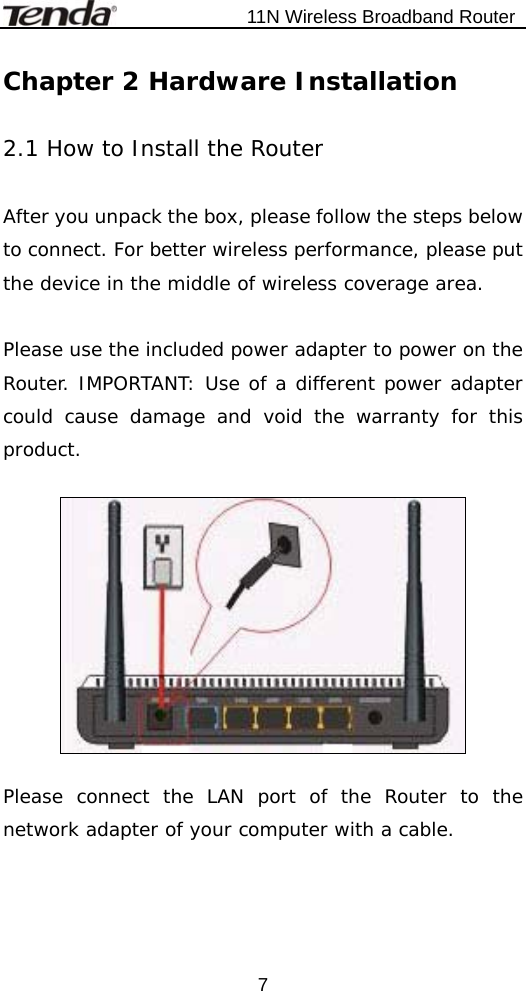
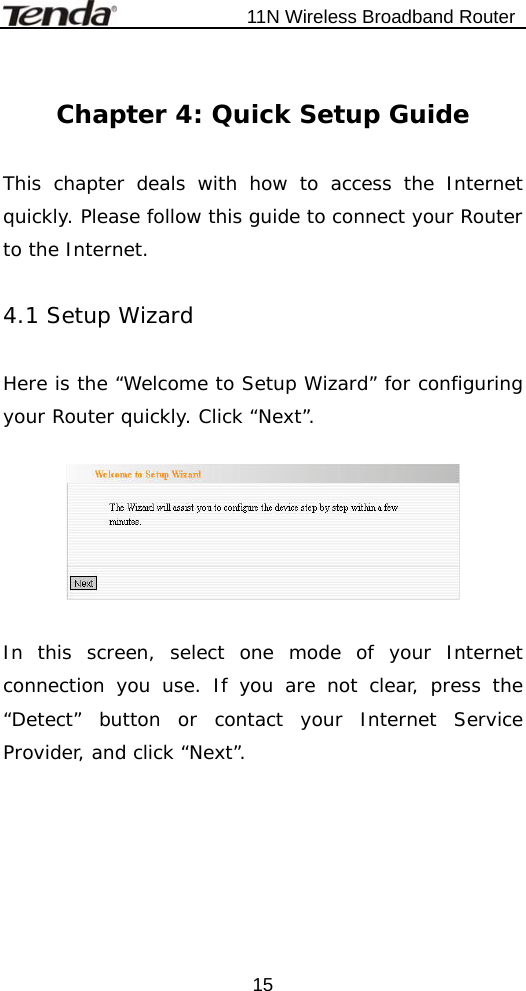
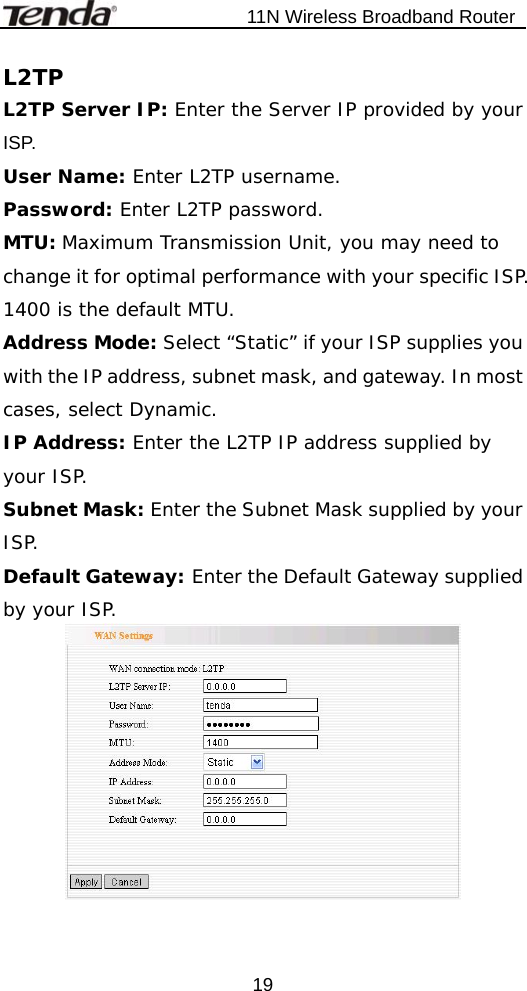
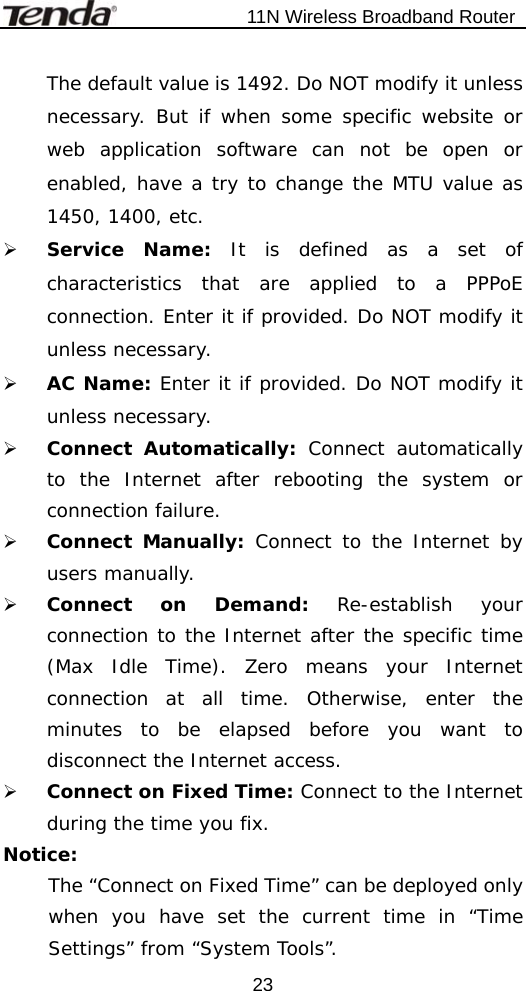
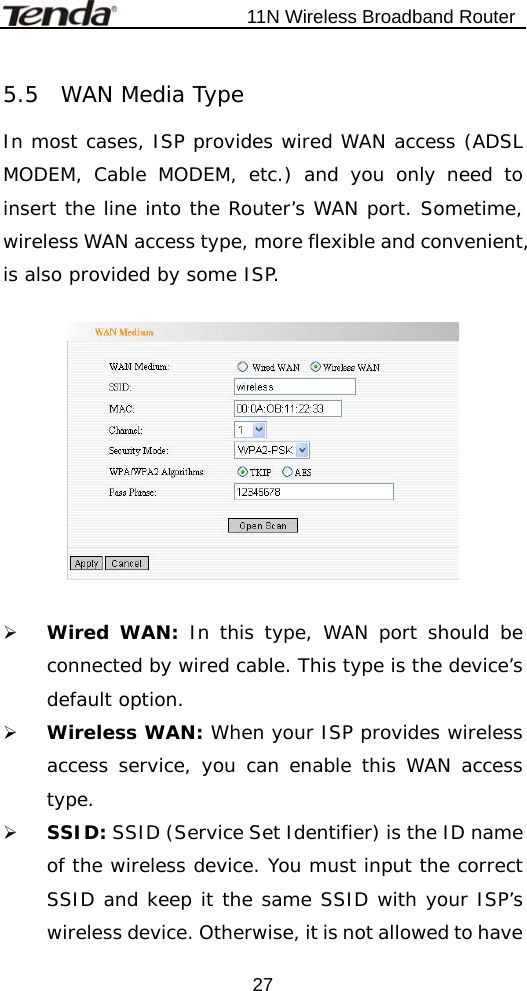
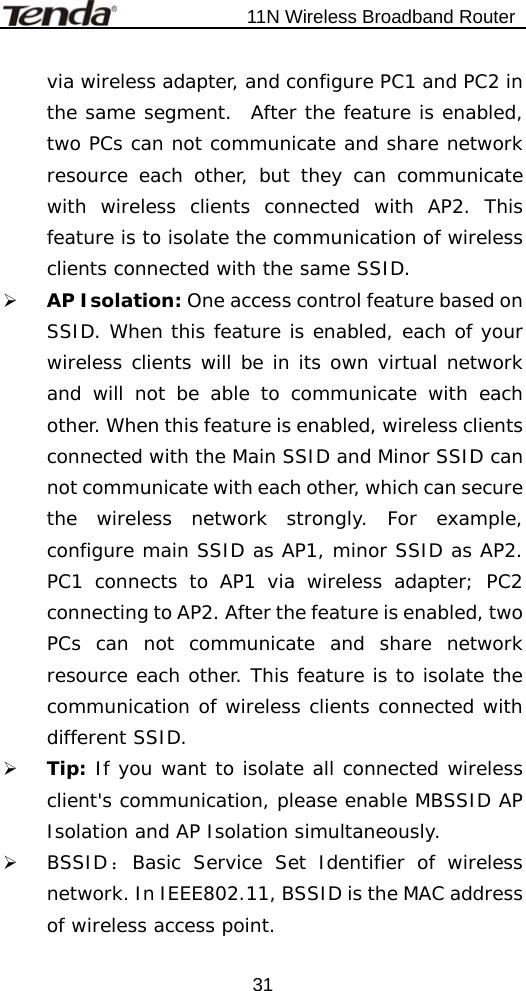
![11N Wireless Broadband Router 366.2.4 WPA- Enterprise This security mode is used when a RADIUS server is connected to the device. Select “WPA-Enterprise” from the drop-down menu to enter the following window: ¾ Select SSID:Select the SSID (main SSID or minor SSID) to configure security setting from the drop-down menu. ¾ WPA Algorithms:Provides TKIP [Temporal Key Integrity Protocol] or AES [Advanced Encryption Standard]. The default is TKIP mode. ¾ Key Renewal Interval:Set the key’s renewal period. ¾ Radius Server:Enter the IP address of the Radius server. ¾ Radius Server port:Enter the authentication](https://usermanual.wiki/TENDA-TECHNOLOGY/W307R/User-Guide-1154538-Page-41.png)
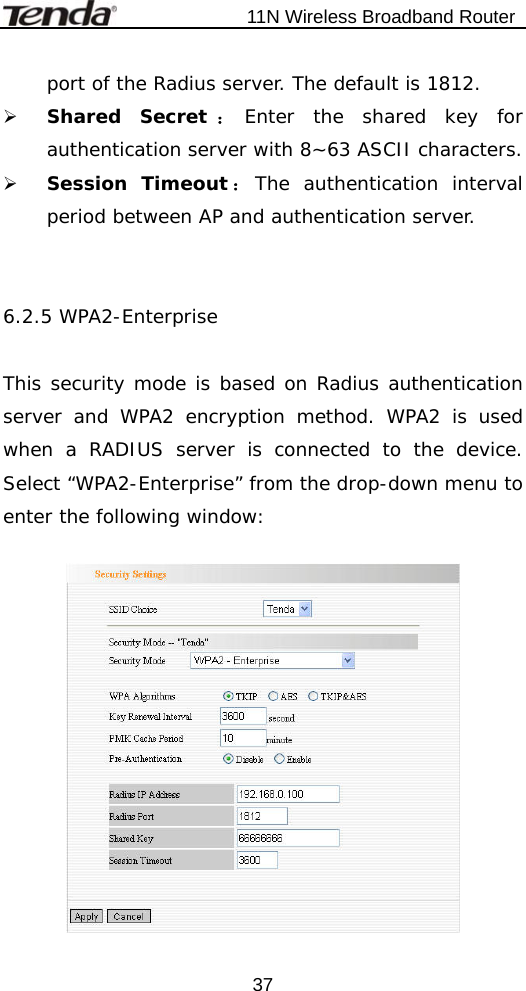
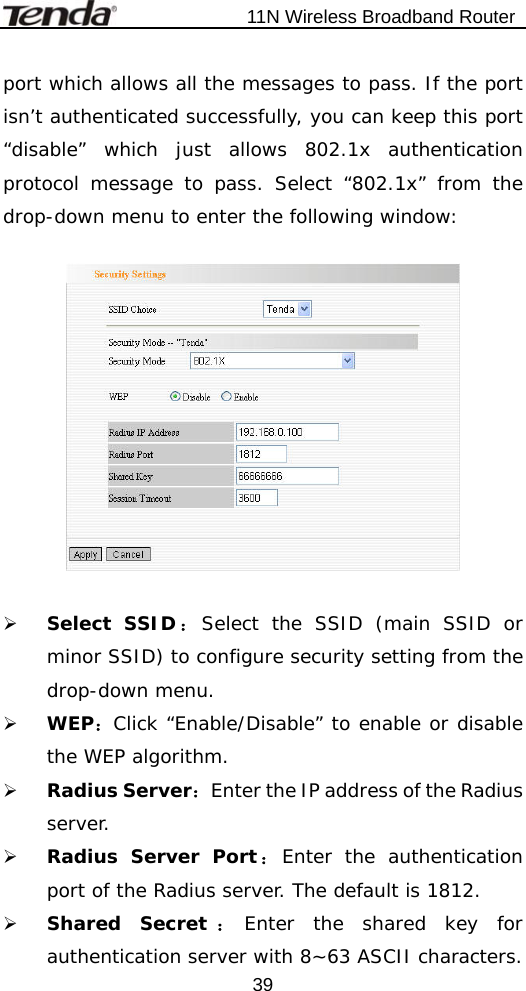
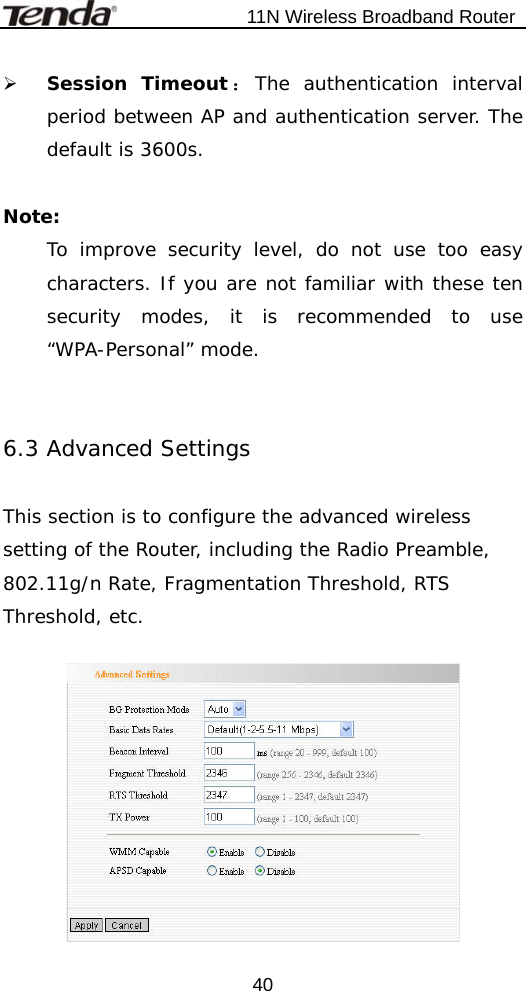
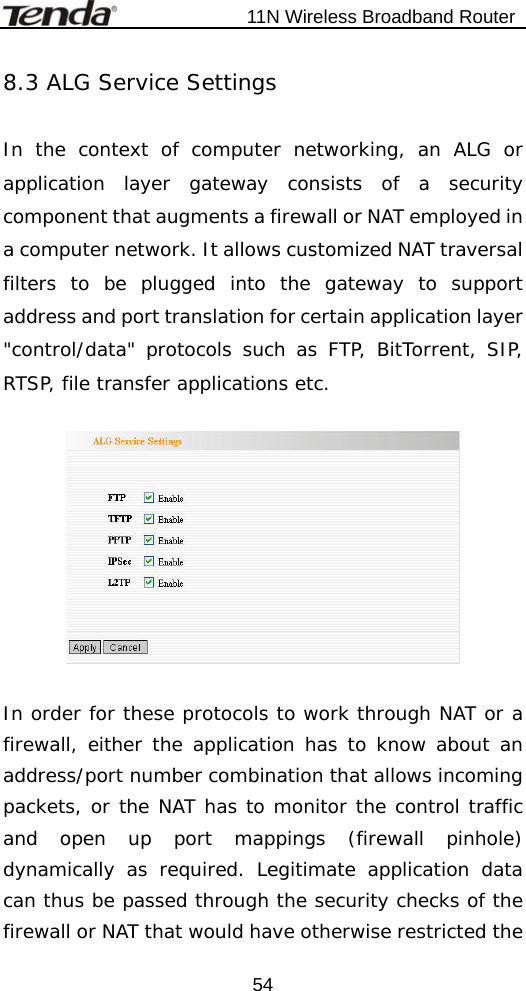
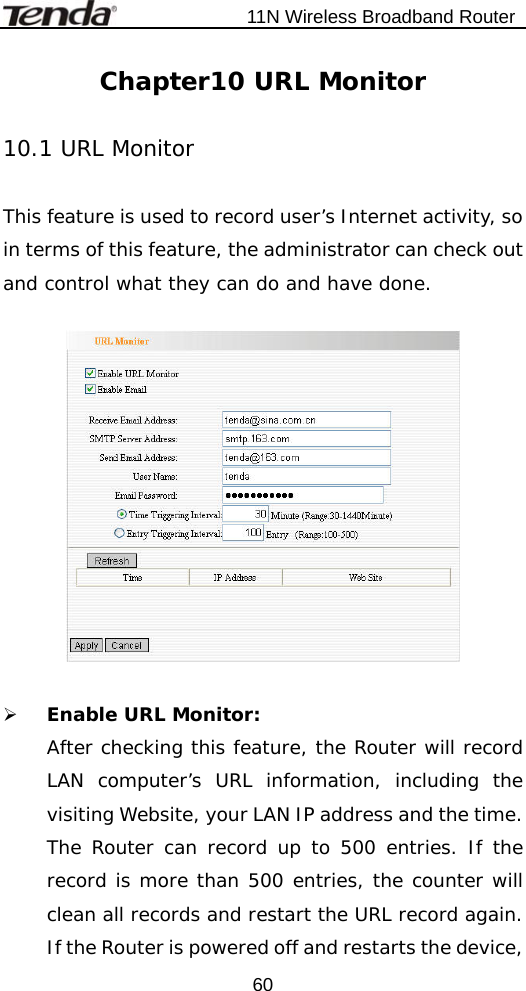
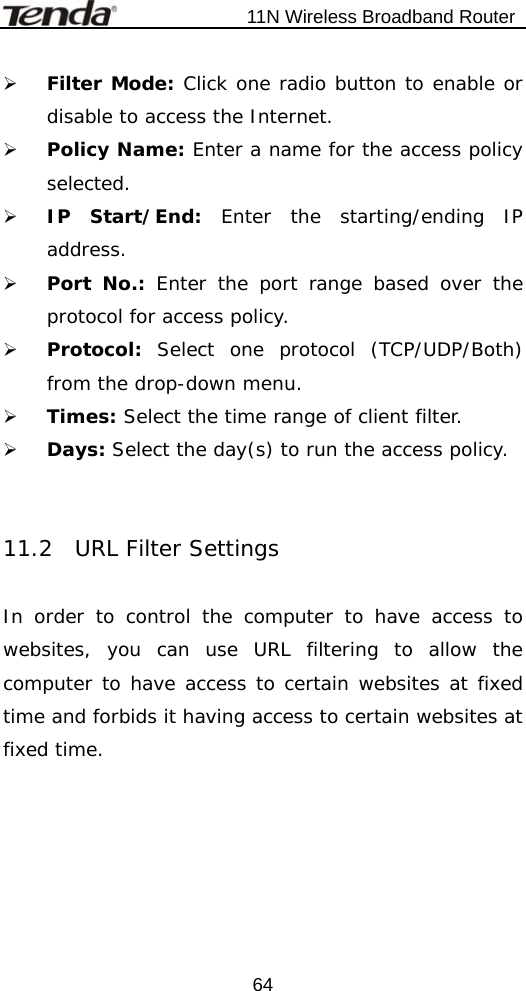
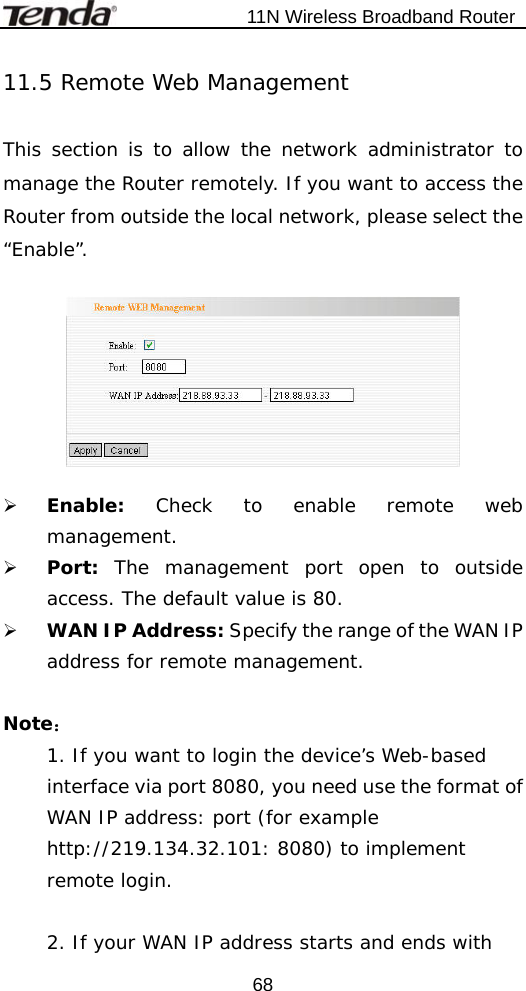
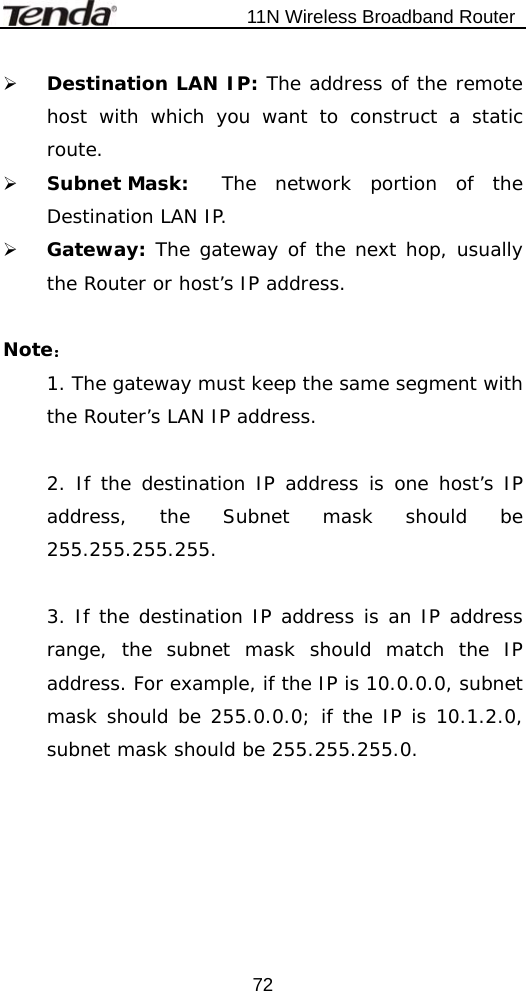
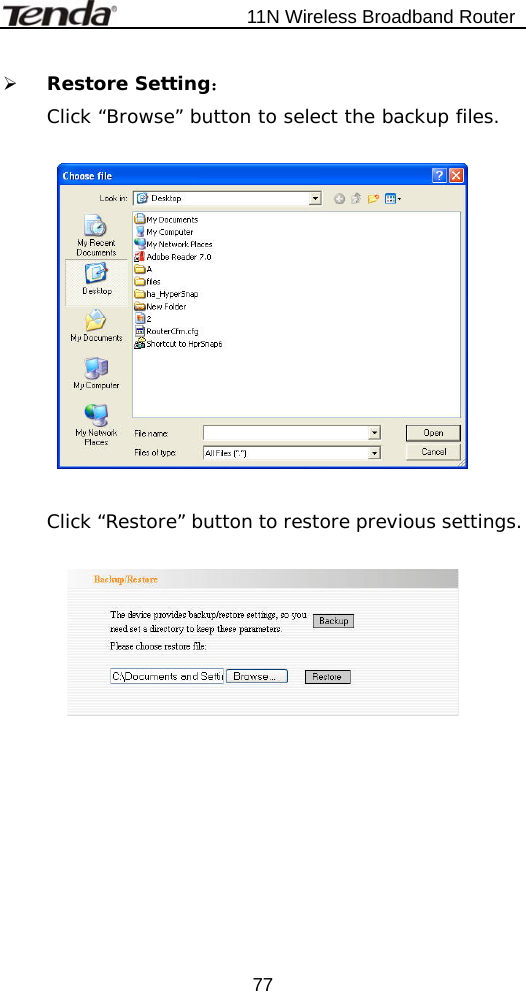
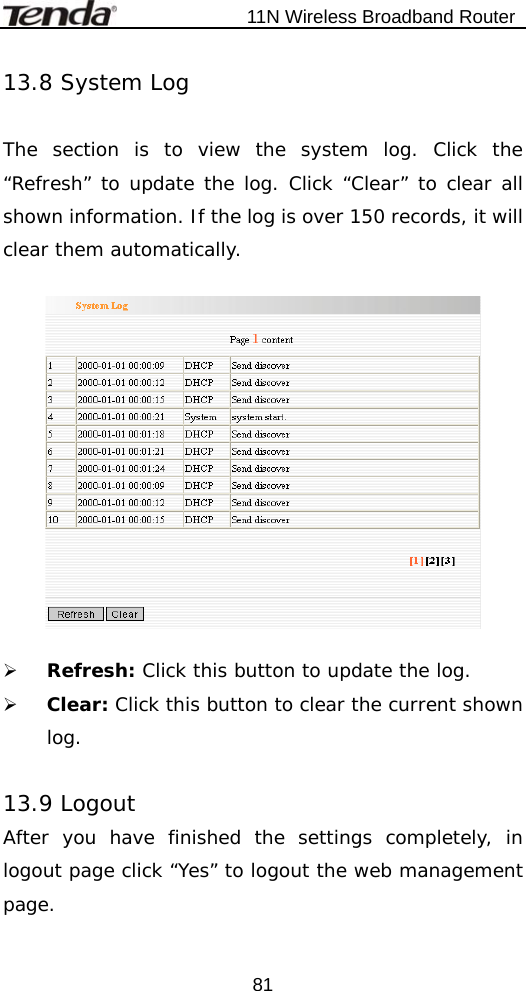
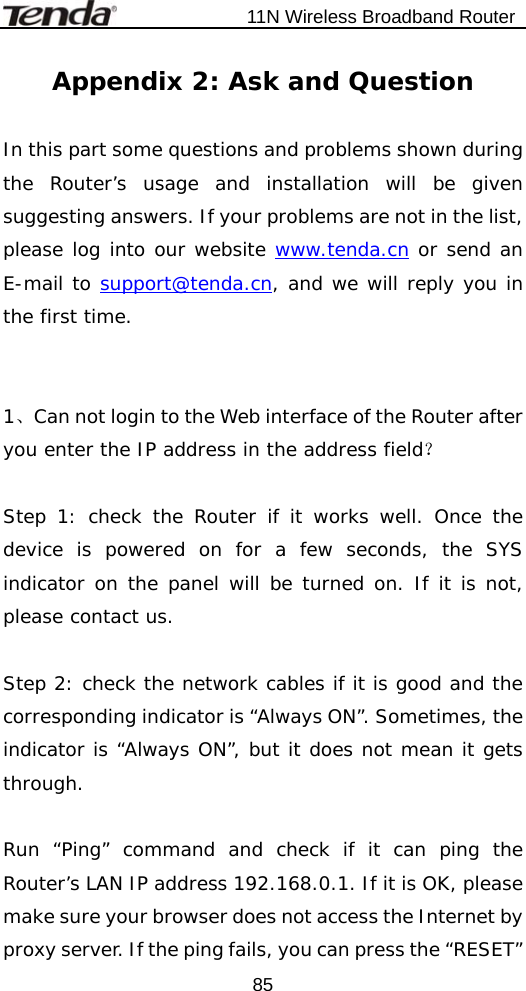
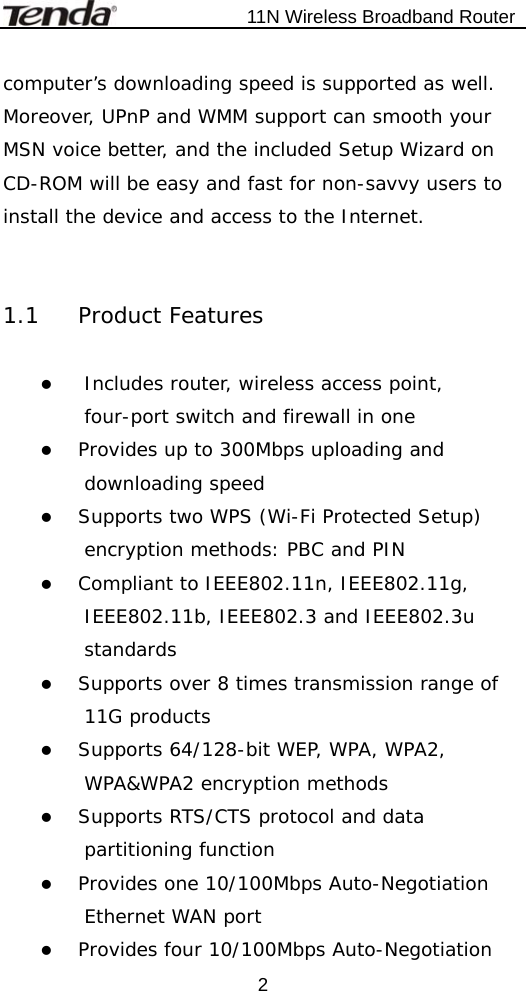
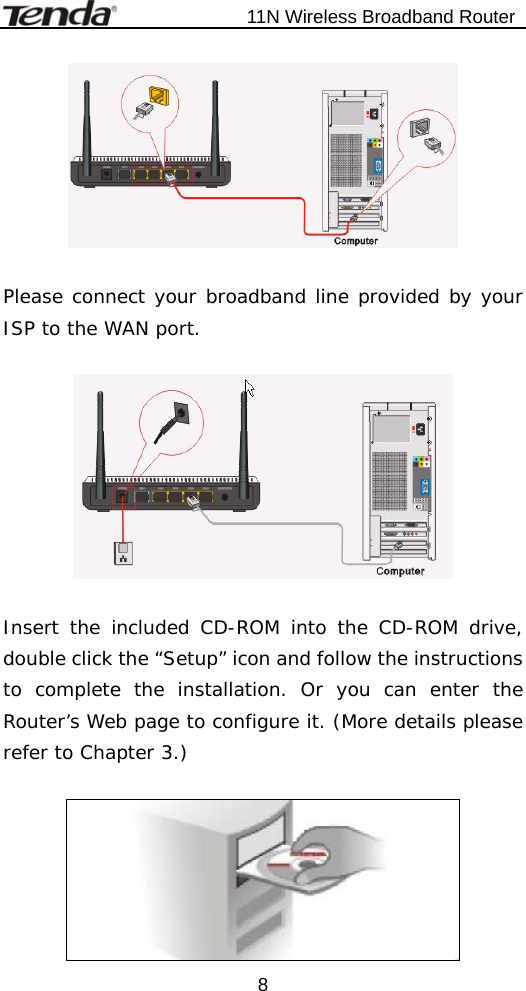
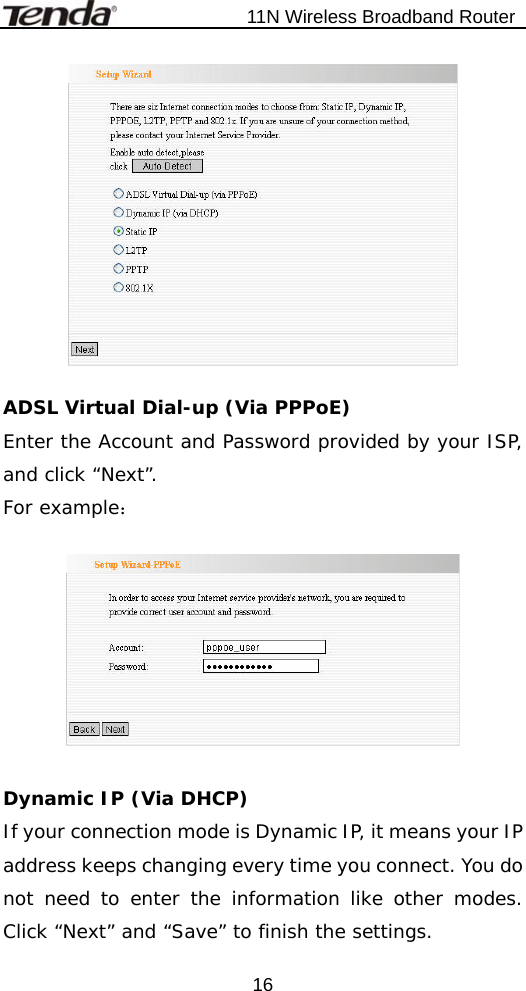
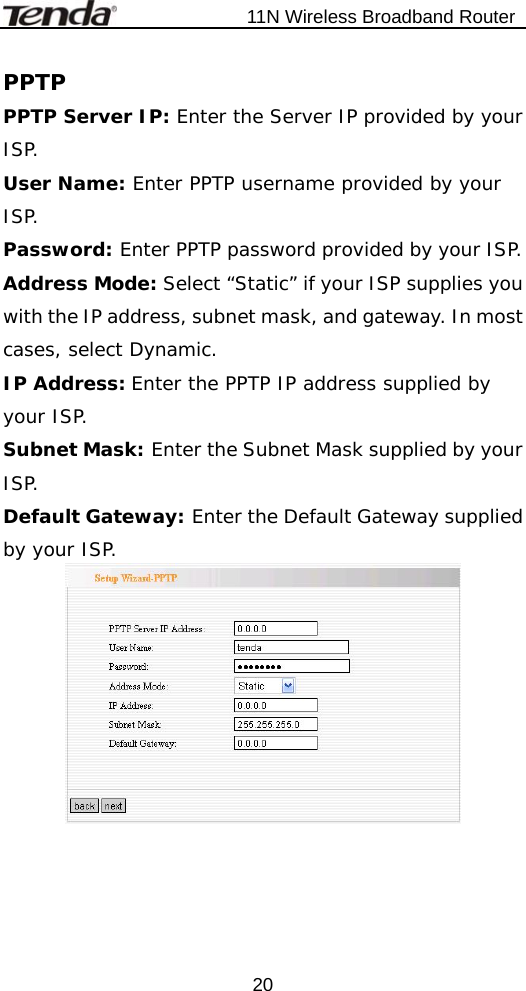
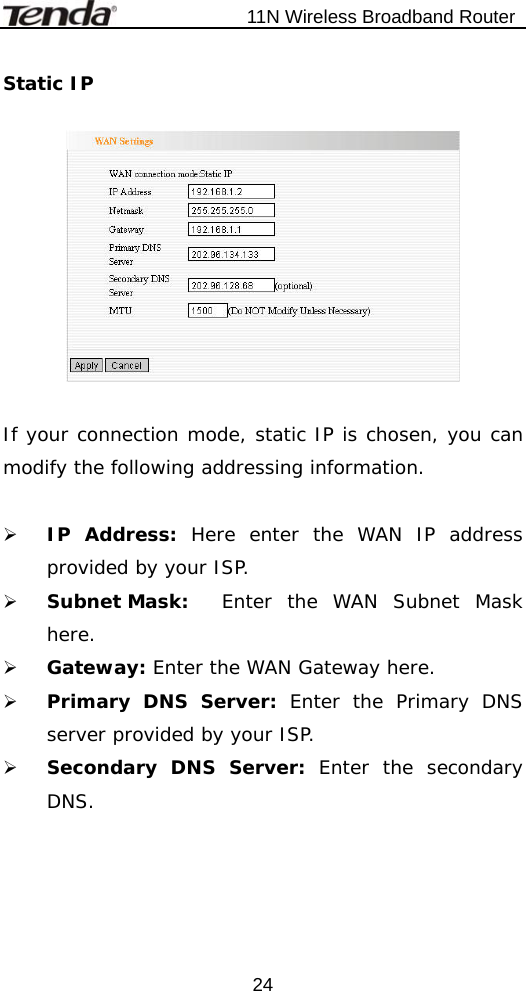
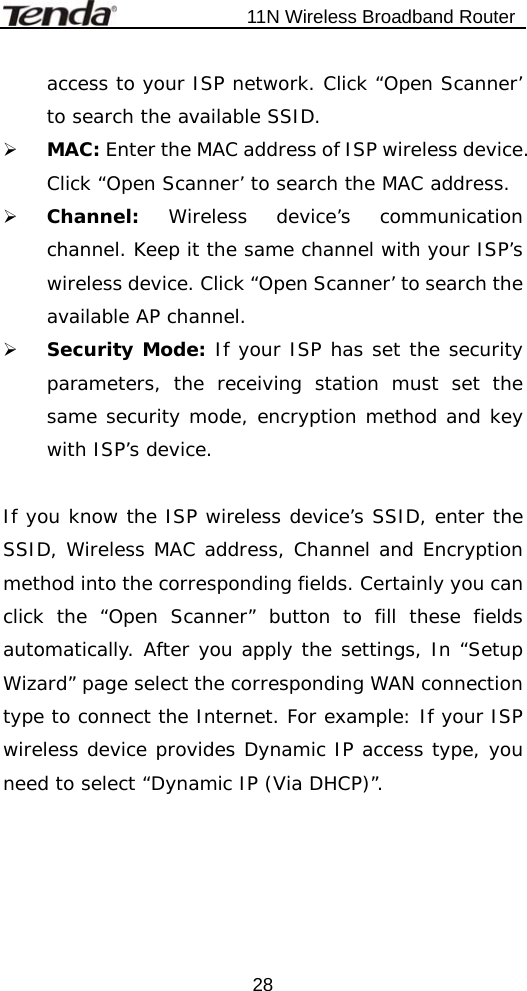
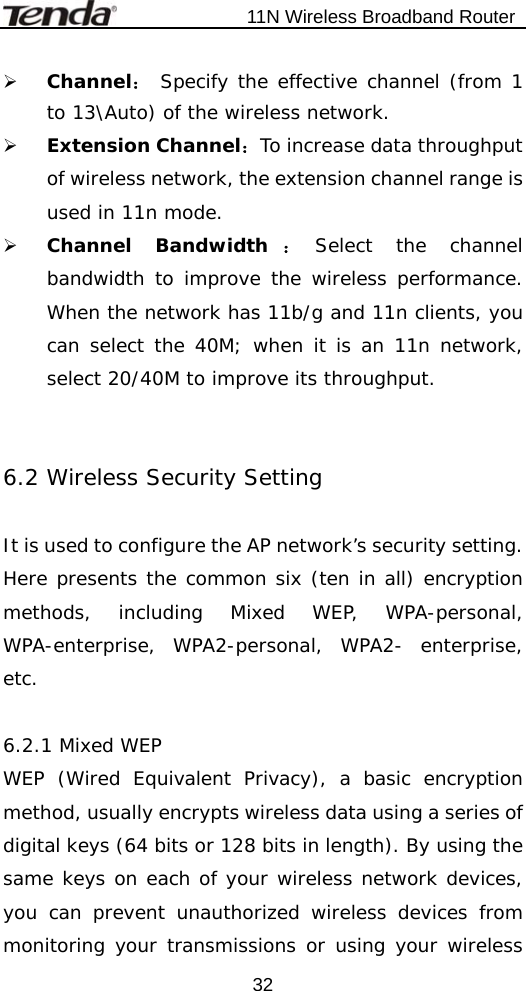
![11N Wireless Broadband Router 38¾ Select SSID:Select the SSID (main SSID or minor SSID) to configure security setting from the drop-down menu. ¾ WPA Algorithms:Provides TKIP [Temporal Key Integrity Protocol] or AES [Advanced Encryption Standard]. The default is TKIP mode. ¾ Key Renewal Interval:Set the key’s renewal period. ¾ Radius Server:Enter the IP address of the Radius server. ¾ Radius Server port:Enter the authentication port of the Radius server. The default is 1812. ¾ Shared Secret :Enter the shared key for authentication server with 8~63 ASCII characters. ¾ Session Timeout: The authentication interval period between AP and authentication server. The default is 3600s. 6.2.6 802.1X This security mode is used when a RADIUS server is connected to the device. 802.1x, a kind of Port-based authentication protocol, is an authentication type and strategy for users. The port can be either a physic port or logic port (such as VLAN). For wireless LAN users, a port is just a channel. The final purpose of 802.11x authentication is to check if the port can be used. If the port is authenticated successfully, you can open this](https://usermanual.wiki/TENDA-TECHNOLOGY/W307R/User-Guide-1154538-Page-43.png)